
01Who this is for
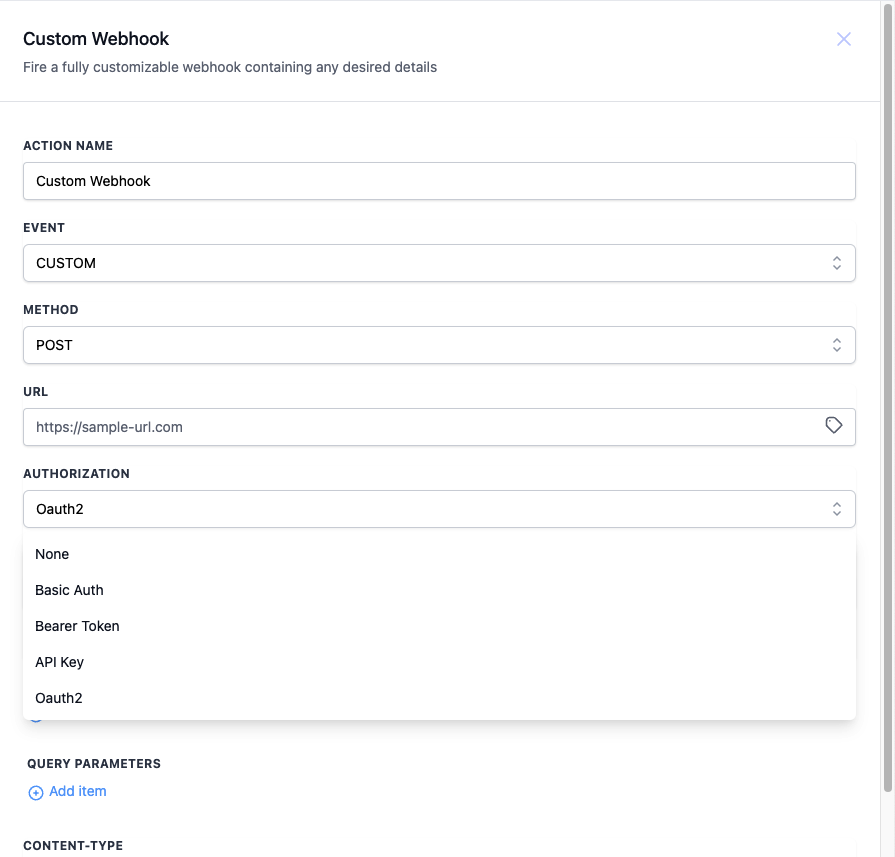
- Users who need to authorize Custom Webhook actions with external APIs can select OAuth2.
- Teams that manage multiple API connections benefit from the centralized token manager in Global Workflow Settings.
02OAuth2 in custom webhooks, explained
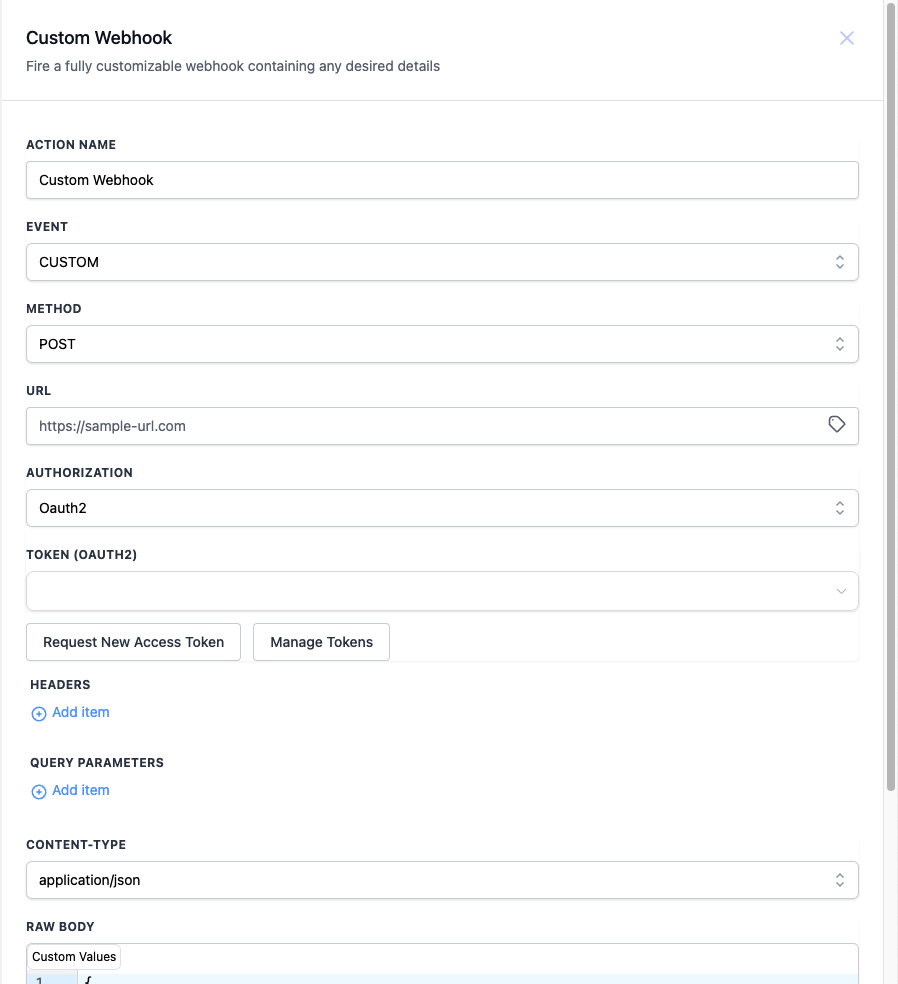
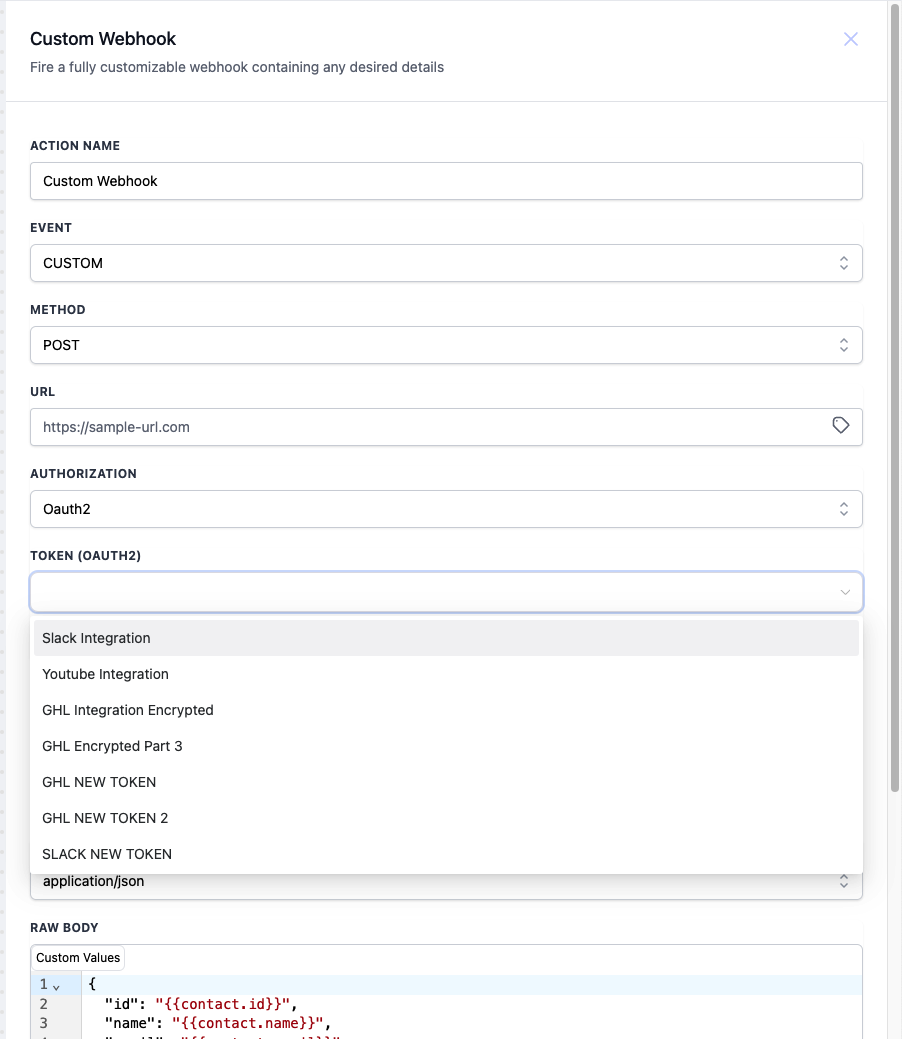
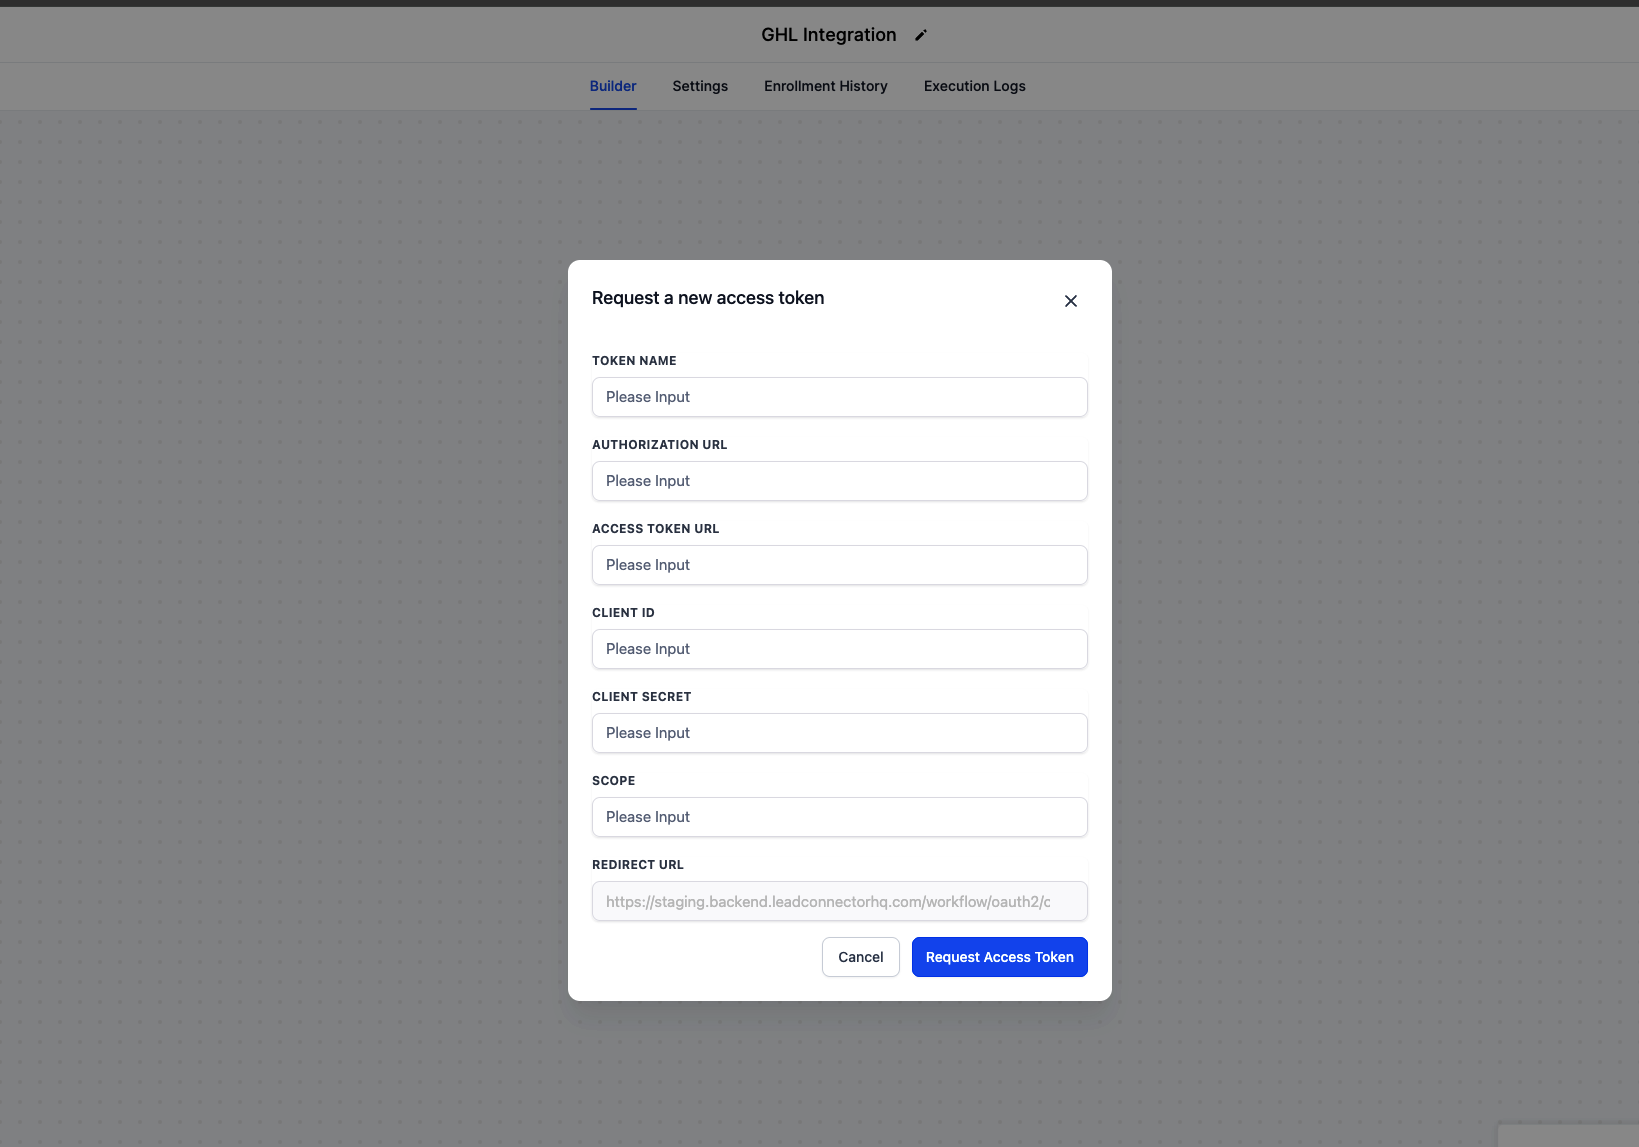
OAuth2 adds a token based authorization option to the Custom Webhook action. When you choose this option, the workflow can either attach an existing OAuth2 token or request a new one from the target API. The token is stored by the platform and can be referenced by any webhook that uses OAuth2.
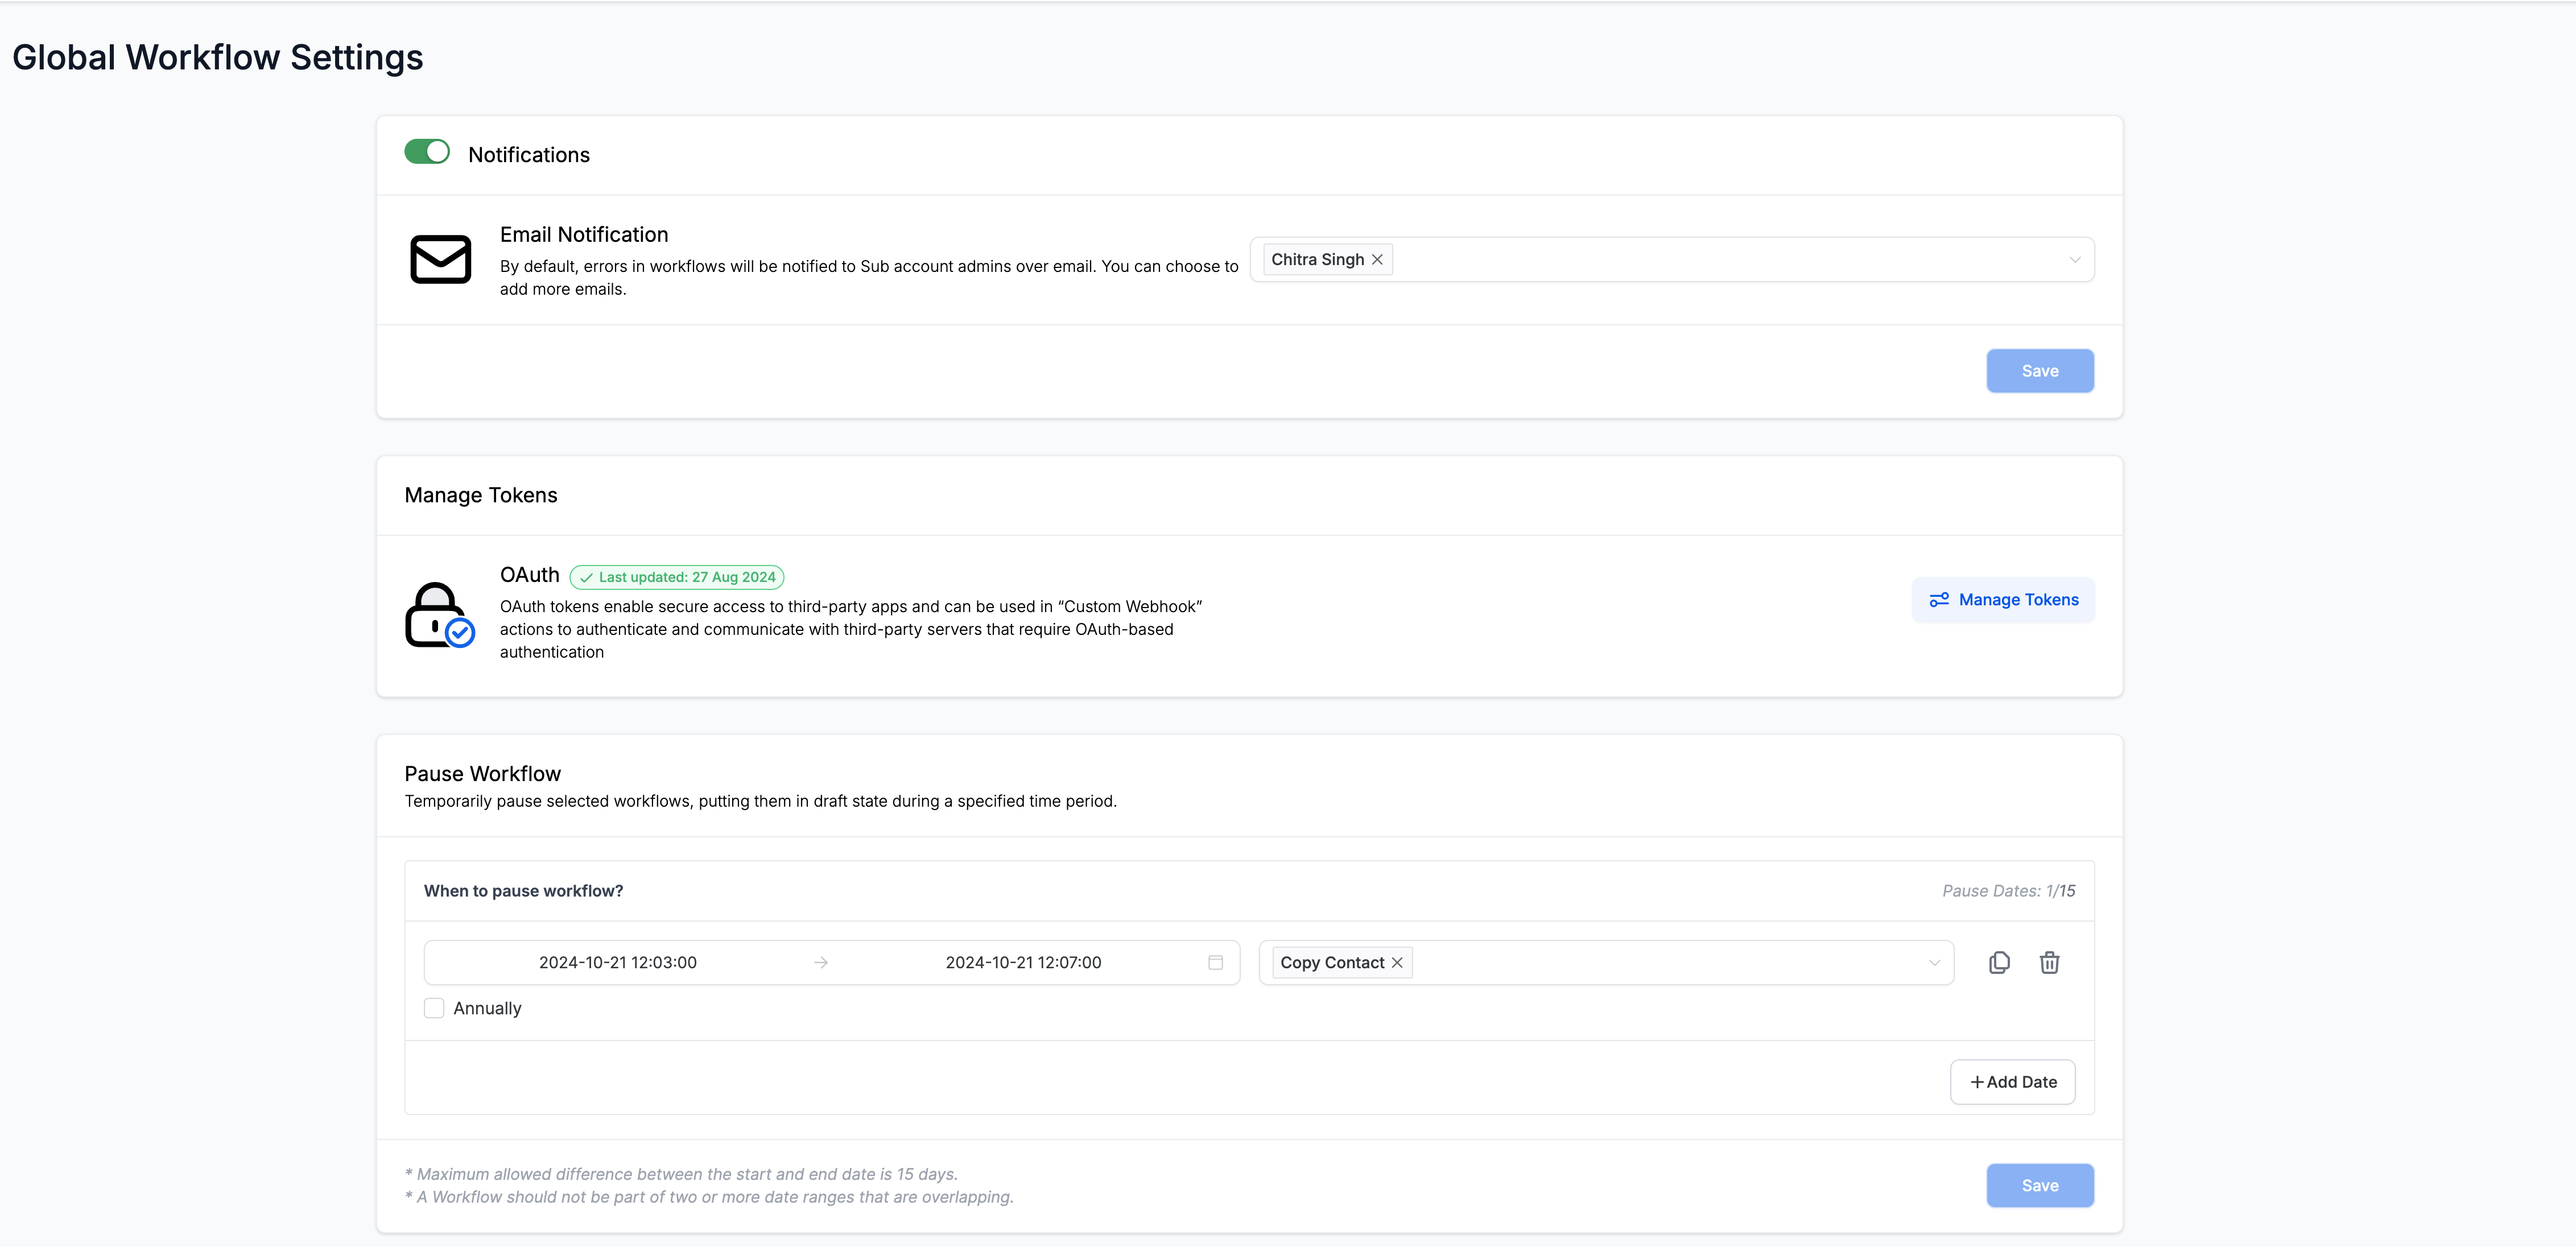
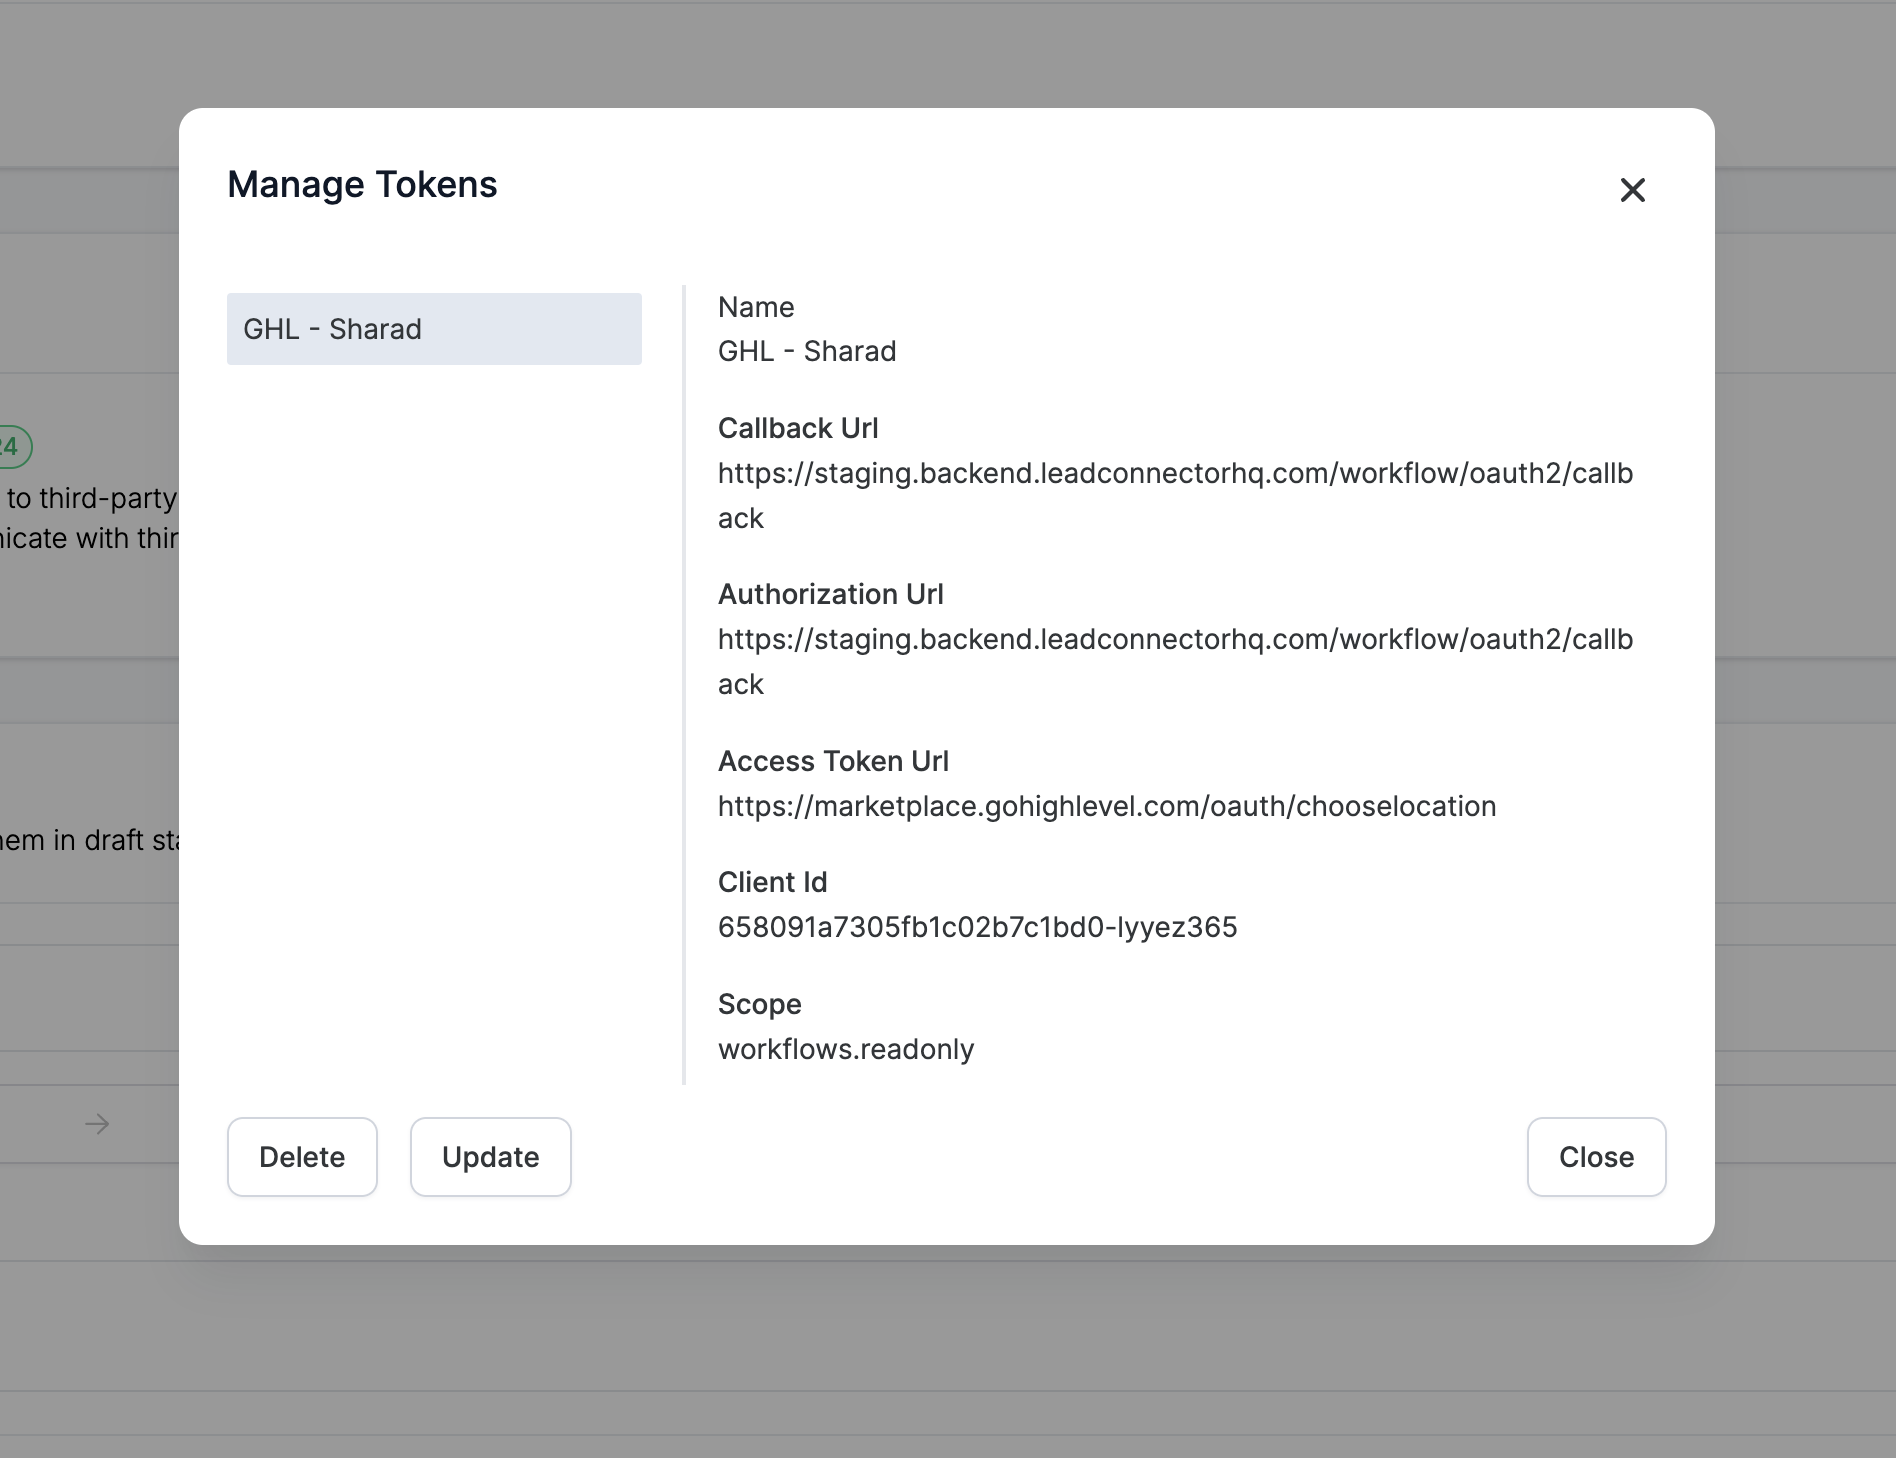
Token management is found in Global Workflow Settings under the Manage Tokens section. A pop up lists all saved tokens, and from there you can update token details or delete tokens that are no longer needed. These controls keep your authorizations organized and secure.
03How businesses use OAuth2 in Custom Webhook
- Google API integration. Select OAuth2 in the Custom Webhook and request a token to authenticate calls to Google services.
- Facebook API integration. Choose OAuth2 and reuse a saved Facebook token to authorize webhook requests without re entering credentials.
- LinkedIn API integration. Use the OAuth2 option to obtain and store a LinkedIn token, allowing multiple webhooks to post updates securely.
04The numbers and rules that matter
- OAuth2 is one of the most important and widely used authorization methods.
- Integrations include Google, Facebook, LinkedIn, and others.
05How to set up and use OAuth2 in Custom Webhook in HighLevel
Set up OAuth2 in a custom webhook
- Add a Custom Webhook action to a workflow and choose OAuth2 as the authorization method.
- Select an existing OAuth2 token or request a new token for the webhook.
- Open the Global Workflow Settings area.
- Click the Manage Tokens option to display the list of stored tokens.
- From the token list, use the Update or Delete controls to modify or remove tokens as needed.
06What it looks like in HighLevel
07Settings that matter
- OAuth2. Determines that the Custom Webhook will use token based authentication instead of basic auth.
- Manage Tokens. Provides a UI to view, edit, or delete OAuth2 tokens that have been saved in the system.
08How it connects to the rest of HighLevel
- Learn how to build a workflow with triggers, filters and actions Workflow basics
- Set up an inbound webhook trigger for advanced integrations Inbound webhook guide
- Review HighLevel pricing and plan options Pricing page
Michael's take

Michael ReimerFounder of CRM Pros, HighLevel Commander and Certified Admin
OAuth2 in Custom Webhook lets a small business connect to big platforms using HighLevel's built in authorization.
Remember to keep your tokens up to date.
Get More InformationOpens on HighLevelPublished November 2, 2026 · Updated November 16, 2026