
01Who this is for
- Businesses that rely on Conversation AI bots to interact with contacts.
- Teams that need to automate bot assignments based on triggers such as tags, payments, or channel activity.
02Update Conversation AI Bot and Status, explained
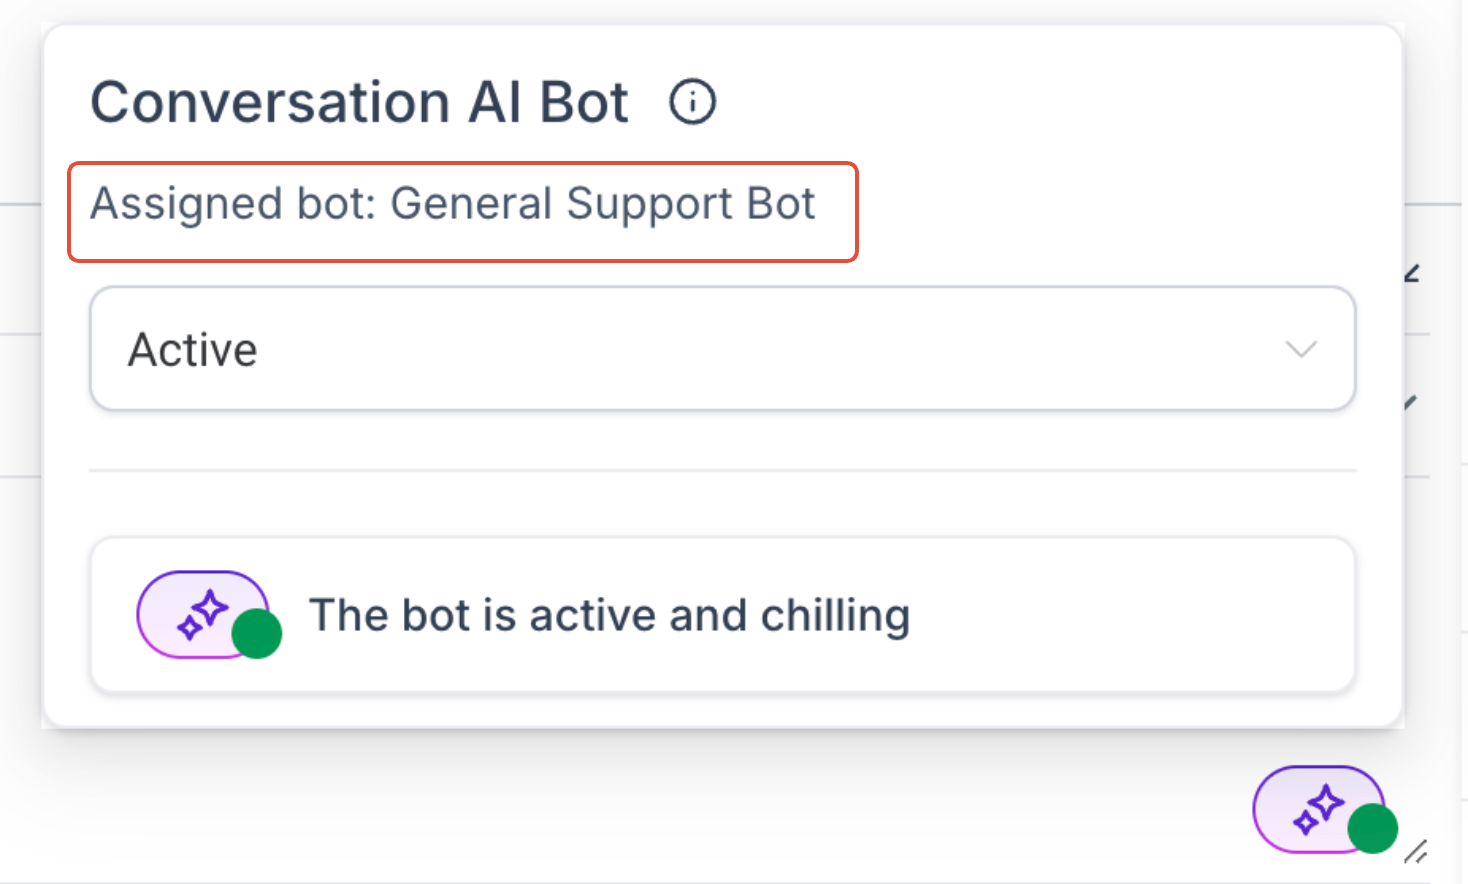
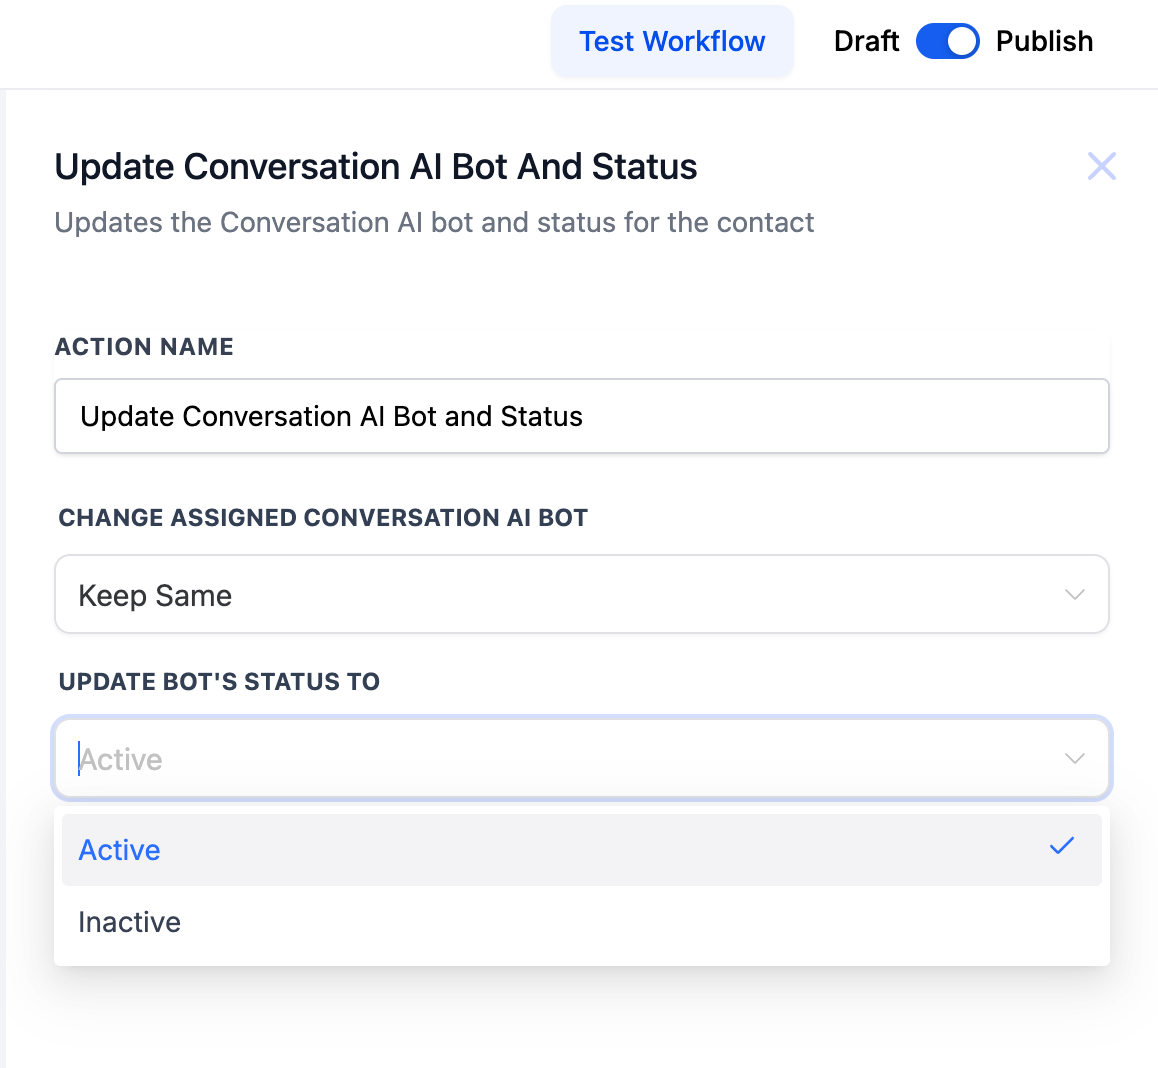
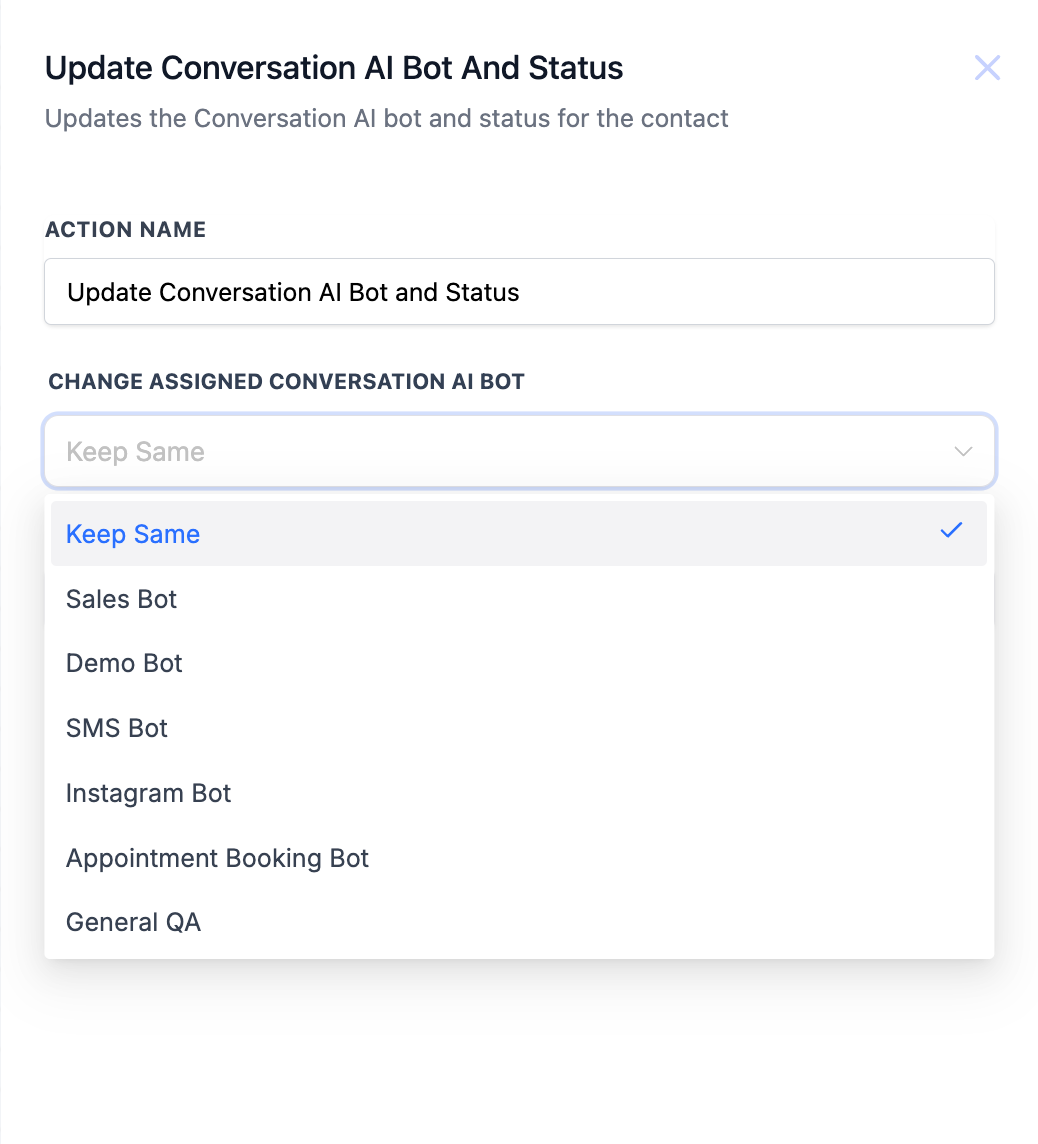
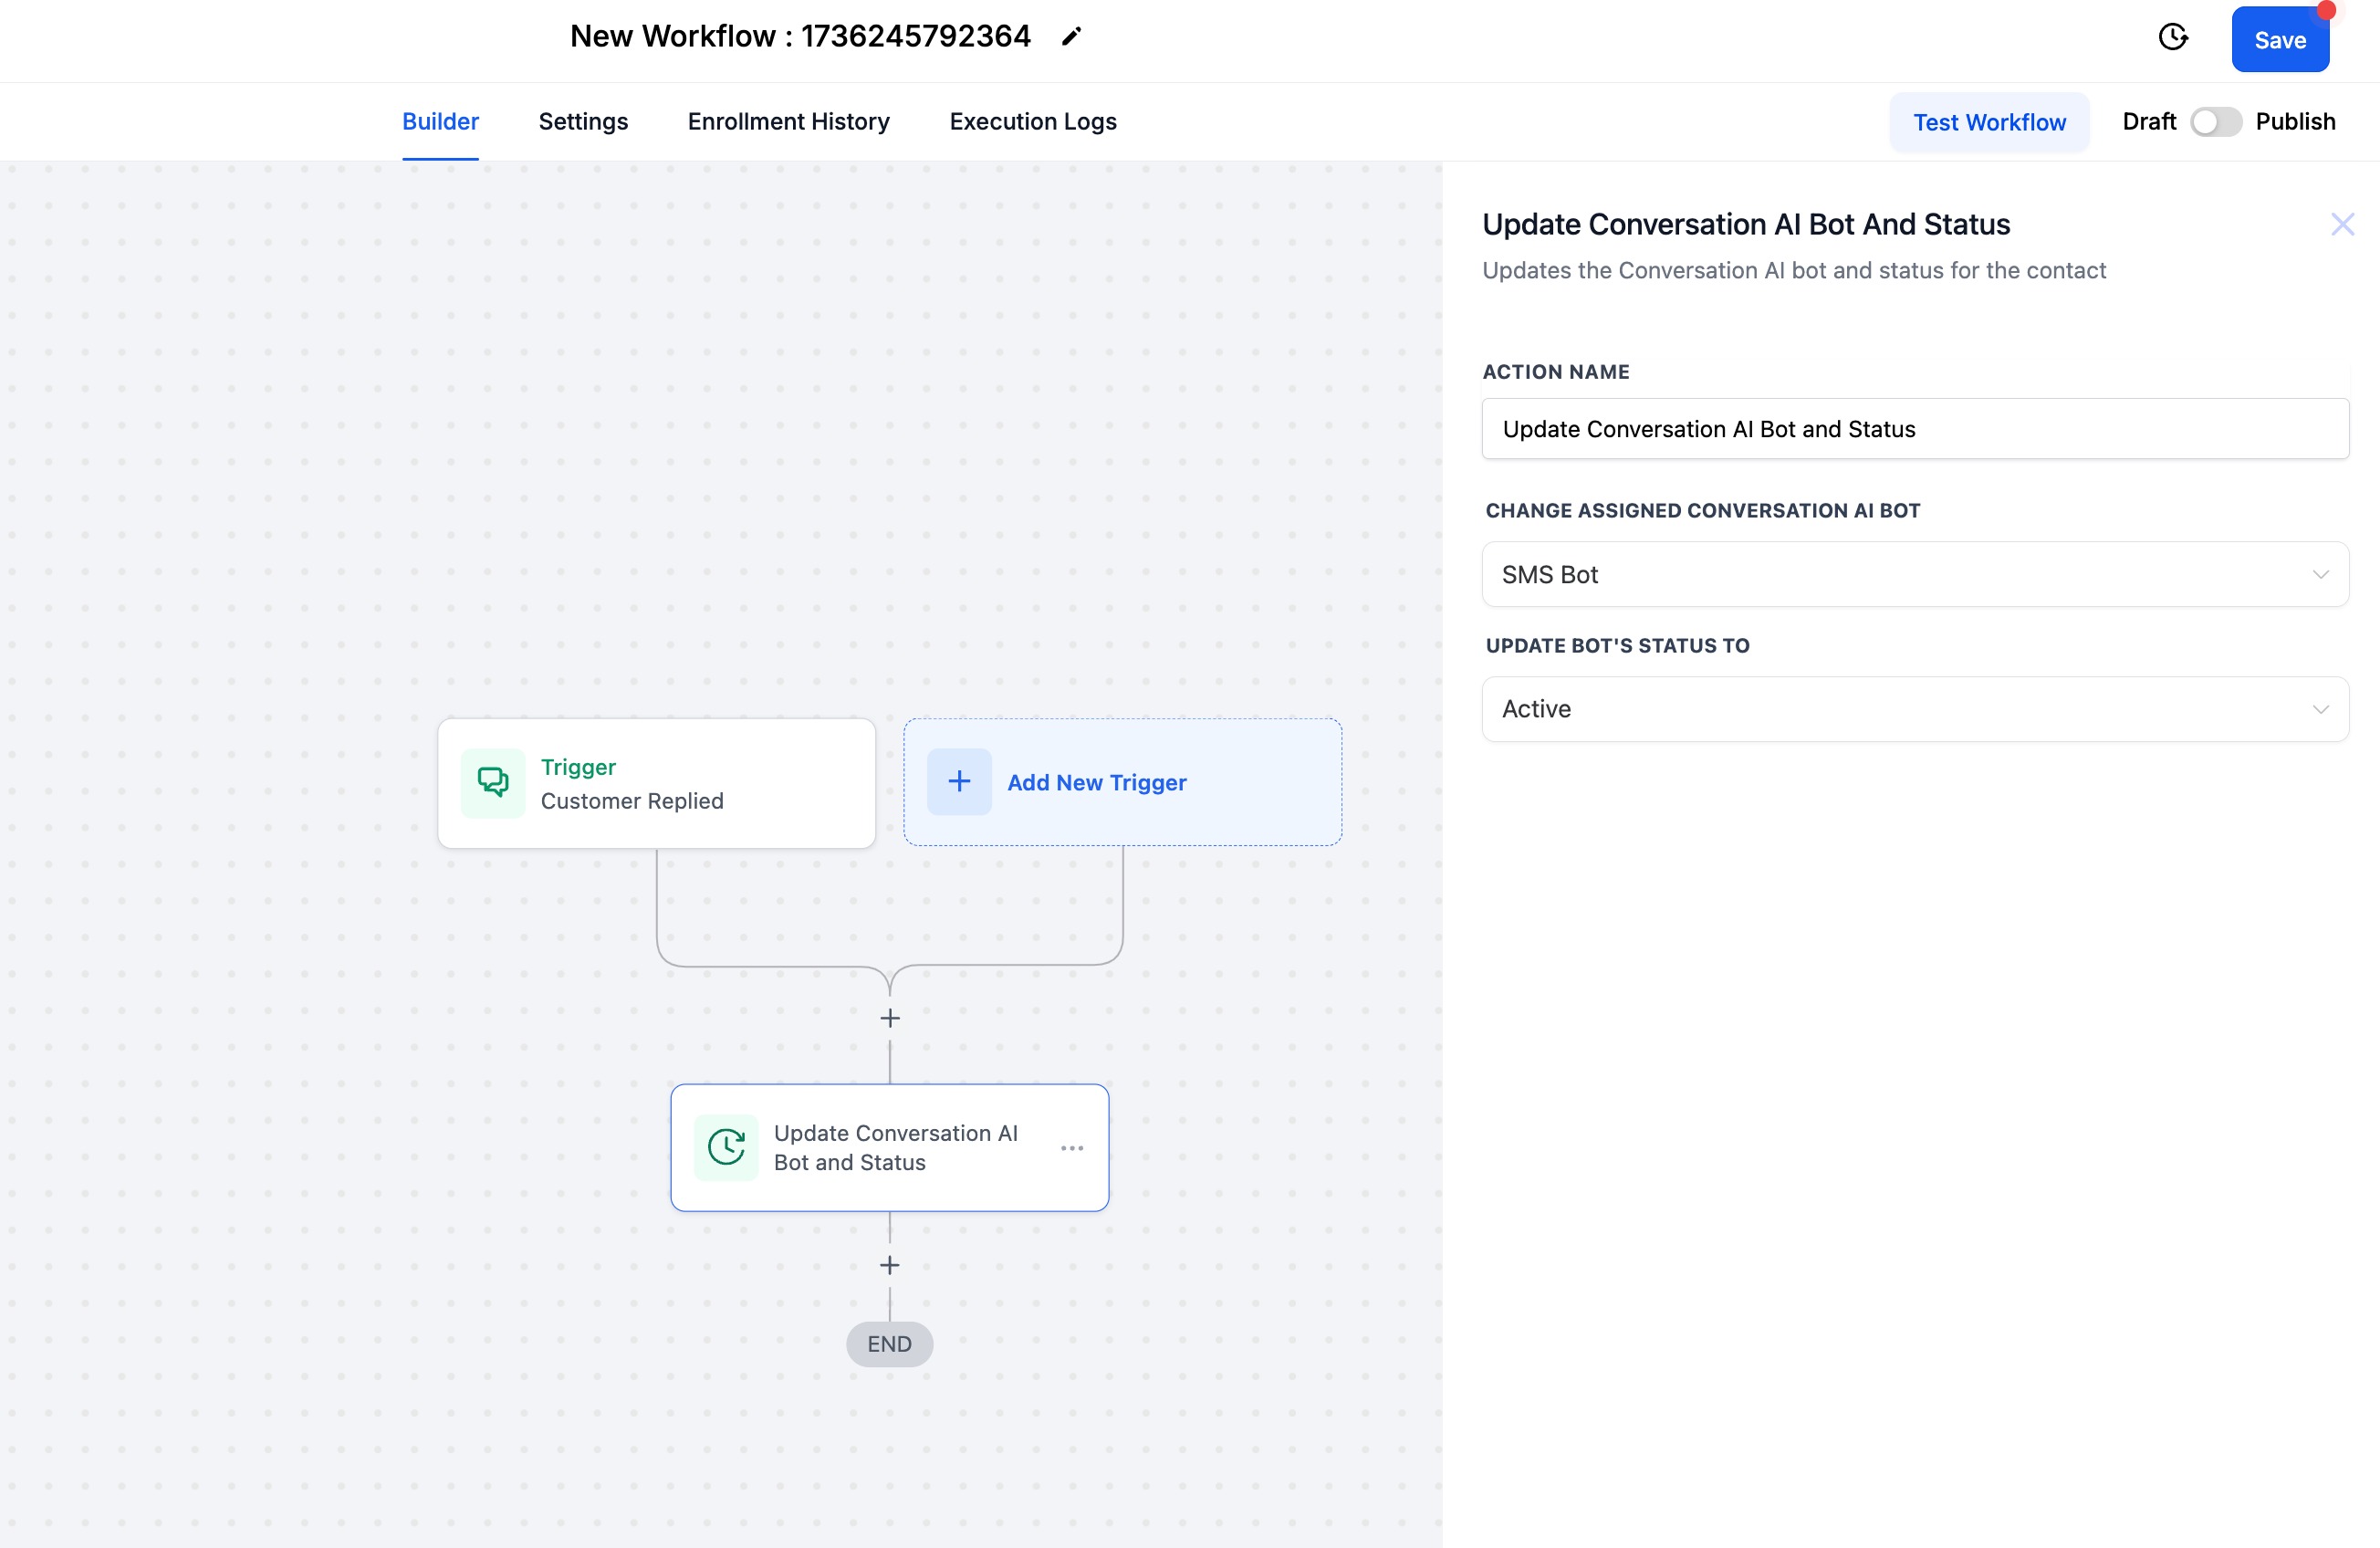
This action appears in the workflow builder; when added it provides a dropdown to select a Conversation AI bot and a field to set its status to Active or Inactive for the triggering contact.
After the bot is assigned, the workflow branches immediately according to any subsequent logic; it does not wait for the conversation to finish.
The action is listed among the available workflow actions and works together with other triggers, filters and actions to customize bot behavior per contact.
03How businesses use Update Conversation AI Bot and Status
- Customer support center. Create a workflow that triggers when a contact replies via SMS. Add the Update Conversation AI Bot and Status action, select the SMS specific bot, set it to Active, and publish. The bot then handles all future SMS exchanges for that contact.
- Marketing agency. Set up a workflow that fires when a lead receives a specific tag, such as "Call Booked." Use the action to assign a dedicated bot to that tag and activate it. The bot engages the lead only when the tag condition is met.
- Online retailer. Build a workflow triggered by a payment receipt. Insert the action, pick the Sales Bot, and mark it Active. The bot will interact with the buyer after the payment event, ensuring relevant messaging.
04Before you start
- A workflow must be created before adding this action.
- The Conversation AI bot you intend to assign must have the relevant channel (for example, SMS or Facebook) enabled.
05How to set up and use Update Conversation AI Bot and Status in HighLevel
Set up bot assignment workflow
- Create a new workflow in the platform.
- Select a trigger that matches the desired condition, such as an SMS reply or a payment receipt.
- Add the action named Update Conversation AI Bot and Status to the workflow.
- Choose the appropriate bot from the dropdown menu.
- Set the bot’s status to Active or Inactive as needed.
- Save and publish the workflow.
06What it looks like in HighLevel
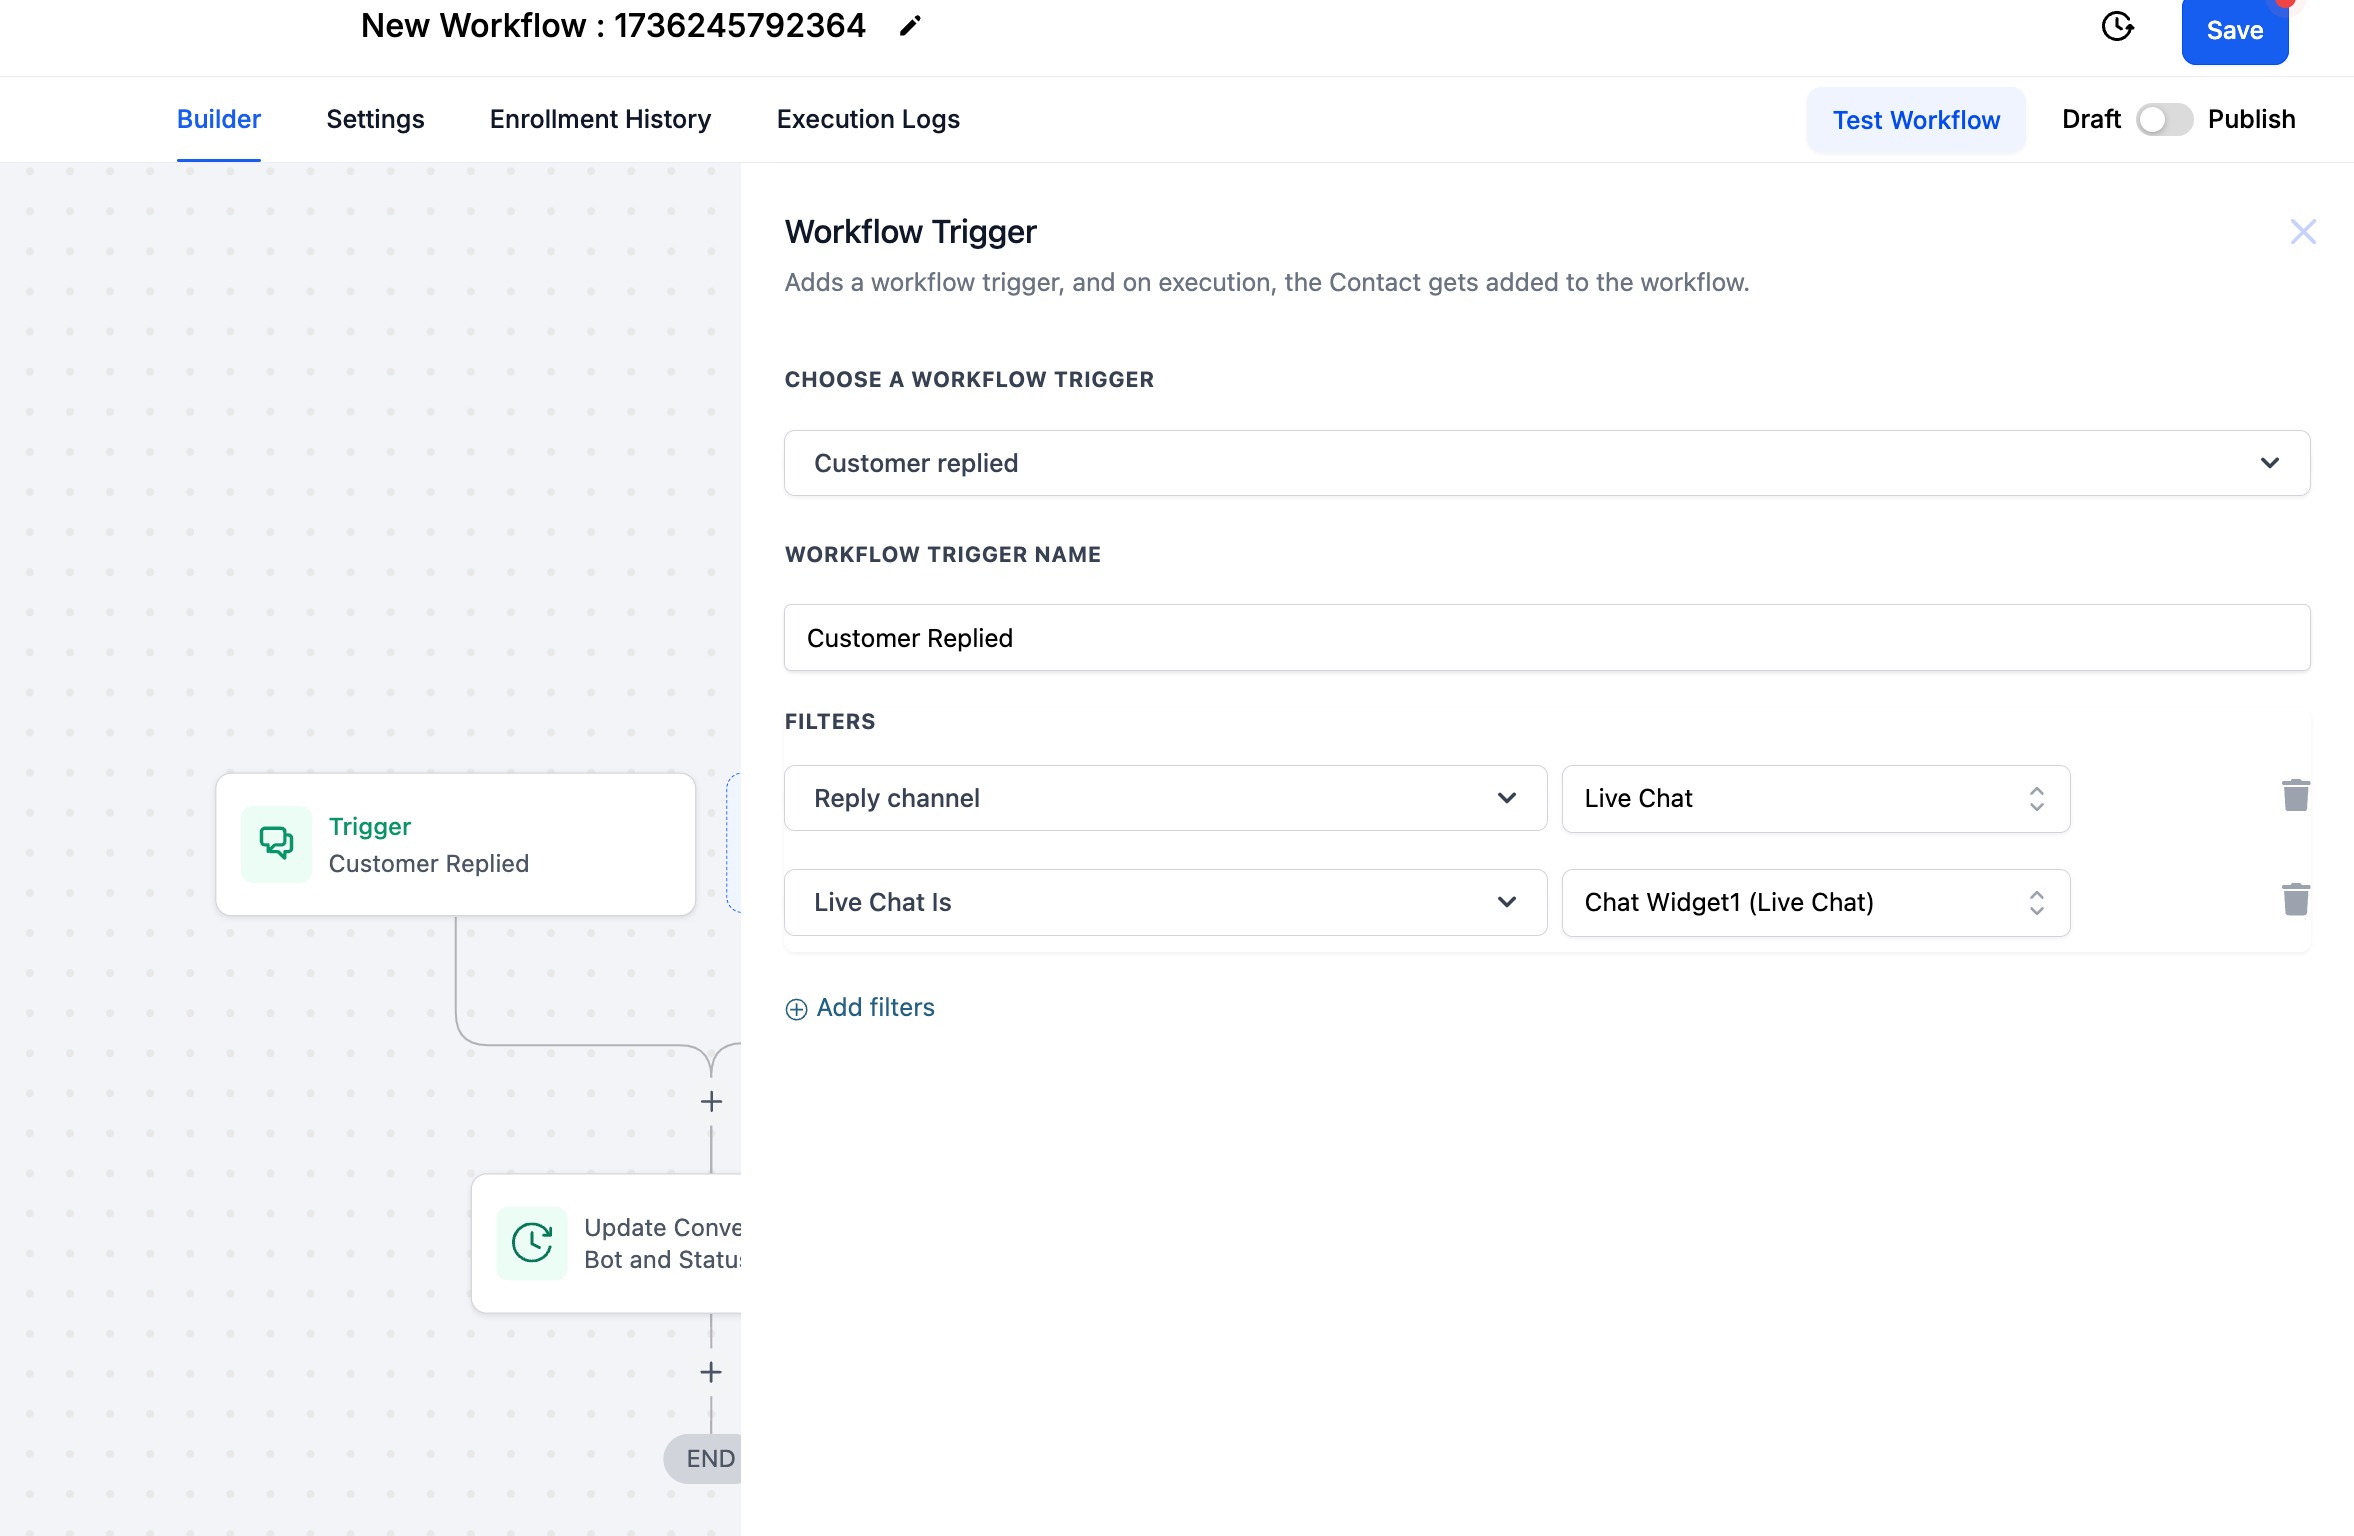
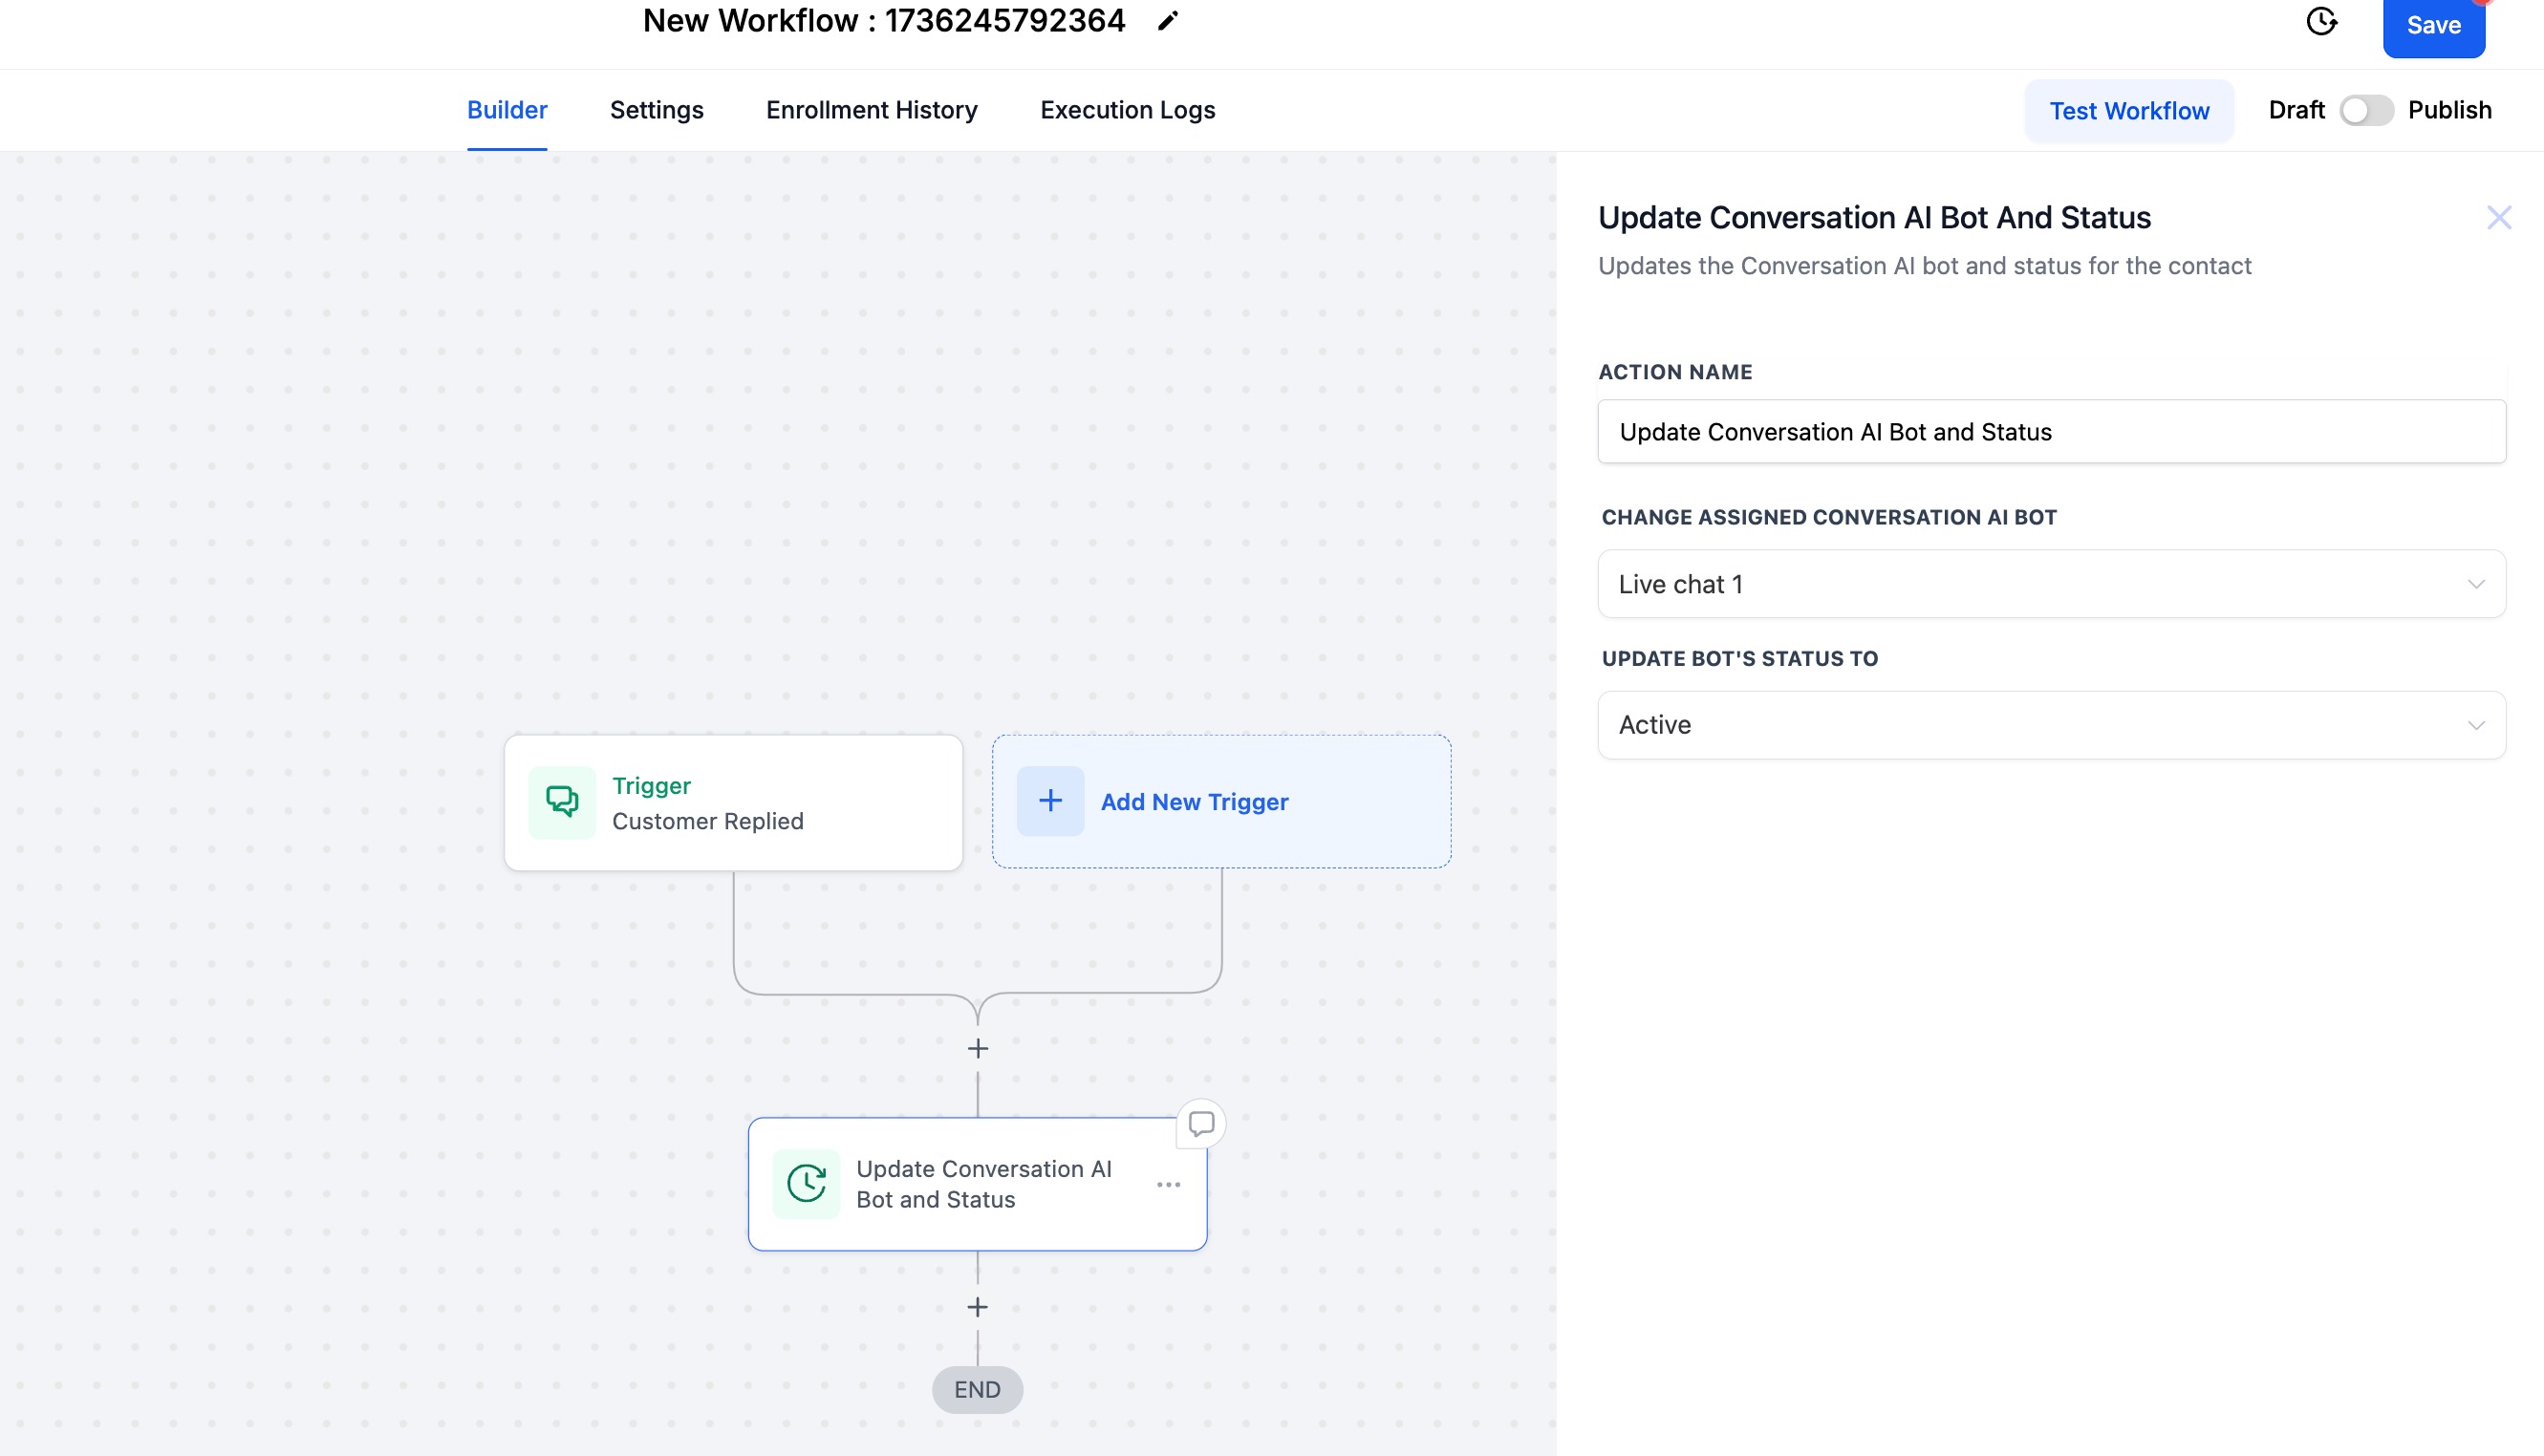
07Settings that matter
- Keep Same. When selected, the action leaves the existing bot unchanged, so no new bot assignment occurs for the contact.
08Things to know before you rely on it
- The bot assigned must have the matching communication channel enabled; otherwise the assignment will not function.
- The action assigns the bot and then immediately continues workflow execution; it does not wait for a full conversation to finish.
- Choosing Keep Same results in no change to the current bot assignment.
09How it connects to the rest of HighLevel
- Getting started with HighLevel workflows Workflow intro
- How to add triggers, filters and actions in a workflow Workflow builder
- Review HighLevel pricing and plan options Pricing
Michael's take

Wondering if you really need to automate bot assignments or can just switch them manually? The answer is that the Update Conversation AI Bot and Status action removes the manual step, letting the system route the right bot at the right time without you lifting a finger.
If I were setting this up, I’d start with a simple trigger like a payment receipt, assign my sales bot, and watch the flow. After that I’d test a tag based workflow to see how the bot reacts to different contact types before rolling it out more broadly.