
01Who this is for
- Course creators who need structured student feedback for lesson improvement.
- Coaches running membership sites who want to moderate discussion and control who sees comments.
02Membership comments, explained
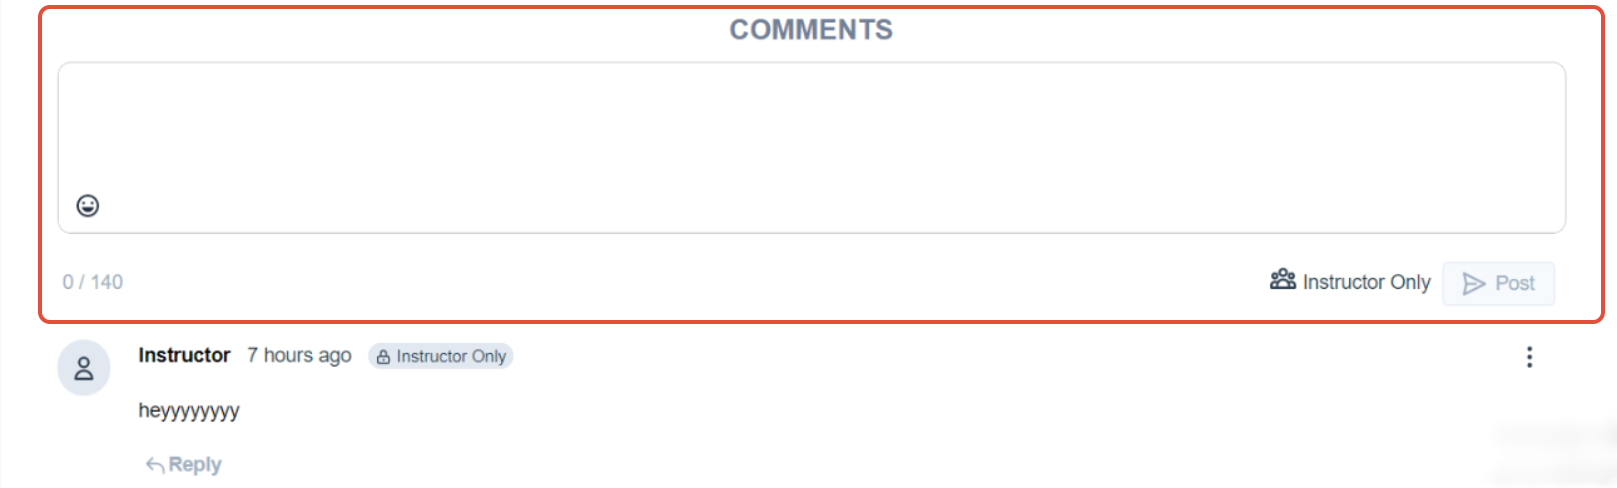
The comment feature adds a discussion box to lesson pages within a membership product. Depending on the selected mode, the box can show existing comments and accept new ones, hide the entire box, or prevent new entries while keeping past comments visible. Visibility settings let creators choose whether a comment is seen only by the creator and the posting student (User Only) or by all students (Public).
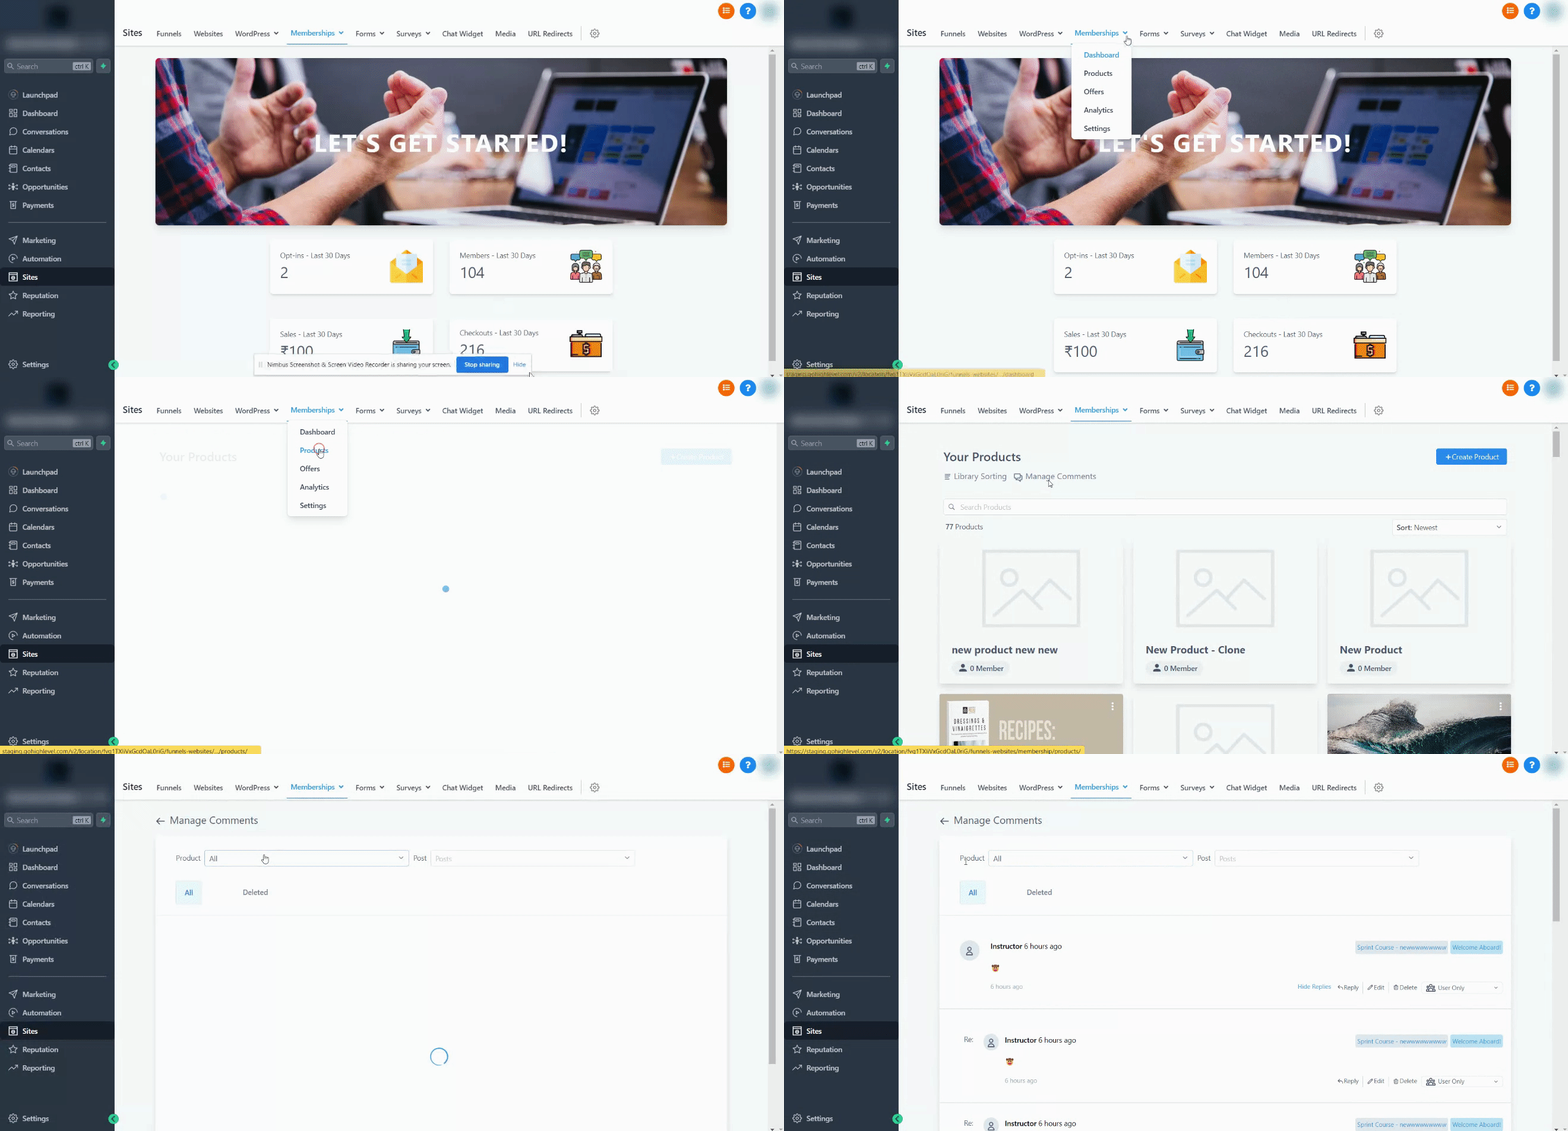
All comment options are accessed from the Products tab. Within a product, the comments section lets you apply a status to an entire category or to individual lessons. A separate comments manager provides a list of all comments across products, where visibility can be changed, and comments can be deleted or restored.
03How businesses use membership comments
- Online tutoring platform. The tutor marks lessons as Enabled so students can ask questions directly on each lesson page. When a lesson is complete, the tutor switches to Locked to keep the discussion read only while preserving the thread.
- Fitness coaching program. The coach hides comments on premium video modules to prevent early spoilers, then later unlocks them for community discussion after a set period.
- Professional certification provider. Administrators set comment visibility to User Only for exam review lessons, allowing only the learner and instructor to see feedback, then change to Public for shared study groups.
04How to set up and use membership comments in HighLevel
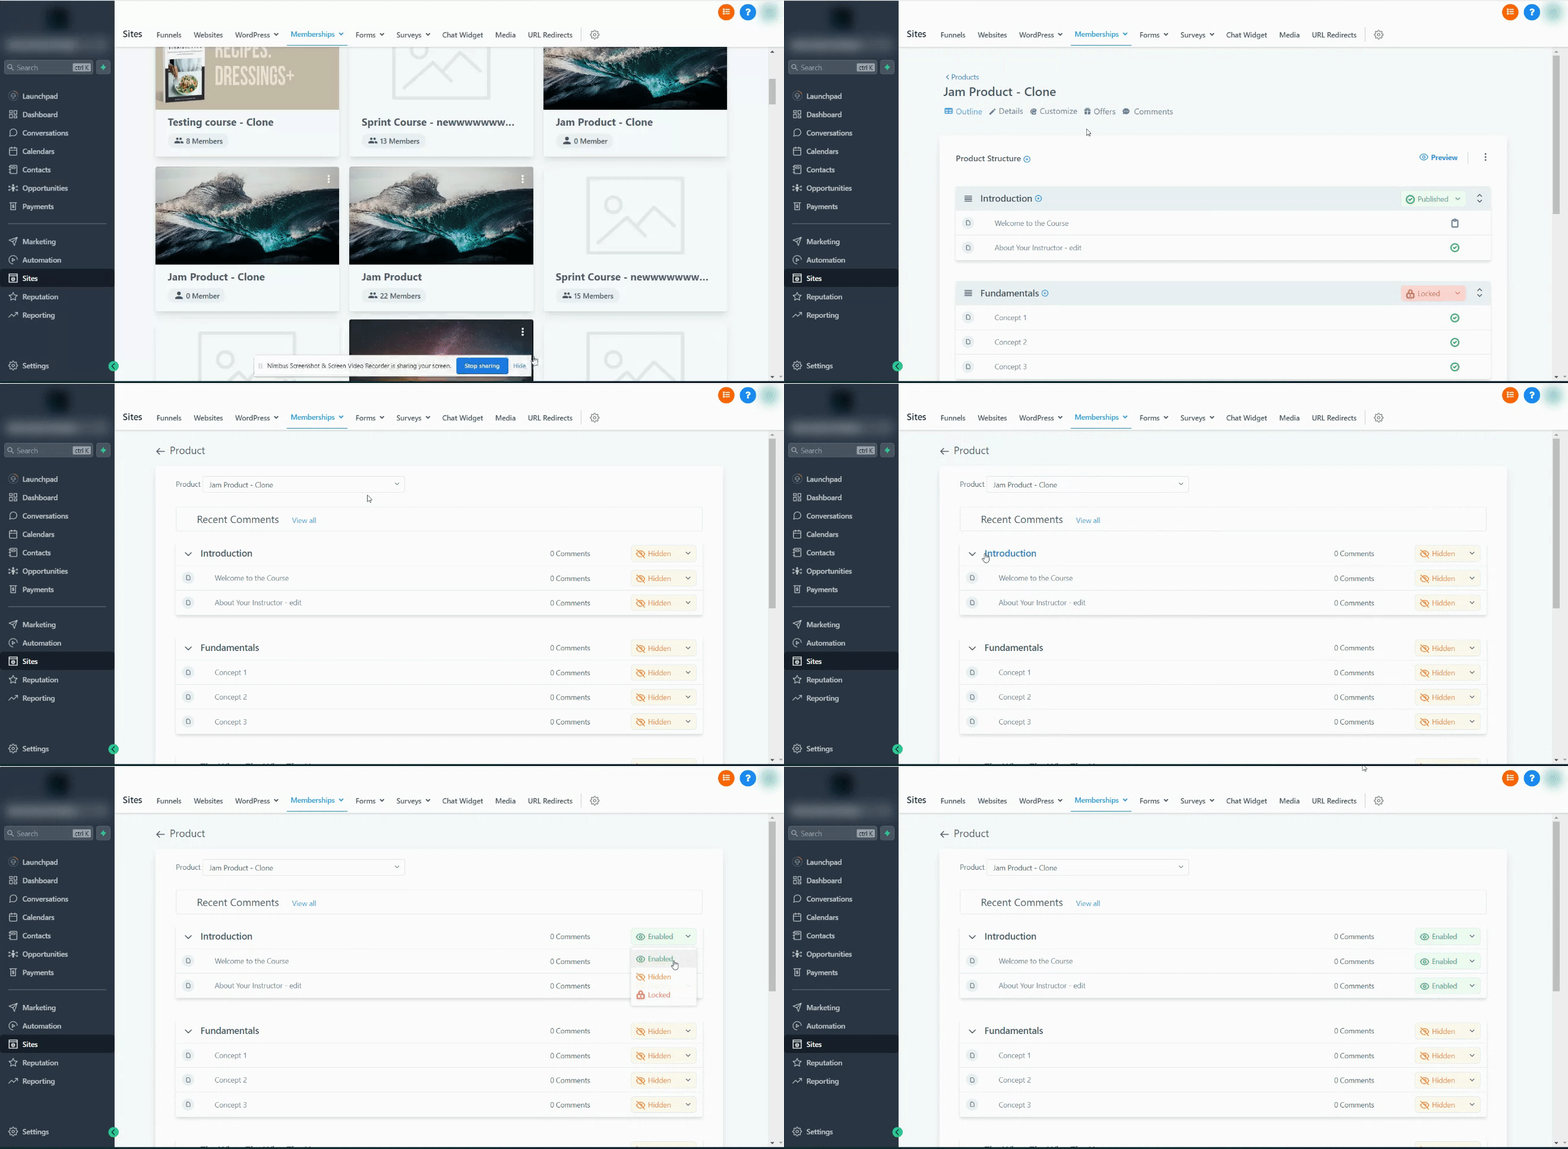
Enable comments for all lessons within a category
- Navigate to the Products tab.
- Select an existing product or create a new one.
- Open the comments section for that product.
- Choose the category and set its comment status to Enabled.
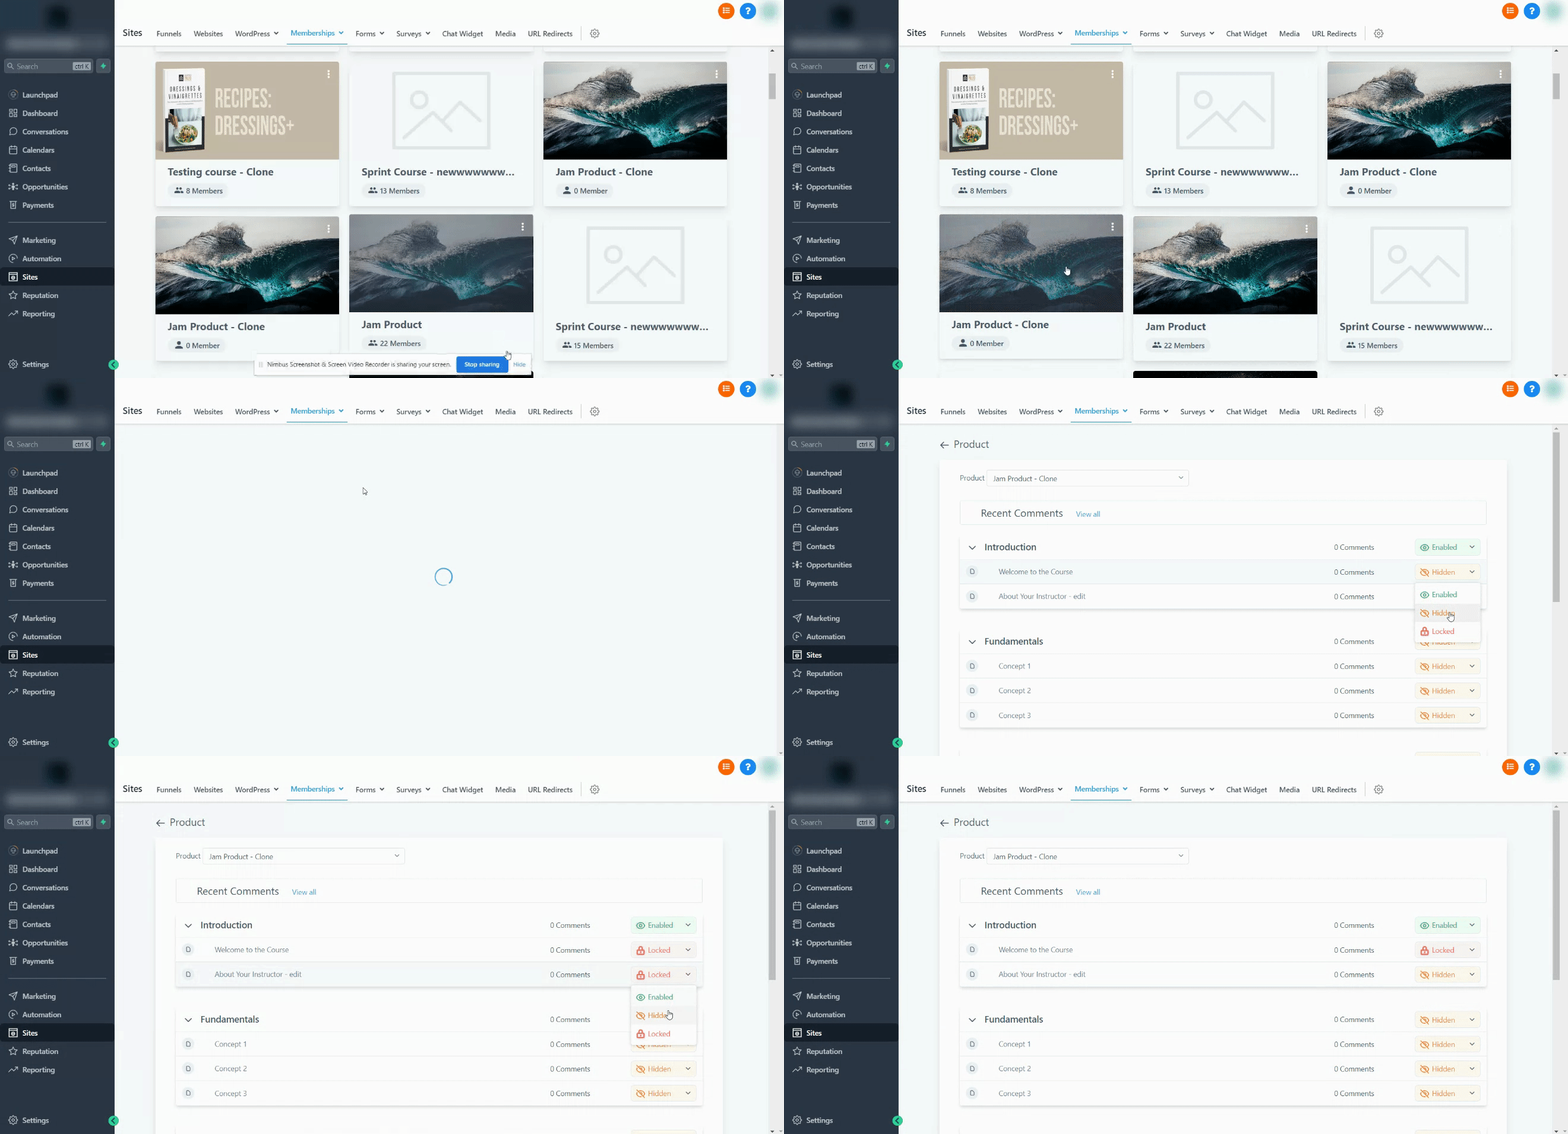
Enable comments for selected lessons within a category
- Open the Products tab.
- Pick an existing product or start a new product.
- Enter the comments section.
- Select individual lessons inside the chosen category and set each to Enabled.
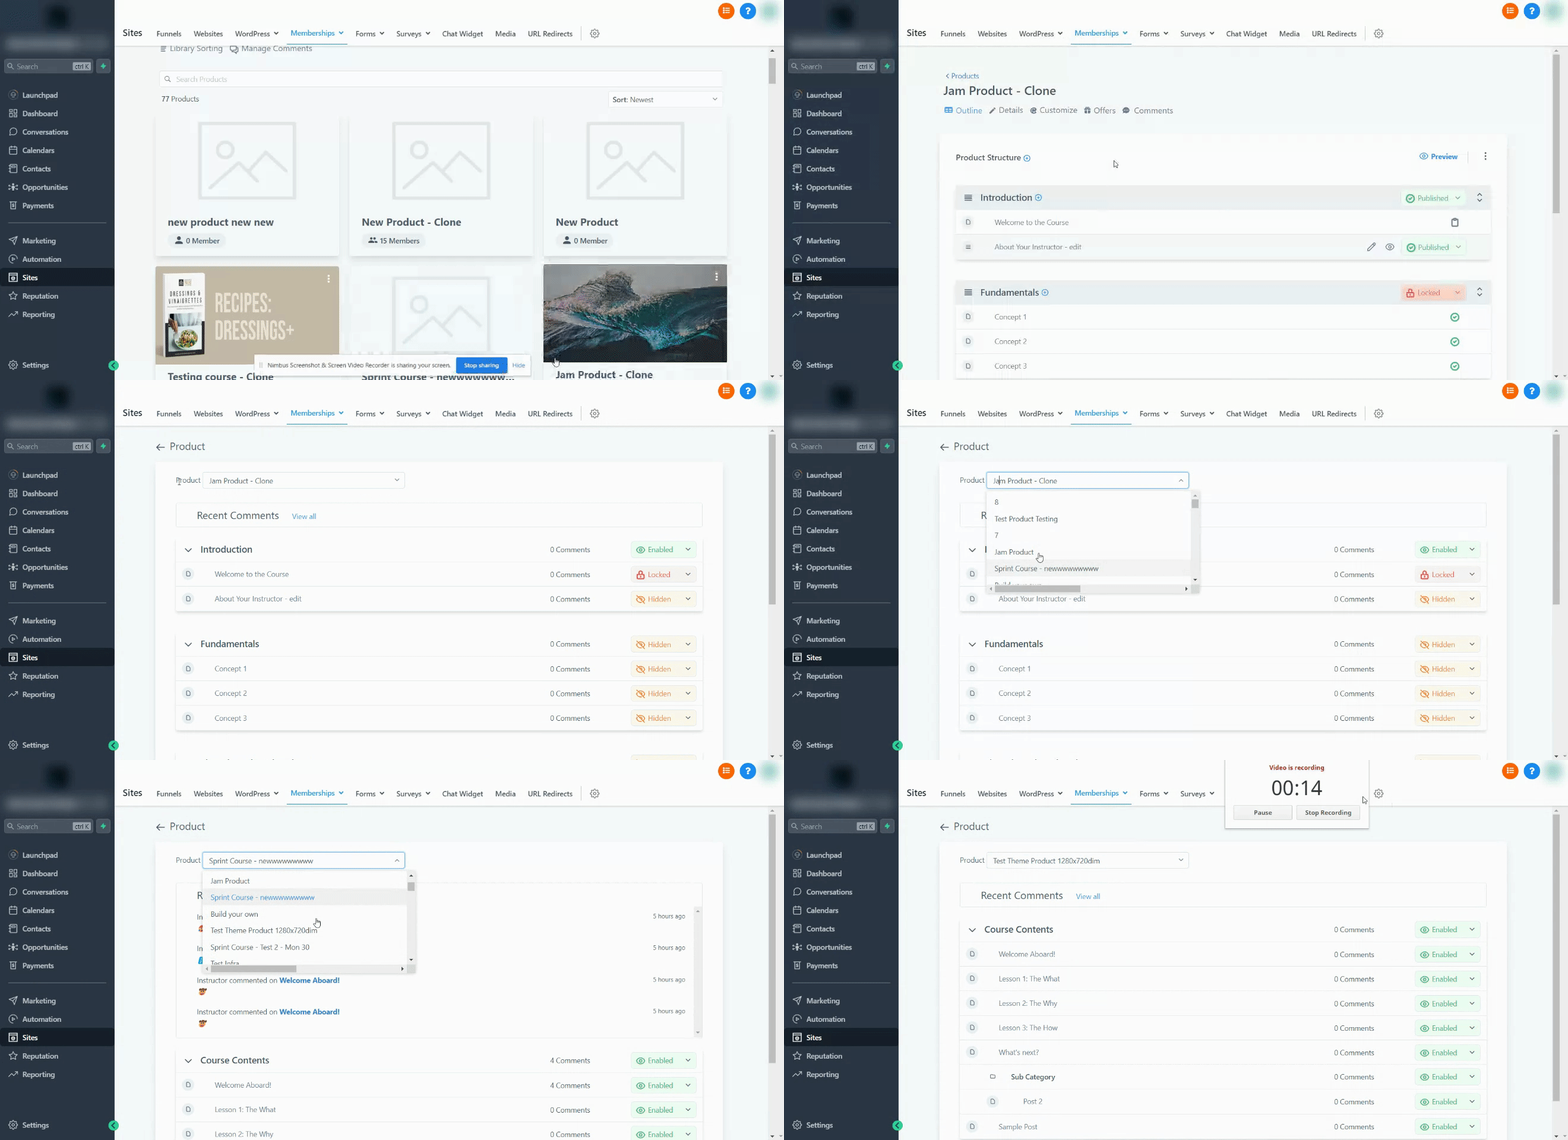
Manage comments for all products
- In the Products tab, access the comments manager for products.
- Click the Products link.
- Select the Manage Comments option.
Delete a comment
- Open the Products area.
- Choose Manage Comments.
- Locate and select the comment you want to delete.
- Click the Delete button.
Restore a deleted comment
- Go to the Products section.
- Open Manage Comments.
- Switch to the Deleted tab.
- Find and select the comment to restore.
- Click the Restore button.
05What it looks like in HighLevel

06Settings that matter
- Enabled. Shows the comment box, displays existing comments, and lets students add new comments.
- Hidden. Removes the comment box from the page and does not display any existing comments.
- Locked. Keeps existing comments visible but disables the ability for students to add new ones.
- User Only. Makes a comment visible only to the creator and the student who posted it.
- Public. Shows a comment to all students as well as the creator.
07Things to know before you rely on it
- The article does not specify any limits on the number of comments, categories, or lessons that can use these settings.
08How it connects to the rest of HighLevel
- Set up and launch courses in HighLevel Course builder
- Choose and customize membership themes Membership themes
- Review HighLevel pricing and plan options Pricing
Michael's take

Membership comments are useful but not essential for every creator.
Skip it if you don’t need a discussion thread on lesson pages.