
01Who this is for
- Schedulers need a single source to write appointments and avoid double bookings.
- Team members using Round Robin or Service calendars benefit from automatic contact creation from external events.
- Business owners who integrate multiple third party calendars require clear conflict checking to keep schedules accurate.
02Primary calendars, explained
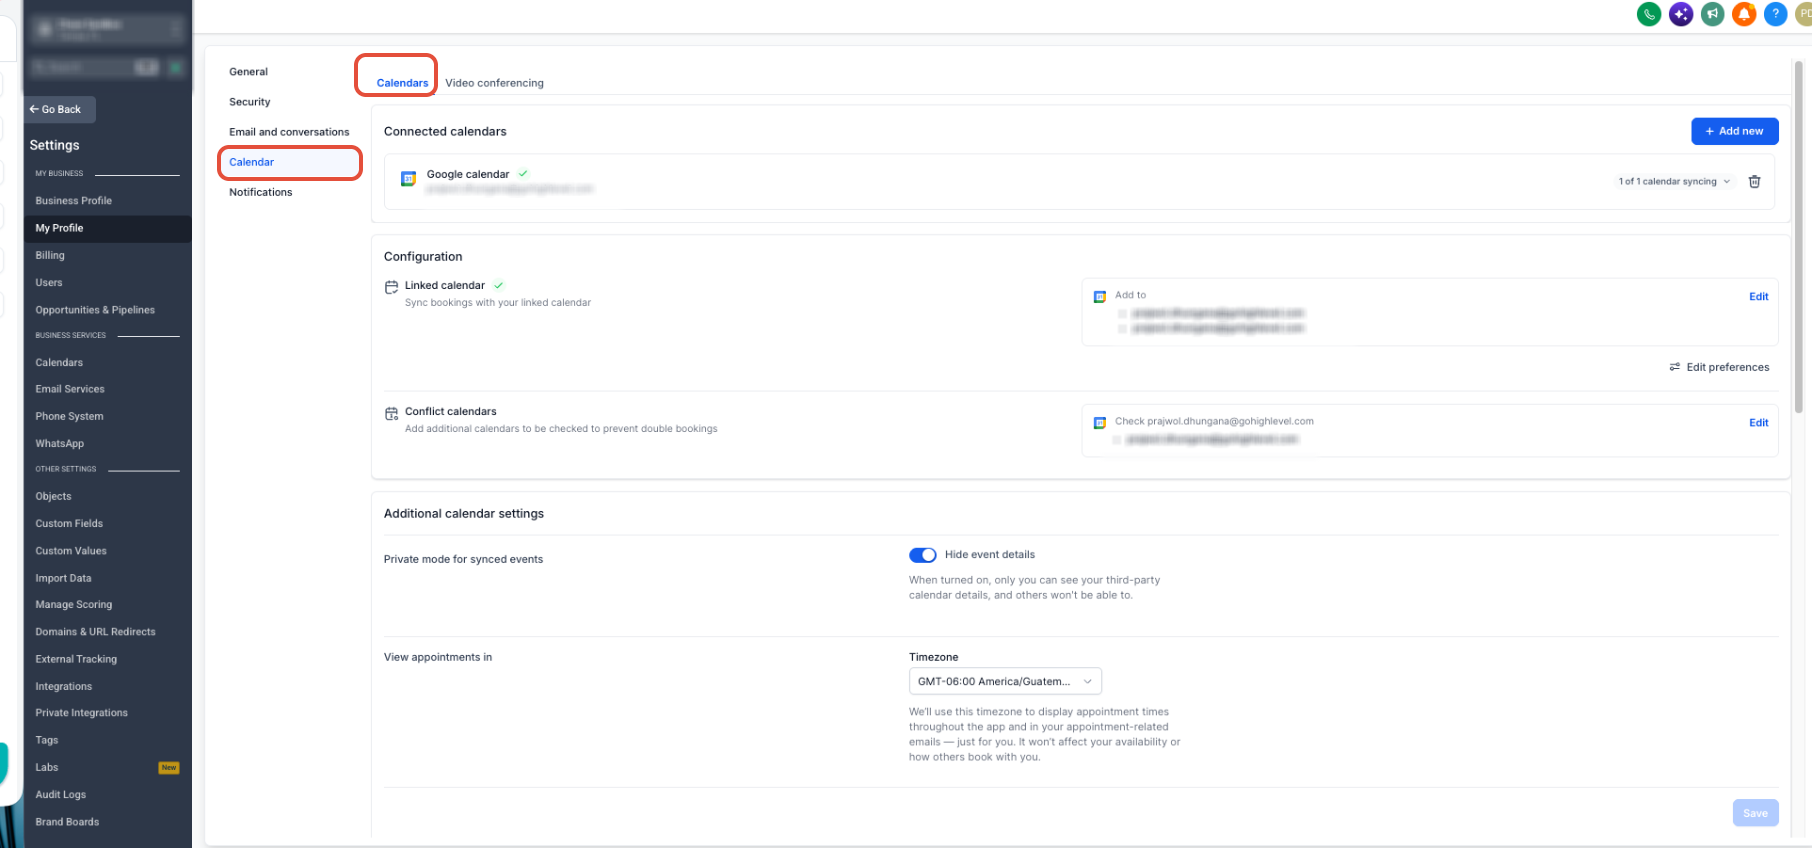
The Primary Calendar setting lives under Settings > My Profile > Calendar. It lists every third party calendar connected to the user’s profile and lets you pick which one will write supported appointments and read external events.
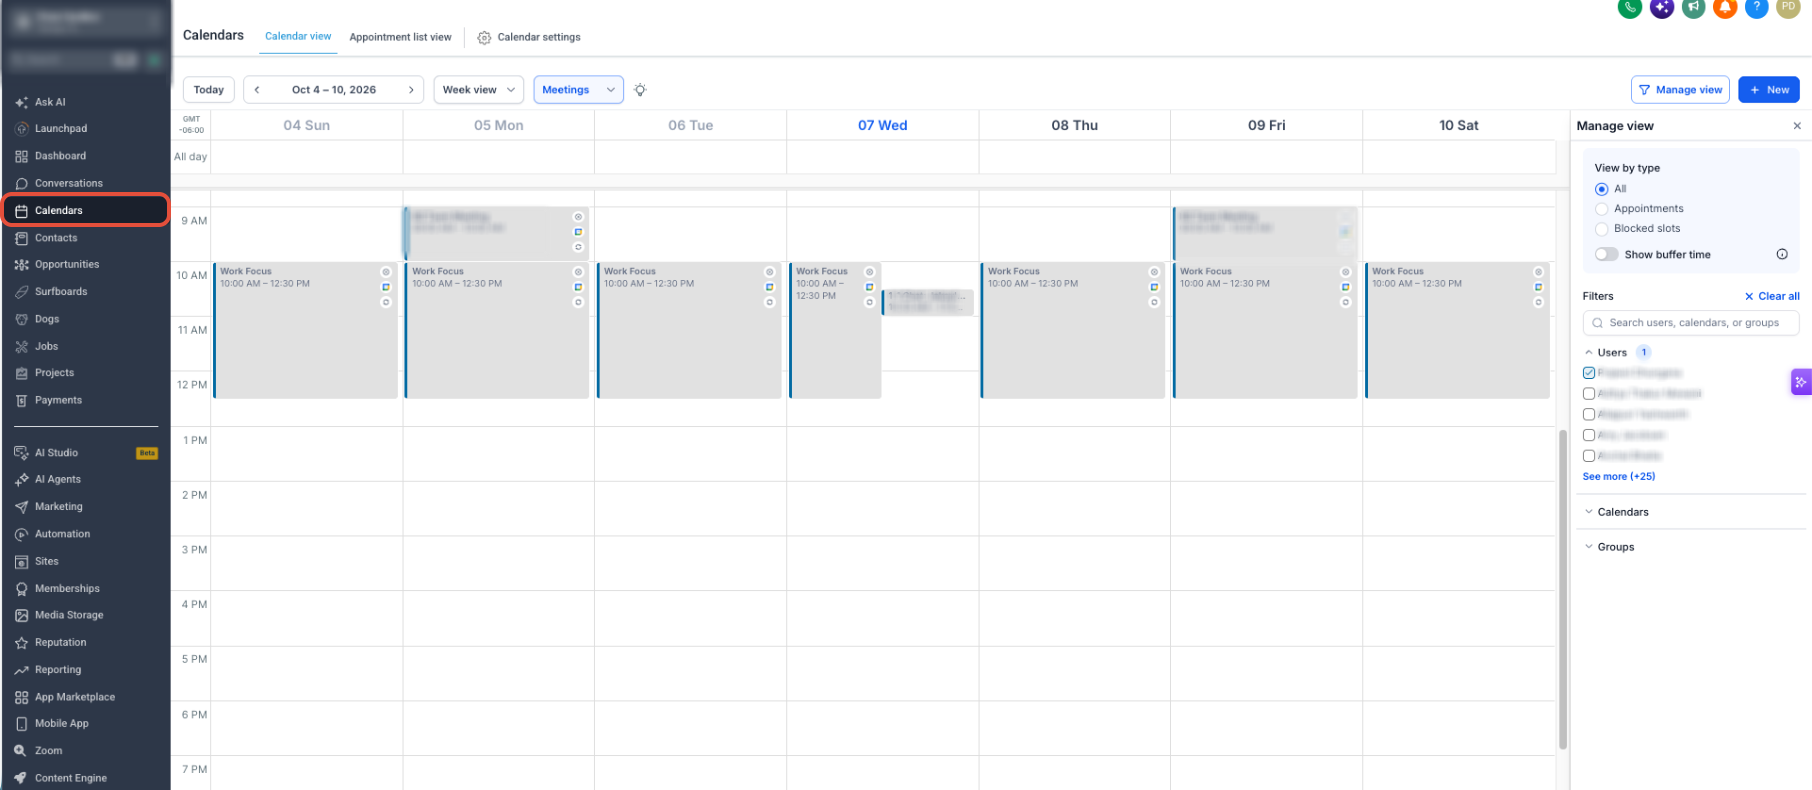
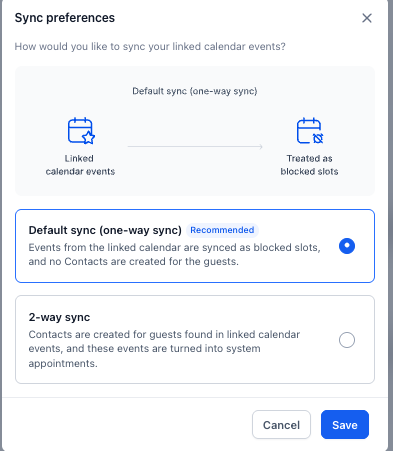
When Contact Creation is turned on, qualifying Google or Outlook events that list attendees become appointments and new contacts in HighLevel. Recurring events are ignored. If a calendar is chosen for conflict checking, it is read only for availability and cannot be used as the Primary Calendar.
Additional options appear once a calendar is selected: Allow Trigger decides if sync generated appointments fire any associated triggers, and Check for Conflicts lets you pick calendars that are read only to block overlapping bookings.
03How businesses use primary calendars
- Consulting firm. Select the firm’s main Outlook calendar as the Primary Calendar, enable Contact Creation so client meeting invites become appointments and contacts, and turn on Allow Trigger so follow up automations run automatically.
- Fitness studio. Assign a Google calendar tied to the studio’s class schedule as the Primary Calendar, leave Contact Creation at None to avoid creating contacts from class events, and use Check for Conflicts with a separate iCloud calendar to prevent double bookings.
- Real estate agency. Choose a shared iCloud calendar for agents as the Primary Calendar, enable Contact Creation so property showing invites generate contacts, and enable Allow Trigger so lead nurture sequences launch when those appointments sync.
04The numbers and rules that matter
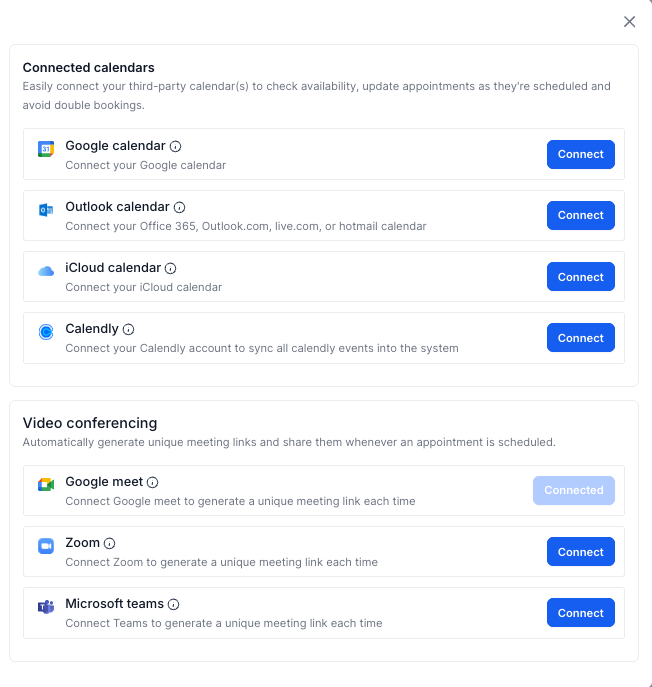
- Supported third party calendars: Google, Outlook, iCloud.
- Supported group calendars: Round Robin, Service, Class, Collective.
05Before you start
- A Subaccount must be selected to access Settings.
- At least one supported third party calendar (Google, Outlook, iCloud) must be connected to the user profile.
06How to set up and use primary calendars in HighLevel
Assign a Primary Calendar and configure related settings
- From the desired Subaccount, navigate to Settings > My Profile > Calendar.
- In My Profile, click Calendar on the left hand menu.
- In the Primary Calendar dropdown, pick the connected calendar you want to write appointments to; unavailable calendars are those set for conflict checking or lacking write access.
- If you want external events to become appointments and contacts, set Allow Contact Creation to the chosen calendar; leave it at None to ignore external events.
- When a calendar is selected for Contact Creation, the Allow Trigger option appears, enable it to let applicable triggers run on sync created appointments.
- Select any calendars for Check for Conflicts to have their events read only for blocking unavailable time slots.
07What it looks like in HighLevel

08Settings that matter
- Primary Calendar. Defines which connected third party calendar receives written appointments and from which calendar events are read.
- Allow Contact Creation. When enabled, qualifying external events are converted into HighLevel appointments and new contacts; set to None to disable this behavior.
- Allow Trigger. Controls whether automations fire for appointments created through external calendar synchronization.
- Check for Conflicts. Marks calendars that are read only to block times already occupied, preventing overlapping bookings.
09Things to know before you rely on it
- A calendar cannot be chosen as Primary if it is already used for conflict checking or lacks write permission.
- Recurring external events are excluded from Contact Creation.
- Allow Trigger appears only after a calendar is selected for Contact Creation.
10If something goes wrong
- A connected calendar does not appear in the Primary Calendar dropdown.. Verify the calendar is not set for conflict checking and that it has the required write access.
11How it connects to the rest of HighLevel
- Learn how to integrate Google Calendar with HighLevel. Google Calendar integration
- Set up Outlook calendar sync for HighLevel. Outlook sync guide
- Configure linked and conflict calendars for better scheduling. Linked & conflict calendars
Michael's take

In my experience, using a Primary Calendar can reduce the manual steps needed to keep bookings aligned across Google or Outlook calendars.
If your business rarely uses external calendar invites or you only need a simple booking page, the extra configuration may not add much value. In those cases you can stick with the default calendar and avoid the extra steps.