
01Who this is for
- Founders building AI driven support bots need a reliable default path to avoid dead ends in conversations.
- Customer experience managers using sequential routing for lead qualification rely on a fallback to guarantee every request reaches an agent.
- Product managers designing multi step AI workflows benefit from the automatic fallback that keeps the flow active without extra logic.
02Always Exit handles, explained
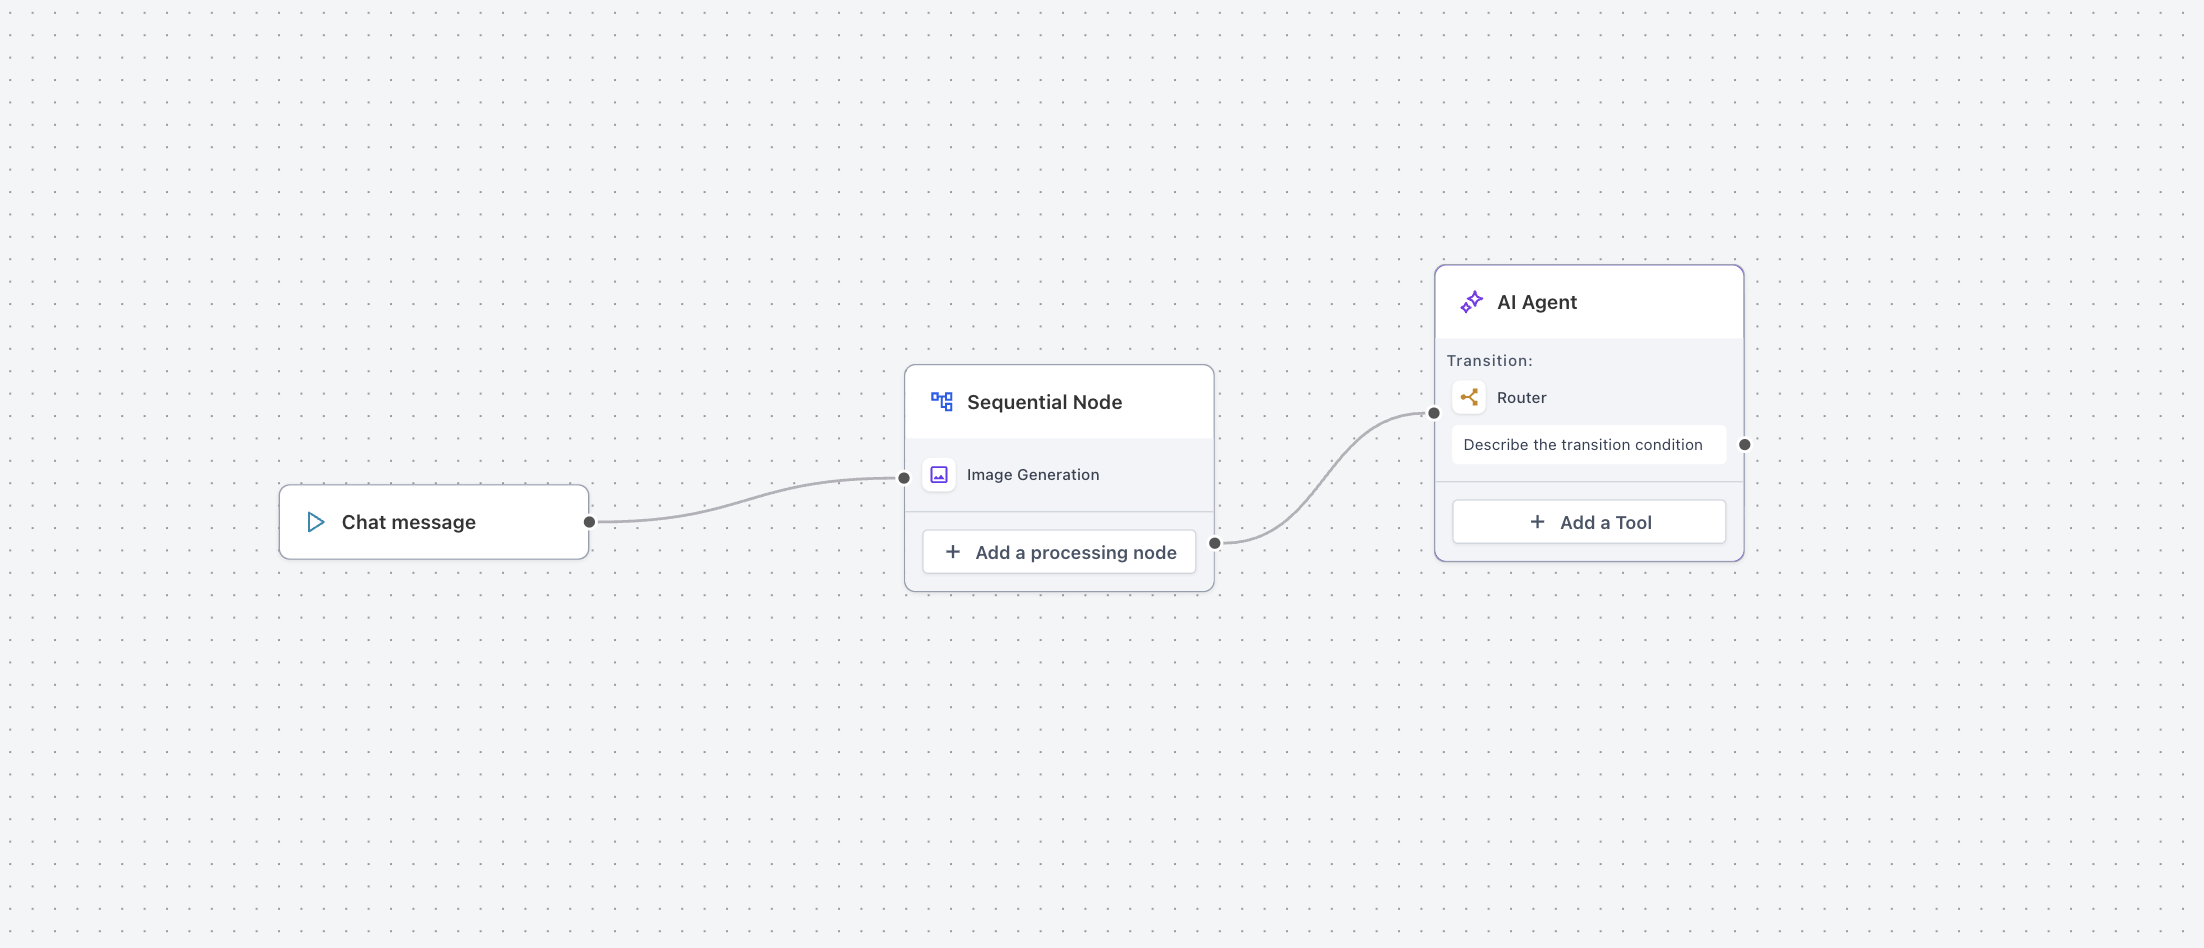
The Always Exit handle appears at the bottom right corner of each Sequential Node. When you connect it to another node, the platform treats the link as an always execute path, so the flow proceeds there if none of the node's conditional exits are satisfied.
This connection is system managed. Its label, description and condition are fixed and cannot be edited. Only a single outgoing link is allowed, and the handle exists on every Sequential Node by default, so existing flows keep working without any modifications.
You find the handle inside Agent Studio while editing a flow based AI agent. After dragging the handle to a fallback node, you test the flow using the built in testing interface to confirm that unmatched inputs follow the default route.
03How businesses use always exit handle
- Ecommerce store. Connect the Always Exit handle to a generic "Help Center" node. When a shopper's request does not match product or order intents, the flow automatically falls back to the Help Center, ensuring the conversation continues.
- Service desk. Link the Always Exit handle to a "Create Ticket" node. If none of the routing conditions for Sales or Technical Support apply, the agent creates a ticket by default, preventing the conversation from stalling.
- Real estate agency. Attach the Always Exit handle to a "Schedule Call" node. When a lead's intent is not recognized as buying or renting, the flow directs the lead to schedule a call, guaranteeing a follow up step.
04How to set up and use always exit handle in HighLevel
Connect the Always Exit handle
- Navigate to AI Agents > Agent Studio and open the flow based agent you want to edit.
- Select the Sequential Node that requires a fallback destination.
- Find the Always Exit handle at the bottom right of that node.
- Drag from the handle to the node you want to serve as the fallback destination.
- Use the Agent Studio testing tool to send an input that matches no condition and confirm it reaches the fallback node.
- Save and publish your changes using the flow deployment process.
05What it looks like in HighLevel
06Settings that matter
- Always Exit handle. Provides a default routing path for a Sequential Node when no conditional exit matches; the connection is always executed and cannot be altered.
07Things to know before you rely on it
- The handle supports only one outgoing connection.
- Connection labels, descriptions and conditions are system managed and cannot be edited.
- It is available on every Sequential Node.
- The handle automatically uses always execution behavior.
08How it connects to the rest of HighLevel
- Test and debug AI conversations in Agent Studio Test & Debug
- Managing existing flow agents in HighLevel Agent Studio Manage flow agents
- Set up custom values and variables in Agent Studio Custom values
Michael's take

The always exit handle is worth the effort for any small business that runs AI Agents, because it helps prevent a conversation from dead ending and you don’t have to waste time building a dummy true condition. It’s a quick way to make your agent flows more reliable.
Don’t forget to test a scenario that misses all conditions before you publish.