
01Who this is for
- Marketing teams can automatically advance leads once they click a campaign link, keeping outreach timely.
- Sales managers can end a nurture sequence when a prospect replies, preventing duplicate messages.
- Service providers can trigger follow up steps after an appointment is confirmed, ensuring smooth client onboarding.
02Goal events, explained
Goal Event is a workflow action that watches for specific contact activities, email opens, form submissions, payments, tag changes, appointment updates, and more. When the defined activity occurs, the contact jumps to the goal step, regardless of where they are in the workflow.
The action is created inside the Workflow Builder. After selecting the goal type and criteria, you decide whether the workflow ends, continues, or waits if the contact reaches the goal without meeting the exact conditions. Once published, HighLevel continuously monitors contacts for the chosen event.
03How businesses use goal events
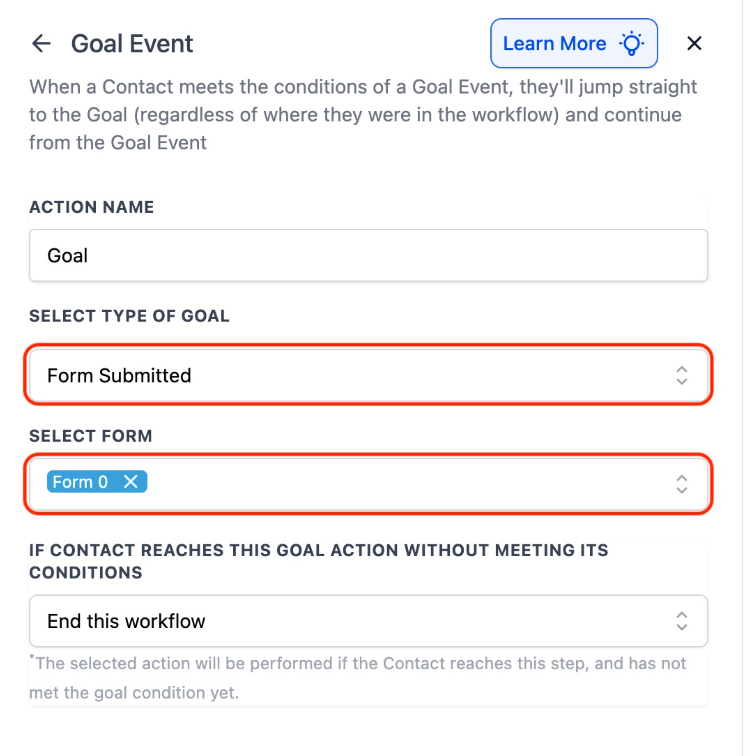
- Digital marketing agency. The agency adds a Goal Event for "Form Submitted" across all lead capture forms. When a prospect submits any form, the workflow immediately moves them to a qualification step, eliminating the need for separate triggers for each form.
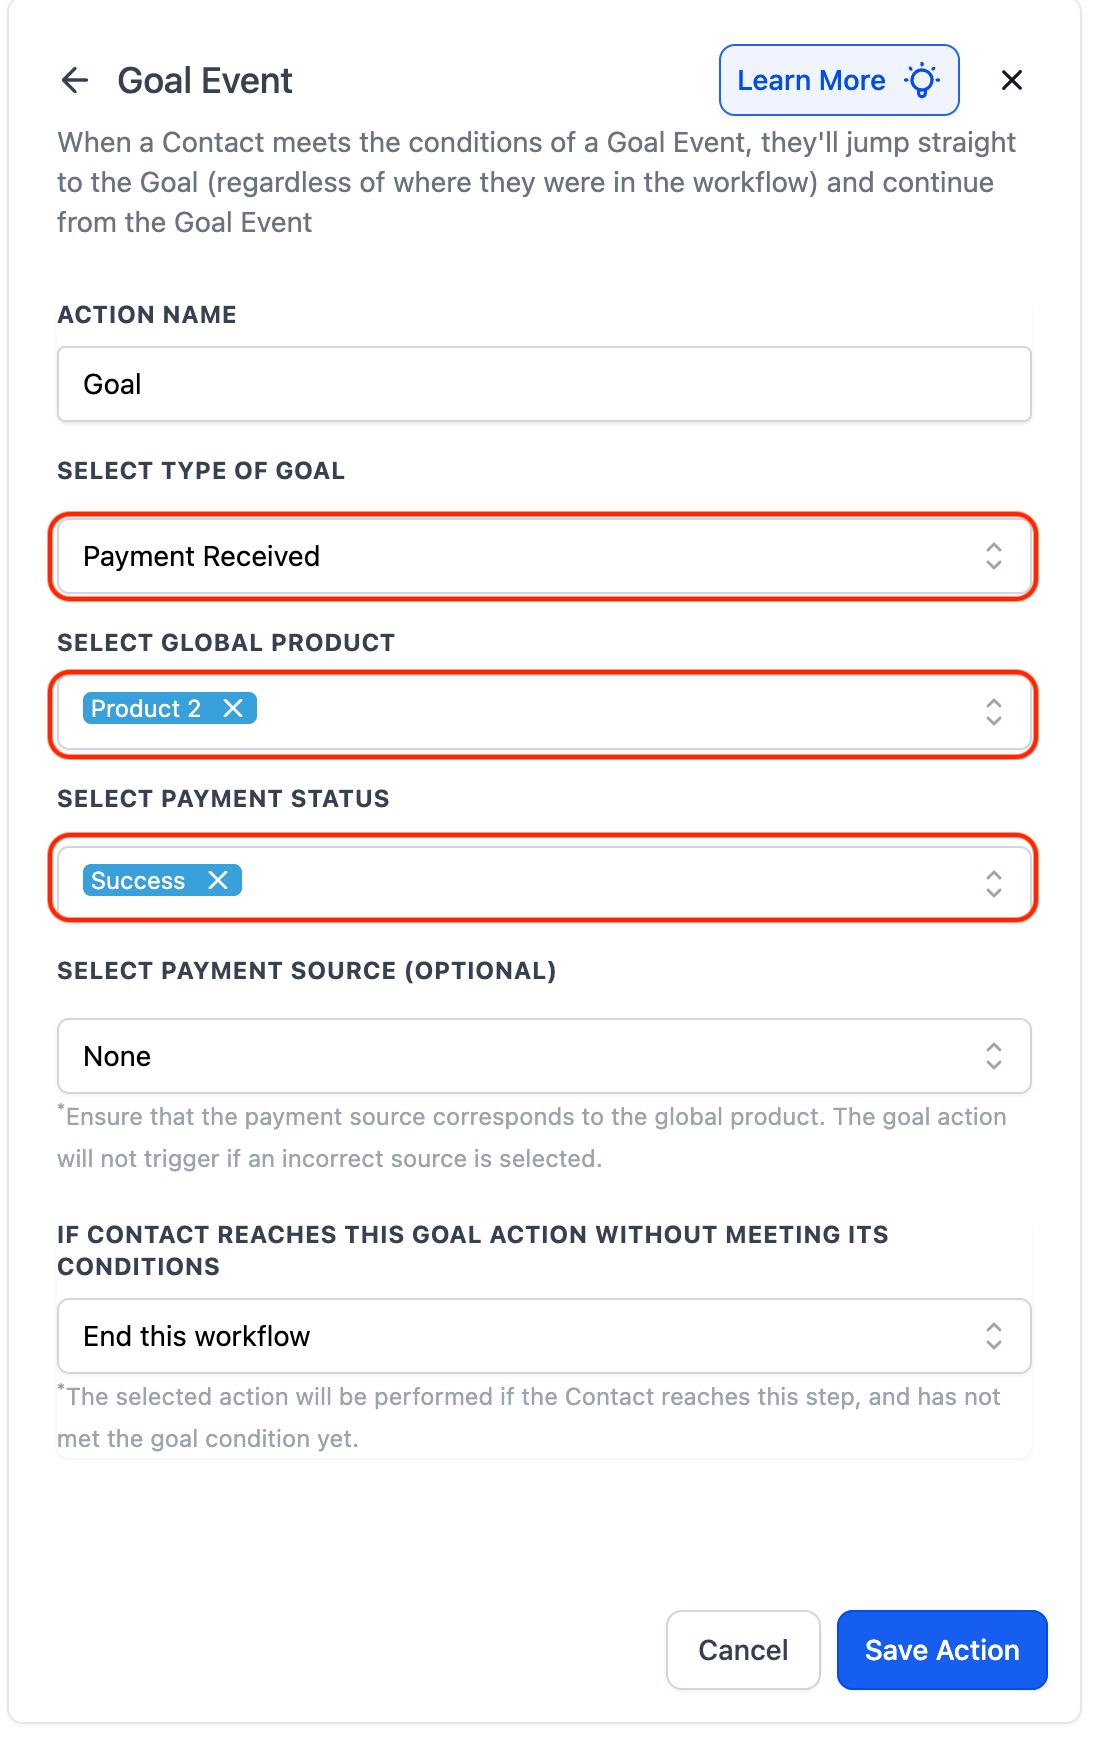
- Online course provider. A provider sets a Goal Event for "Payment Received" filtered to successful transactions. After the first payment, the workflow skips enrollment emails and jumps straight to the course access step.
- Healthcare clinic. The clinic uses a Goal Event for "Appointment Confirmed". Once a patient confirms their appointment, the workflow advances to send pre visit instructions, removing any waiting period.
04The numbers and rules that matter
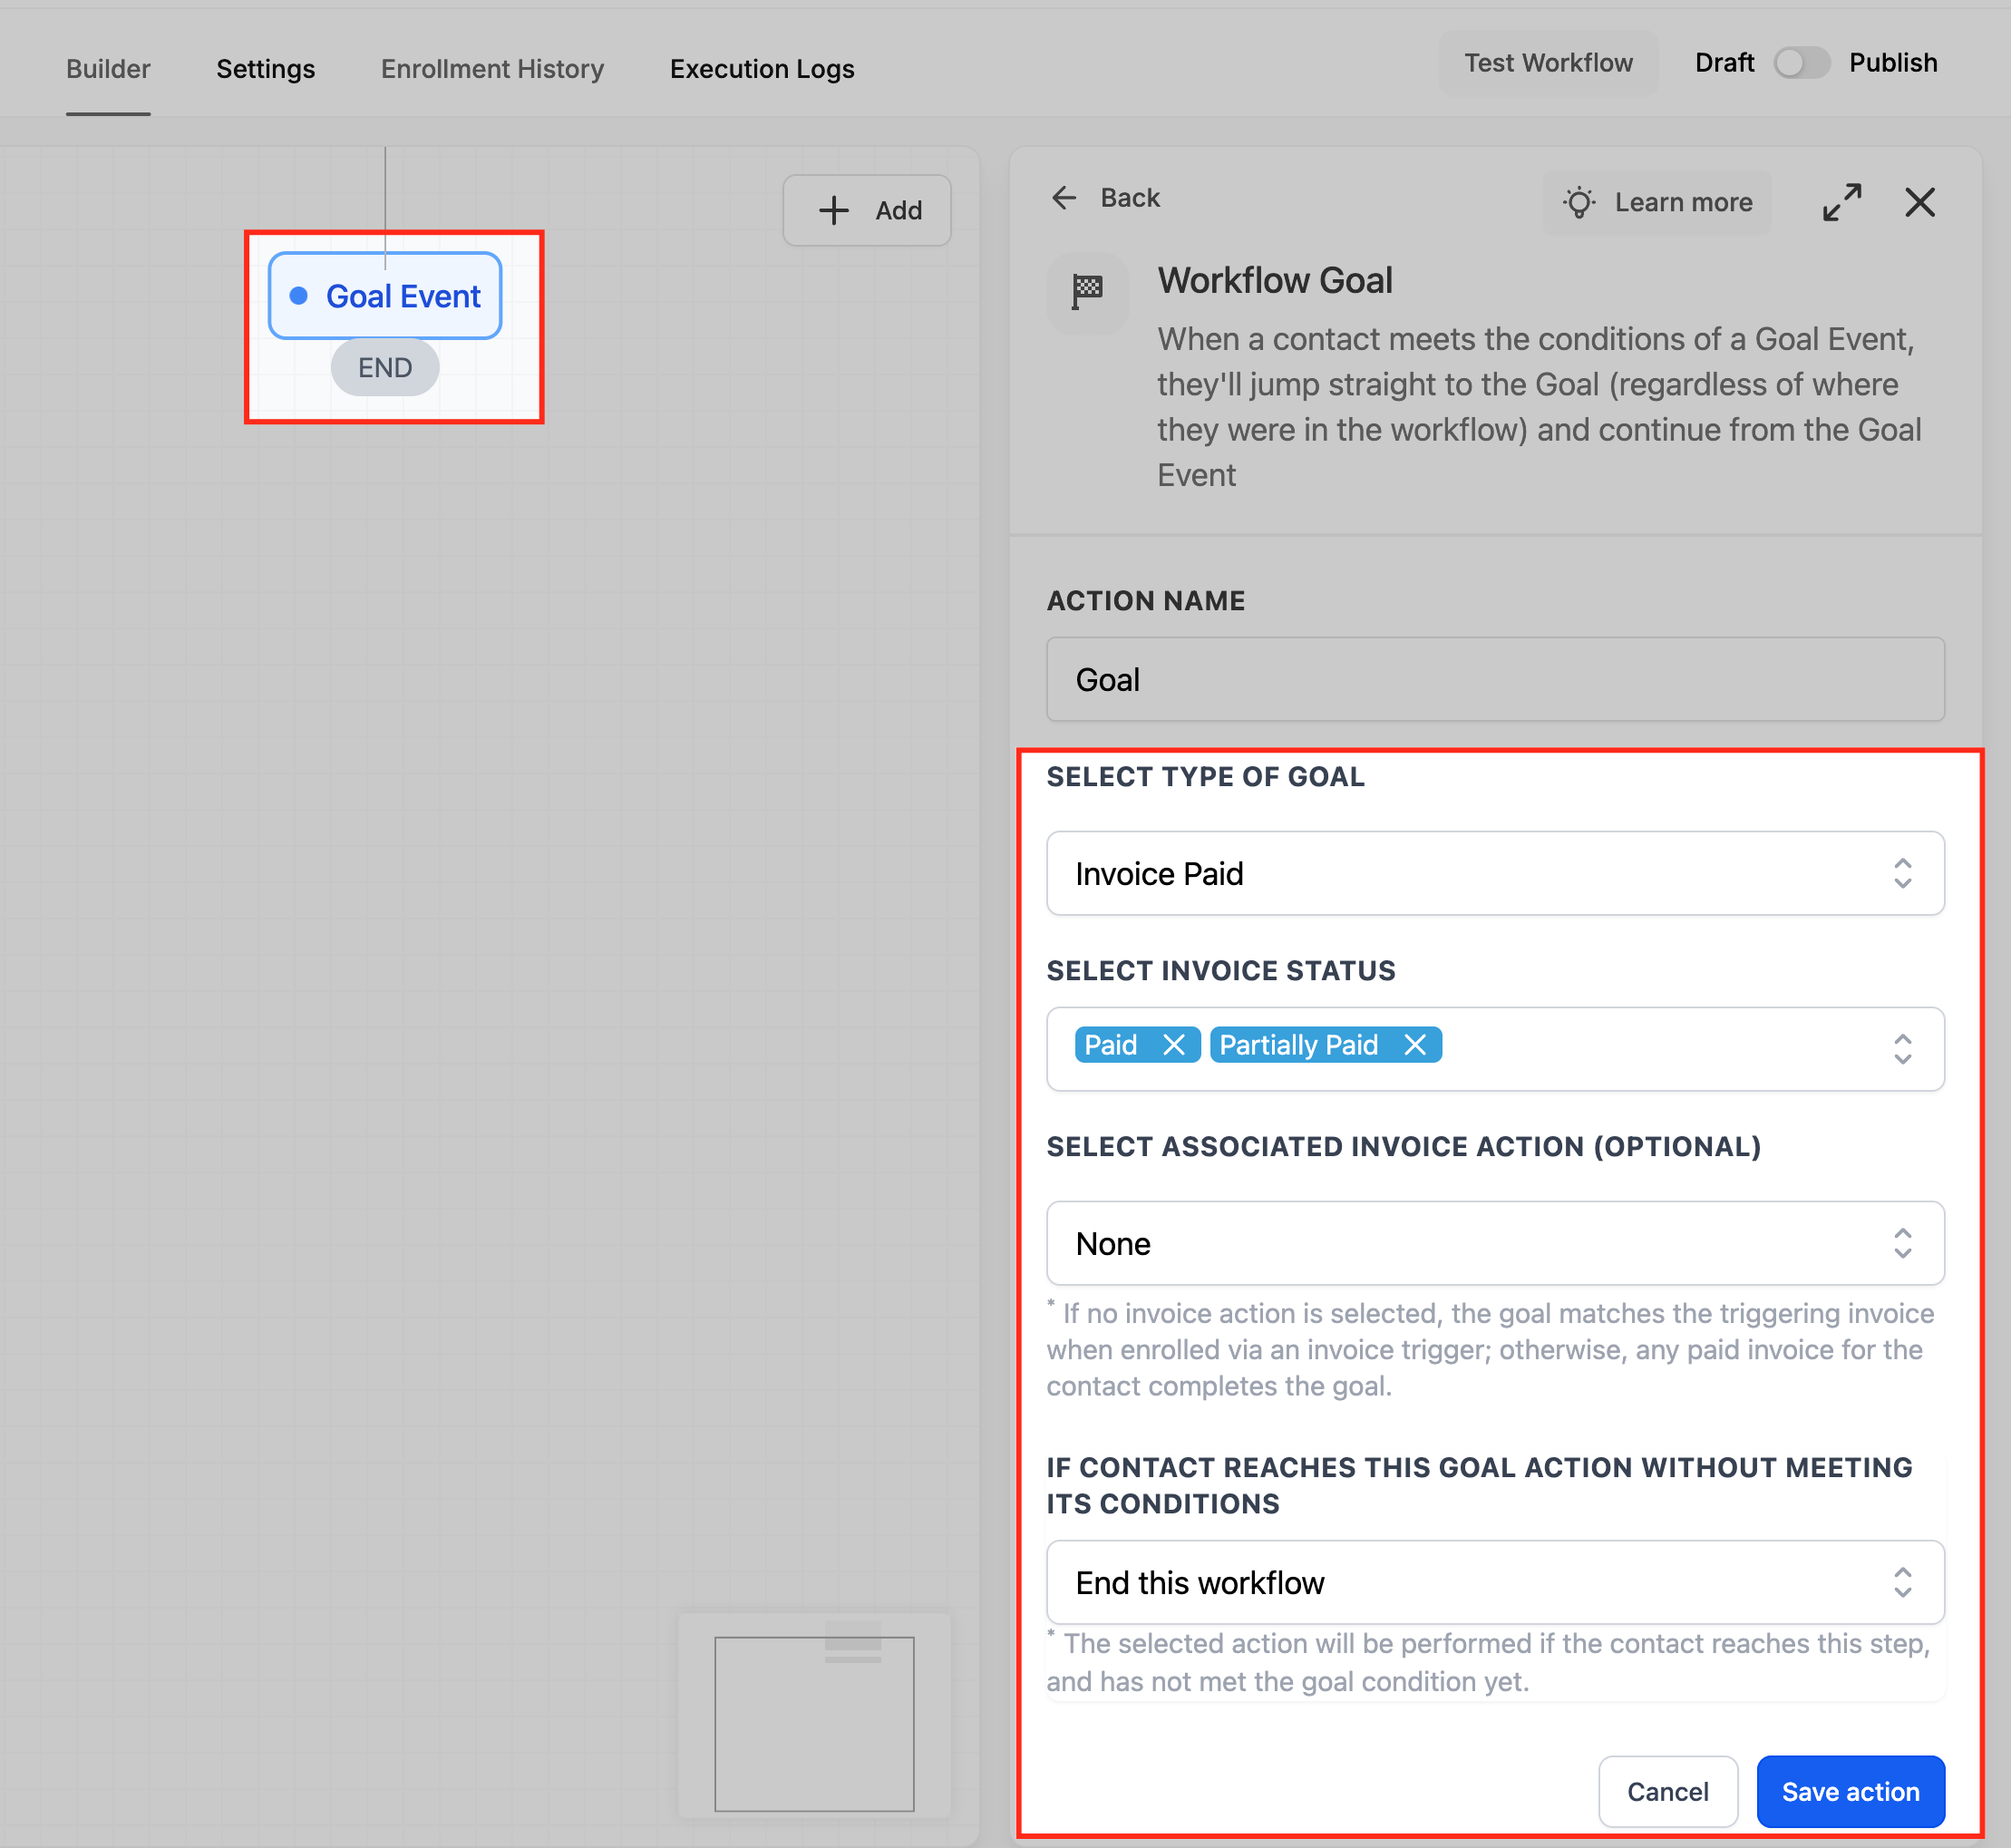
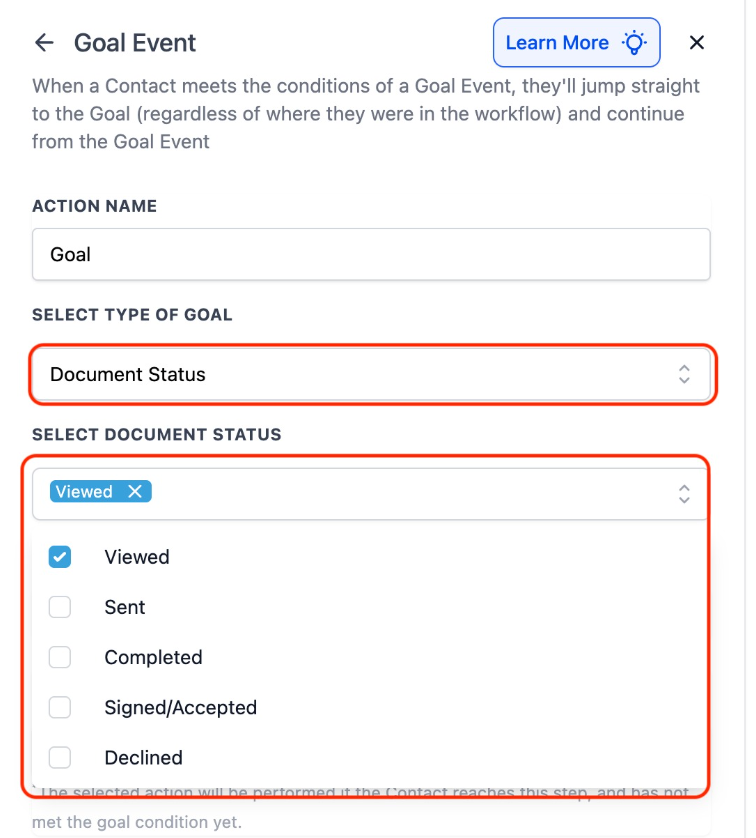
- Supported goal event types: Form Submitted, Payment Received, Invoice Paid, Document Status, Email Events, Clicked a Trigger Link, Review Request Clicked, Contact Tag Added or Removed, Appointment Status, User Replied.
- Only one Goal Event action can be added per workflow.
05How to set up and use goal events in HighLevel
Set up a Goal Event action
- Open the workflow builder by selecting Automation > Workflows and creating a new workflow or opening an existing one.
- Click the + button to add a new action.
- Choose Goal Event from the Internal category.
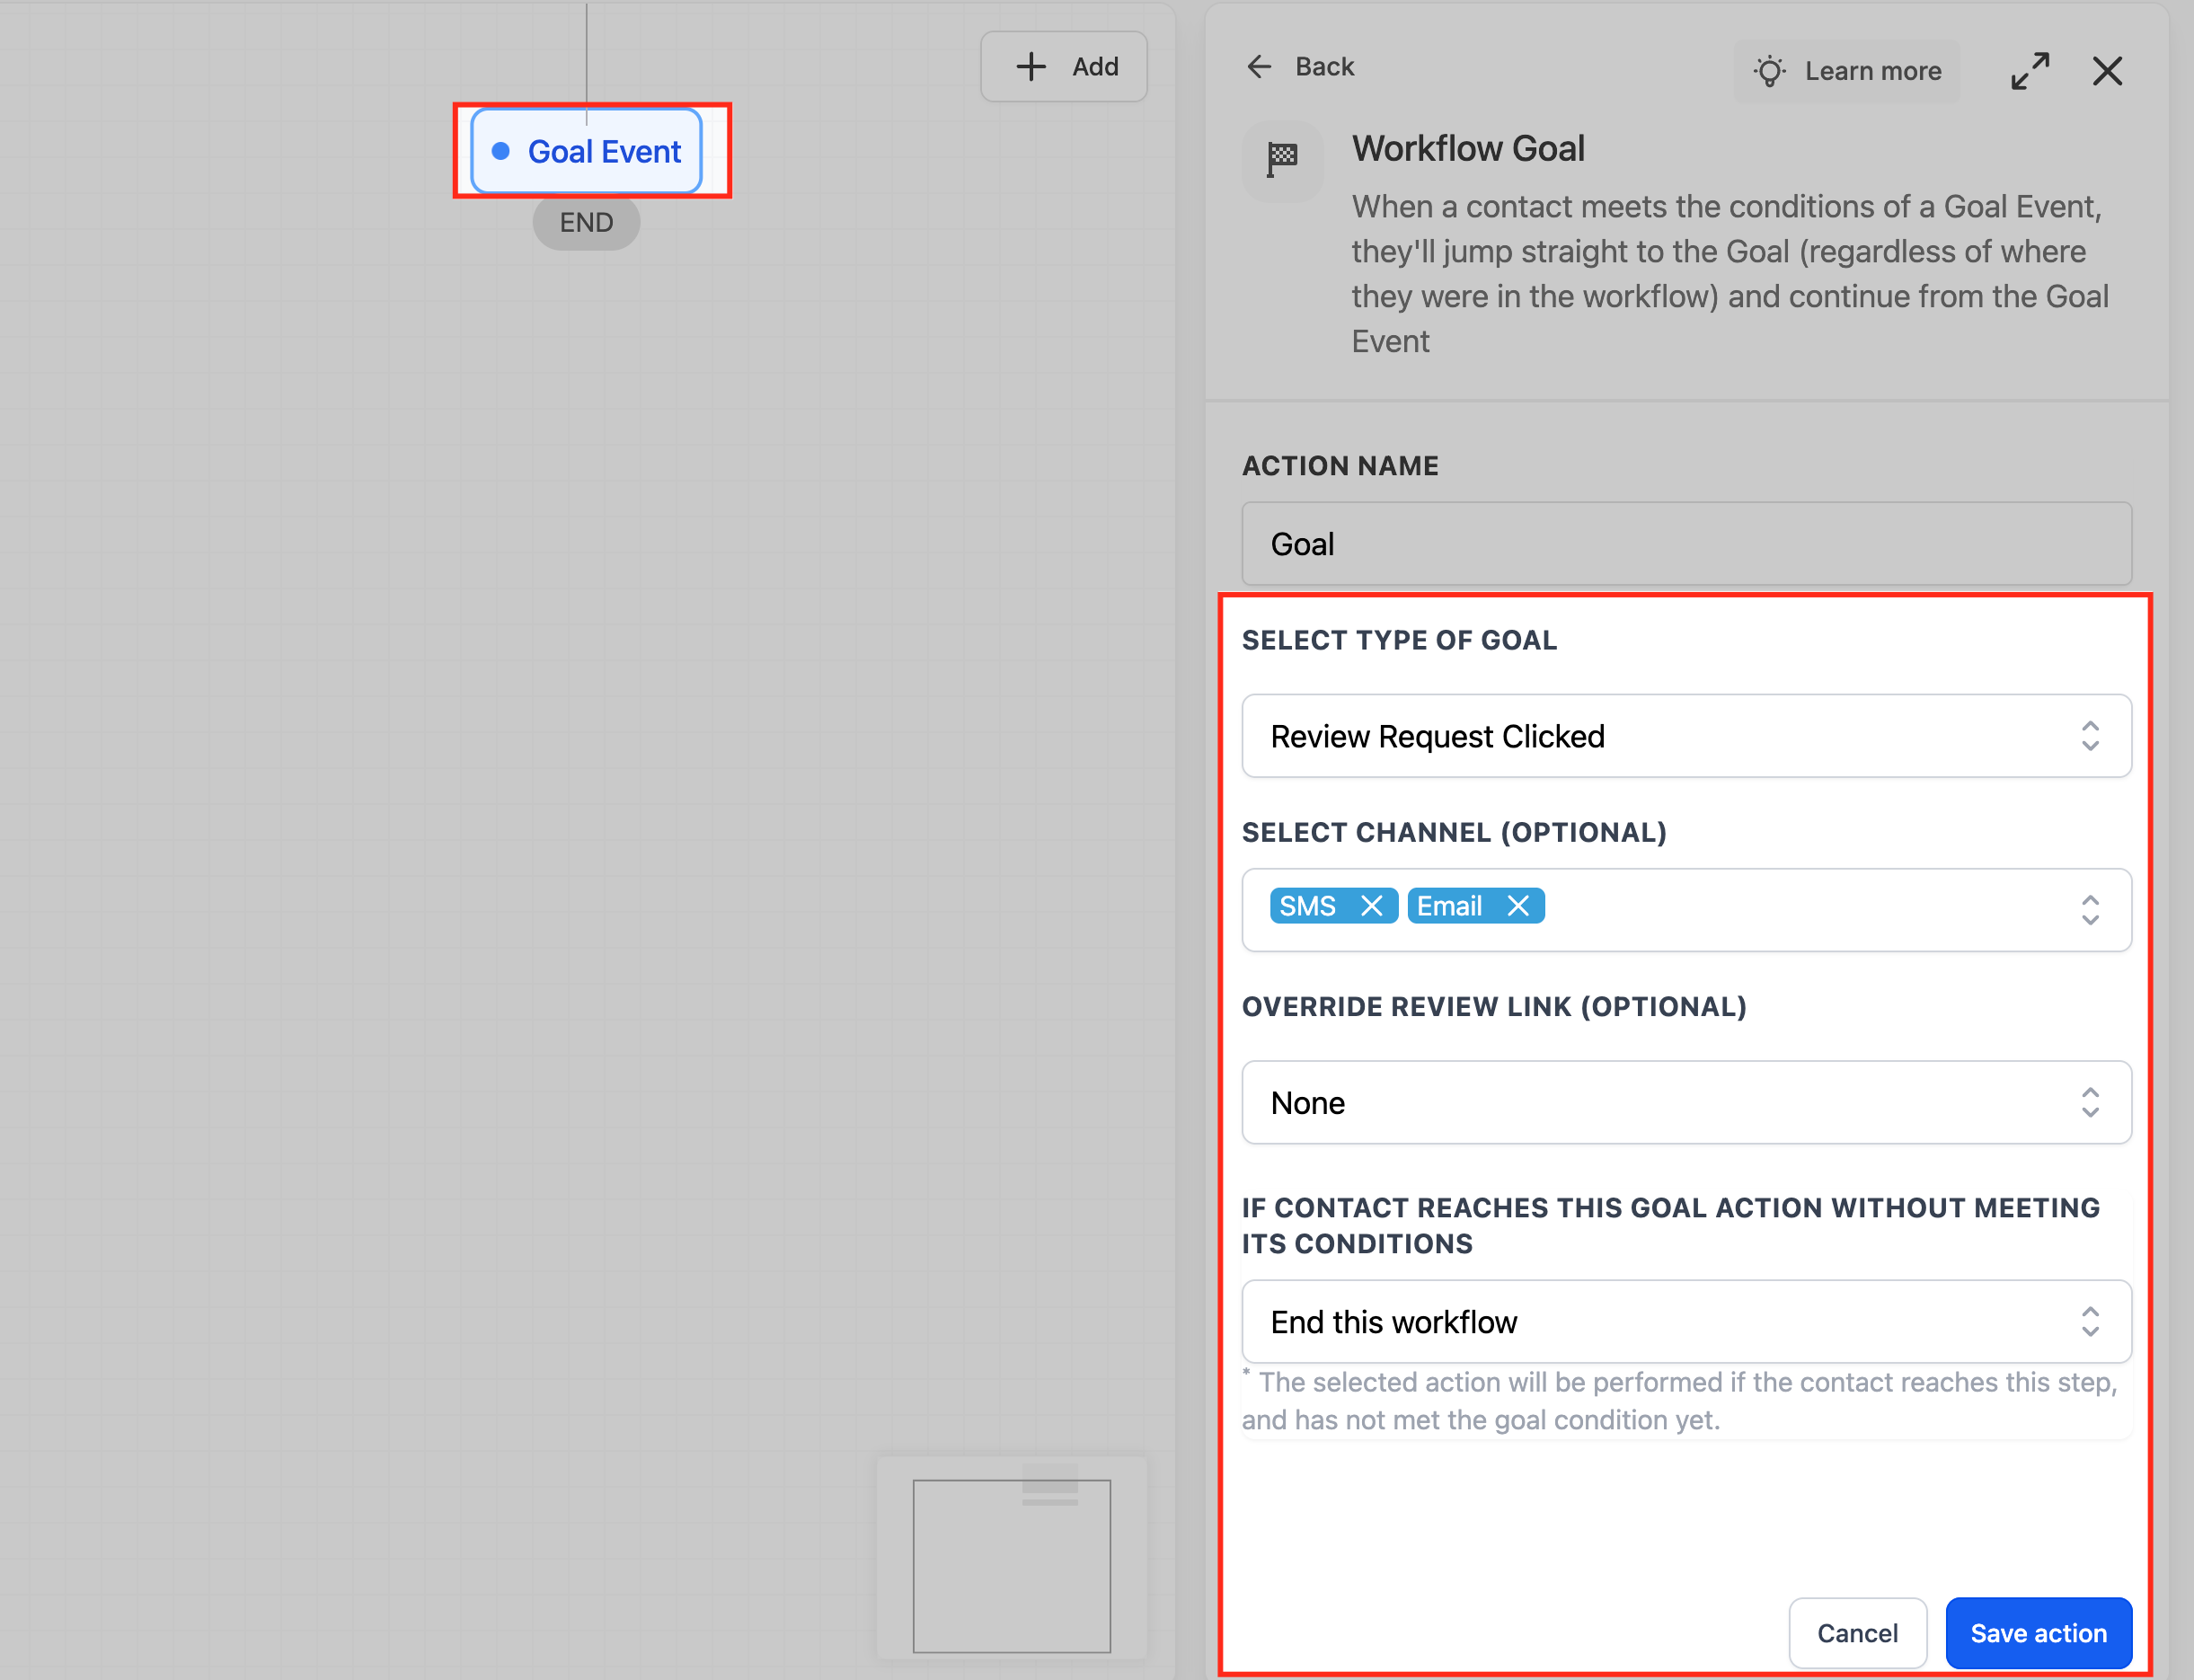
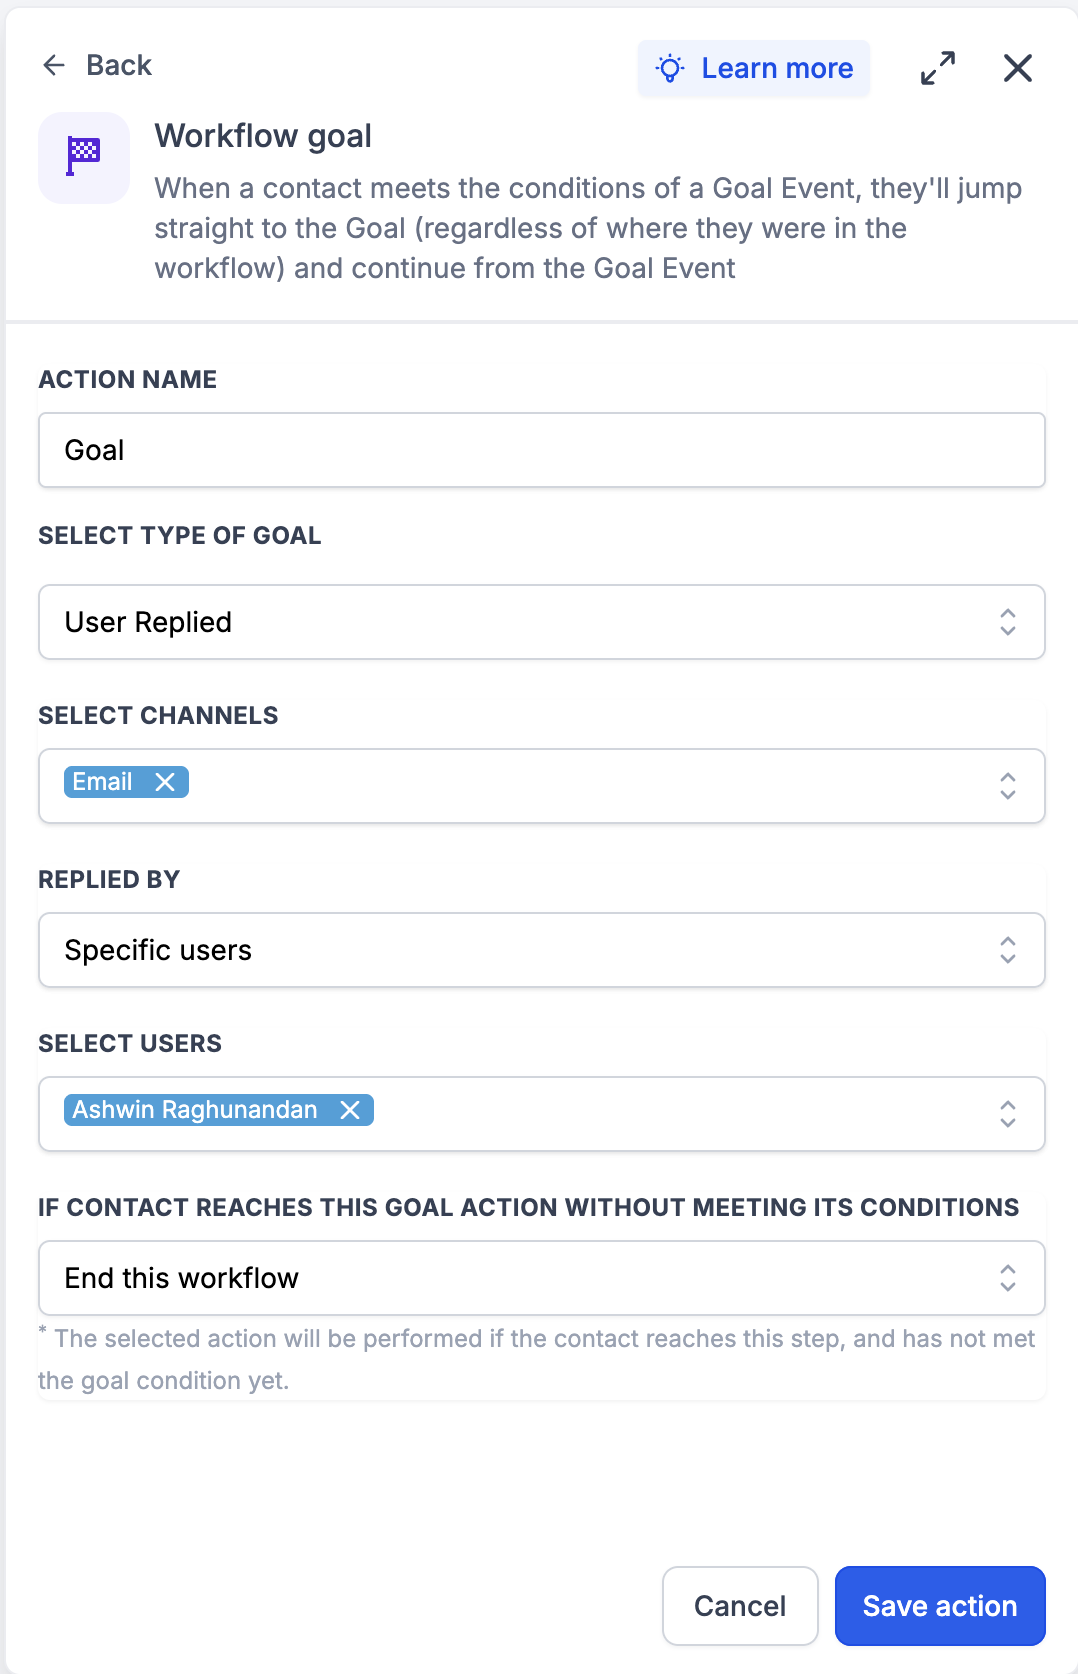
- Enter an action name, pick a goal type, and define the event criteria.
- Select the workflow behavior for contacts that reach the goal without meeting conditions.
- Save the configured Goal Event action.
- Publish the workflow using the Publish button in the upper right corner.
- HighLevel will now monitor contacts and move them to the goal step when the criteria are met.
06What it looks like in HighLevel
07Settings that matter
- Action Name. Provides a readable label for the Goal Event within the workflow.
- Select Type of Goal. Determines which contact behavior (e.g., Email Event, Form Submitted, Payment Received) the workflow will watch for.
- If Contact Reaches This Goal Without Meeting Conditions. Controls whether the workflow ends, continues, or waits when a contact arrives at the goal step without satisfying the defined criteria.
08Things to know before you rely on it
- Only one Goal Event action can be added to a single workflow.
- A contact can satisfy a specific Goal Event only once within that workflow.
- Multiple criteria can be selected inside one Goal Event, but they are evaluated with OR logic.
09How it connects to the rest of HighLevel
- HighLevel workflow automation: basics and set up guide Workflow basics
- HighLevel workflow creation: triggers, filters, actions Workflow creation
- All Workflows features overview All workflow features
Michael's take

Michael ReimerFounder of CRM Pros, HighLevel Commander and Certified Admin
Goal events give a small business a direct way to act the moment a prospect does something valuable, keeping communications relevant.
Get More InformationOpens on HighLevelPublished November 2, 2026 · Updated November 16, 2026