
01Who this is for
- Founders who manage a sales team and need an automated way to balance new lead distribution.
- Support managers who want to ensure tickets are routed only to unassigned agents.
- Marketing directors looking to segment contact handling by seniority or capacity.
02Assign to user workflow actions, explained
The Assign To User action lives inside the workflow builder. When a trigger fires, the action chooses one or more users and attaches the contact to the selected user based on the configured rules. You can assign a single user, rotate through multiple users in a round robin fashion, or define custom traffic ratios for uneven distribution.
The action includes several controls: a name field for easy identification, a user selector that can operate in Standard (dropdown) or Dynamic (manual ID) mode, a split traffic option to choose equal or uneven allocation, a toggle to apply only to contacts that have no current owner, and the ability to input user IDs directly or via merge tags. All settings are adjusted inside the action’s configuration panel.
03How businesses use assign to user workflow action
- Real estate brokerage. The broker creates a workflow that assigns incoming buyer leads to agents. Using the equal split option, each new lead is rotated among the agents so the workload stays balanced. The broker can enable the unassigned only toggle to avoid reassigning leads that are already being handled.
- Digital marketing agency. The agency sets up an inbound webhook that sends a user_id based on external criteria. Inside the workflow, the Assign To User action is switched to Dynamic mode and the user_id merge tag is mapped, allowing the external system to dictate which account manager receives the lead.
- IT help desk. The help desk configures the action with an uneven split ratio, giving senior technicians a higher share of tickets while junior staff receive fewer. The workflow runs only when a contact has no current assignee, ensuring tickets are not overwritten.
04Before you start
- Create at least one user in the subaccount via Settings > My Staff.
- Open the workflow builder and have a trigger ready for the new action.
05How to set up and use assign to user workflow action in HighLevel
Add Assign To User action to a workflow
- Open the workflow builder.
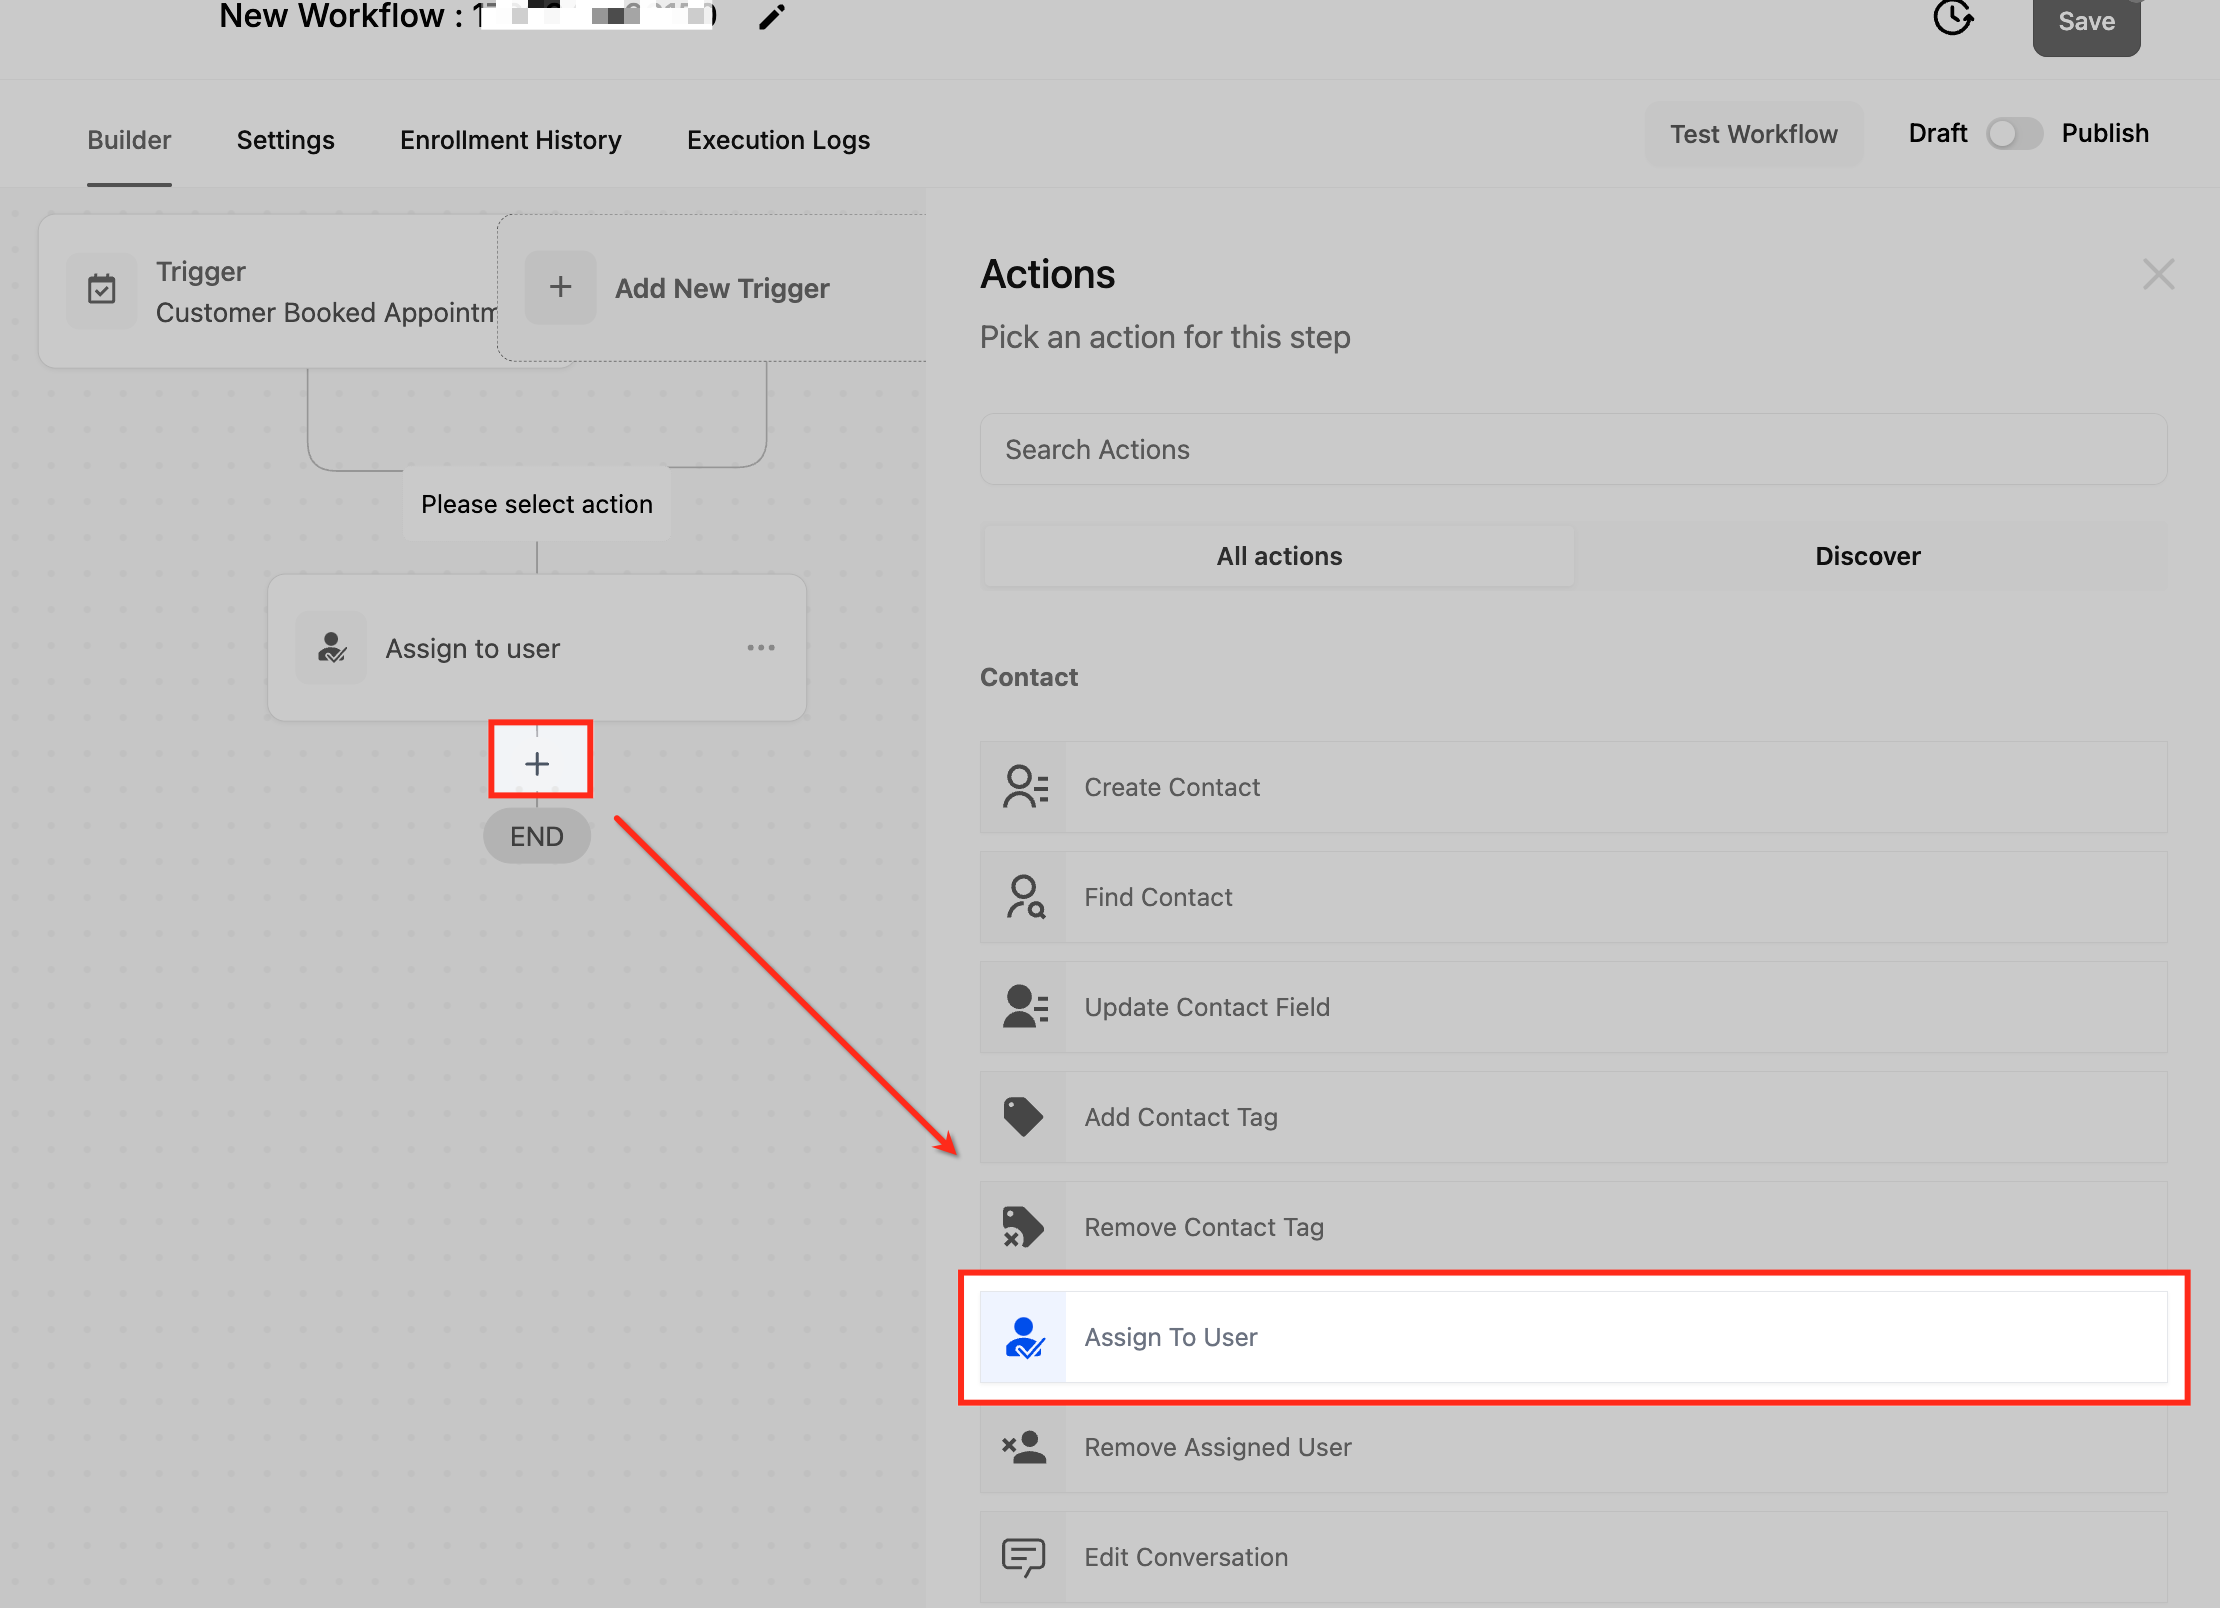
- Click the plus icon to add a new action.
- Select Assign To User from the action list.
Configure the Assign To User action
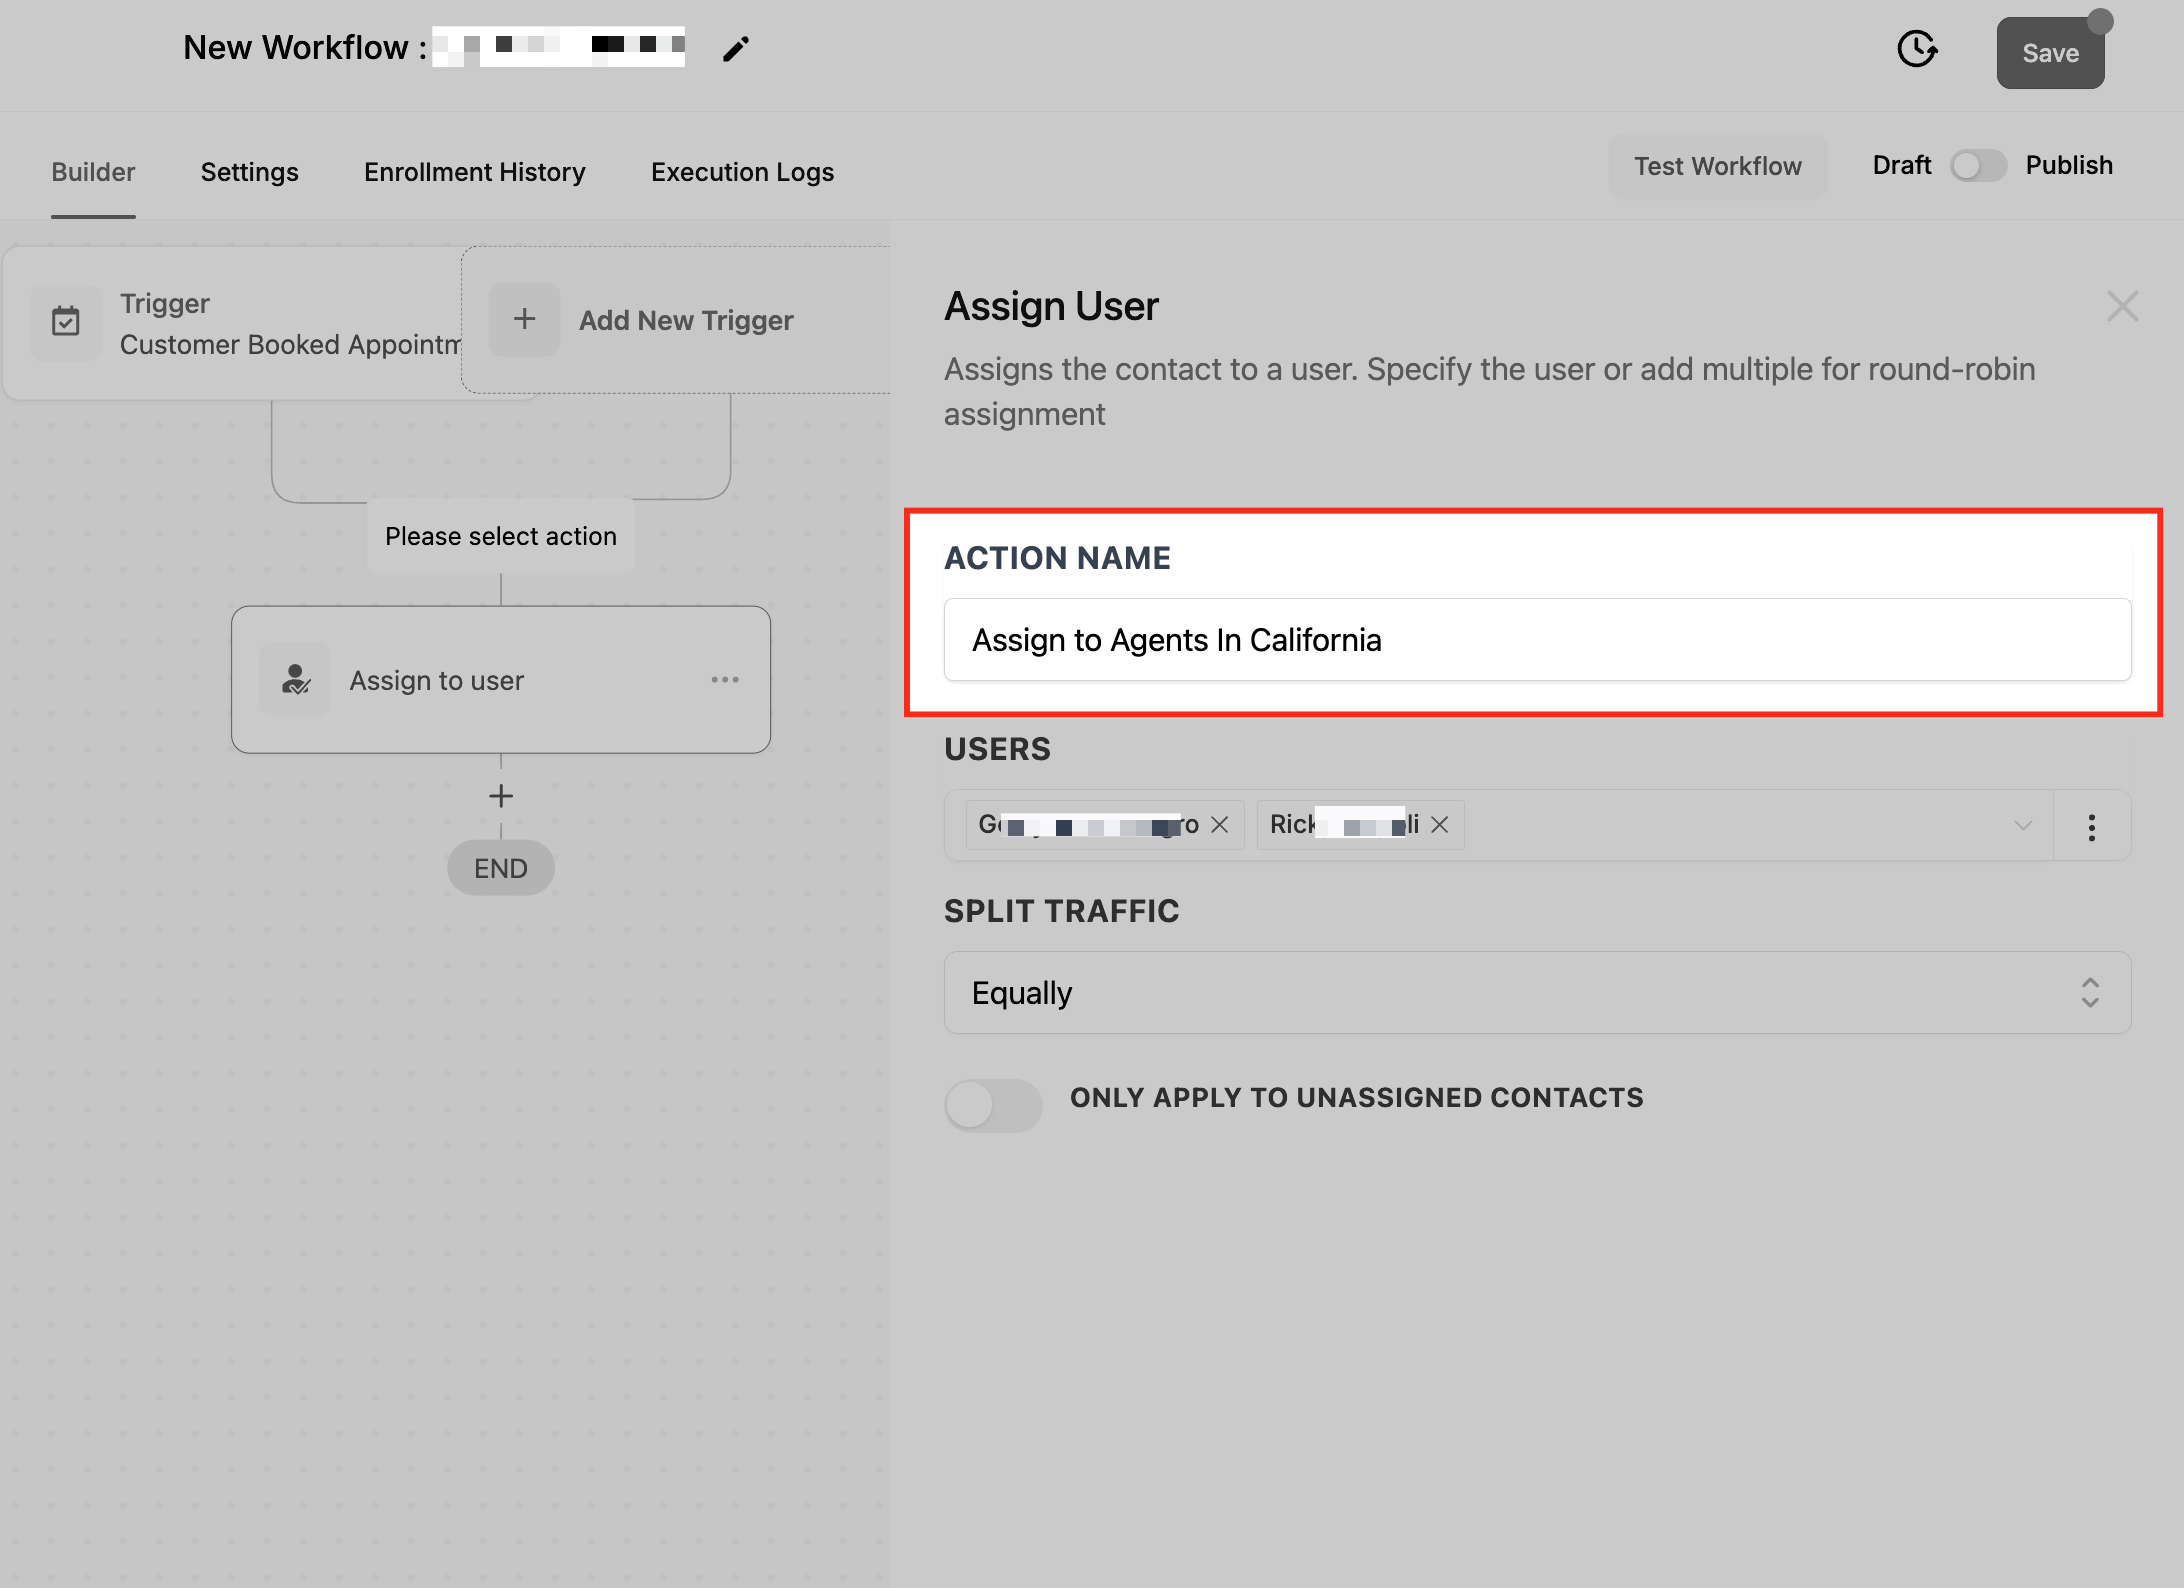
- Enter a descriptive name for the action.
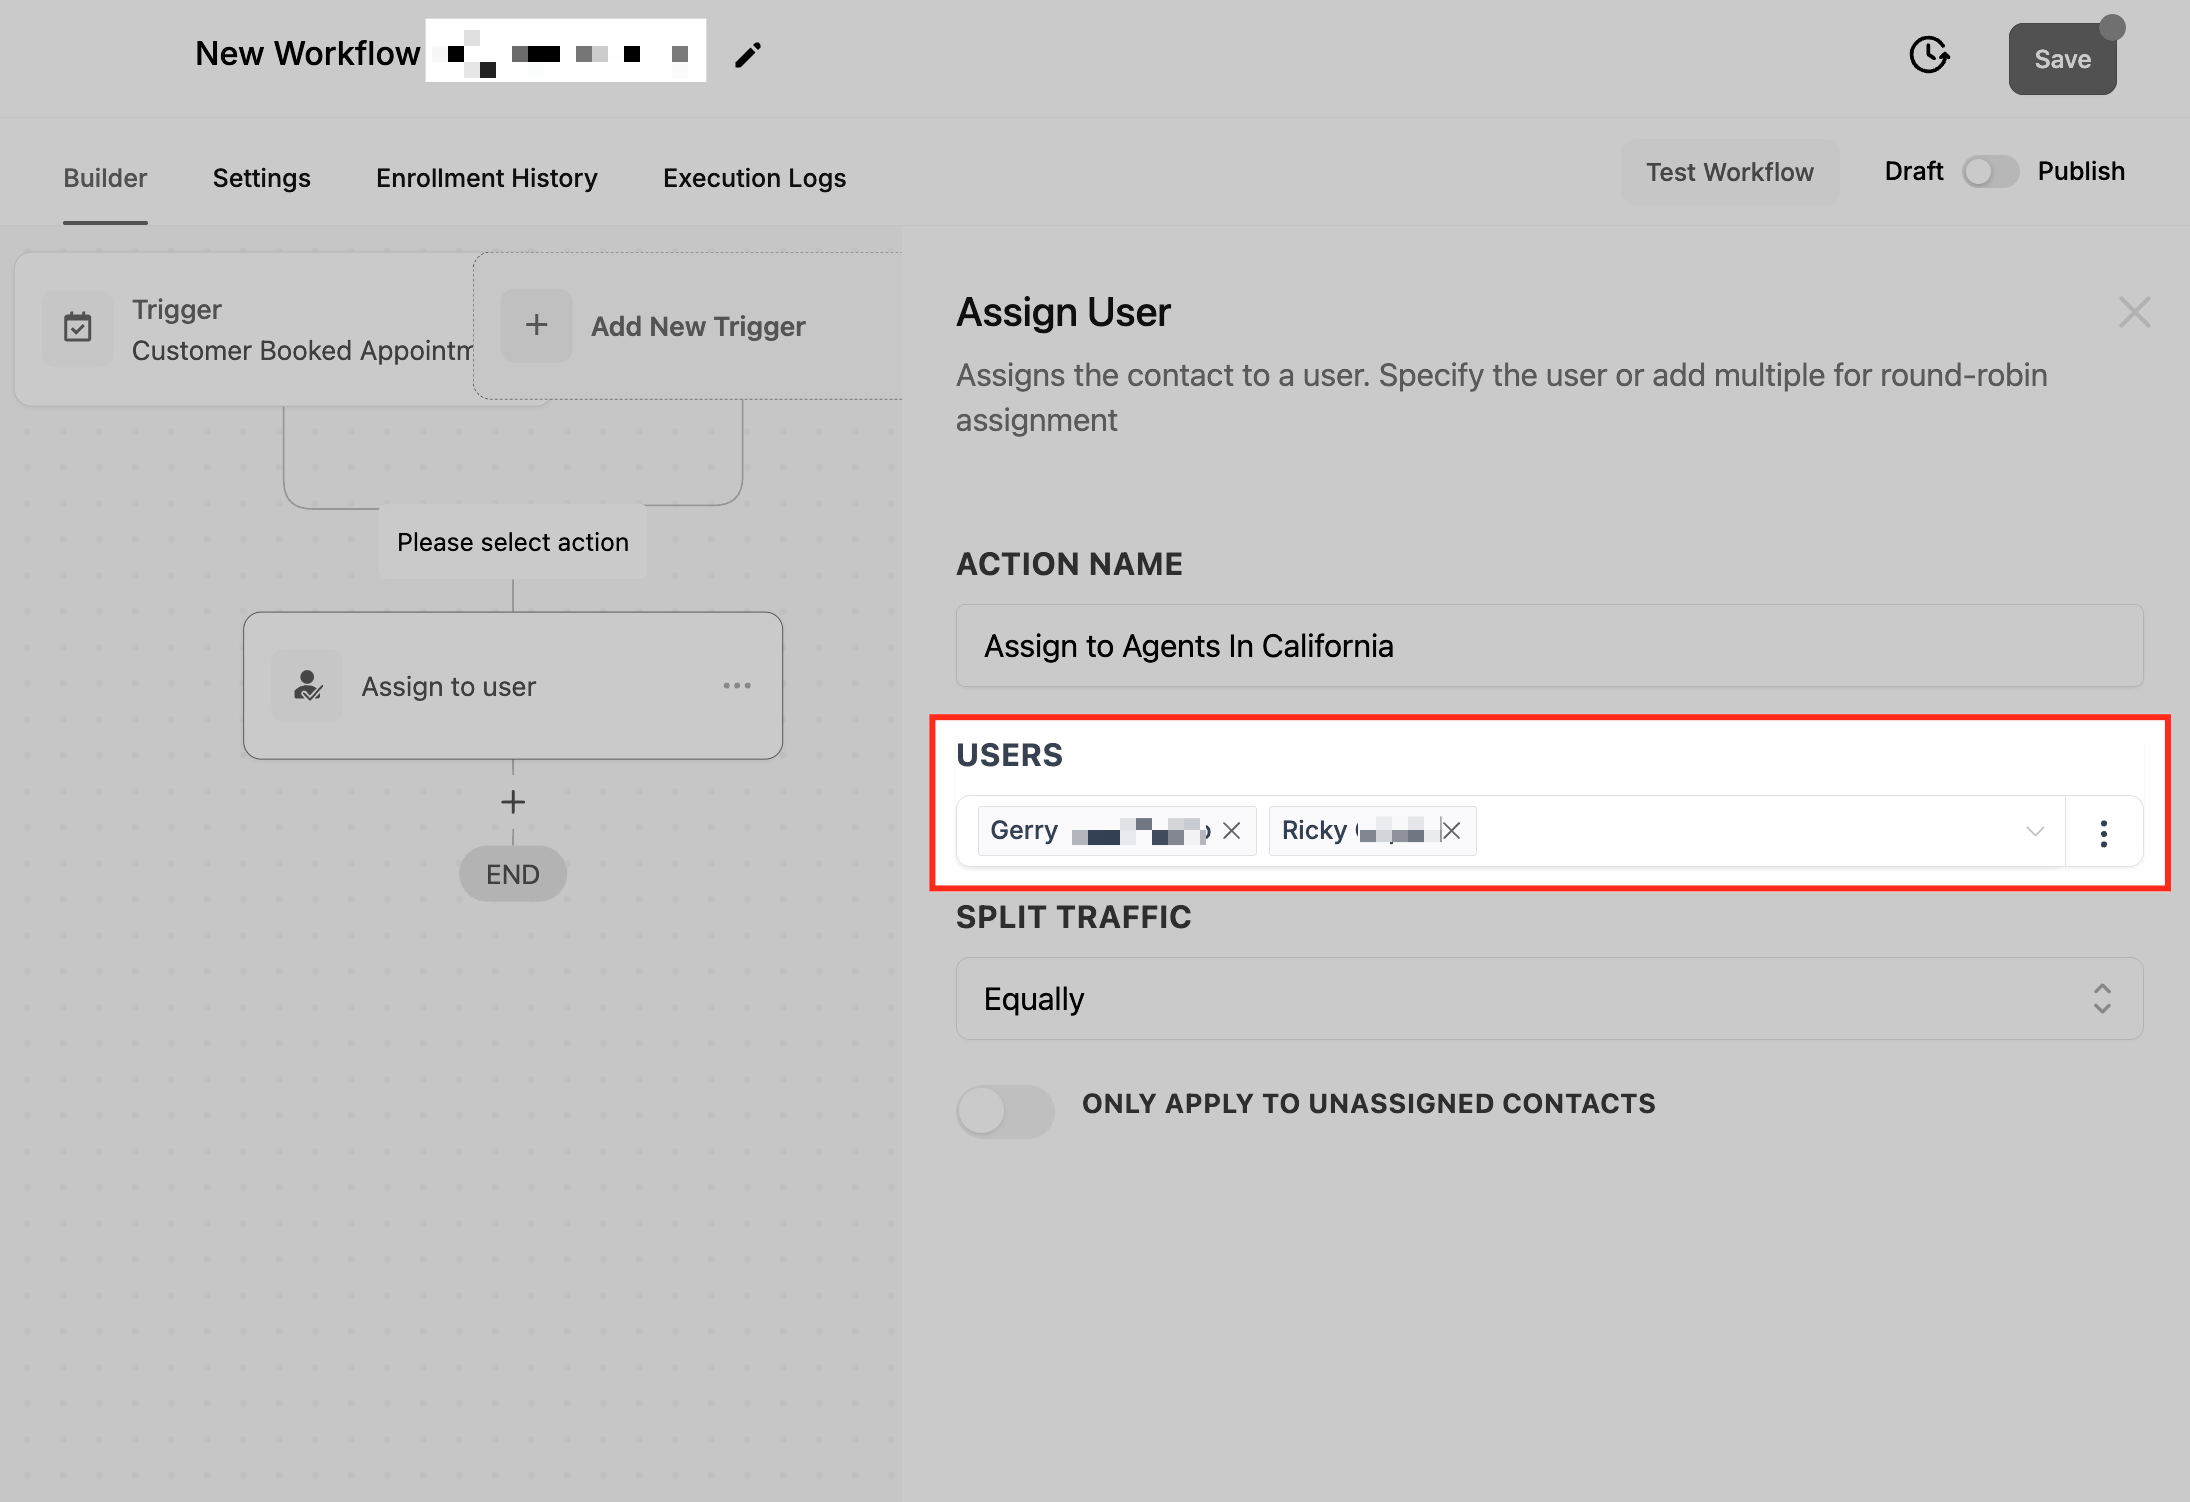
- Choose one or more users from the dropdown menu.
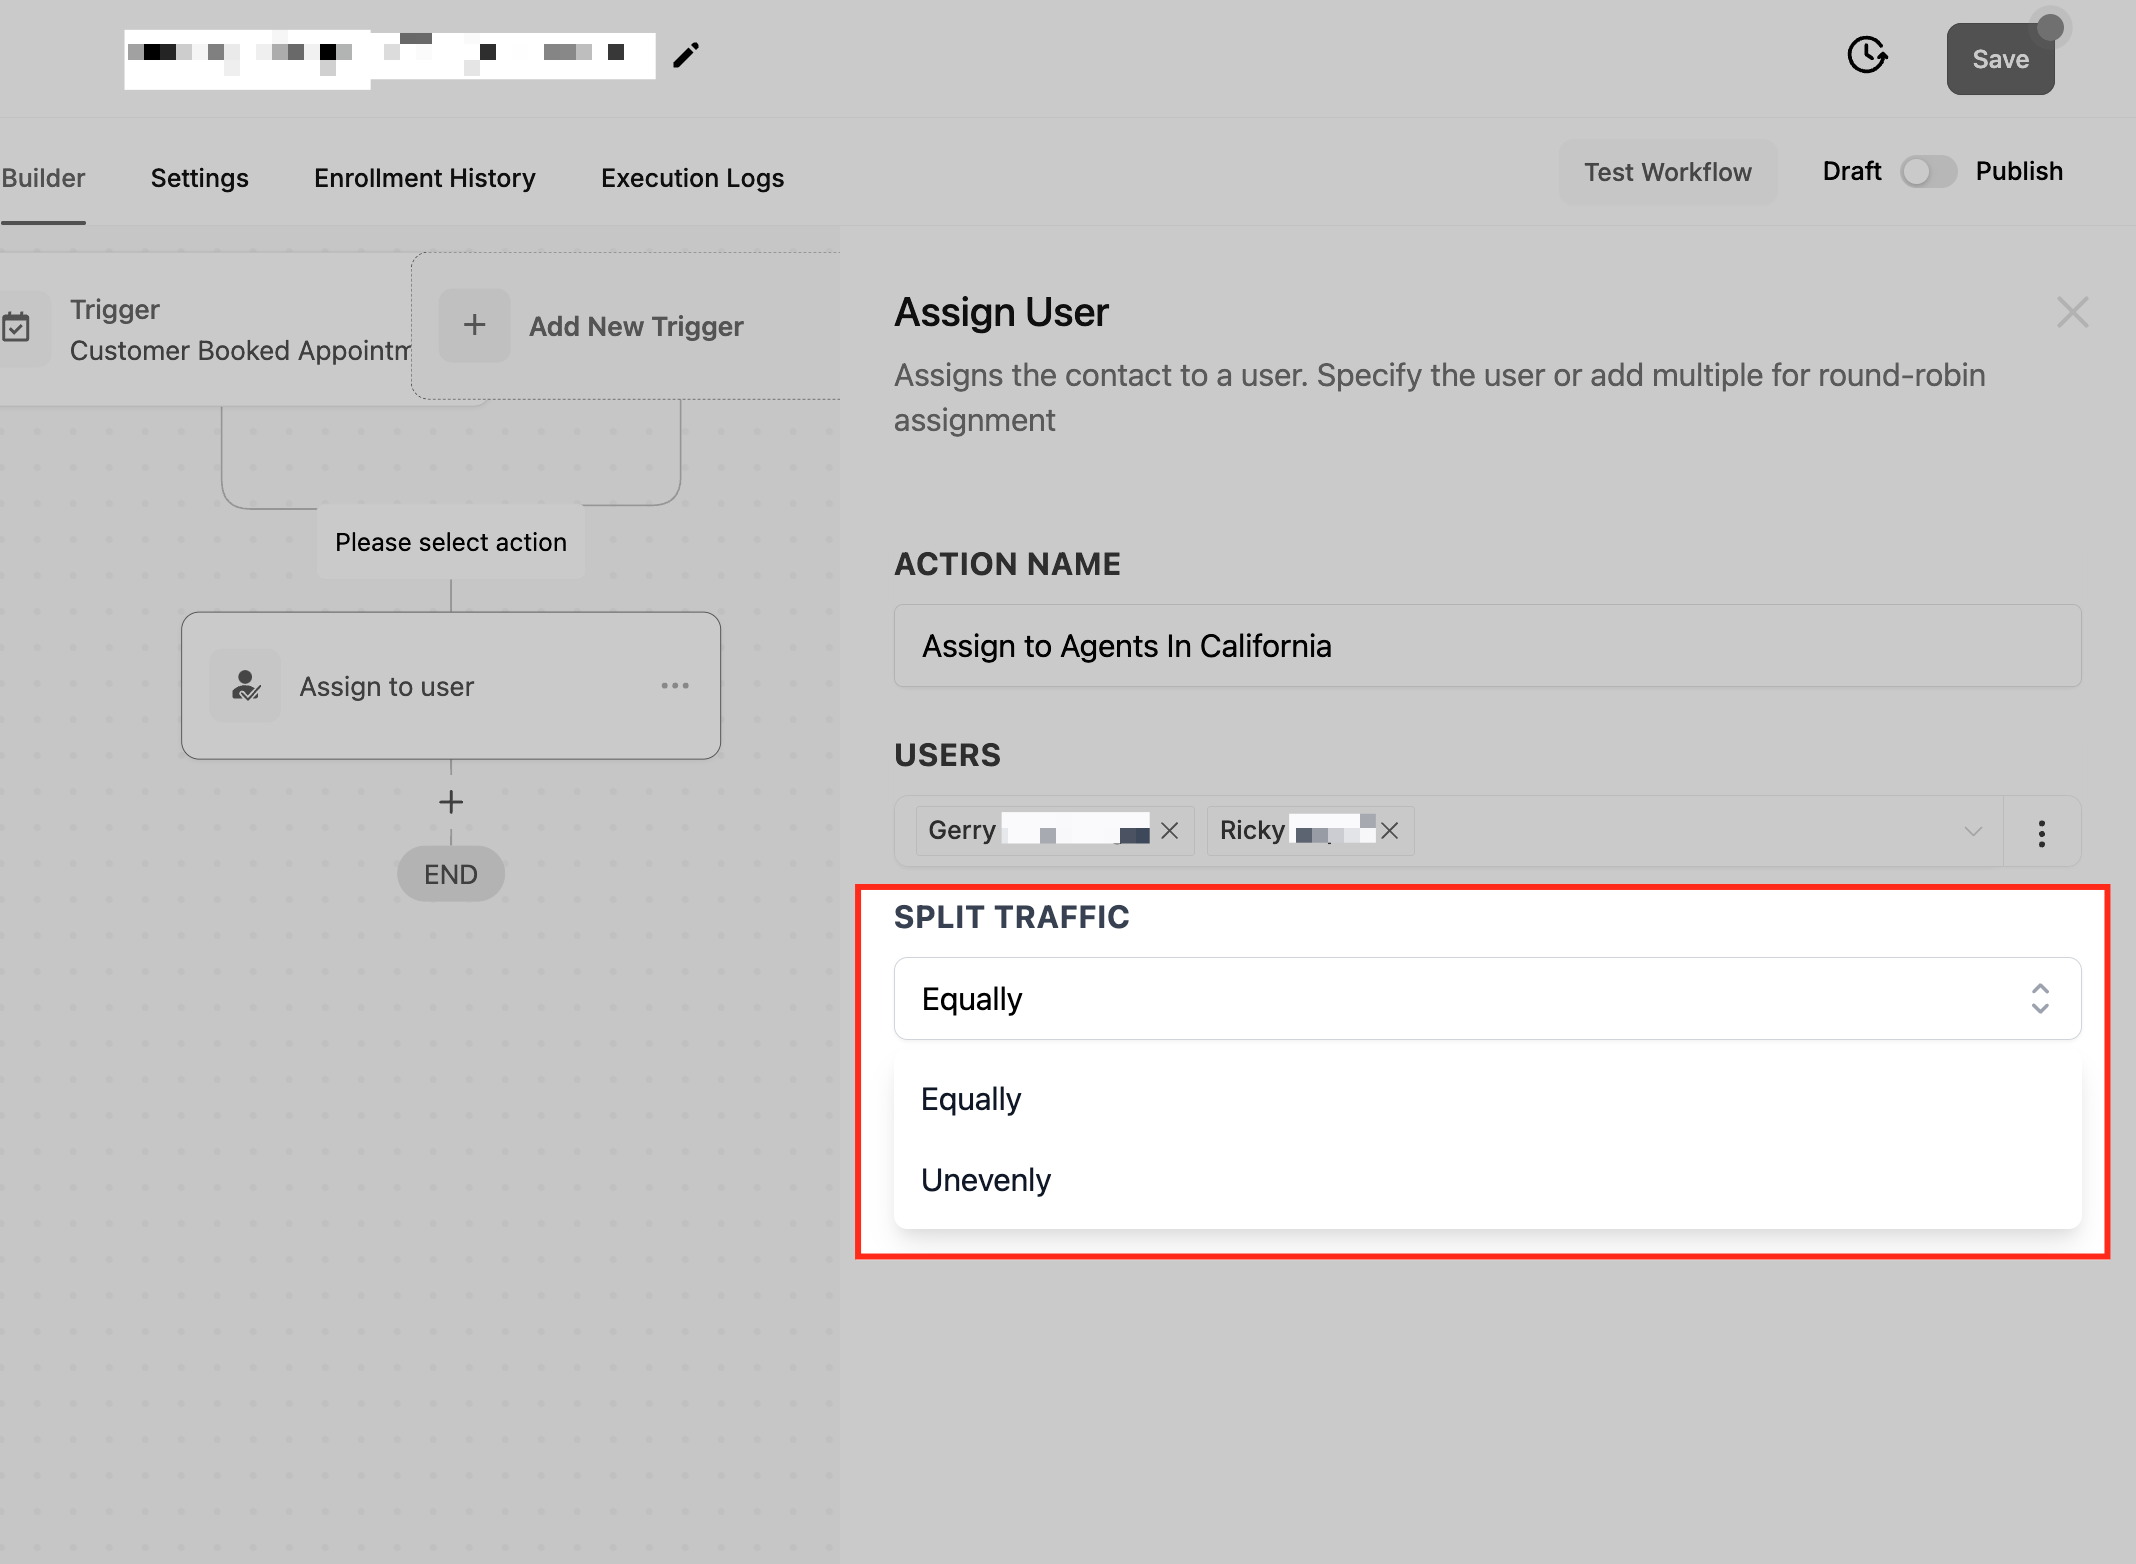
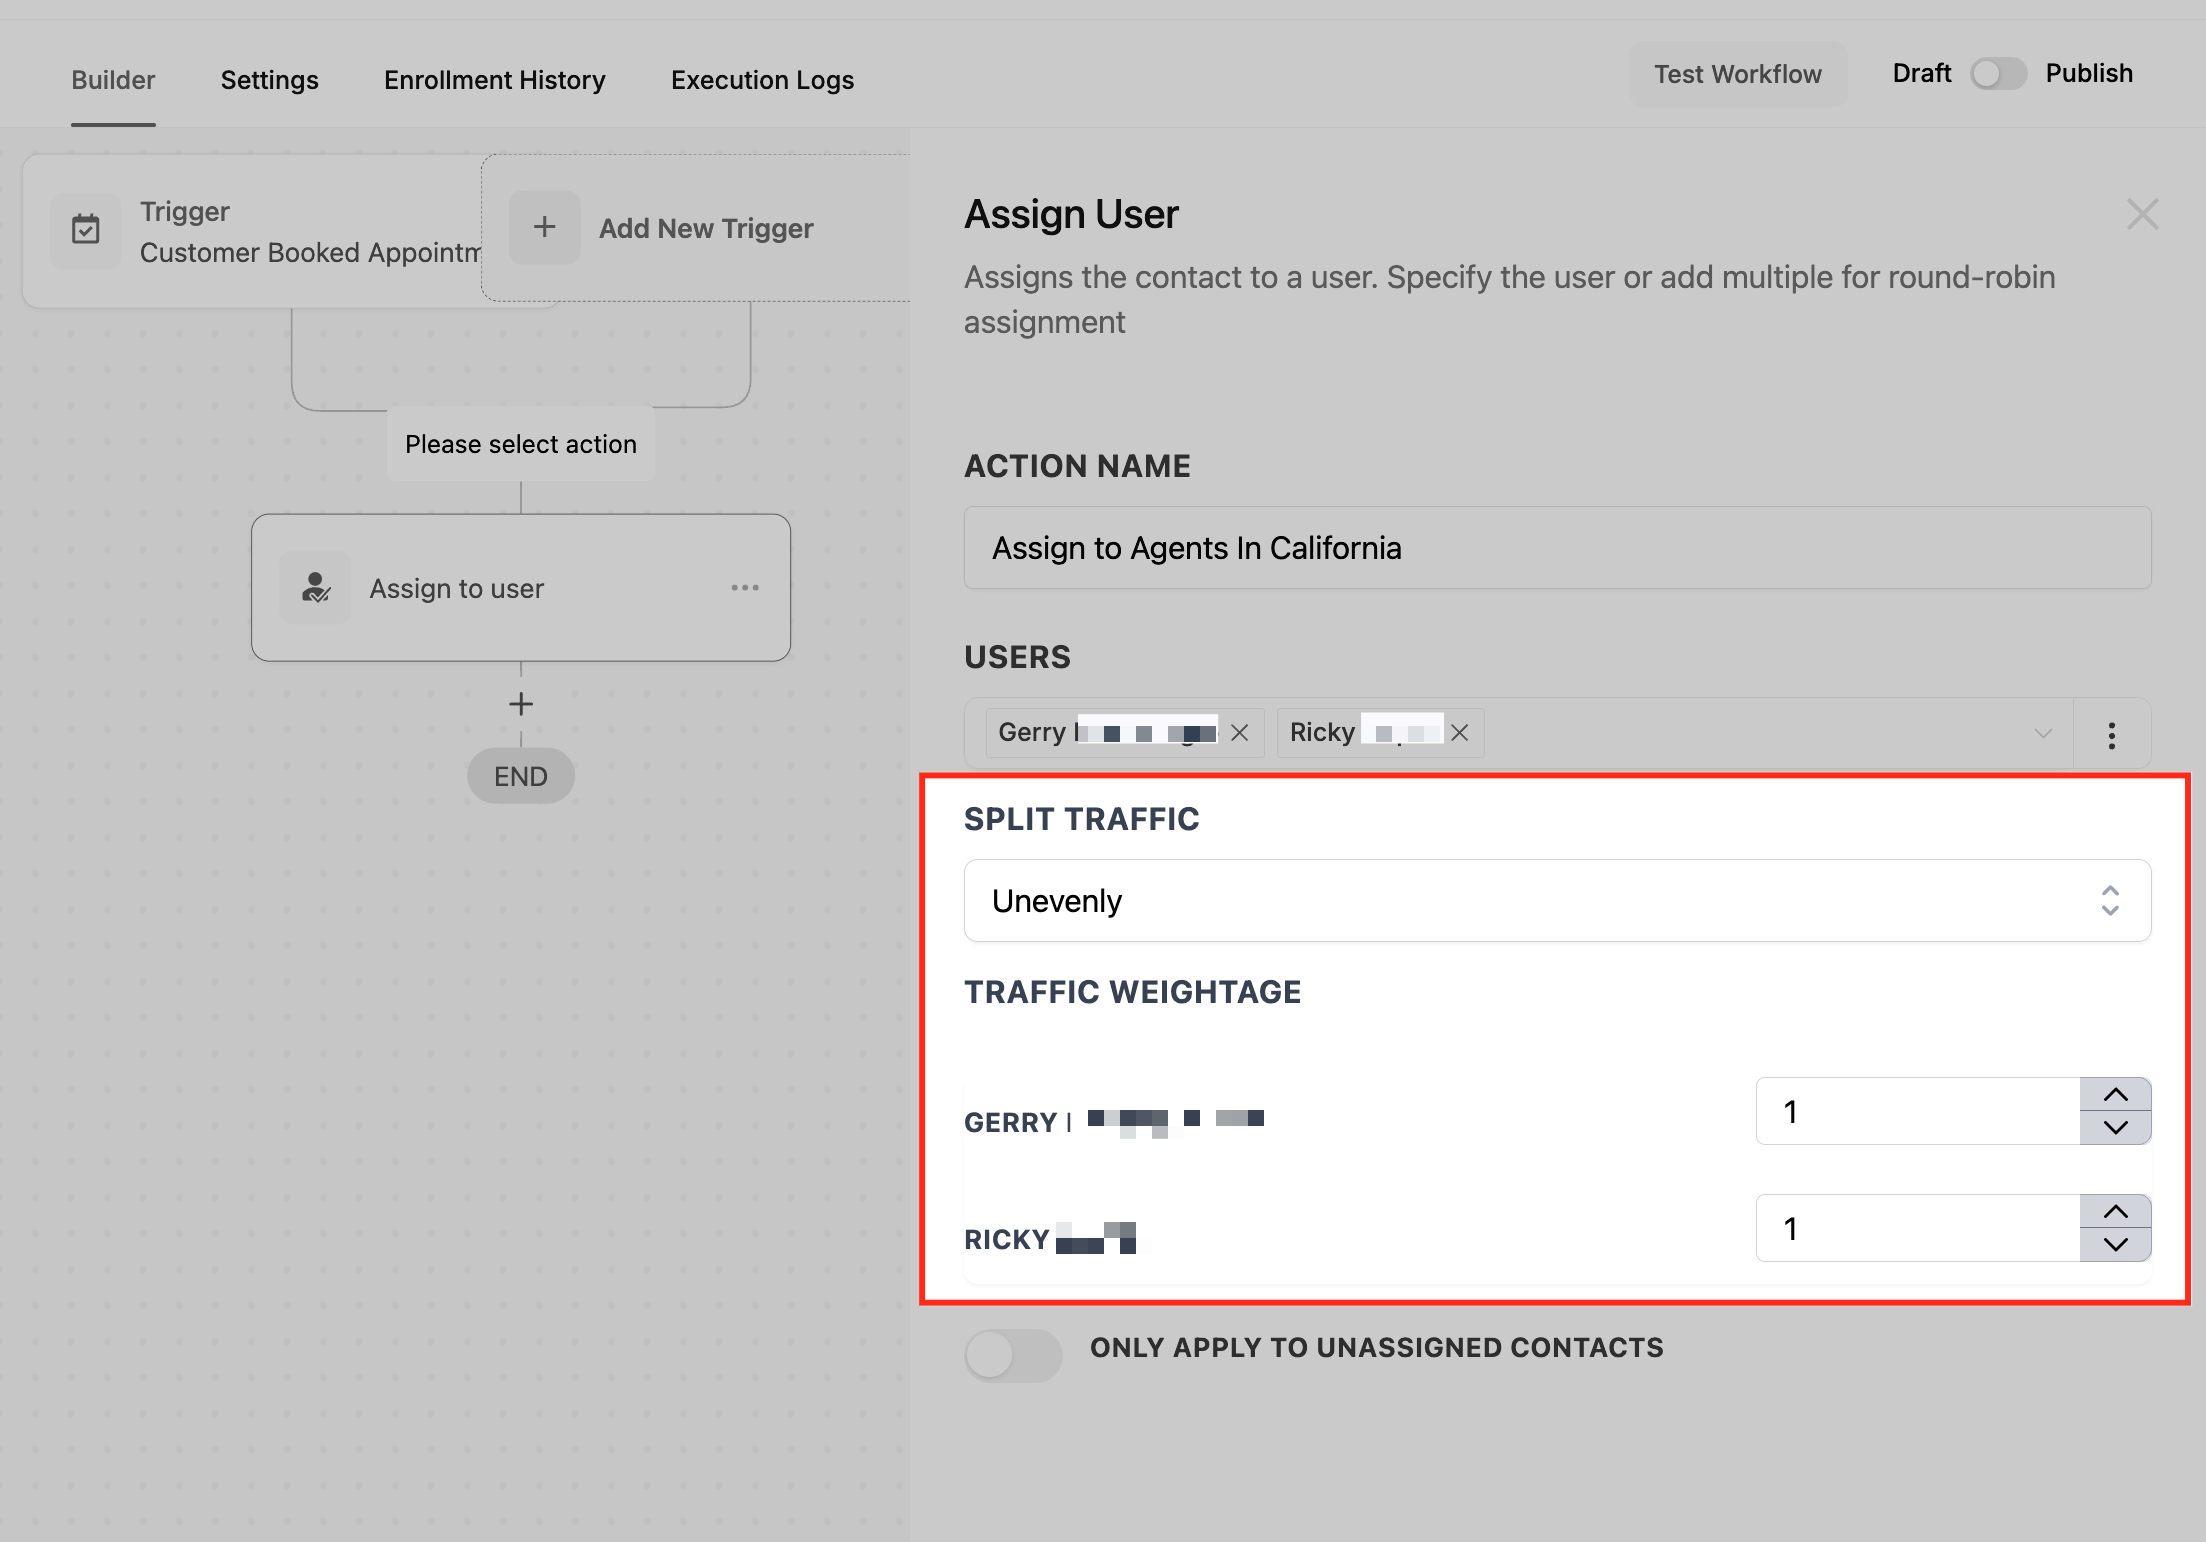
- Select the Split Traffic mode, Equally or Unevenly.
- If Unevenly, type the traffic ratio for each chosen user.
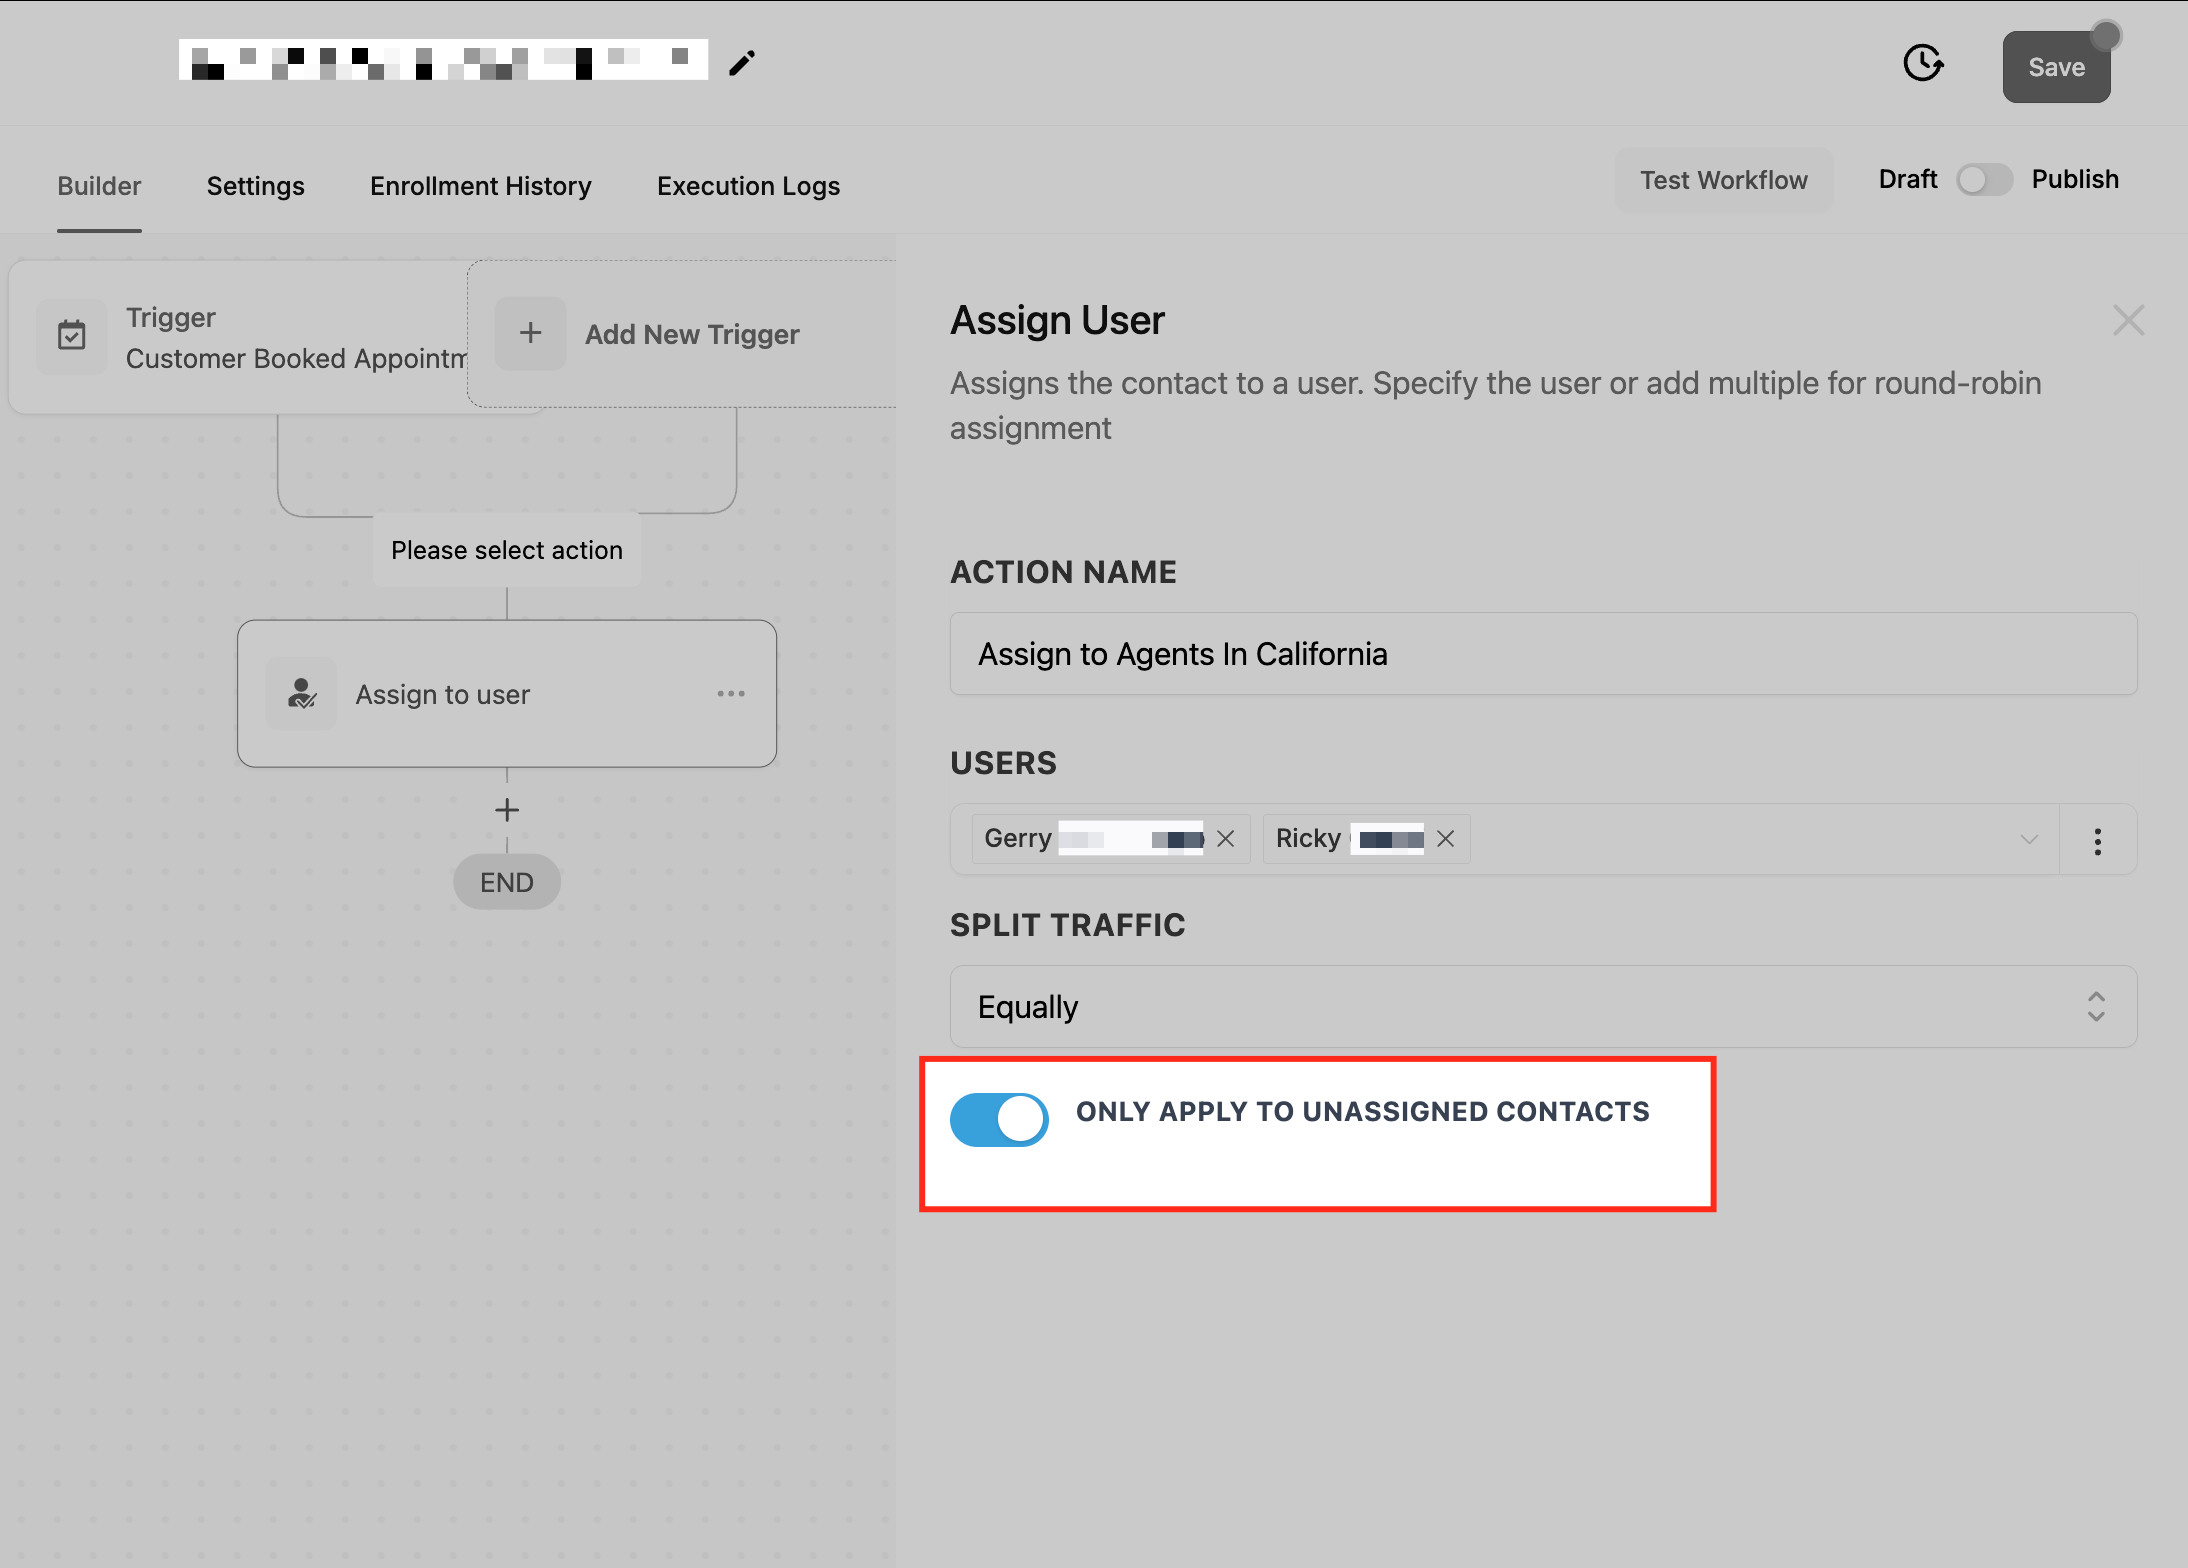
- Set the Only Apply To Unassigned Contacts toggle to enable or disable.
- Pick Standard or Dynamic for the user ID input method.
- When Dynamic is selected, enter the user ID(s) directly or insert a merge tag that provides the ID.
- Test the workflow under various conditions.
- Save and publish the workflow.
06What it looks like in HighLevel
07Settings that matter
- Action Name. Identifies the Assign To User step within the workflow for easy reference.
- Users. Specifies which team members can receive the contact; supports single or multiple selections.
- Split Traffic. Controls whether contacts are distributed equally or according to custom ratios among the selected users.
- Traffic Ratio. Defines the uneven distribution numbers for each user when Split Traffic is set to Unevenly.
- Only Apply To Unassigned Contacts. When enabled, the action assigns contacts only if they have no current owner; when disabled, it overwrites any existing assignment.
- Standard vs Dynamic User IDs. Standard shows a dropdown of users; Dynamic changes the field to a text input for manual IDs or merge tags.
- Dynamic User ID Field. Accepts a literal user ID or a merge tag that resolves to a user ID during workflow execution.
08Things to know before you rely on it
- The Unevenly split option requires you to specify a ratio for every selected user.
- Dynamic mode expects a valid user ID; an incorrect ID will prevent proper assignment.
- If the Only Apply To Unassigned Contacts toggle is off, the action will replace any existing user assignment.
09How it connects to the rest of HighLevel
- Add contact tags after assignment to track which agent handled a lead. Add Contact Tag
- Use the Find Contact action to locate a contact before assigning it to a user. Find Contact
- Update a contact field with the assigned user's name for reporting purposes. Update Contact Field
- Review workflow basics to understand how triggers and actions work together. Workflow Basics
Michael's take

Assign to User is a practical way to keep your team’s workload even without manual hand offs.
If you don’t need automated routing or already handle assignments outside HighLevel, you can skip this feature.