
01Who this is for
- Agency admins who need to protect client API credentials while building automations.
- Founders of service based businesses that integrate third party tools and must keep authentication tokens hidden.
- Developers configuring webhook calls for marketing campaigns and requiring granular access control.
02Custom webhook actions, explained
The Custom Webhook action adds a step to a workflow where you specify the request details and choose an authentication type. The platform stores the secret part of the credential as a masked key, showing only its name in the editor.
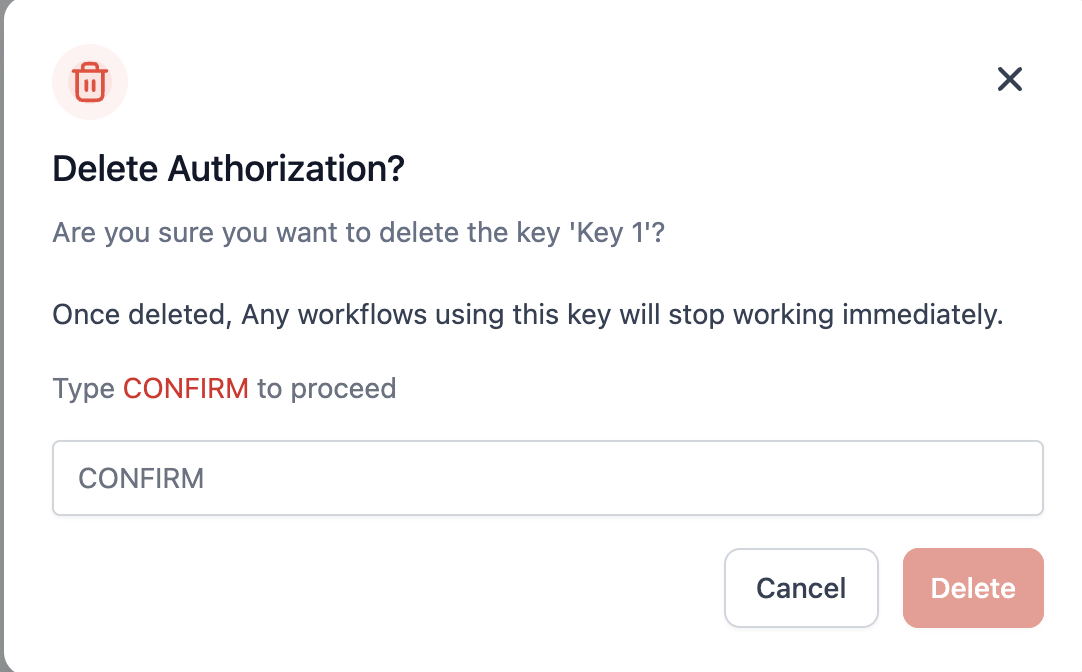
Keys are saved at the location level, meaning they can be used only by automations running in the same location where the key was created. Only agency admins or the user who created the key can delete it, preventing accidental removal by other team members.
All secret keys appear in the interface as a name placeholder; the actual value never displays in plain text, reducing the chance of accidental leaks.
03How businesses use custom webhook actions
- Digital marketing agency. The agency adds a Custom Webhook action to send lead data to a client’s CRM. It creates a masked API key for HighLevel’s endpoint, ensuring the key is never visible in the workflow view. The admin can later rotate or delete the key without exposing it.
- Online course platform. The platform configures a webhook to trigger a payment processor after a purchase. Using the Bearer token option, it stores the token as a masked key, limiting access to the location’s admins and preventing the token from being copied unintentionally.
- Healthcare appointment system. The system sets up a webhook that posts appointment confirmations to an external messaging service. It selects Basic auth, creates a new masked key for the service’s username and password, and manages the key through the dropdown menu.
04How to set up and use custom webhook actions in HighLevel
Add and configure a custom webhook action
- Open the Automations builder and add a new Custom Webhook action step.
- Select Custom Webhook as the action type for the step.
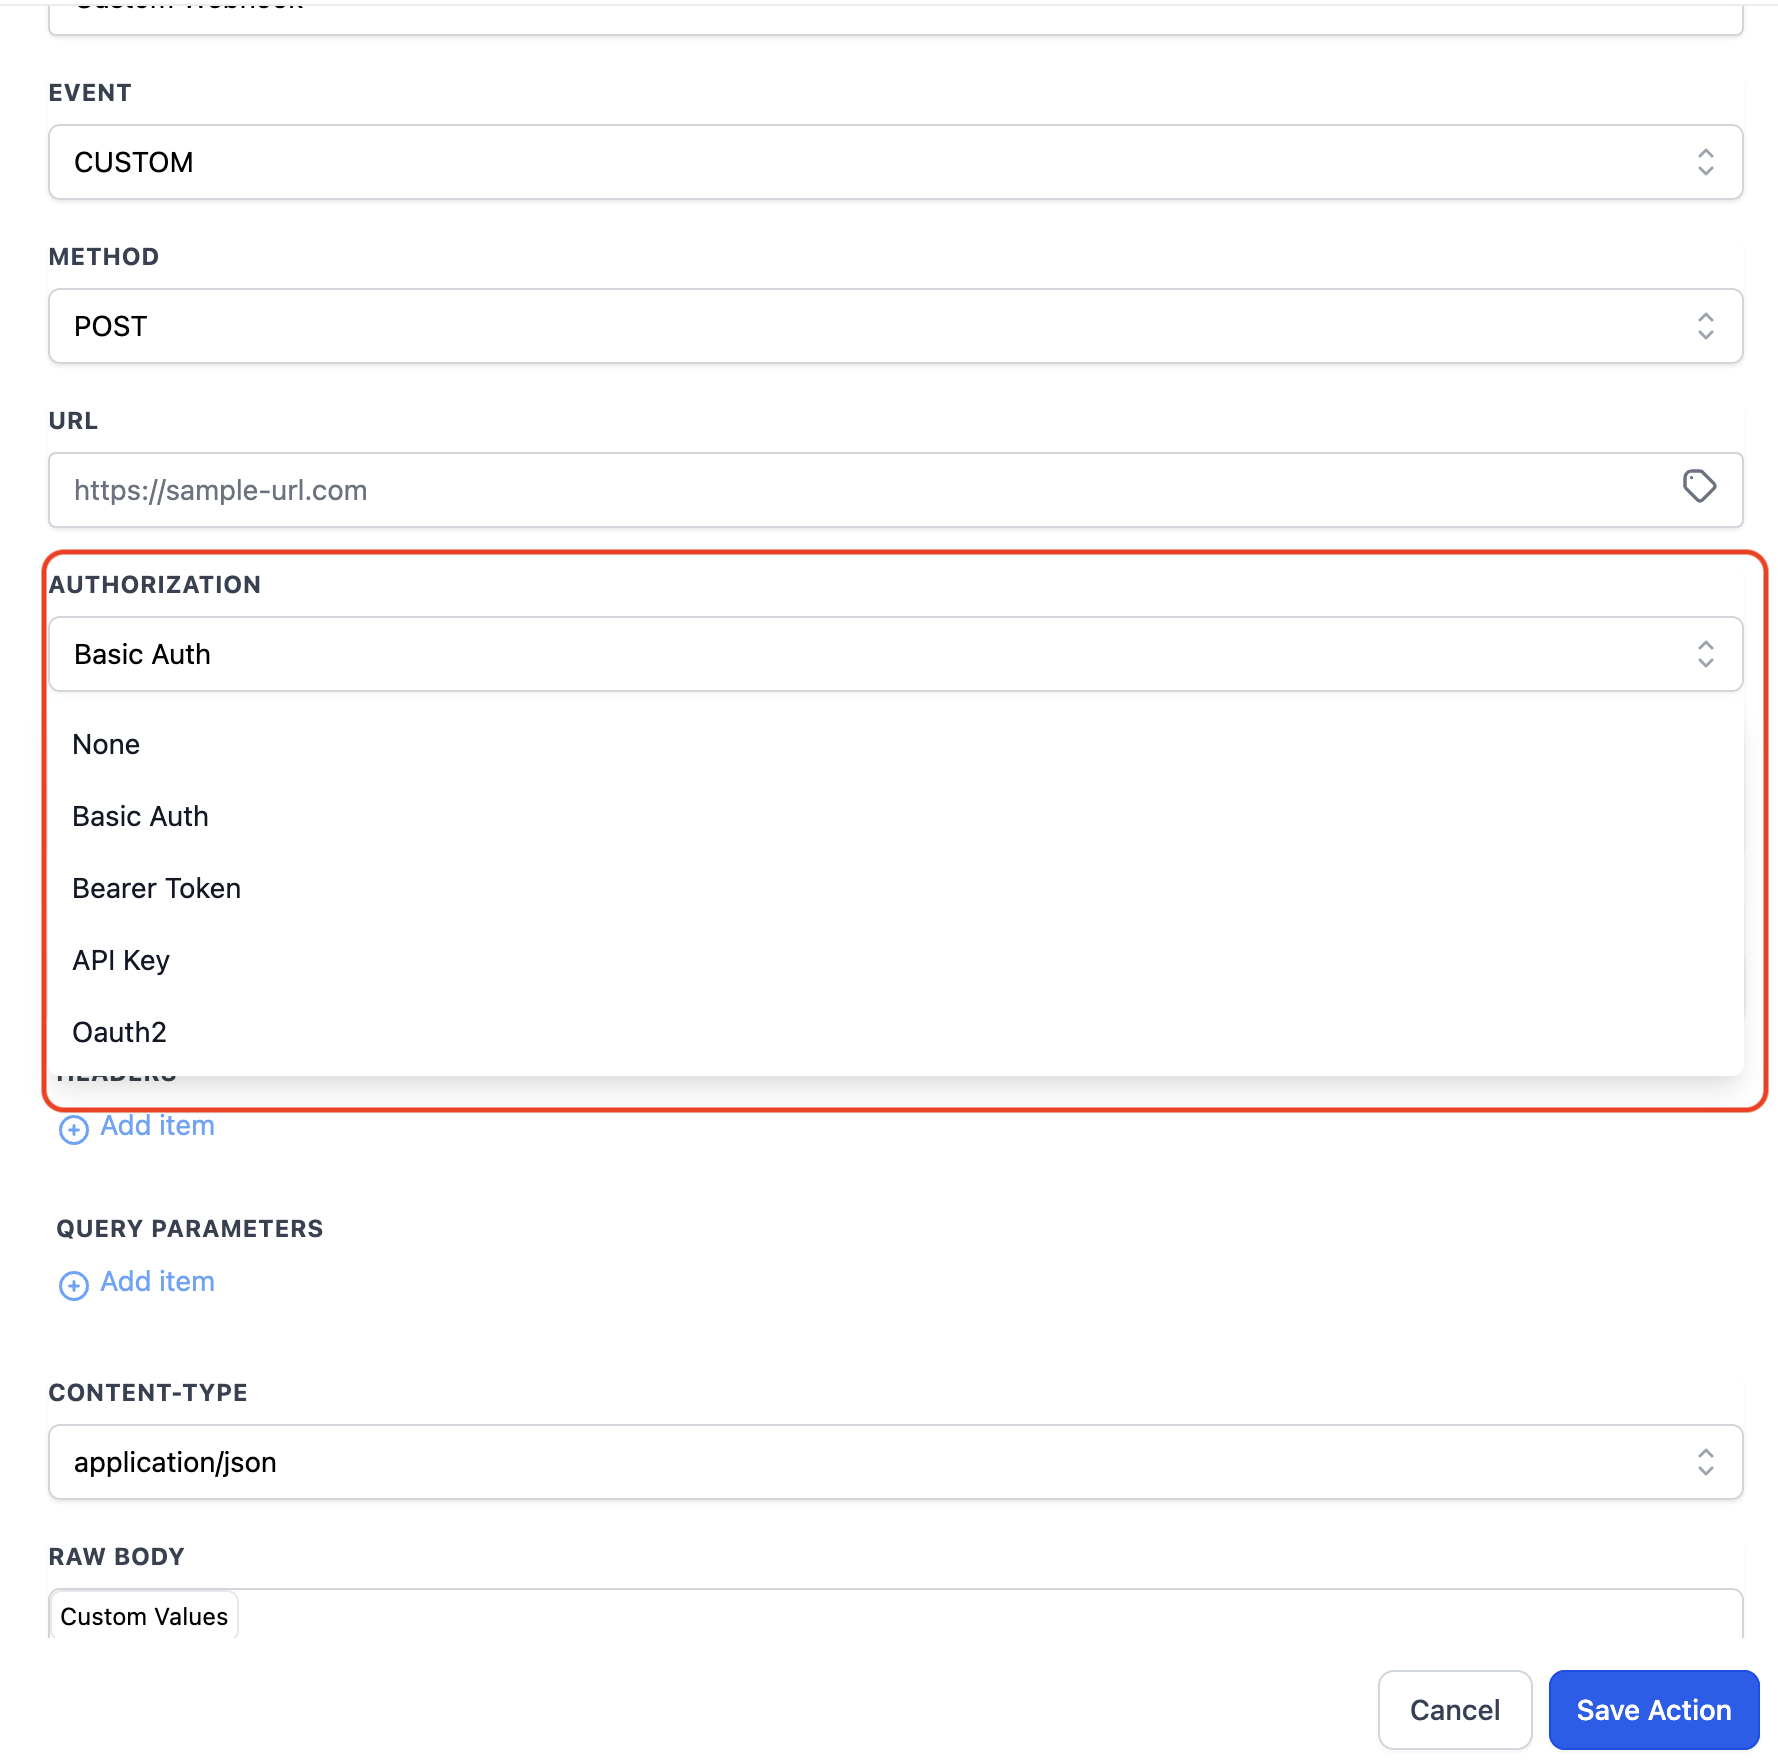
- Choose an authentication method: Basic auth, Bearer token, or API key.
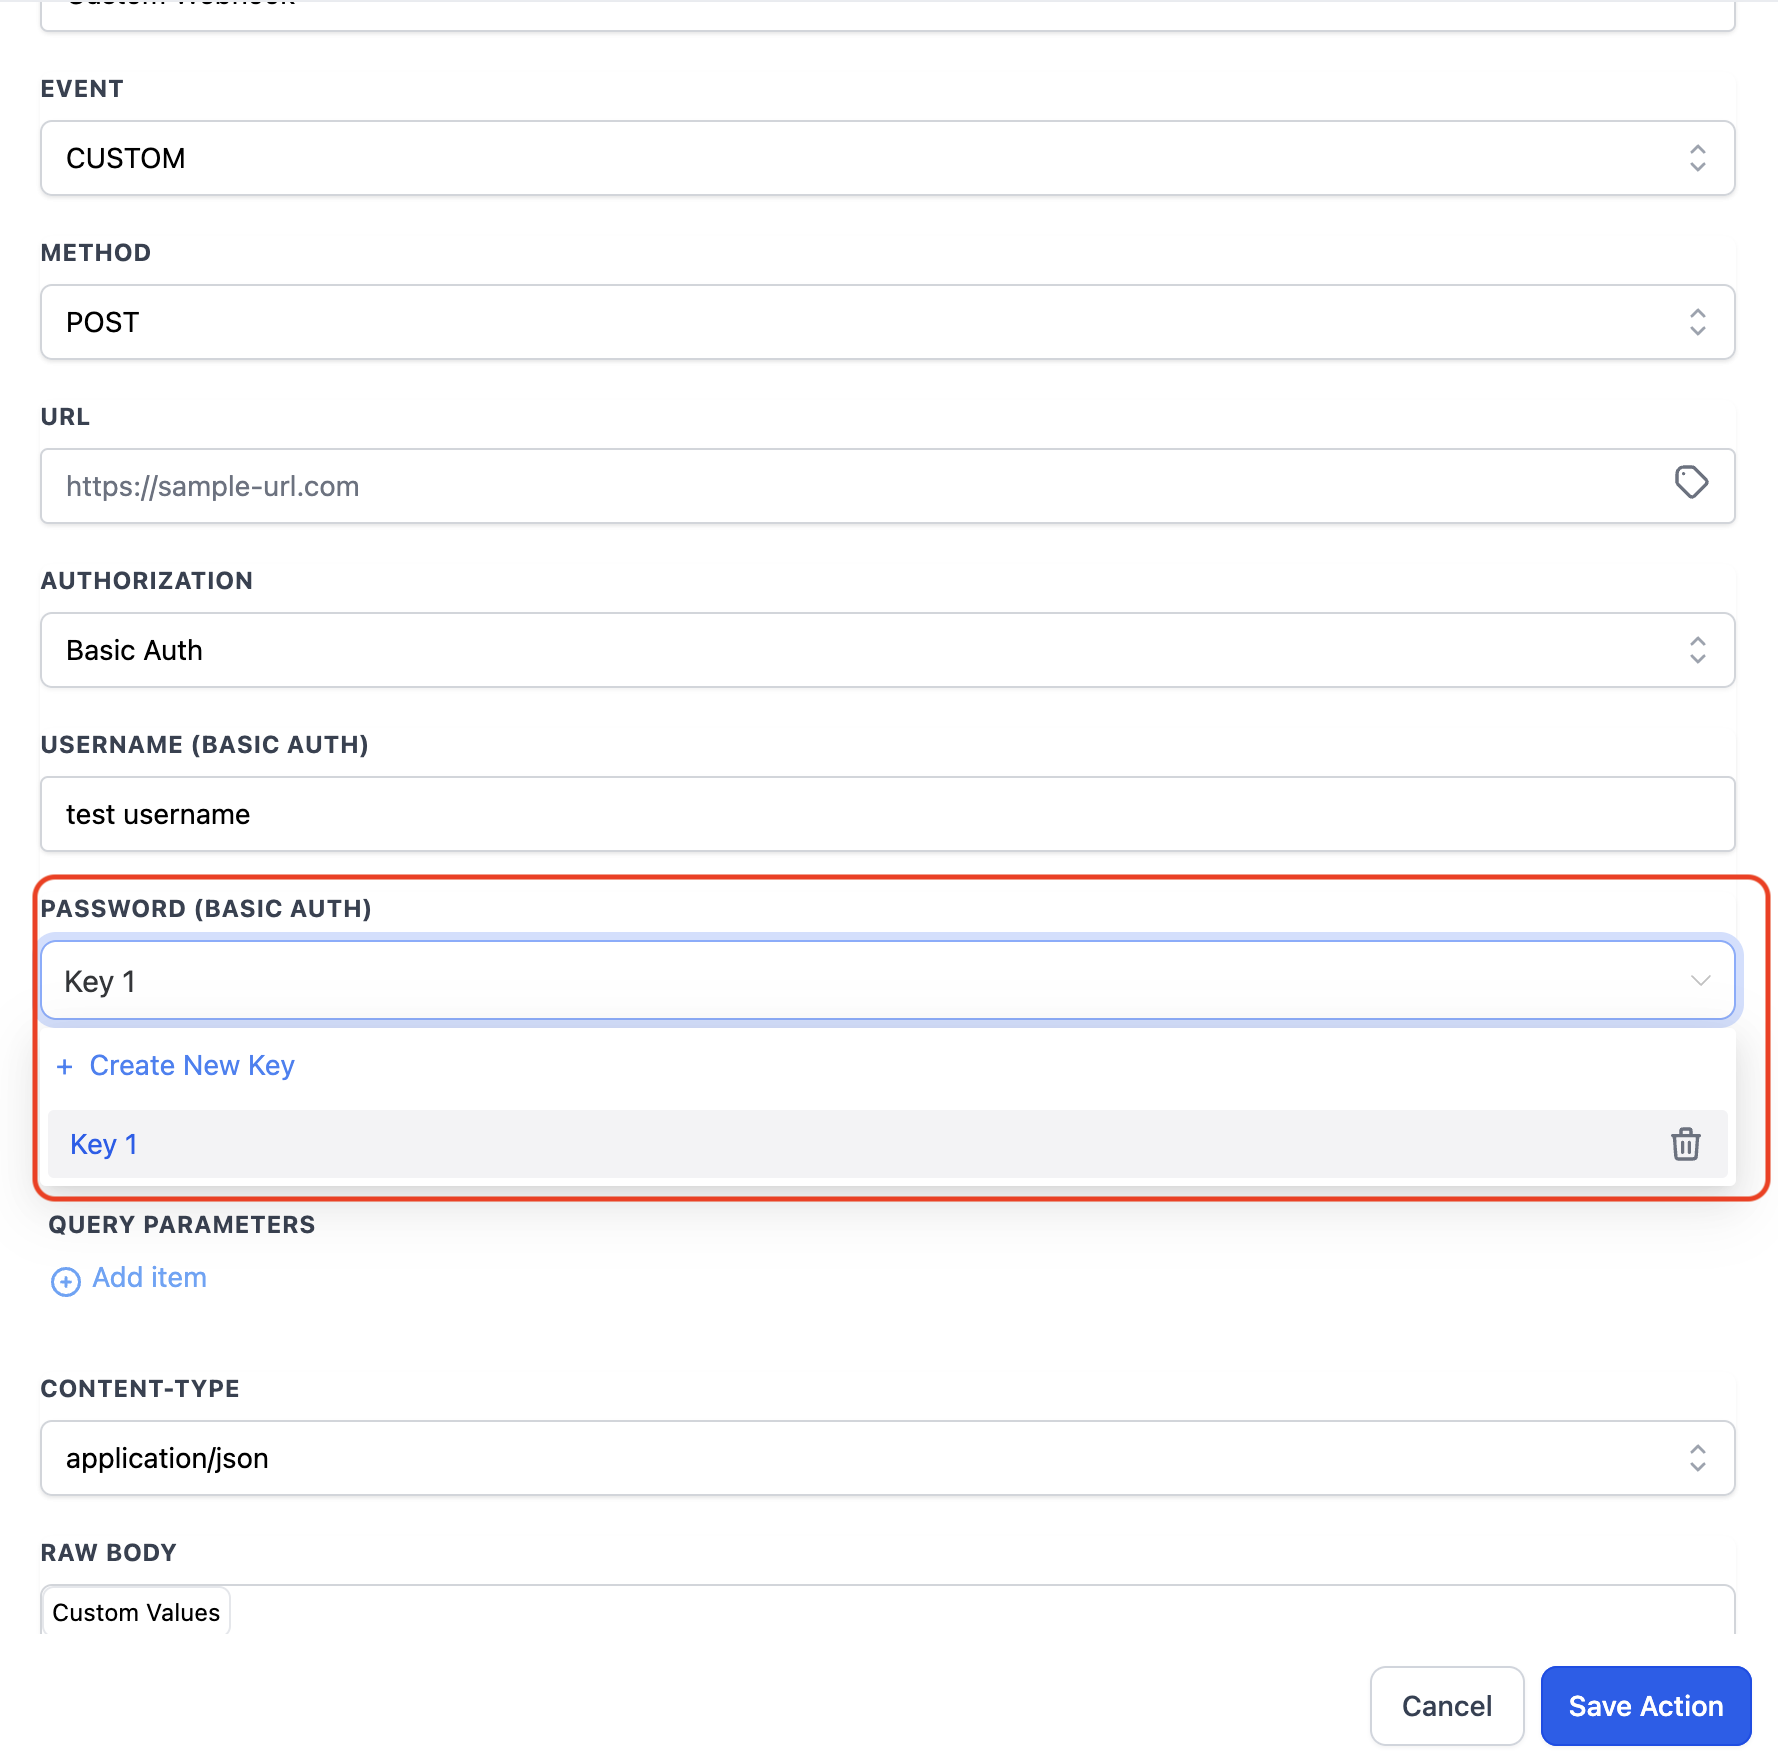
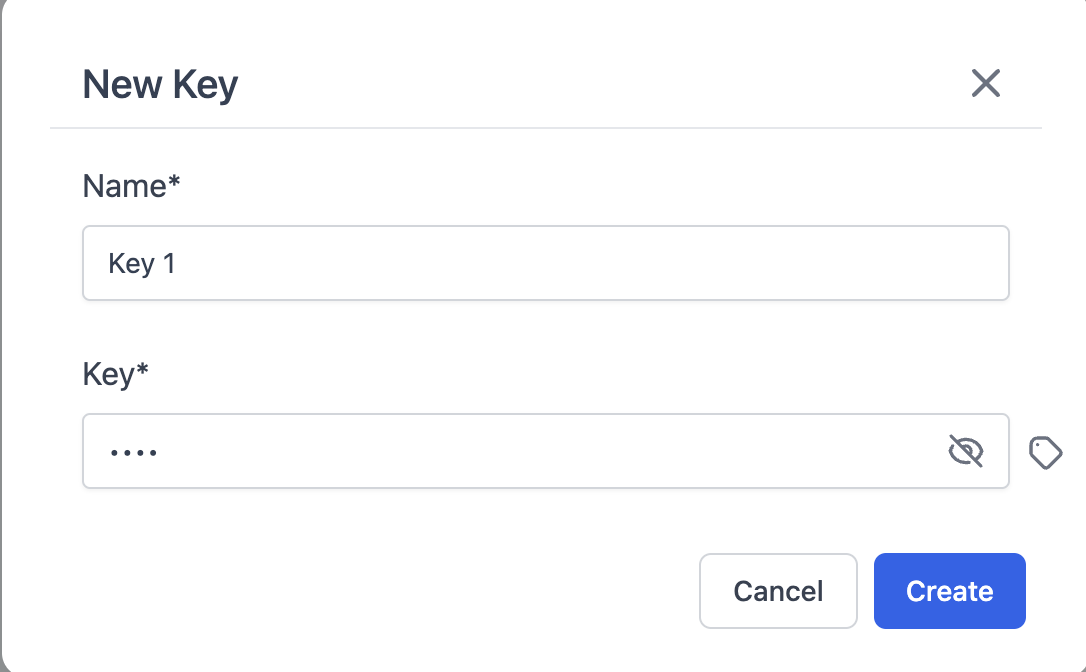
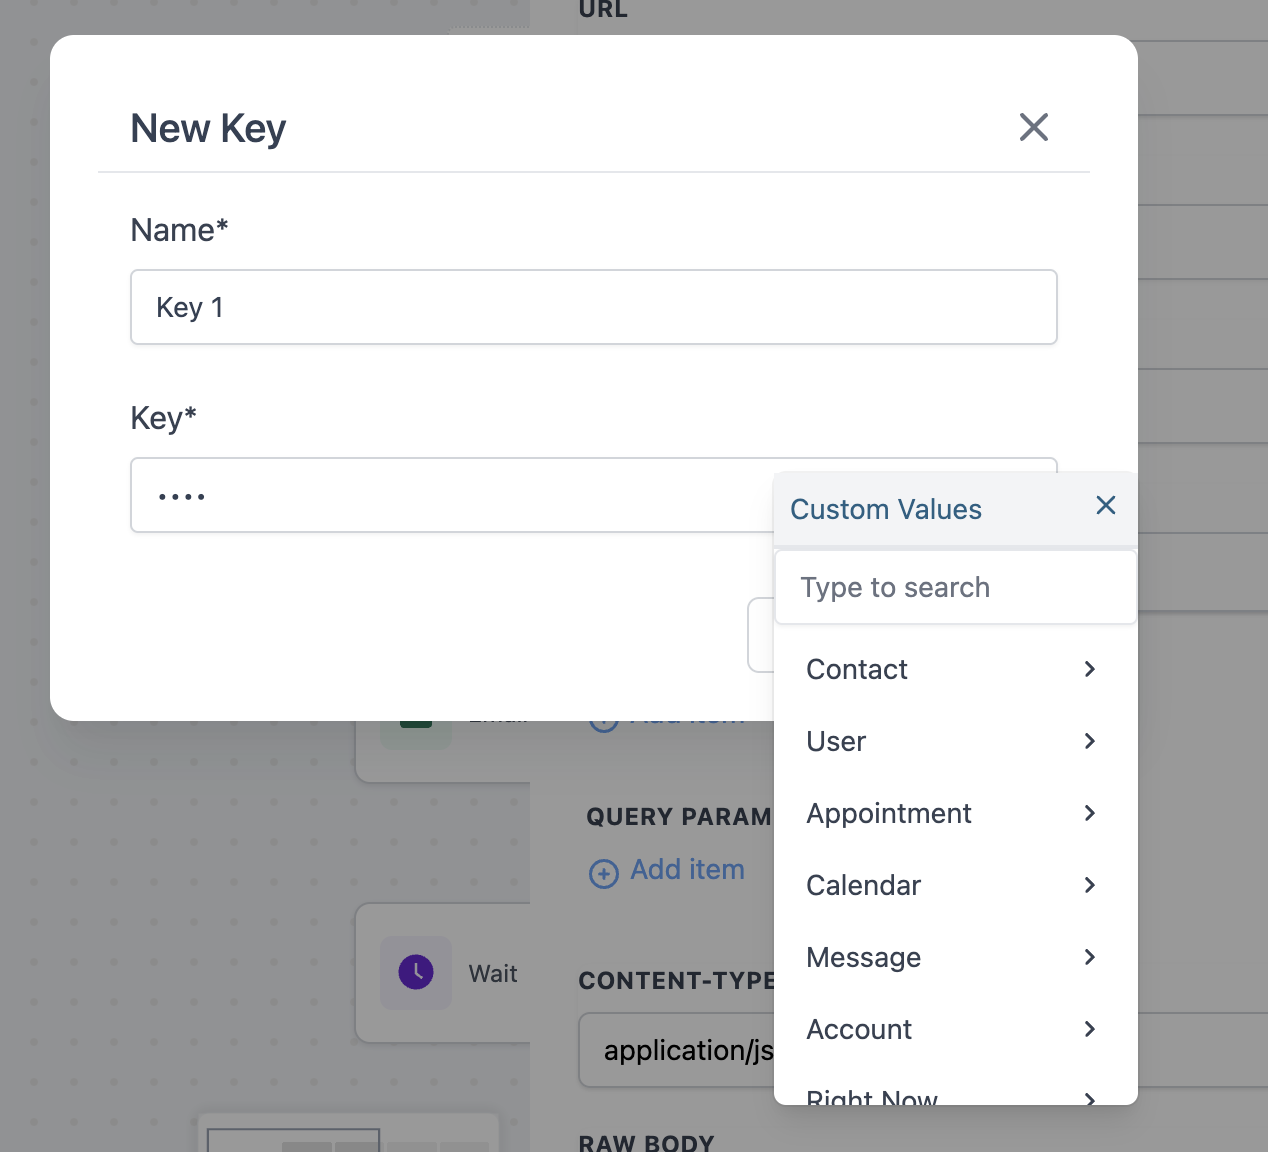
- Pick Create New Key, then type a name for identification and enter the secret value.
- Save the key; the platform masks the value so it no longer appears in plain text.
- Use the key dropdown to select the newly created key or delete it if you have the required permissions.
05What it looks like in HighLevel
06Settings that matter
- Authentication Type. Determines which method, Basic auth, Bearer token, or API key, will be used to authenticate the webhook request.
- Create New Key. Opens a form where you assign a name to the credential and provide its secret value, which will be stored in a masked format.
07Things to know before you rely on it
- Only agency admins or the user who created a key can delete it.
- When a new key replaces an existing one, the old key is automatically removed.
- Keys are accessible only within the location where they were created.
- Secret values are always masked; the interface never shows them in plain text.
08How it connects to the rest of HighLevel
- HighLevel workflow automation: basics and set up guide Workflow basics
- HighLevel inbound webhook trigger: how to set up and use Inbound webhook guide
- HighLevel pricing and plans Pricing
Michael's take

It keeps the credentials out of plain sight and limits who can touch them.
If your workflow only calls a single external service and you already manage secrets in another vault, the extra step of creating a HighLevel key may add unnecessary friction. In those cases, you might prefer to keep the credential where it already lives.