
01Who this is for
- Marketers who need branded performance reports for clients, because they can customize cover pages and layout.
- Agency owners who manage multiple subaccounts, since the feature works across all paid plans and subaccounts.
- Operations managers who require regular data snapshots, because they can schedule automated email deliveries.
02Custom reports, explained
Custom Reports are a builder inside the Reporting area of HighLevel. They let you assemble data widgets, arrange them into sections and apply visual themes. The first page acts as a cover that can hold a logo, headers and a background color.
After the design is complete you can export the report as a PDF or schedule it to be sent by email. Scheduling lets you define frequency, delivery time, date range and optional comparison trends. Email settings include sender address, subject line, recipient list and a custom message body.
All settings are saved with the report, and any later changes do not affect emails that have already been sent. The builder respects the time zone of your browser, the subaccount and the ad platforms for third party data.
03How businesses use custom reports
- Digital marketing agency. The agency creates a custom report for each client, adds Google Ads and Facebook Ads widgets, applies the agency’s brand theme, and schedules the report to be emailed weekly to the client’s inbox.
- Ecommerce store. The store builds a report that includes sales widgets, configures a cover page with its logo, and sets a daily schedule so the operations team receives an up to date PDF each morning.
- Consulting firm. The firm converts an existing dashboard into a report, adds section titles for project milestones, and uses the widget level date toggle to keep custom date ranges when the report is emailed to stakeholders.
04The numbers and rules that matter
- All plans ($97, $297 and $497) subaccounts now have access to multiple dashboards and fully customizable reports (per HighLevel's help center, checked November 2026).
- Table widgets are capped at the first 100 records; drill downs aren't available.
05Before you start
- A HighLevel plan that includes Custom Reports (any paid plan).
- Access to Reporting > Custom Reports in the platform.
06How to set up and use custom reports in HighLevel
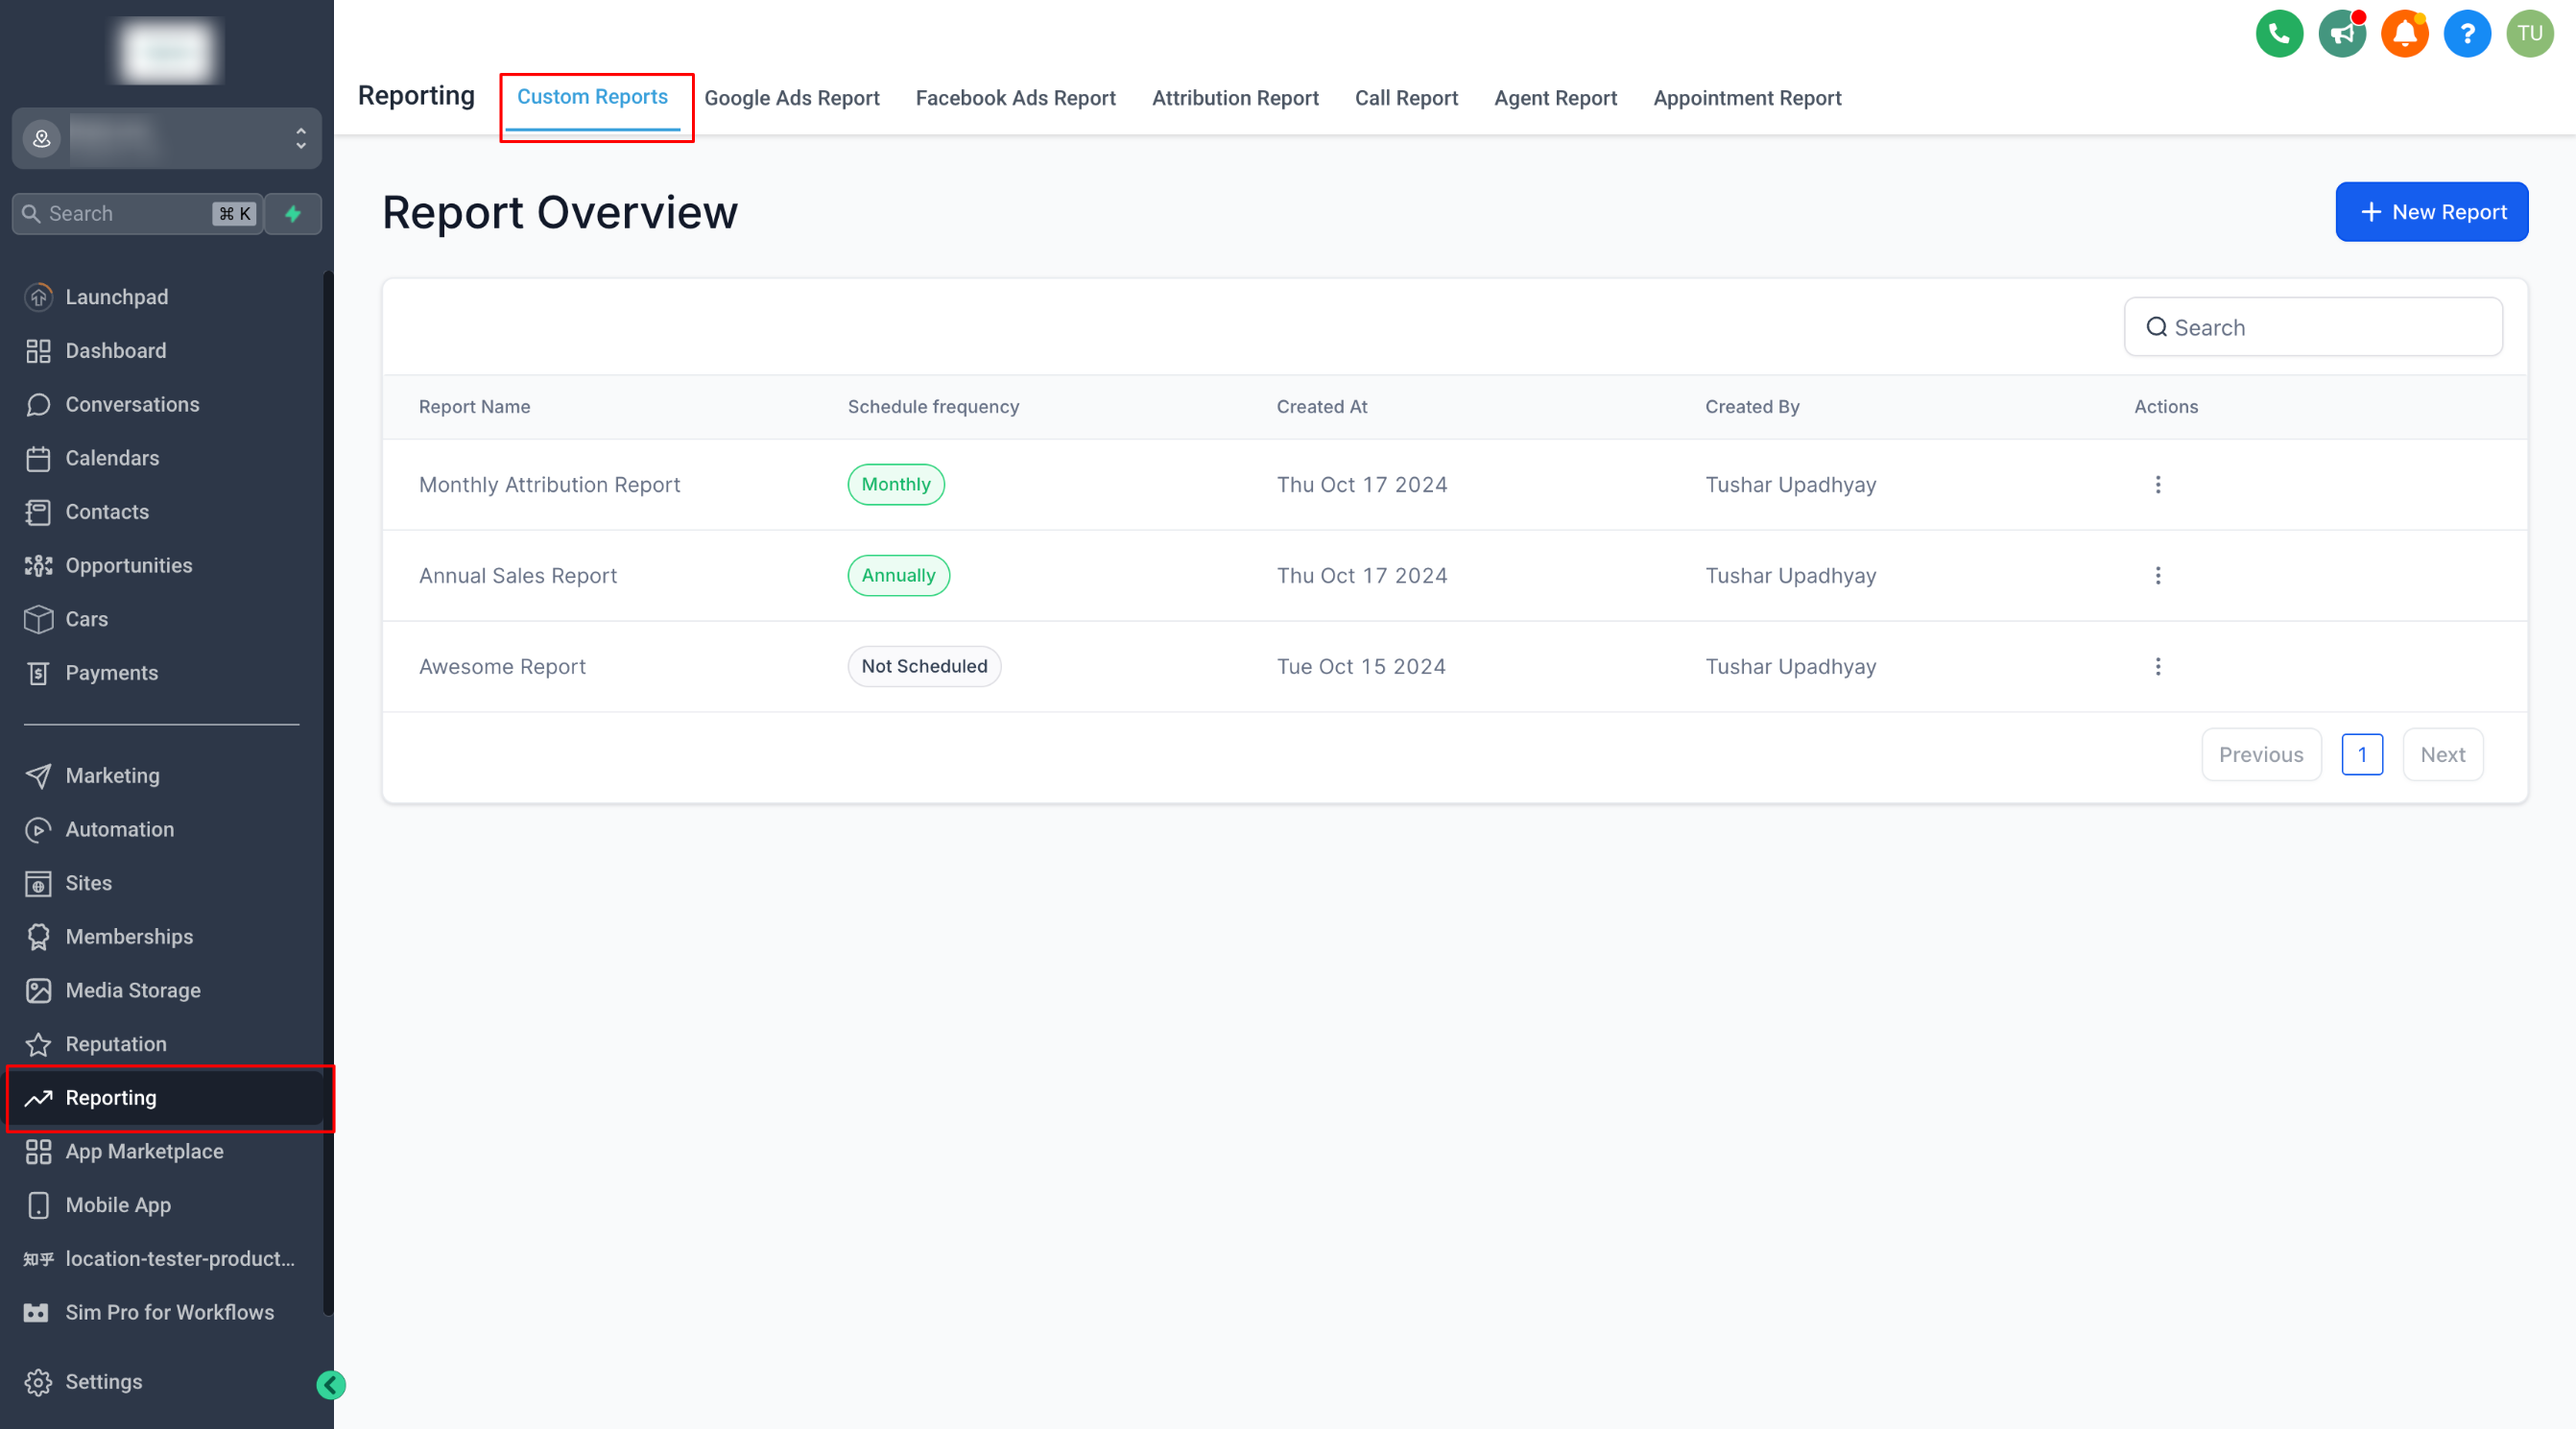
Access Custom Reports
- Open the Reporting menu and click Custom Reports.
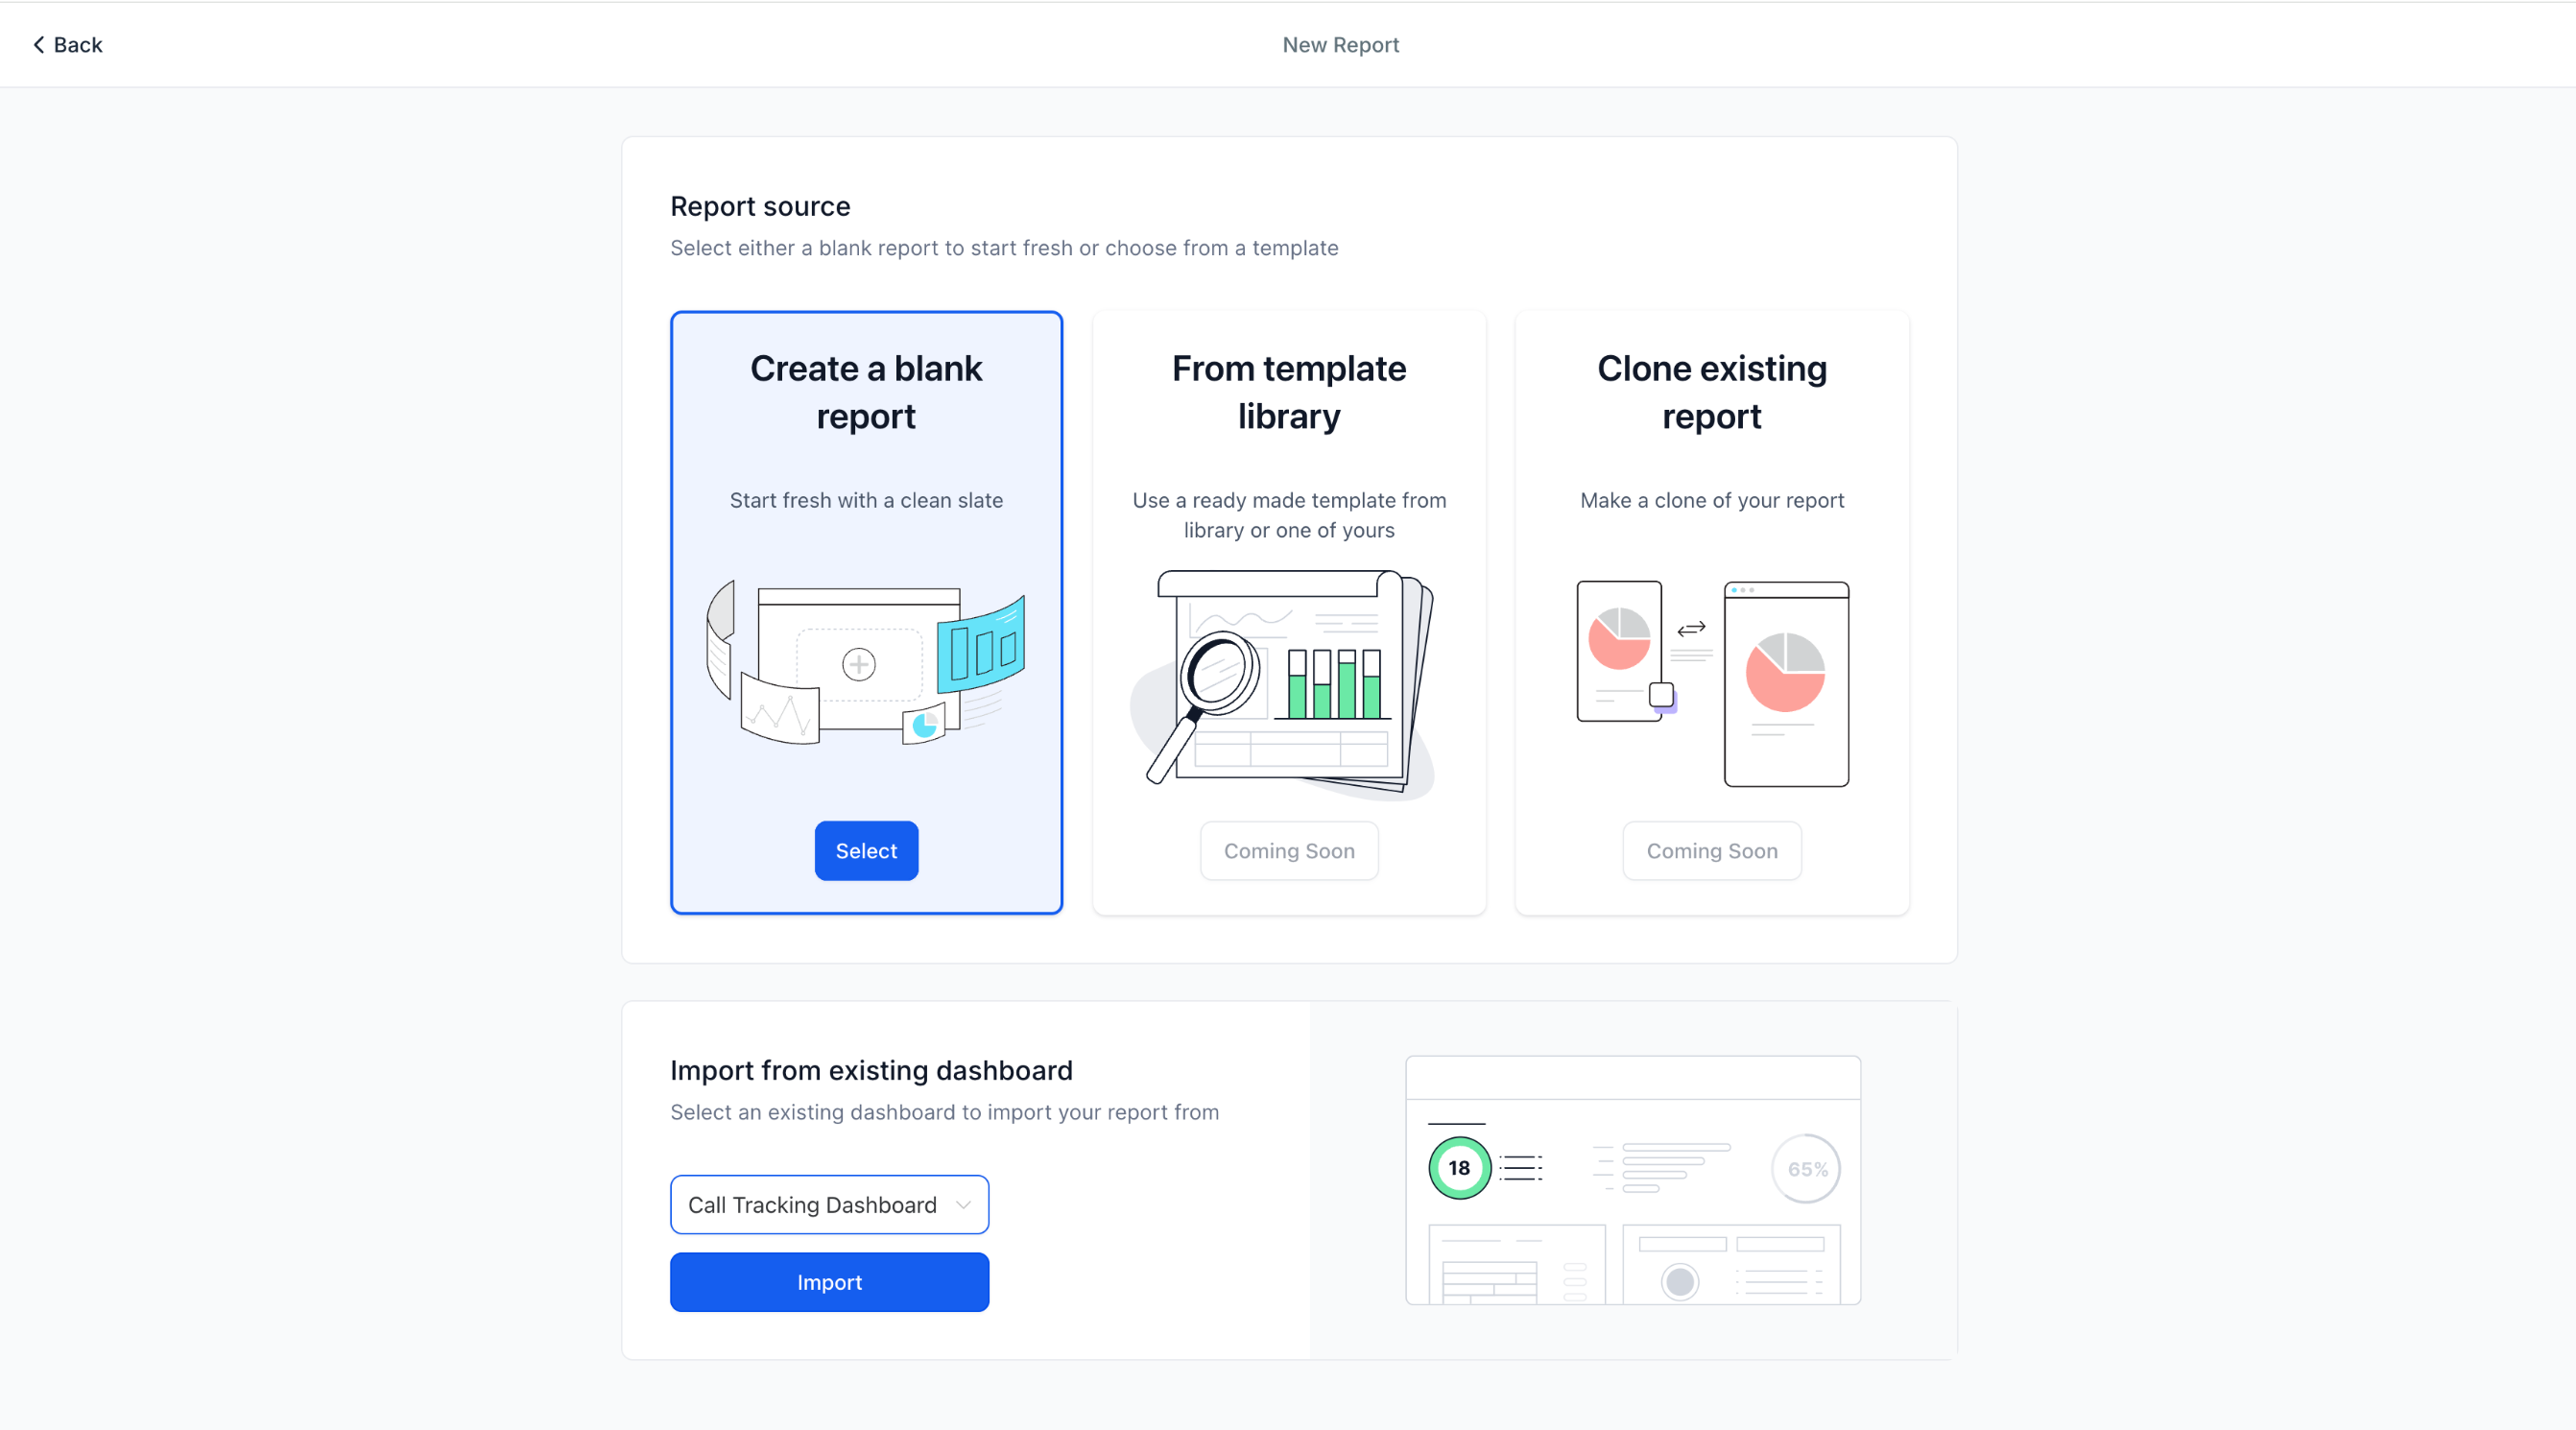
- Select New Report to start a fresh report.
Start from Scratch or Use an Existing Dashboard
- Choose to create a report from the beginning or convert an existing dashboard.
Using the Report Builder
- If you start from scratch, the Report Builder opens automatically.
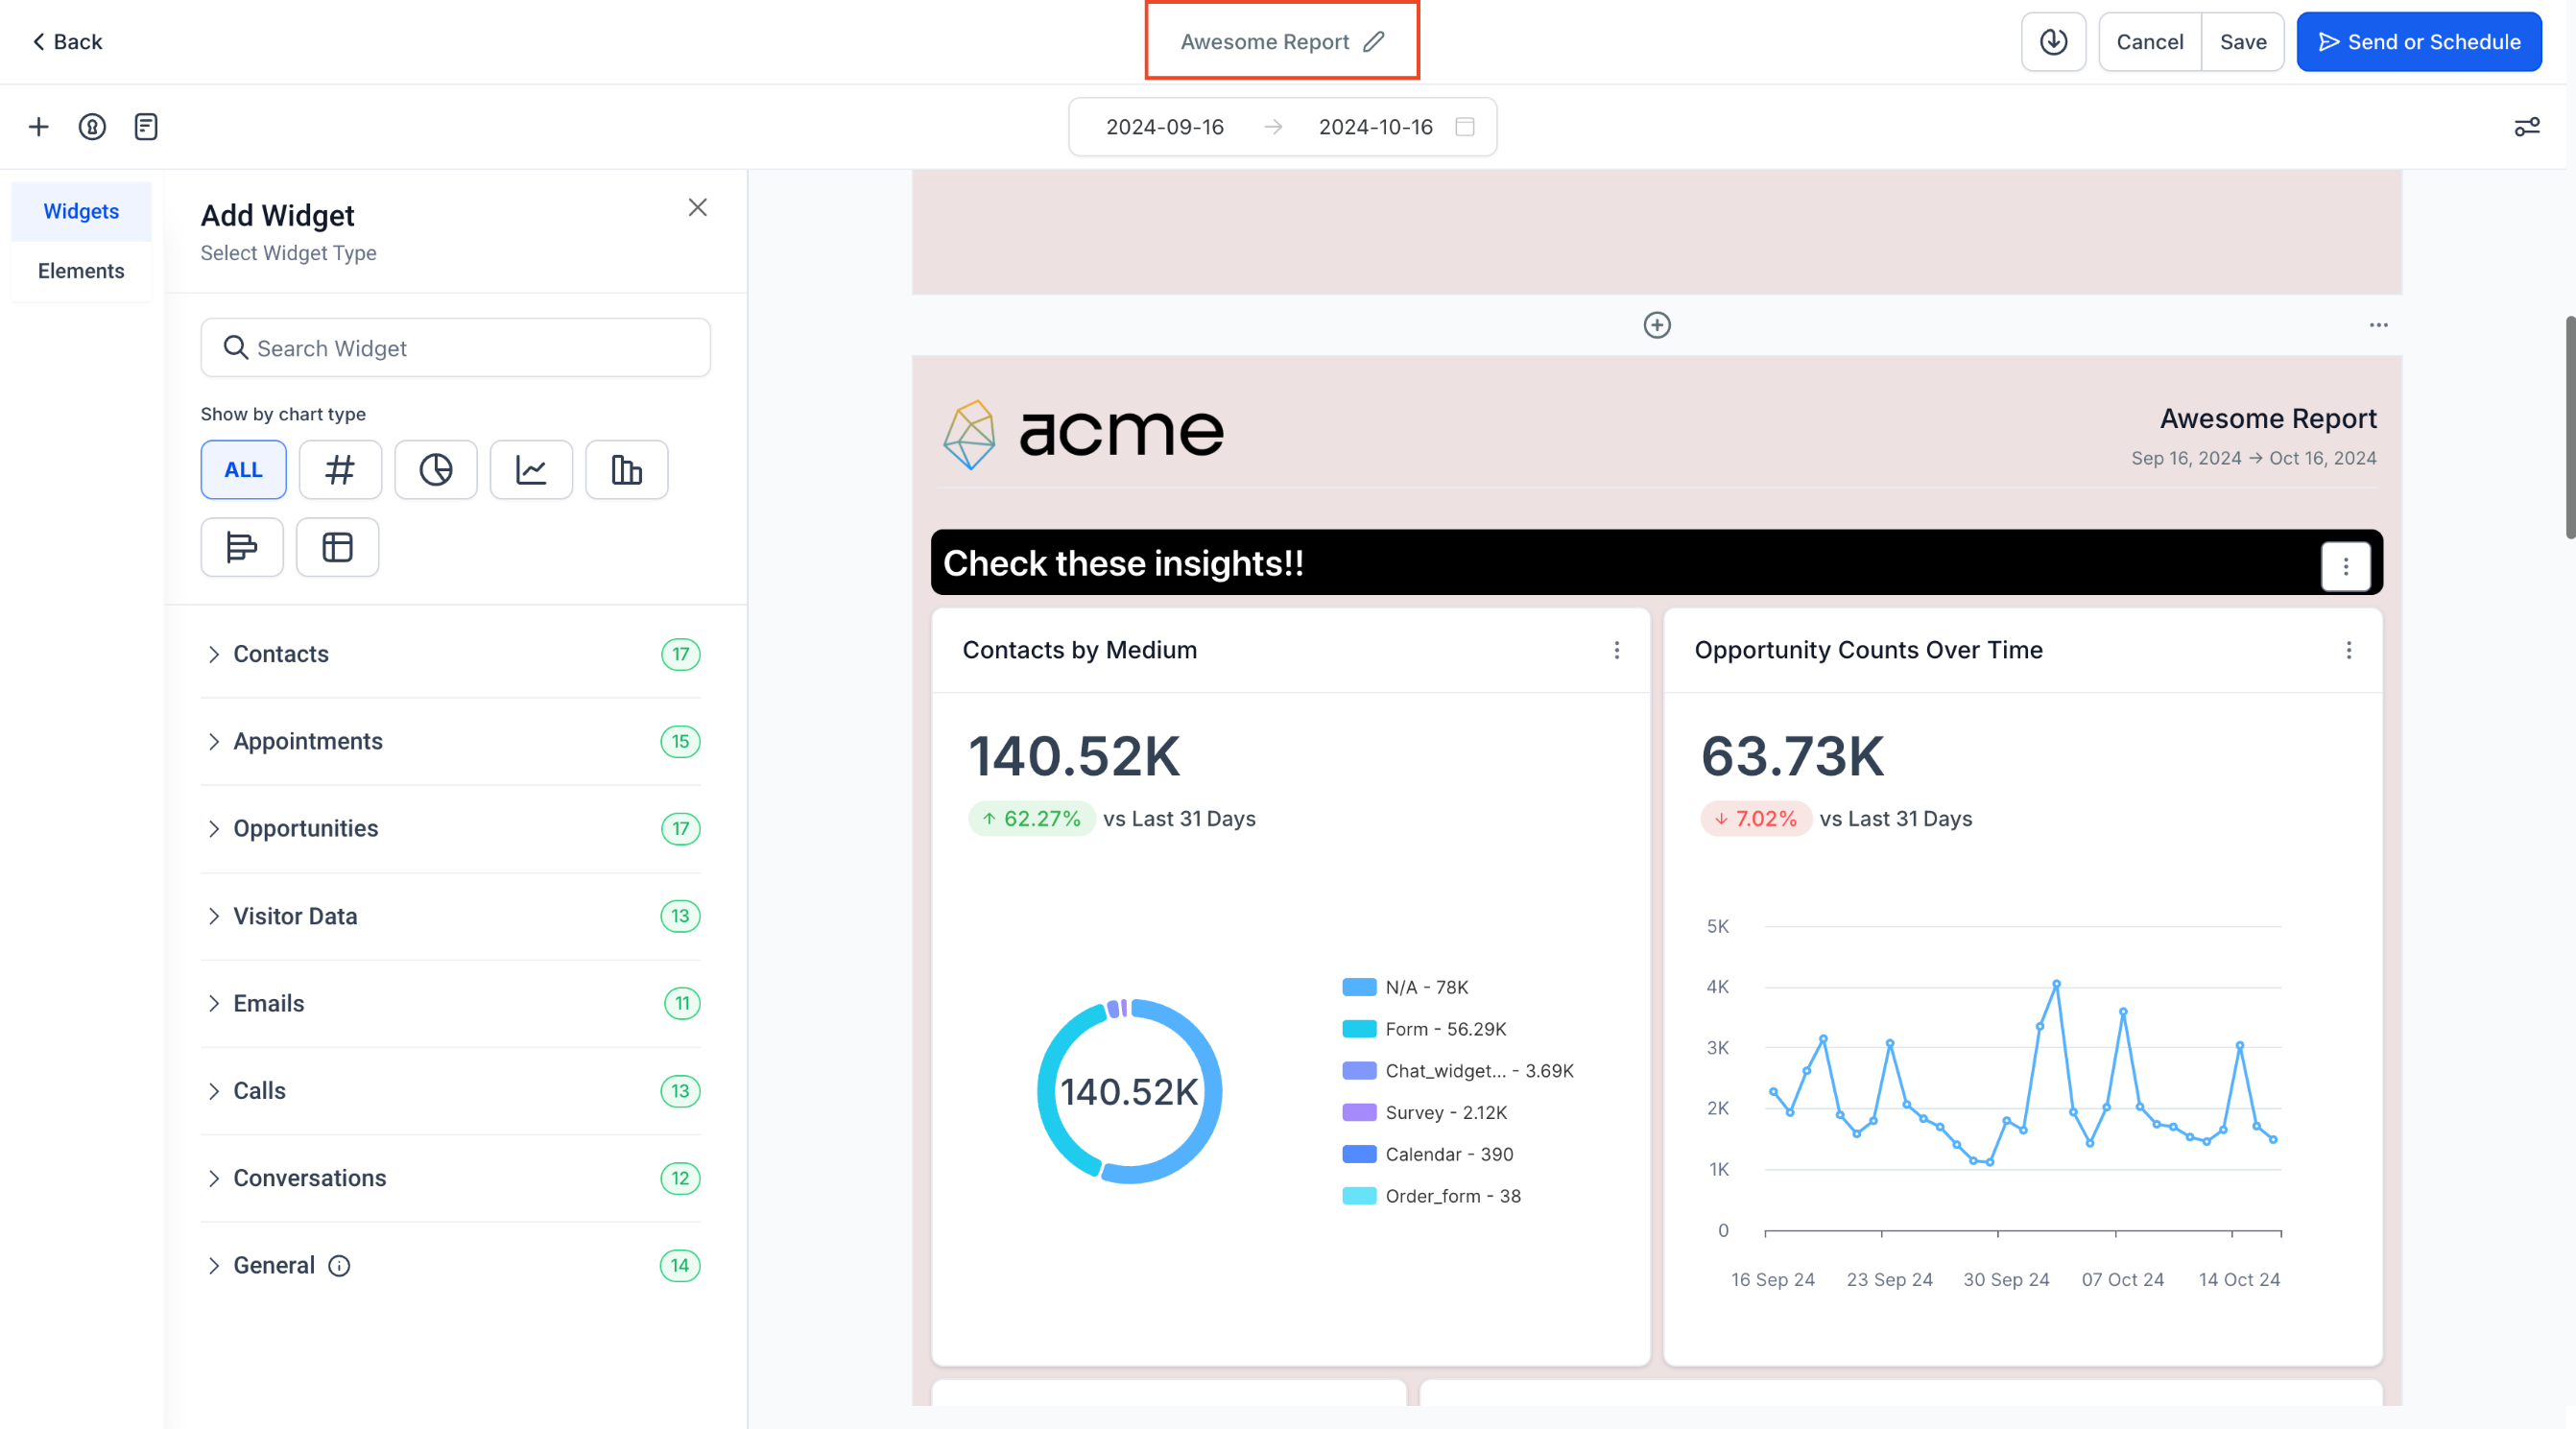
- Enter a new name at the top of the builder to identify the report.
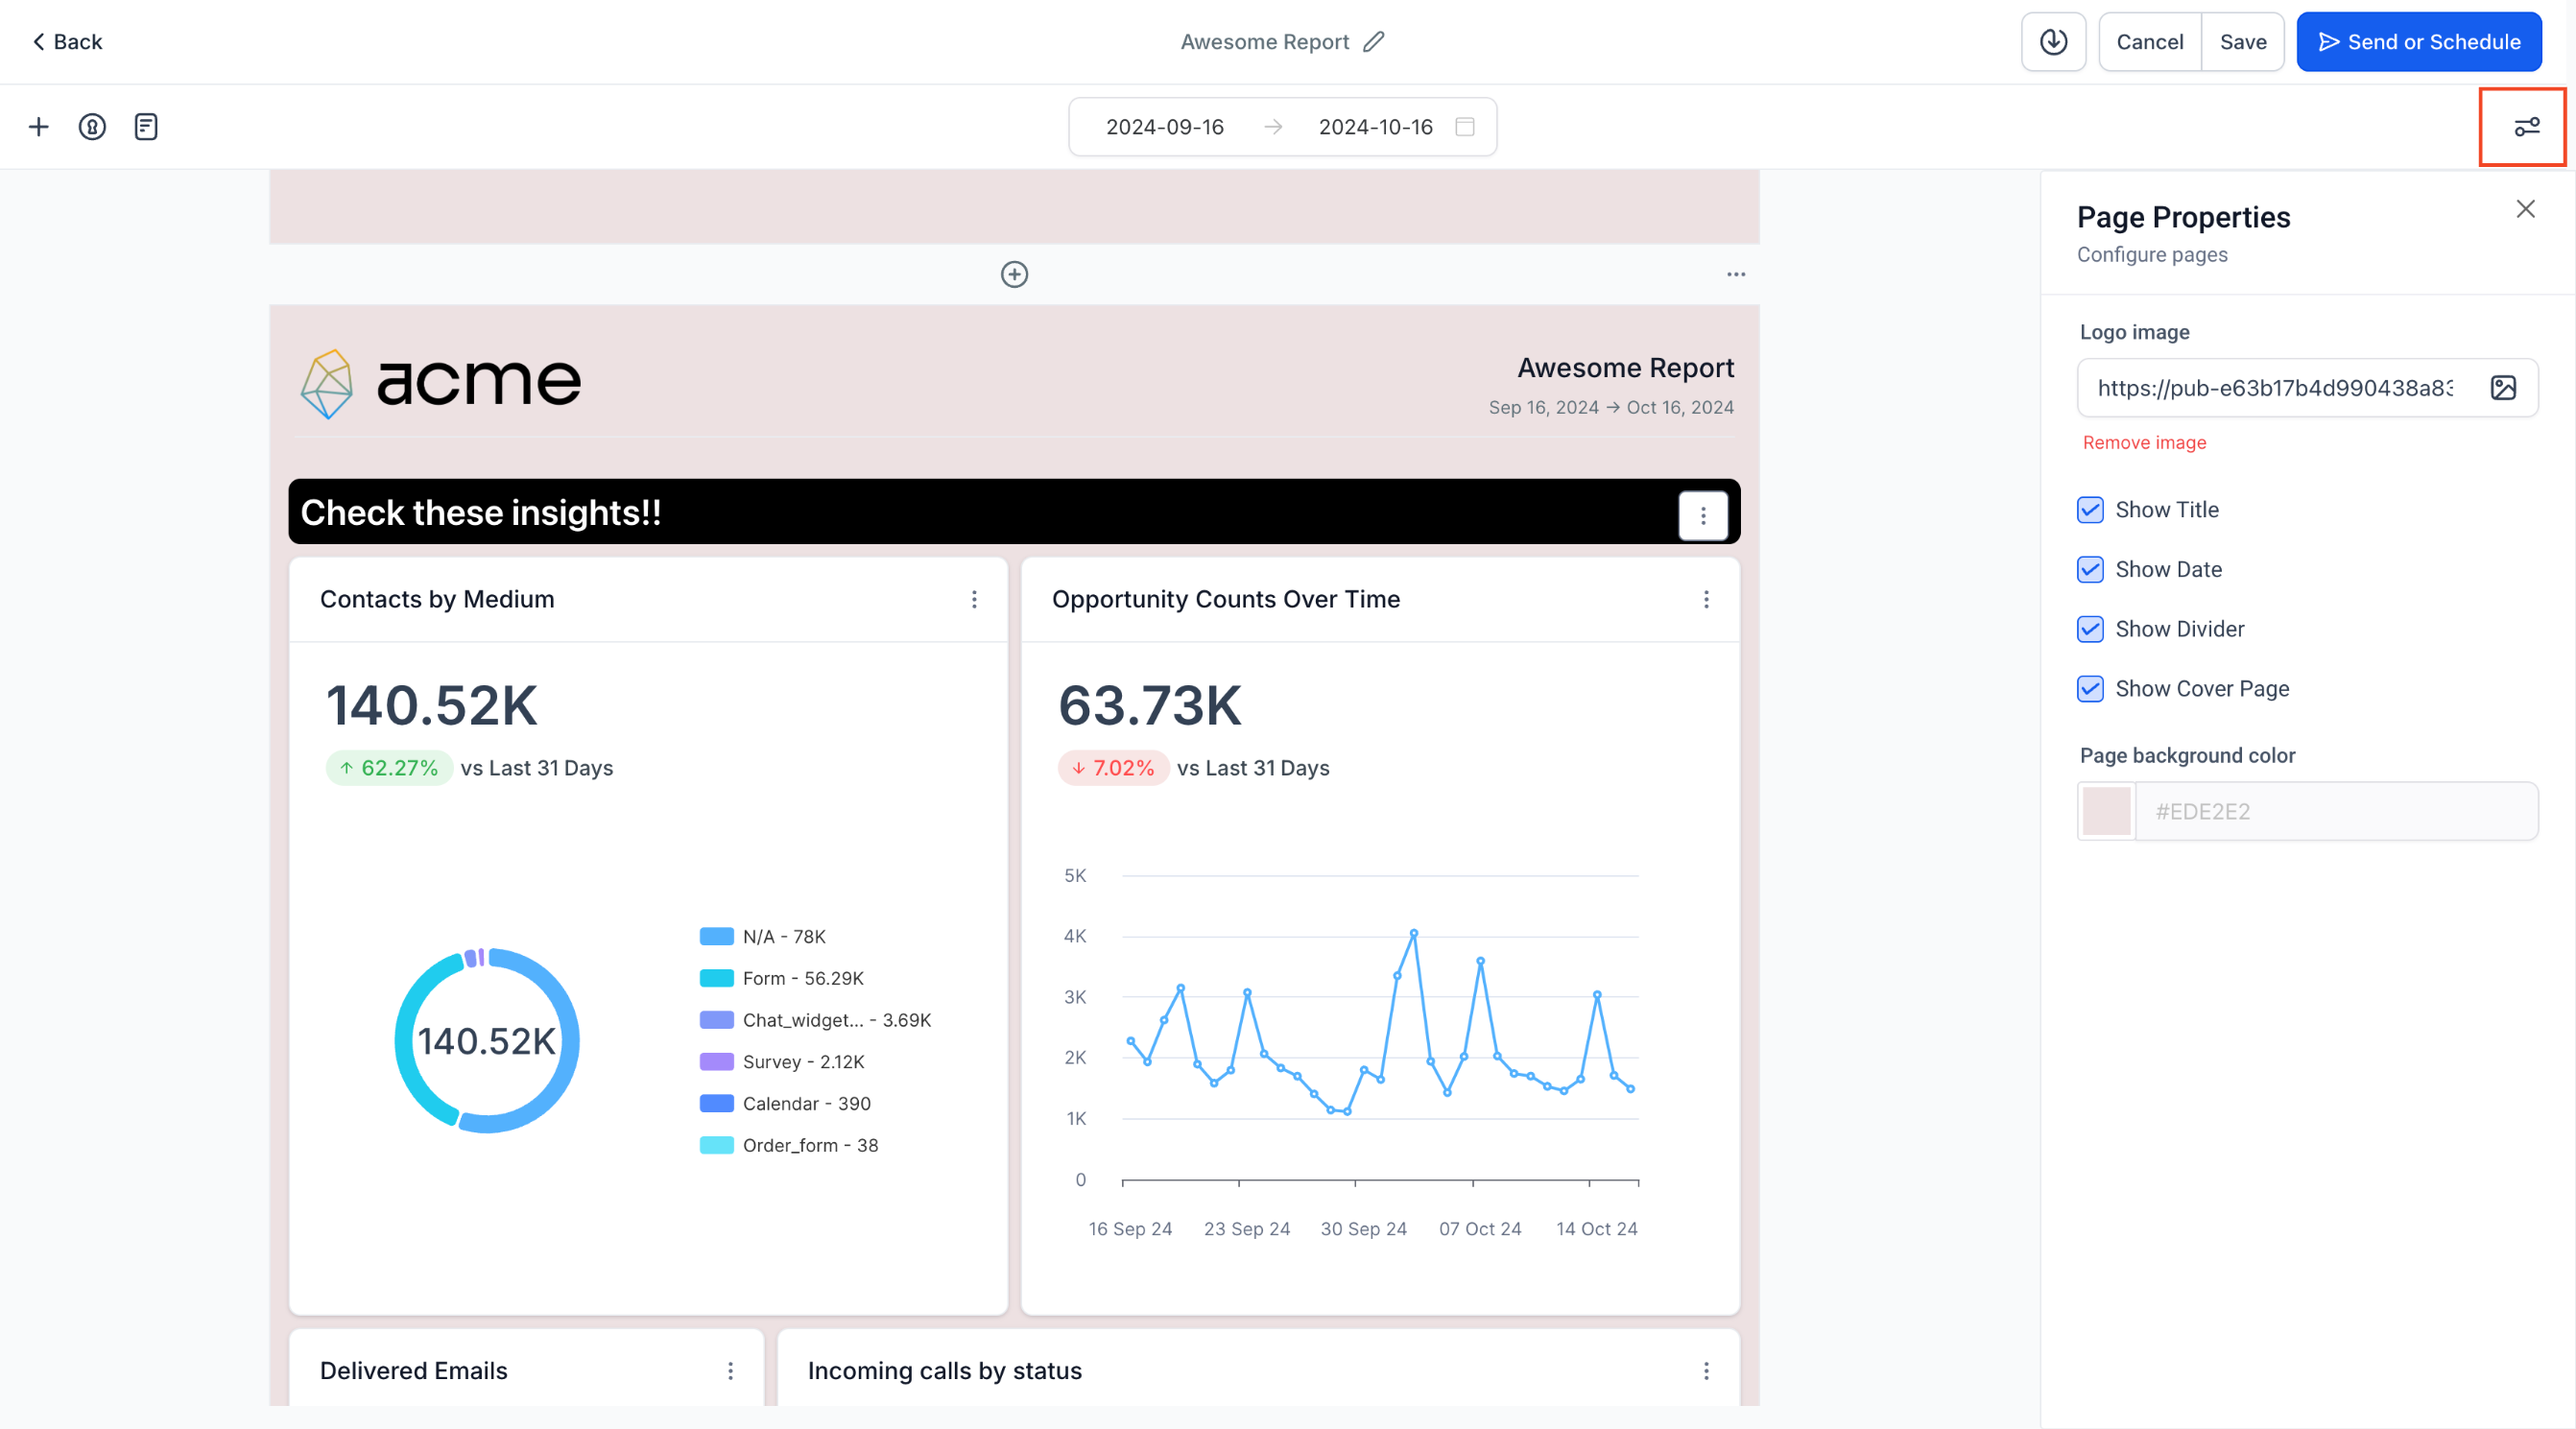
Customize the Cover Page
- Open the Page Properties panel on the right to edit the cover page.
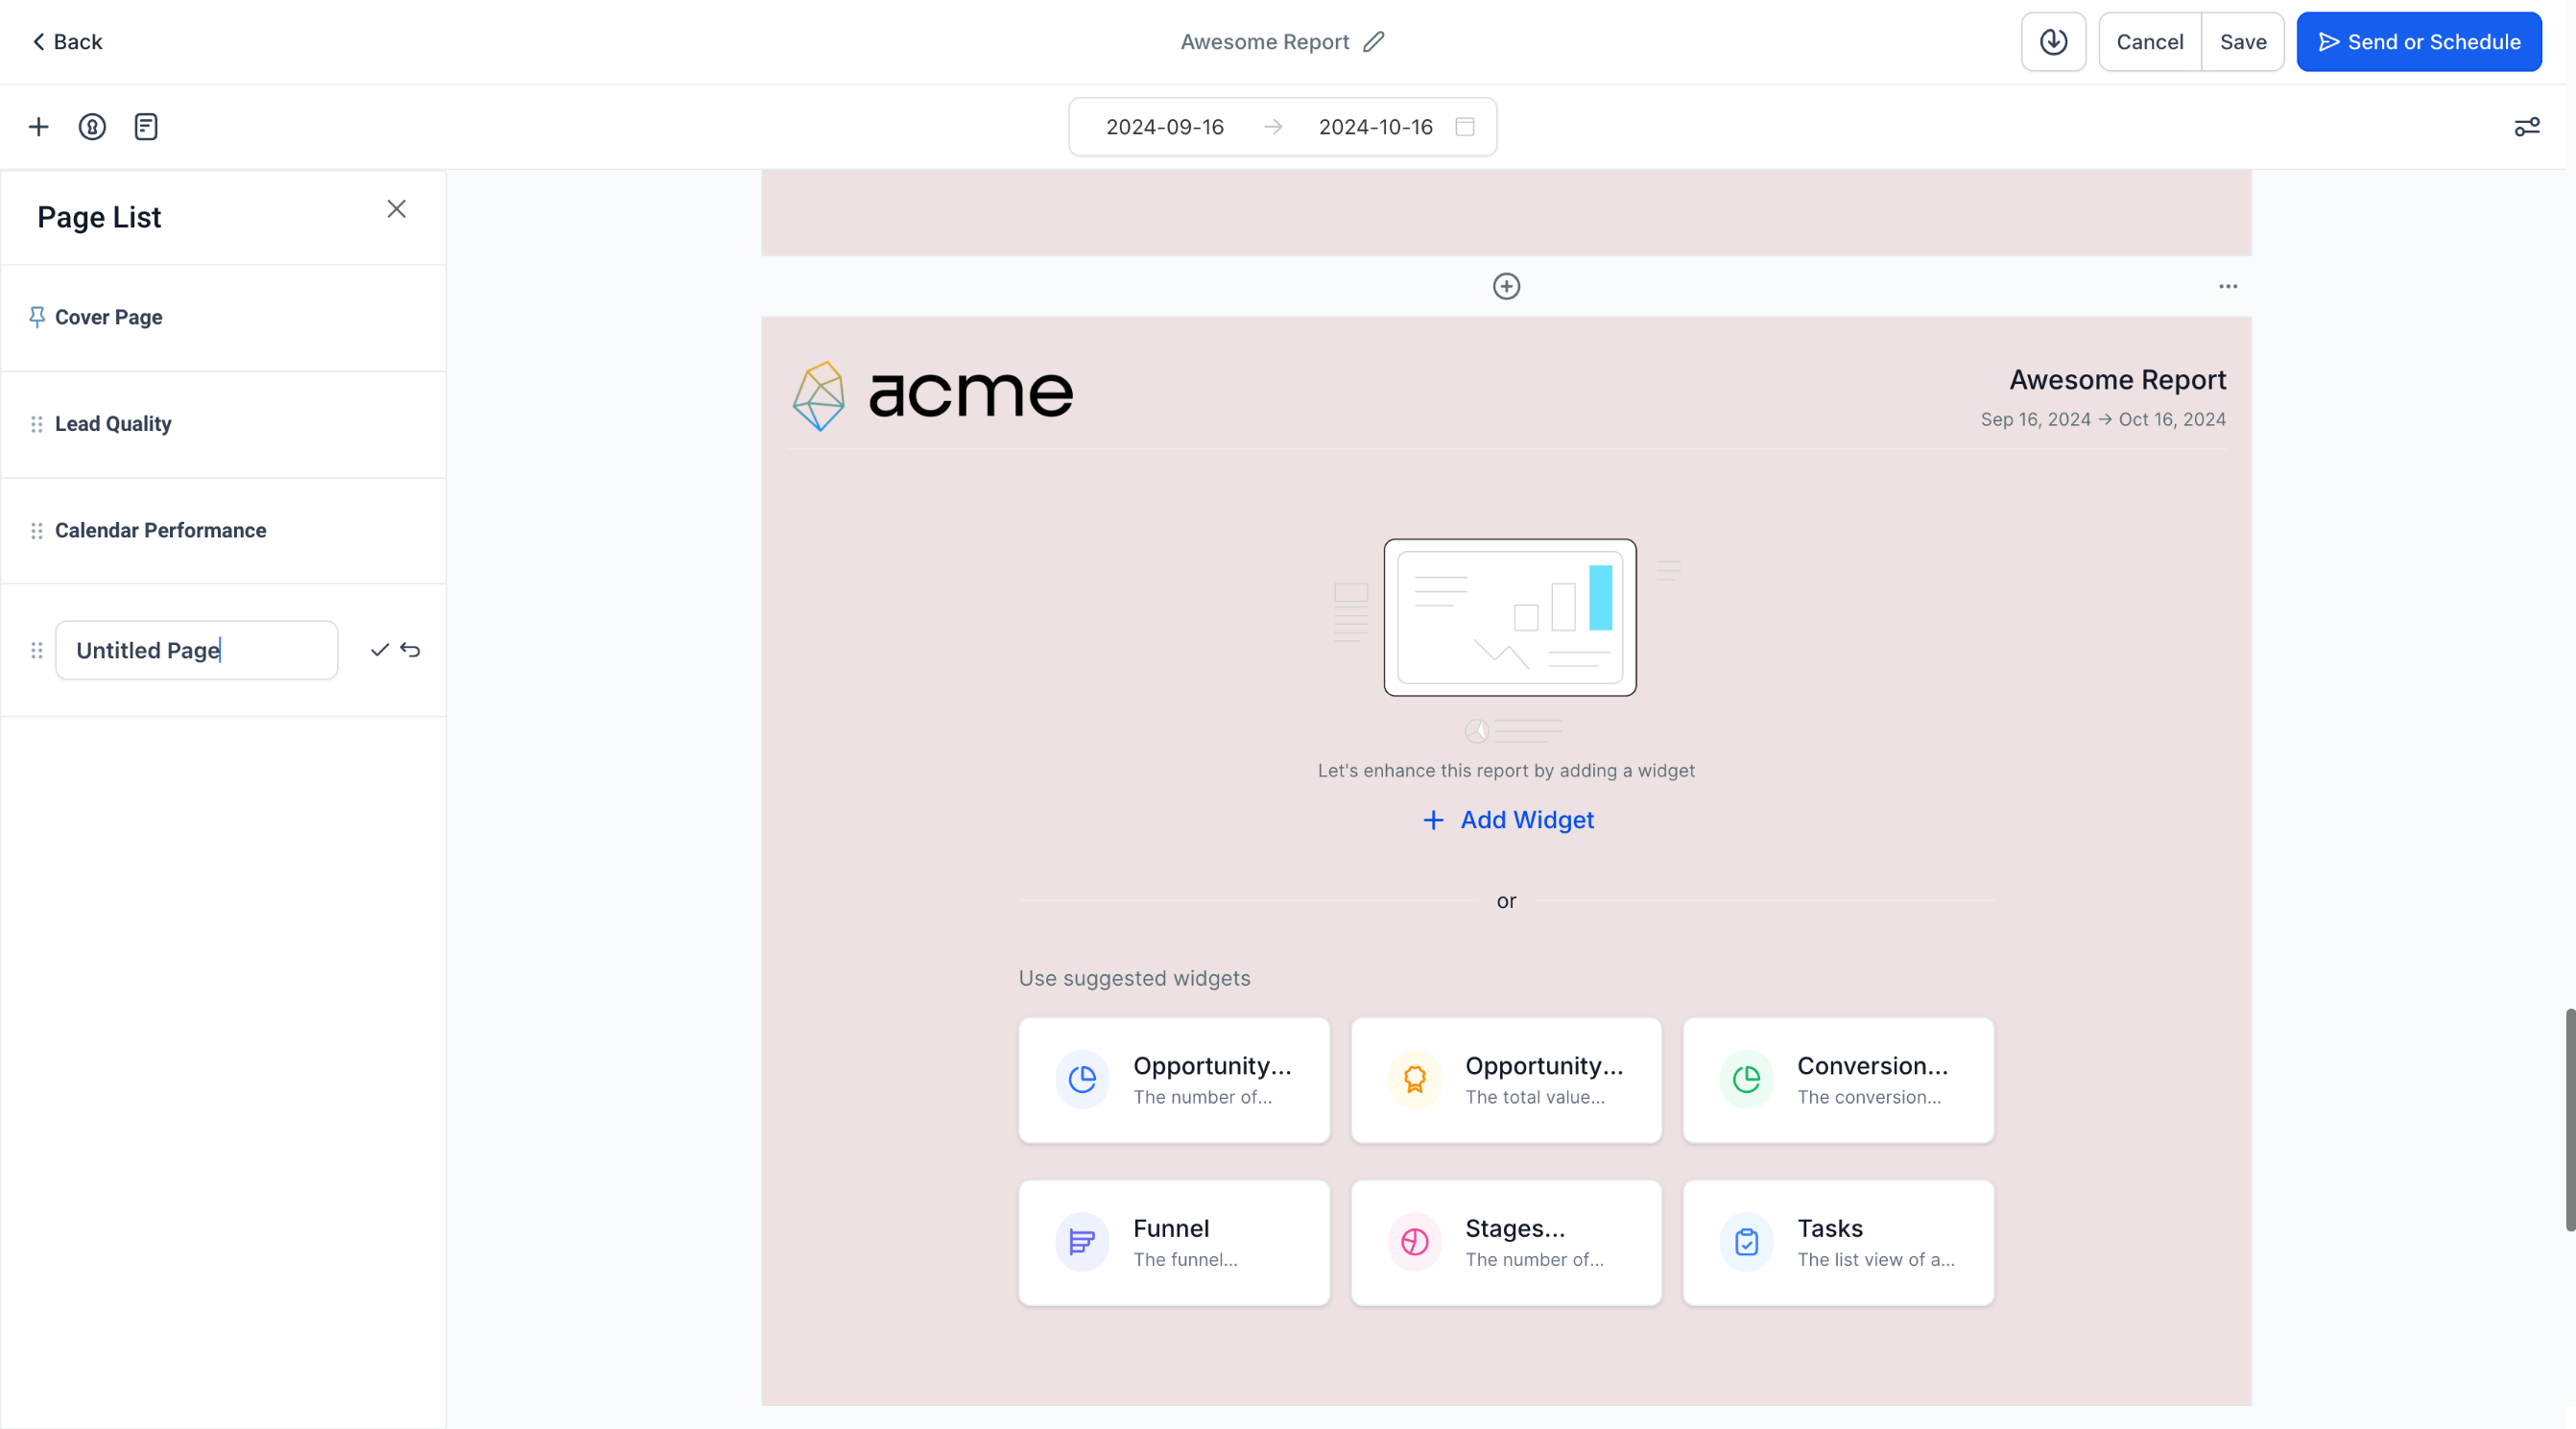
- Upload the company logo using the logo option.
- Set header text for each page in the header field.
- Change the background color of the pages with the color picker.
Add widgets, sections and themes
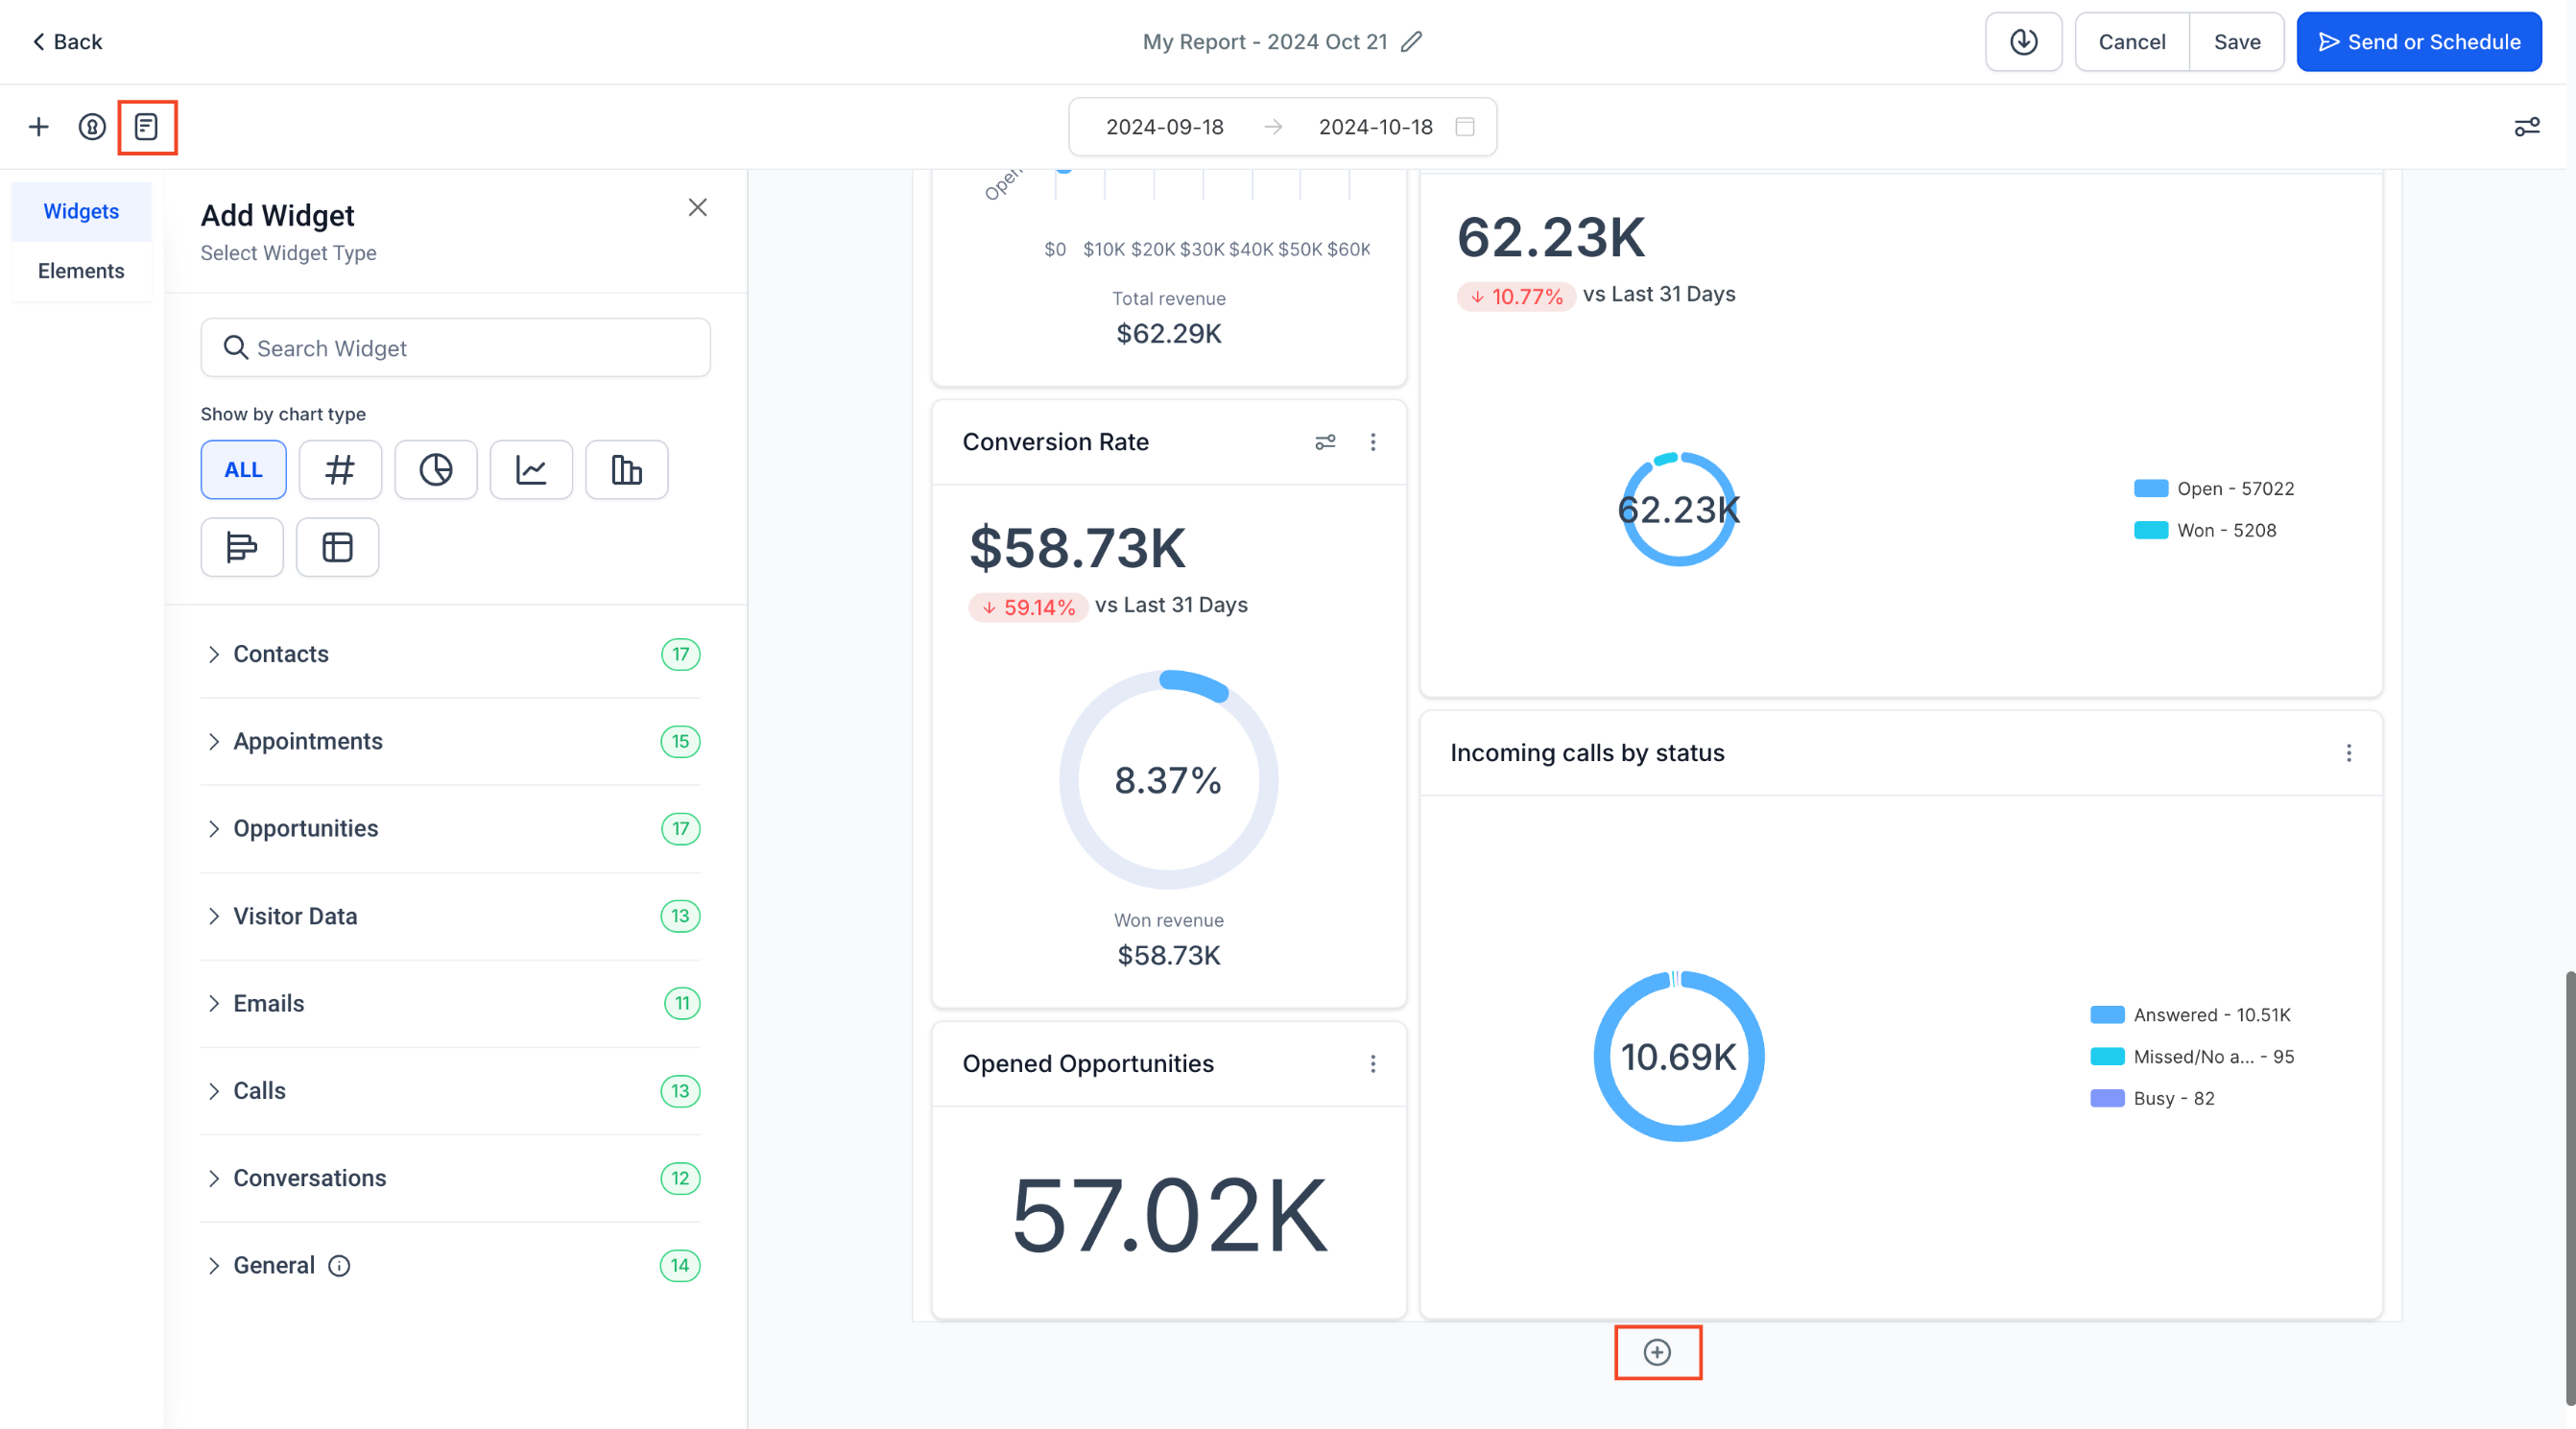
- Click the plus icon on the left side to open the widget selector.
- Select or upload the desired widgets from the widget sidebar.
- Use the Elements Menu to insert titles and create readable sections.
- Open the Themes panel and pick a predefined theme or add a custom theme.
Manage pages
- Click the plus icon at the top or bottom of a page to add a new page.
- Press the Page Icon to view a list of all pages.
- Drag pages to reorder them and rename them as needed.
Download your report
- Click the Download button at the top to save the report as a PDF.
Save, send or schedule your report
- Press Save, then choose either Send or Schedule for the report.
Configure schedule and delivery
- Select the frequency such as daily or weekly.
- Choose the exact time of day for delivery.
- Pick the date range that the report will cover.
- Enable Widget Level Date Settings if widgets need their own date ranges.
- Turn on Compare With to include trend and comparison data.
- Enter the sender email address for the outgoing messages.
- Write a subject line for the email.
- Add the email addresses of the recipients.
- Optionally type a custom message in the email body.
Send a test email
- Send a test email to preview how the report will appear to recipients.
Final step, save and schedule
- Click Save and Schedule so the report is automatically sent according to the defined schedule.
07What it looks like in HighLevel
08Settings that matter
- Widget Level Date Settings. Determines whether each widget keeps its own custom date range in the emailed report.
- Compare With. Adds trend and comparison data to the report when enabled.
- Sender Email. Specifies the email address that appears as the sender of the scheduled report.
- Subject. Sets the subject line for the report email.
- Recipients. Lists the email addresses that will receive the scheduled report.
- Optional Email Body. Allows inclusion of a custom message in the body of the report email.
- Page Properties, Logo. Uploads a company logo for the report’s cover page.
- Page Properties, Header. Defines header text that appears on each report page.
- Page Properties, Background Color. Changes the background color of all report pages.
- Themes. Applies a predefined visual theme or a custom theme to the entire report.
09Things to know before you rely on it
- Table widgets show only the first 100 records in PDF exports and email previews.
- Drill down charts are not available in either PDF or email formats.
- Images and iframes are excluded from PDF files but appear in email preview links.
- Only JPEG and PNG image formats are reliably rendered; other formats may not display correctly.
10How it connects to the rest of HighLevel
- Explore pre built templates for quick, branded reporting. Template library
- Review the plans that include Custom Reports. Pricing
- Start a free trial to test Custom Reports. 30 day trial
Michael's take

Many people think the first step is to style the report before adding the data, and they end up spending time moving widgets around only to realize the date range is wrong. I’d start by setting the correct date range and any widget level date overrides, then build the layout around that.
Once the layout is locked, I’d run a quick test email to see how the PDF and preview differ, especially for tables and images. That lets you catch the 100 record cap or missing images before you schedule the report for the whole team.