
01Who this is for
- Marketing managers who need clean conversion signals for Smart Bidding optimization.
- Agency owners who track offline sales for multiple client accounts and require consistent attribution.
- Small business Founders who want precise measurement of lead generation ads.
02Google ads offline conversion actions, explained
Google Ads offline conversion actions let you define a specific event, such as a closed deal or qualified lead, and later feed the result back to Google using identifiers captured at click time. The rule lives in the Google Ads interface, not within HighLevel, and it supports only offline data sources. After you create the action, HighLevel can upload matching GCLID, GBRAID, or WBRAID values via Ad Manager or Workflows.
When an identifier is received, Google Ads matches it to the original ad interaction and attributes the conversion to the appropriate campaign, ad group and keyword. The platform then uses this data for reporting and for optimizing bids with Smart Bidding. All configuration steps occur in Google Ads; HighLevel only supplies the identifier and optional value when the offline event occurs.
03How businesses use Google ads offline conversion actions
- Real estate agency. The agency creates an offline conversion action for closed property sales. When a sale is marked won in HighLevel, the agent’s workflow sends the GCLID and sale value from HighLevel to Google Ads, allowing the platform to credit the originating ad.
- Auto dealership. The dealership sets up an offline conversion to track vehicles delivered. After a vehicle delivery is logged in HighLevel, the workflow uploads the GBRAID along with the sale amount, enabling Google Ads to attribute the conversion to the correct ad interaction.
- SaaS company. The SaaS team defines an offline conversion for qualified trial sign ups. When a lead reaches the qualified stage in HighLevel, a workflow posts the WBRAID and a fixed value to the Google conversion action, informing bid adjustments.
04The numbers and rules that matter
- Conversion window set to 90 days.
05Before you start
- Admin or standard access to the target Google Ads account.
- Agreement on the naming hierarchy for goals (e.g., Lead vs Qualified lead).
- Decision whether the conversion will serve as a primary action for bidding.
- Clarity on which identifier (GCLID, GBRAID, WBRAID) will be sent from HighLevel.
06How to set up and use Google ads offline conversion actions in HighLevel
Create a Google Ads offline conversion action
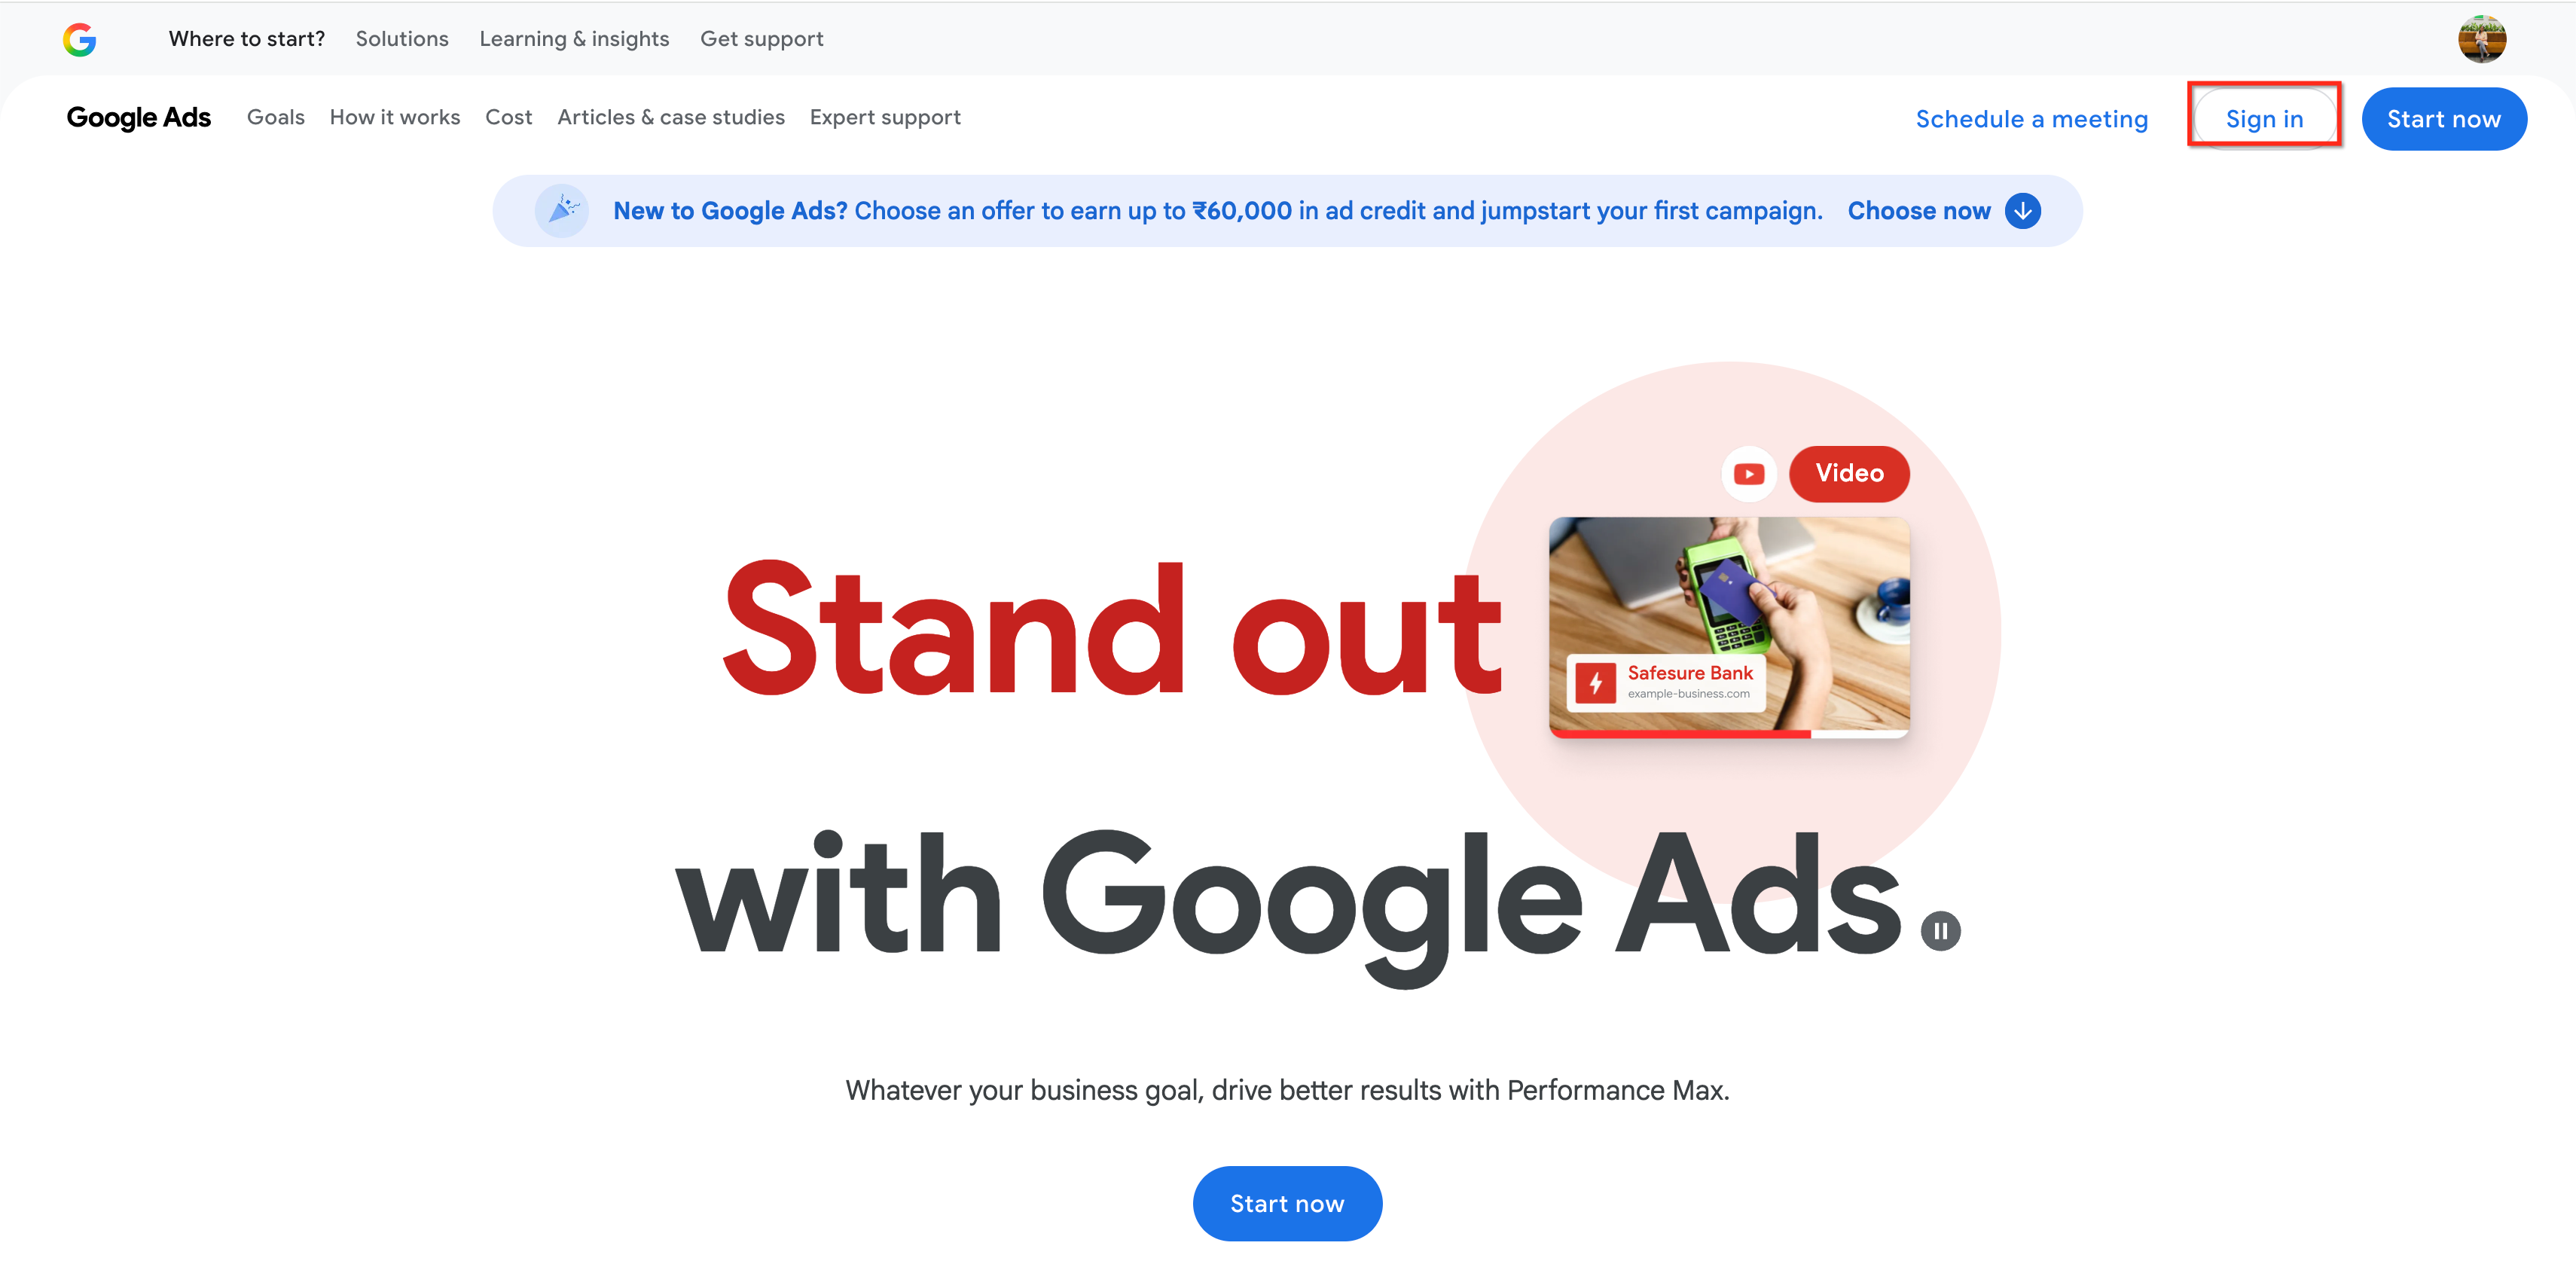
- Open ads.google.com and sign in, or start a new Google Ads account.
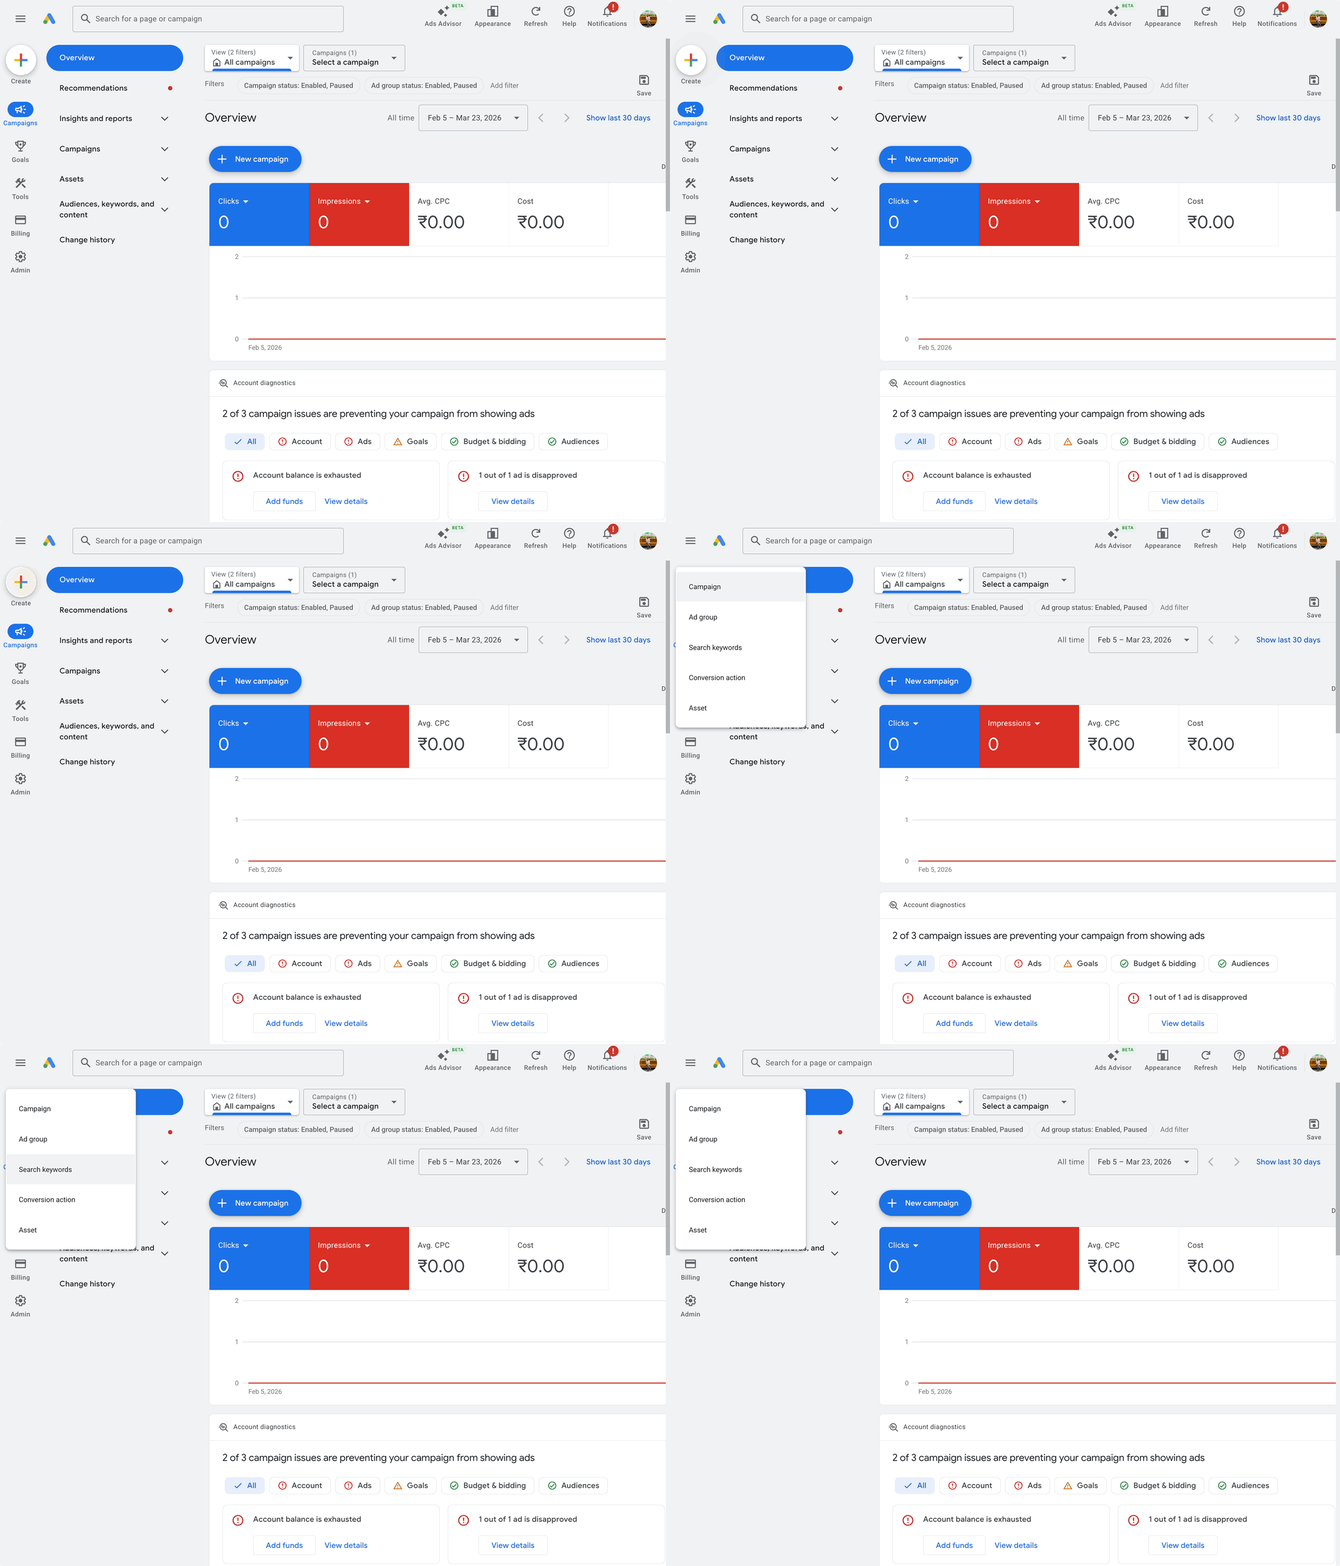
- Click the plus sign and choose Conversion action from the dropdown menu.
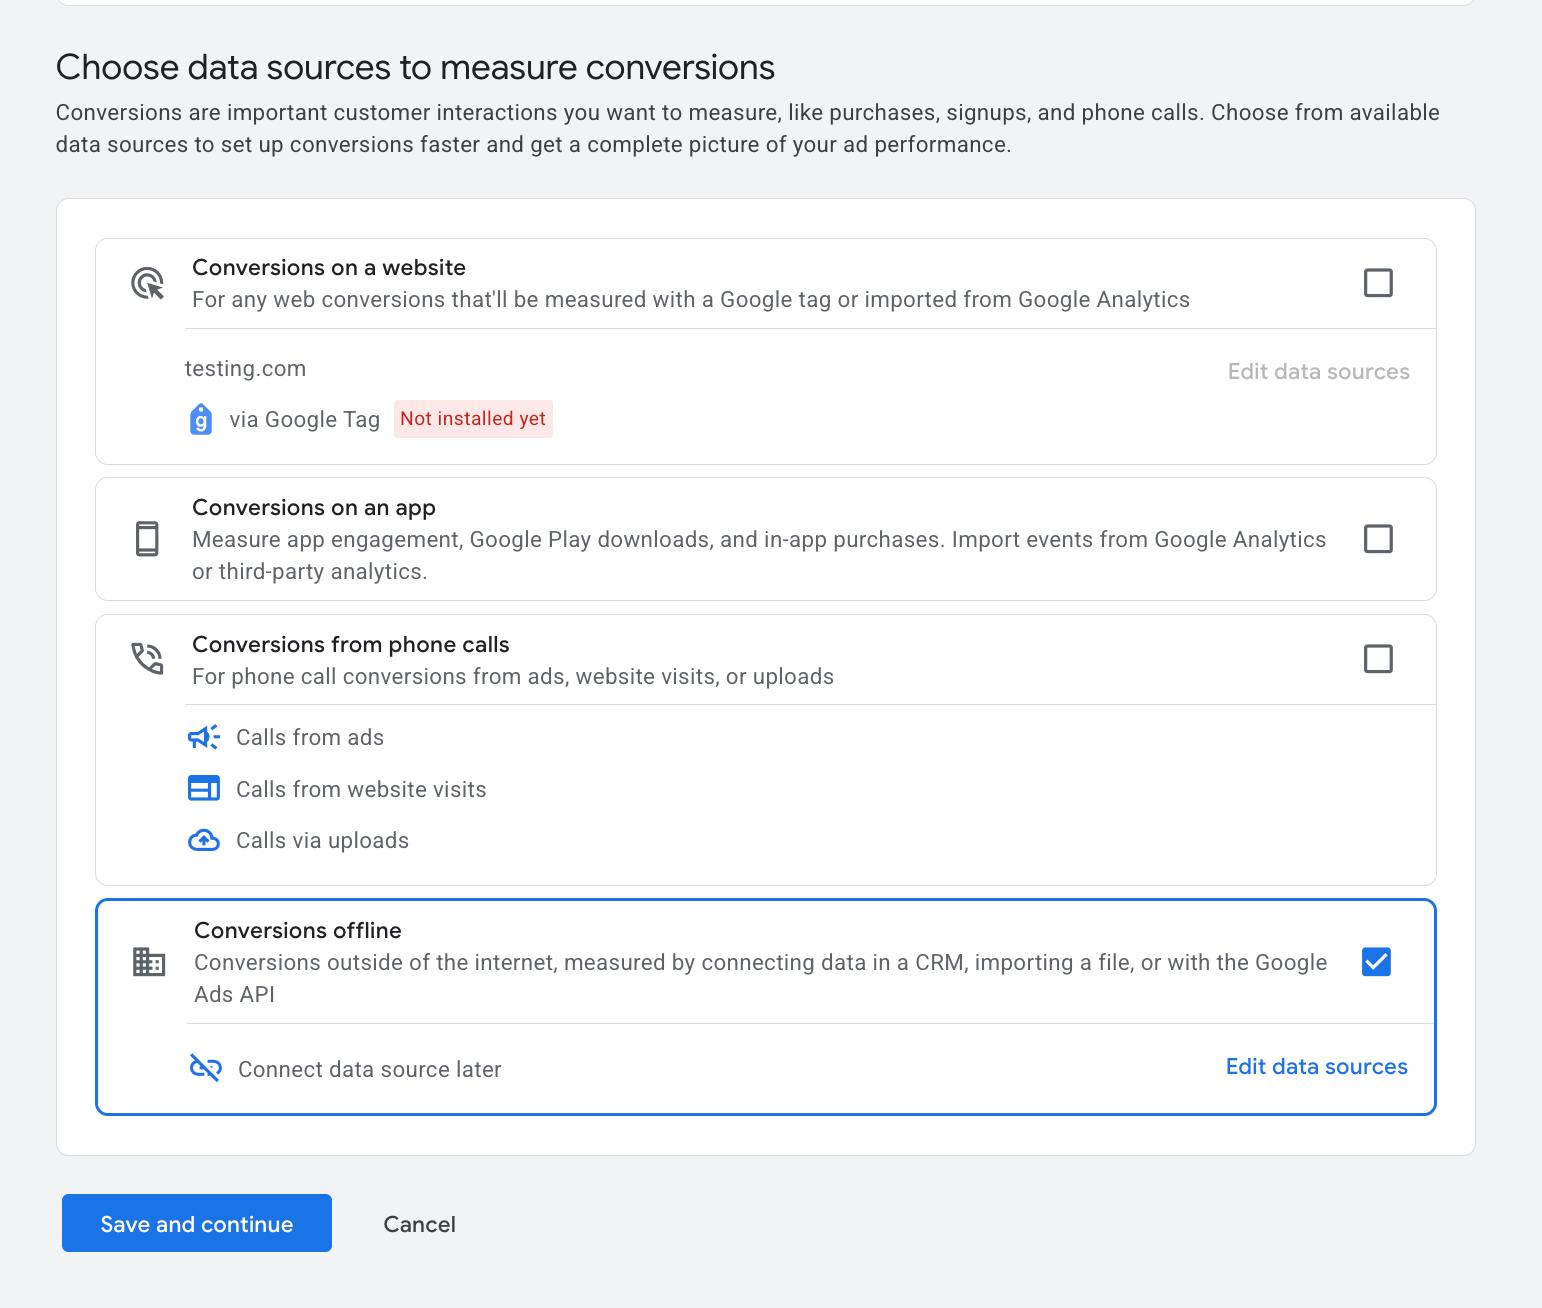
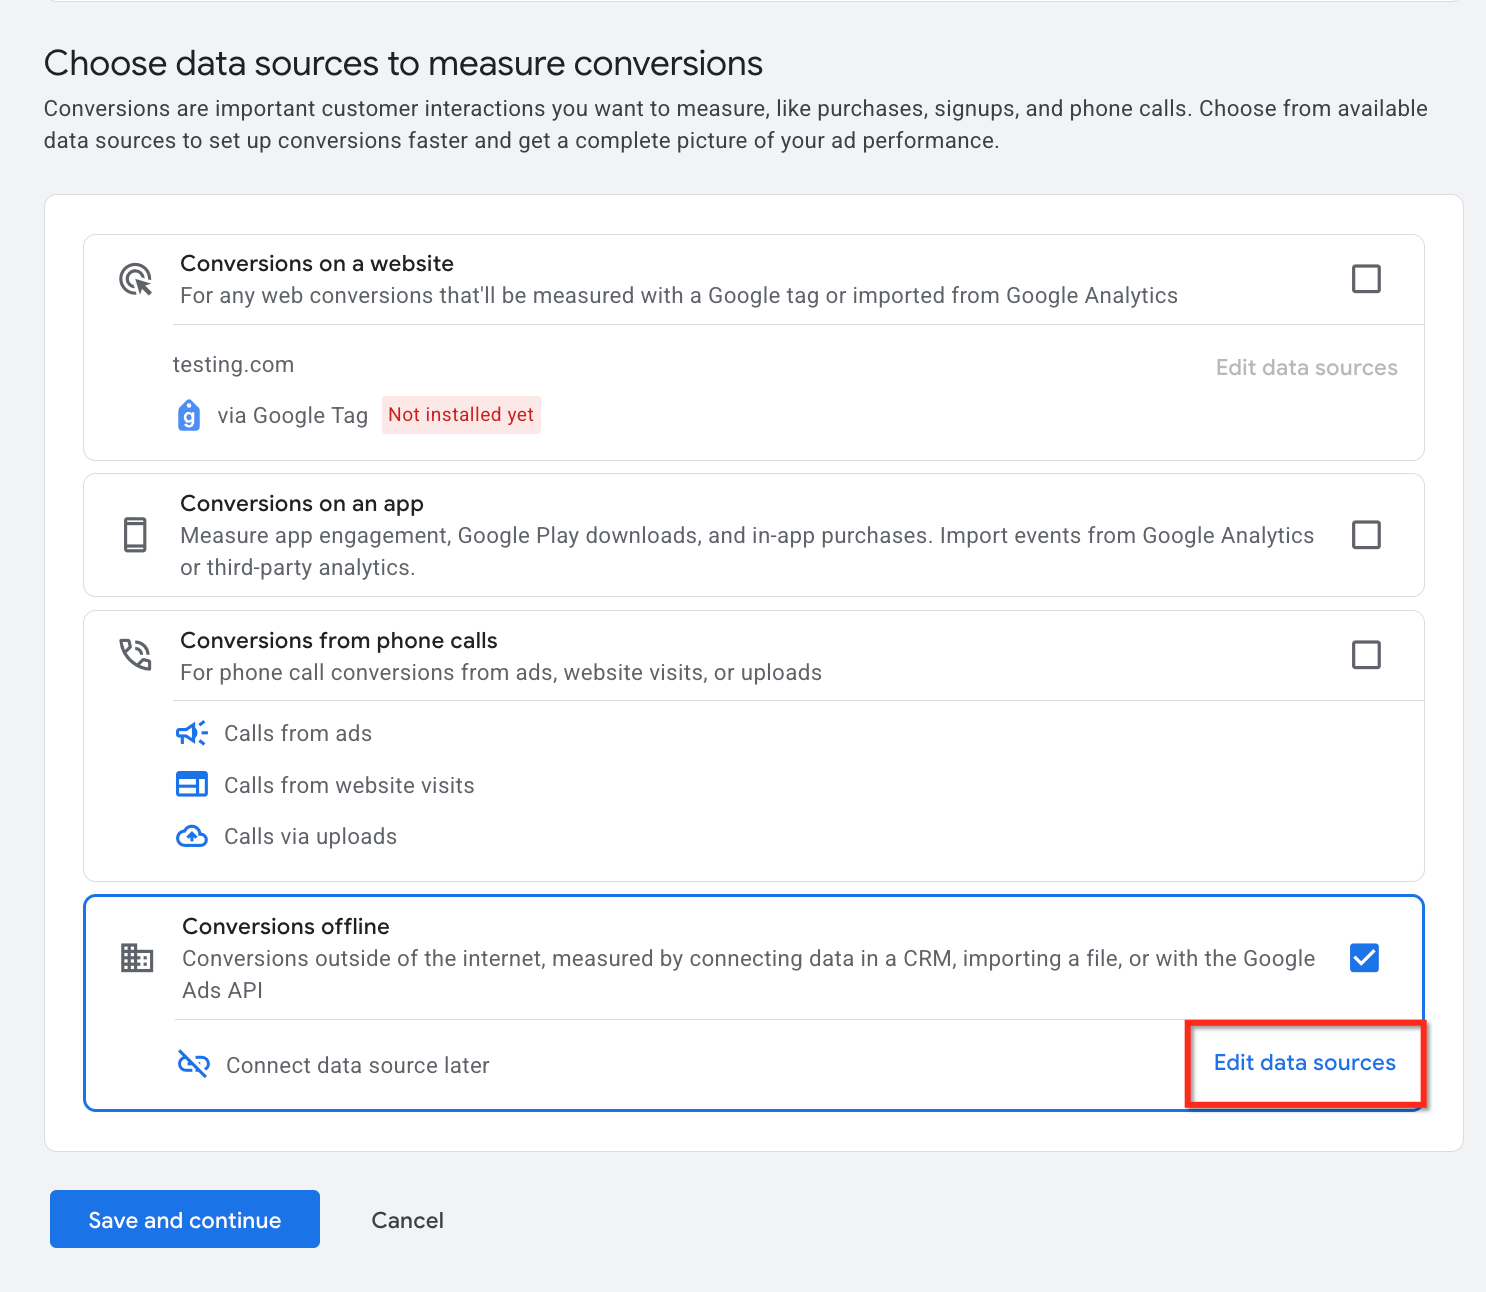
- Select the appropriate data source type as prompted by the UI.
- Choose the Offline conversions option.
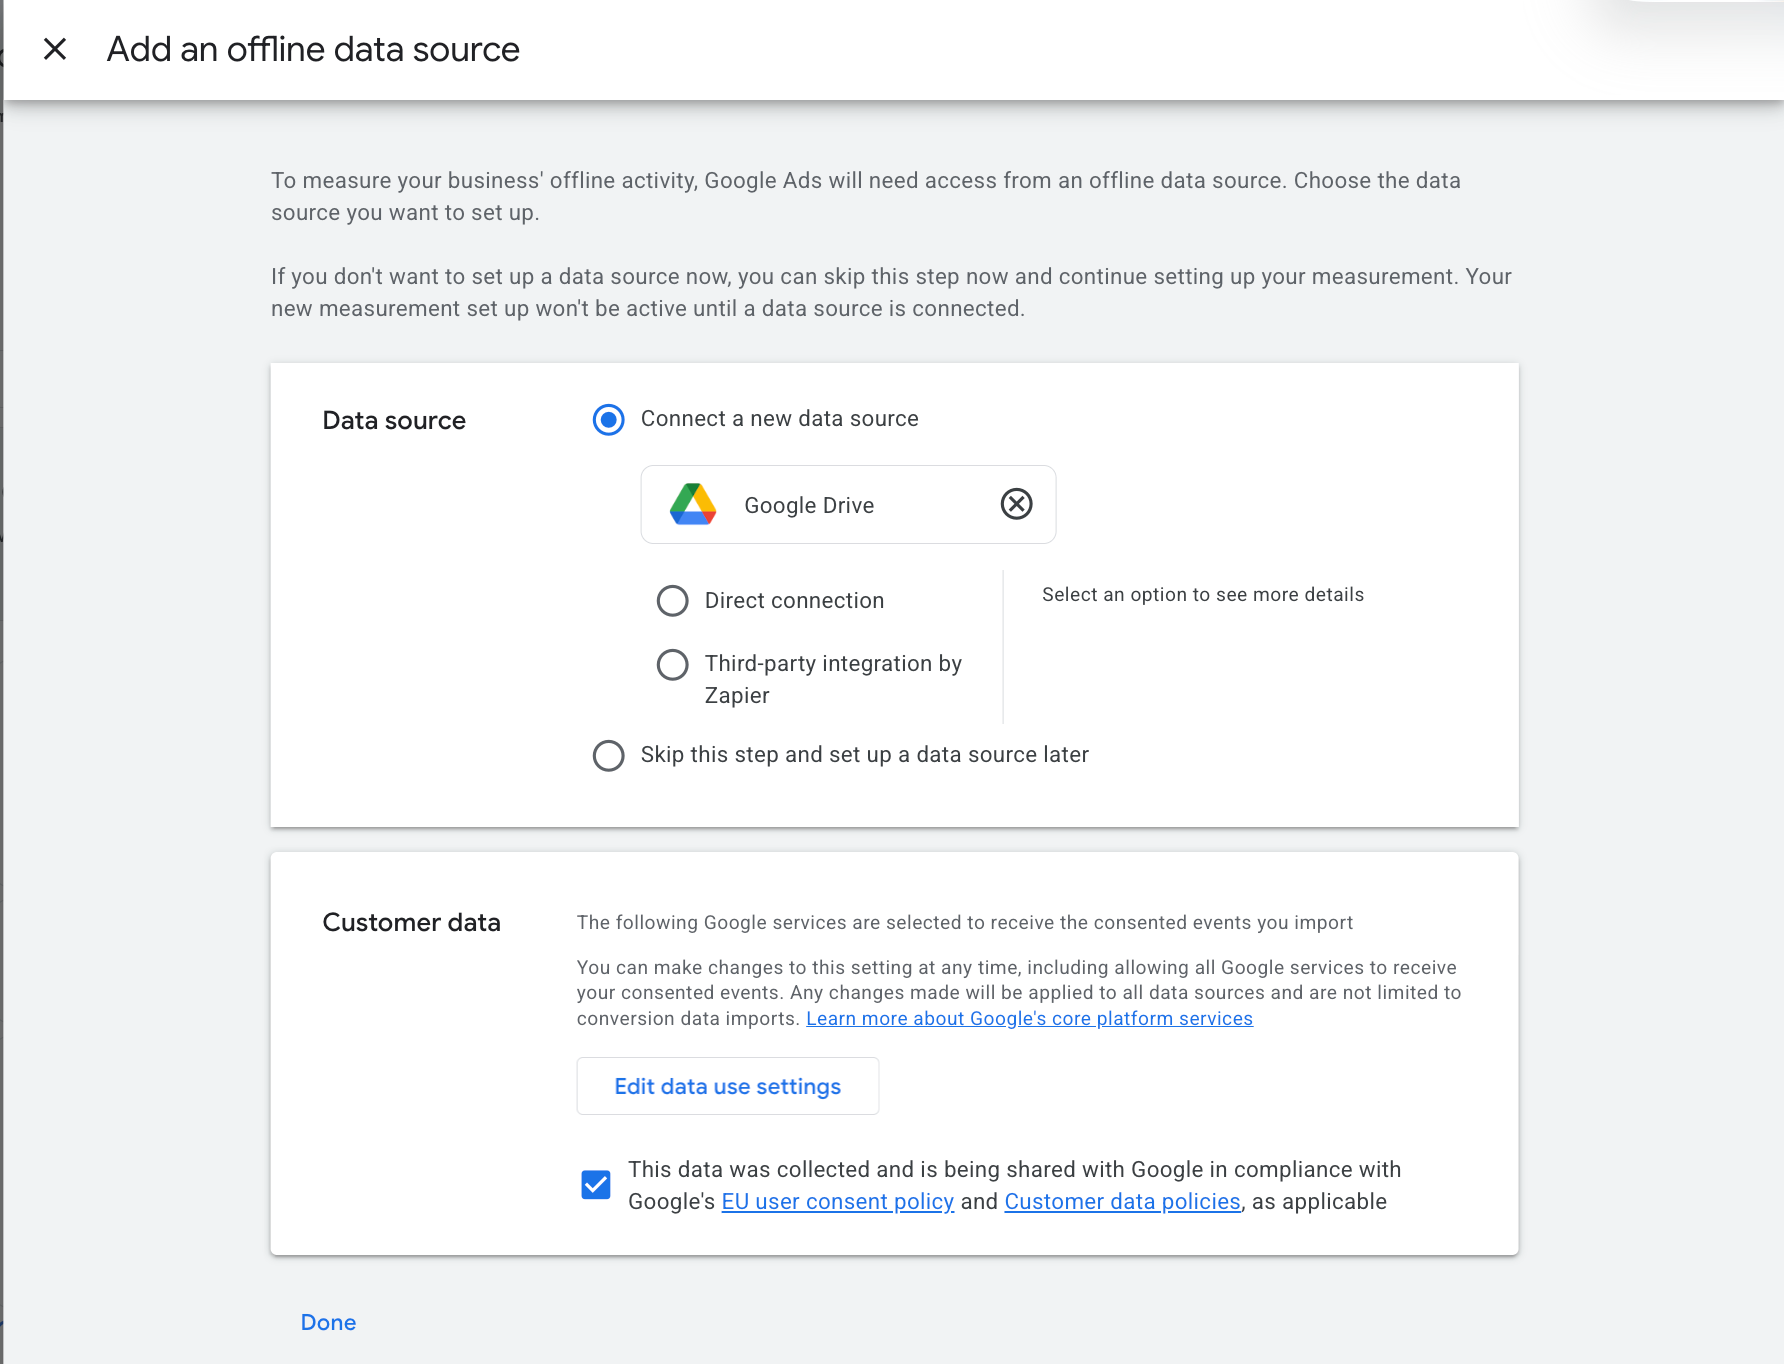
- Edit data sources and select “Skip this step and set up a data source later.”
- Save and Continue, then pick a Conversion Category that matches the event you want to track.
- After choosing a category, add a data source to the category.
- Open Edit settings to define the conversion details.
- Set the Optimization to “Primary action used for bidding optimisation”.
- Enter a name for the conversion and record it for later reference.
- Select how the conversion value will be handled (same, different, or none).
- Choose the Count option and set it to “Every”.
- Configure the click through conversion window to 90 days, select an engaged view window if needed, and set the Attribution model to Last Click or Data Driven.
- Click Done to save the conversion settings.
- Save and Continue, then choose Create conversion to finish the creation.
- Optionally add another conversion category if needed.
- Click Finish to complete the setup process.
07What it looks like in HighLevel
08Settings that matter
- Conversion Category. Specifies the type of event you are measuring, such as lead, purchase, or signup.
- Conversion Goal. Indicates whether the conversion will be used as the primary action for bidding optimisation.
- Primary action used for bidding optimisation. Designates the conversion as the main signal for Smart Bidding.
- Conversion name. A label that identifies the conversion action in reports and when uploading data.
- Value. Determines whether each conversion reports a monetary amount, a variable amount, or no value.
- Count. Defines if Google Ads records every conversion occurrence or only one per click.
- Conversion window. Sets the time period after a click during which a conversion can be counted.
- Attribution model. Controls how credit is assigned to clicks within the conversion window.
09Things to know before you rely on it
- Only offline conversion sources are supported; website, app, and phone call sources are not applicable.
- The article recommends always choosing “Every” for the Count setting.
- Processing of uploaded conversions can take from a few hours up to 24 to 48 hours.
- At least one identifier (GCLID, GBRAID, or WBRAID) must be supplied for a successful match.
10If something goes wrong
- Count set incorrectly leading to inflated or missing conversions.. Review the Count setting and adjust to “One” for lead generation or keep “Every” for revenue events.
- Conversions not appearing after upload.. Check that an identifier (GCLID, GBRAID, or WBRAID) was included, the timestamps align with the conversion window, and the conversion ID matches the action created.
- Unexpected processing delay.. Allow up to 24 to 48 hours for the data to be processed before checking reports.
11How it connects to the rest of HighLevel
- Set up Google Ad reporting in HighLevel Google Ad reporting guide
- How HighLevel records attribution sources Attribution source guide
- Start a 30 day HighLevel trial Free trial
Michael's take

If your business relies mostly on brand awareness or you don’t have a reliable way to capture GCLID, GBRAID, or WBRAID at the first touch, the effort of maintaining offline conversion uploads may outweigh the benefit. In those cases, stick with online conversion tracking and revisit offline uploads only when you have a solid identifier collection process.