
01Who this is for
- Ecommerce Founders, can sell physical or digital products directly from AI generated sites.
- Subscription service owners, can offer recurring plans and upsells without extra coding.
- Consultants and coaches, can collect payments for single session bookings or digital downloads.
02Payments in AI Studio, explained
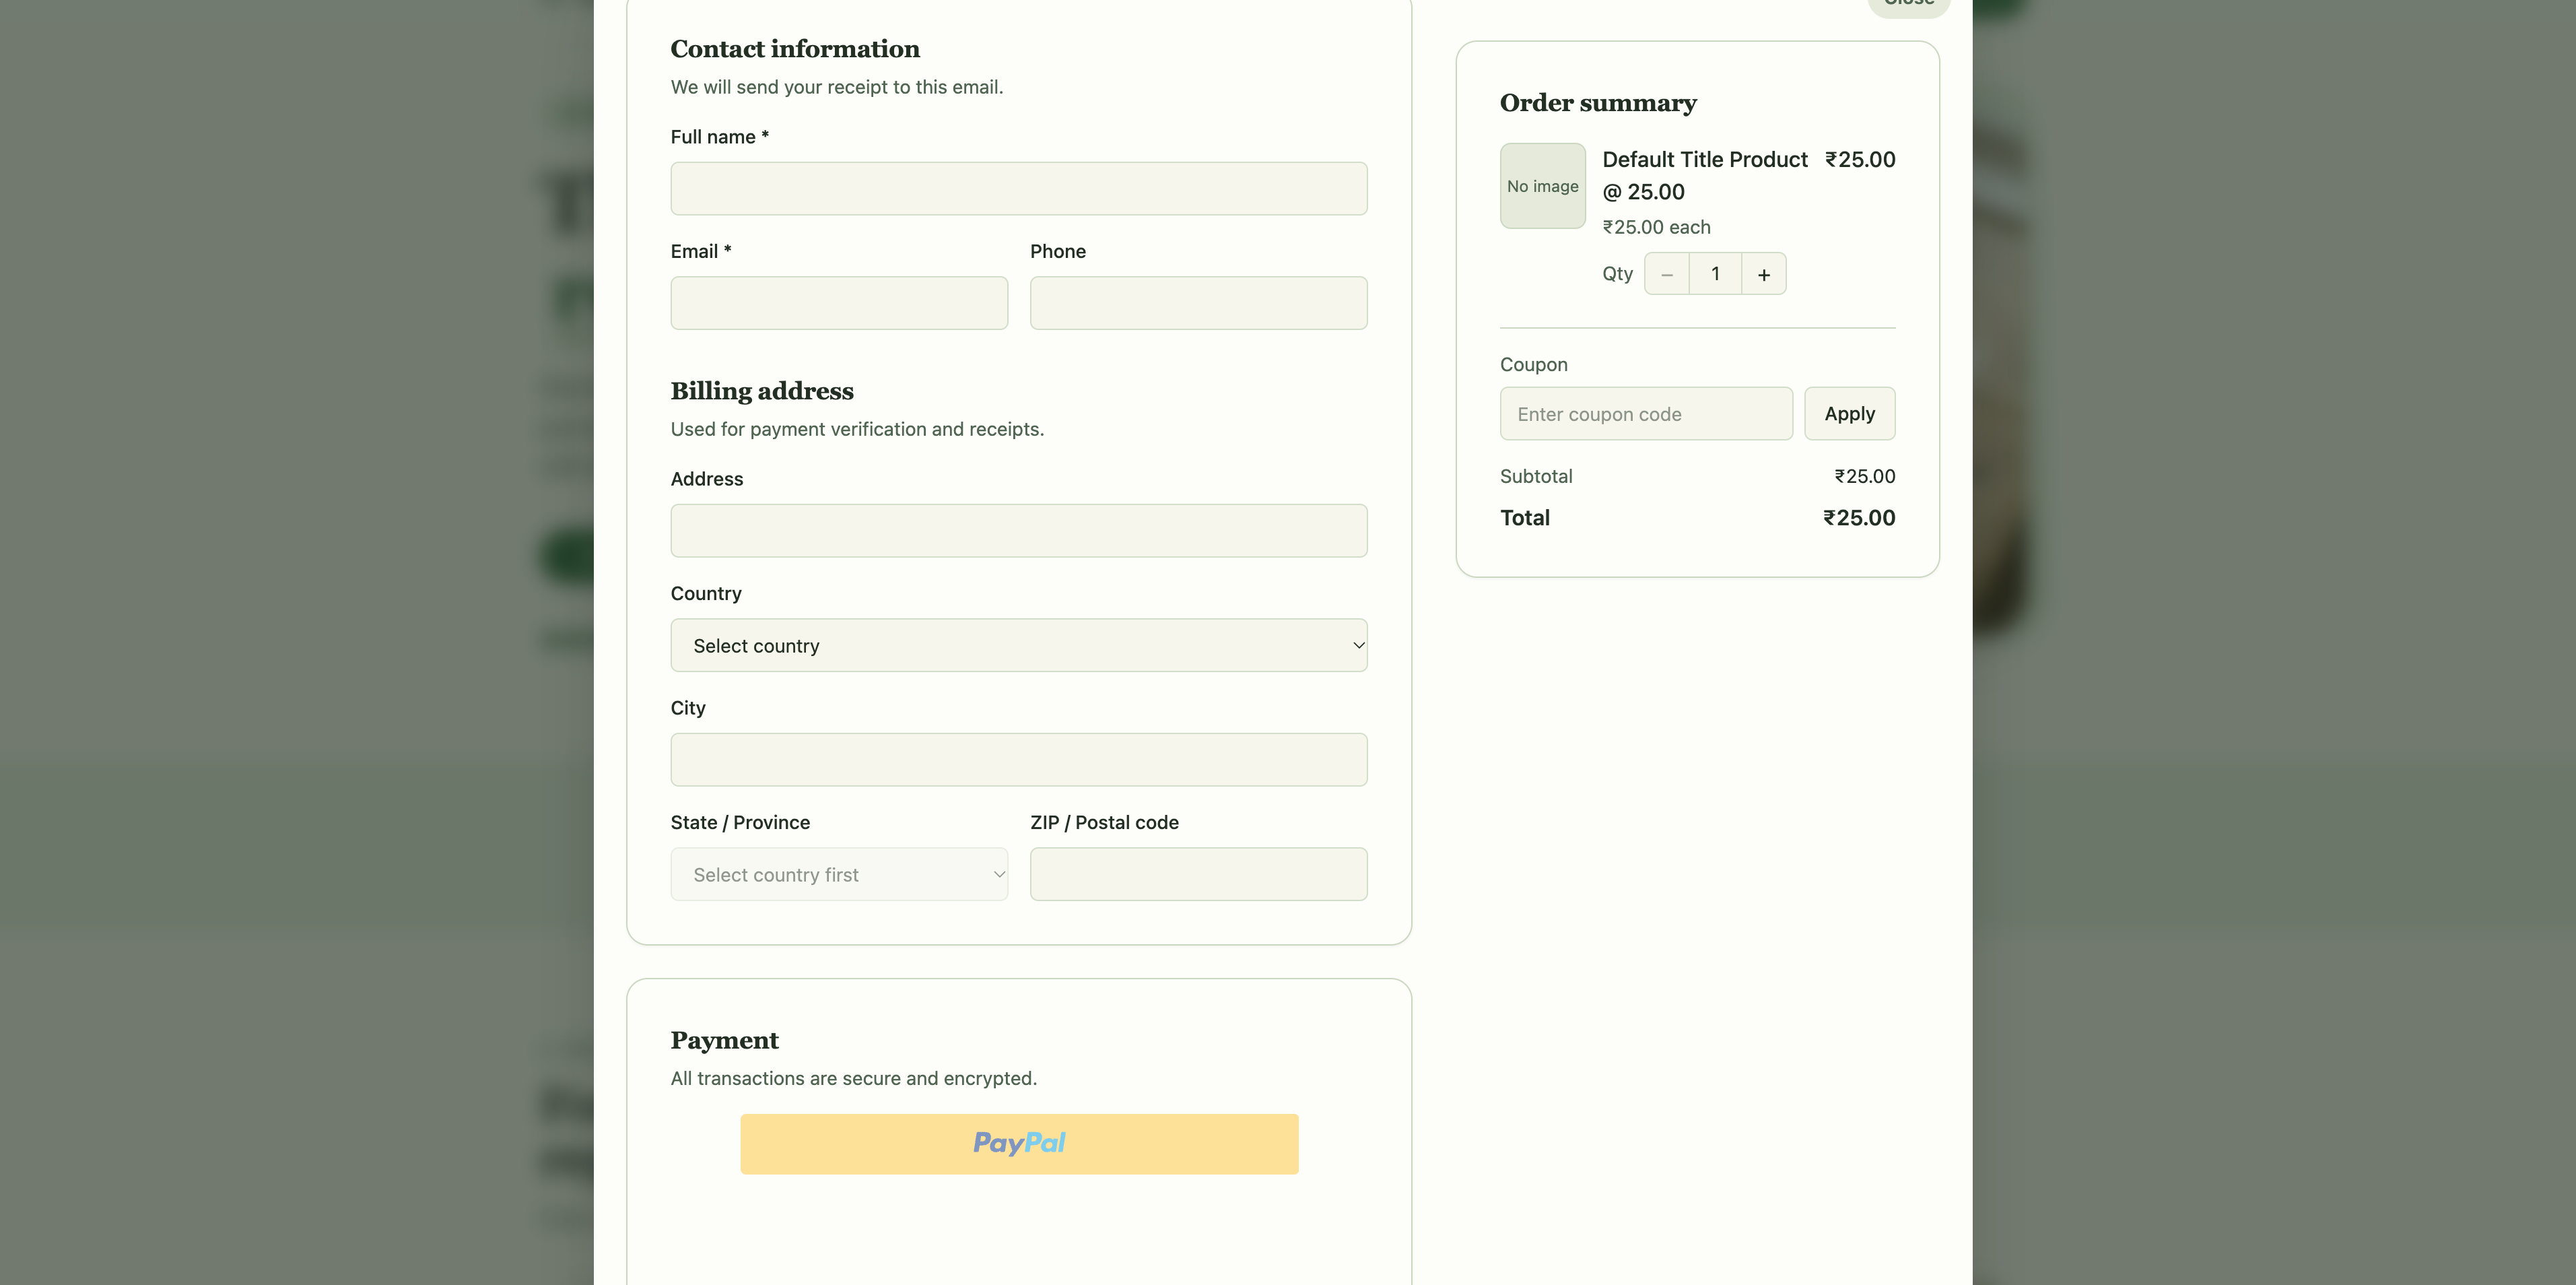
The payment feature pulls product definitions, pricing, and variations from the HighLevel product catalog and presents them in a hosted checkout inside the AI Studio project. When a user completes a purchase, HighLevel records the order and handles the payment provider integration.
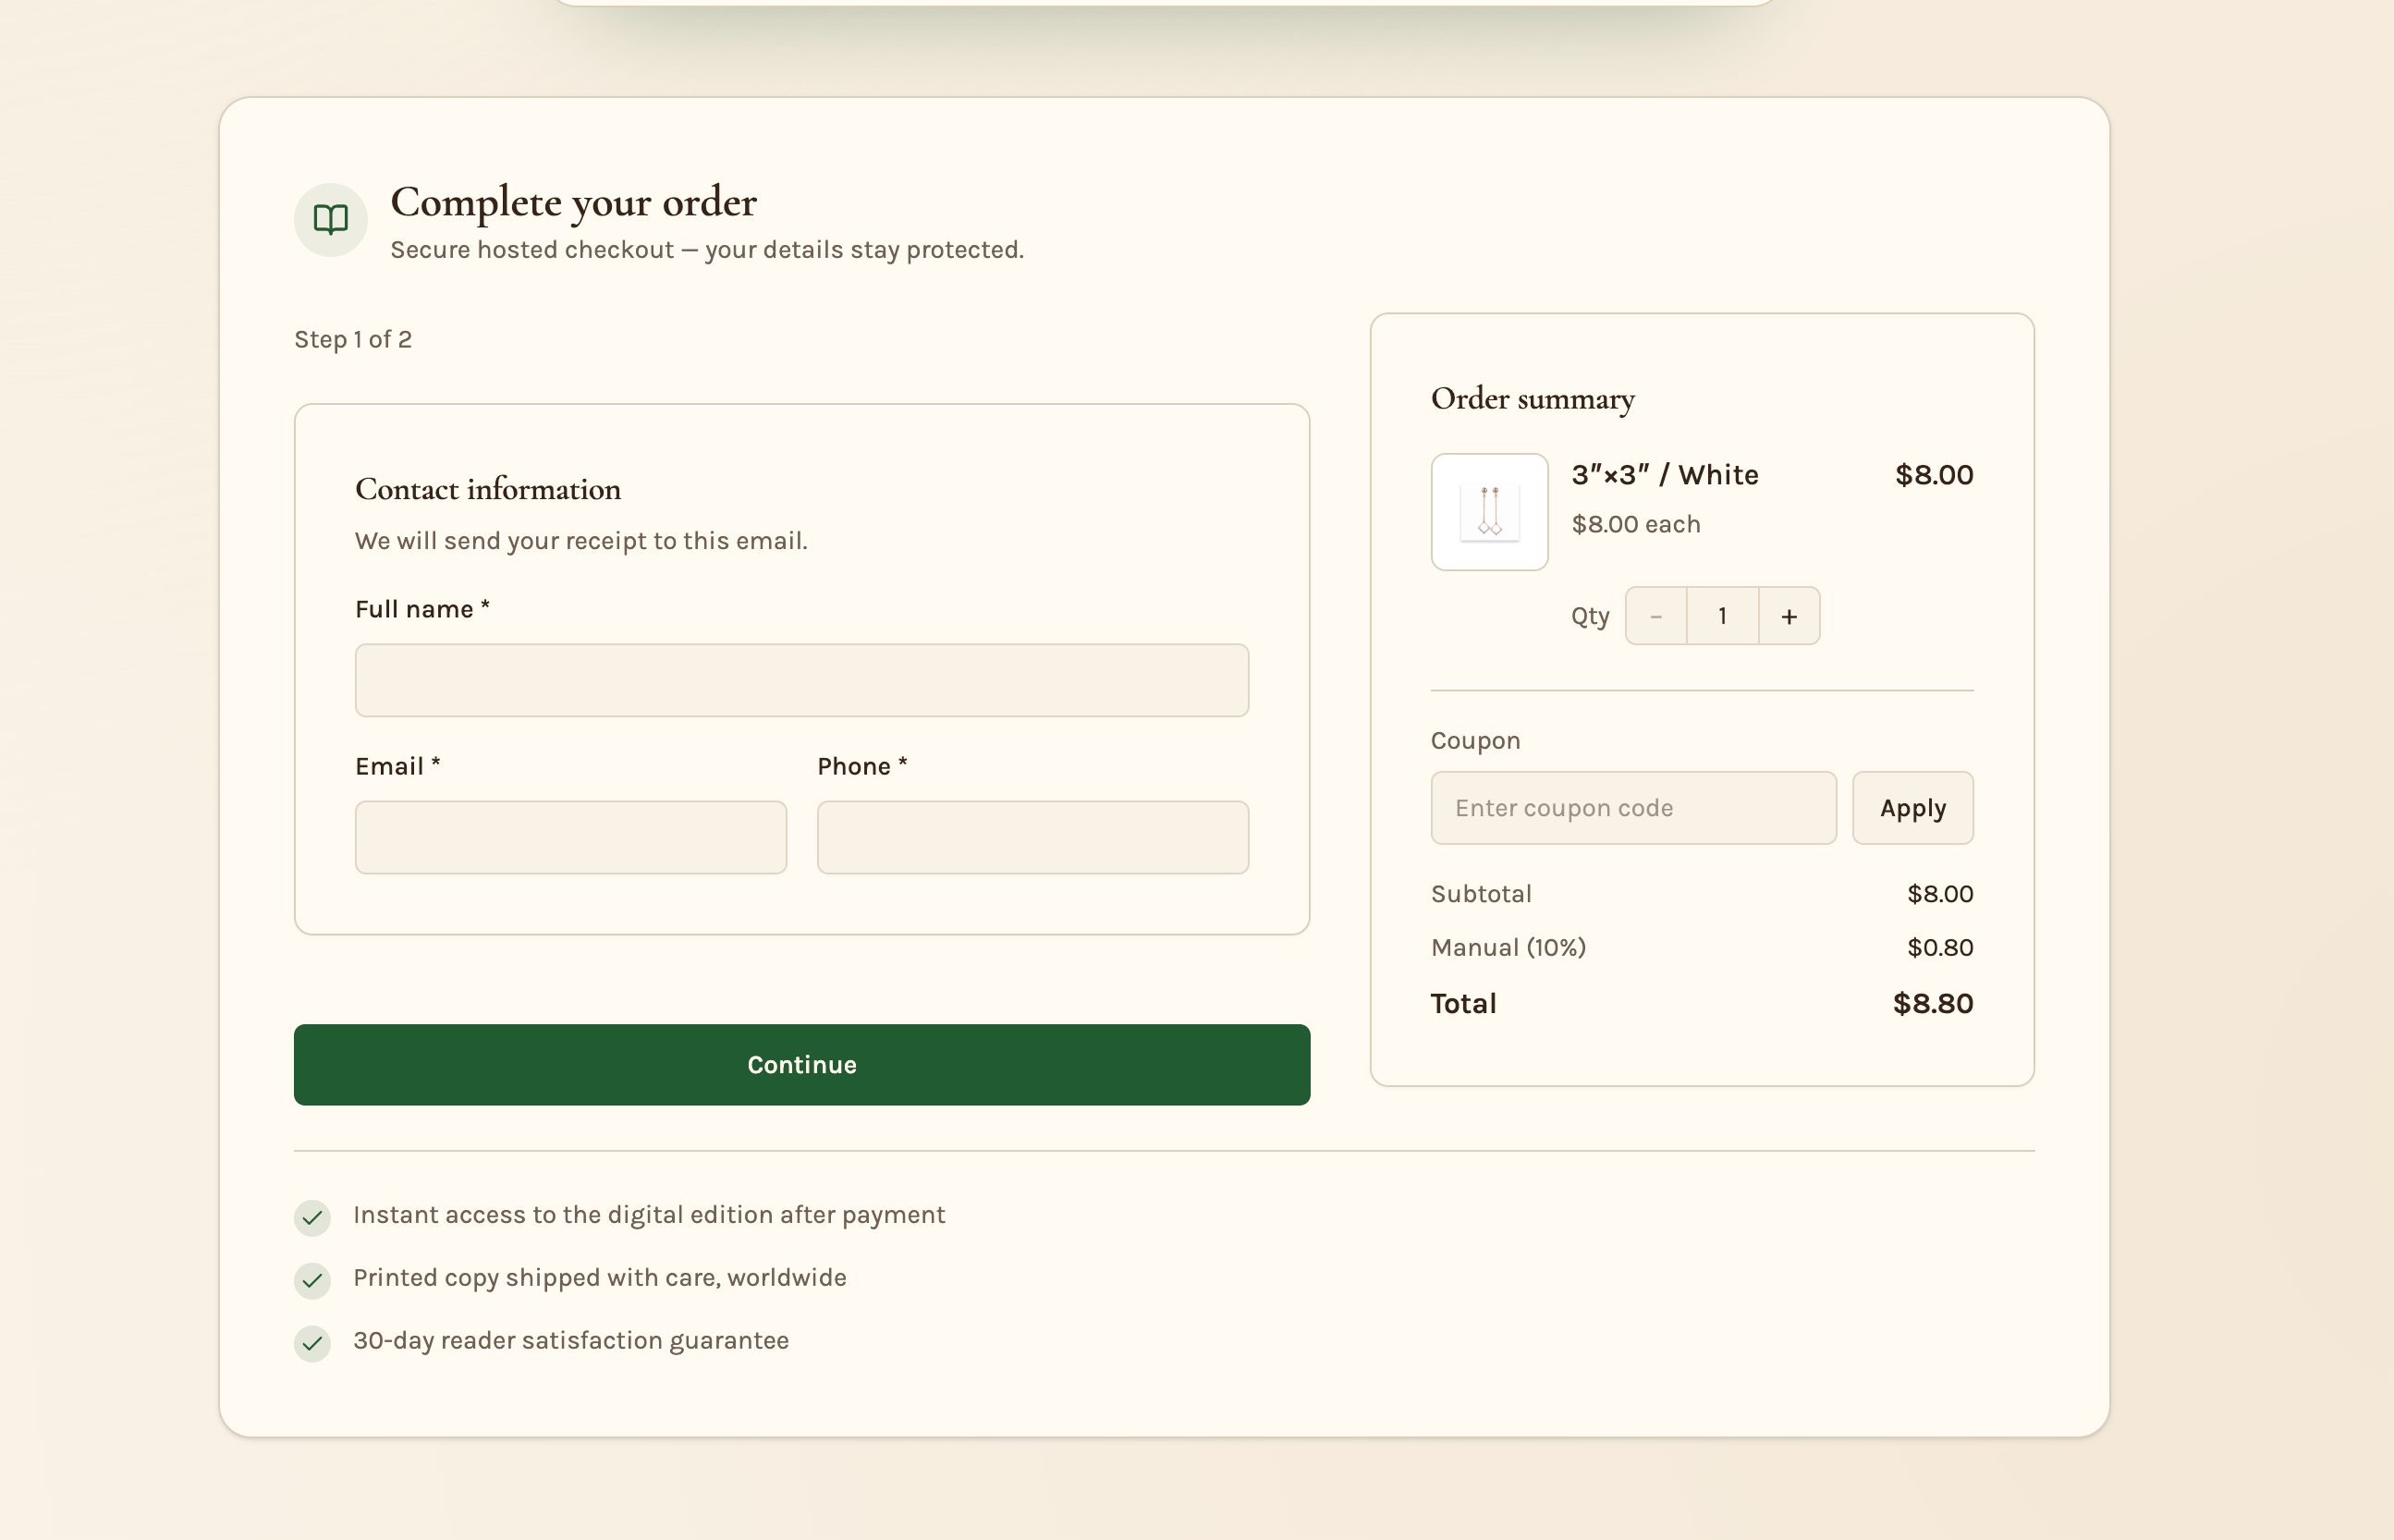
Payments are added either automatically when AI Studio detects a selling request or manually from the project’s Payments settings. The checkout can be customized for required fields and can be split into two steps to capture leads before payment.
03How businesses use payments in AI Studio
- Online boutique. Open the AI Studio project, enable payments, and add clothing items from the product catalog. Customers select a size variation, complete the checkout, and the order appears in HighLevel for fulfillment.
- Membership site. Create a subscription product in HighLevel, enable payments in the AI Studio project, and choose the recurring offering option. Members sign up through the hosted checkout and the subscription is managed by HighLevel.
- Digital download store. Add a fixed price product for an ebook, customize the checkout to hide the billing address, and enable two step checkout to capture the buyer’s email before payment. The order registers in HighLevel for follow up.
04The numbers and rules that matter
- Manual payment methods, including Cash on Delivery, are unavailable.
- Supported saved card providers: Stripe, Square, Authorize.net, NMI, Adyen, Mercado Pago.
05Before you start
- The project must be built on TanStack Start; existing React projects need migration via Project Settings > Migrate to SSR before payments become available.
06How to set up and use payments in AI Studio in HighLevel
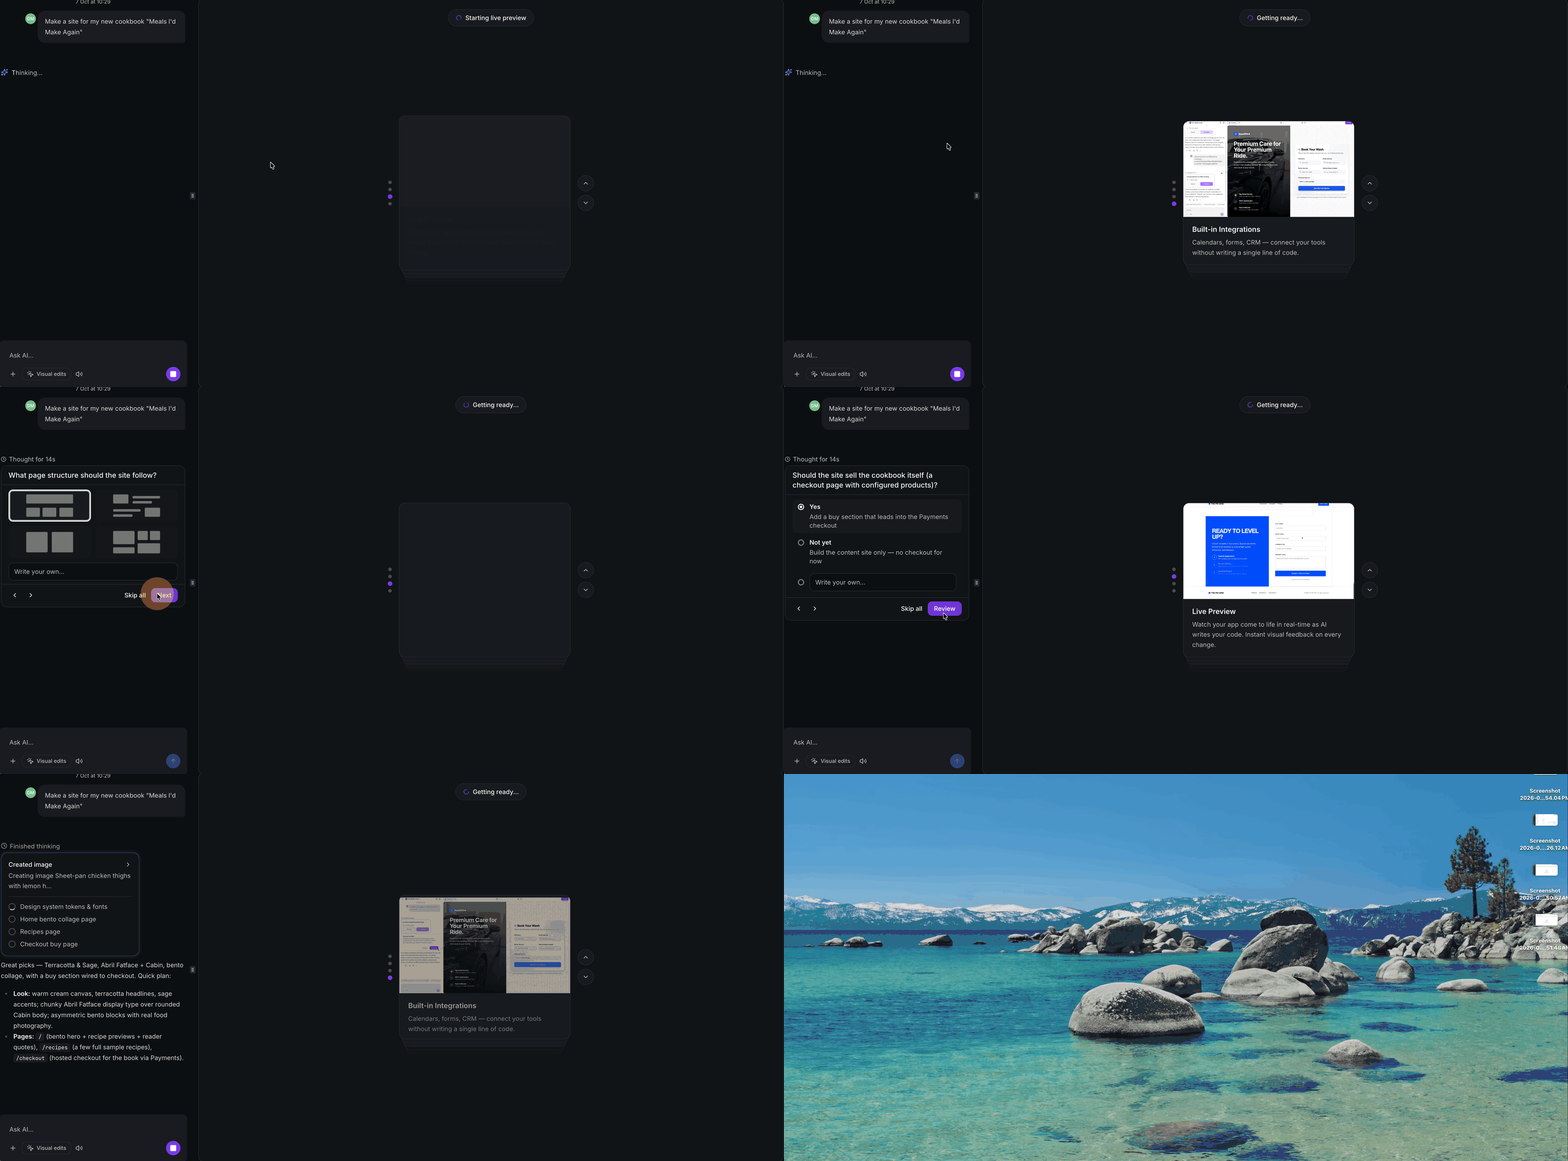
Enable payments automatically during project build
- Describe the website or experience you want AI Studio to build.
- When AI Studio detects a selling intent, an Add payments to this app prompt appears.
- Click Enable Payments to include payments in the project.
- Answer any follow up questions AI Studio asks about the experience you want to create.
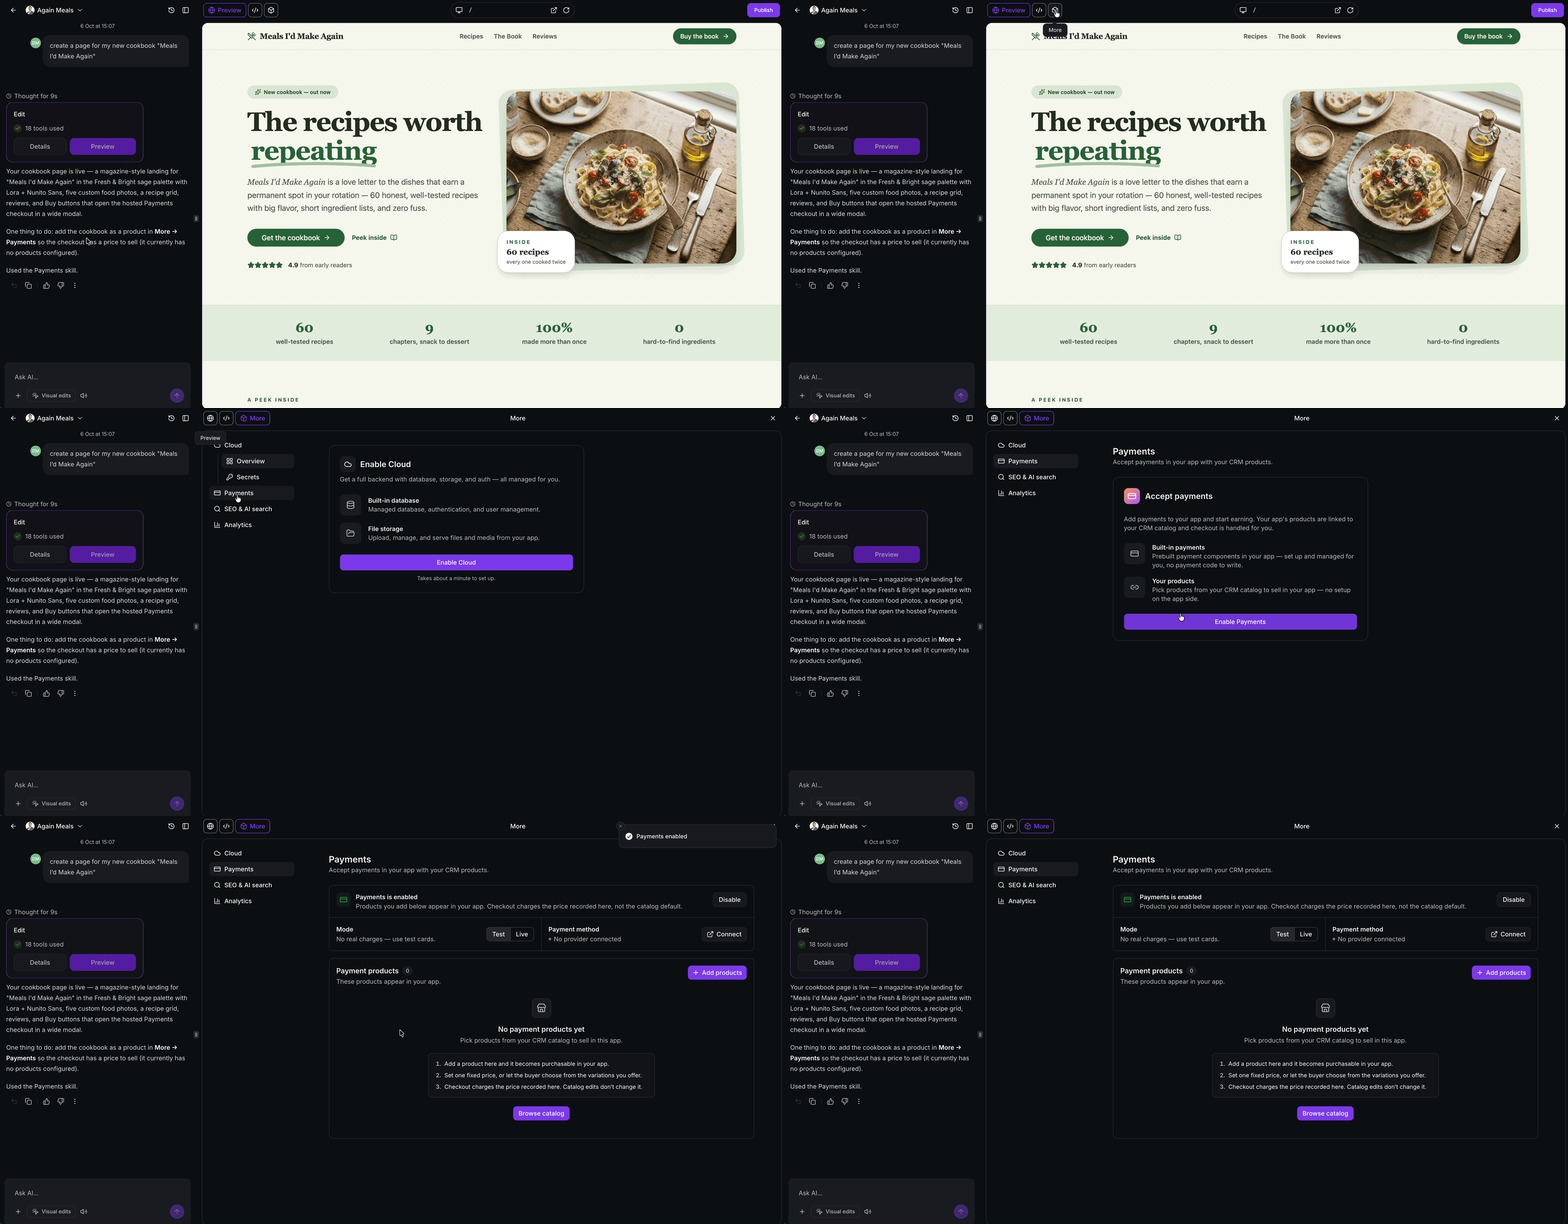
Enable payments manually from a project
- Open the AI Studio project and click More.
- Select Payments from the menu.
- Click Enable Payments.
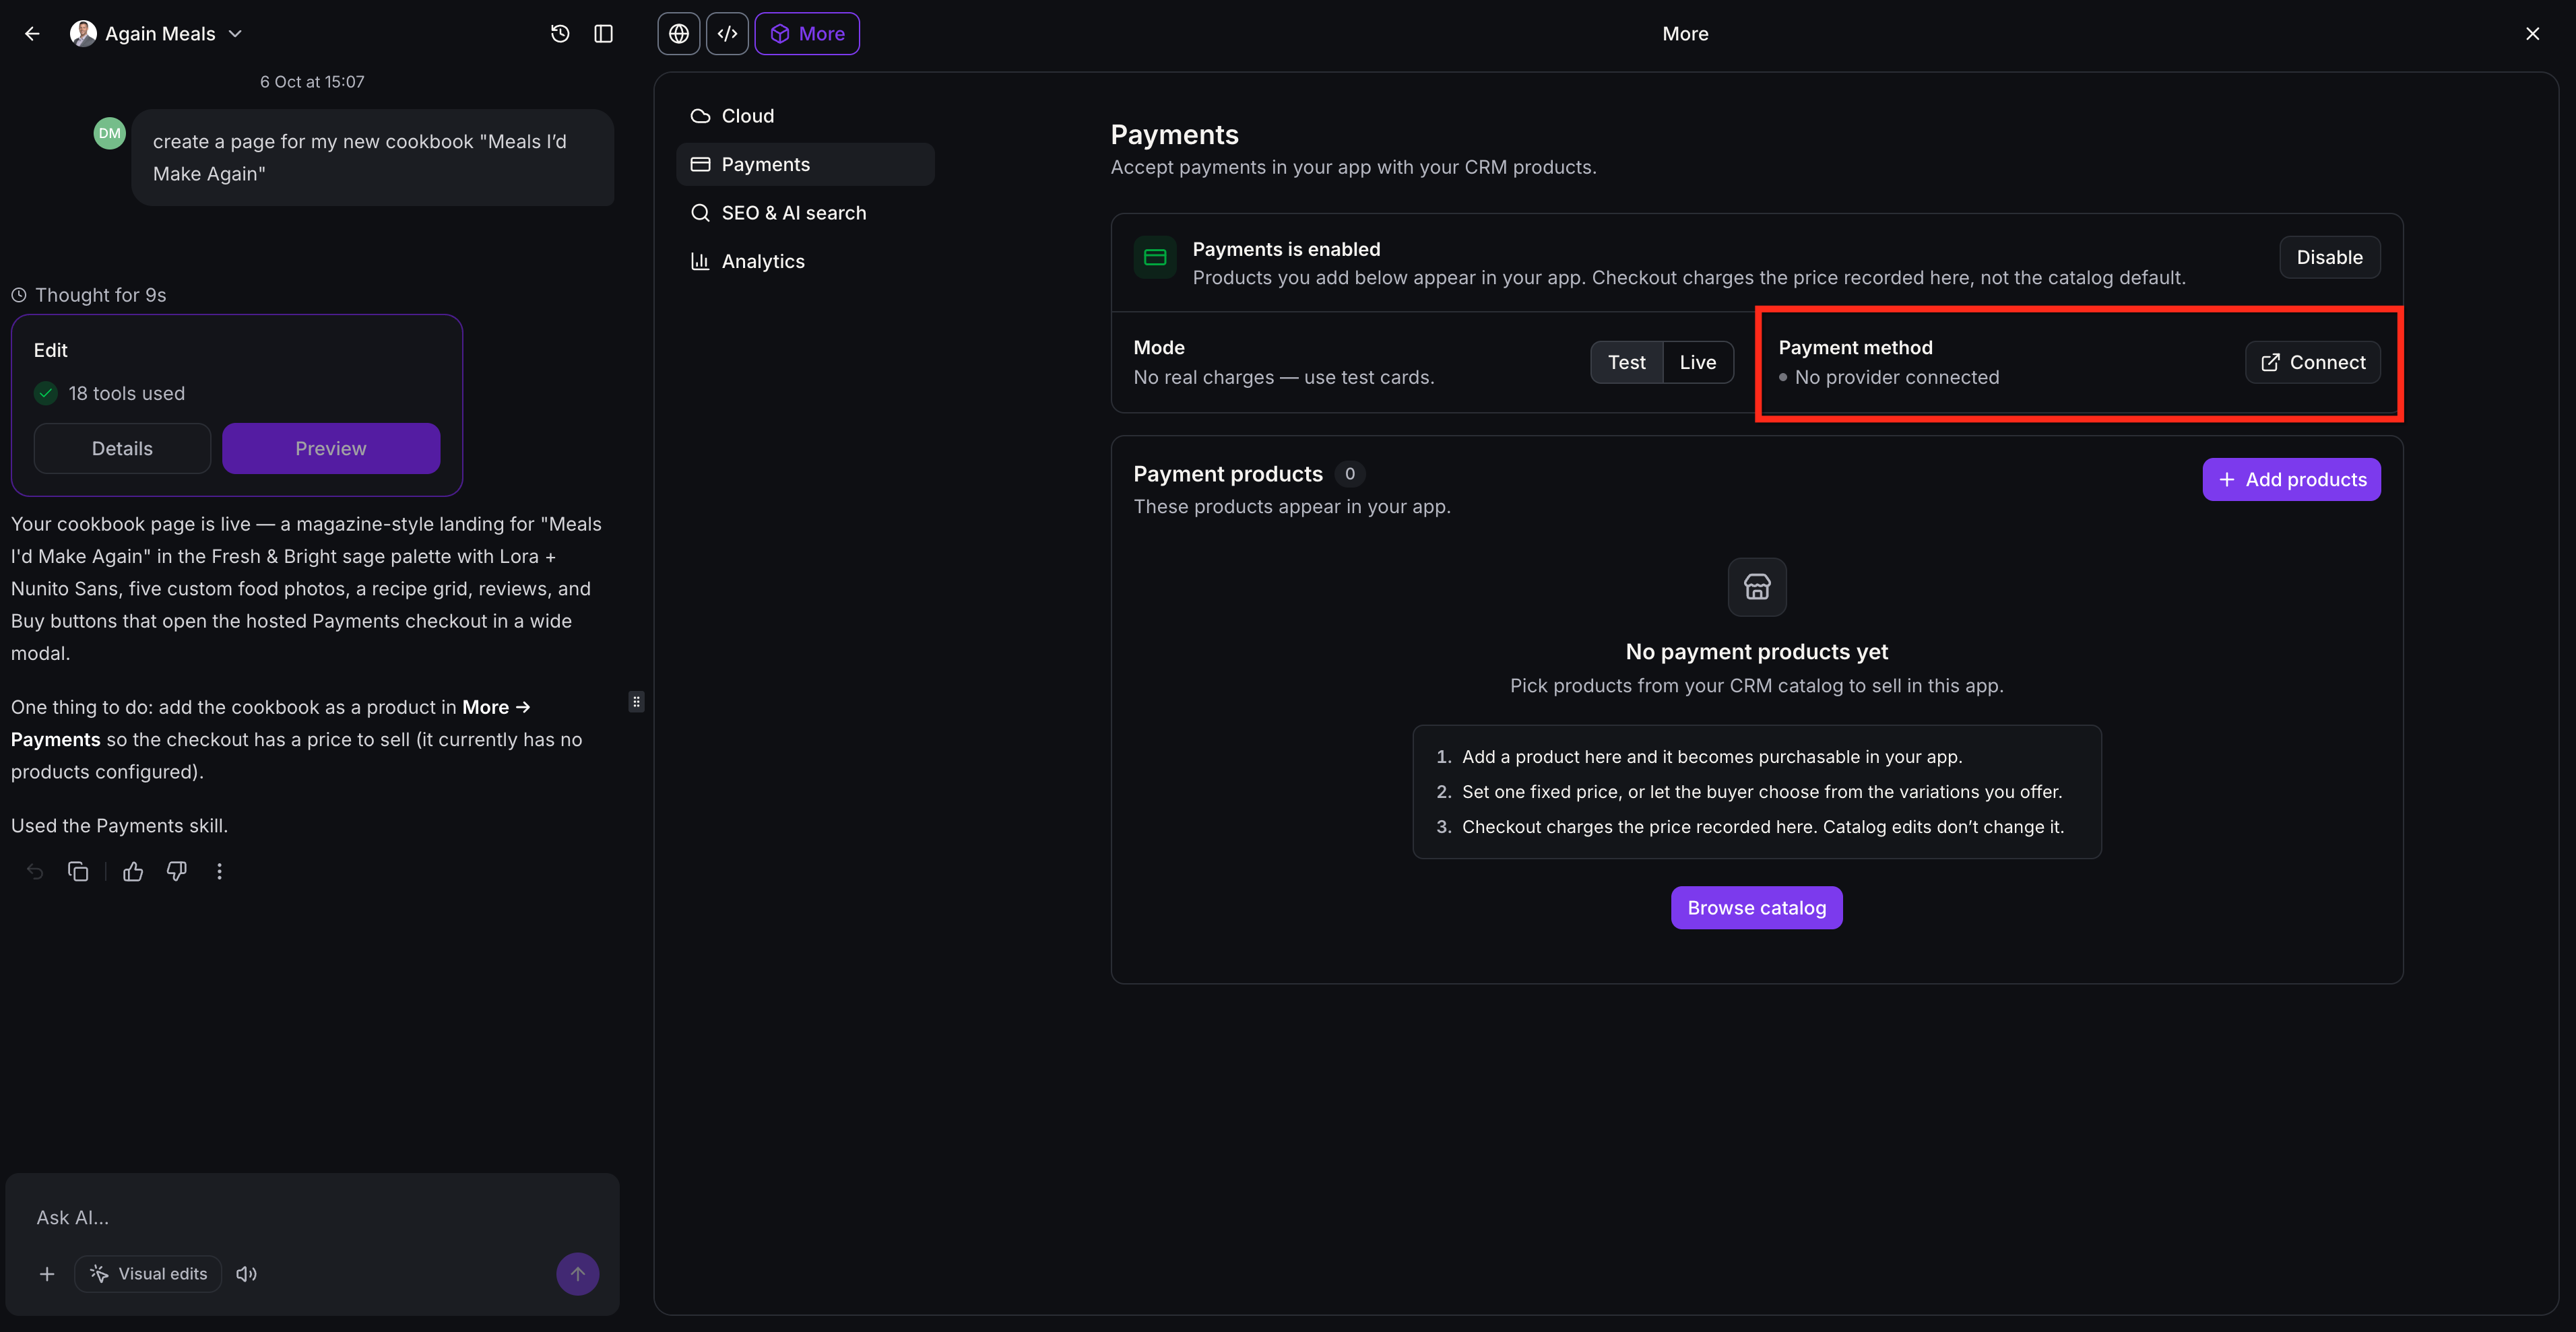
- Review the project's payment status, test mode, live mode, and payment method in the Payments area.
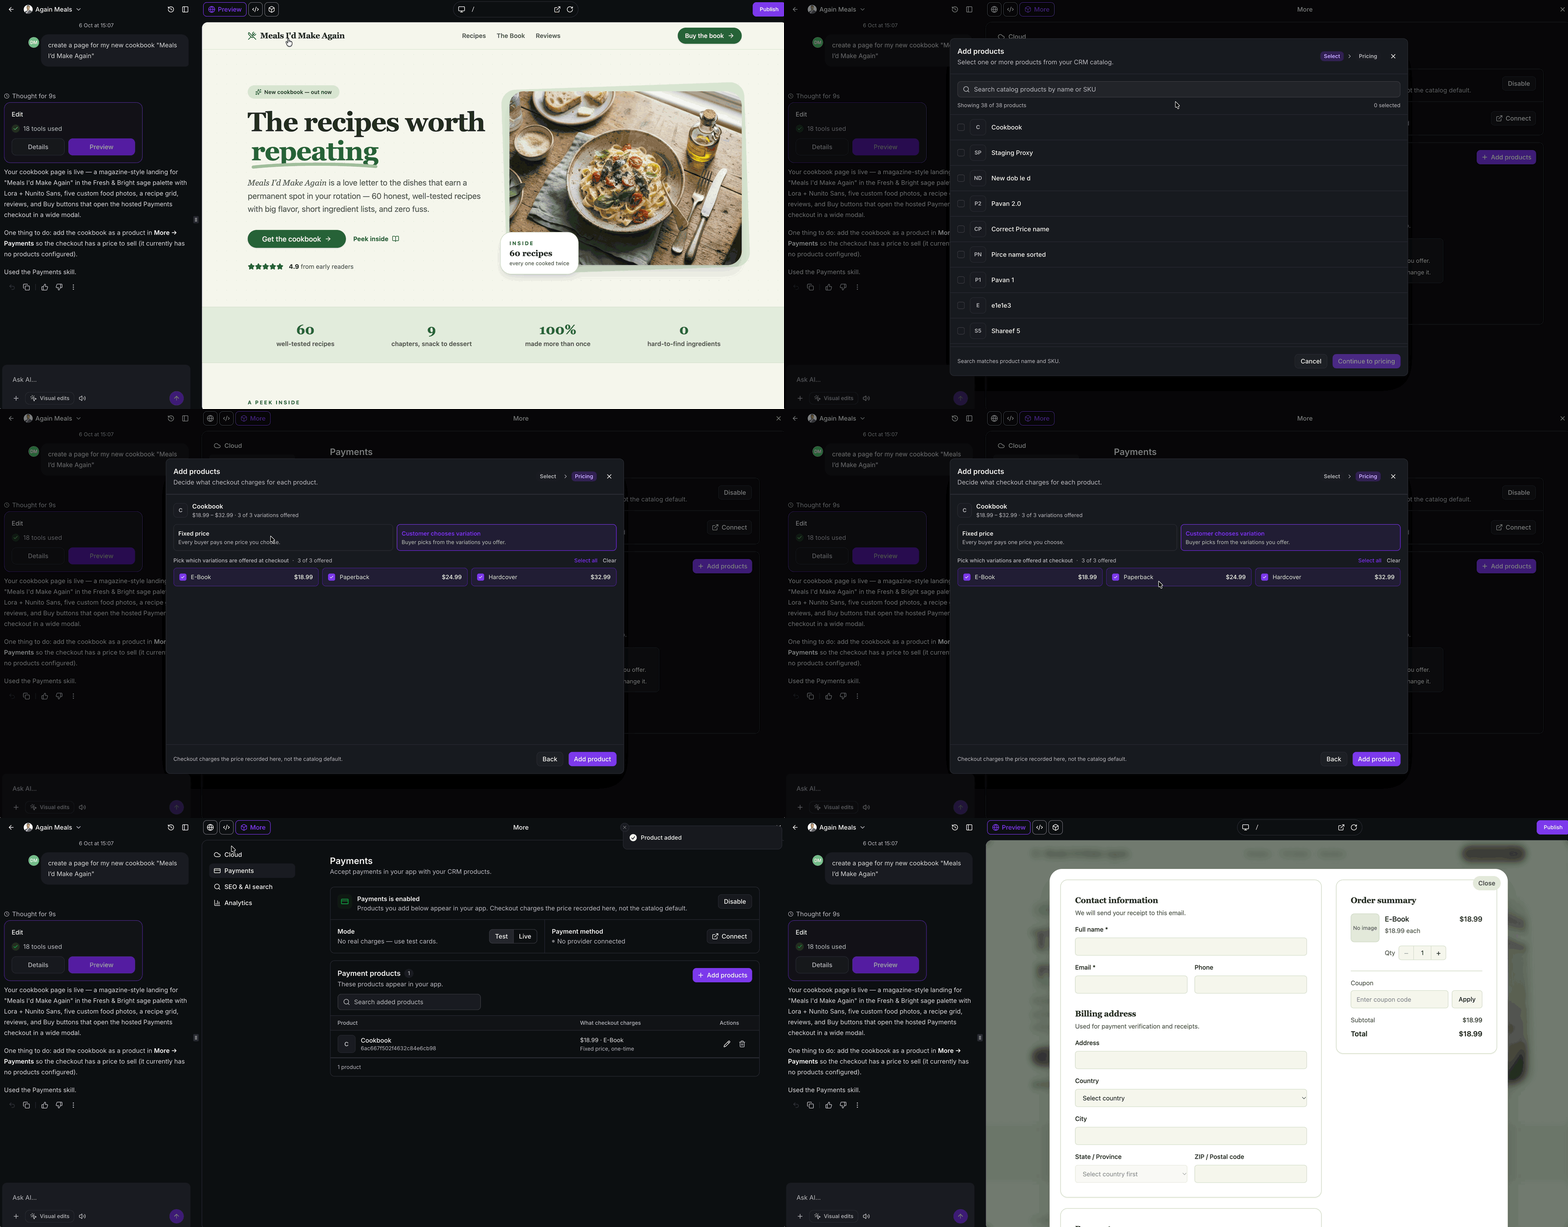
Add and configure products
- Open More > Payments.
- In the Payment products section, click Add products or Browse catalog.
- Search for a product by name or SKU, or browse the catalog pages.
- Select the products you want to add.
- Click Continue to pricing and choose either a fixed price or allow the customer to choose a variation.
- Review the configuration and click Add product.
Customize checkout fields
- From Subaccount View > AI Studio > My Projects, open the Payments enabled project.
- In the project chat, enter a prompt such as "Make phone required and hide the billing address."
- Review the updated checkout in the project preview.
Set two step checkout
- From Subaccount View > AI Studio > My Projects, open the Payments enabled project.
- In the project chat, type "Make it a two step checkout."
- Review the revised checkout flow in the project preview.
07What it looks like in HighLevel
08Settings that matter
- Payment method. Selects which external payment provider is connected to the project.
- Test mode. Enables a sandbox checkout that does not process real charges, used for verification.
- Live mode. Activates real payment processing for customers.
- Payment products. Controls which HighLevel products are offered in the checkout.
09Things to know before you rely on it
- Manual payment methods such as Cash on Delivery are not supported.
- Payments cannot be added to AI Studio calendar experiences.
- Arbitrary product personalization fields cannot be passed to orders.
- Product details, prices, and variations must be managed in the HighLevel product catalog.
- Shipping and pickup options are not available in this release.
10How it connects to the rest of HighLevel
- Review AI Studio pricing and usage tiers AI Studio pricing
- Learn how to connect forms and calendars in AI Studio Connect forms
- See all AI Employee features and integrations AI Employee features
Michael's take

Most people think the payment setup will appear automatically in the generated code and try to manage it there. In reality the checkout is hosted by HighLevel, so you simply link the existing payment provider and let HighLevel handle the transaction flow.
I would first enable payments during the AI Studio build so the checkout UI is baked into the project from the start. After the project is live I’d switch from Test to Live mode, add the needed products from the catalog, and run a quick test purchase to confirm everything works.