
01Who this is for
- Community managers who need to welcome new members automatically, because the trigger sends messages as soon as access is granted.
- Team members who manage online communities and want automated onboarding when members are granted group access.
02Group access granted, explained
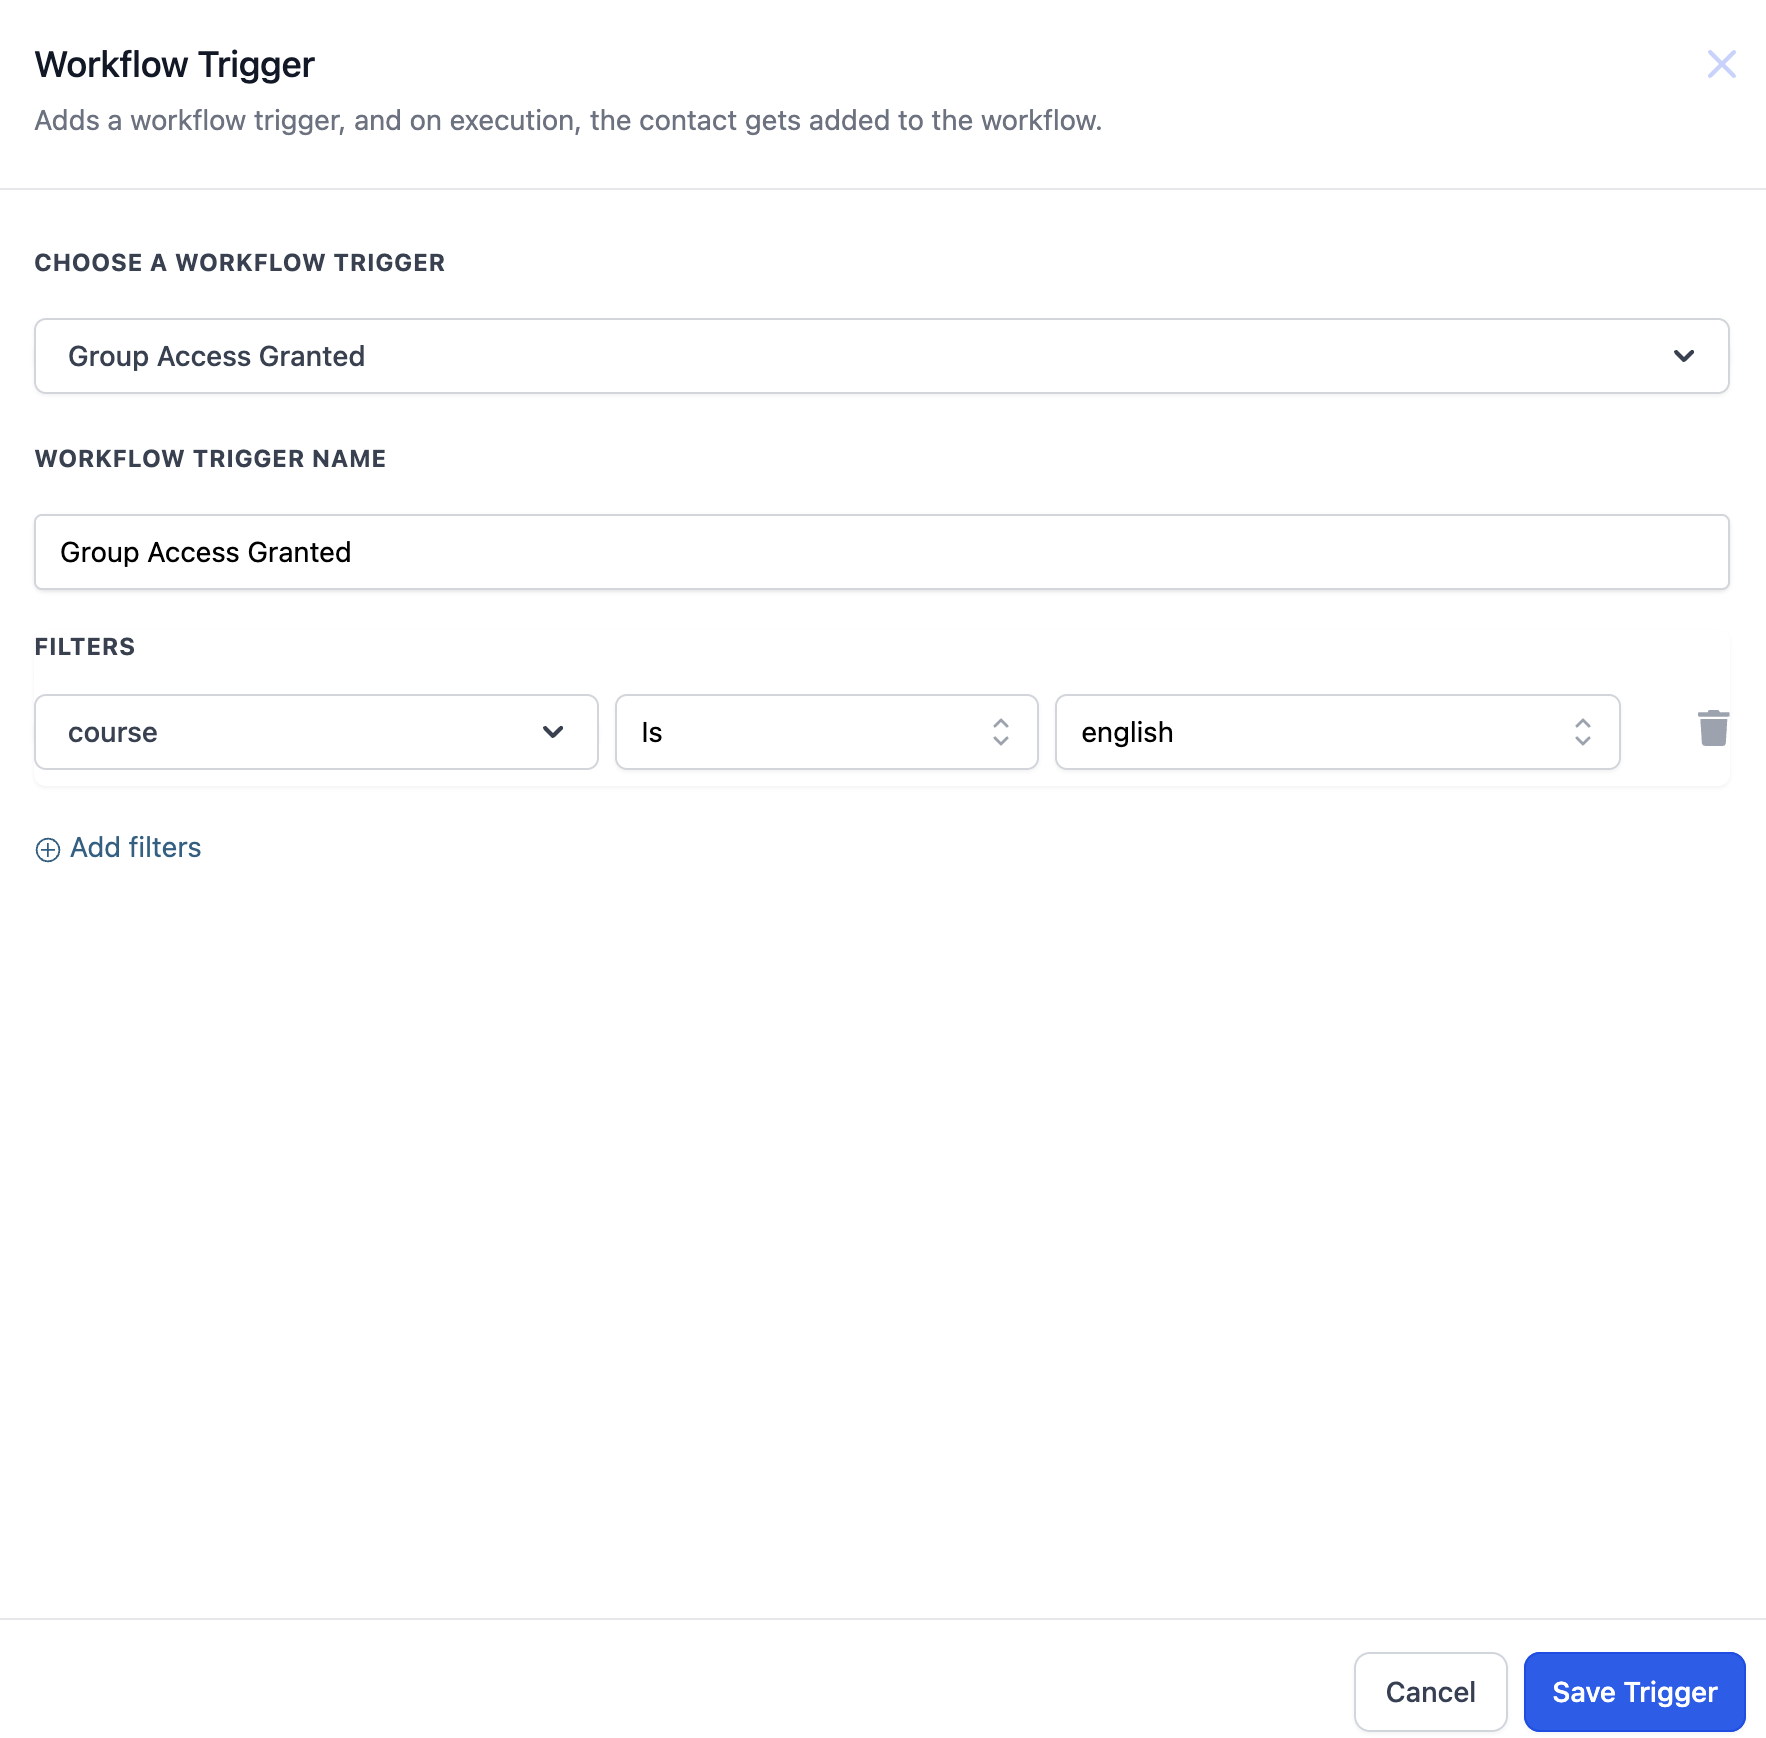
The Group Access Granted trigger is a workflow event that runs when a user is given permission to a specific community group. It works inside the Workflow Builder, where you select this trigger type and define which group it applies to.
After the trigger fires, you can attach any actions available in HighLevel, such as sending emails, SMS, or internal notifications. The workflow runs in real time, allowing new members to receive updates immediately.
The trigger lives under the Workflow Builder section of the platform. You create a new workflow, pick the Group Access Granted trigger, set the group, add actions, test, then save and activate the workflow.
03How businesses use group access granted
- Book club. When a reader is added to the "Book Discussions" group, the trigger can automatically send a welcome email with the next meeting date and a link to the discussion forum.
- General community group. Granting a member access to any community group can launch a workflow that delivers a welcome message and relevant resources.
- Membership site. Assigning a user to a specific membership group can trigger a sequence that provides onboarding instructions and access links.
04How to set up and use group access granted in HighLevel
Set up a Group Access Granted workflow
- Open the Workflow Builder from the HighLevel navigation menu.
- Click the button labeled Create a Workflow.
- Choose the trigger named Group Access Granted.
- Specify the community group whose access you want to monitor.
- Add any follow up actions such as sending a welcome email or SMS.
- Run a test to confirm the workflow behaves as expected.
- Save the workflow and turn it on.
05What it looks like in HighLevel
06Settings that matter
- Group Access Granted. Identifies the event when a user receives permission to a specific community group.
07How it connects to the rest of HighLevel
- Related trigger for when group access is removed Group Access Revoked trigger
- Workflow that can grant or revoke private channel access Private channel access workflow
- Basics on building workflows in HighLevel Workflow basics guide
Michael's take

A tiny convenience that can feel like a real shift for any community focused business. Automating the welcome step means you never miss that first impression.
A local fitness studio that runs group classes would benefit. When a member is added to the "Yoga Beginners" group, the workflow could send the class schedule and a short video on what to bring, keeping newcomers engaged from day one.