
01Who this is for
- Agency owners who need to remove stale leads to keep client databases tidy.
- Service businesses that must purge contacts after a contract ends to stay compliant.
- Marketing teams that want to eliminate unsubscribed prospects from future campaigns.
02Delete contact action, explained
The Delete Contact action permanently erases a contact’s record and every piece of data tied to it, such as conversations, notes, tasks, and activity history. Because the removal cannot be undone, it should only be used when a contact absolutely must be removed from the system.
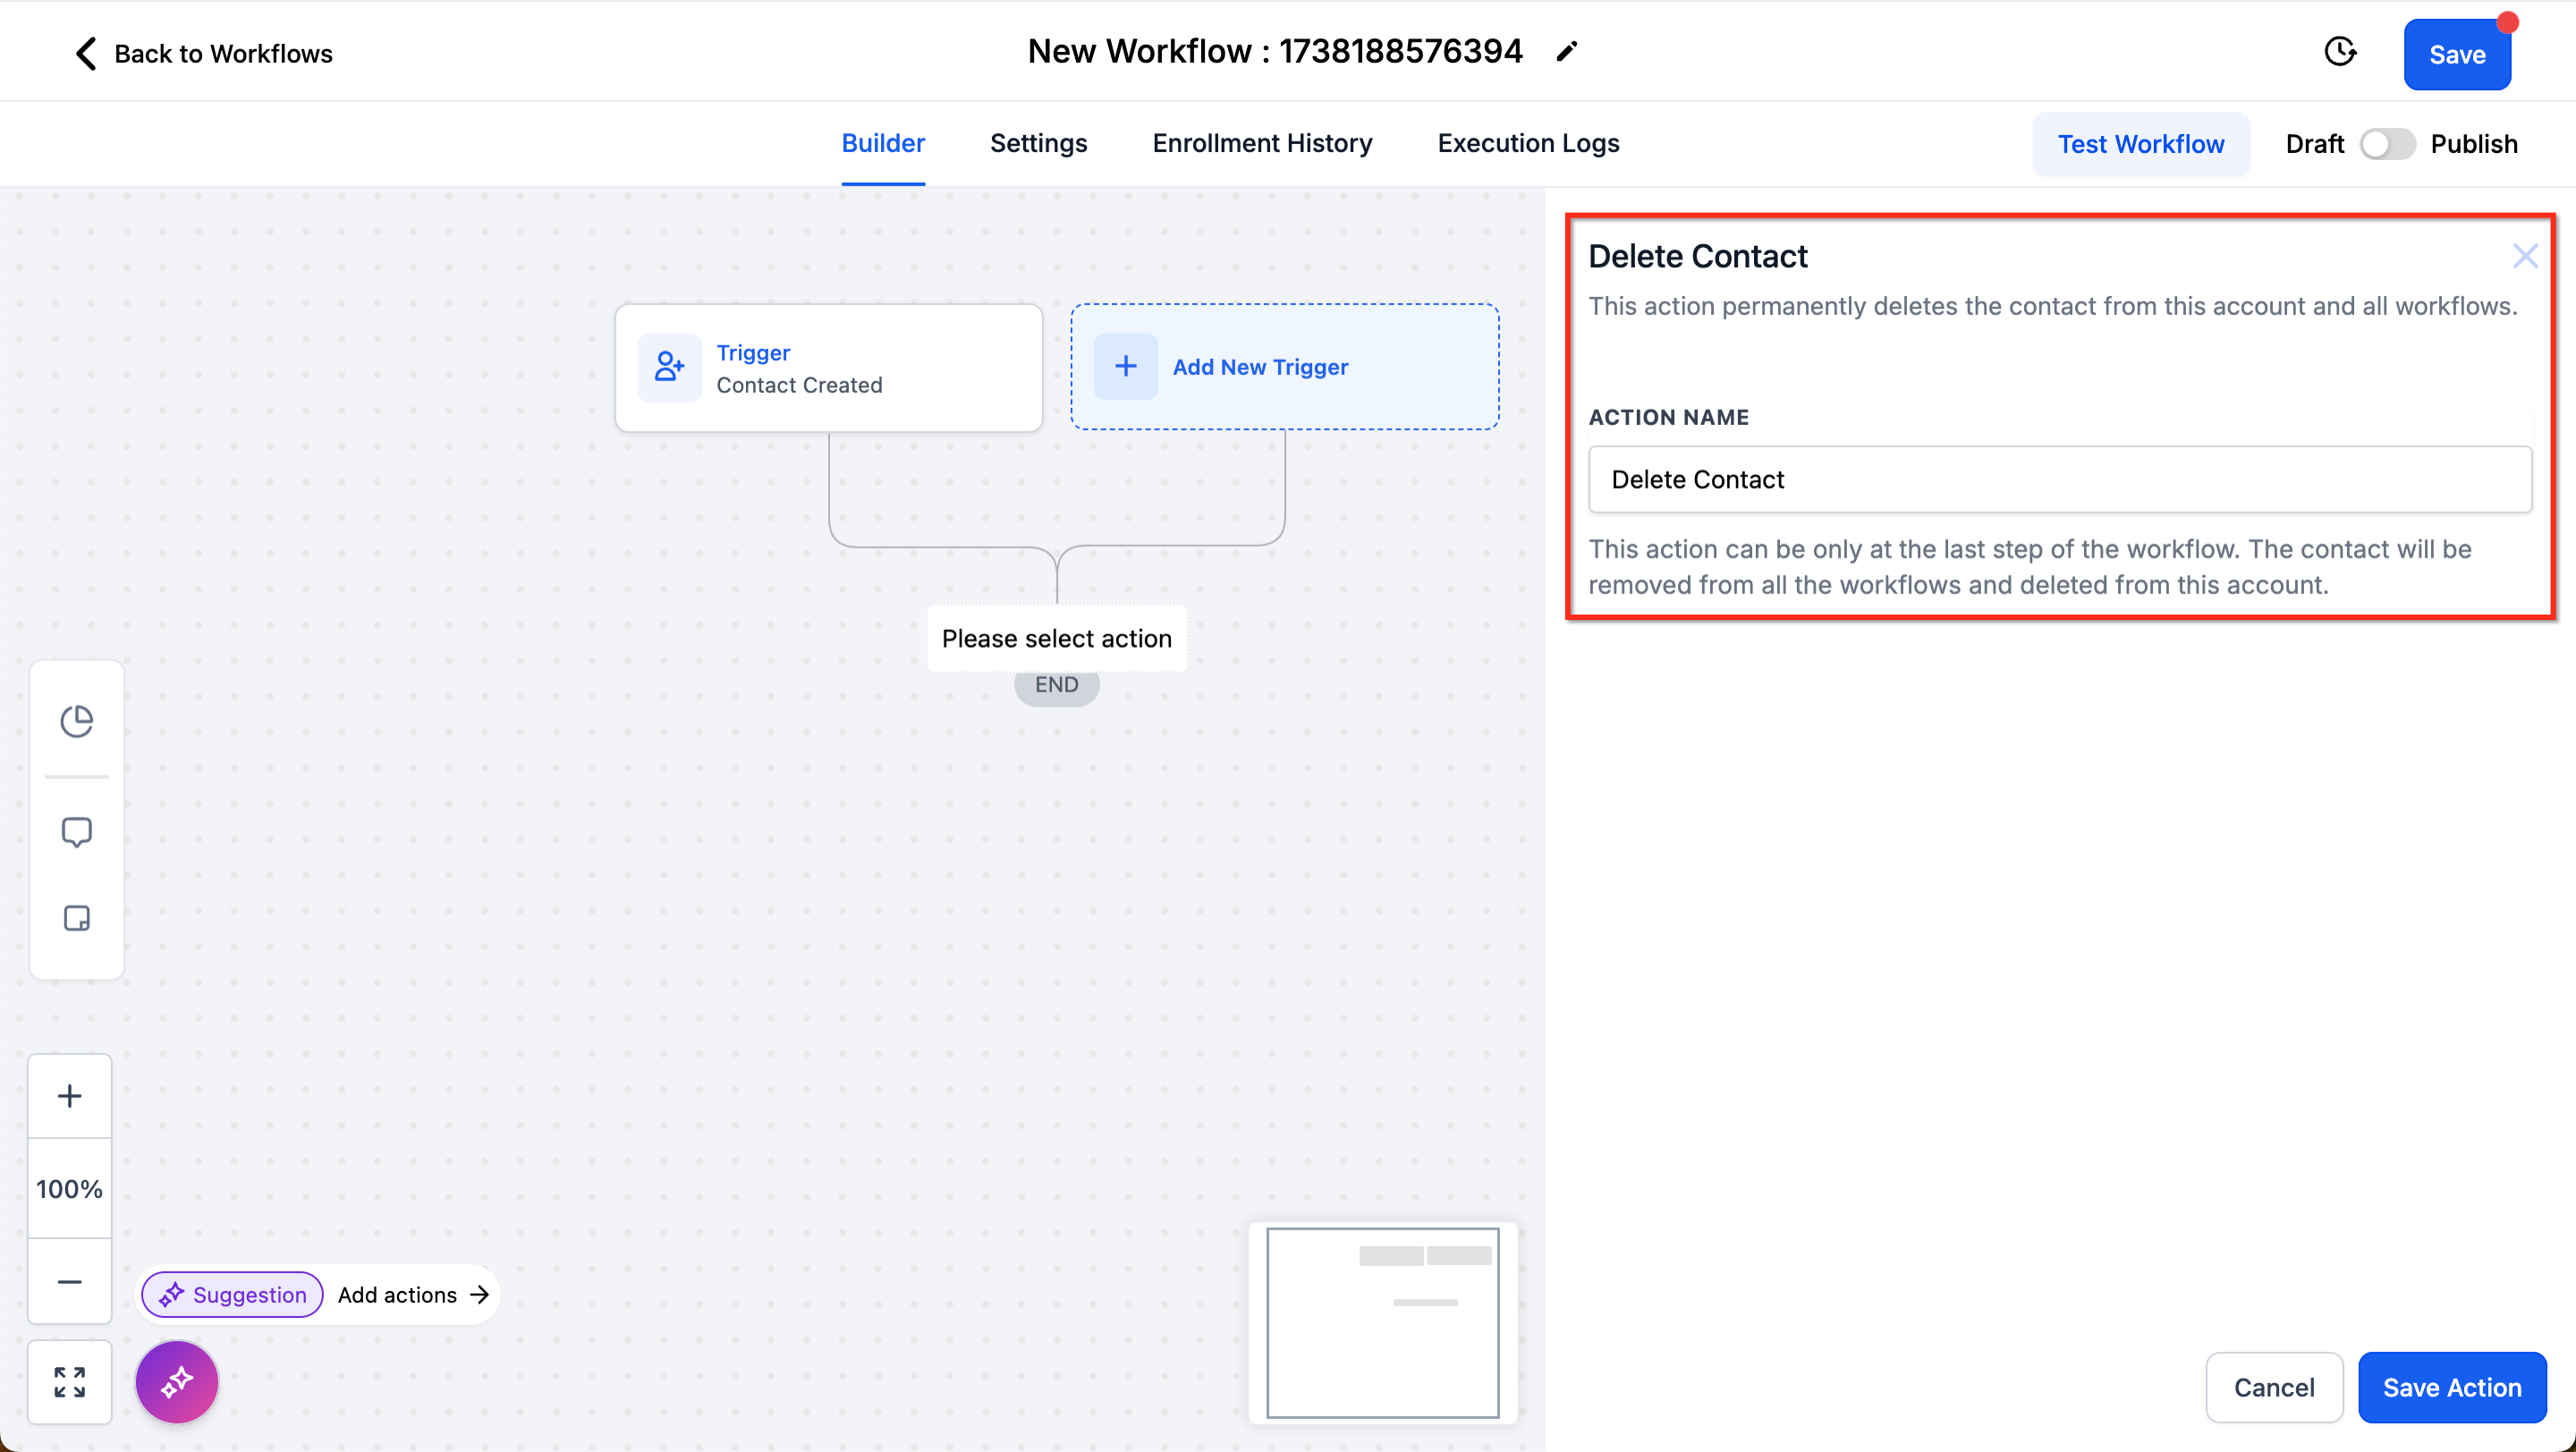
When placed in a workflow, the action runs right away and then stops further execution of that automation. Any steps positioned after the Delete Contact action never run. The action itself has no configurable options; it simply deletes the active contact.
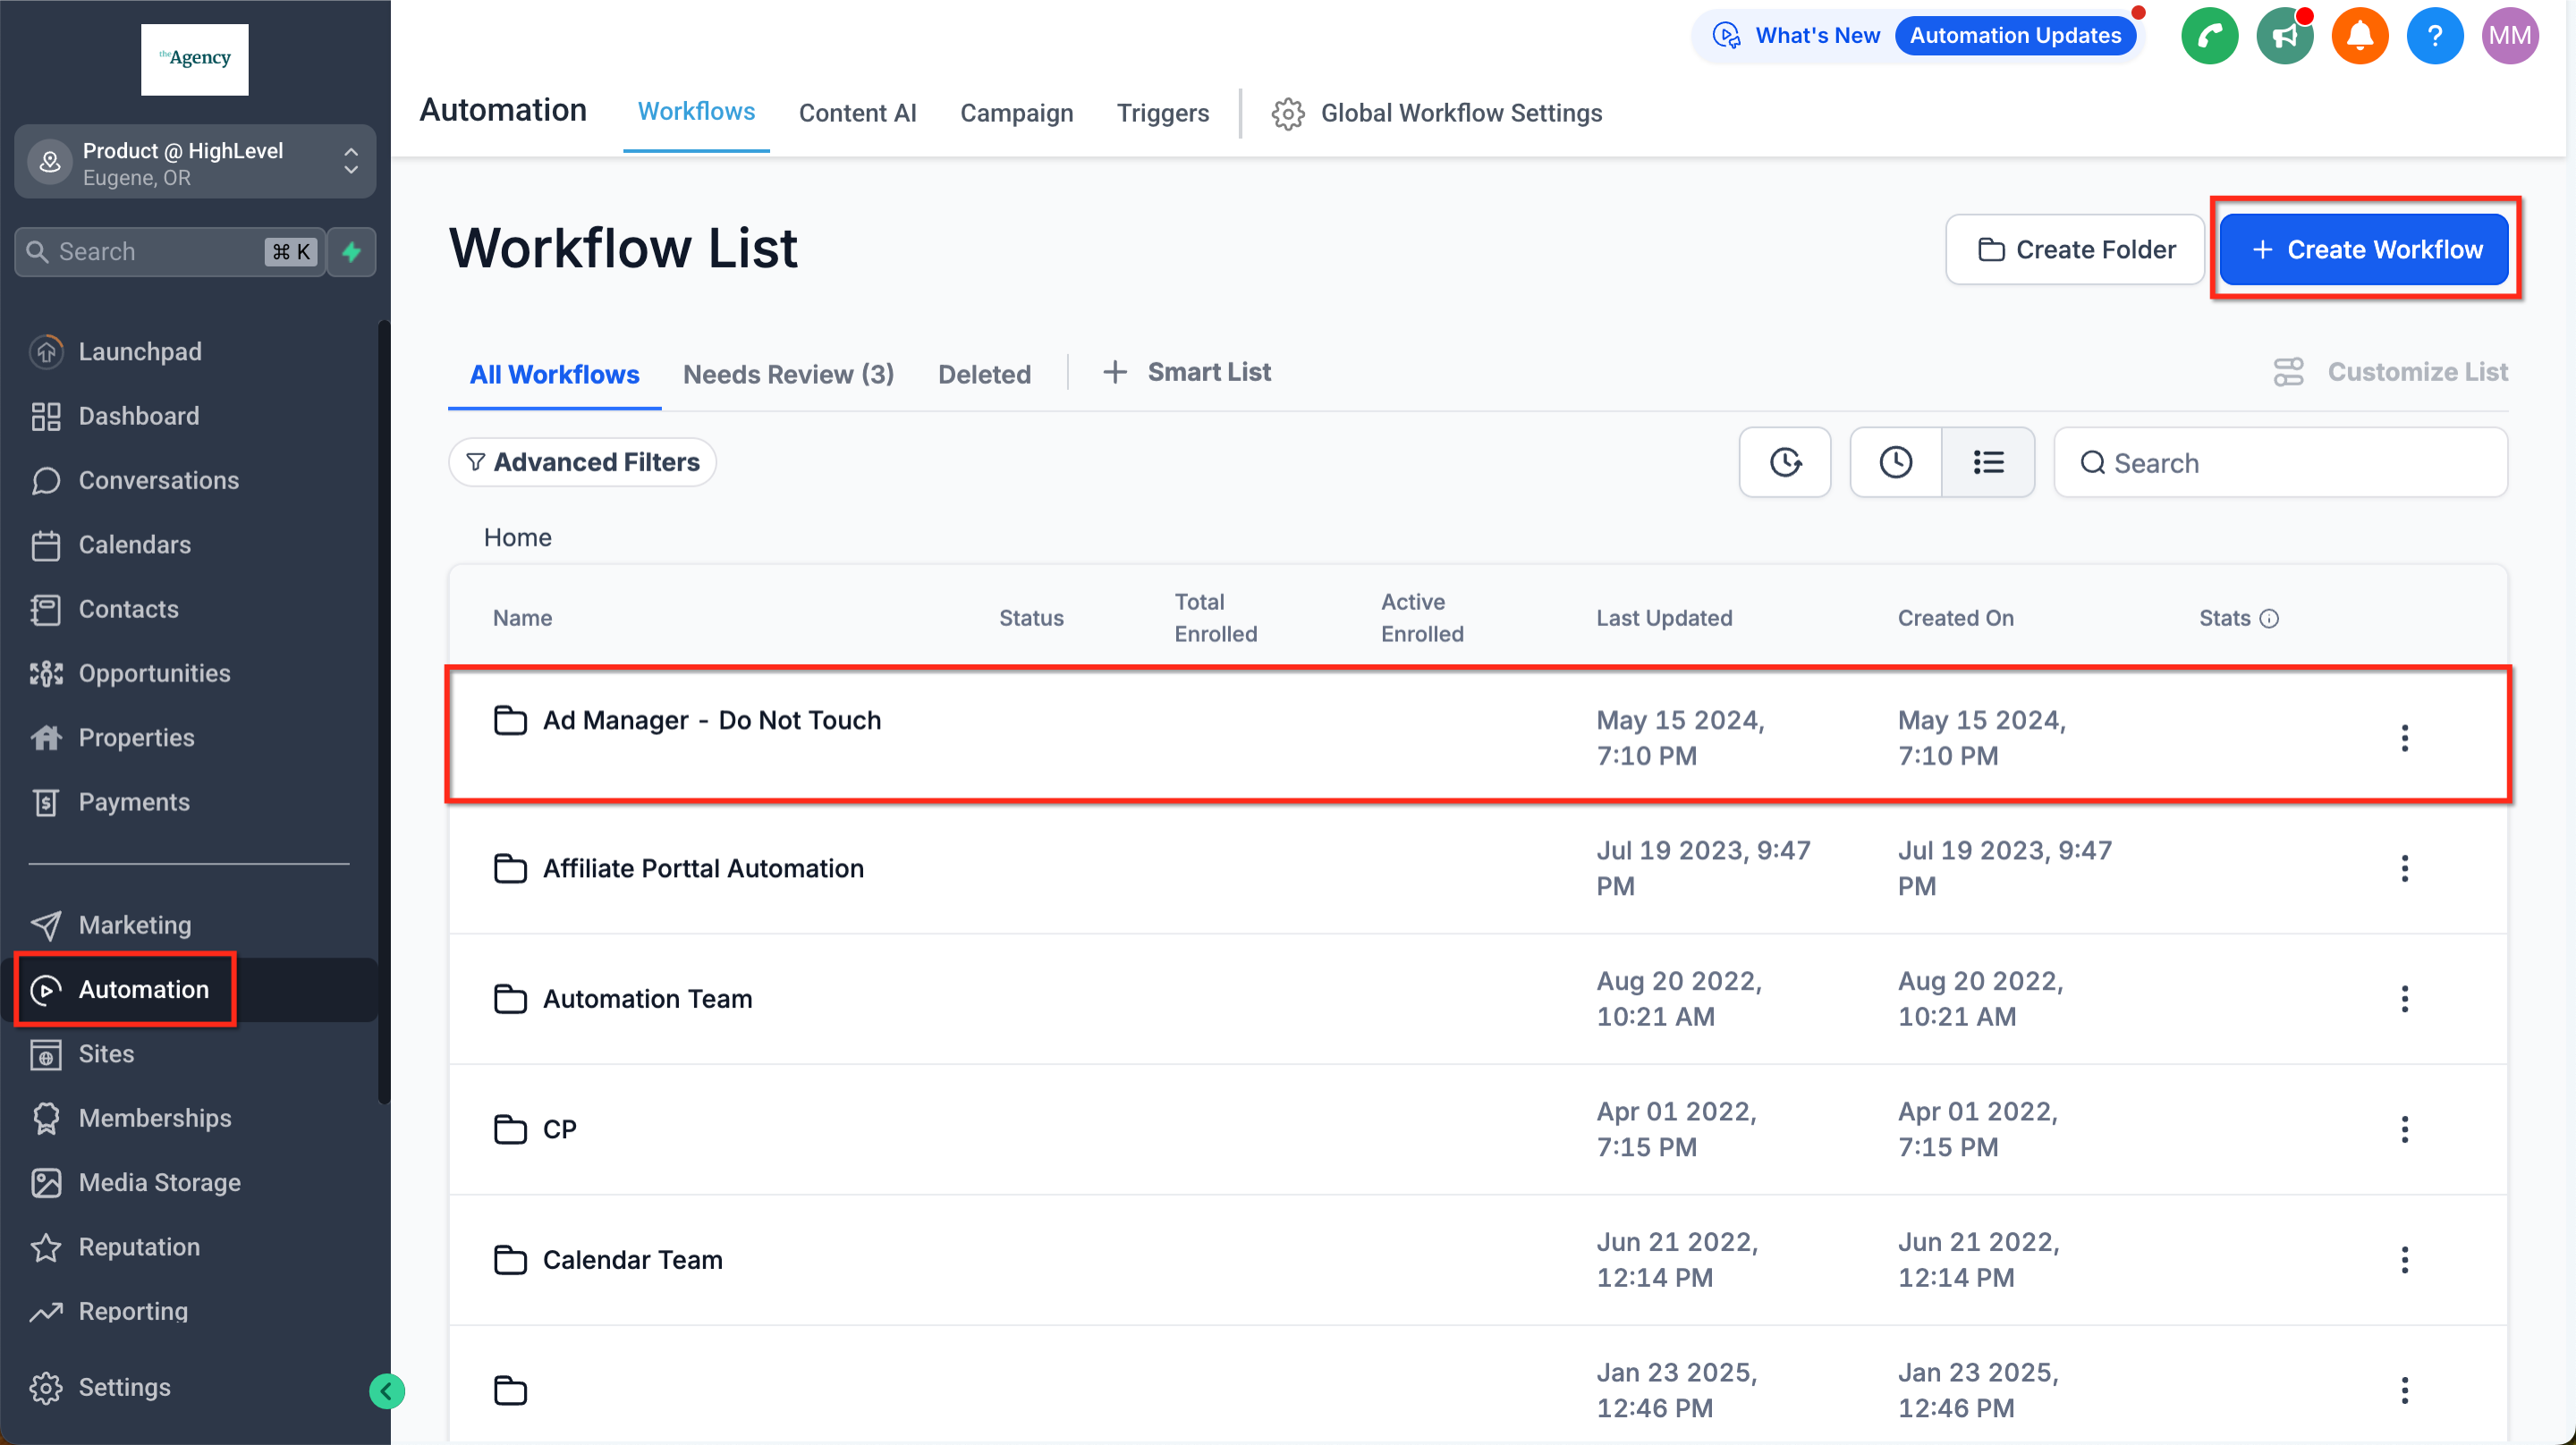
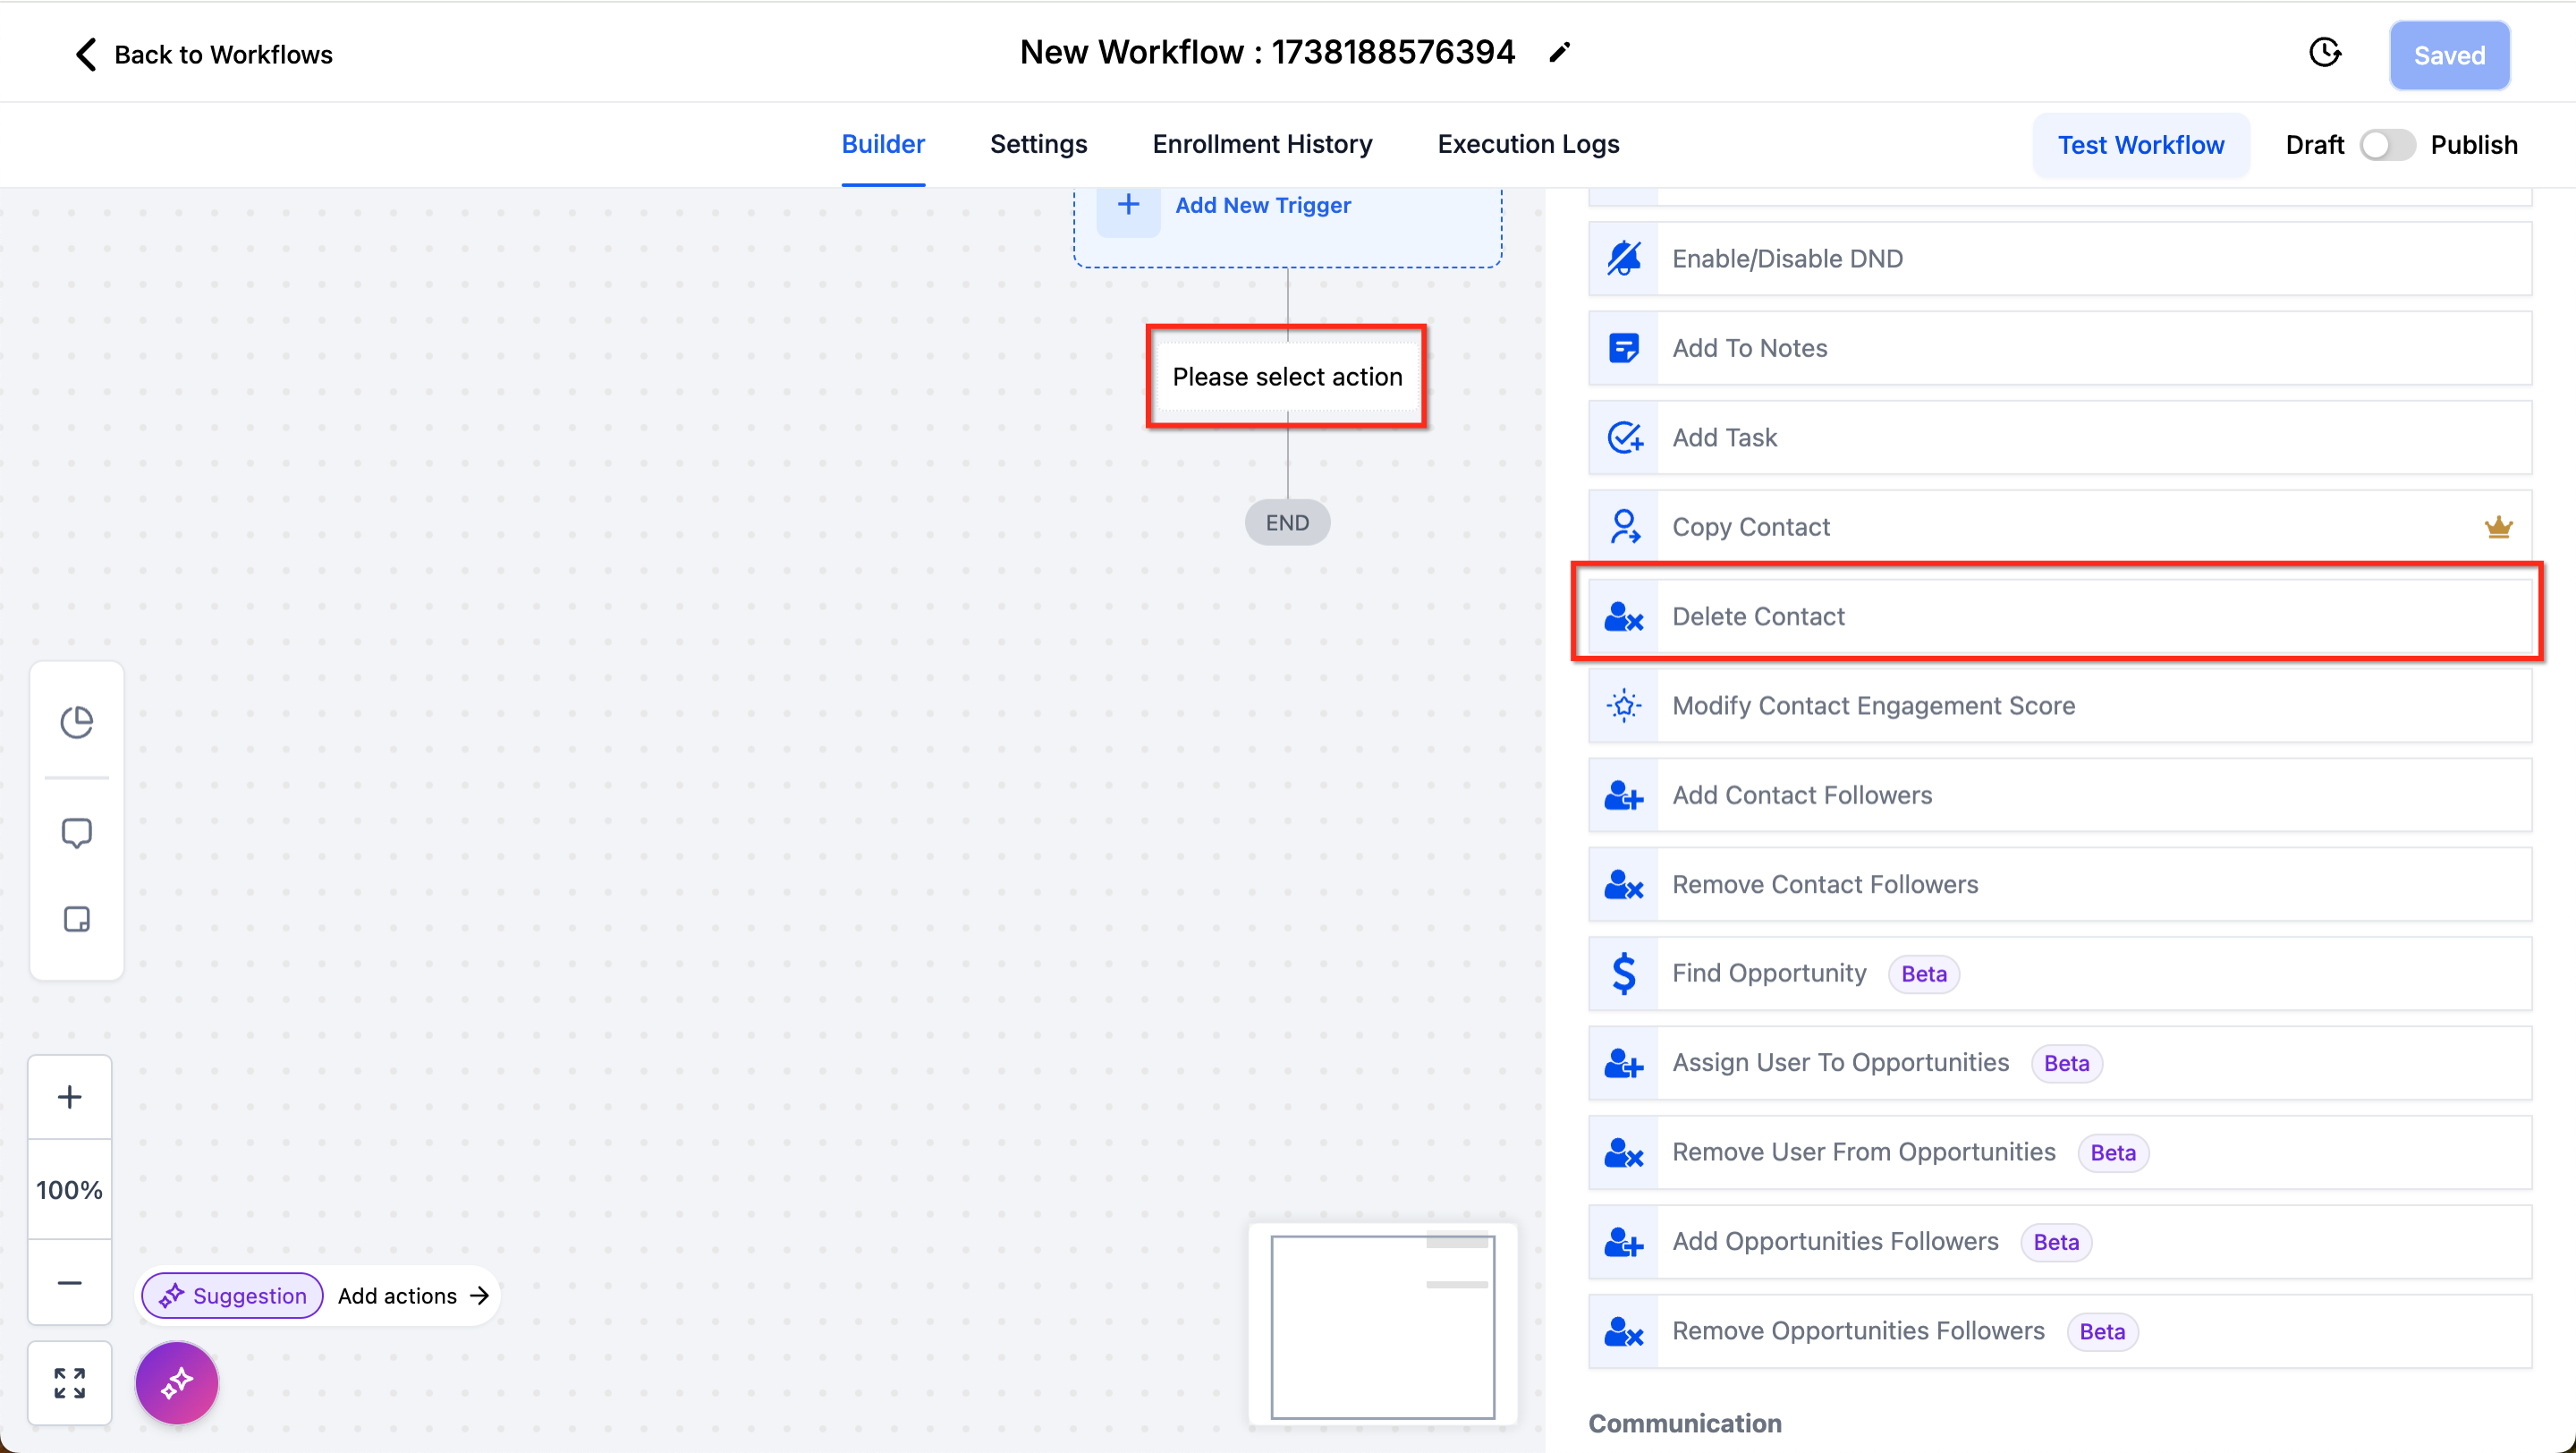
You find the action inside the Workflow Builder, which lives under Subaccount > Automations. It is added like any other automation step by clicking the plus (+) icon and selecting Delete Contact from the list.
03How businesses use delete contact action
- Contact data cleanup. When a contact meets predefined criteria for removal, place the Delete Contact action at the end of the workflow to permanently erase the record and all associated data.
- Compliance with privacy requests. If a contact requests deletion of their information, a workflow can trigger the Delete Contact action after verification to ensure the request is fulfilled.
- Removing obsolete leads. Leads that are no longer relevant can be automatically deleted by adding the action as the final step in a workflow that evaluates lead status.
04Before you start
- Triple check the filter conditions that qualify a contact for automatic deletion.
- Test the workflow thoroughly before publishing it.
- Create a backup of contact data in case it needs to be restored within the allowed two month window.
- Inform relevant team members that the Delete Contact action will be used.
05How to set up and use delete contact action in HighLevel
Set up Delete Contact action
- Navigate to Subaccount > Automations, open an existing workflow or create a new one.
- Click the plus (+) icon in the builder, open the actions menu, and locate Delete Contact.
- Place the Delete Contact action at the very end of the workflow sequence.
- Recognize that the action has no settings; it will delete the contact that is active in the workflow.
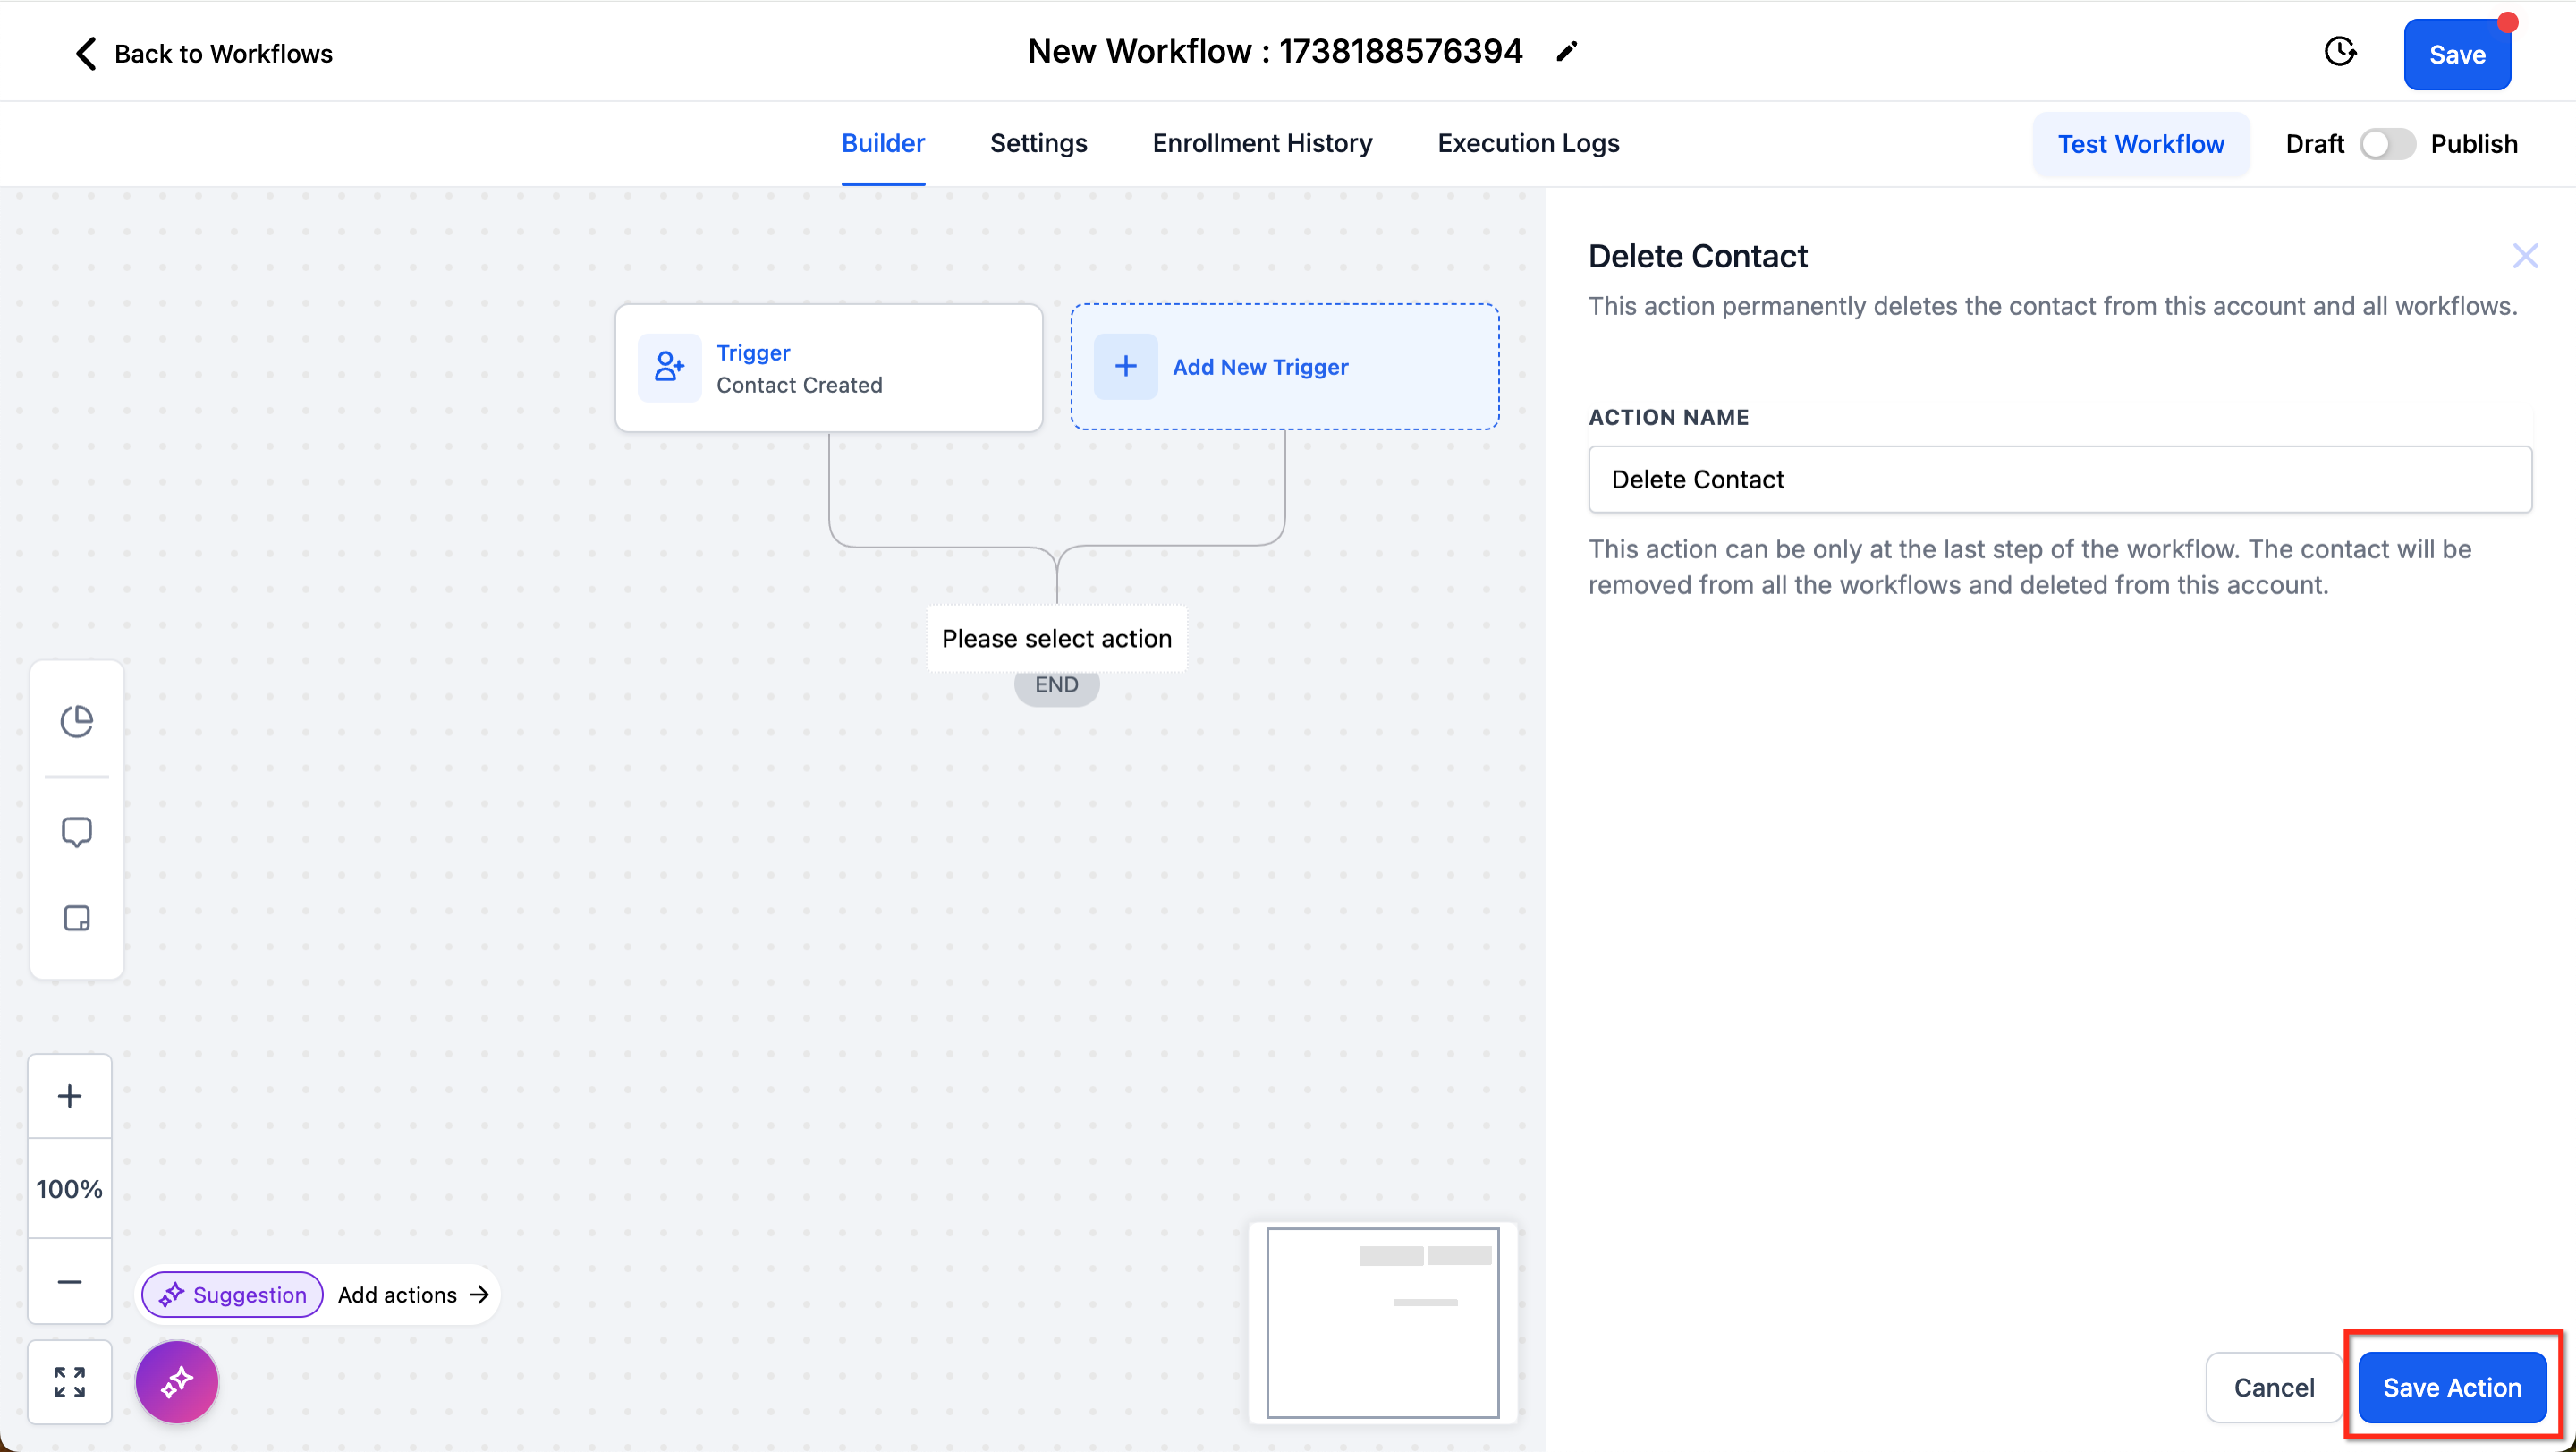
- Click “save action”, test the workflow, and publish it when you are ready.
06What it looks like in HighLevel
07Things to know before you rely on it
- The deletion is permanent; you cannot undo it after it occurs.
- All data linked to the contact, conversations, notes, tasks, and activity, are removed and cannot be recovered.
- A deleted contact can be restored only within two months, but associated data will not come back.
- The action must be the final step because it ends workflow execution immediately.
08How it connects to the rest of HighLevel
- Add a tag to contacts before deletion Add Contact Tag
- Find contacts to target for deletion Find Contact
- Create a new contact if needed instead of deleting Create Contact
Michael's take

The Delete Contact action can be useful when you need to remove contacts that are no longer required in the system.
If you need to keep a contact’s data but stop them from moving through a workflow, the "Remove from Workflow" action is a safer choice.