
01Who this is for
- Marketing managers can automate promotional campaigns, ensuring each contact receives a timely, personalized email without manual effort.
- Customer support teams can send booking confirmations or follow up messages automatically, improving response consistency.
- Appointment coordinators can trigger reminder emails as soon as a client books, reducing no shows.
- Small business owners can set up a single workflow to handle multiple email scenarios, saving time across the operation.
02Send email actions, explained
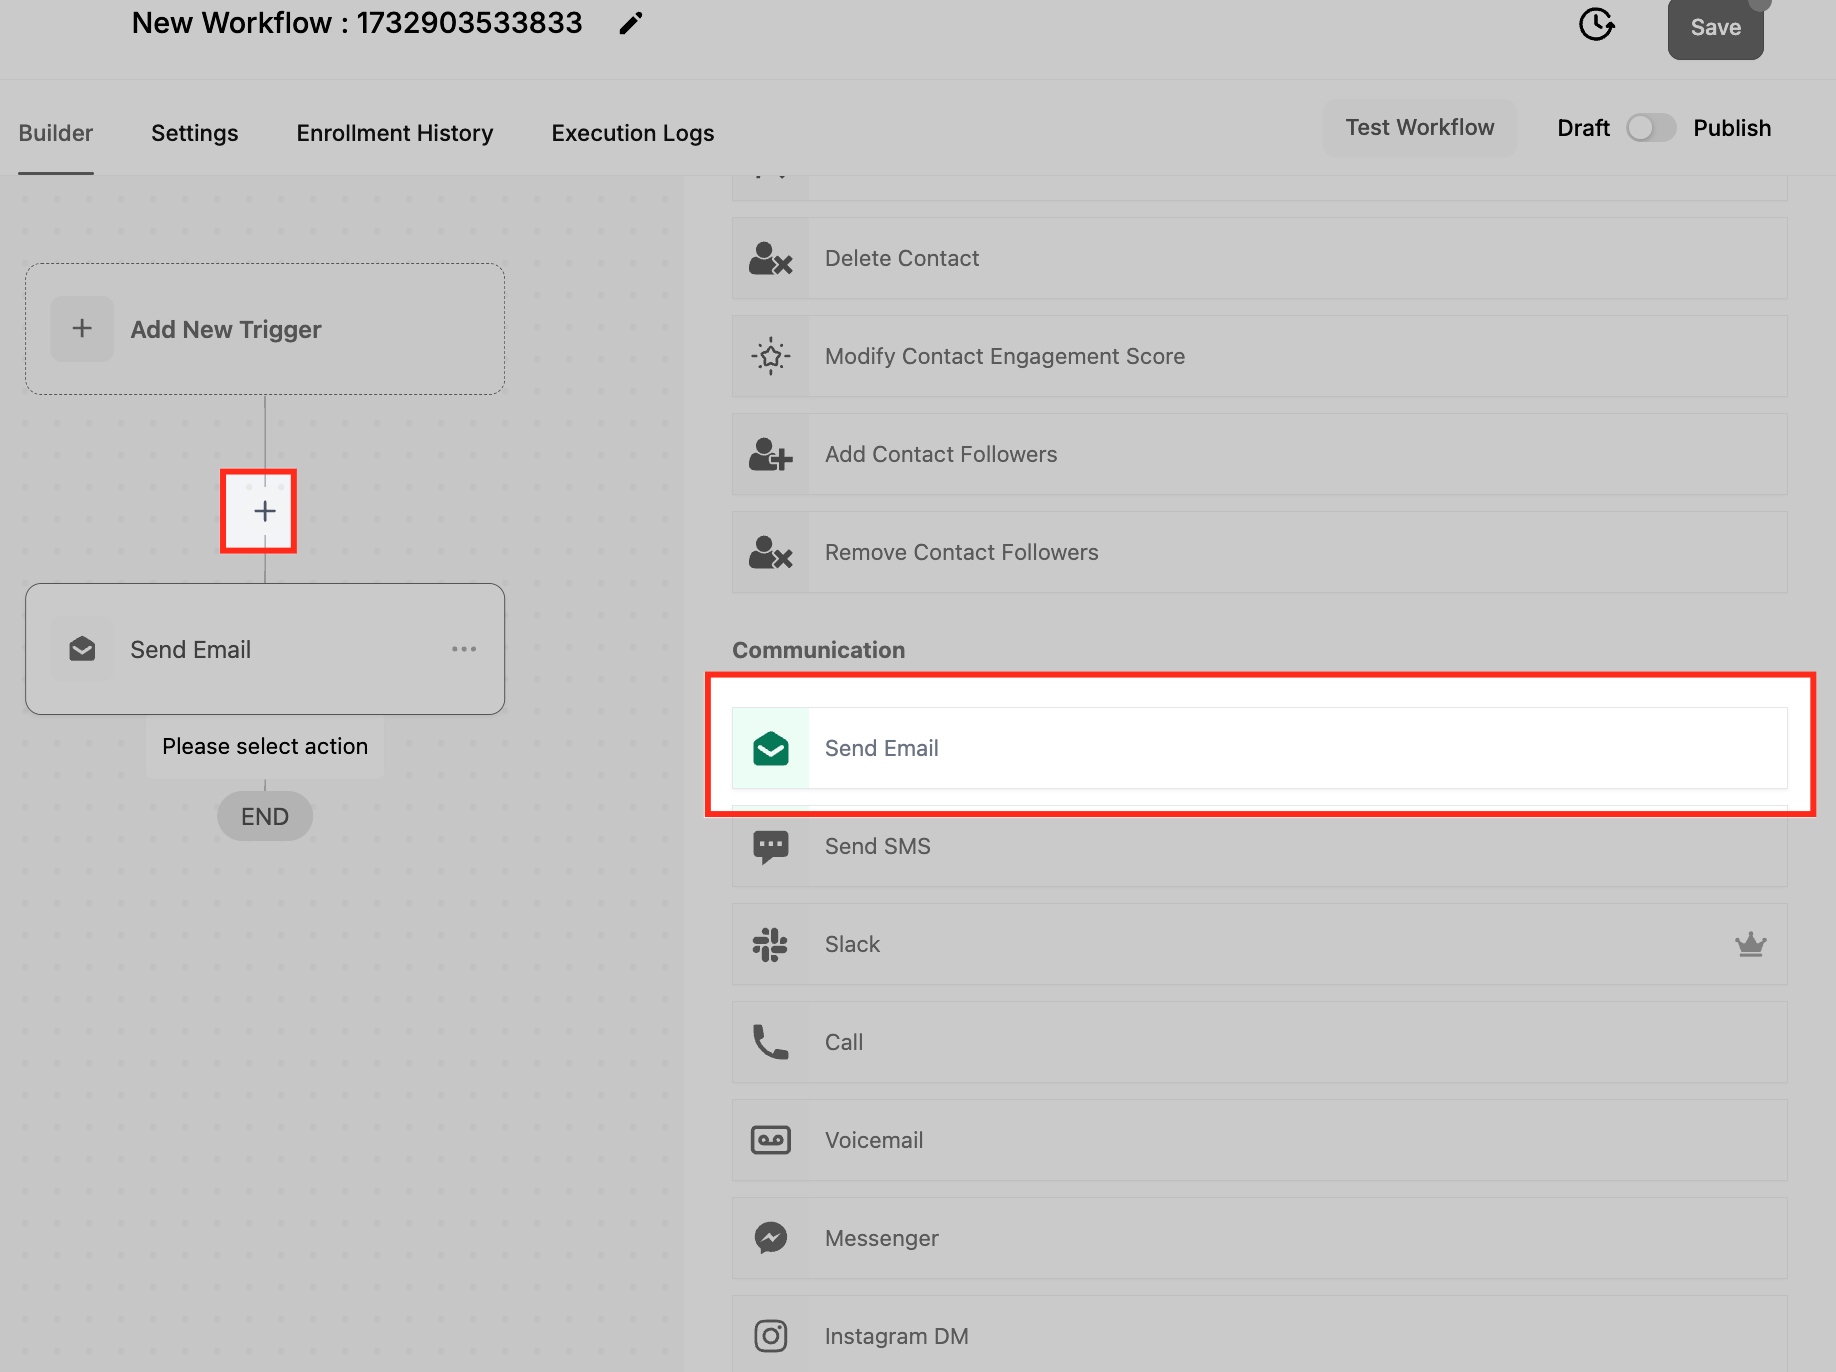
The Send Email action is a component you place inside a HighLevel workflow. When the workflow reaches this step, the platform dispatches an email to the contact defined by the trigger, using the content you configure.
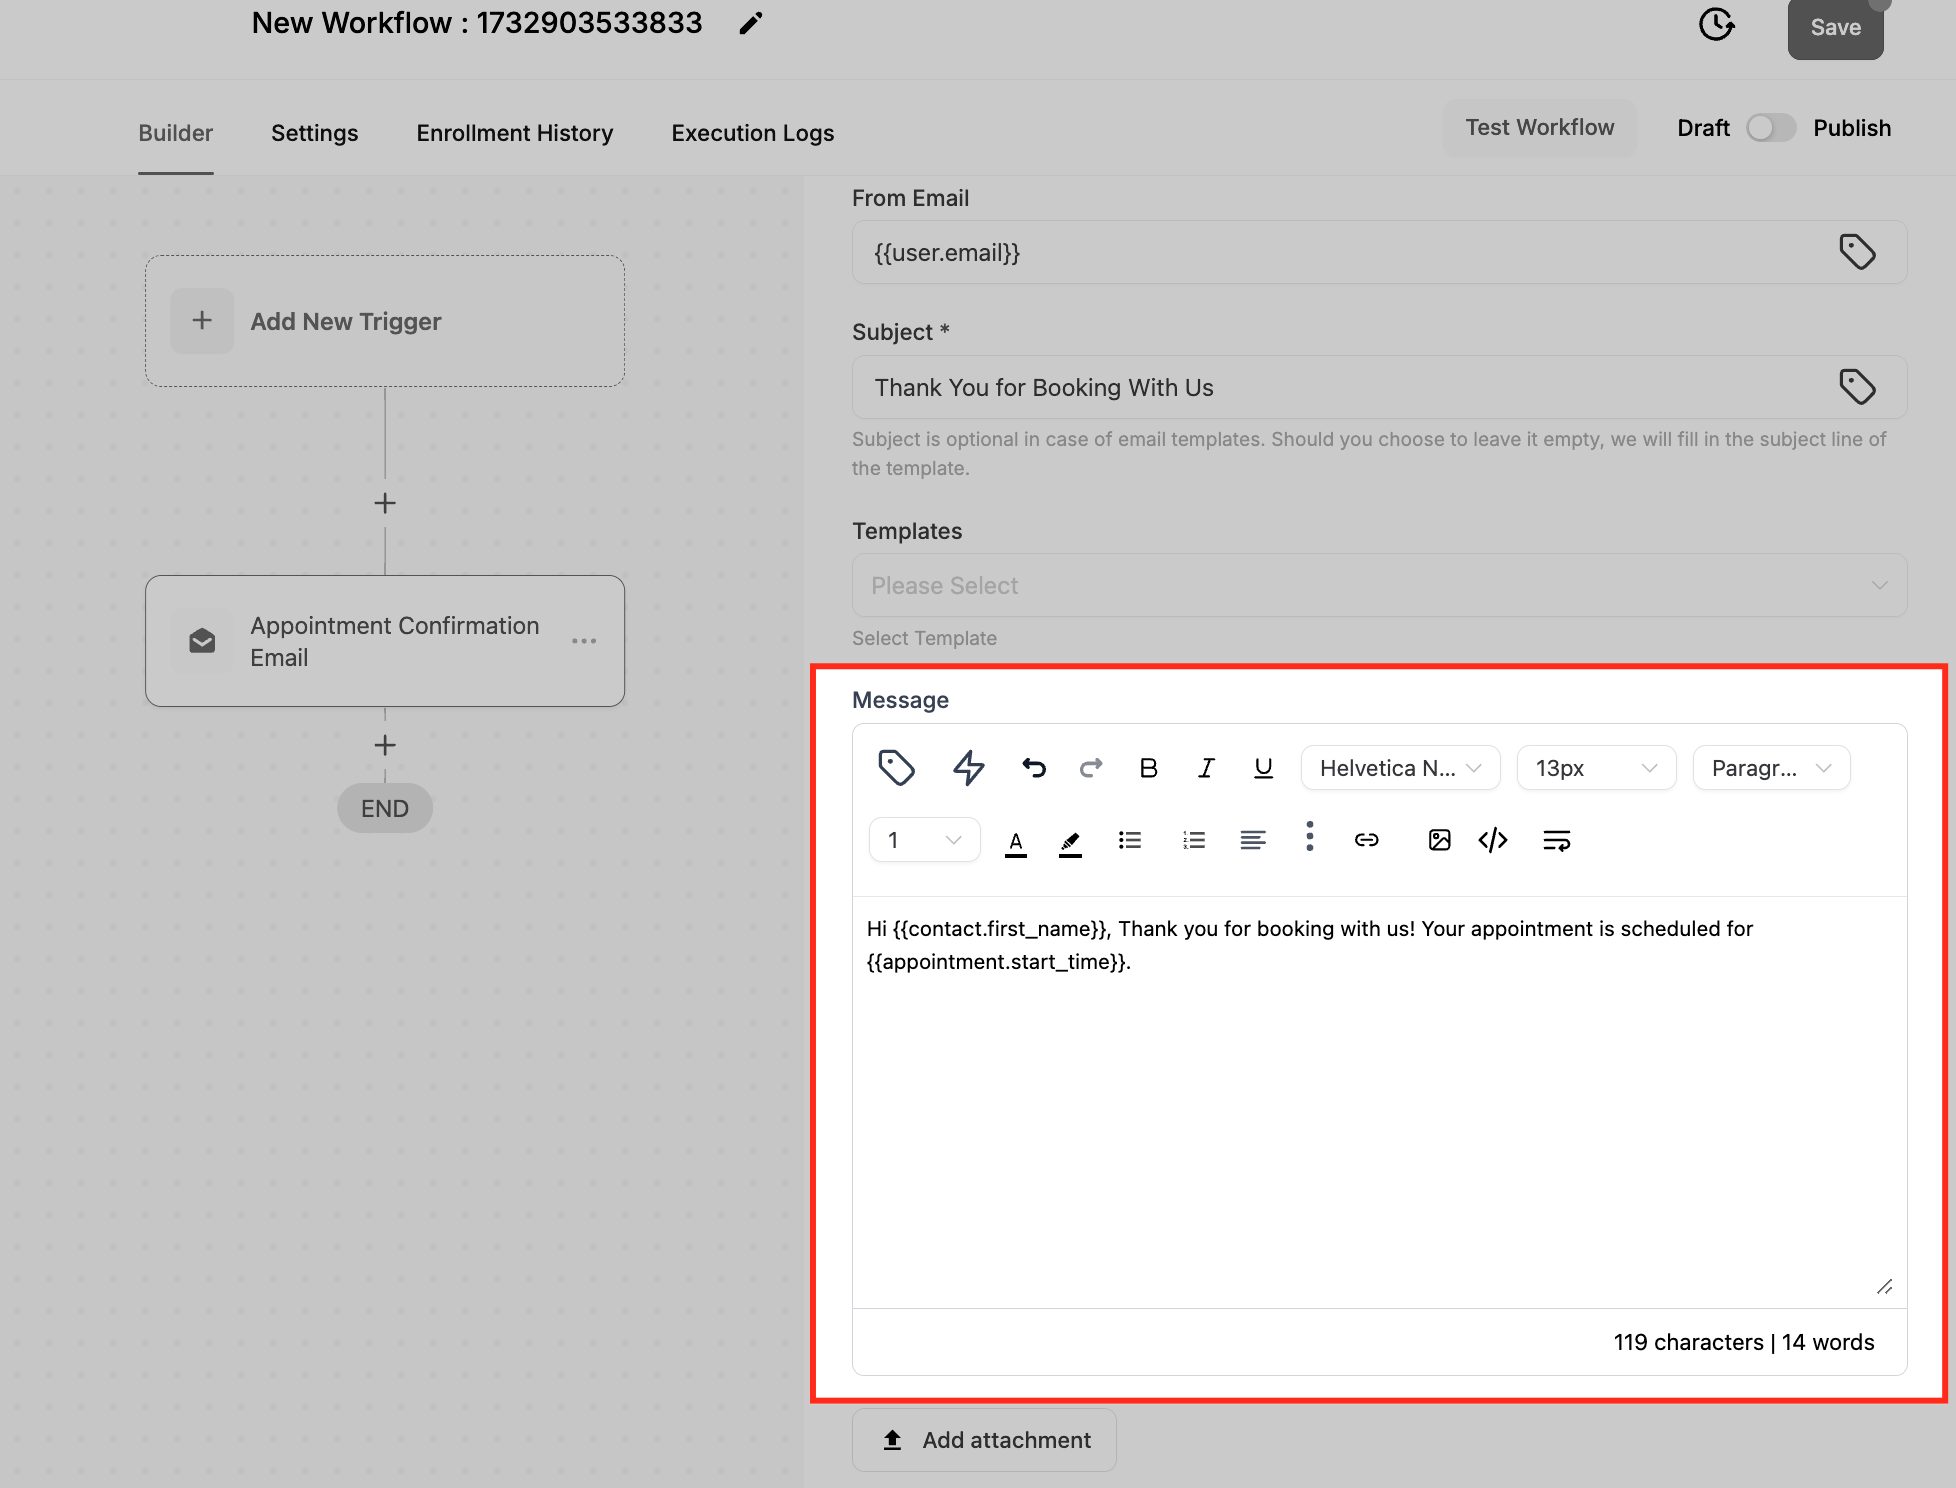
You can define the sender name and address, write a subject line, and build the email body with merge fields such as {{contact.first_name}} or {{appointment.start_time}}. Optional features include attaching files, selecting an existing template, synchronising edits with that template, and adding CC or BCC recipients. A test email can be sent to verify formatting before the workflow goes live.
03How businesses use send email action
- Dental practice. After a patient books an appointment, the workflow sends a confirmation email that includes the patient’s name and appointment time. The practice can attach a new patient intake PDF. Dynamic fields keep each message accurate for the specific visit.
- Real estate agency. When a lead fills out a property inquiry form, the workflow triggers an email that greets the prospect by name and lists the requested property details. The agent can attach a brochure file. Merge fields pull the lead’s information directly from the form.
- Online course provider. Upon enrollment, the workflow sends a welcome email containing the learner’s first name, login credentials, and a link to the course portal. The provider can add a PDF syllabus as an attachment. This ensures every new student receives the same onboarding experience.
04How to set up and use send email action in HighLevel
Set up send email action
- Open the workflow editor and drag the Send Email action into the desired position.
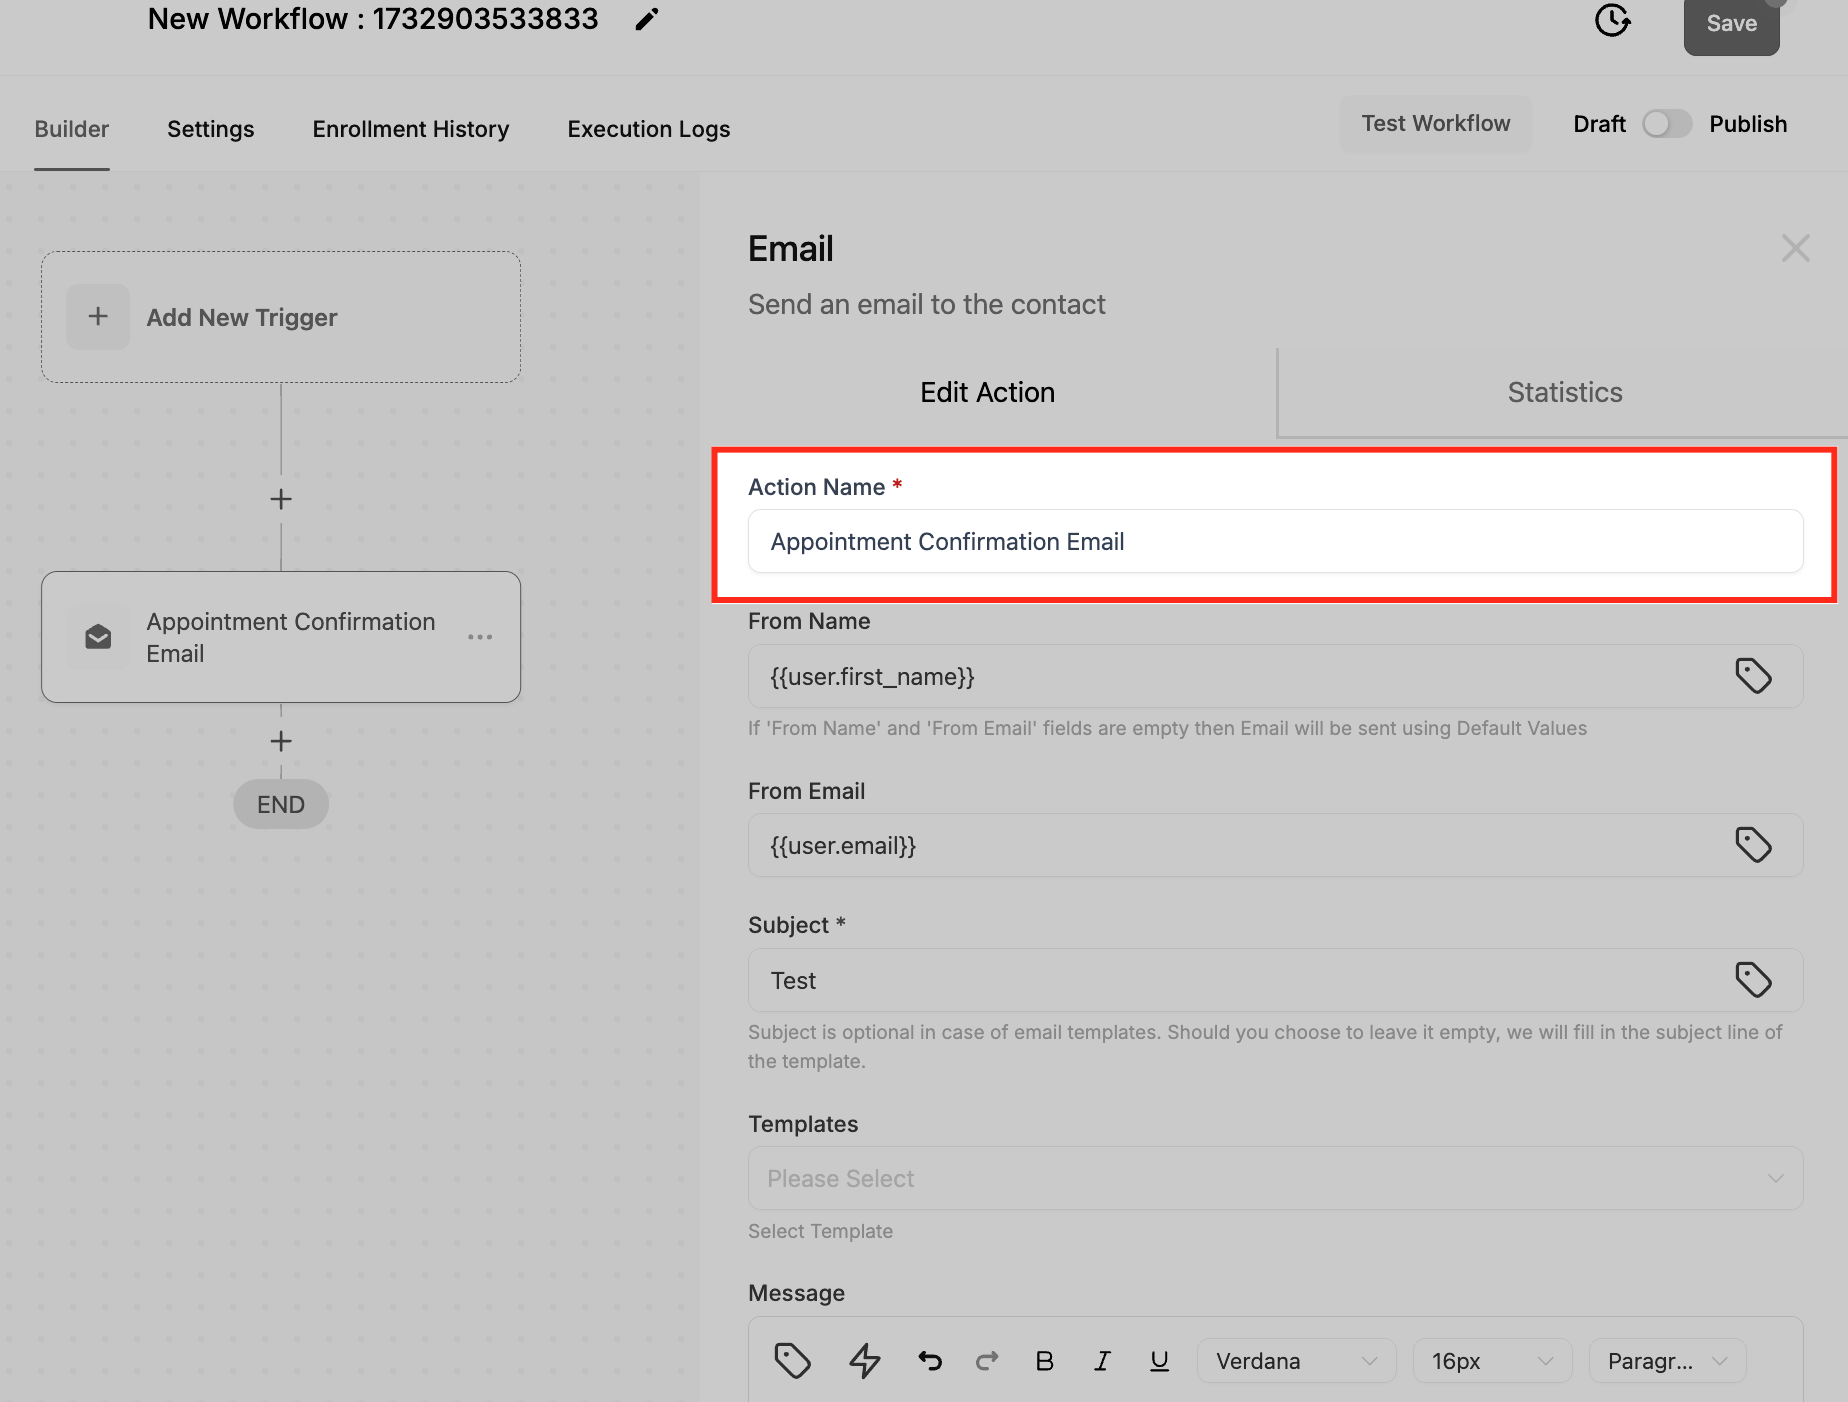
- Give the action a clear name that describes its purpose.
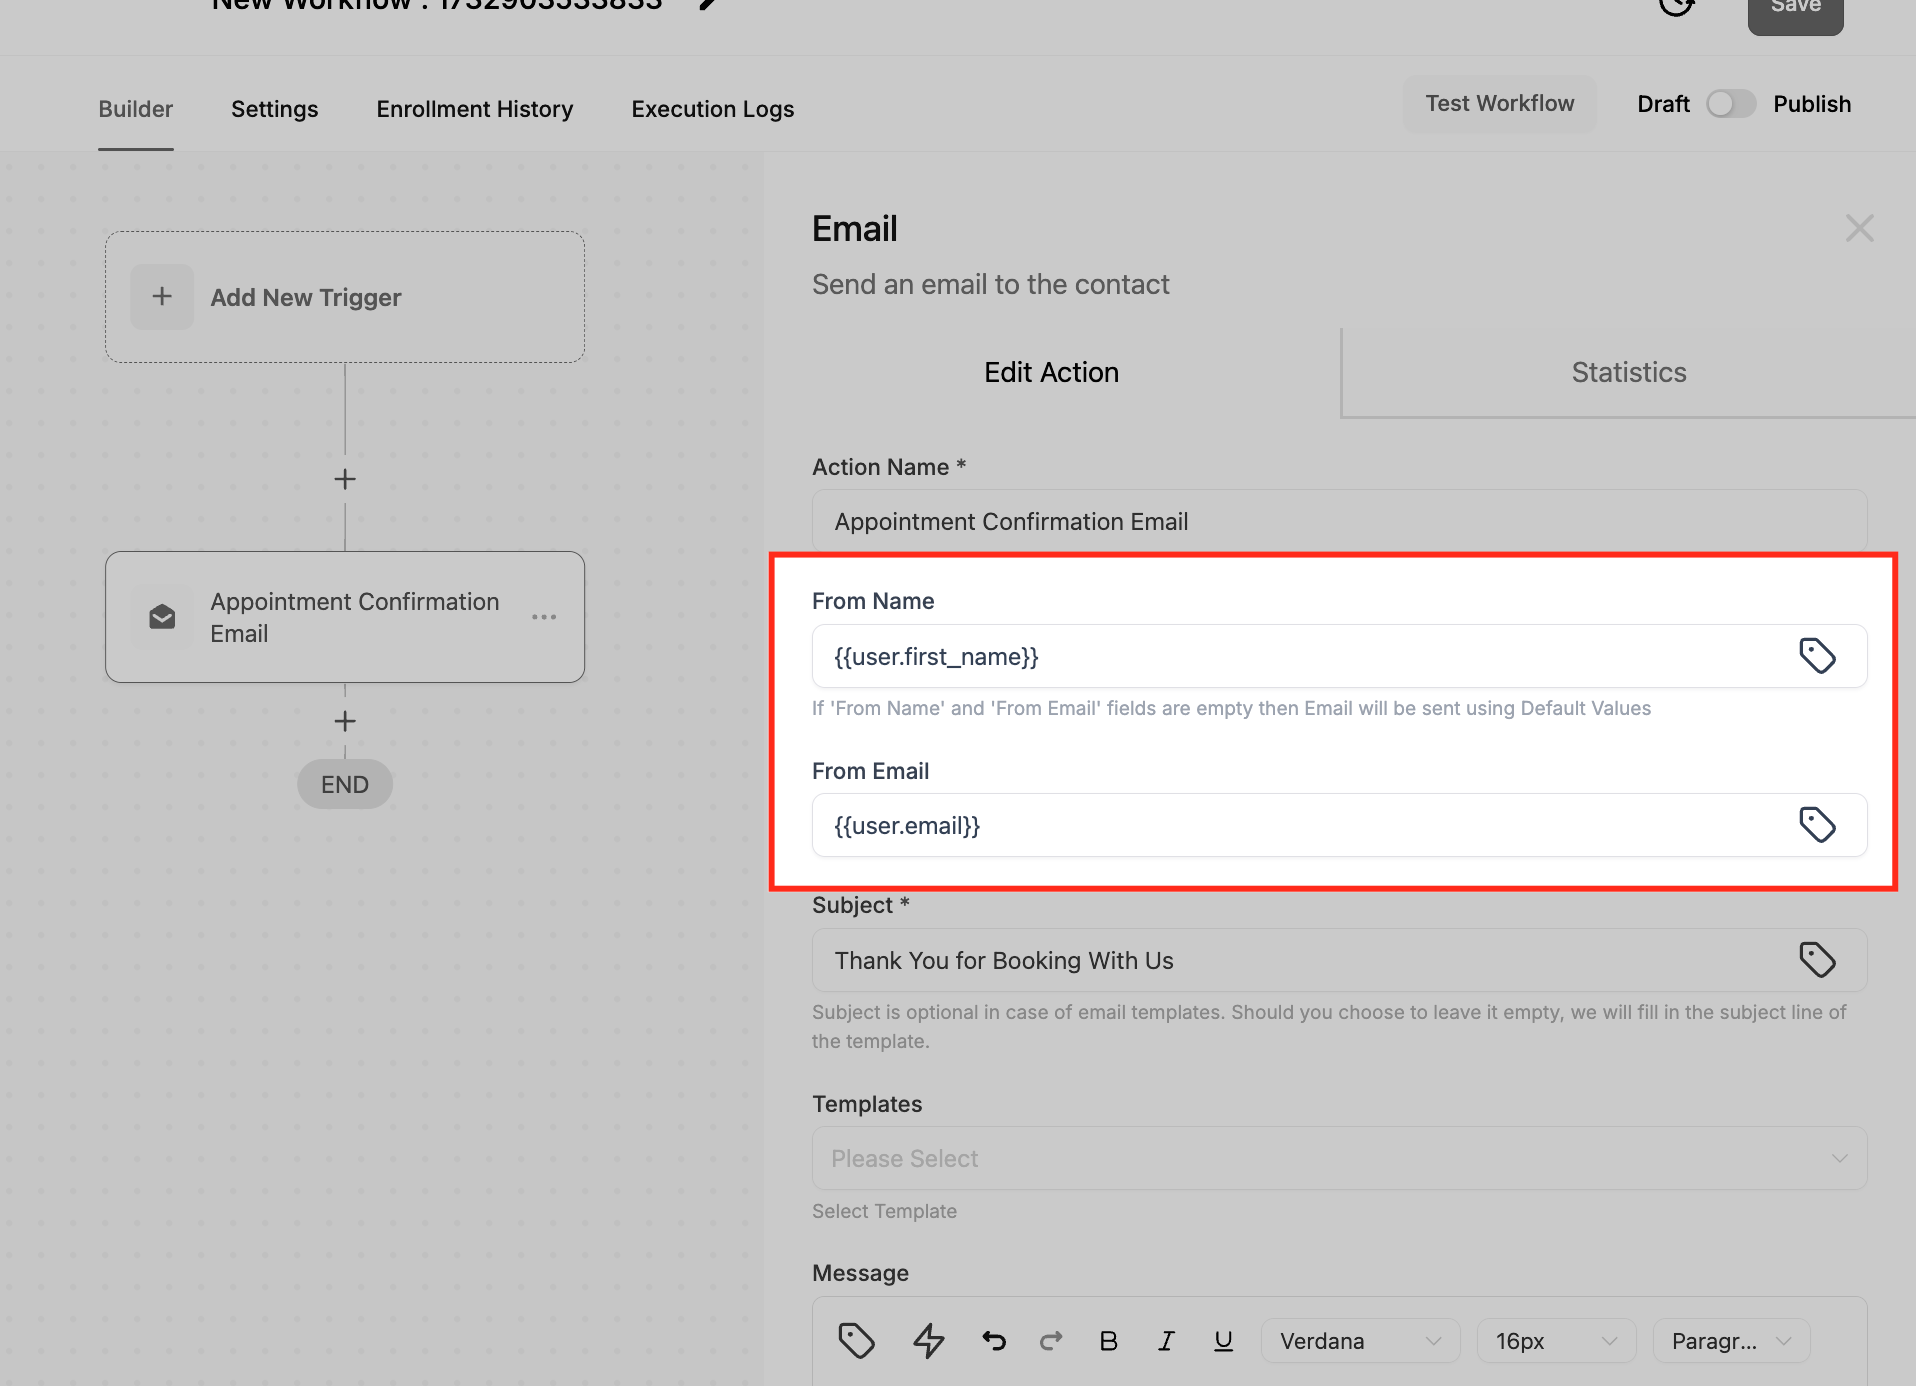
- Enter the sender name in the From Name field and the sender address in the From Email field.
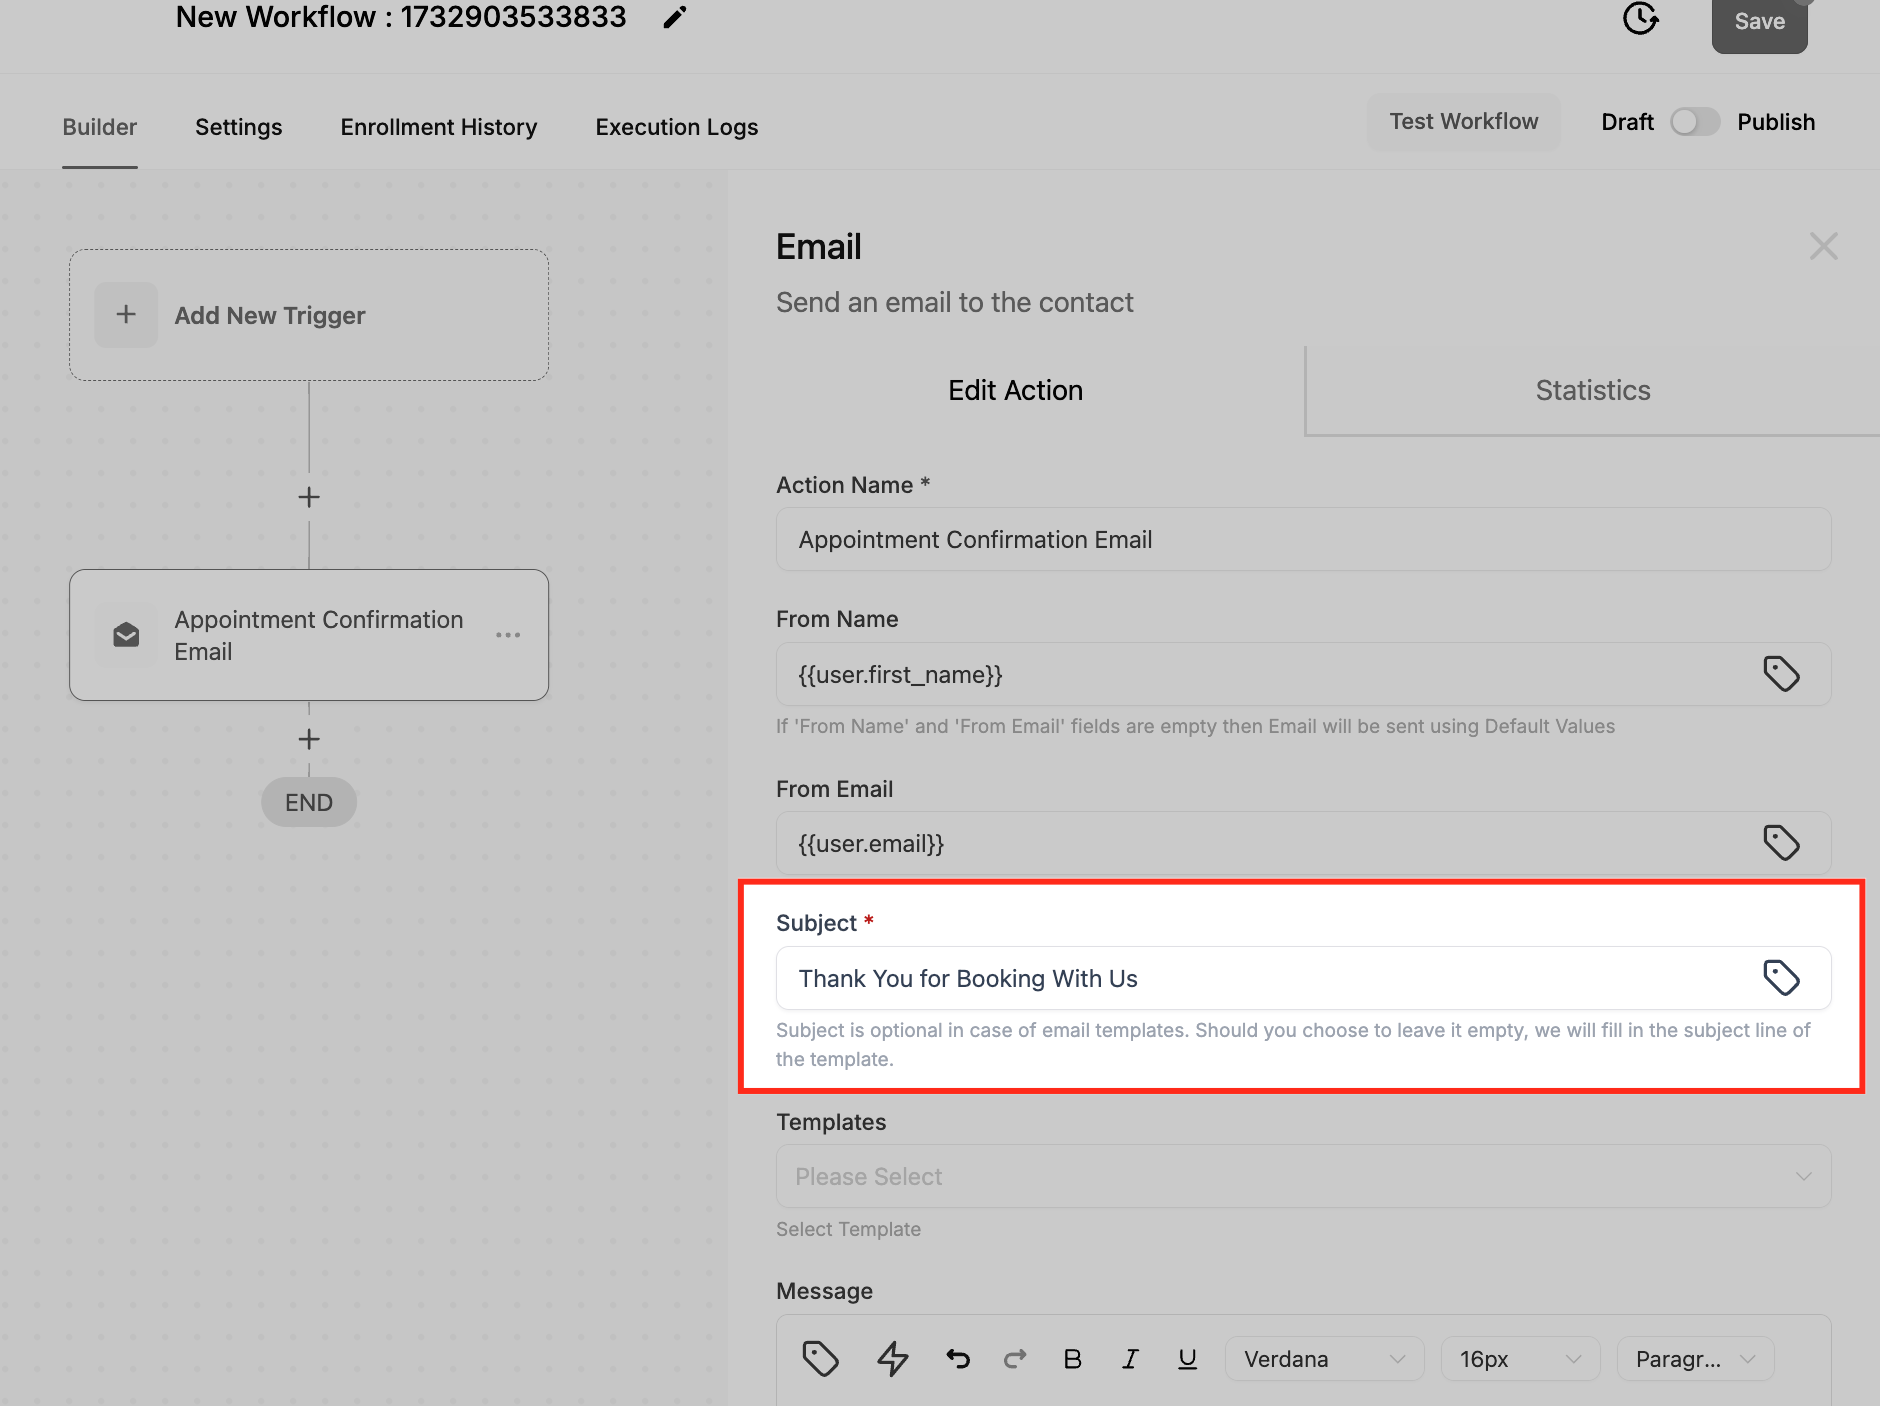
- Write a concise subject line that reflects the email’s purpose.
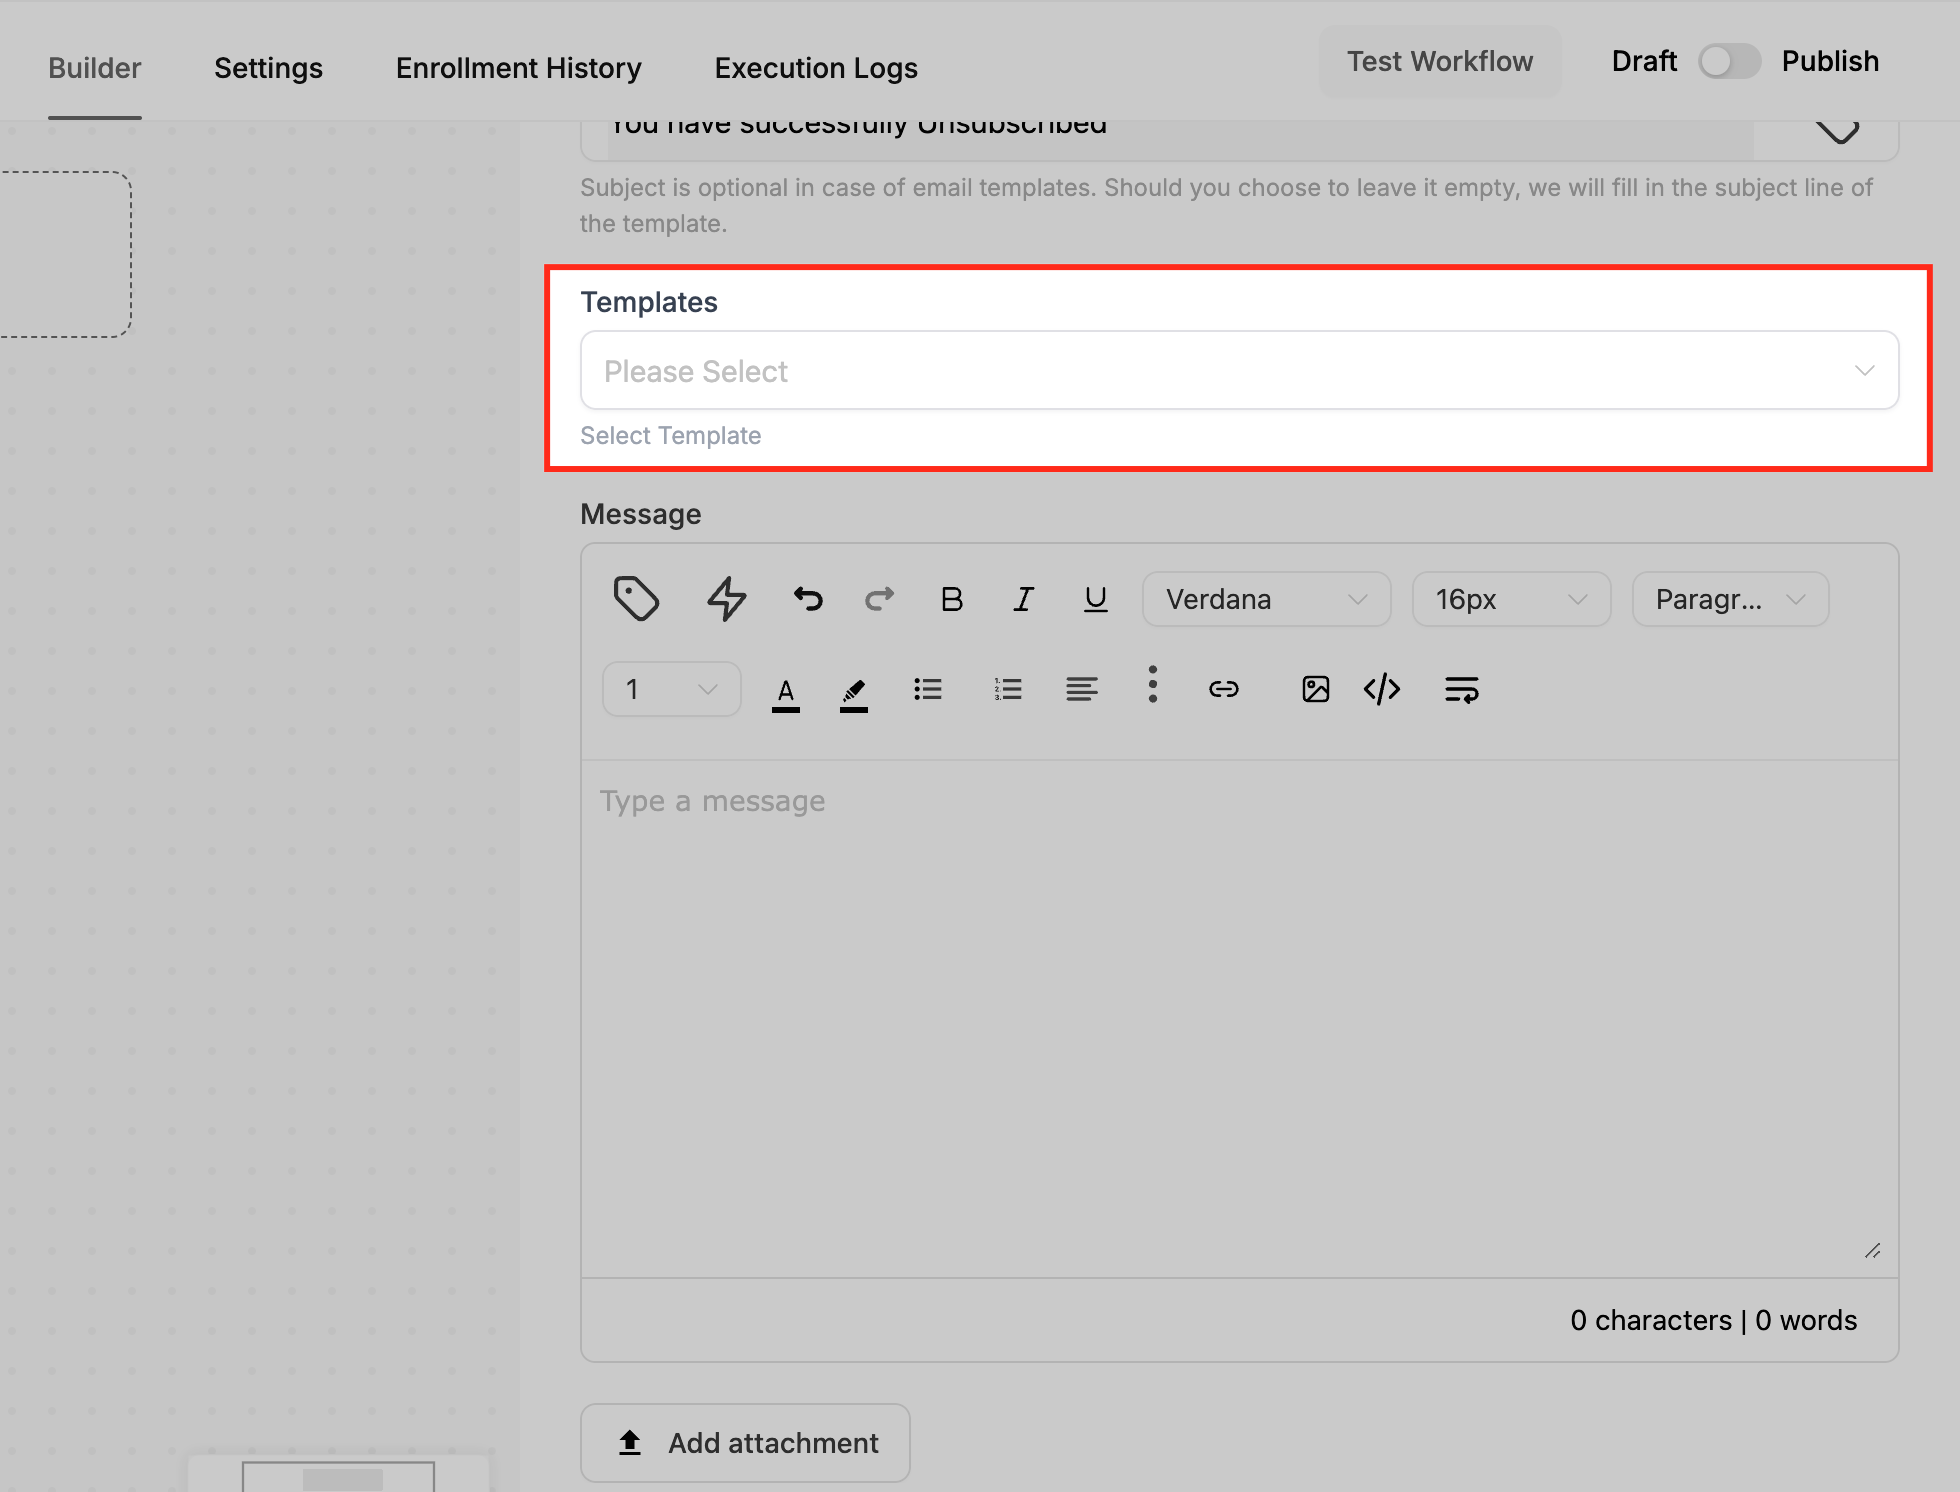
- Select an existing template or type a custom message in the Email Body field, using merge fields for personalization. Decide whether to enable the Sync Edits to Template option.
- If needed, attach files from the Media Library or upload new ones to include with the email.
- Enter a test email address in the Test Emails field and click Send Test Mail to preview the message.
- Click Save Action to store the configuration.
- Open the CC and BCC options, add additional email addresses, and ensure they are separated by commas.
- Adjust the Sync Edits to Template setting based on whether future changes should update the original template.
05What it looks like in HighLevel
06Settings that matter
- From Name. Sets the display name that recipients see as the sender.
- From Email. Determines the email address used to send the message.
- Subject. Specifies the line that appears in the recipient’s inbox.
- Email Body. Contains the main content of the email and supports merge fields for personalization.
- Sync Edits to Template. Controls whether changes made in this action also update the selected email template.
- Attachments. Allows files to be added to the email either from the Media Library or by uploading new ones.
- Test Emails. Provides the address where a test version of the email is sent for review.
- CC. Adds additional recipients who receive a visible copy of the email.
- BCC. Adds hidden recipients who receive a copy without being shown to other recipients.
07Things to know before you rely on it
- CC/BCC recipients are not counted in the workflow email statistics.
- If a CC or BCC address is invalid, the system skips that address but still sends to the primary contact.
- Sending a test email validates content and formatting only; it does not confirm delivery to CC or BCC addresses.
- Merge fields will appear empty when the workflow trigger does not supply the required data.
08If something goes wrong
- Email didn’t send. Verify that the contact’s email address is valid and that your sending domain and From Email are configured correctly.
- Merge fields showing as blank. Make sure the trigger or preceding actions provide the necessary data, and confirm the contact record contains values for those fields.
- Formatting looks off. Use a test email to check spacing, links, and template rendering across different email clients.
09How it connects to the rest of HighLevel
- Add SMS reminders alongside email sends for multichannel communication. Send SMS action
- Notify your team internally when an email is dispatched using the Internal Notification action. Internal Notification
- Review workflow basics to understand how triggers and actions fit together. Workflow basics
Michael's take

Michael ReimerFounder of CRM Pros, HighLevel Commander and Certified Admin
The Send Email action is a straightforward way to automate personalized outreach.
Get More InformationOpens on HighLevelPublished November 2, 2026 · Updated November 16, 2026