
01Who this is for
- Workflow creators who need to schedule actions based on a specific date or time.
- Marketers who want to automate reminders and follow up sequences that depend on an event date.
02Event start dates, explained
The Event Start Date action defines the moment from which all subsequent workflow actions calculate their timing. It supplies a reference date for Wait steps, ensuring that pauses and future triggers line up with the chosen event.
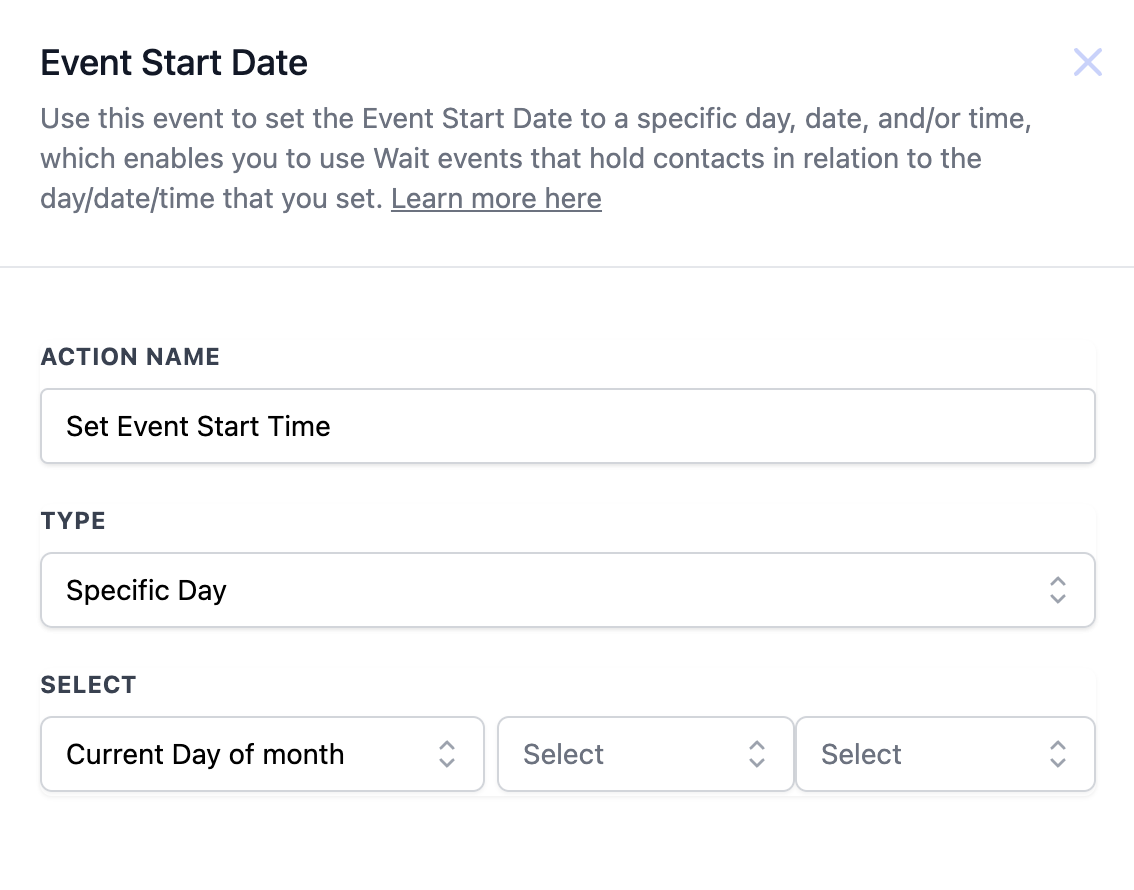
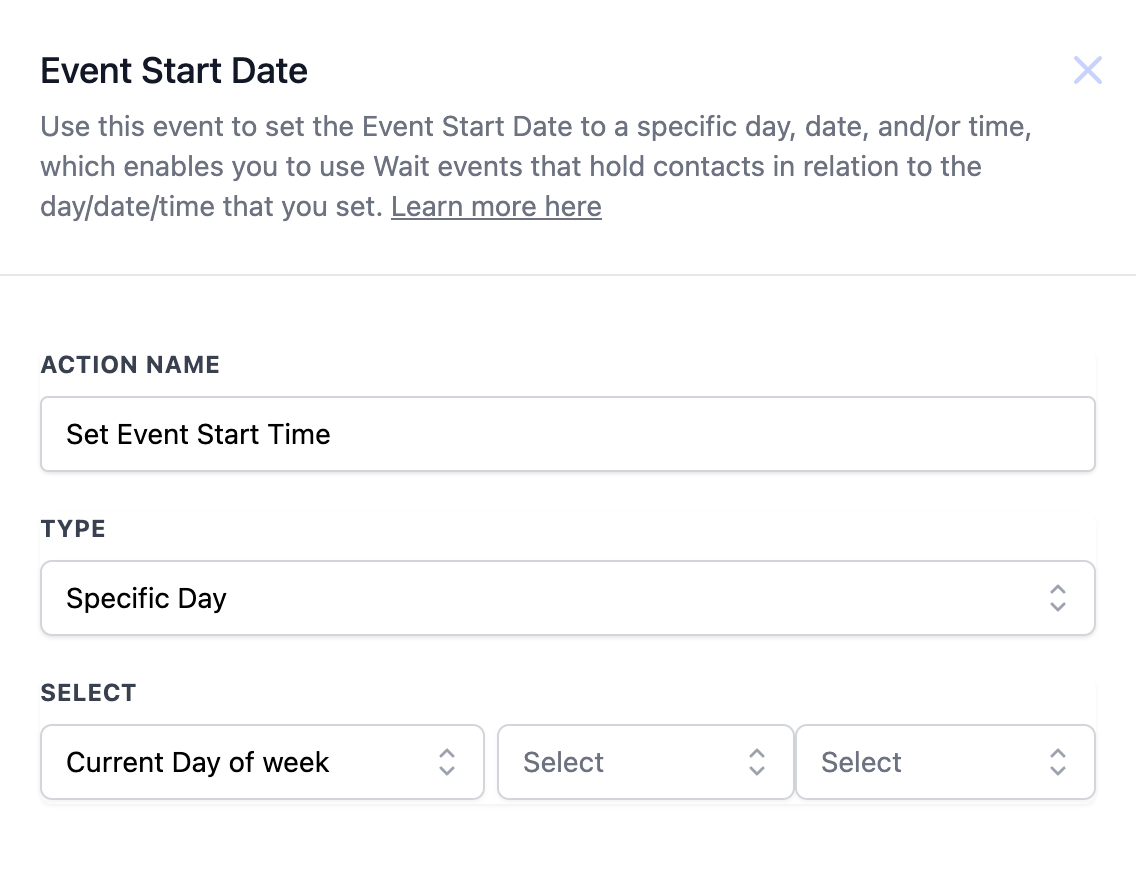
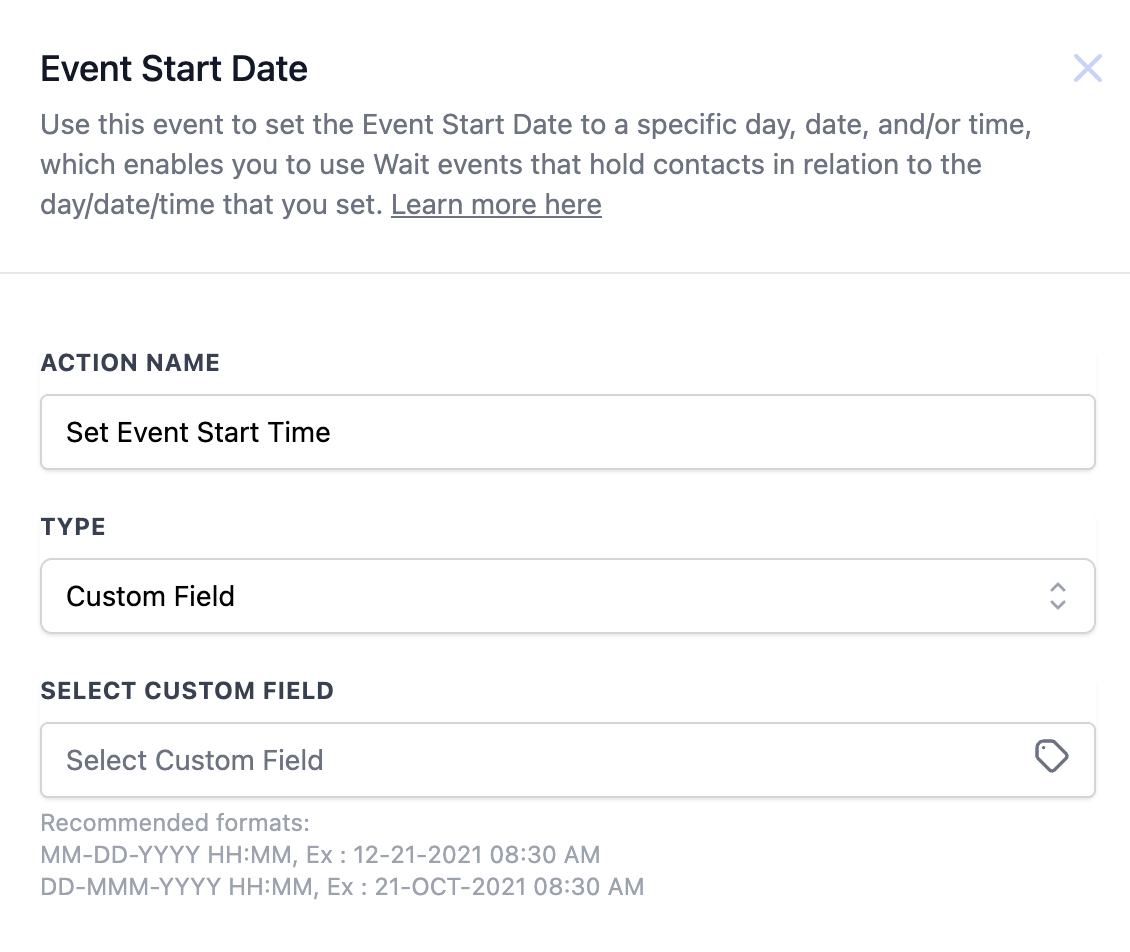
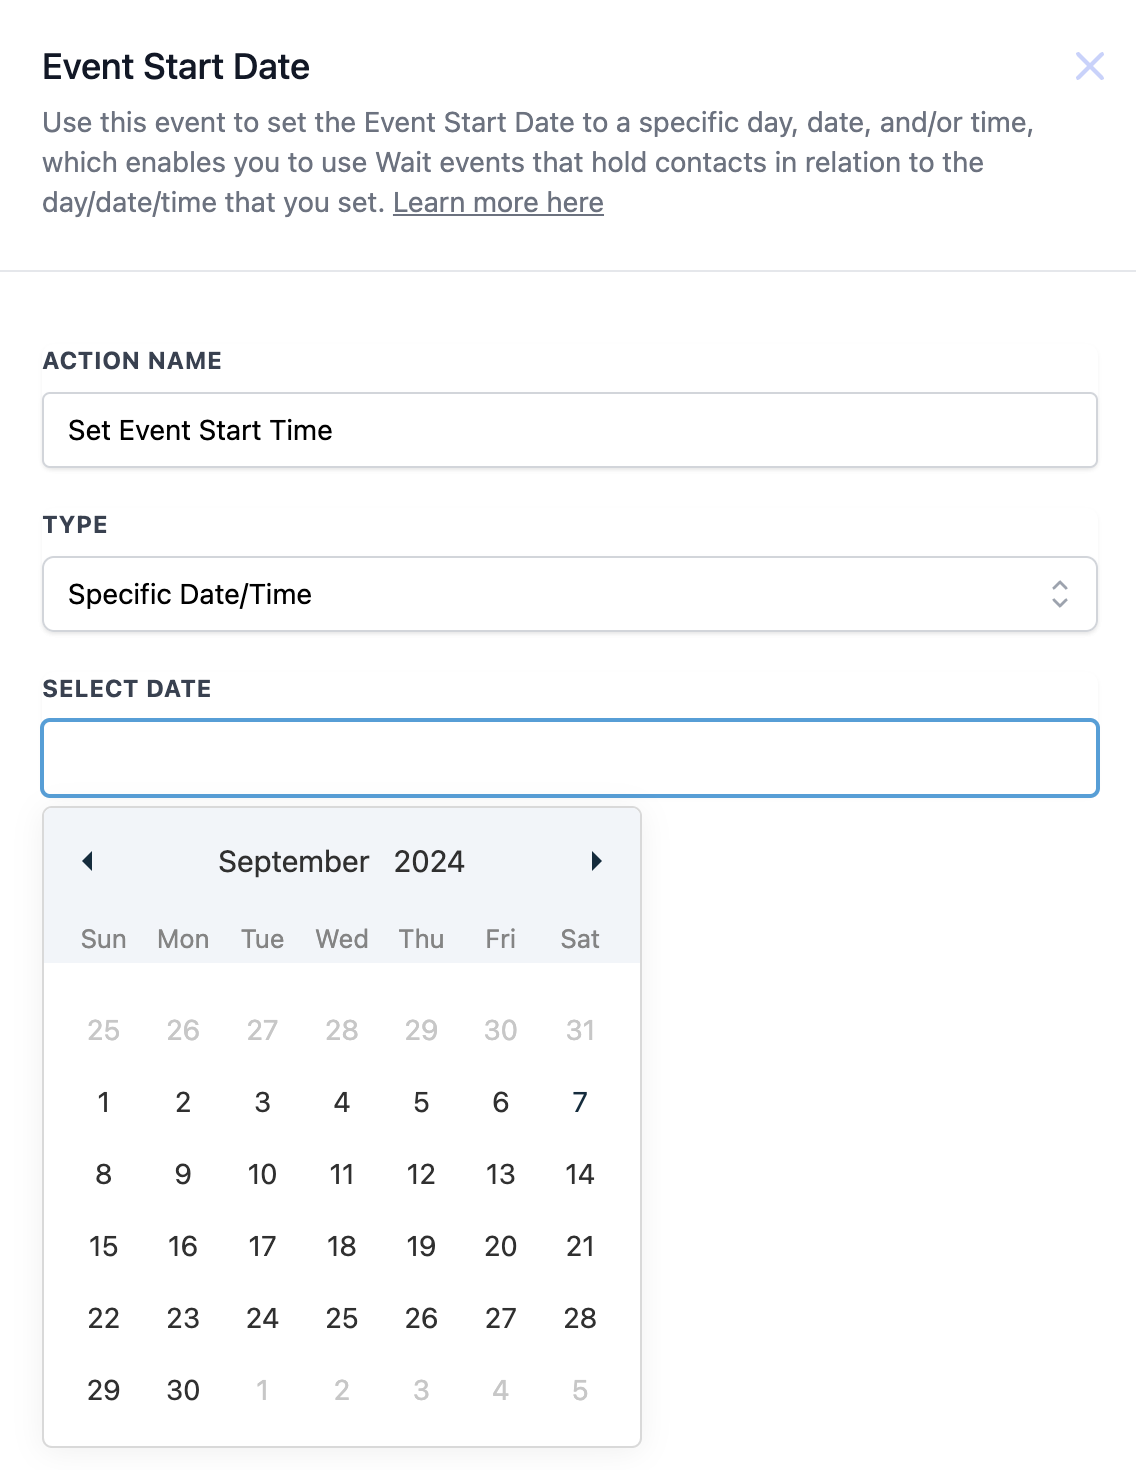
Three options determine the reference point: Specific Day lets you base the event on the current day of the month or week; Specific Date/Time lets you pick an exact calendar entry; Custom Field pulls a date stored in a custom field on the contact record. The fields that appear change according to the selected type.
This action is added inside a workflow when you create a new step. Choose Action > Event Start Date, then fill in the required fields before linking it to Wait actions or any other time dependent steps.
03How businesses use event start date
- Webinar hosting company. Create a workflow that sets the Event Start Date to the webinar’s scheduled date. Add a Wait action that holds contacts until one week after that date, then send a replay email.
- Fitness studio. Use the Custom Field option to pull each member’s class registration date. Subsequent actions can send reminder texts a day before the class based on that field.
- Consulting agency. Select Specific Day and choose Current Day of Month to schedule a recurring invoice reminder on the first day of every month for each client.
04How to set up and use event start date in HighLevel
Configure Event Start Date action
- Enter a descriptive Action Name, such as "Event Start Time for Webinar".
- Choose the Type, Specific Day, Specific Date/Time, or Custom Field.
- If you selected Custom Field, pick the custom field that stores the event date.
- If you selected Specific Date/Time, use the calendar picker to choose the exact date and time.
- If you selected Specific Day, decide whether to use the current day of the month or the current day of the week.
05What it looks like in HighLevel
06Settings that matter
- Action Name. The label that identifies this action within the workflow.
- Type. Determines whether the event start point comes from a specific day, an exact date/time, or a custom field.
- Select Custom Field. When Type is Custom Field, this field lets you choose which custom date field provides the event start.
- Select Date. When Type is Specific Date/Time, this control lets you pick the calendar date and time for the event.
- Current Day of Month/Week. When Type is Specific Day, this option lets you trigger the event based on the current day of the month or the current day of the week.
07Things to know before you rely on it
- Date and time must follow the required format (MM DD YYYY HH) to avoid timing errors.
- Select Custom Field only appears when the Type is set to Custom Field.
- Select Date only appears when the Type is set to Specific Date/Time.
- Current Day of Month/Week only appears when the Type is set to Specific Day.
08How it connects to the rest of HighLevel
- Learn basic workflow setup to pair this action with Wait steps. Workflow basics
- See how to add triggers, filters, and actions when building a workflow. Workflow creation guide
- Check whether your plan includes advanced workflow actions like Event Start Date. Workflow Pro pricing
Michael's take

People often think they need a separate calendar integration to control timing, but the Event Start Date action handles that inside the workflow itself. Instead, just set the date or day directly in the action and let the workflow do the waiting for you.
If I were building a webinar follow up series, I would start with an Event Start Date set to the webinar date, then add a Wait for seven days and a final email. It’s a clean way to keep everything in one place without juggling external tools.