
01Who this is for
- Founders who need to connect the platform to services that have no native integration, because custom logic can be written in JavaScript.
- Marketing teams that must reshape data, such as reformatting dates or phone numbers, before passing it to downstream actions.
- Developers building multi step automations that require conditional logic or external API calls not covered by built in actions.
02Custom code, explained
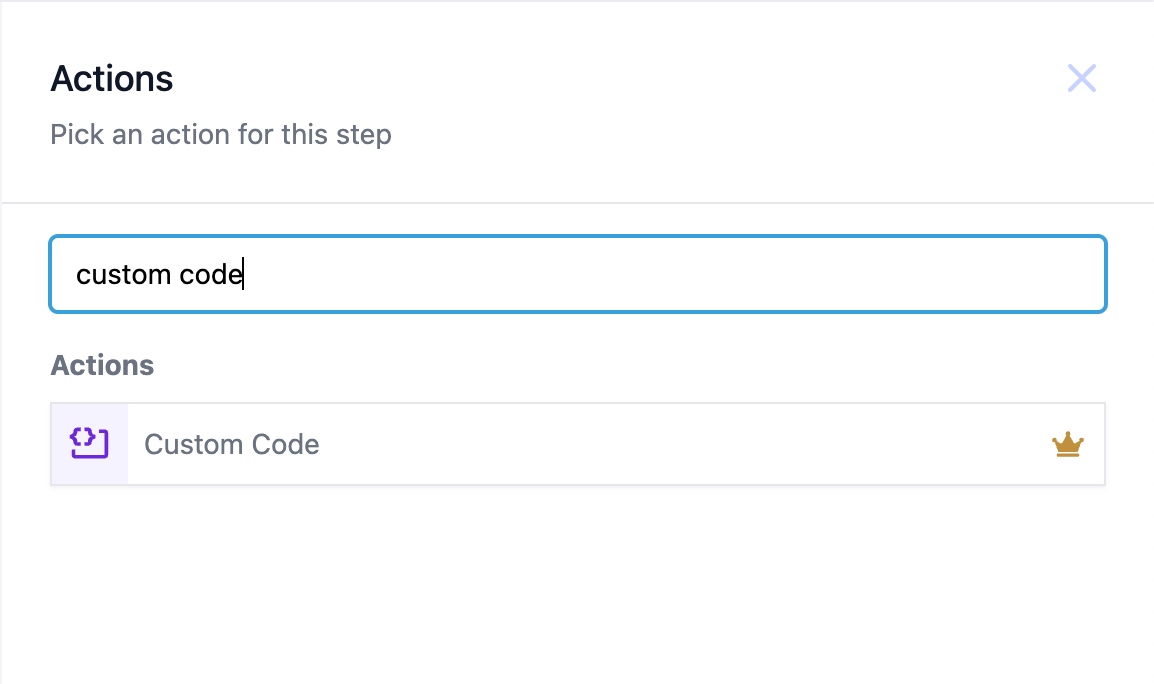
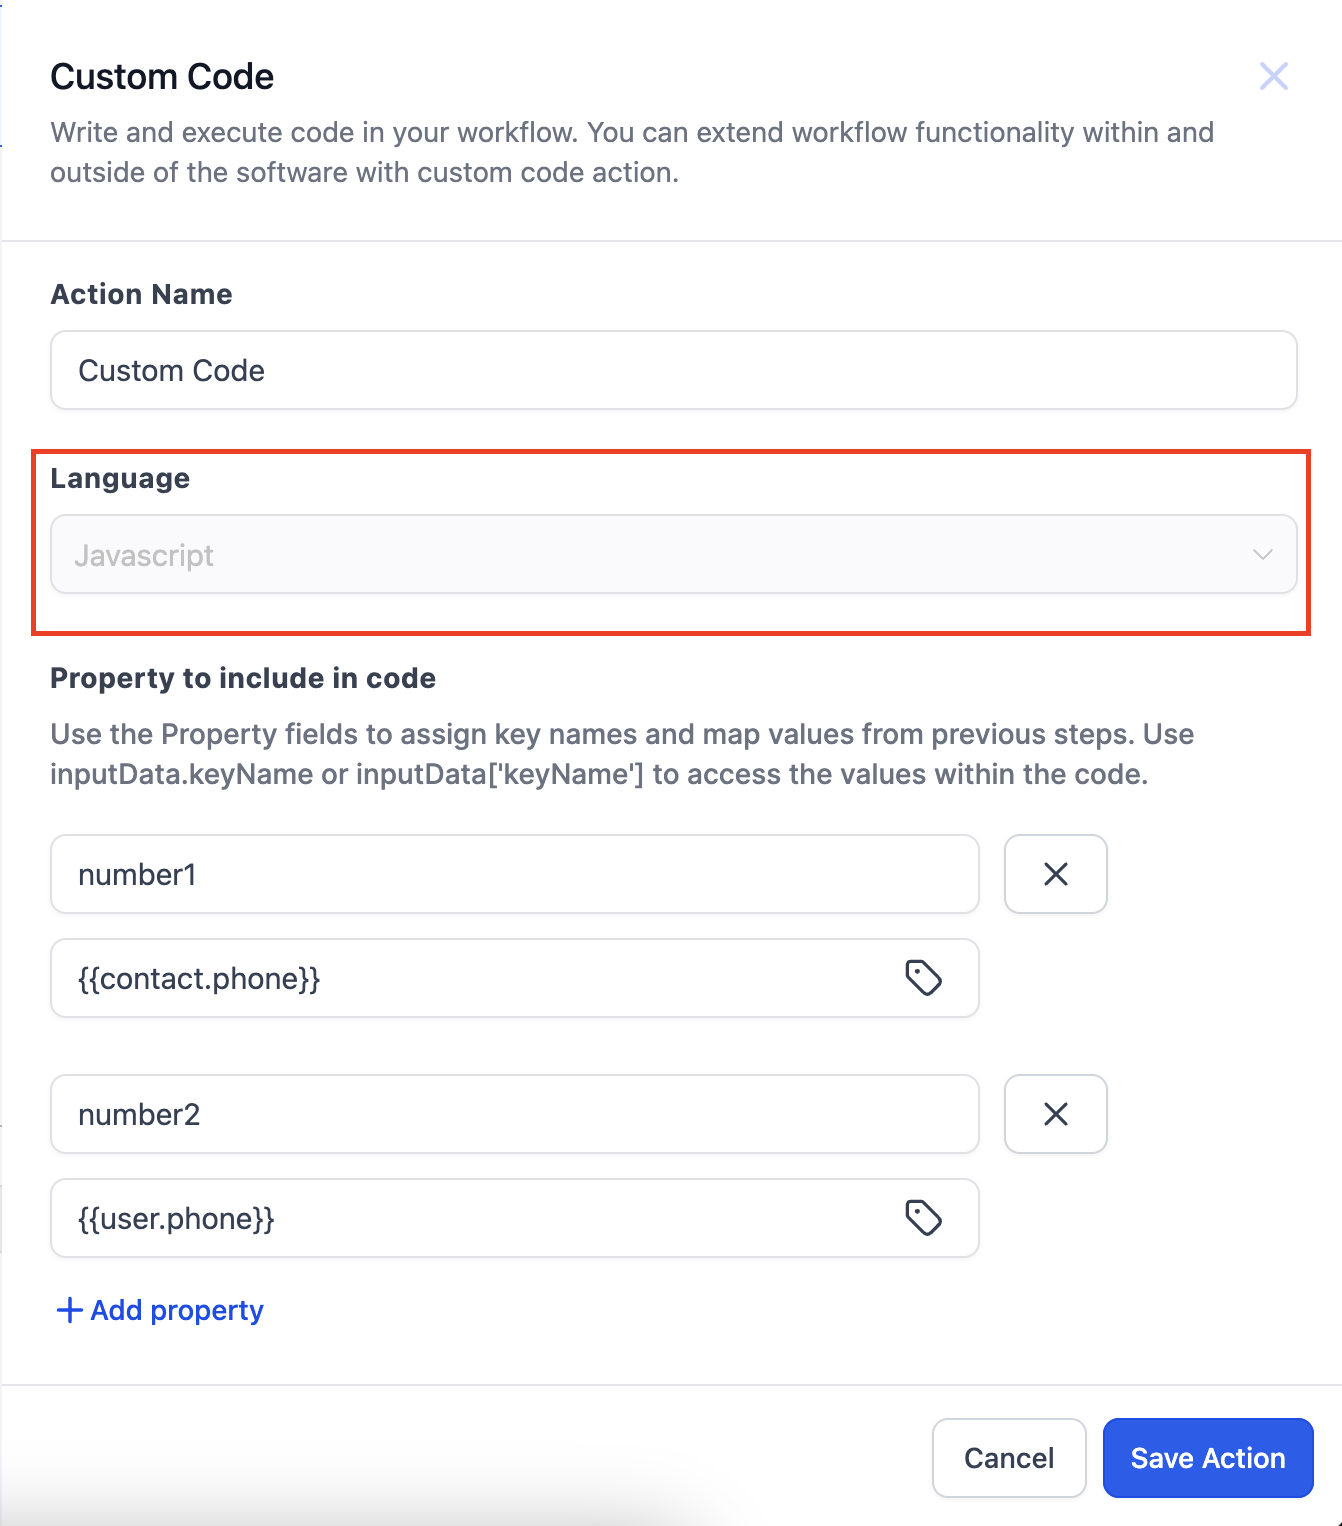
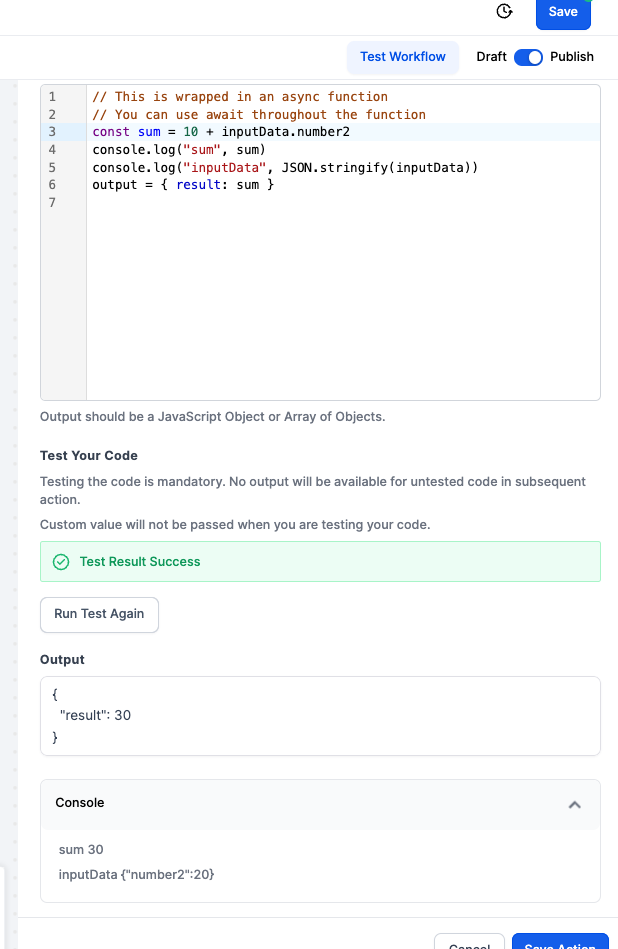
Custom Code adds a new action option inside the workflow builder. When you select it, a code editor appears where you can write JavaScript. The editor includes a sample script, a formatter, and a button to run tests. Input values from previous steps are passed through a dictionary called InputData, which you map with the Property fields.
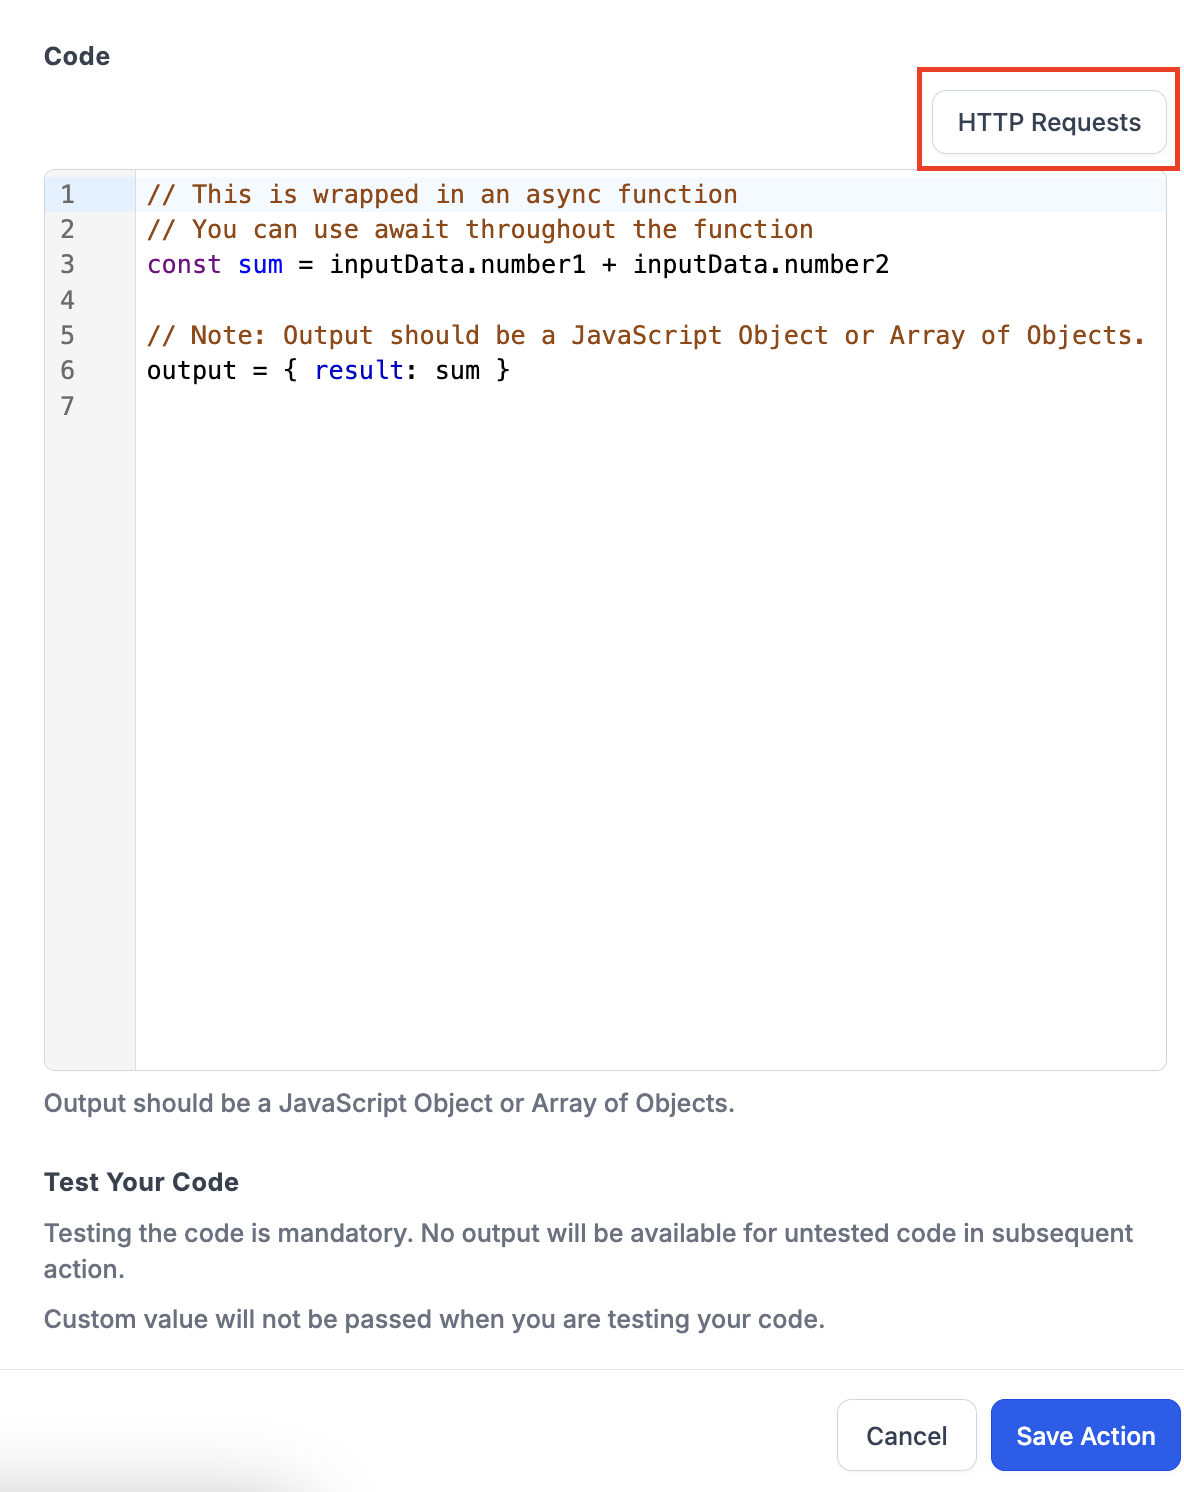
The action also supports making HTTP requests directly from the code. A button above the editor lets you choose a request method, GET, POST, PUT, PATCH, DELETE, HEAD, or OPTIONS, and inserts a request template. All console.log output is captured in execution logs for debugging. The AI assisted code generator (Beta) can produce a snippet based on a natural language description, automatically including relevant input properties.
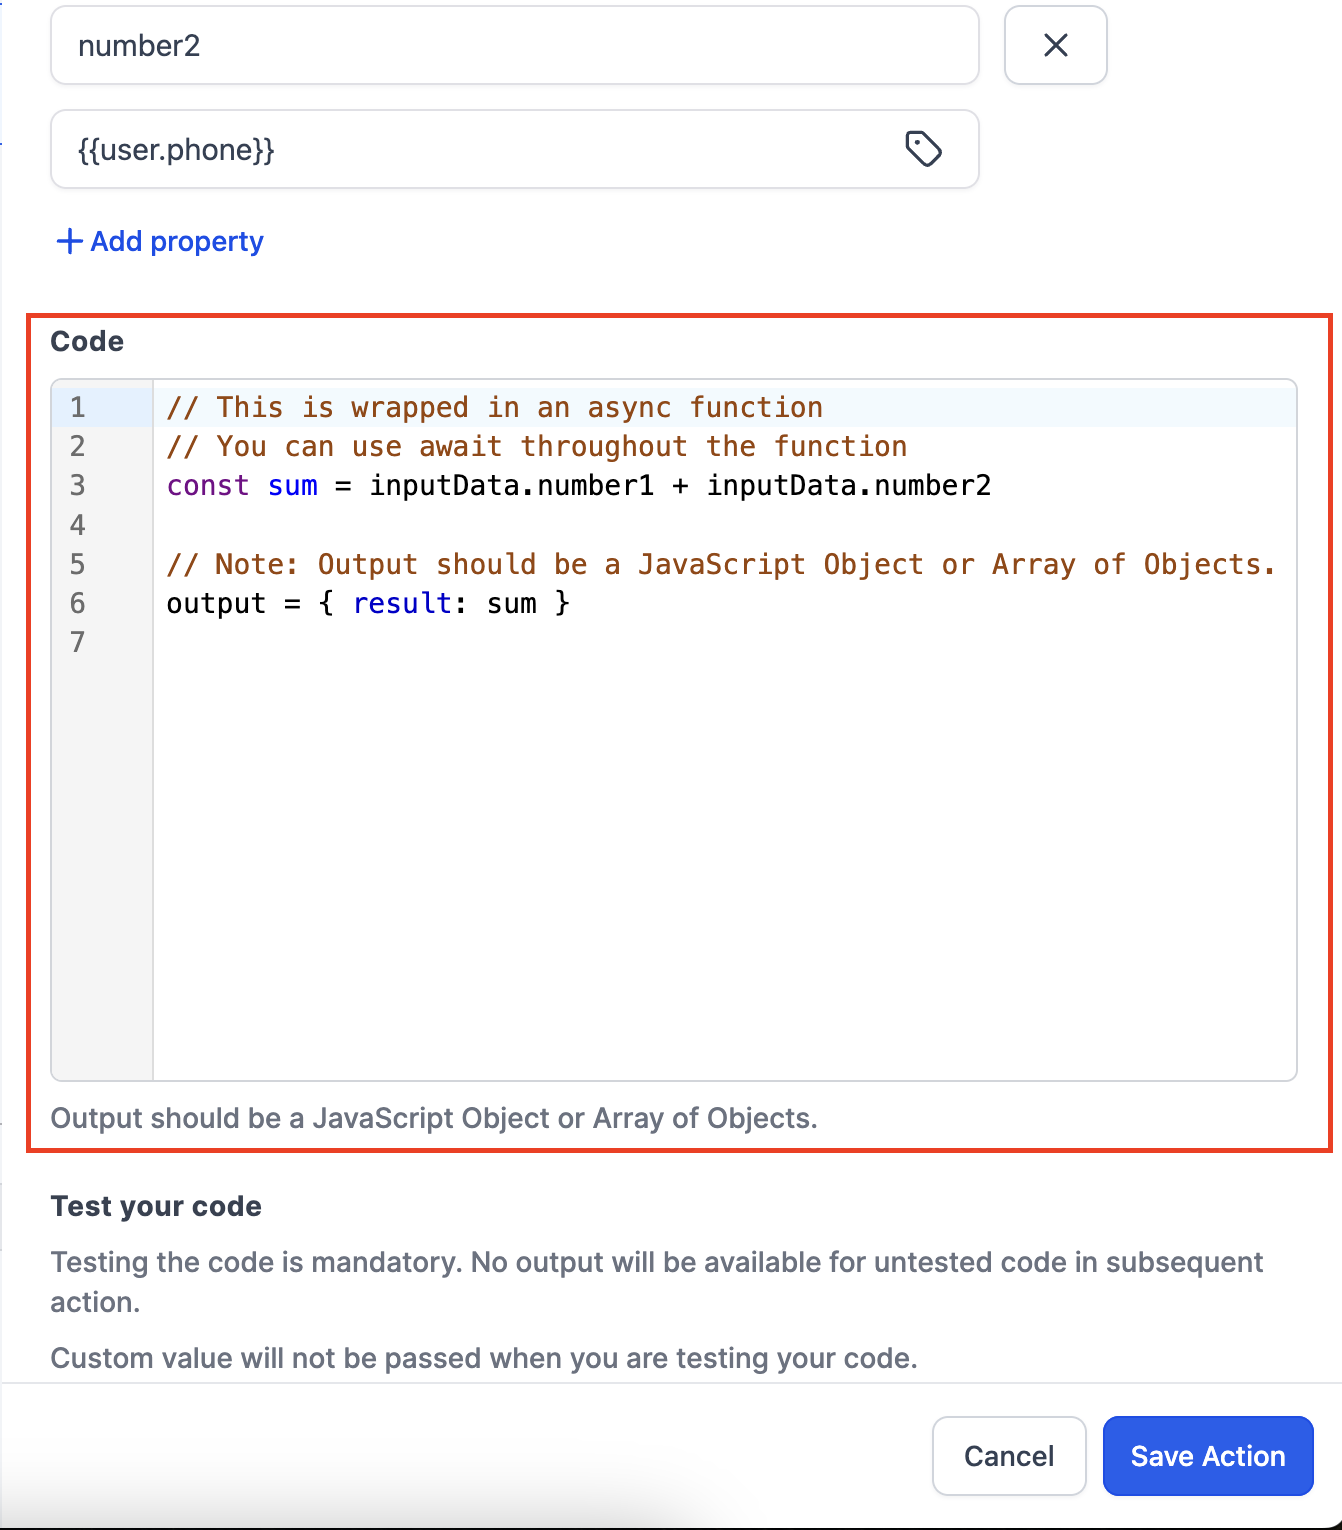
To use the output, write a JavaScript object or an array of objects in the code. After a successful test, later workflow steps can reference the returned fields. Testing the code is mandatory; without a successful test, no output is available for subsequent actions.
03How businesses use custom code
- Real estate agency. The agency adds a Custom Code action to format MLS listing dates returned from an external API. It maps the raw date property from the trigger, lets the AI generate JavaScript to reformat the date, tests the script, and then uses the formatted date in follow up email actions.
- Ecommerce store. The store creates a Custom Code step that calculates a discount percentage based on order total. Input properties for total amount are mapped, the code performs the calculation, and the result is passed to a later step that tags the contact for a special campaign.
- Health clinic. The clinic uses the HTTP request feature inside Custom Code to pull patient insurance verification data from a third party service. The code sends a POST request, receives a JSON response, and returns the verification status for use in appointment reminder workflows.
04How to set up and use custom code in HighLevel
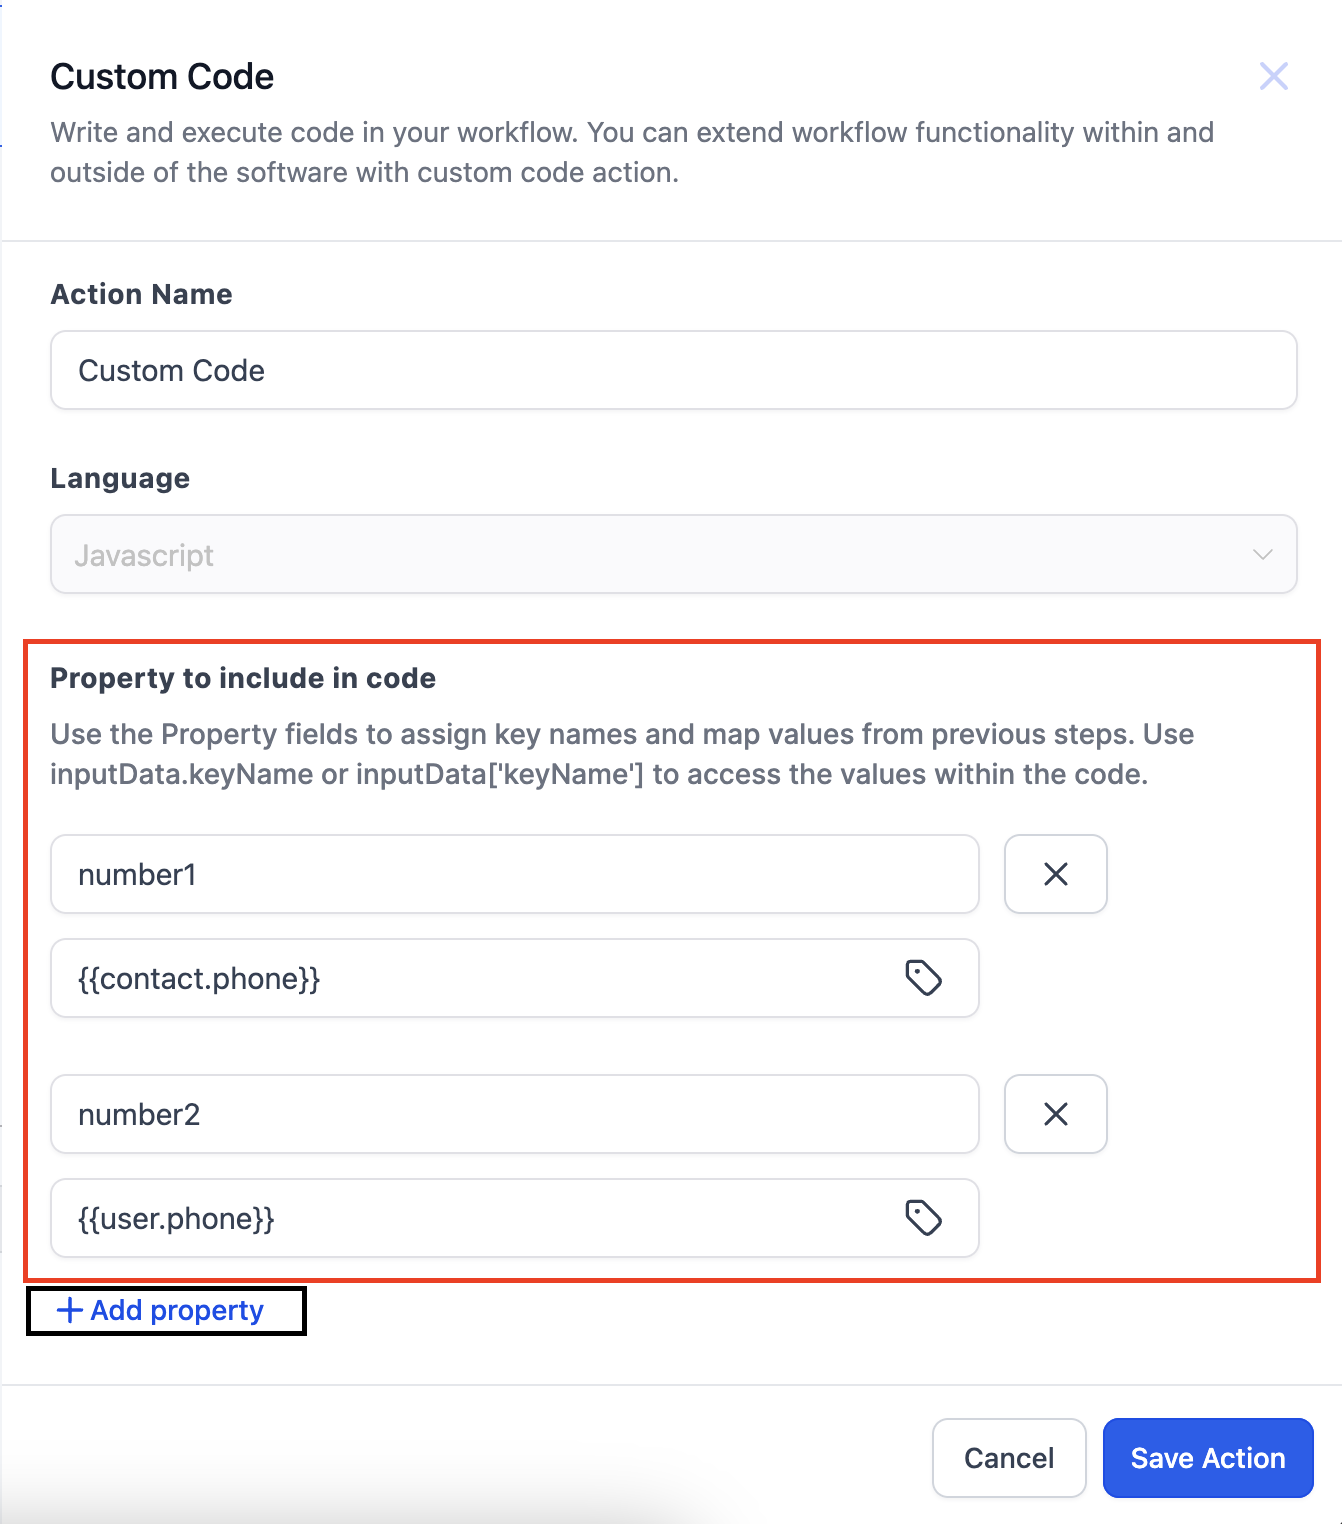
Map input properties
- Click the Add Property button inside the Custom Code action.
- Enter a descriptive key name in the Key field.
- Choose a value from a previous step using the custom value picker.
- Repeat the process to add any additional properties needed.
Write and test code
- Open the Code Editor that appears with the Custom Code action.
- Replace the pre populated sample with your own JavaScript logic.
- Structure the script so that it returns a JavaScript object or array.
- Press the Test your Code button to open the testing popup.
- Provide sample values for any mapped properties in the Test Setup tab, run the test, and review the result.
Use AI to generate code
- Add a Custom Code action to your workflow.
- Click the Build with AI button to launch the AI assistant.
- Enter a plain language description of the functionality you need.
- Click Generate and let the AI produce a JavaScript snippet.
- If needed, edit the prompt and click Regenerate for a new version.
- Review the generated code and click Use Code to insert it into the workflow.
05What it looks like in HighLevel
06Settings that matter
- Key input field. Defines the identifier used to reference a mapped value inside the InputData dictionary.
- Add Property button. Creates a new entry in the InputData mapping so that values from earlier steps can be accessed in the code.
- Code Editor. Provides a space to write JavaScript, view a sample script, and see formatting tools.
- Format Code button. Automatically indents and spaces the script to improve readability.
- Test your Code button. Opens a popup where you can run the script with sample inputs and see success or failure results.
- HTTP Request button. Adds a template for an external HTTP call; you choose the method (GET, POST, PUT, PATCH, DELETE, HEAD, OPTIONS) and then customize the request in the editor.
- Build with AI button. Starts the AI assisted code generation flow, allowing you to describe desired functionality and receive JavaScript code.
07Things to know before you rely on it
- Custom Code is a Premium Action; it is only available on plans that include Premium features.
- Testing the code is mandatory; untested code does not produce output for later workflow steps.
- When testing, only contact information is passed; other custom values are not available during the test run.
- The AI generated code feature is currently in Beta.
08If something goes wrong
- Test Result Failed after running the script. Open the code editor, locate the error indicated in the console output, correct the JavaScript syntax or reference, and run the test again.
09How it connects to the rest of HighLevel
- Learn how to create a workflow with triggers, filters, and actions Workflow creation guide
- See the full list of available workflow actions and how to add them Workflow actions overview
- Review plan options to confirm access to Premium Actions like Custom Code Pricing and plans
Michael's take

Ever wonder how to add a piece of logic that isn’t covered by the built in actions? Custom code lets you drop a JavaScript snippet right into a workflow, pull in values from earlier steps, hit external APIs and hand back structured data for the next action. It’s the go to when you need that extra layer of automation without building a separate integration.
If I were setting up a workflow that pulls a contact’s phone number, reformats it, and then sends it to a third party SMS service, I’d drop a Custom Code action, map the phone number into InputData, let the AI write the formatting code, test it, and then hand the formatted number to the SMS step. A quick test run makes sure the script works before the workflow goes live.