
01Who this is for
- Marketing managers can locate new automation tools without switching tabs, keeping campaign building efficient.
- Small agency owners benefit from seeing top installed and top free apps, helping them expand service offerings quickly.
02Discover button, explained
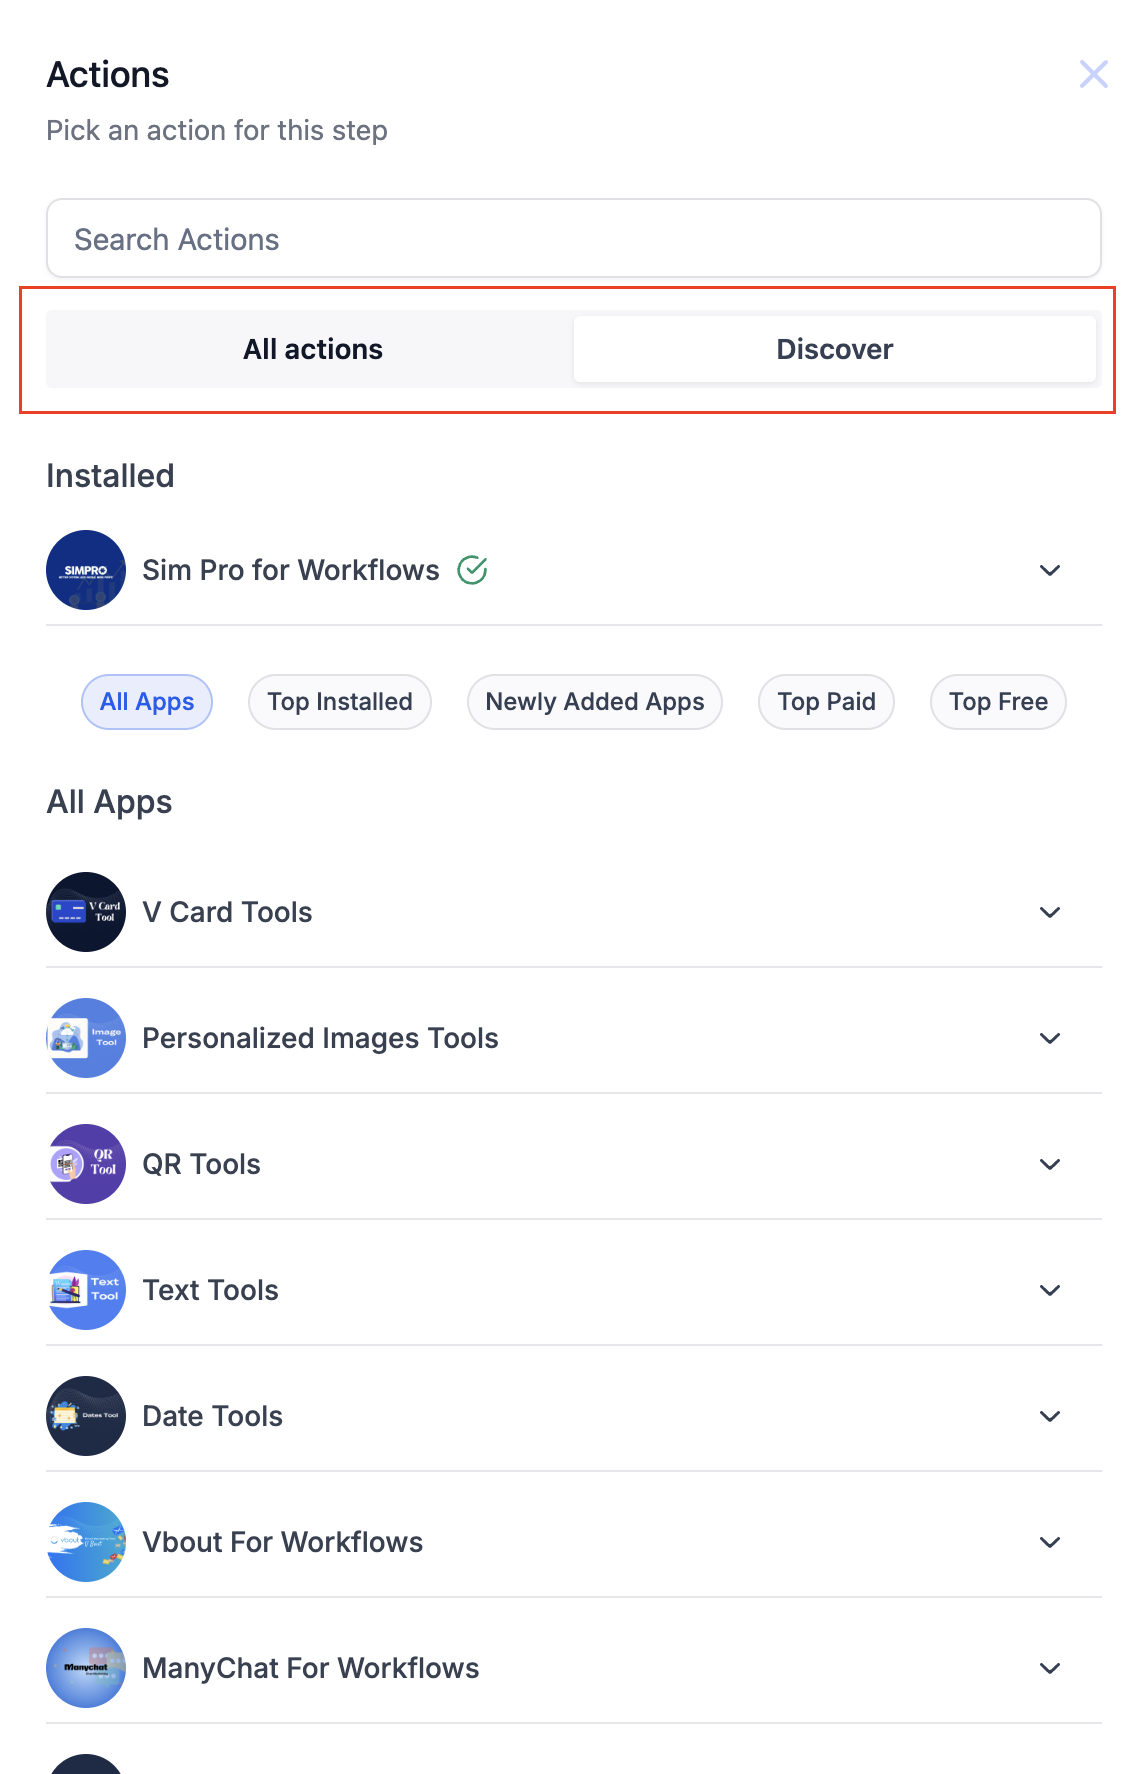
The Discover button appears inside the workflow builder and opens a panel that lists all marketplace apps. Apps are grouped into categories such as Top Installed, Top Free, Top Paid and Newly Added, letting users scan for popular or new integrations.
A global search bar sits at the top of the panel. It searches actions, marketplace actions and triggers together. Results show HighLevel built items first, followed by marketplace entries, and include pricing tags, rating numbers, install counts, and badges like Native or Beta.
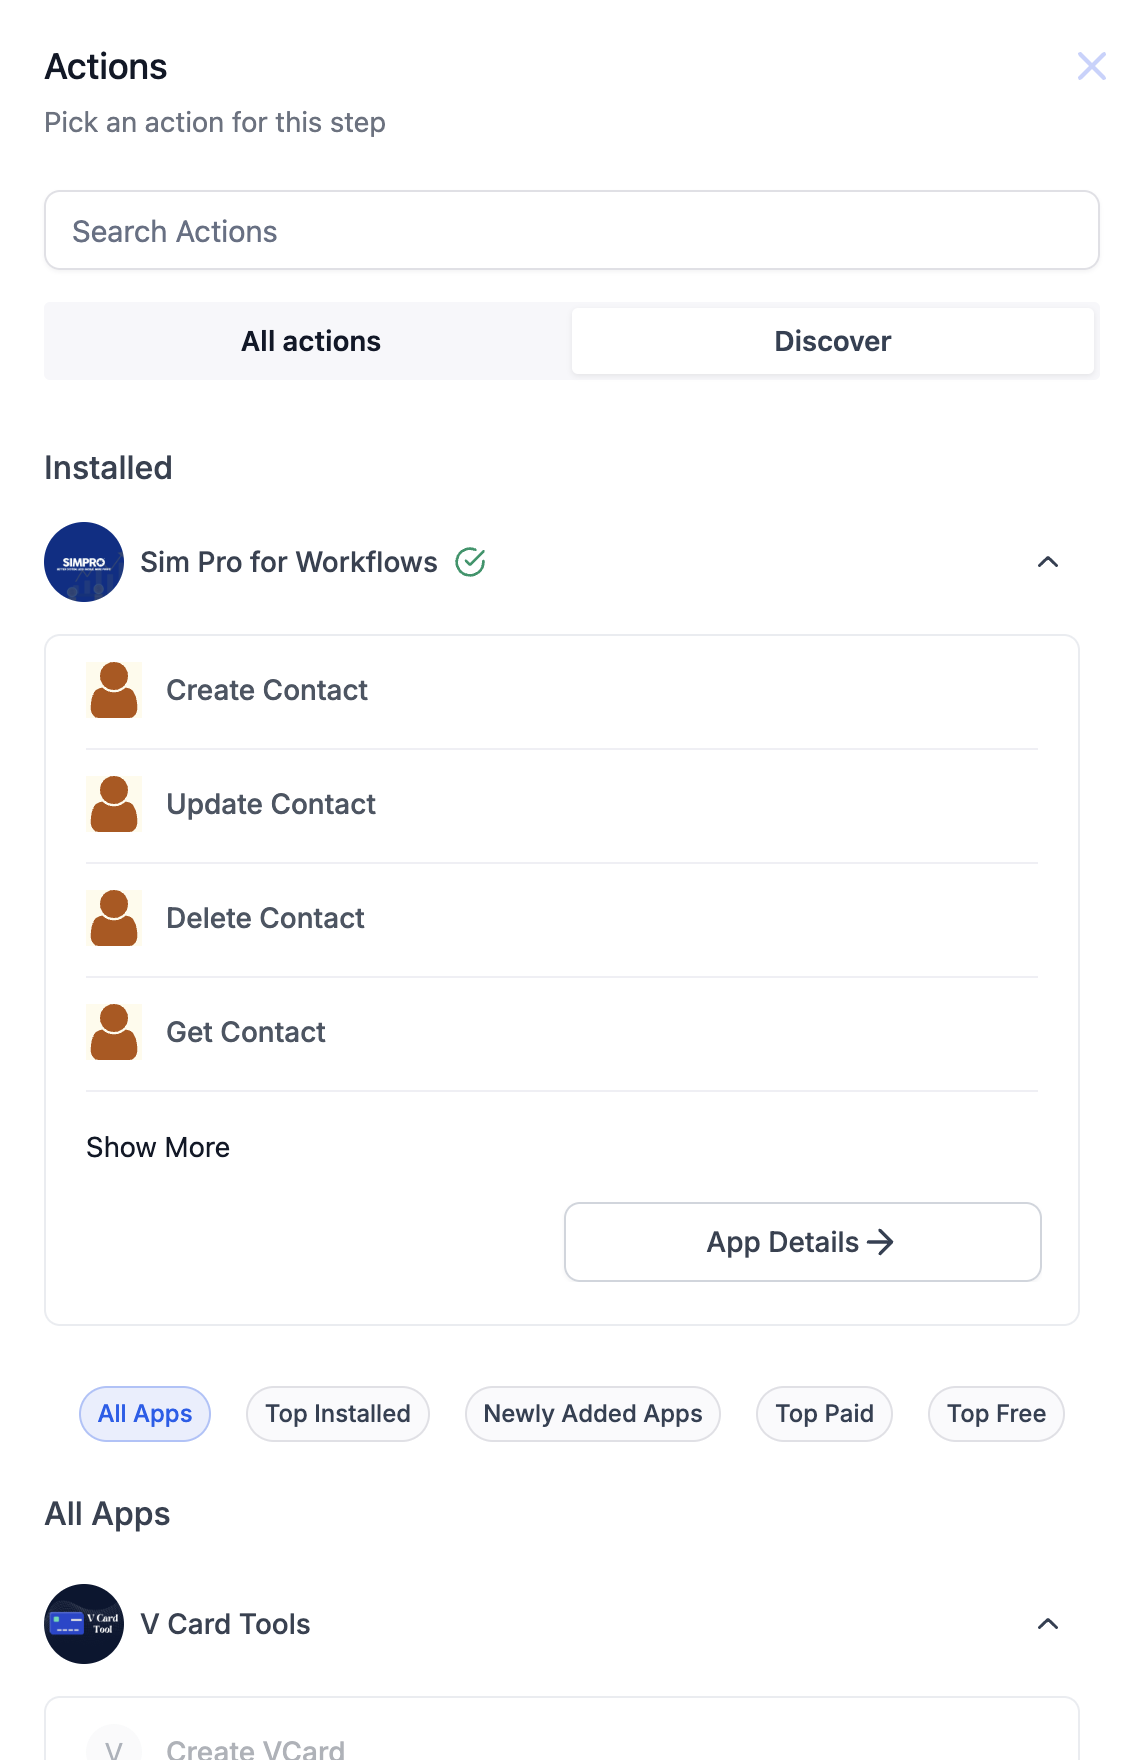
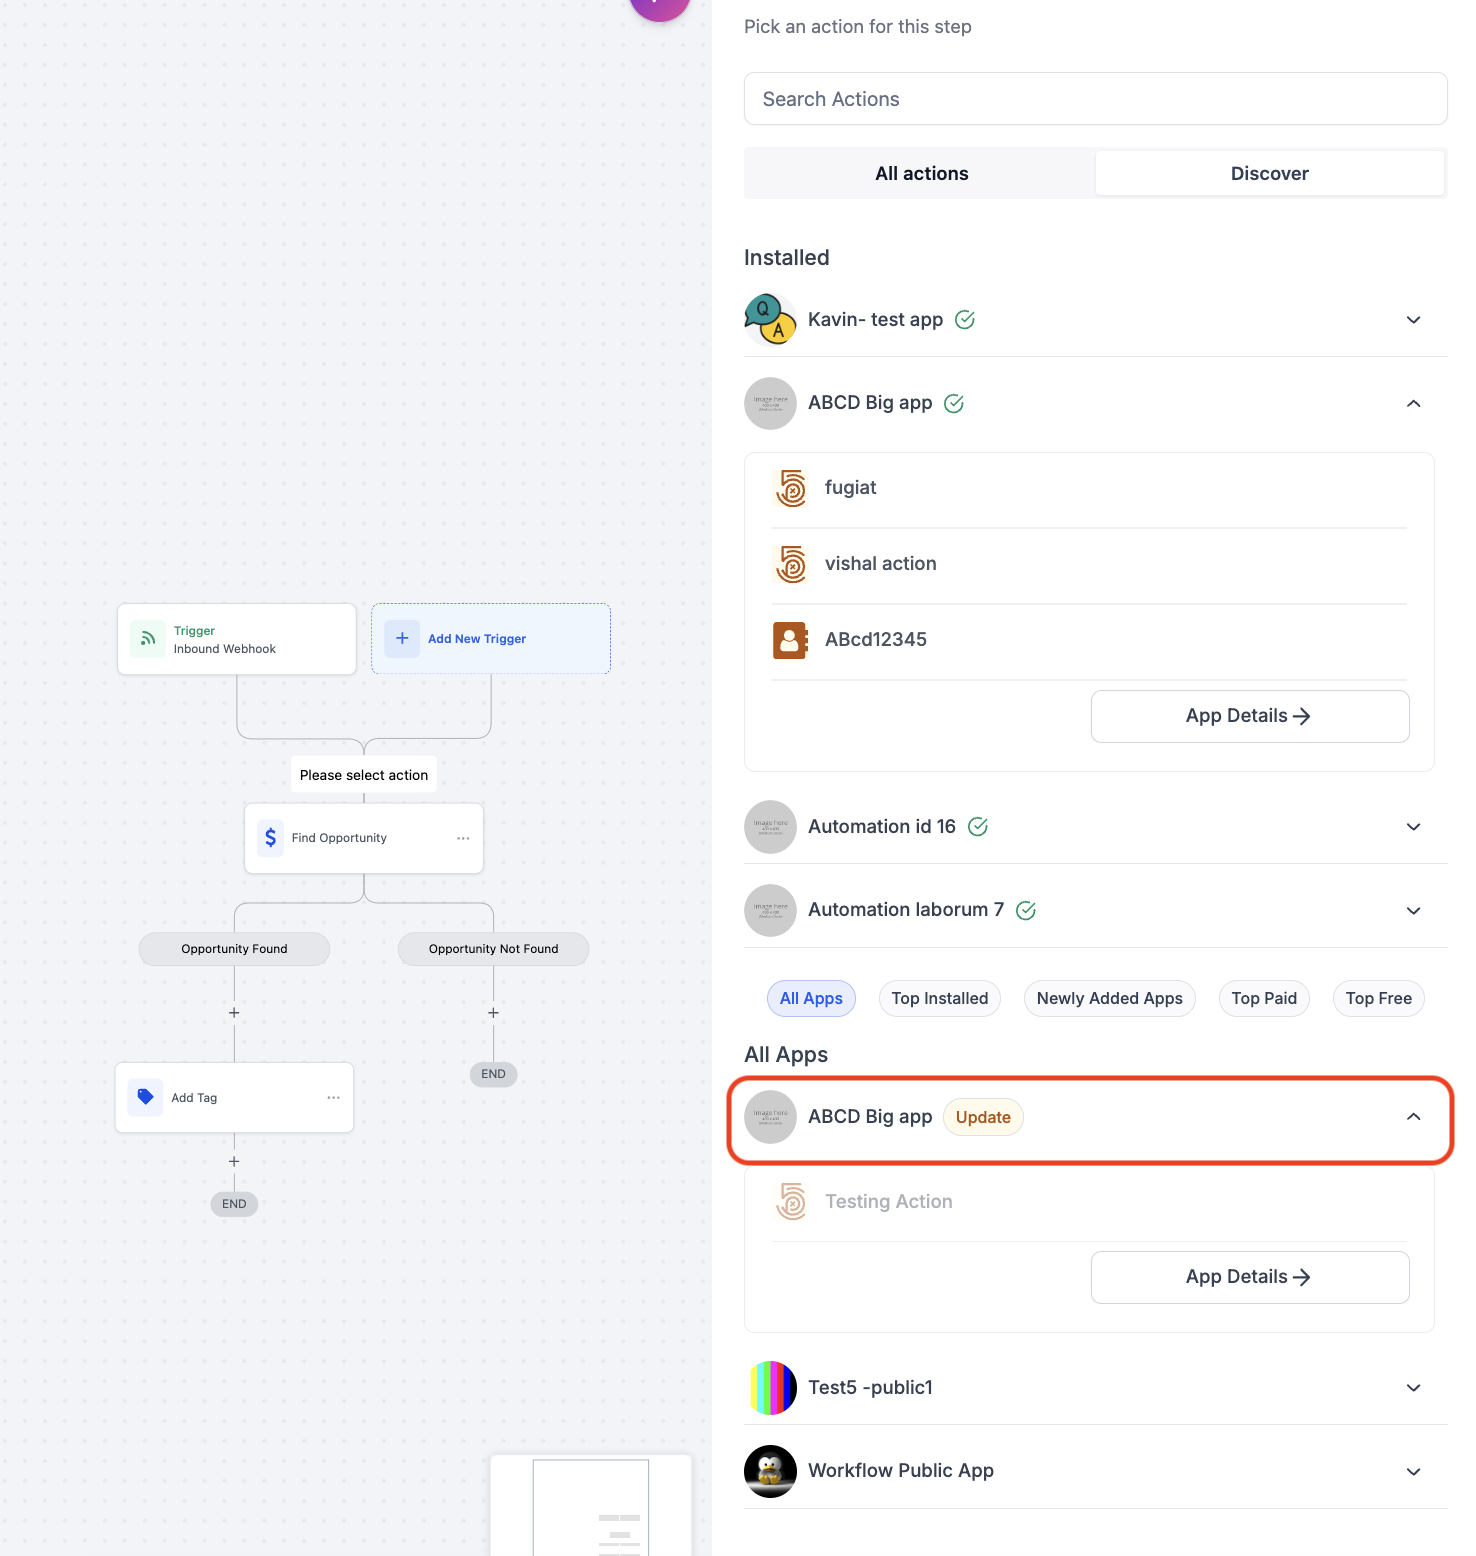
The navigation splits into Tools (native logic blocks), Apps (integrations already installed) and Discover (uninstalled marketplace apps). Installed apps display an Update Tag when new actions become available, and their actions appear in the All Actions list for quick placement in workflows.
03How businesses use discover button
- Digital marketing agency. The agency opens the workflow builder, clicks Discover, and filters by Top Free to add a new email validation app. It installs the app directly from the Details tab and then uses the new action in client automation without leaving the builder.
- Coaching business. A coach searches the global bar for "calendar" and finds both a native calendar trigger and a paid third party scheduling app. After reviewing the pricing badge, the coach installs the app and adds its actions to a client onboarding workflow.
- Ecommerce store. The store owner browses the Newly Added category to explore a recent inventory sync integration. Seeing an Update Tag on an already installed app, the owner updates it, then selects the new actions that now appear in All Actions to connect inventory data to order follow up messages.
04How to set up and use discover button in HighLevel
Accessing marketplace apps from the workflow builder
- Open the workflow builder and locate the Discover button.
- Click Discover to reveal the app panel with categories such as Top Installed, Top Free, Top Paid and Newly Added.
- Use the global search bar to type a keyword and view matching actions, marketplace actions and triggers.
- Review search results for pricing indicators, ratings, install counts and any Native or Beta badges.
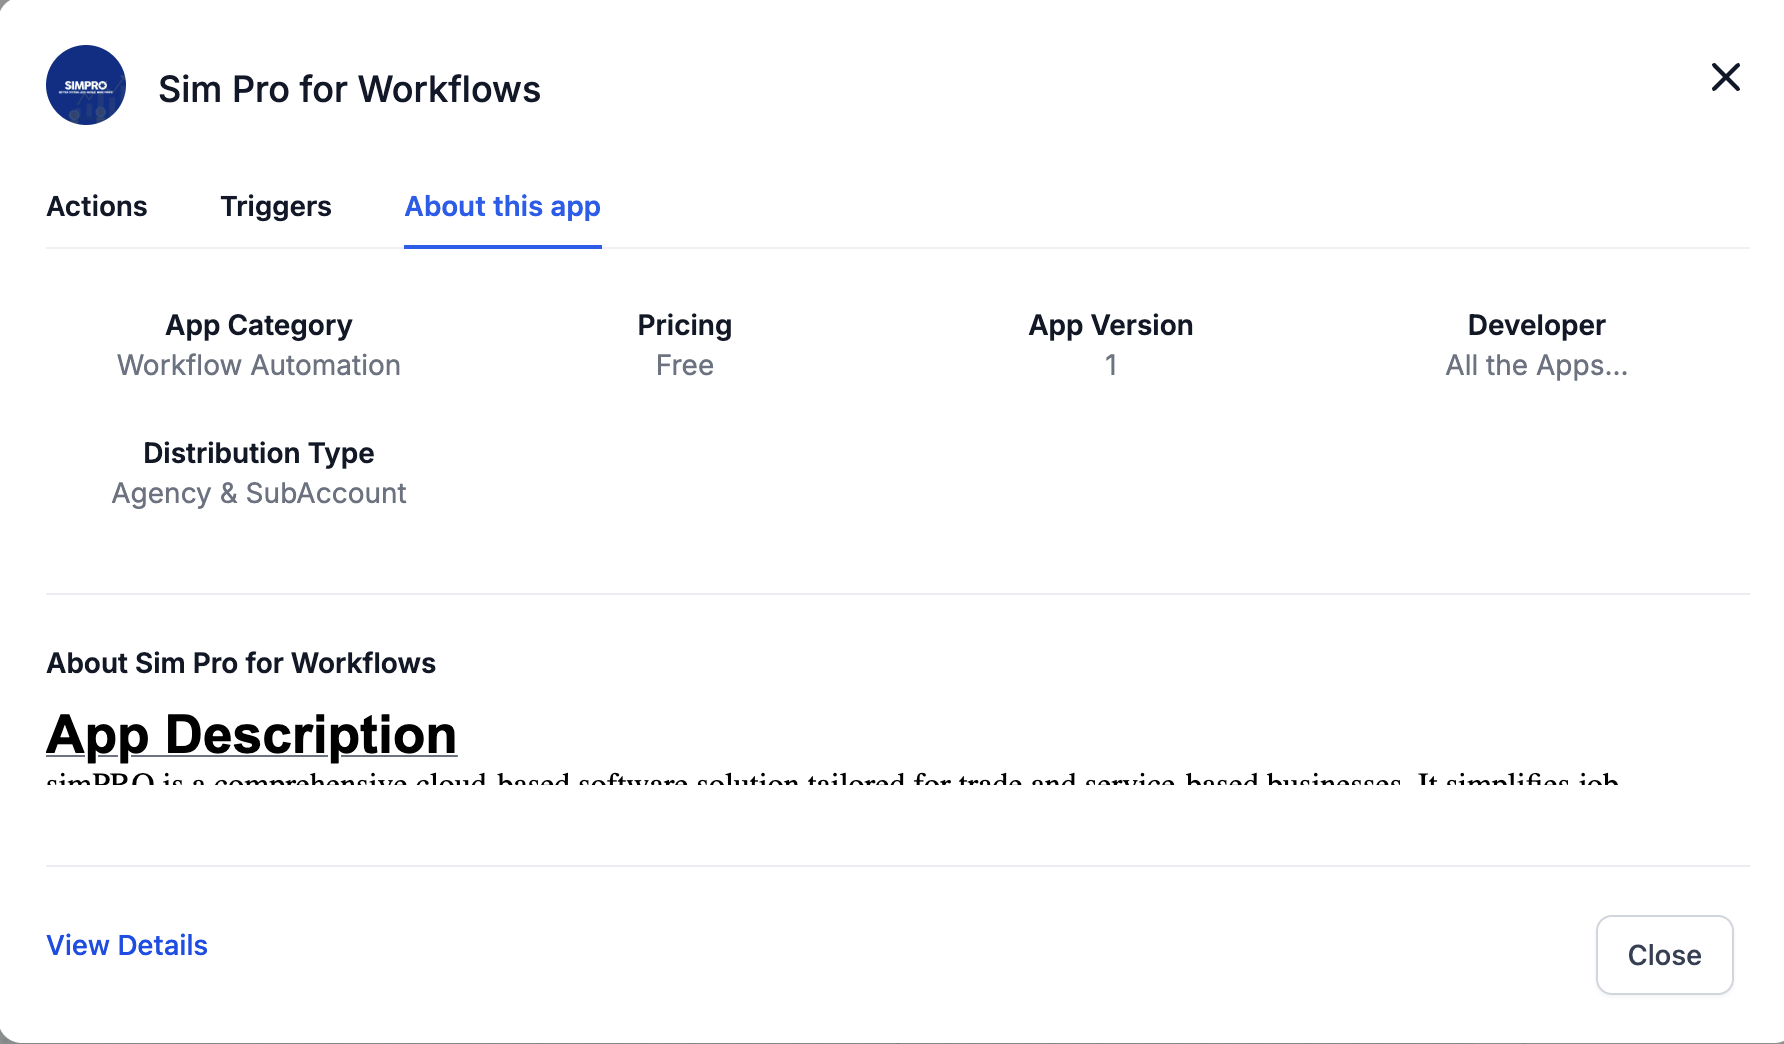
- Select an app and open the Details tab to see installation options and a short description.
- Install the app directly from the Details view or note the Update Tag on installed apps that have new actions.
- After installation, find the app’s actions in the All Actions list and drag them into the workflow.
05What it looks like in HighLevel
06Things to know before you rely on it
- Labels and availability may vary by account and builder view.
- Badges such as Native and Beta appear only when applicable.
07How it connects to the rest of HighLevel
- Start building workflows with the basic guide. Workflow basics
- Check pricing tiers for premium workflow features. Workflow pricing
- Explore the Founder Plan for unlimited access. Founder Plan
Michael's take

I click the Discover button right inside the workflow canvas and pull the app I need straight into the flow.
If I were setting up a new workflow, I’d start by hitting Discover, typing a keyword, and installing the app on the spot.