
01Who this is for
- Founders who want to lock down multiple brand variations to avoid impersonation.
- Marketing agencies that manage client sites and need a quick way to secure related TLDs.
- Ecommerce owners who sell online and wish to prevent competitors from grabbing similar URLs.
02Additional domain extensions, explained
The feature appears inside the Domains section of Settings. When you search for a name, the system automatically shows up to three popular alternative extensions and lets you add them to the cart. Each added extension is treated as a separate domain with its own DNS zone, so existing DNS records stay unchanged.
You can also access the suggestion banner from an existing domain’s management page. Selecting an extension opens the same purchase modal, where you confirm the price, accept the terms, and complete payment. The process is fully transparent: the total cost for the primary domain and any extra extensions is displayed before you pay.
03How businesses use additional domain extensions
- Digital marketing agency. The agency opens Settings, searches for a client’s desired domain, clicks the suggested .net or .org extensions, adds them, and completes payment. This secures multiple brand URLs in one transaction.
- Online tutoring platform. From the domain list the platform clicks Manage, chooses the “Protect your brand” banner, selects additional extensions, agrees to the terms, and pays. The new domains are ready for separate DNS records.
- Local restaurant. When buying a new website name, the restaurant owner uses the purchase flow, adds the suggested .co and .uk versions, reviews the combined cost, checks the agreement box, and finalizes the purchase.
04The numbers and rules that matter
- You can select up to 3 additional domain suggestions along with your main domain.
05Before you start
- You must be signed into a subaccount that can access Settings.
- Know the primary domain name you wish to register or already own.
06How to set up and use additional domain extensions in HighLevel
Purchase a domain with additional extensions
- Sign in to your subaccount.
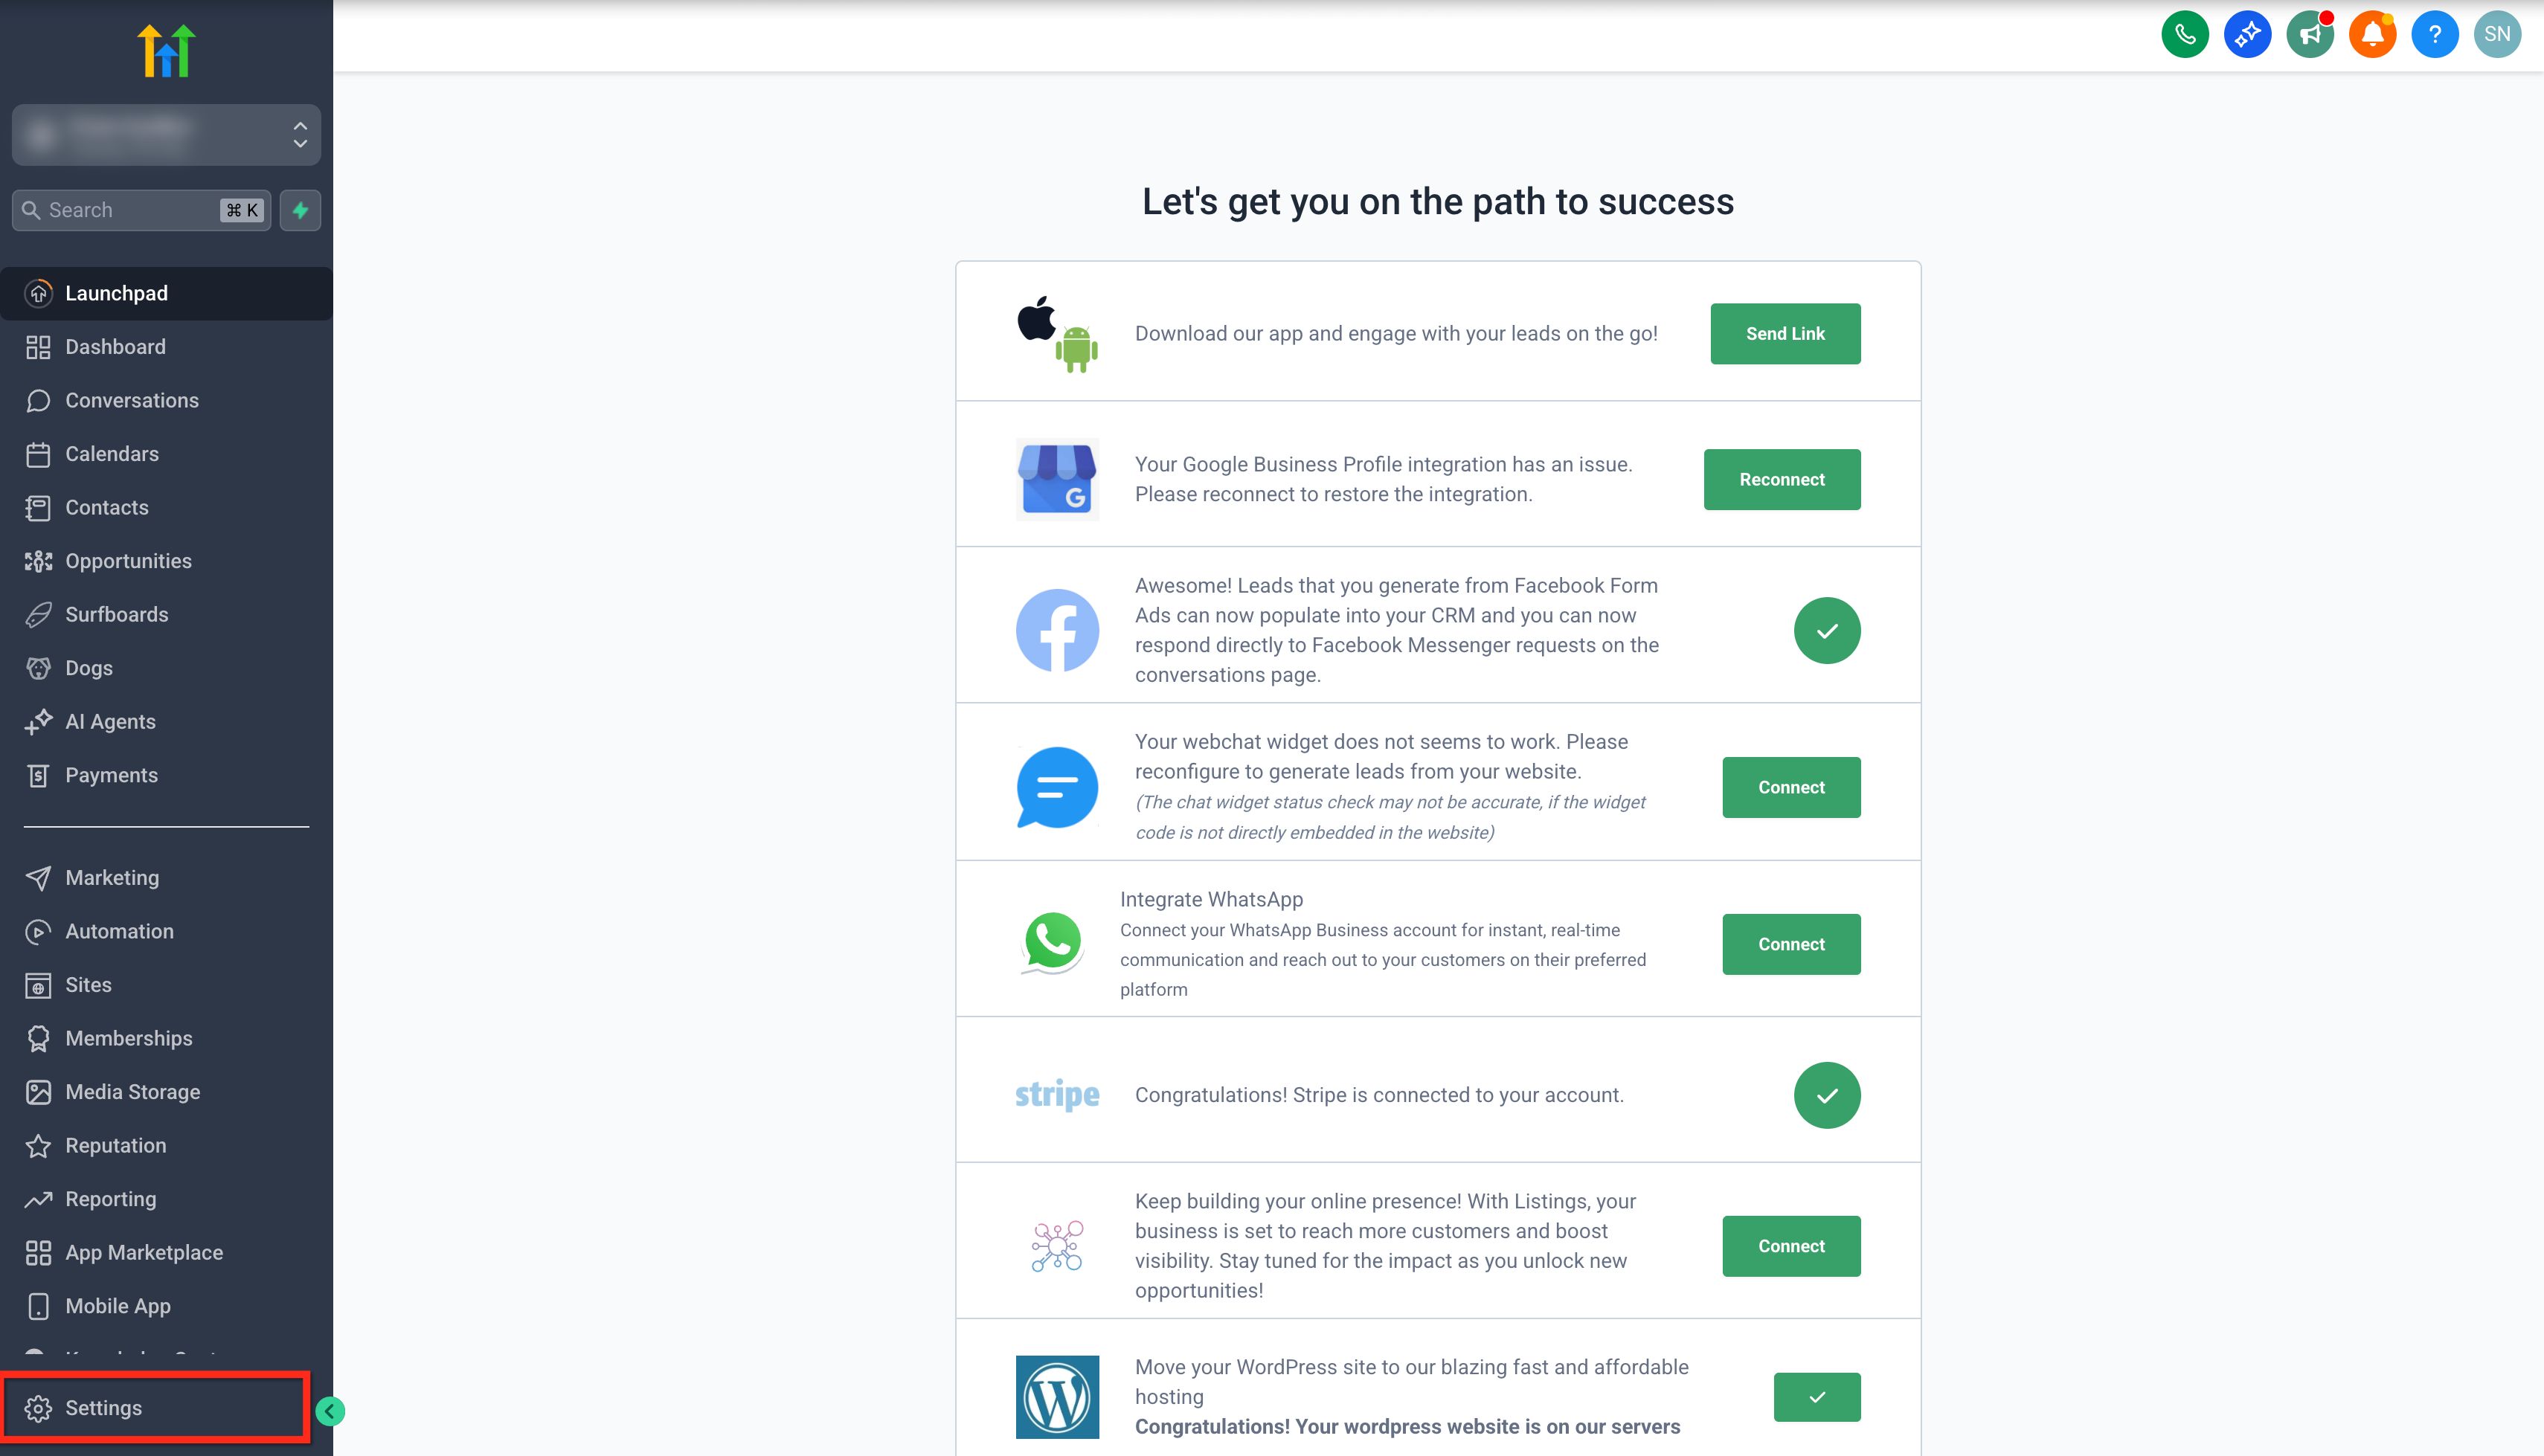
- Select Settings from the left menu.
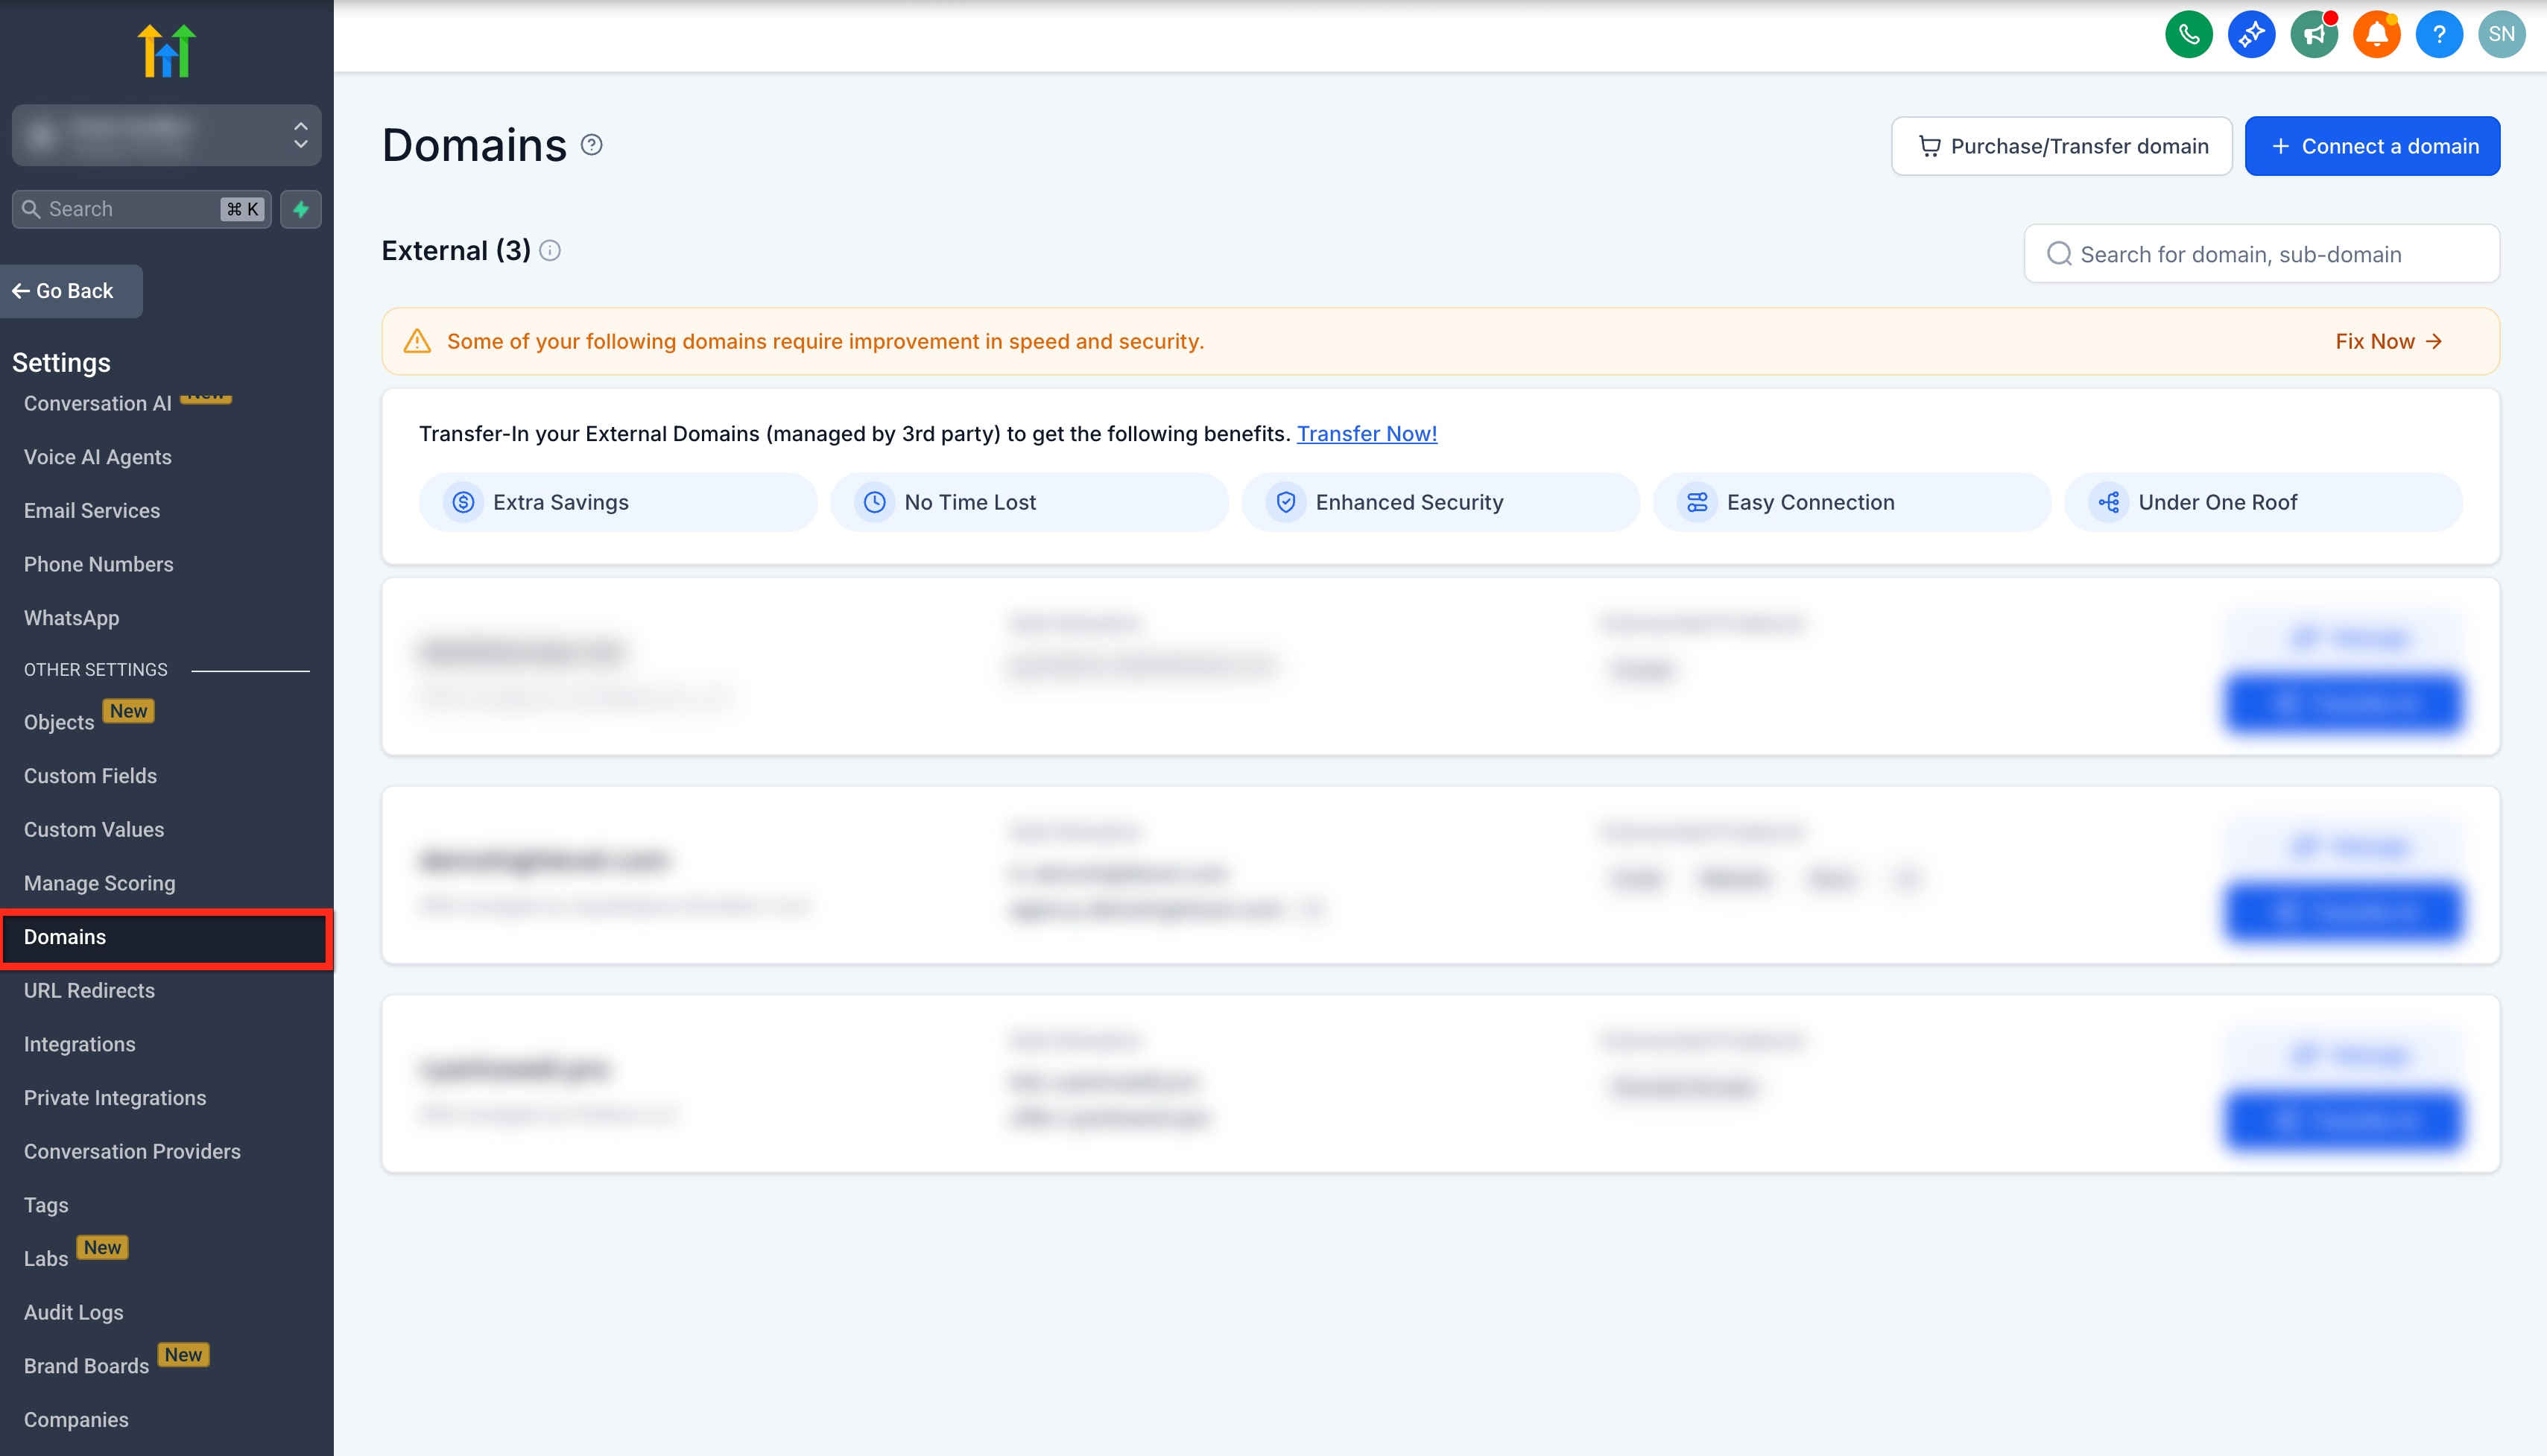
- Scroll and open the Domains tab.
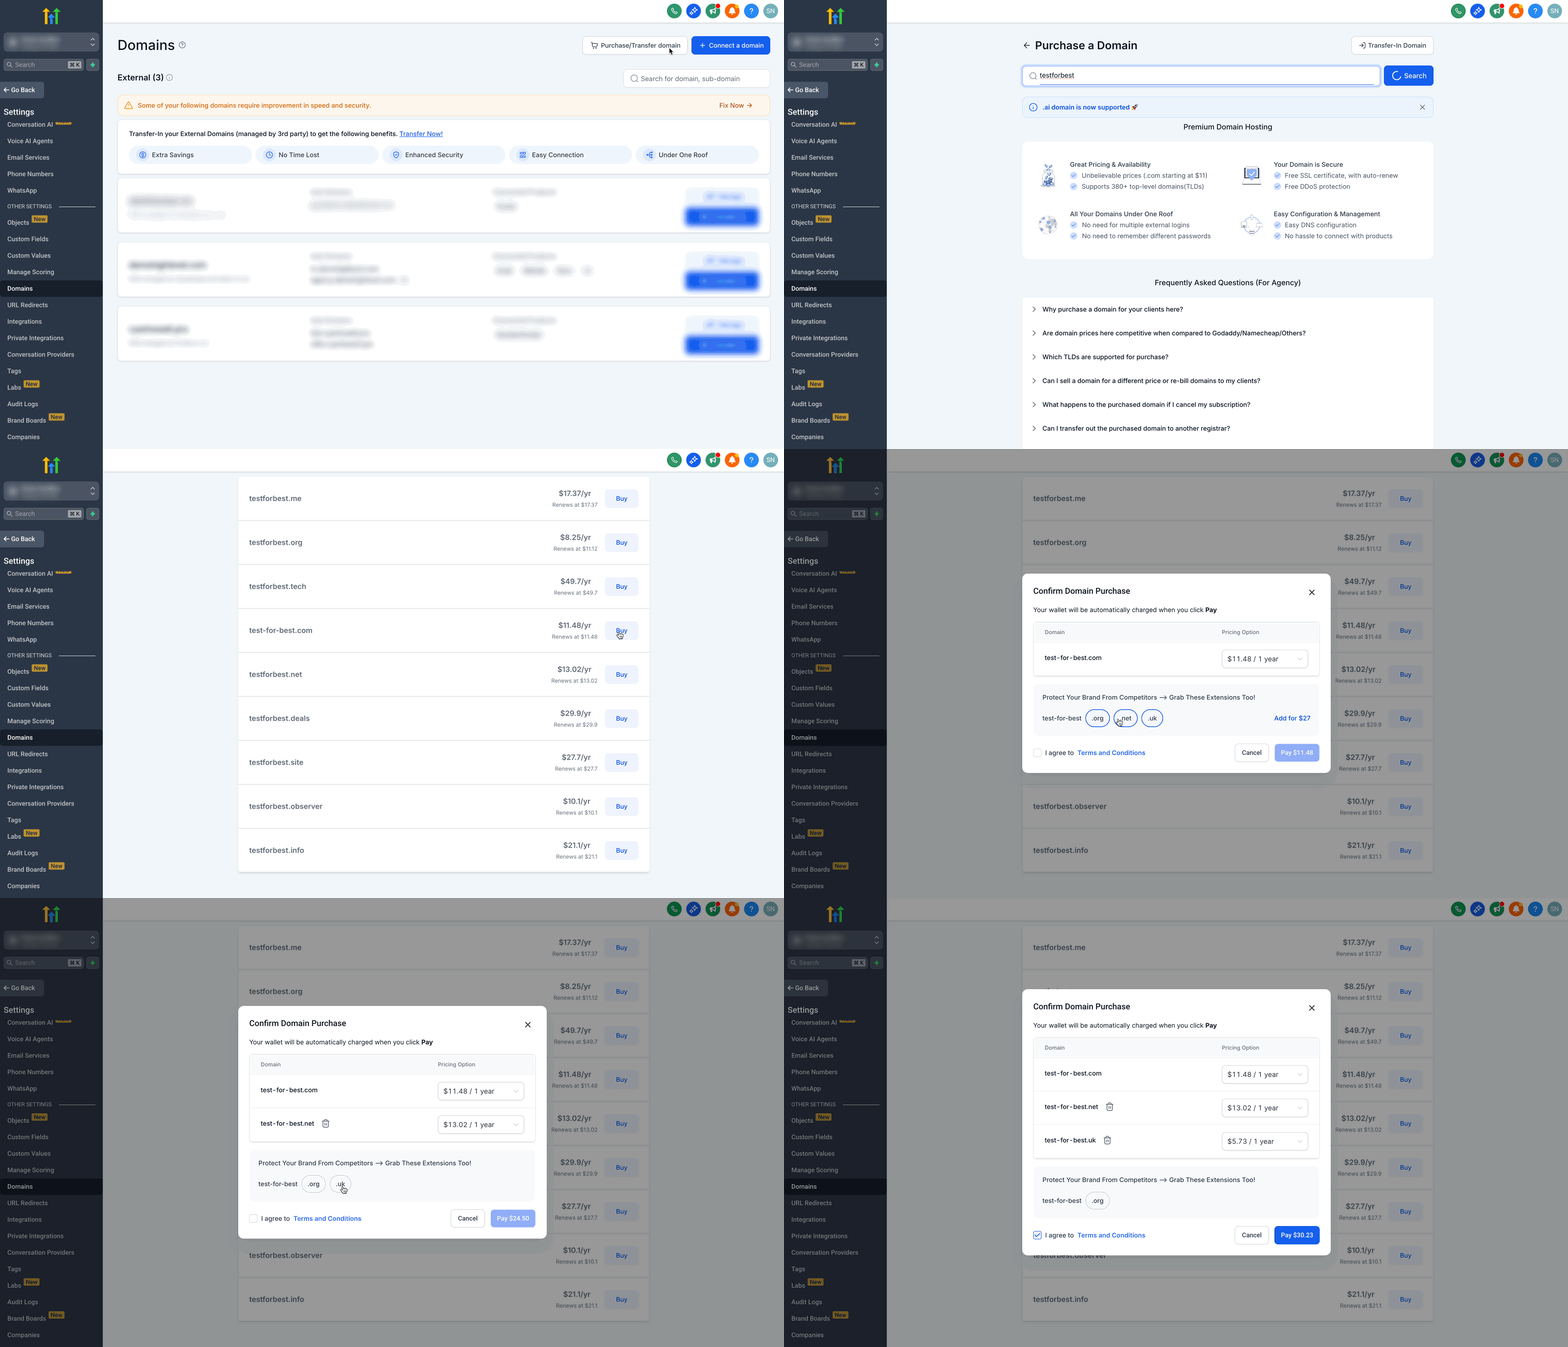
- Press the Purchase / Transfer Domain button.
- Enter the desired domain name in the search field.
- Click the Buy button next to the domain you want.
- When the Confirm Domain Purchase window appears, locate the brand protection section.
- Review up to three suggested alternative extensions.
- Choose an extension and press its Add button.
- Repeat the add step for any other extensions you need.
- Verify that the modal shows the combined price for the primary domain and selected extensions.
- Check the box “I agree to terms and conditions.”
- Click the Pay button to finish the transaction.
Add extensions to an existing domain
- Sign in to your subaccount.
- Open Settings.
- Choose the Domains tab.
- Locate the domain you want to extend in the list.
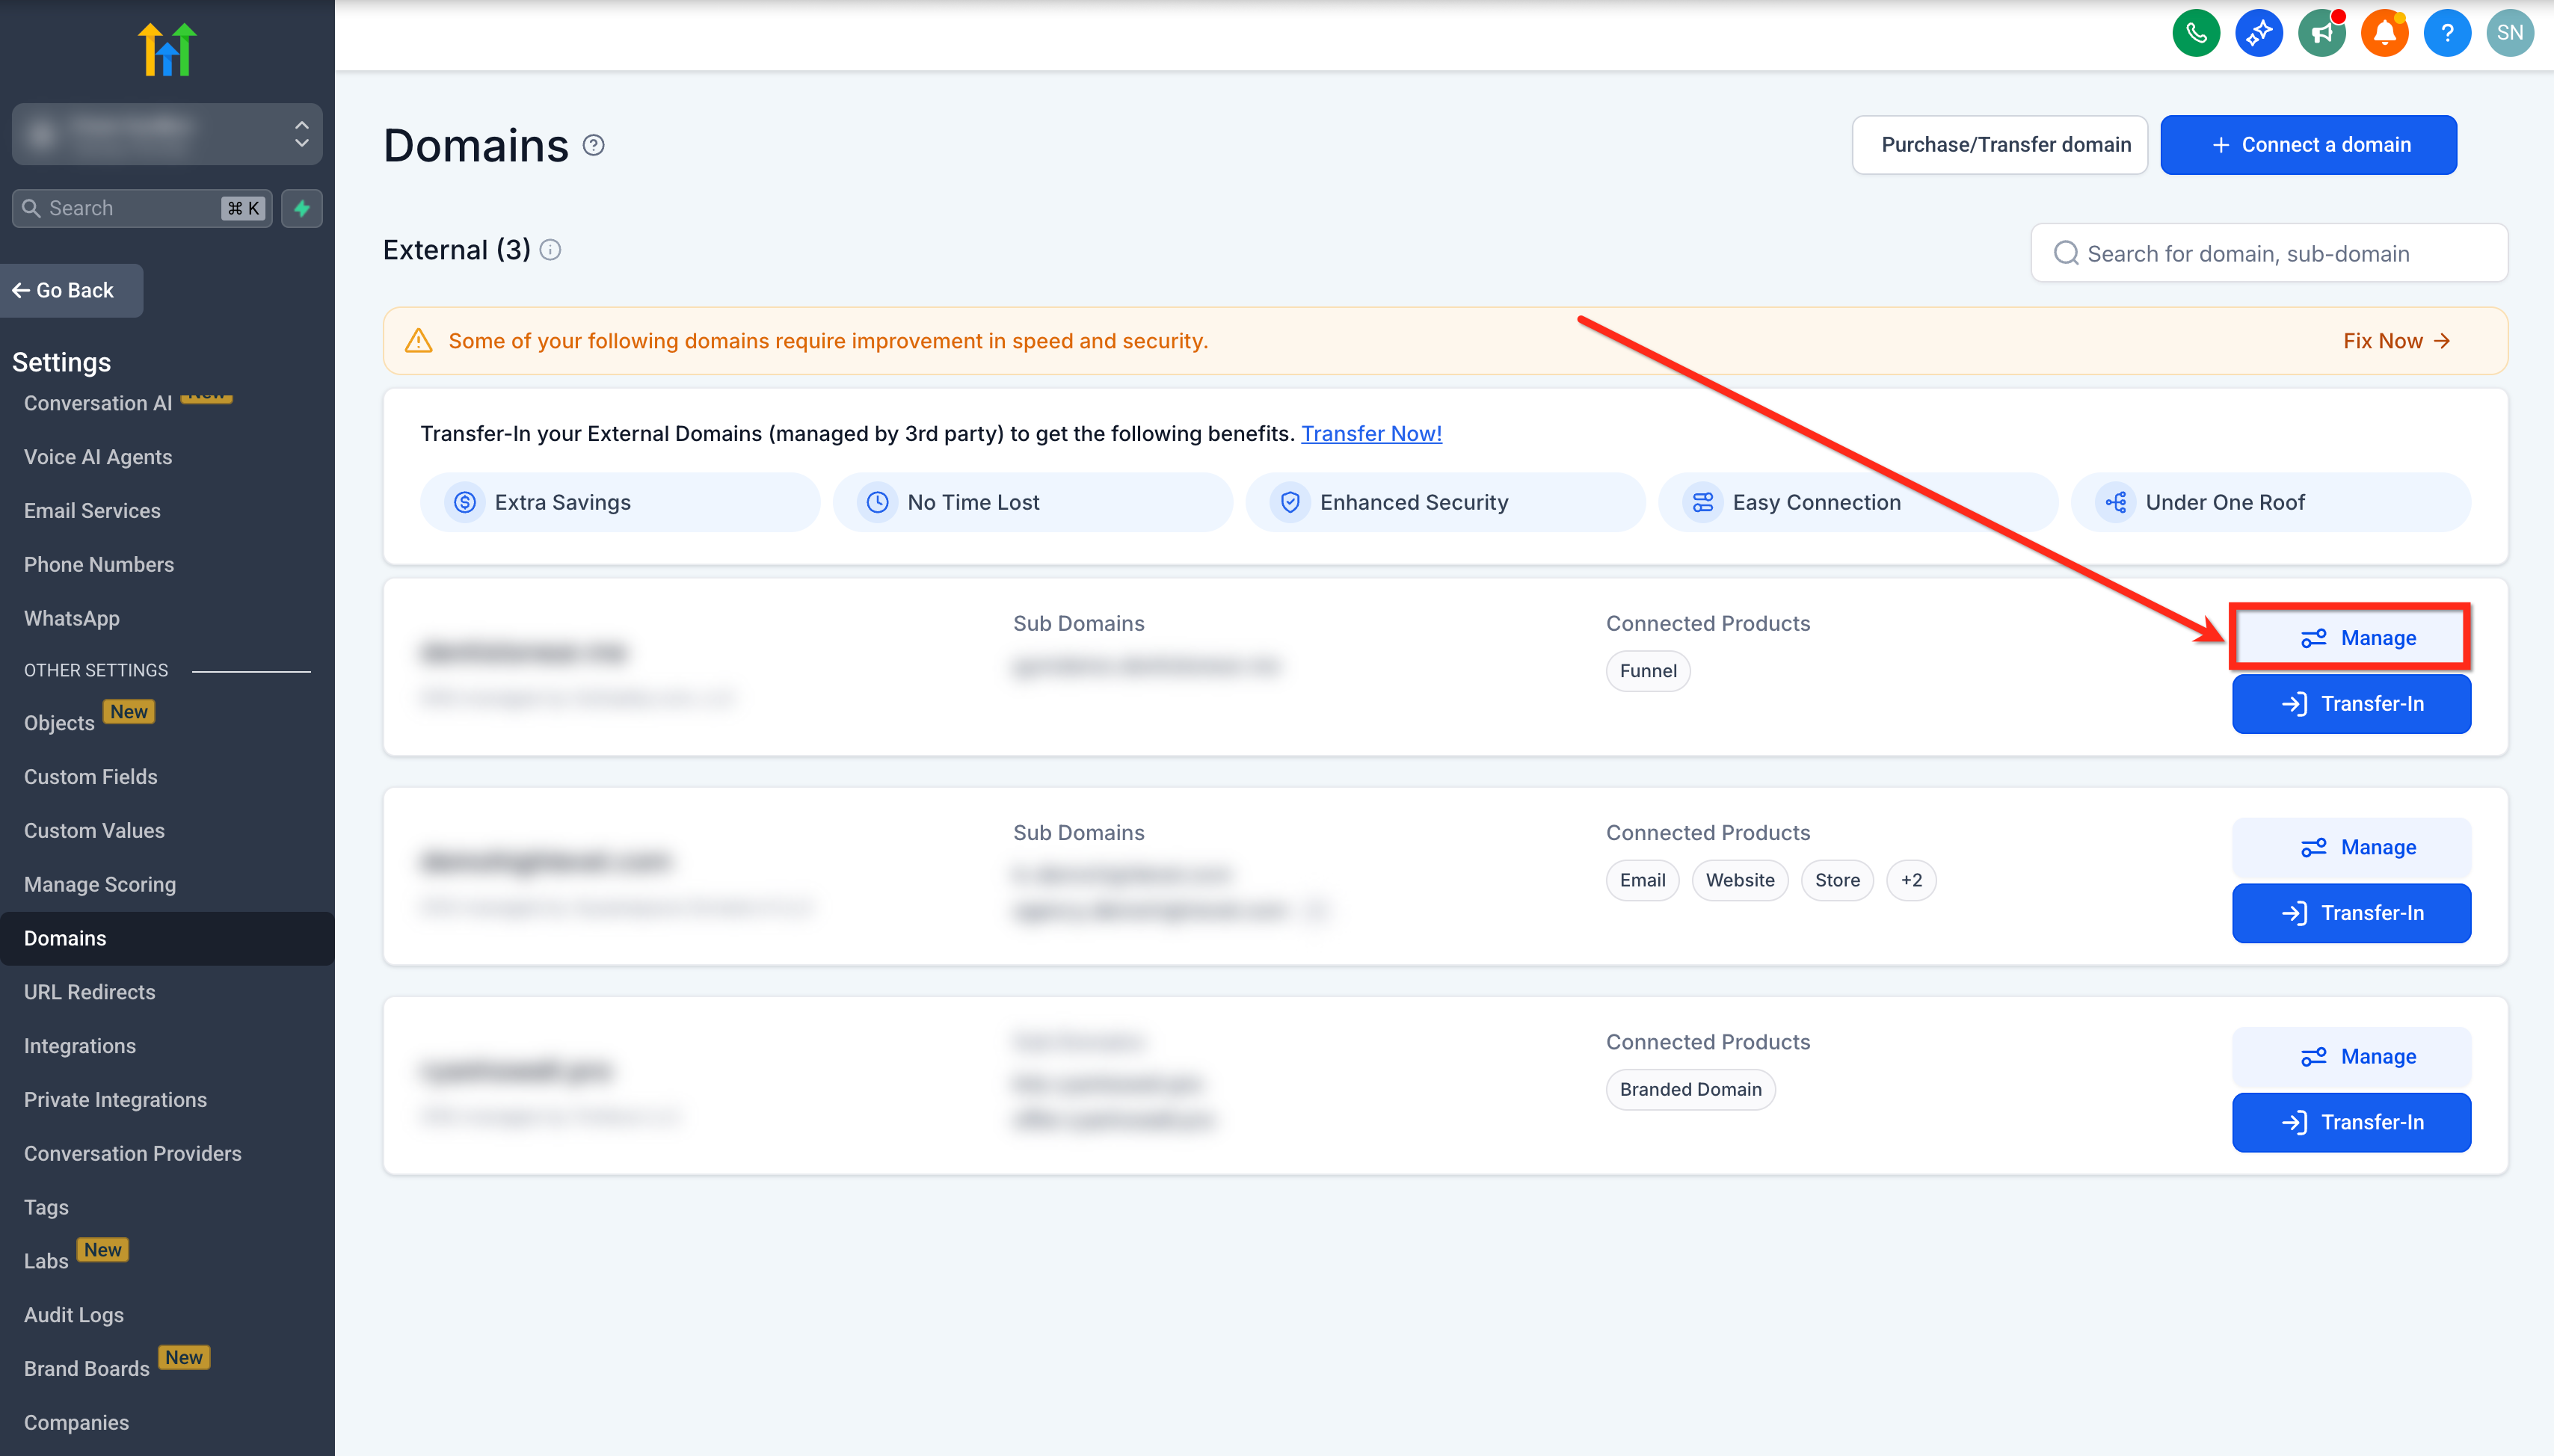
- Press Manage beside that domain.
- On the management screen, click the Buy Now banner for brand protection.
- In the purchase modal, select the extra extensions you desire and click their Add buttons.
- Tick the Terms and Conditions checkbox.
- Press the Pay button to purchase the new extensions.
07What it looks like in HighLevel
08Things to know before you rely on it
- You can select up to three additional extensions at the same time.
- Adding an extra extension creates a separate domain; it does not alter DNS settings of the primary domain.
09How it connects to the rest of HighLevel
- Enable domain purchases and rebilling Enable domain purchases
- Step by step guide to buying a domain Buy a domain
- Configure and connect a purchased domain Connect domain
- HighLevel pricing and plans Pricing
- Start a 30 day trial Free trial
Michael's take

Adding extra extensions can help protect your brand by limiting the chance that competitors acquire similar names.
If you currently only need a single web address and don’t anticipate brand squatting, you might choose to skip the extra extensions and add them later if a need arises.