
01Who this is for
- Agency owners can monitor client review activity alongside other metrics, simplifying reporting for multiple accounts.
- Local service businesses can see review request volume and response times in one view, helping manage their online reputation.
- Marketing teams can combine reputation widgets with sales and performance widgets to create unified reports for stakeholders.
02Reputation widgets, explained
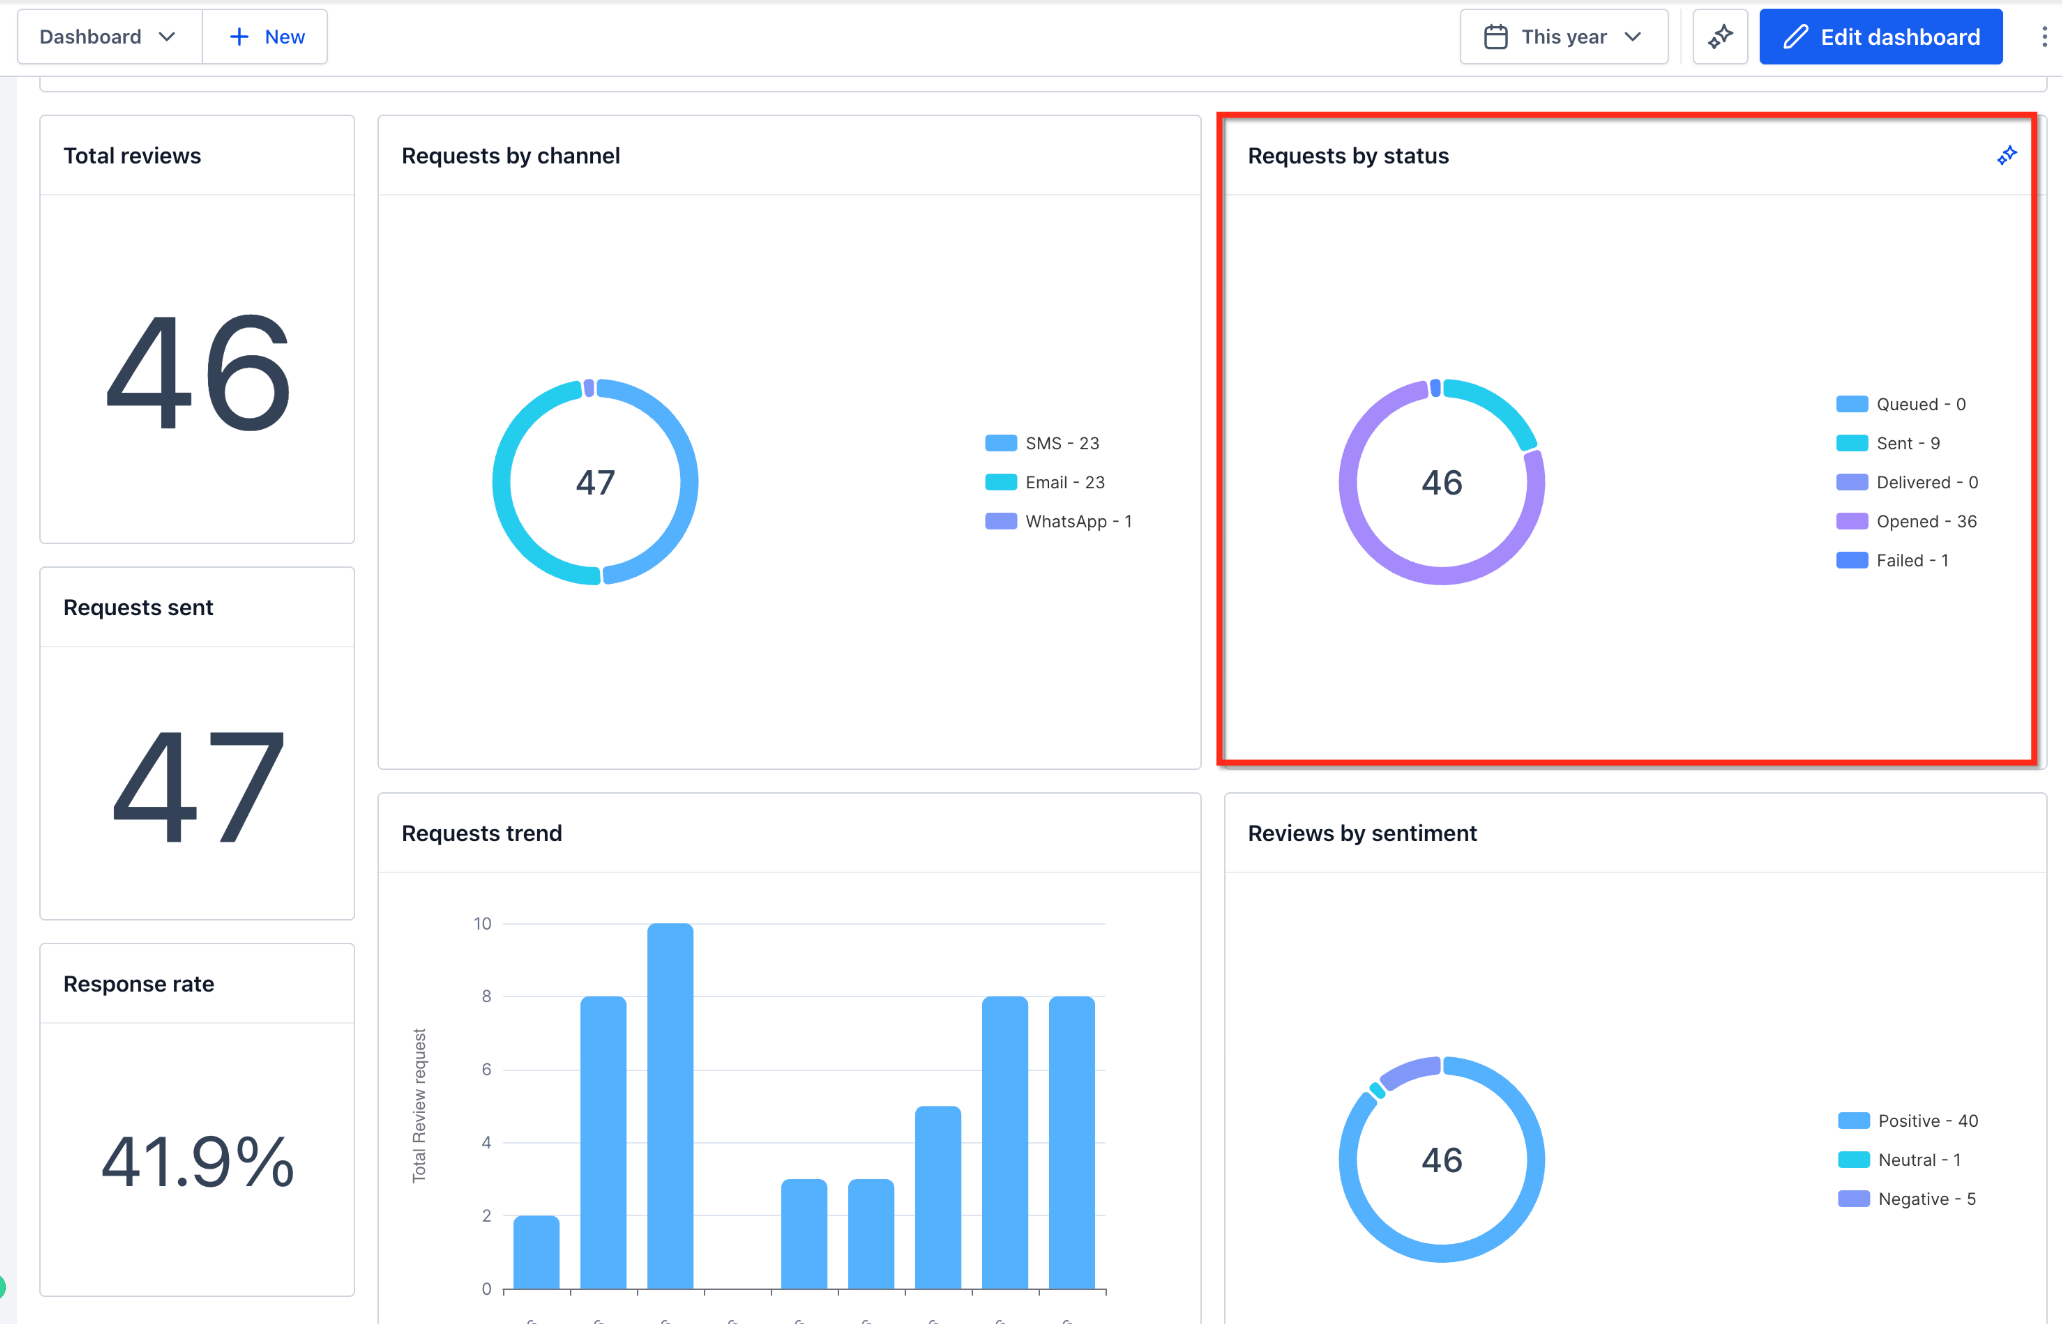
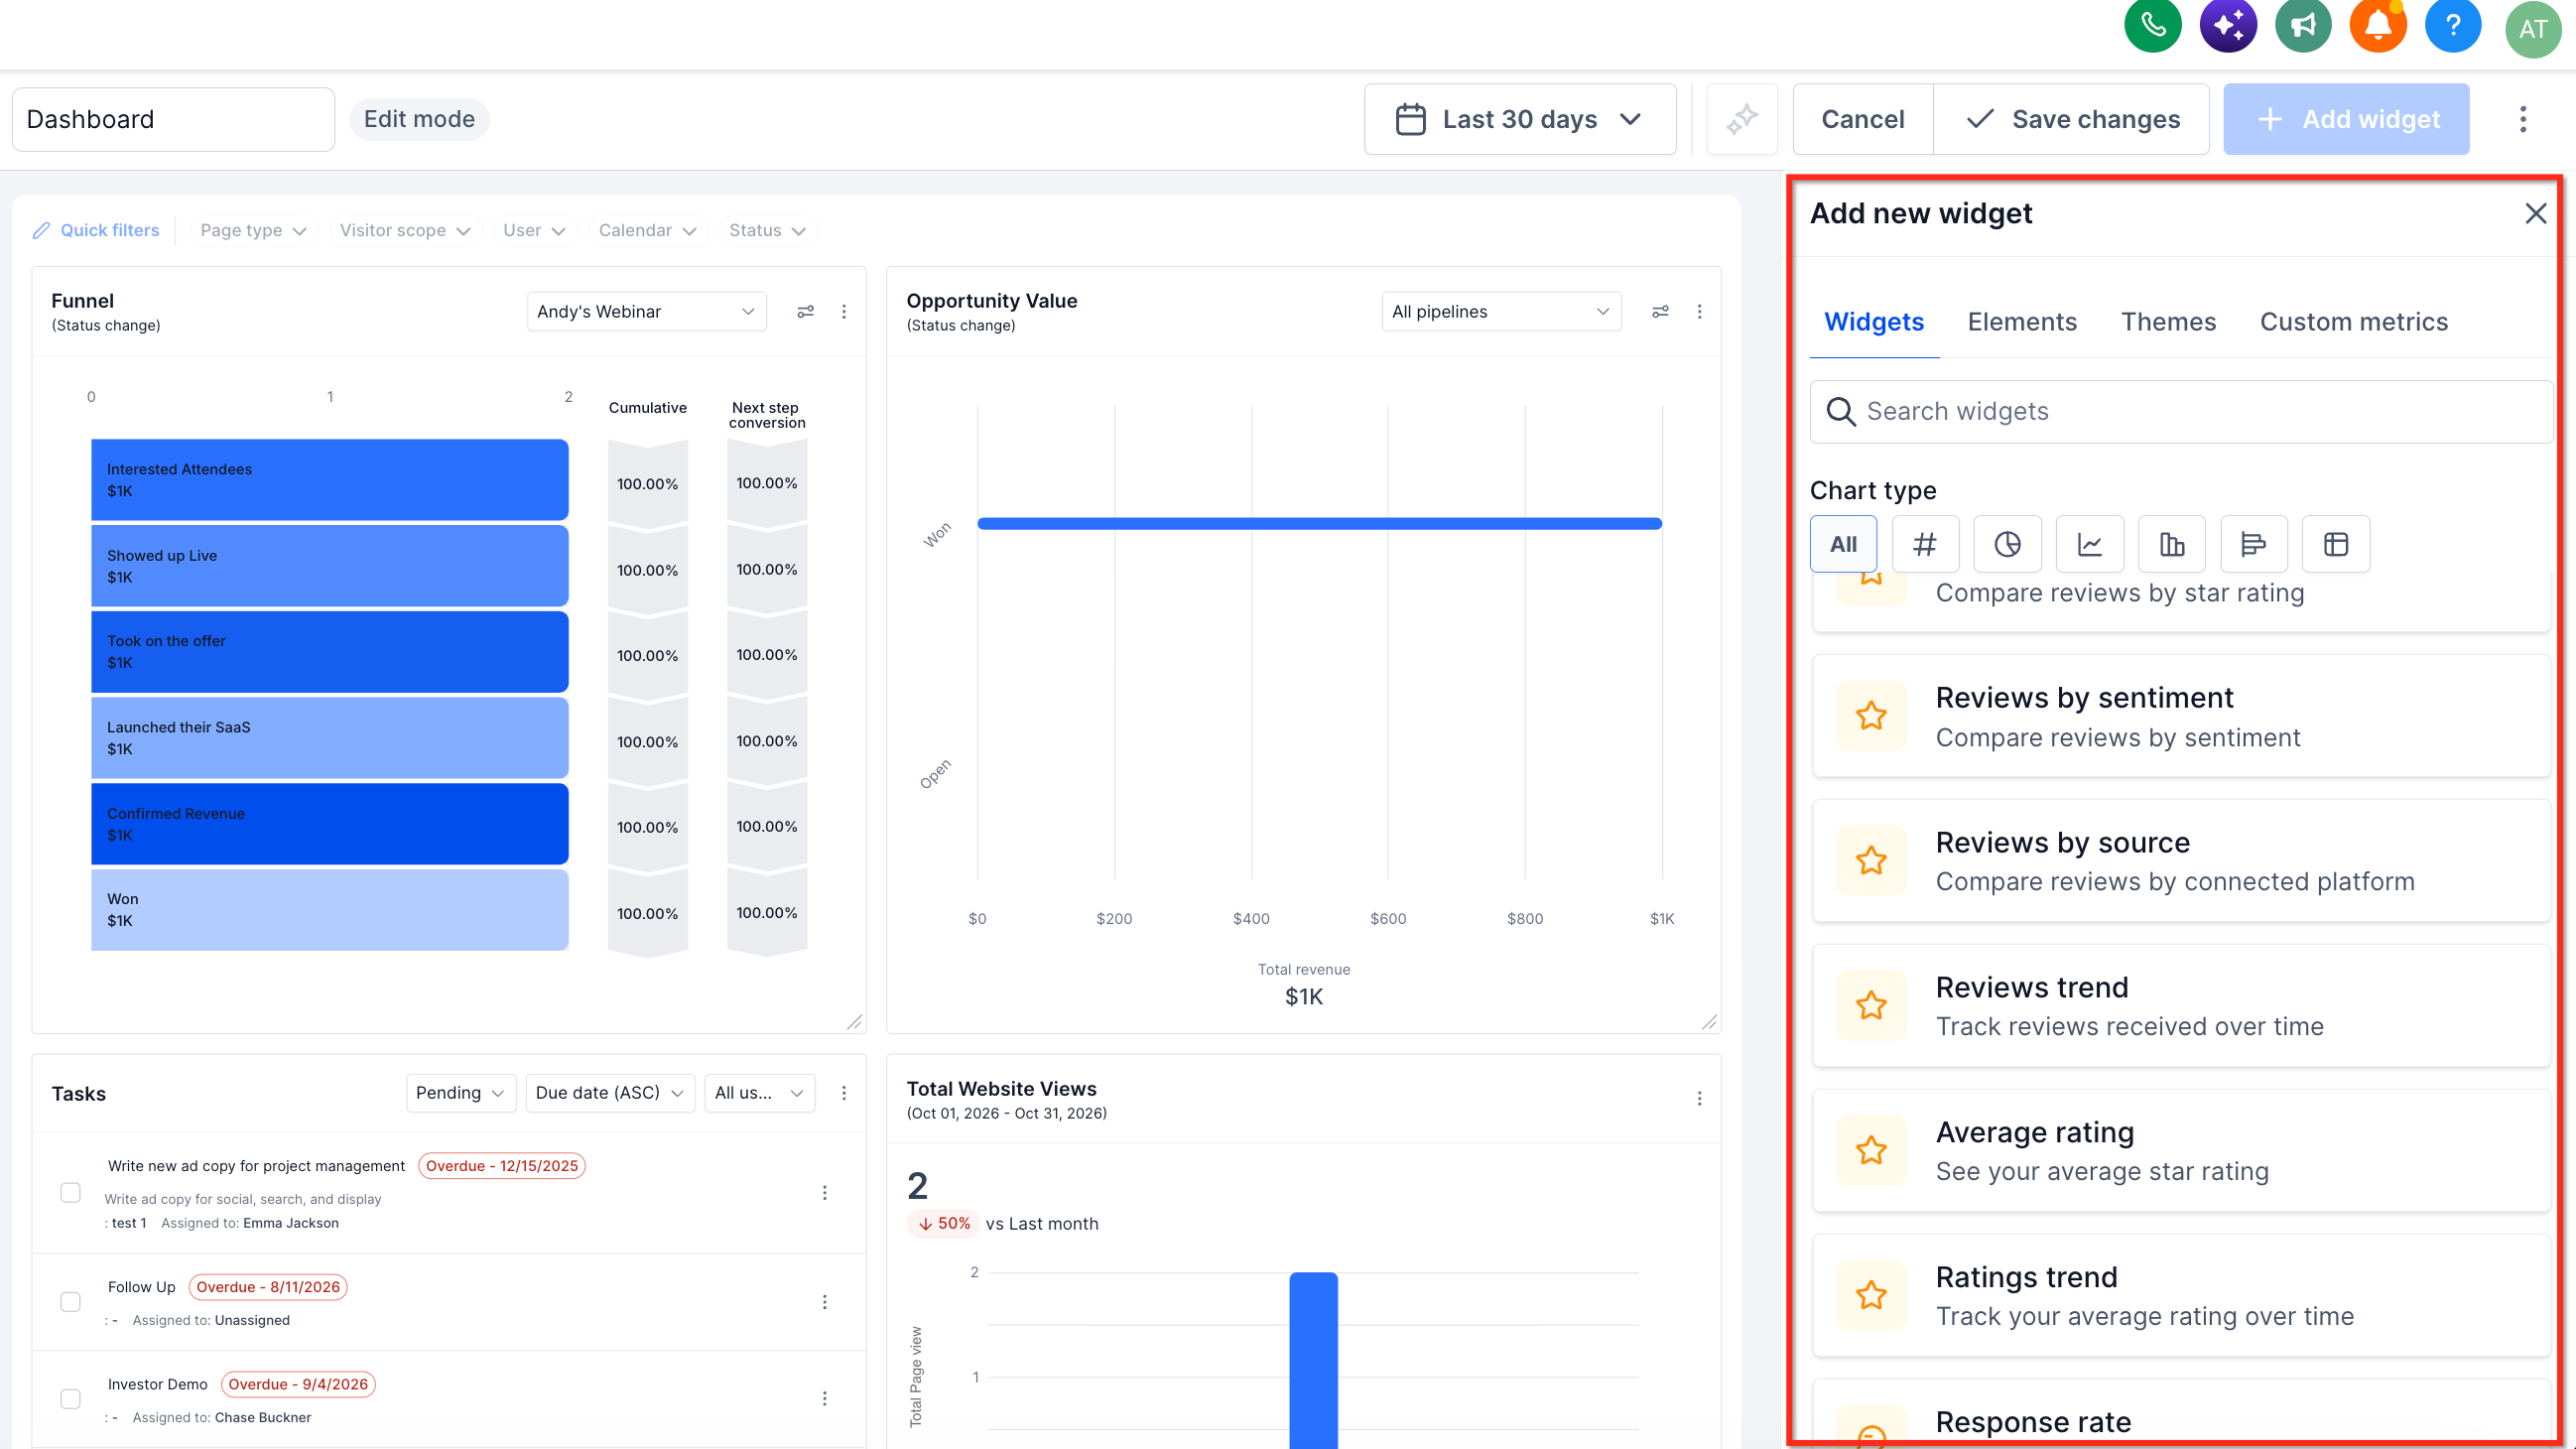
Reputation widgets display data about review requests, customer reviews and how reviews are answered. Sixteen different widgets cover request counts, channel breakdowns, status groups, review totals, ratings, sentiment, response rates and response times. Each widget can show a chart, a number or a trend line.
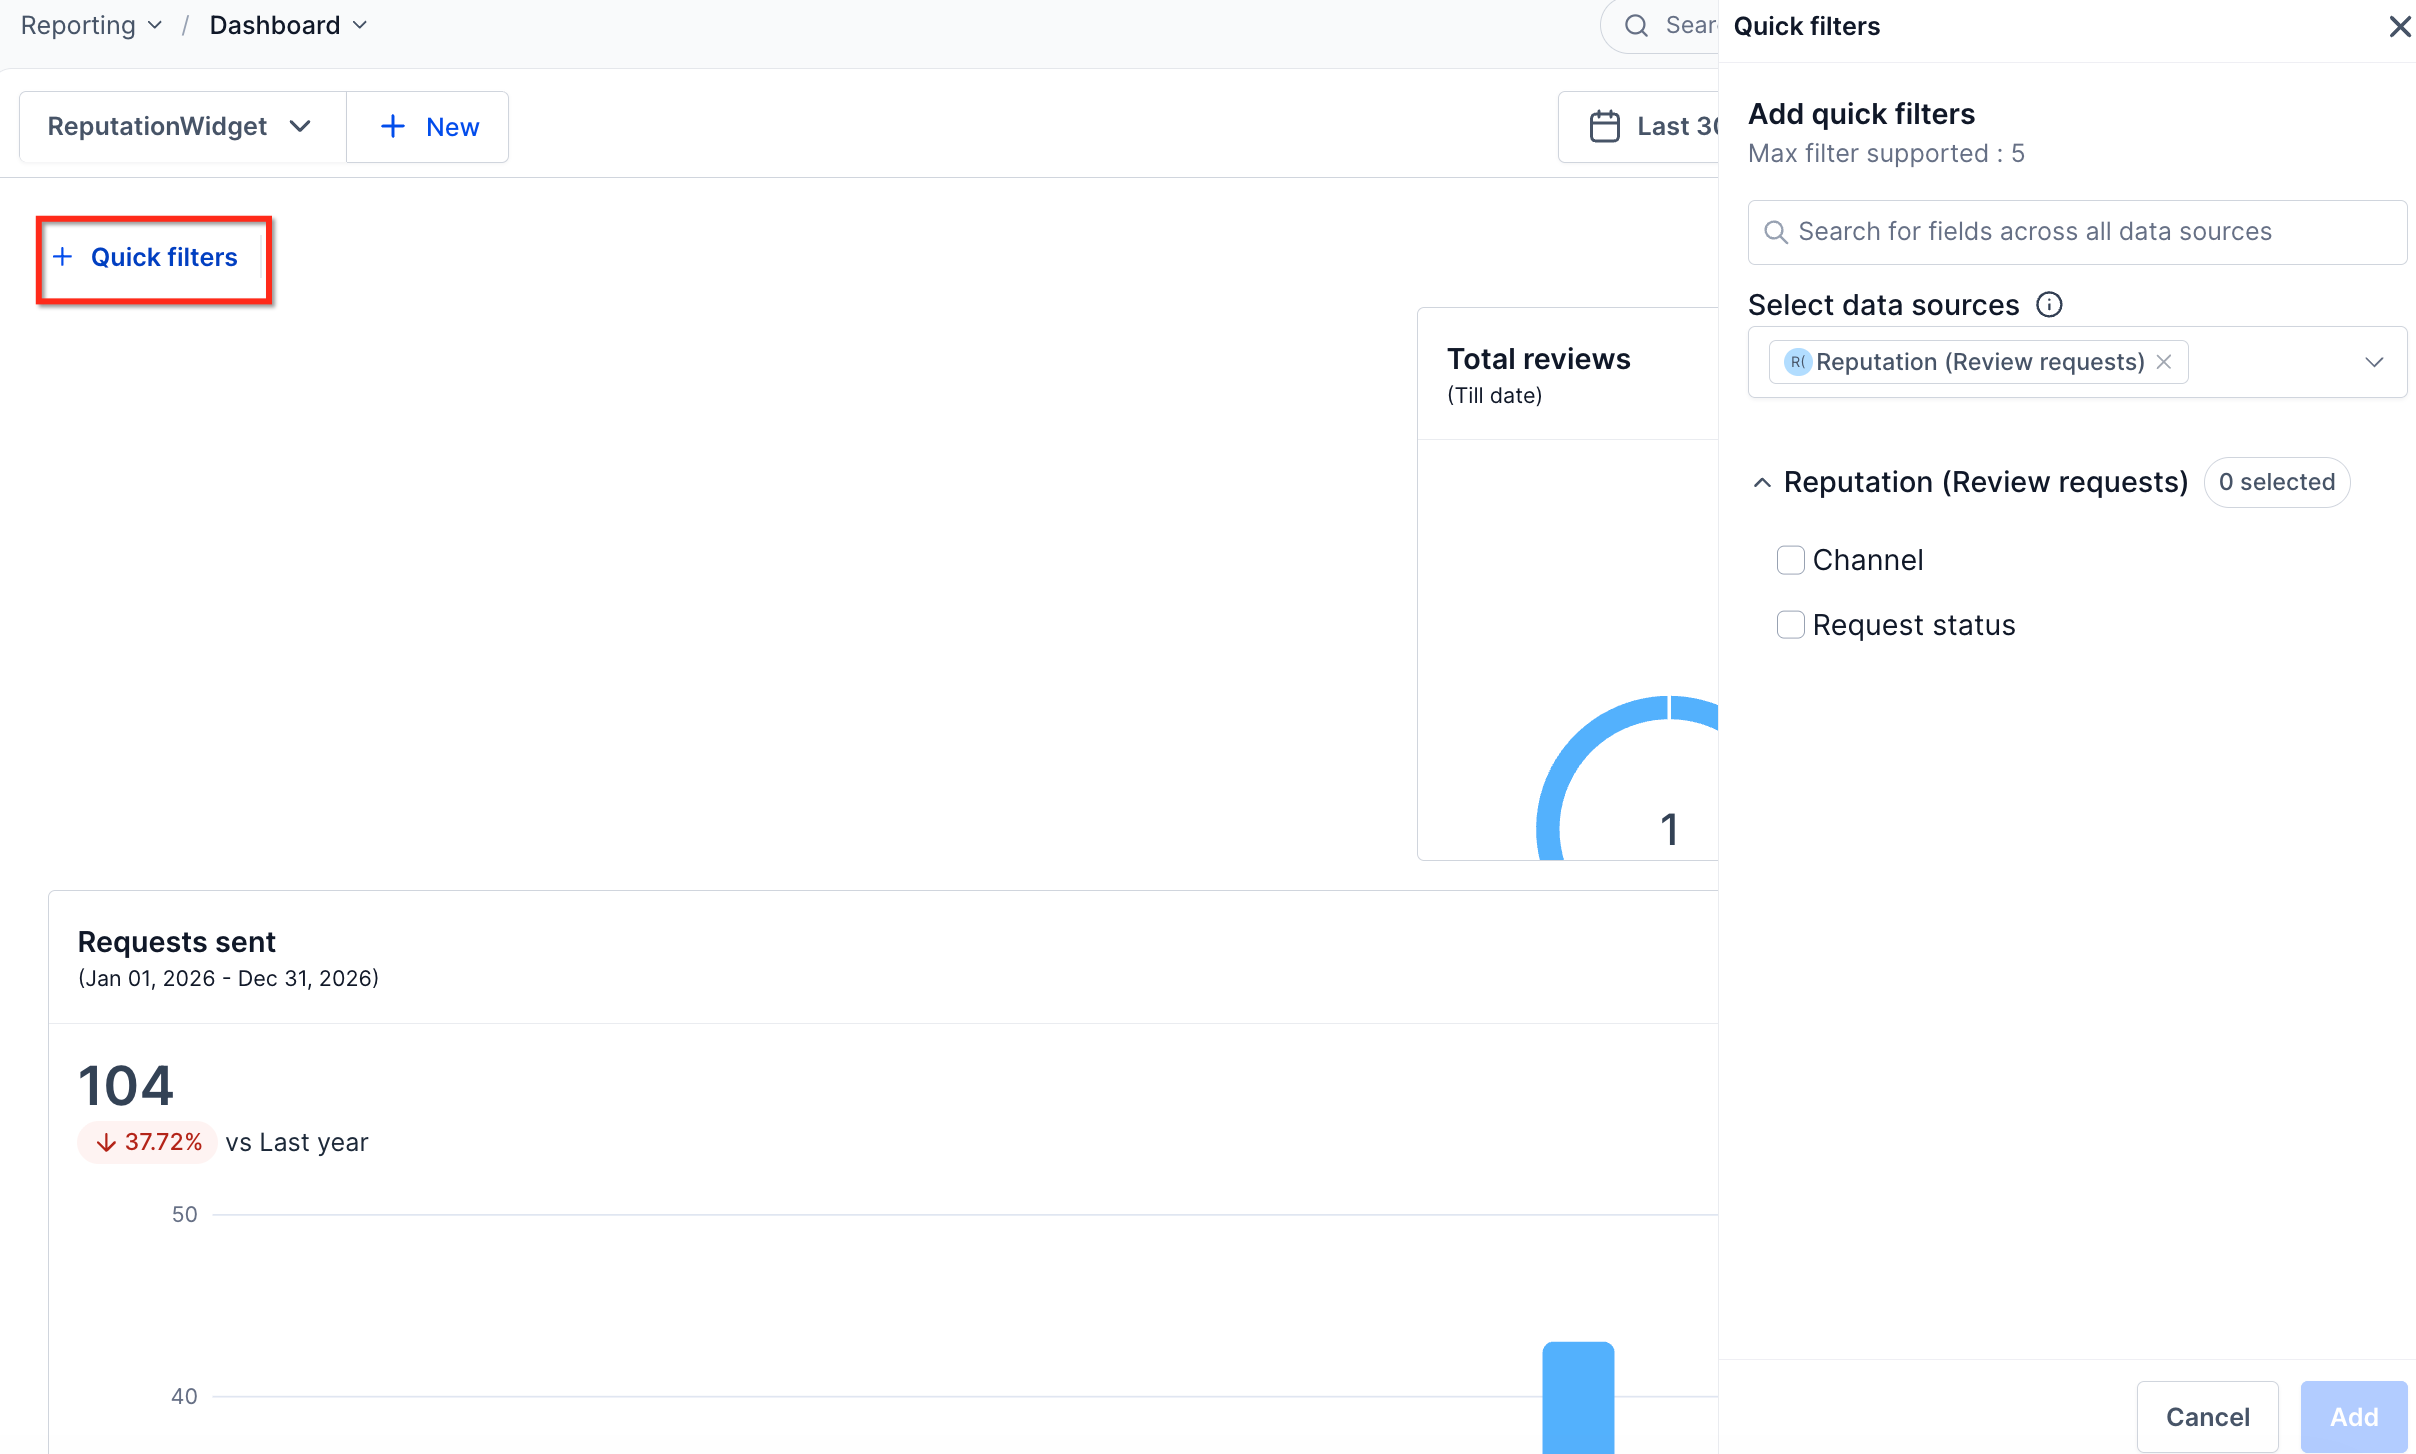
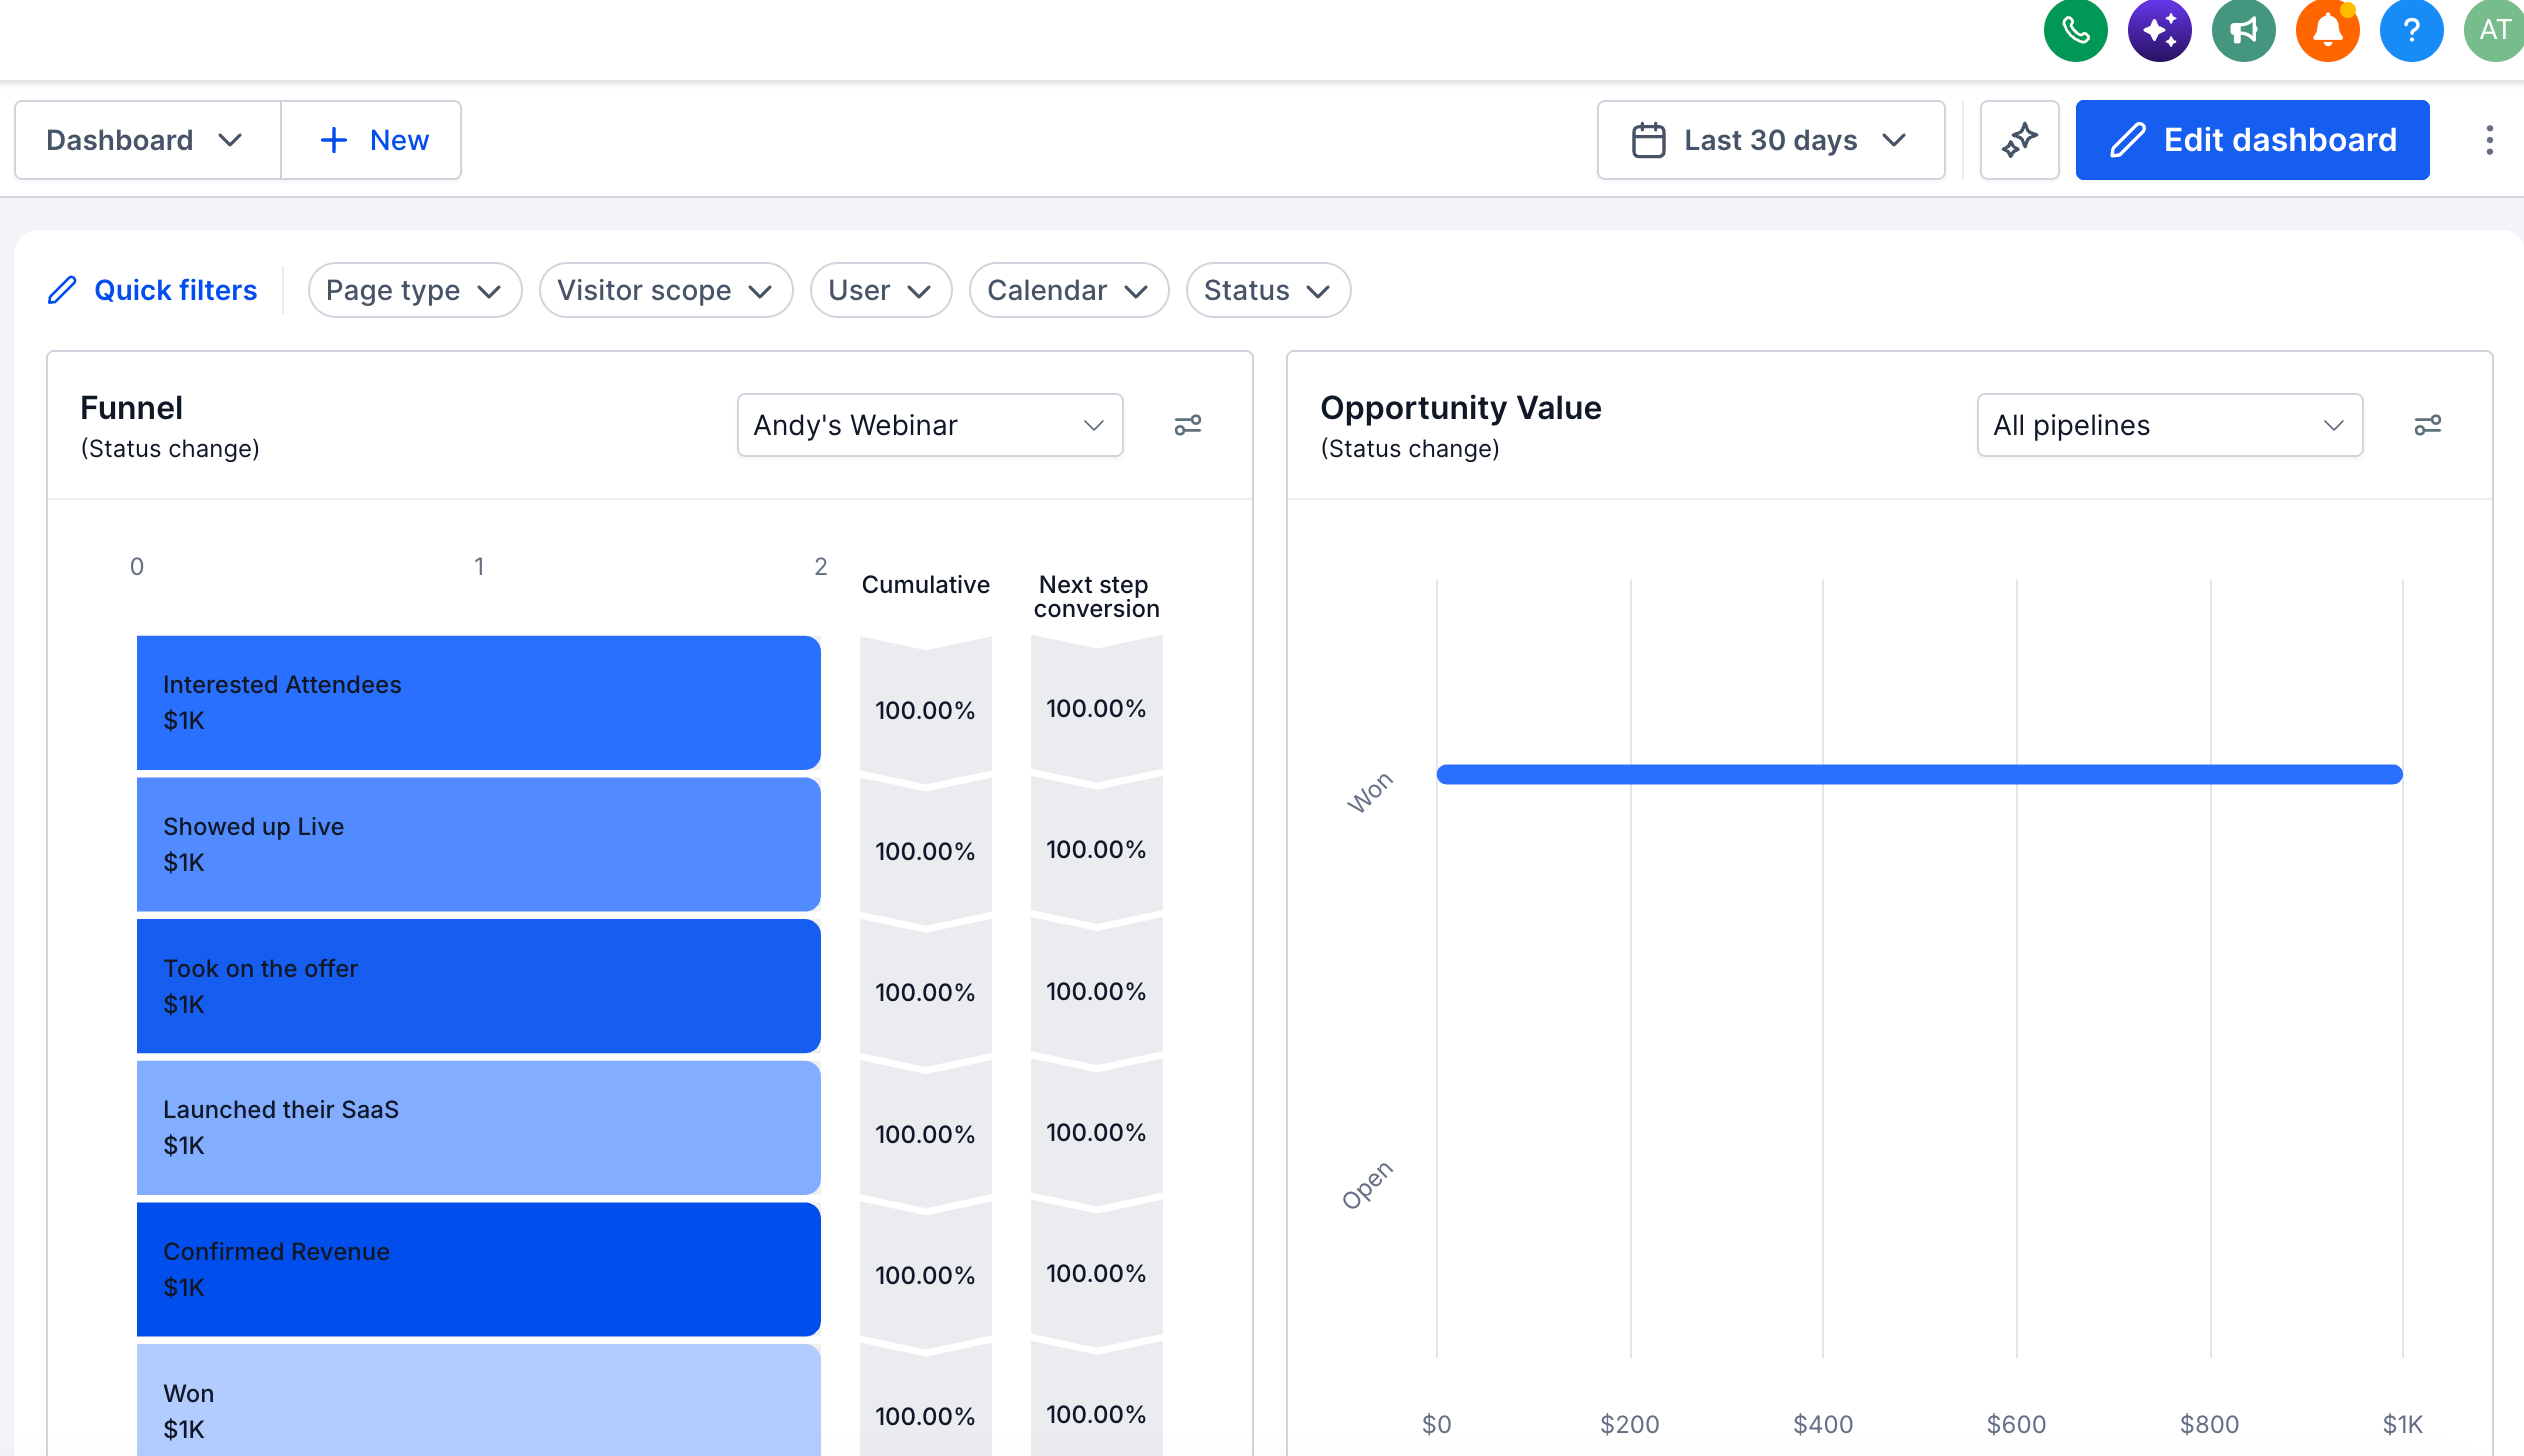
The widgets live inside a Location Dashboard. After entering edit mode, you open the widget library, pick the Reputation category, and add any of the available widgets. You can then move, resize and set chart types for each widget. The dashboard header lets you choose a date range, and a Quick Filters bar lets you limit the data by rating, source or response status.
Because the widgets pull data from the review sources linked to the location, the numbers shown depend on the reporting period, applied filters and which review platforms are connected. Some widgets also display AI generated response data when that feature is enabled.
03How businesses use reputation widgets
- Dental practice. The practice adds the "Total reviews" and "Reviews by rating" widgets to its dashboard, then selects a monthly date range. This lets the team see how many new patient reviews arrived each month and which star ratings are most common, all without leaving the dashboard.
- Real estate agency. The agency includes the "Requests sent" and "Requests by channel" widgets, applies a Quick Filter for the "Email" channel, and watches the trend chart. Agents can quickly spot if email requests are delivering as expected and adjust outreach tactics.
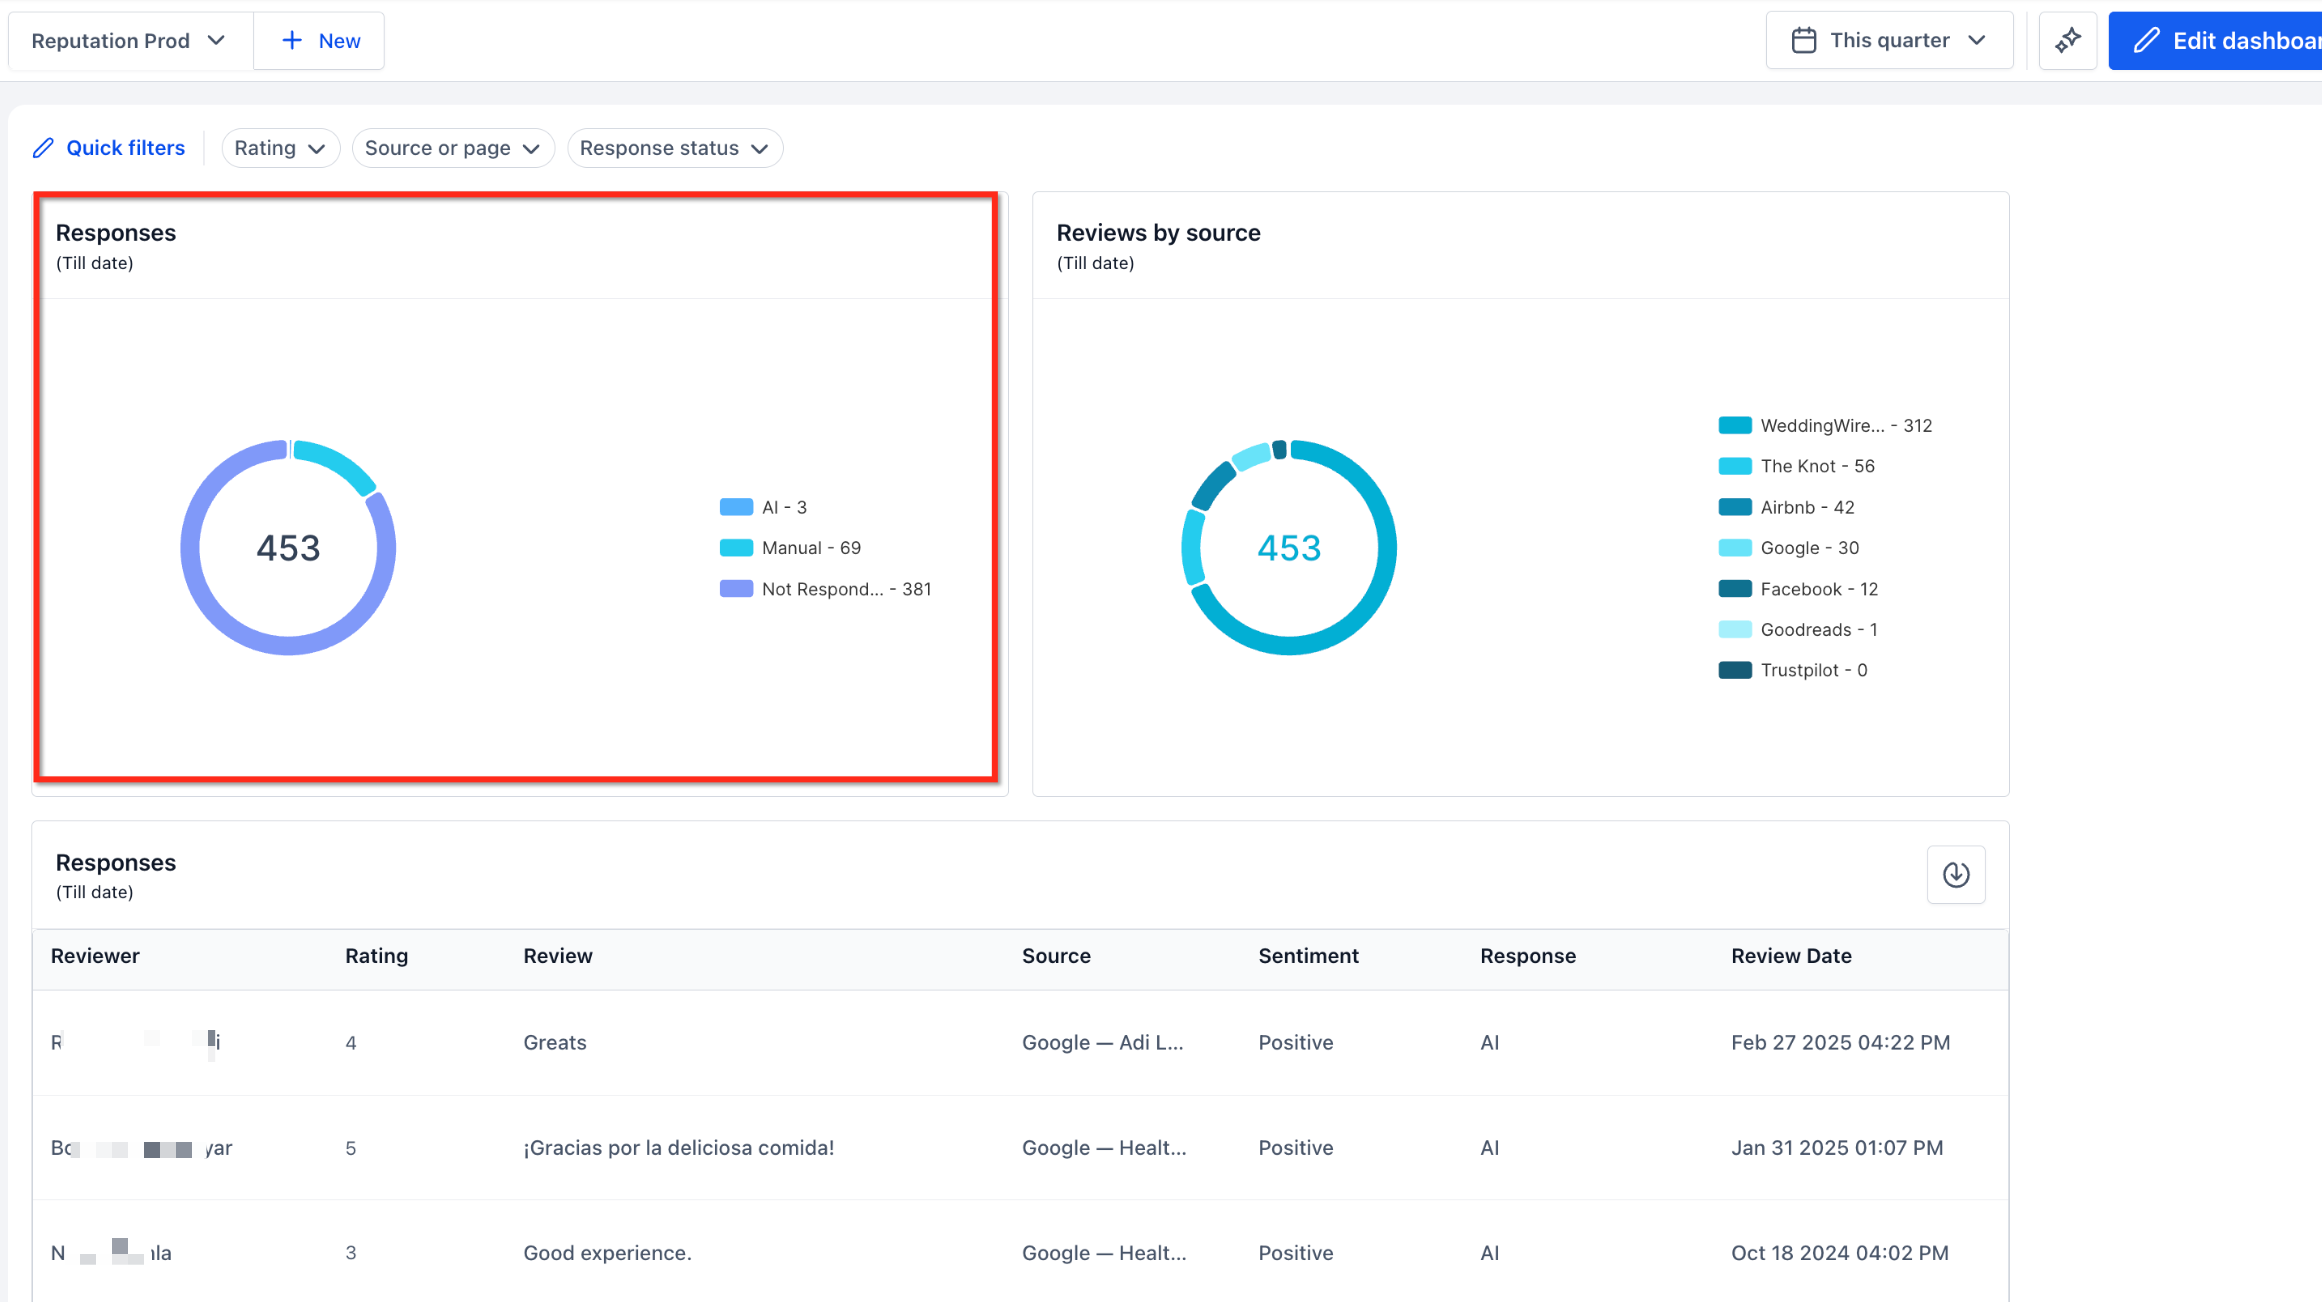
- Restaurant. The restaurant adds the "Response rate" and "Average response time" widgets, then uses the "Response status" Quick Filter to view only unanswered reviews. Managers can identify which reviews need attention and measure how fast staff replies.
04The numbers and rules that matter
- 16 Reputation widgets are provided.
- Supported Quick Filters: Rating, Source or page, Response status.
05Before you start
- User must have dashboard editing permissions for the location.
- Relevant review sources must be connected to the location to supply data for the widgets.
06How to set up and use reputation widgets in HighLevel
Add and configure reputation widgets on a Location Dashboard
- Log in to your HighLevel account.
- Open the desired subaccount.
- Select Dashboard from the left navigation menu.
- Open an existing dashboard using the dashboard selector.
- Open the dashboard you want to customize.
- Click Edit dashboard in the upper right corner.
- Wait for the Dashboard editor to open.
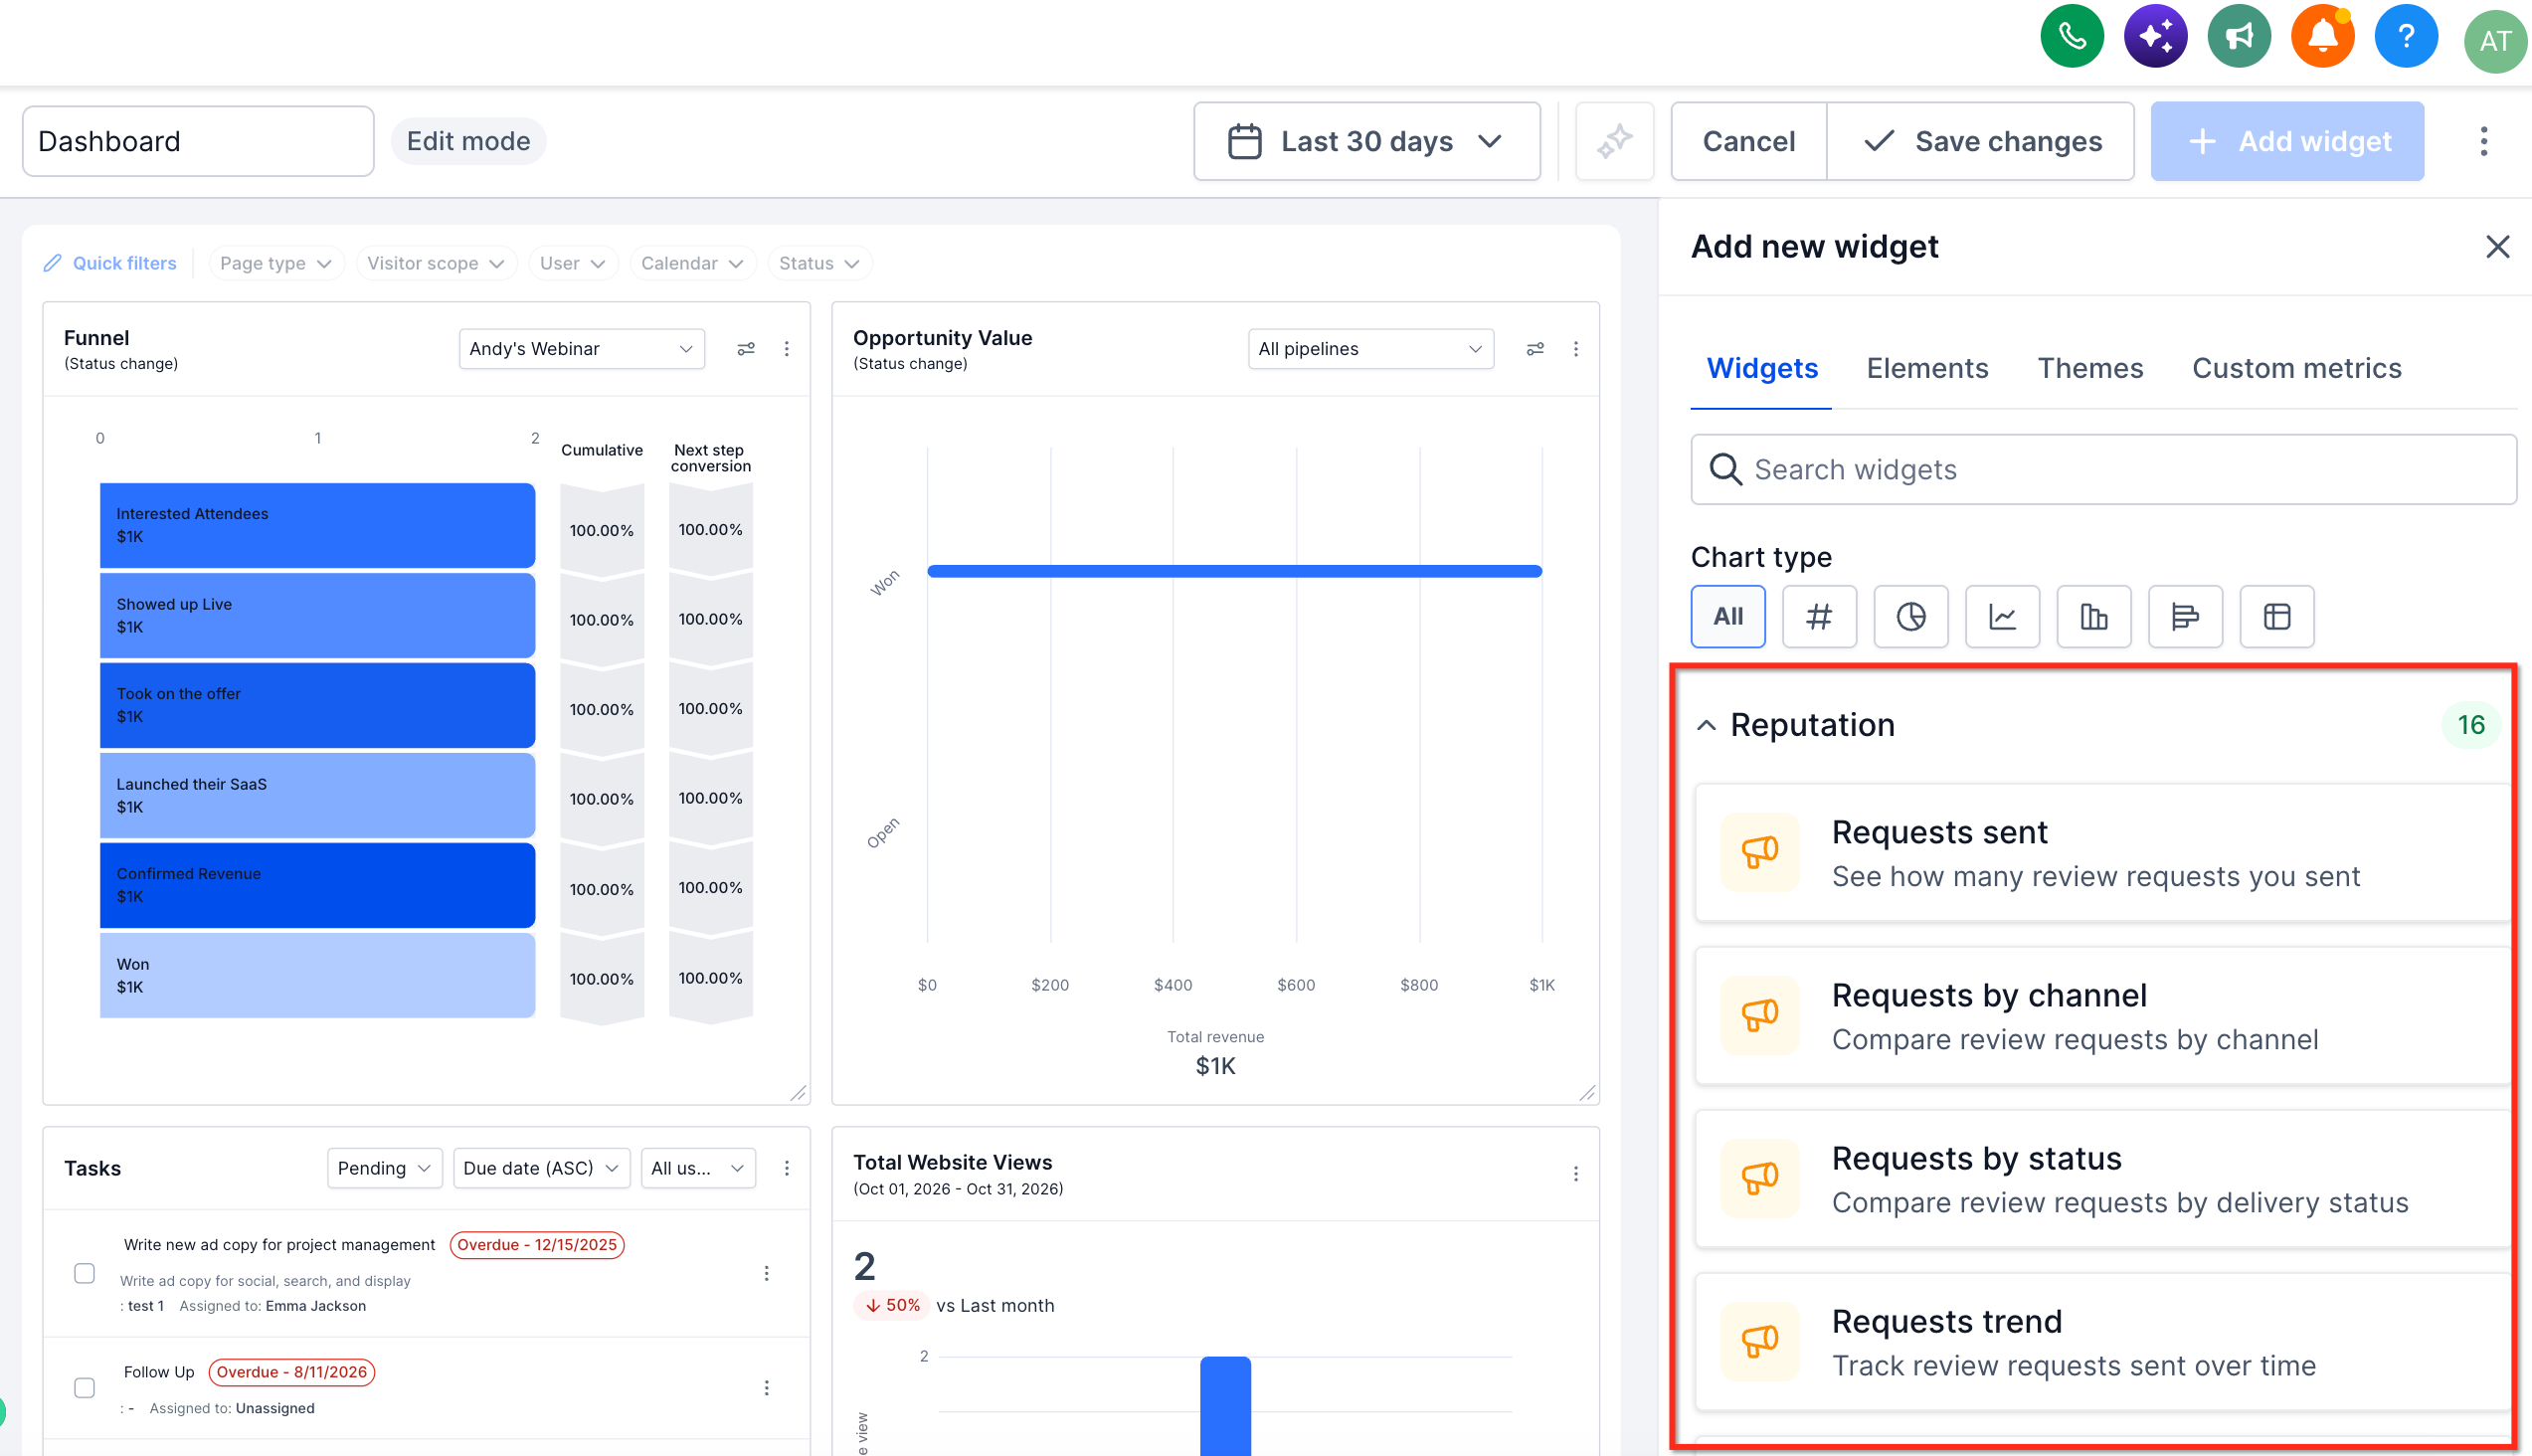
- Click Add widget while in edit mode.
- The Add new widget panel appears on the right side.
- Select the Widgets tab if it is not already active.
- Locate the Reputation widget category.
- Browse the Reputation category.
- Select a widget to add.
- Review any configuration options shown for the widget.
- Choose the available chart type and other settings as needed.
- Save the widget configuration to add it to the dashboard.
- Repeat the widget selection process to add additional Reputation widgets.
- Drag widgets to rearrange their positions.
- Resize widgets using the available resize controls.
- Group related widgets together to improve readability.
- Review the widget arrangement and configuration.
- Click Save changes at the top of the dashboard.
- Return to the dashboard view.
- Verify that the selected Reputation widgets appear as expected.
- Select the desired date range from the dashboard header.
- Use available Quick Filters to narrow the displayed information.
- Review how the compatible Reputation widgets respond to the selected criteria.
- Adjust filters as needed to compare different areas of reputation performance.
- If a widget shows no data, check the date range, filters, widget level conditions and that the location has connected review sources with activity.
07What it looks like in HighLevel
08Settings that matter
- Chart type. Controls the visual representation of the widget, such as bar, line or pie chart.
- Quick Filters. Limits the data shown in compatible widgets by rating, source or response status.
09Things to know before you rely on it
- Quick Filters only affect widgets that use the same data source; some widgets may remain unchanged.
- Response related metrics appear only when the location has review response features enabled.
- Delivery confirmation and status details can vary by the messaging channel and provider.
10If something goes wrong
- A Reputation widget shows no data. Check the selected date range, applied Quick Filters, widget level conditions and that the location has connected review sources with activity.
11How it connects to the rest of HighLevel
- Learn how to send review requests that feed the request related widgets. Sending review requests
- Customize the messages used for review requests across SMS and email. Review request customization
- Explore all Reputation Management features for broader context. Reputation Management overview
Michael's take

How can I keep an eye on my reviews without hopping between screens? Reputation widgets let you pull all the key review numbers. Requests, ratings, sentiment, response rates. Into a single location dashboard. Once they’re set up, you can view the metrics on the dashboard.
If I were building a reporting view for a client agency, I’d drop the Requests sent, Reviews by sentiment, and Response rate widgets onto one board, apply a quarterly date range, and then use the dashboard for reporting.