
01Who this is for
- Ecommerce Founders who need a credit card gateway for single step or two step checkout funnels.
- SaaS owners offering recurring plans who require tokenized storage and subscription tracking.
- Service based businesses that sell invoices or payment links and want to use NMI alongside existing Stripe or PayPal connections.
02NMI integration, explained
The NMI gateway connects to HighLevel as a payment processor. It supports credit and debit card transactions for order forms built with Funnels version 2, for invoices, and for Text2Pay link payments. After you add the gateway credentials, you can select NMI as the default processor, which directs new payments through NMI while existing Stripe or PayPal subscriptions continue unchanged.
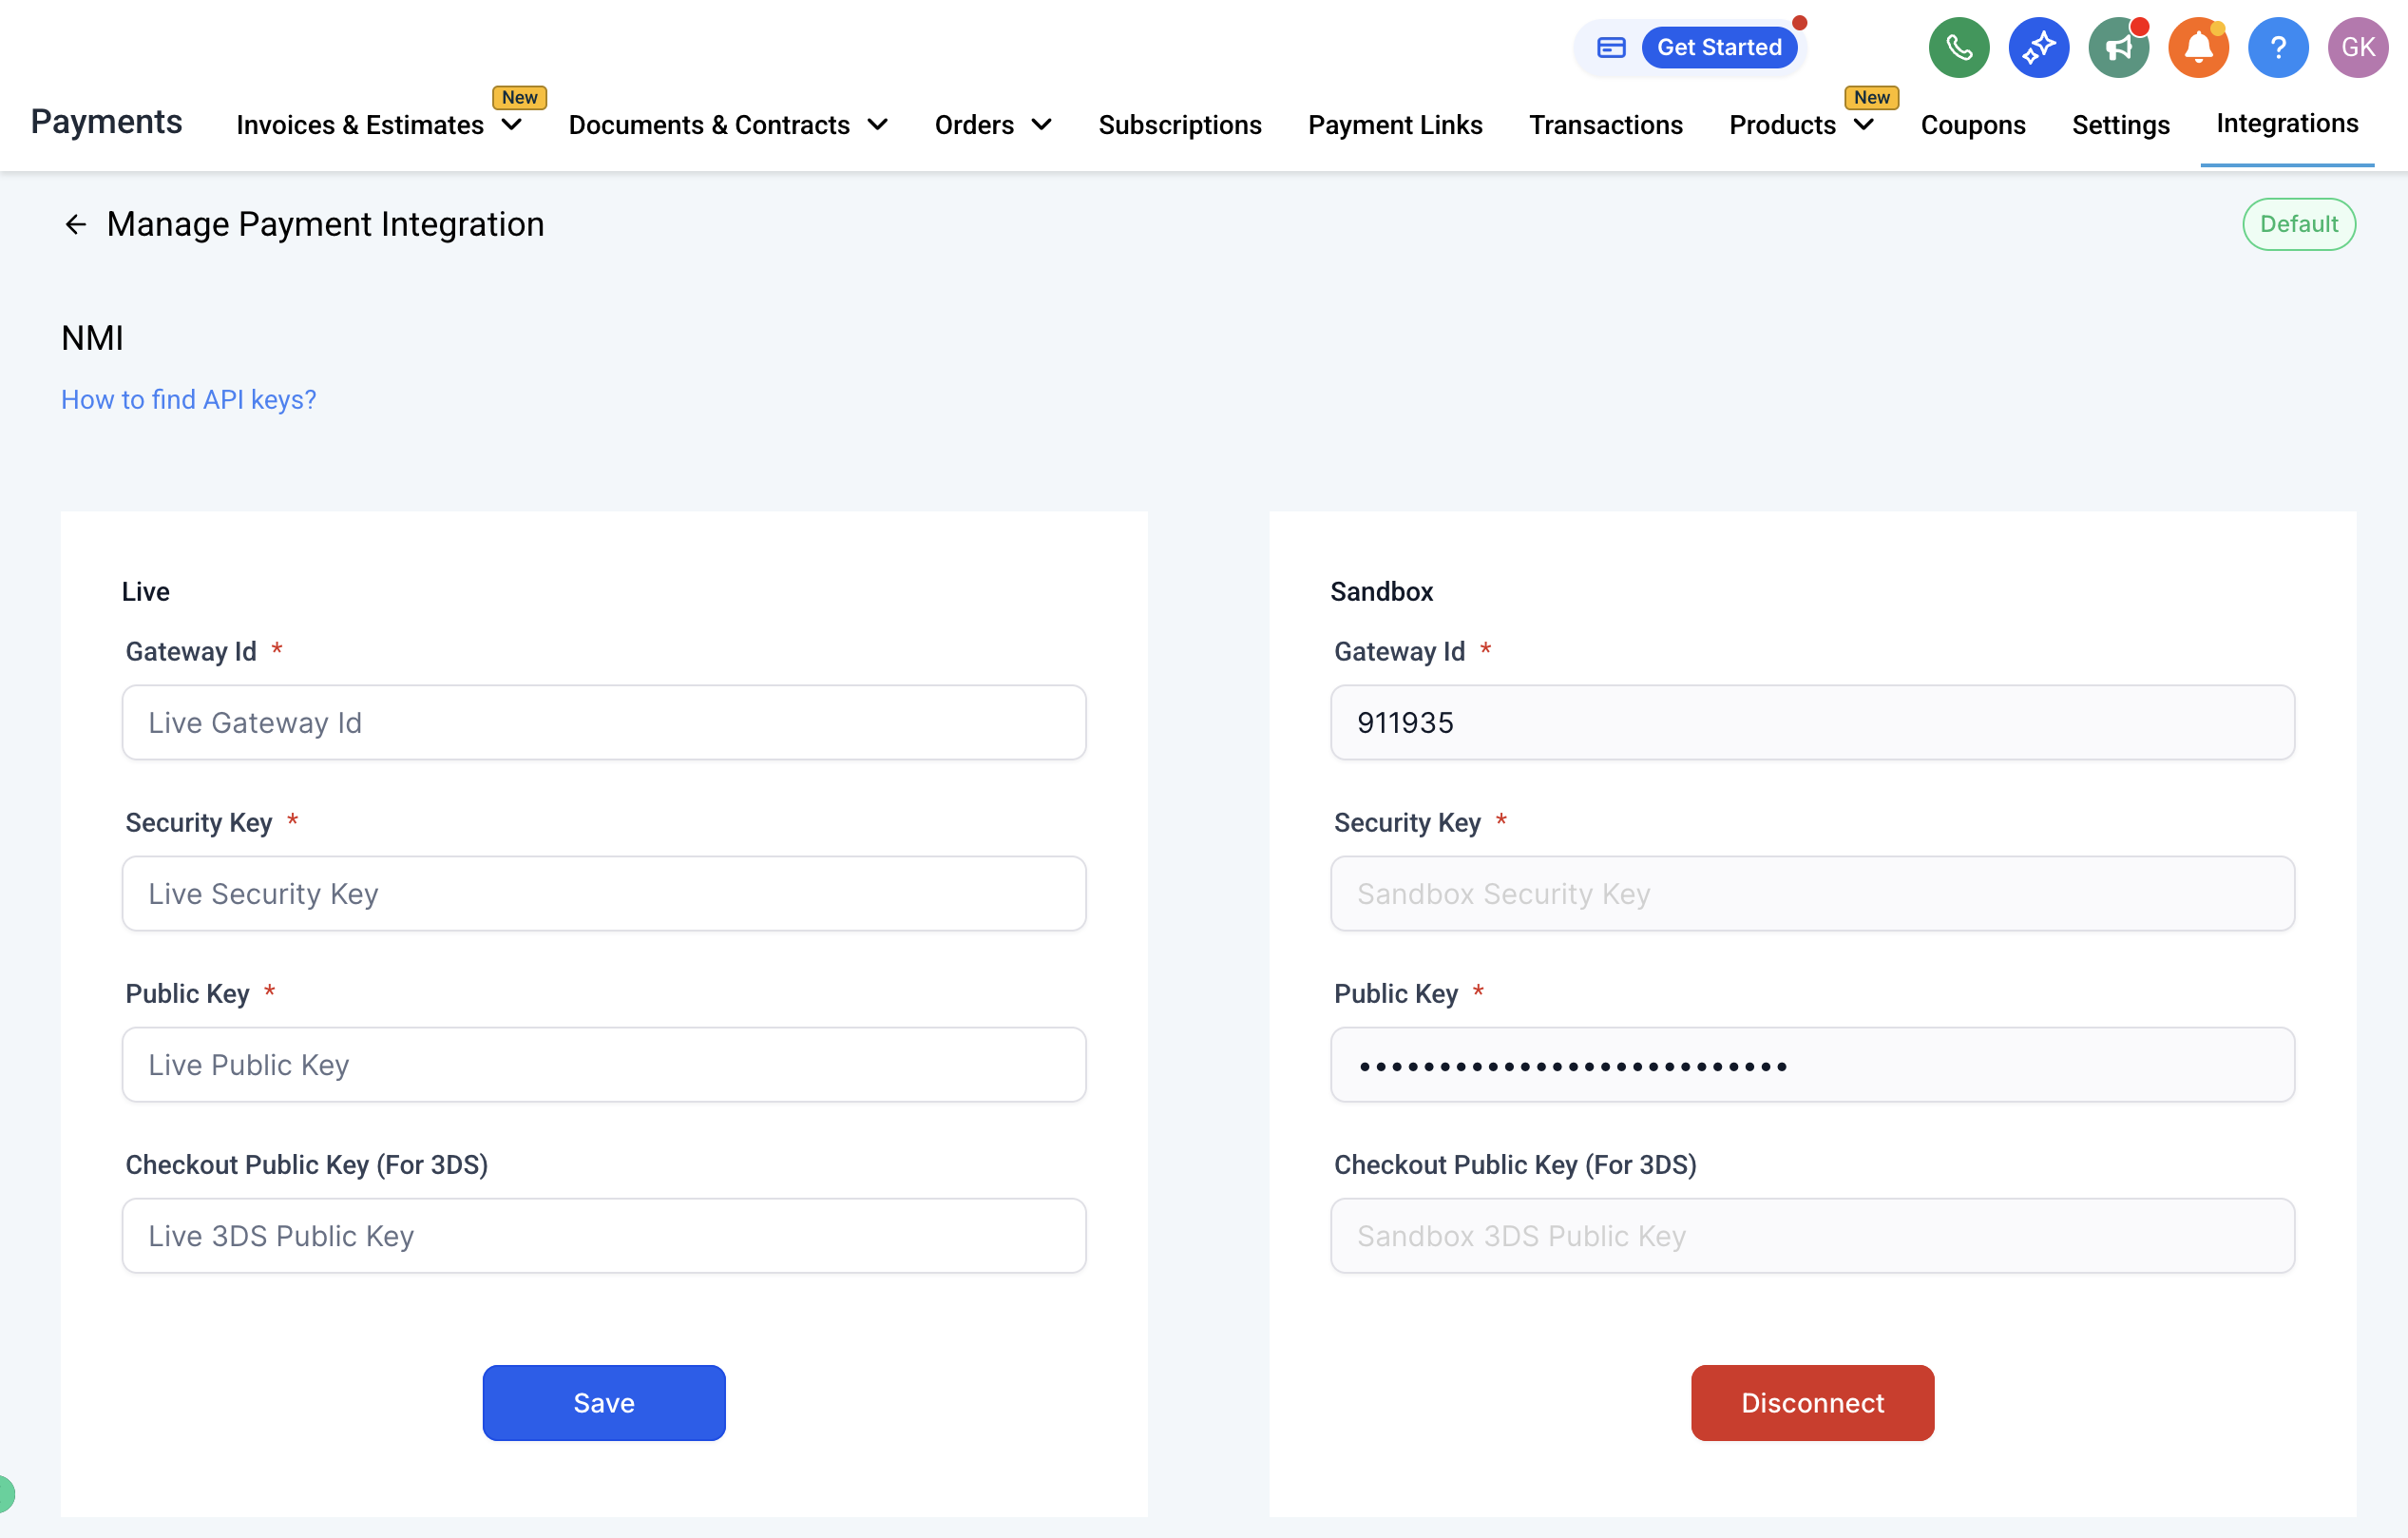
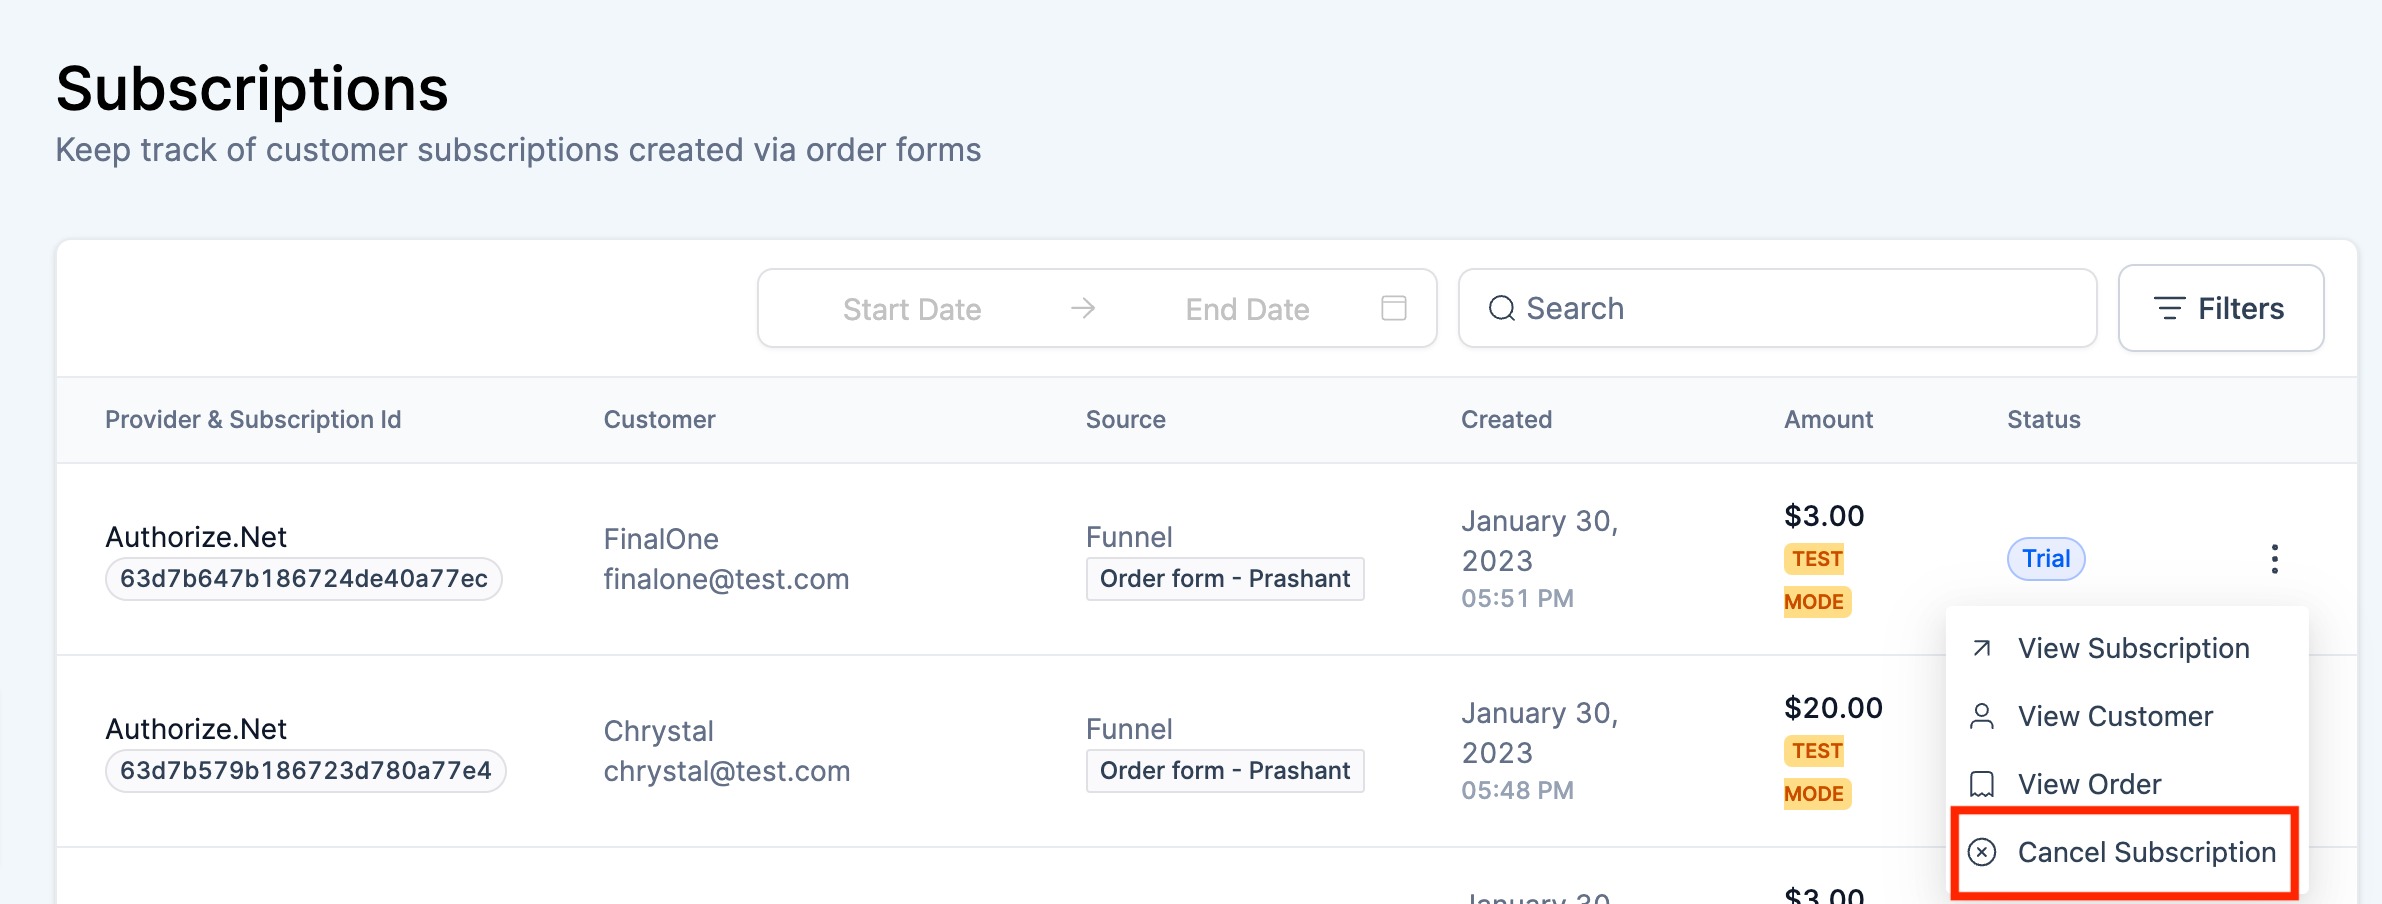
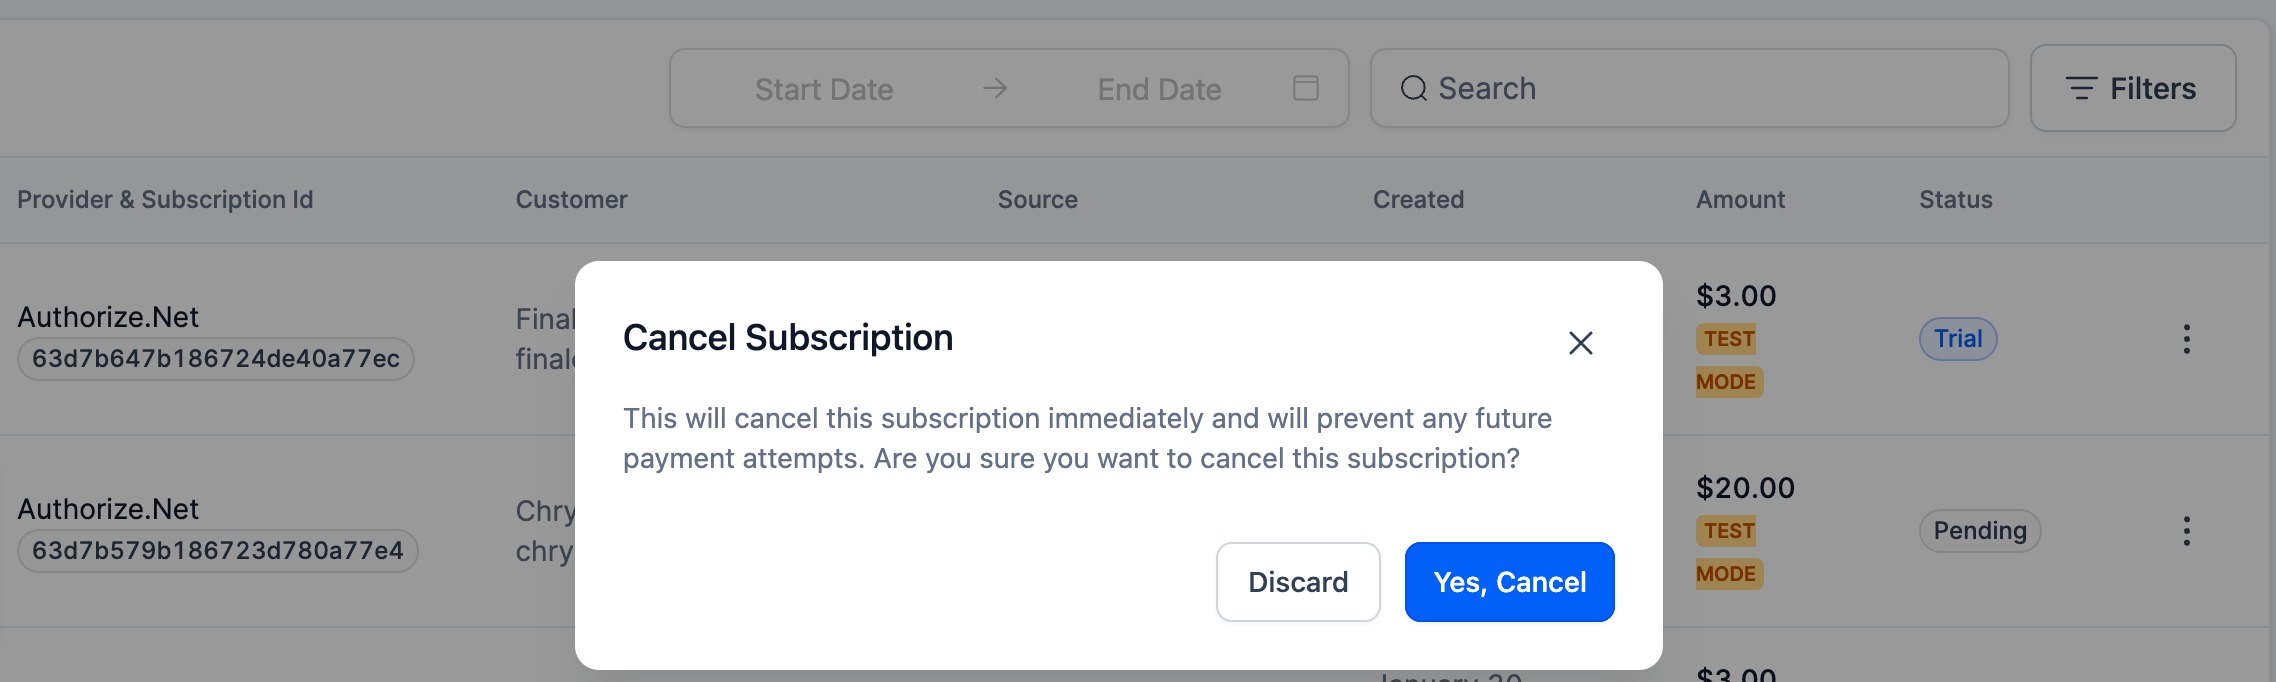
The integration lives under the Payments > Integrations screen of each subaccount. You provide three required keys, Gateway Id, Security key and Public key, and save the configuration. Once saved, the platform shows NMI in the list of available gateways, and you can set it as the default for order form payments. All transaction data appears in the standard Payments > Transactions, Orders and Subscriptions views.
03How businesses use NMI integration
- Online retail store. Create a product in Payments ➝ Products, then build a funnel order form. With NMI set as the default gateway, customers pay using credit or debit cards, and the sale records appear in Payments ➝ Transactions.
- Subscription based SaaS. Define a recurring product in Payments ➝ Products. After enabling NMI, the order form processes the initial and subsequent recurring card charges, while subscription status is tracked under Payments ➝ Subscriptions.
- Fitness studio offering class packages. Generate an invoice for a client in the platform. Select NMI as the gateway, and the client completes the payment with a card. The payment shows up in the invoice view and the transaction list.
04The numbers and rules that matter
- 3 DS support added in September 2025.
- Upgrade to funnels version 2 is required.
- Only one recurring product can be purchased per order form checkout is supported.
05Before you start
- Upgrade to Funnels version 2 to access NMI enabled order forms.
- Have an active NMI merchant account with a Gateway Id, Security key and Public key ready.
06How to set up and use NMI integration in HighLevel
Enable NMI integration
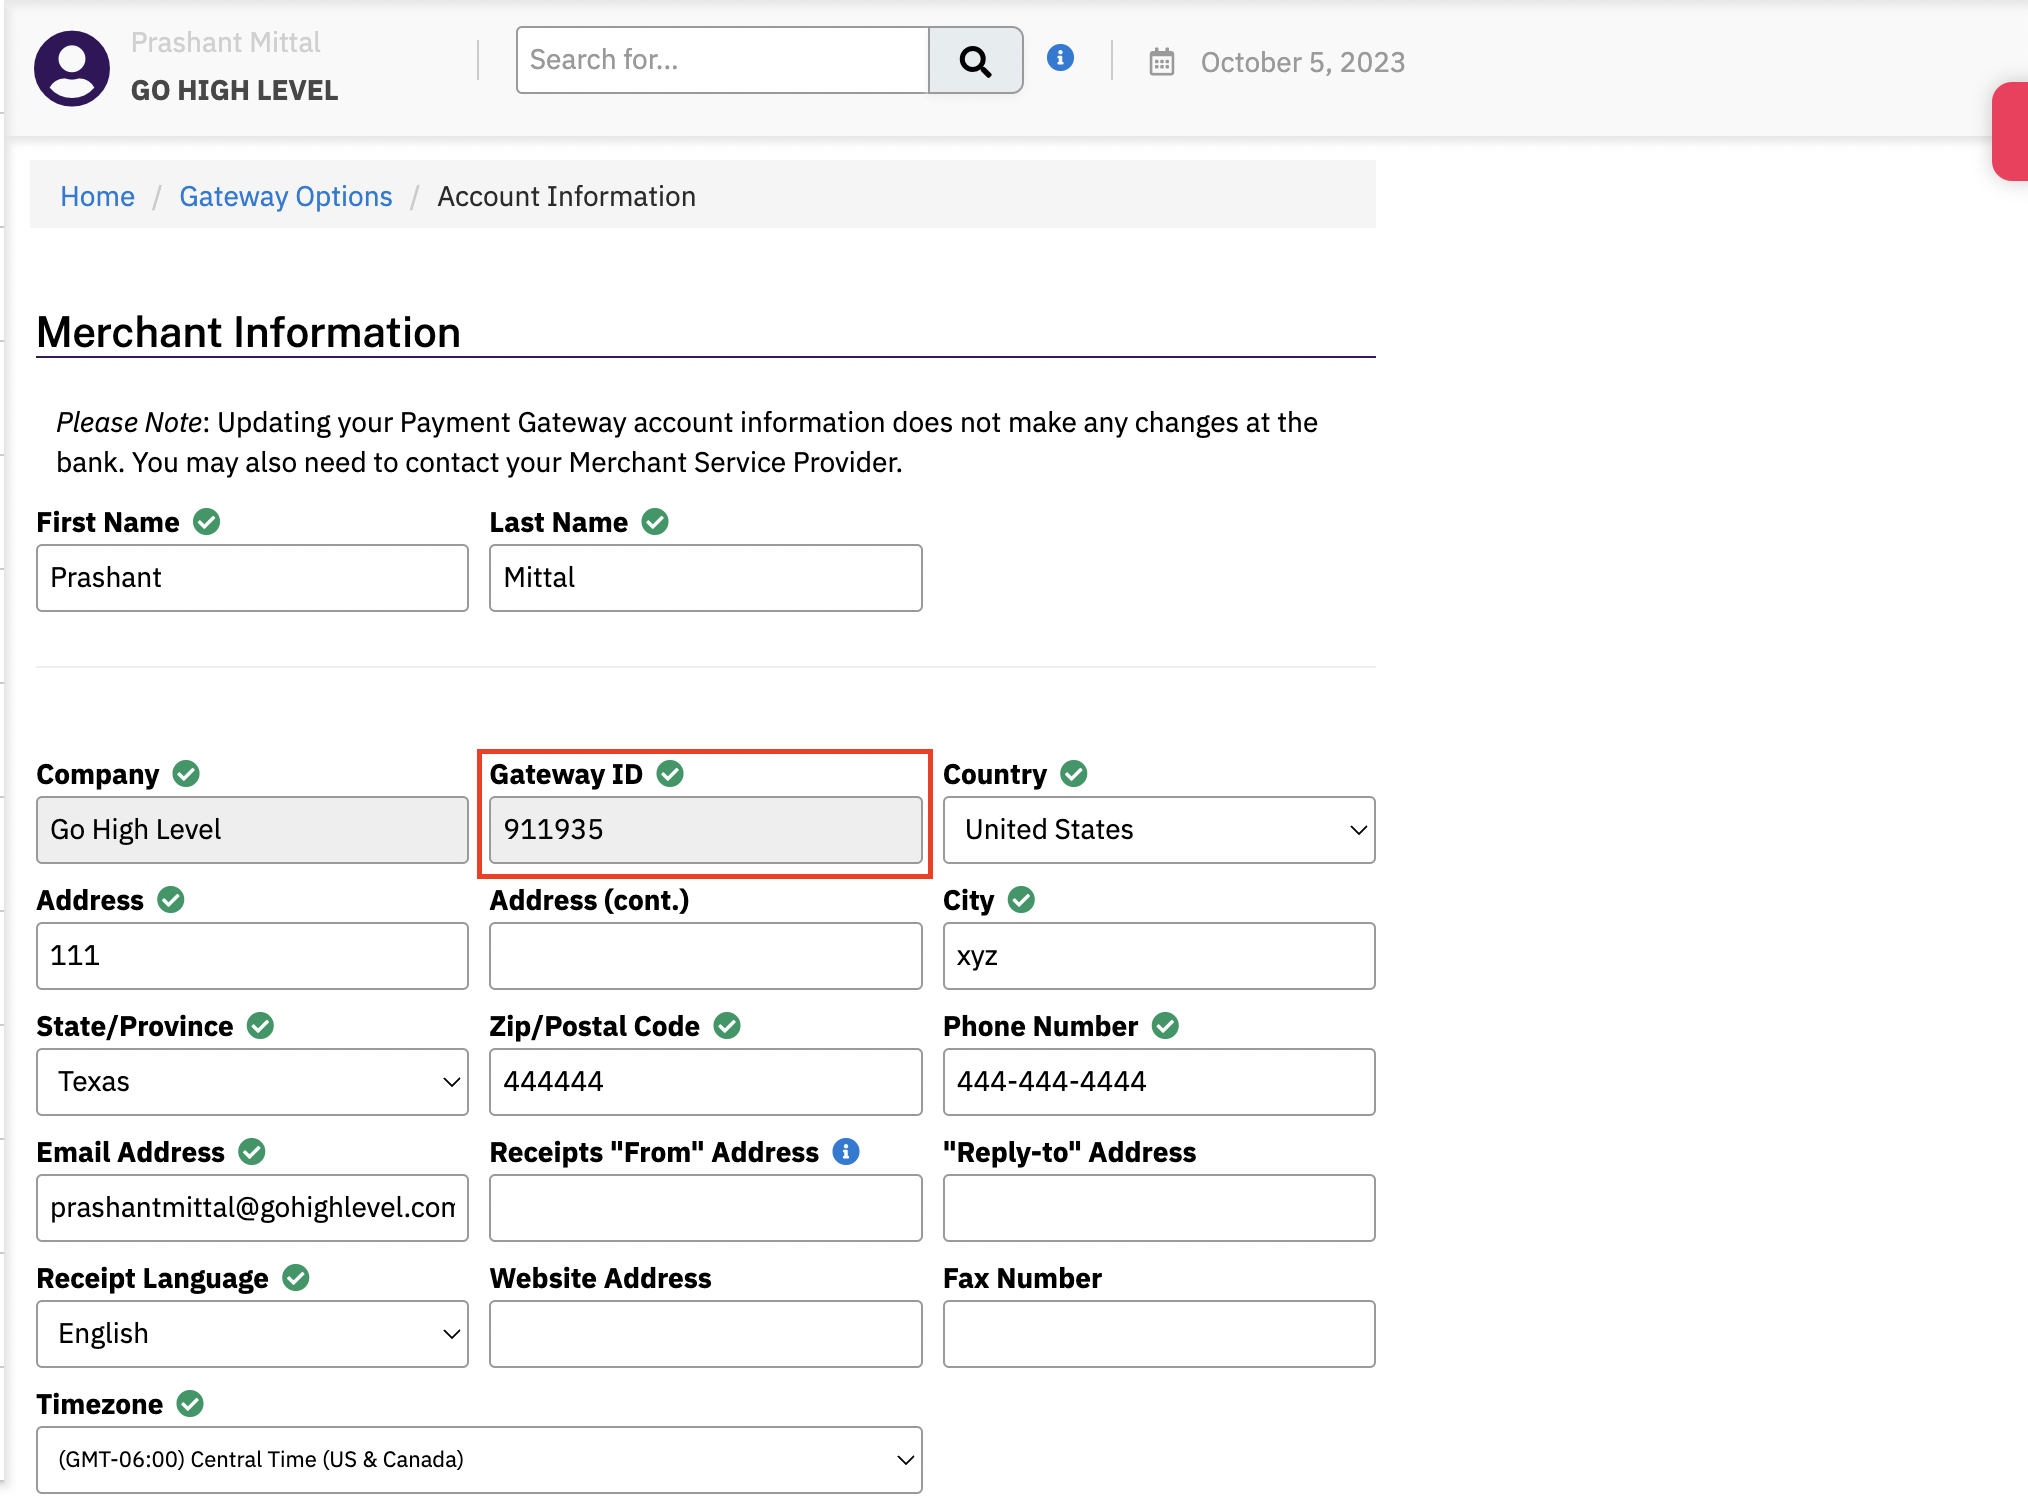
- Open Settings ➝ Account Information in your NMI merchant account and copy the Gateway Id.
- Log into the NMI portal and retrieve the Security key.
- Log into the NMI portal and retrieve the Public key.
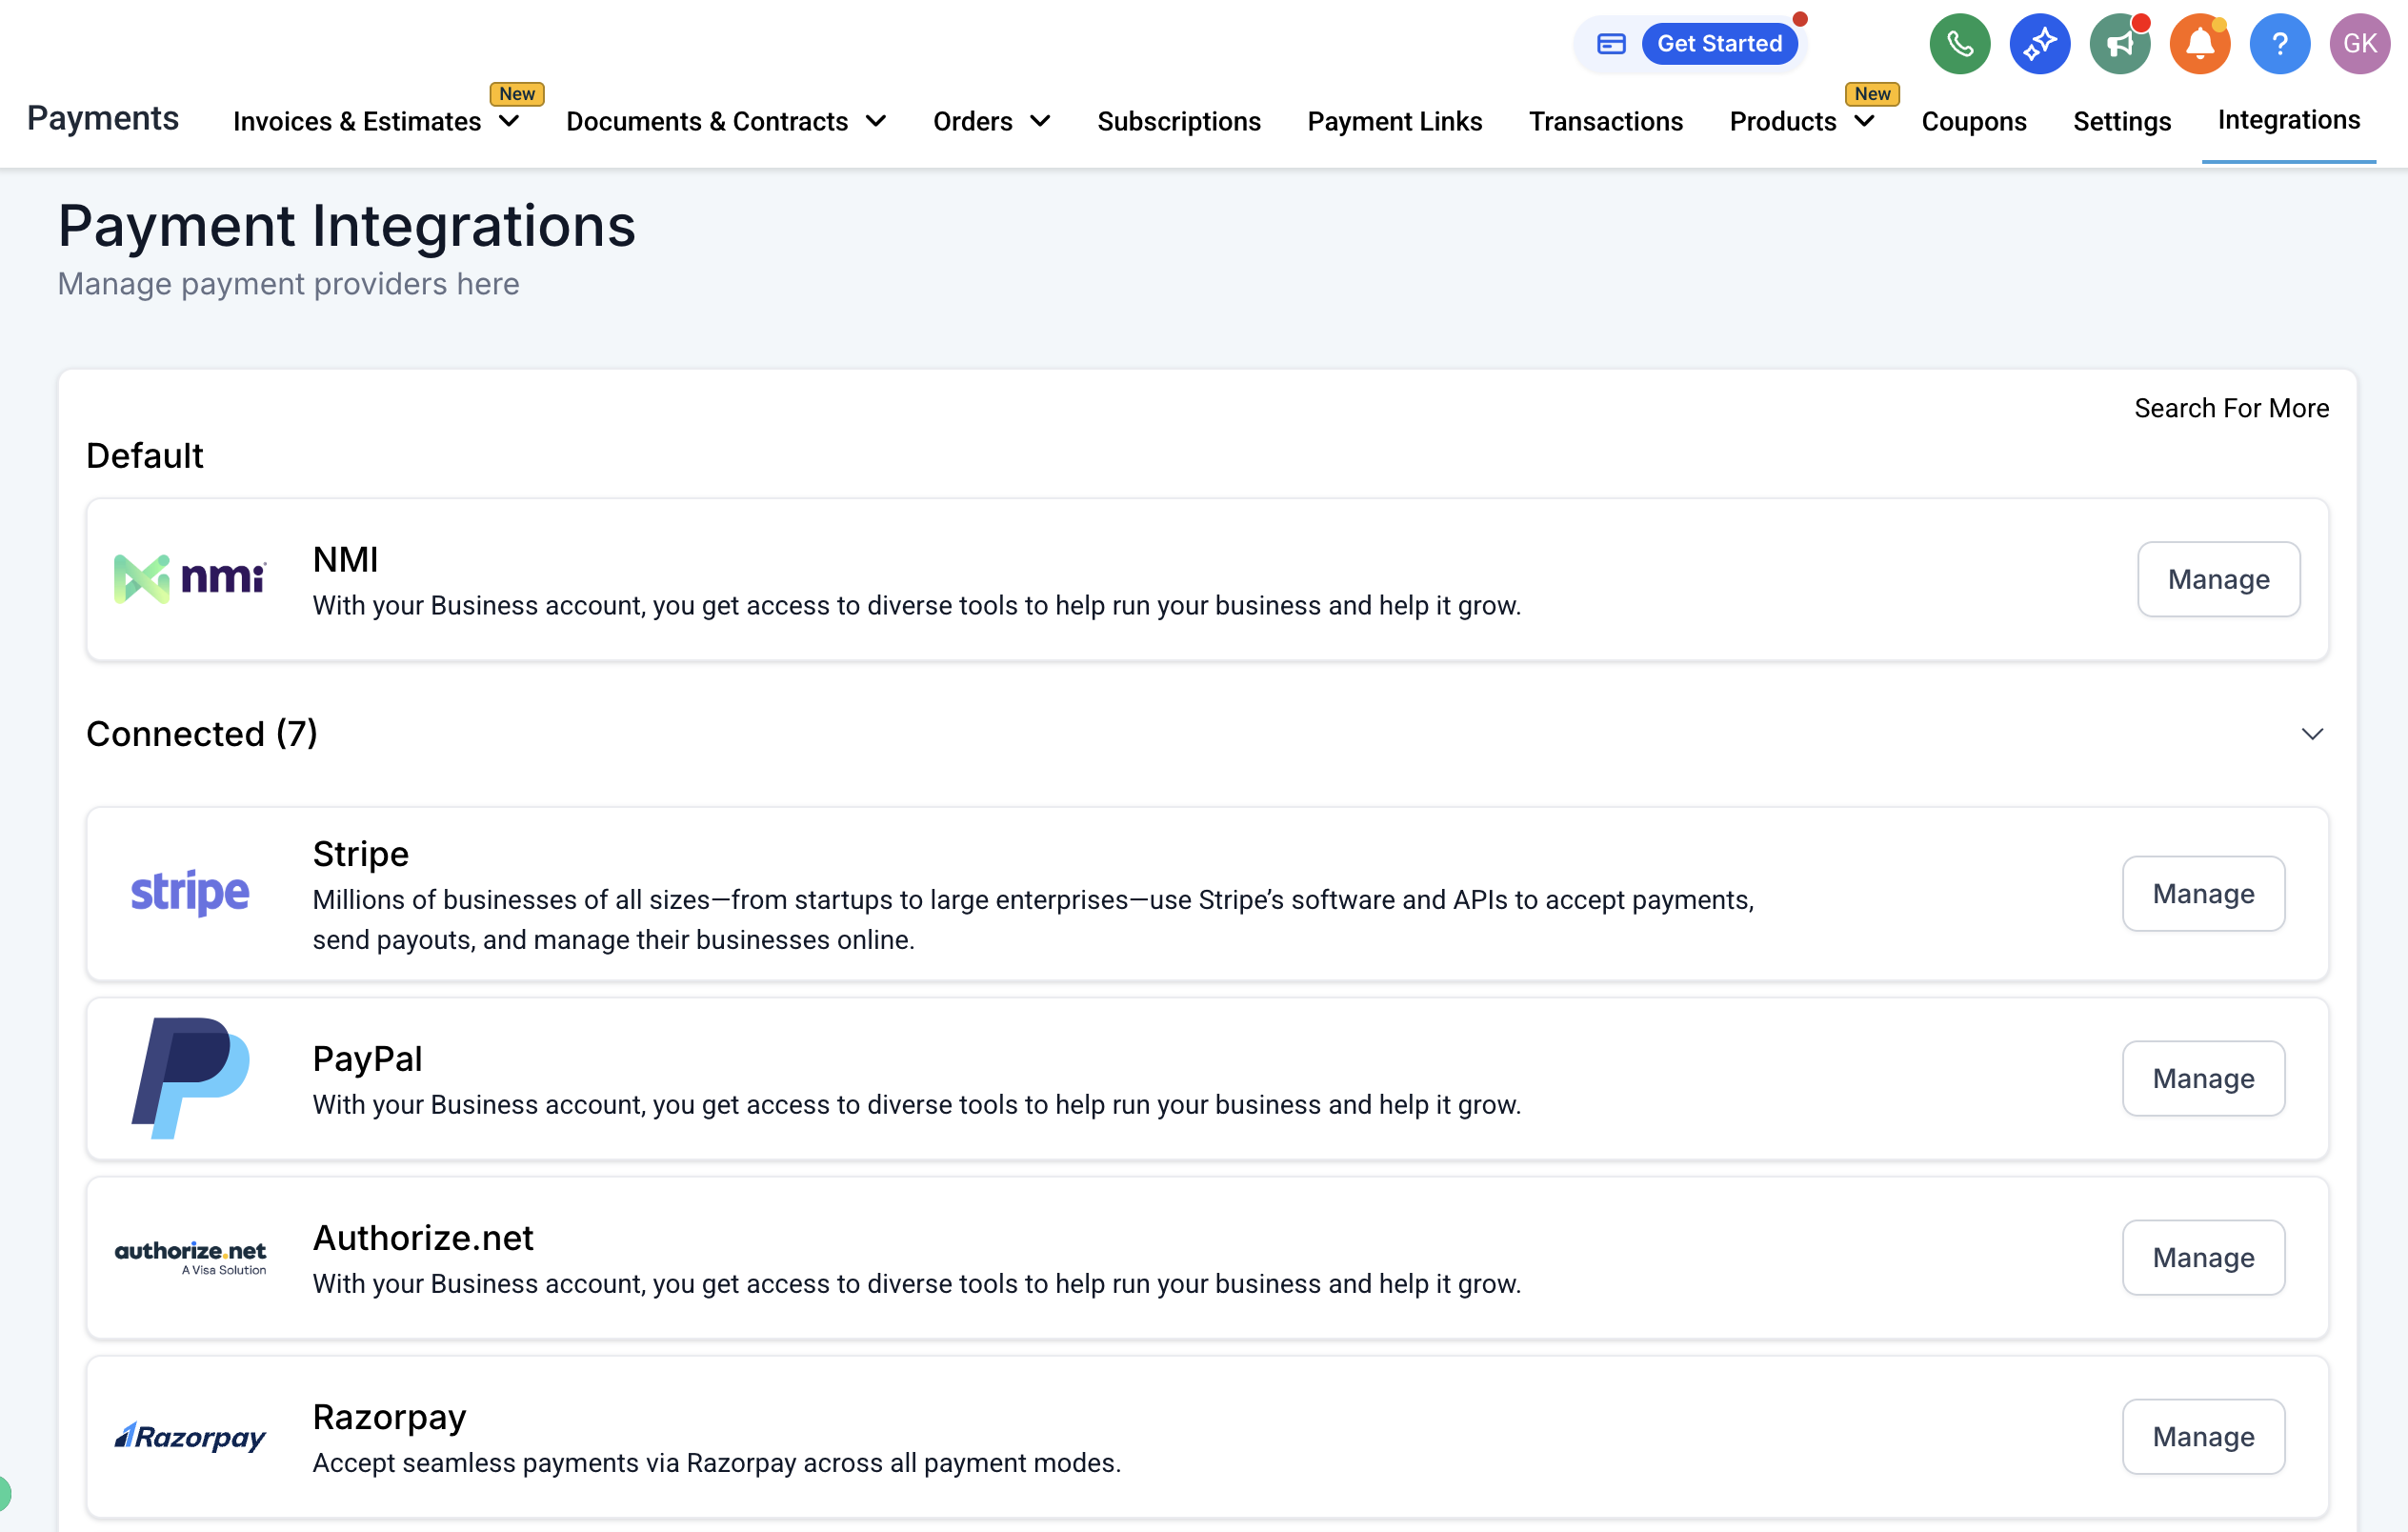
- In HighLevel, open the subaccount and navigate to Payments ➝ Integrations.
- Paste the Gateway Id, Security key and Public key into the fields and click Save.
07What it looks like in HighLevel
08Settings that matter
- Gateway Id. Identifies your specific NMI account so the platform can route payments to it.
- Security key. Authenticates API calls from HighLevel to NMI, ensuring secure communication.
- Public key. Used for tokenizing card data and for enabling 3DS authentication if configured.
- Default gateway. Determines which connected processor handles new order form transactions when multiple gateways are linked.
09Things to know before you rely on it
- Only credit and debit card payments are accepted; Apple Pay, Google Pay and e check methods are not supported.
- Purchase only one recurring product at a time in an order form checkout.
- Refunds cannot be issued from within HighLevel; they must be processed in the NMI merchant portal.
- The last saved card on a billing profile cannot be deleted; a second payment method must be added first.
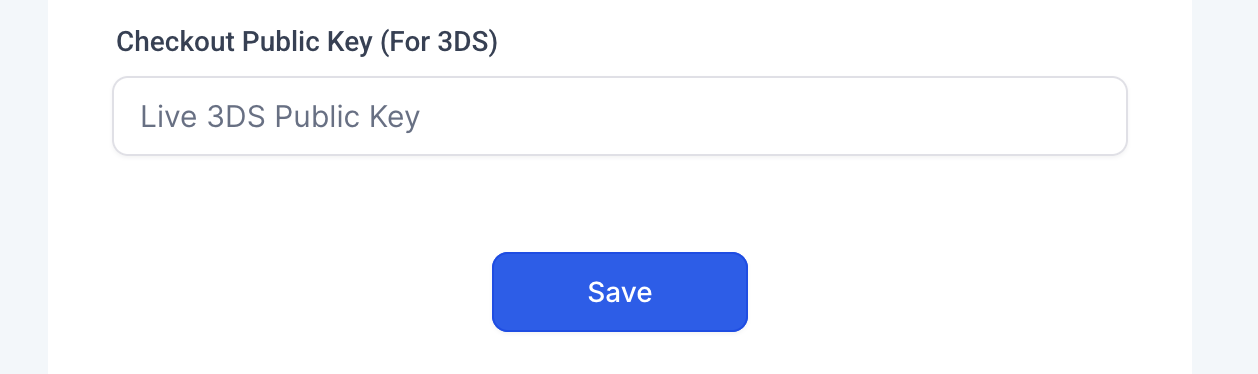
- 3DS support requires enrollment in Payer Authentication 2.0 and a checkout public key to be added.
10If something goes wrong
- Unable to Delete the Last Card on a Billing Profile. Add another payment method to the billing profile first, then delete the original card.
11How it connects to the rest of HighLevel
- Supported payment providers and methods in HighLevel Supported providers
- Managing granular permissions for payments Granular permissions
- HighLevel pricing and plans Pricing
Michael's take

People often try to delete the only card saved on a billing profile and hit an error. NMI blocks that action, so the fix is to add a second payment method first, then remove the original card.
If I were setting this up, I’d first pull the three keys from the NMI portal, make sure the account is on funnels version 2, and then map the gateway as the default. After that I’d run a test order form checkout to confirm the card token flows correctly before rolling it out to live customers.