
01Authorize.Net integration, explained
The Authorize.Net integration connects your HighLevel account to the Authorize.Net payment gateway. Once linked, you can accept credit card payments for invoices, order forms and subscription products and view transactions without leaving the platform.
All payments appear under the Payments section of HighLevel, where you can see real time transaction data, manage refunds and track subscription status. The feature also supports test card numbers for sandbox testing and works with browsers that meet the supported version list.
02How businesses use authorize.Net integration
- Process invoices. Create an invoice in HighLevel and select the Authorize.Net gateway. The customer can pay with a credit card and the payment records appear in Payments > Transactions.
- Collect subscription payments. Set up a subscription product on an order form and enable the credit card method. Authorize.Net will handle recurring billing and update the subscription status in Payments > Subscriptions.
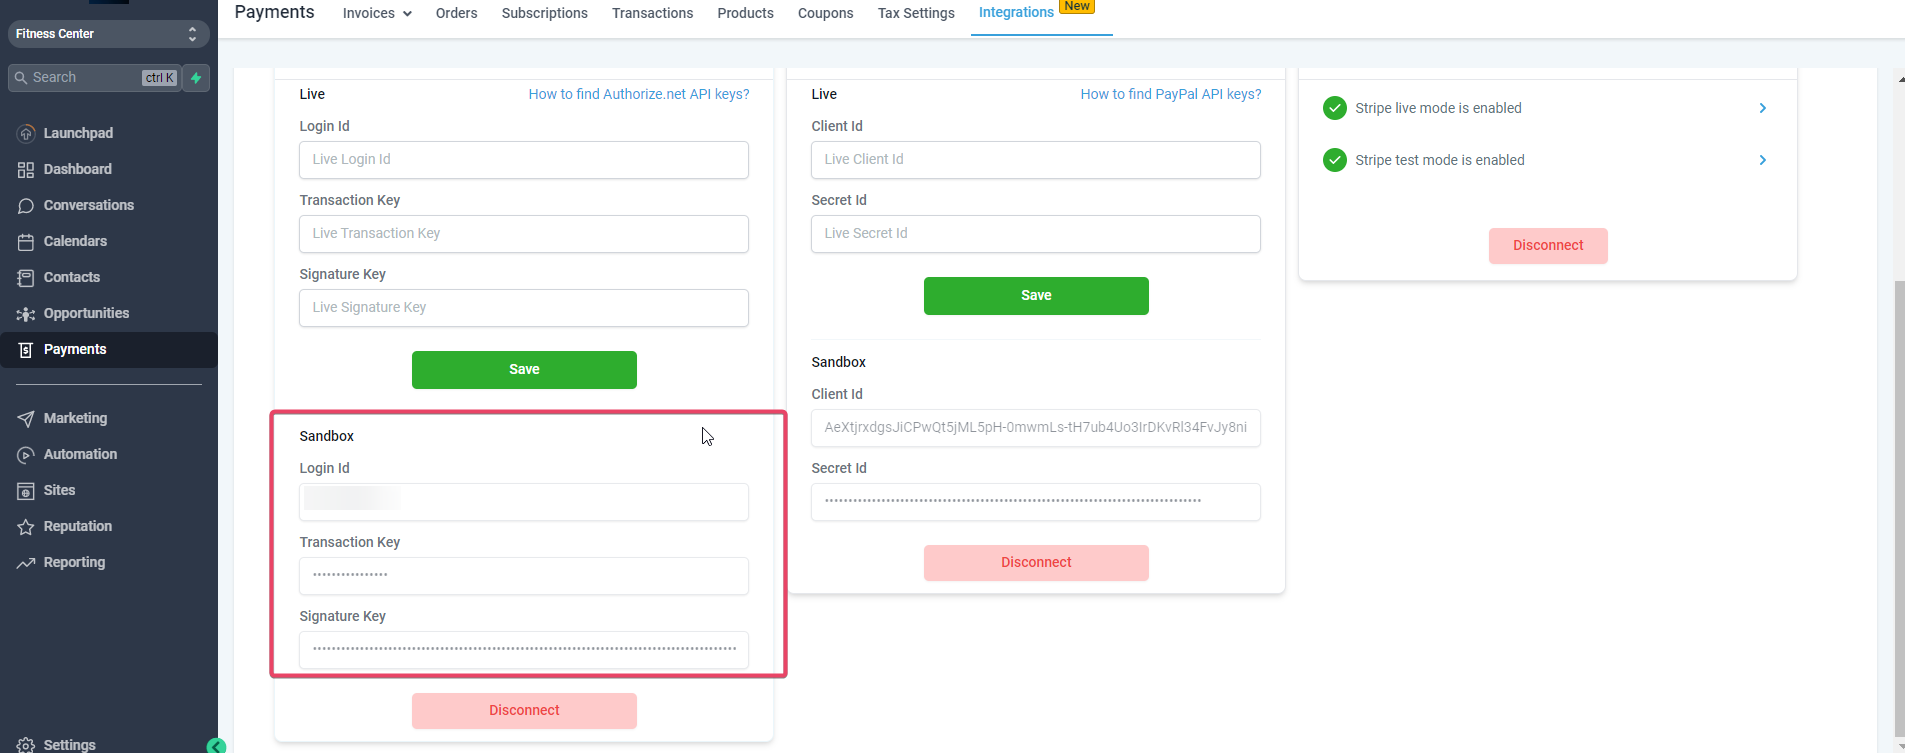
- Run sandbox tests. Enter the sandbox API Login ID and Transaction Key, then submit a test transaction using one of the provided test card numbers. Verify the integration before going live.
03The numbers and rules that matter
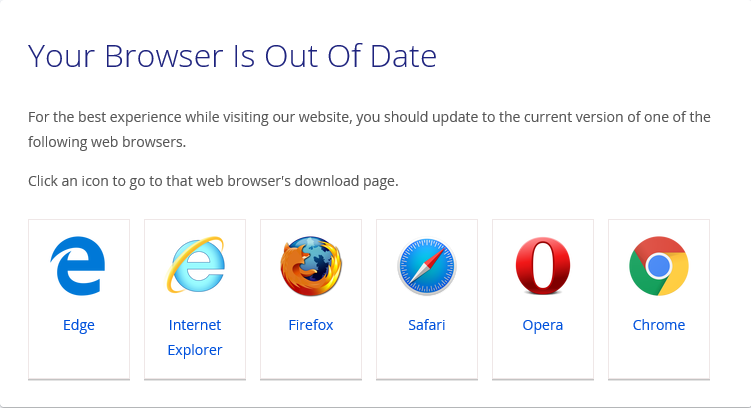
- Supported browsers: Chrome v80 or higher, Edge (Chromium) v85 or higher, Firefox v78 or higher, Safari v12 or higher.
- Test card numbers: 4007000000027, 4012888818888, 4111111111111111, 370000000000002, 5424000000000015, 2223000010309703, 2223000010309711, 6011000000000012, 3088000000000017, 38000000000006.
- Requires funnels version 2 to make use of this feature.
- Failed payments are retried two more times after 24 hrs each.
04Before you start
- Supported browser.
- Operating from United States, Australia, or Canada.
- Live and sandbox API credentials from Authorize.Net.
05How to set up and use authorize.Net integration in HighLevel
Integrate Authorize.Net as a payment gateway
- Obtain Live and Sandbox API keys from the Authorize.Net merchant interface.
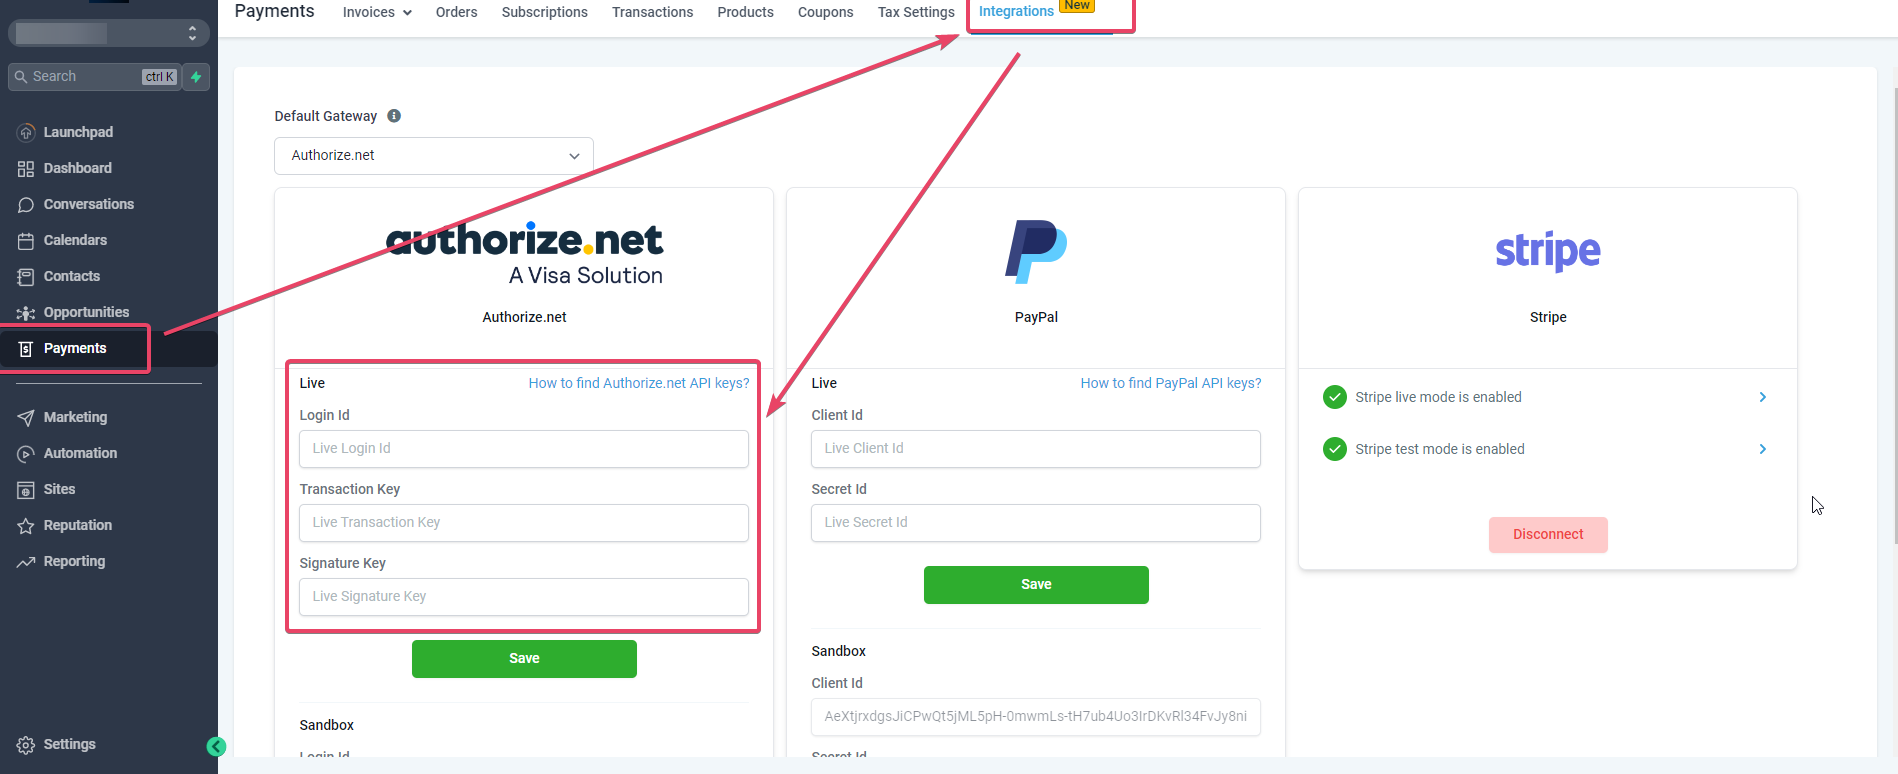
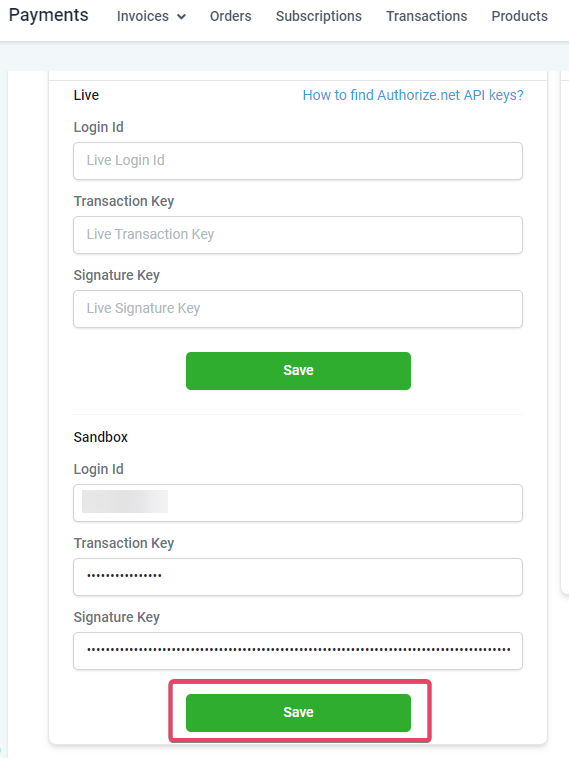
- In HighLevel go to Payments > Integrations.
- Drop the three API keys into the corresponding Live or Sandbox fields.
- Click the Save button.
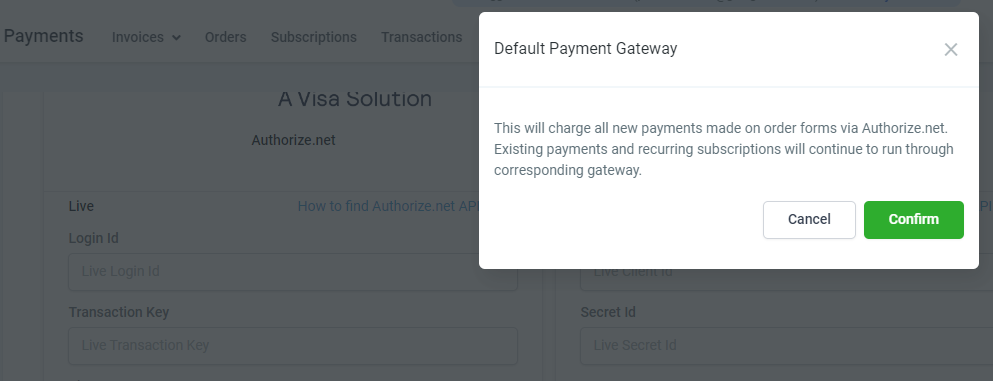
- When prompted, choose whether to make Authorize.Net the Default Payment Gateway by selecting Confirm or Cancel.
Set up Authorize.Net integration
- Log in to your Authorize.Net account.
- Navigate to Account Settings > API Credentials & Keys.
- Generate your API Login ID and Transaction Key.
- In HighLevel go to Settings > Payments.
- Click Add Payment Gateway and select Authorize.Net.
- Enter your API Login ID and Transaction Key.
- Perform a test transaction to verify the connection.
- Configure enabled payment methods such as credit card.
- Create invoices, order forms or subscriptions and begin collecting payments.
06What it looks like in HighLevel
07Settings that matter
- Default Payment Gateway. Determines which gateway processes new transactions when multiple gateways are connected.
- Live API Keys. Credentials used for processing real customer payments.
- Sandbox API Keys. Credentials used for testing payments without moving real money.
08Things to know before you rely on it
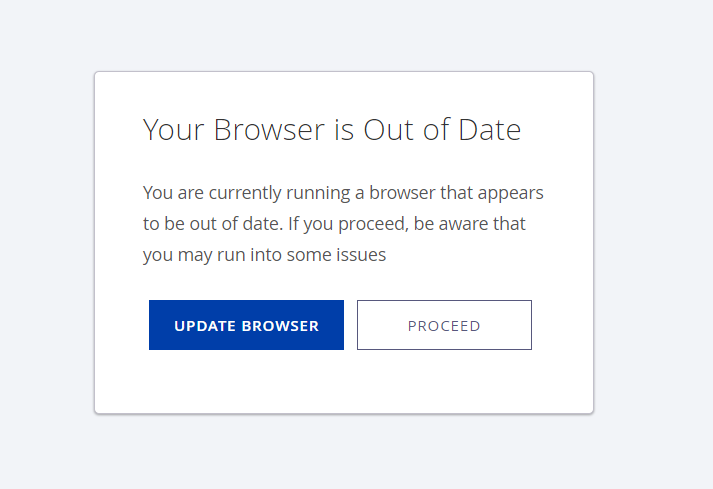
- If an unsupported browser or version is detected, Authorize.Net may display a warning or block the session.
- Only credit card payment methods are currently supported; additional methods are coming soon.
- You are not required to disconnect Stripe to connect Authorize.Net, but a default gateway must be defined for new transactions.
09If something goes wrong
- Browser version not supported. Update to a newer version or switch to a supported browser listed in this page.
- No default gateway selected. Choose Confirm when prompted to make Authorize.Net the Default Payment Gateway, or set it later in Payments > Integrations.
Michael's take

Linking Authorize.Net to HighLevel provides a reliable credit card processor and keeps all payment data in one place, with real time visibility on invoices, subscriptions and refunds.
Don’t forget to confirm you’re using a supported browser before you start.