
01Who this is for
- Founders who run outreach campaigns need control over the From address to match brand guidelines.
- Marketing managers benefit from knowing which sender appears for assigned versus unassigned contacts.
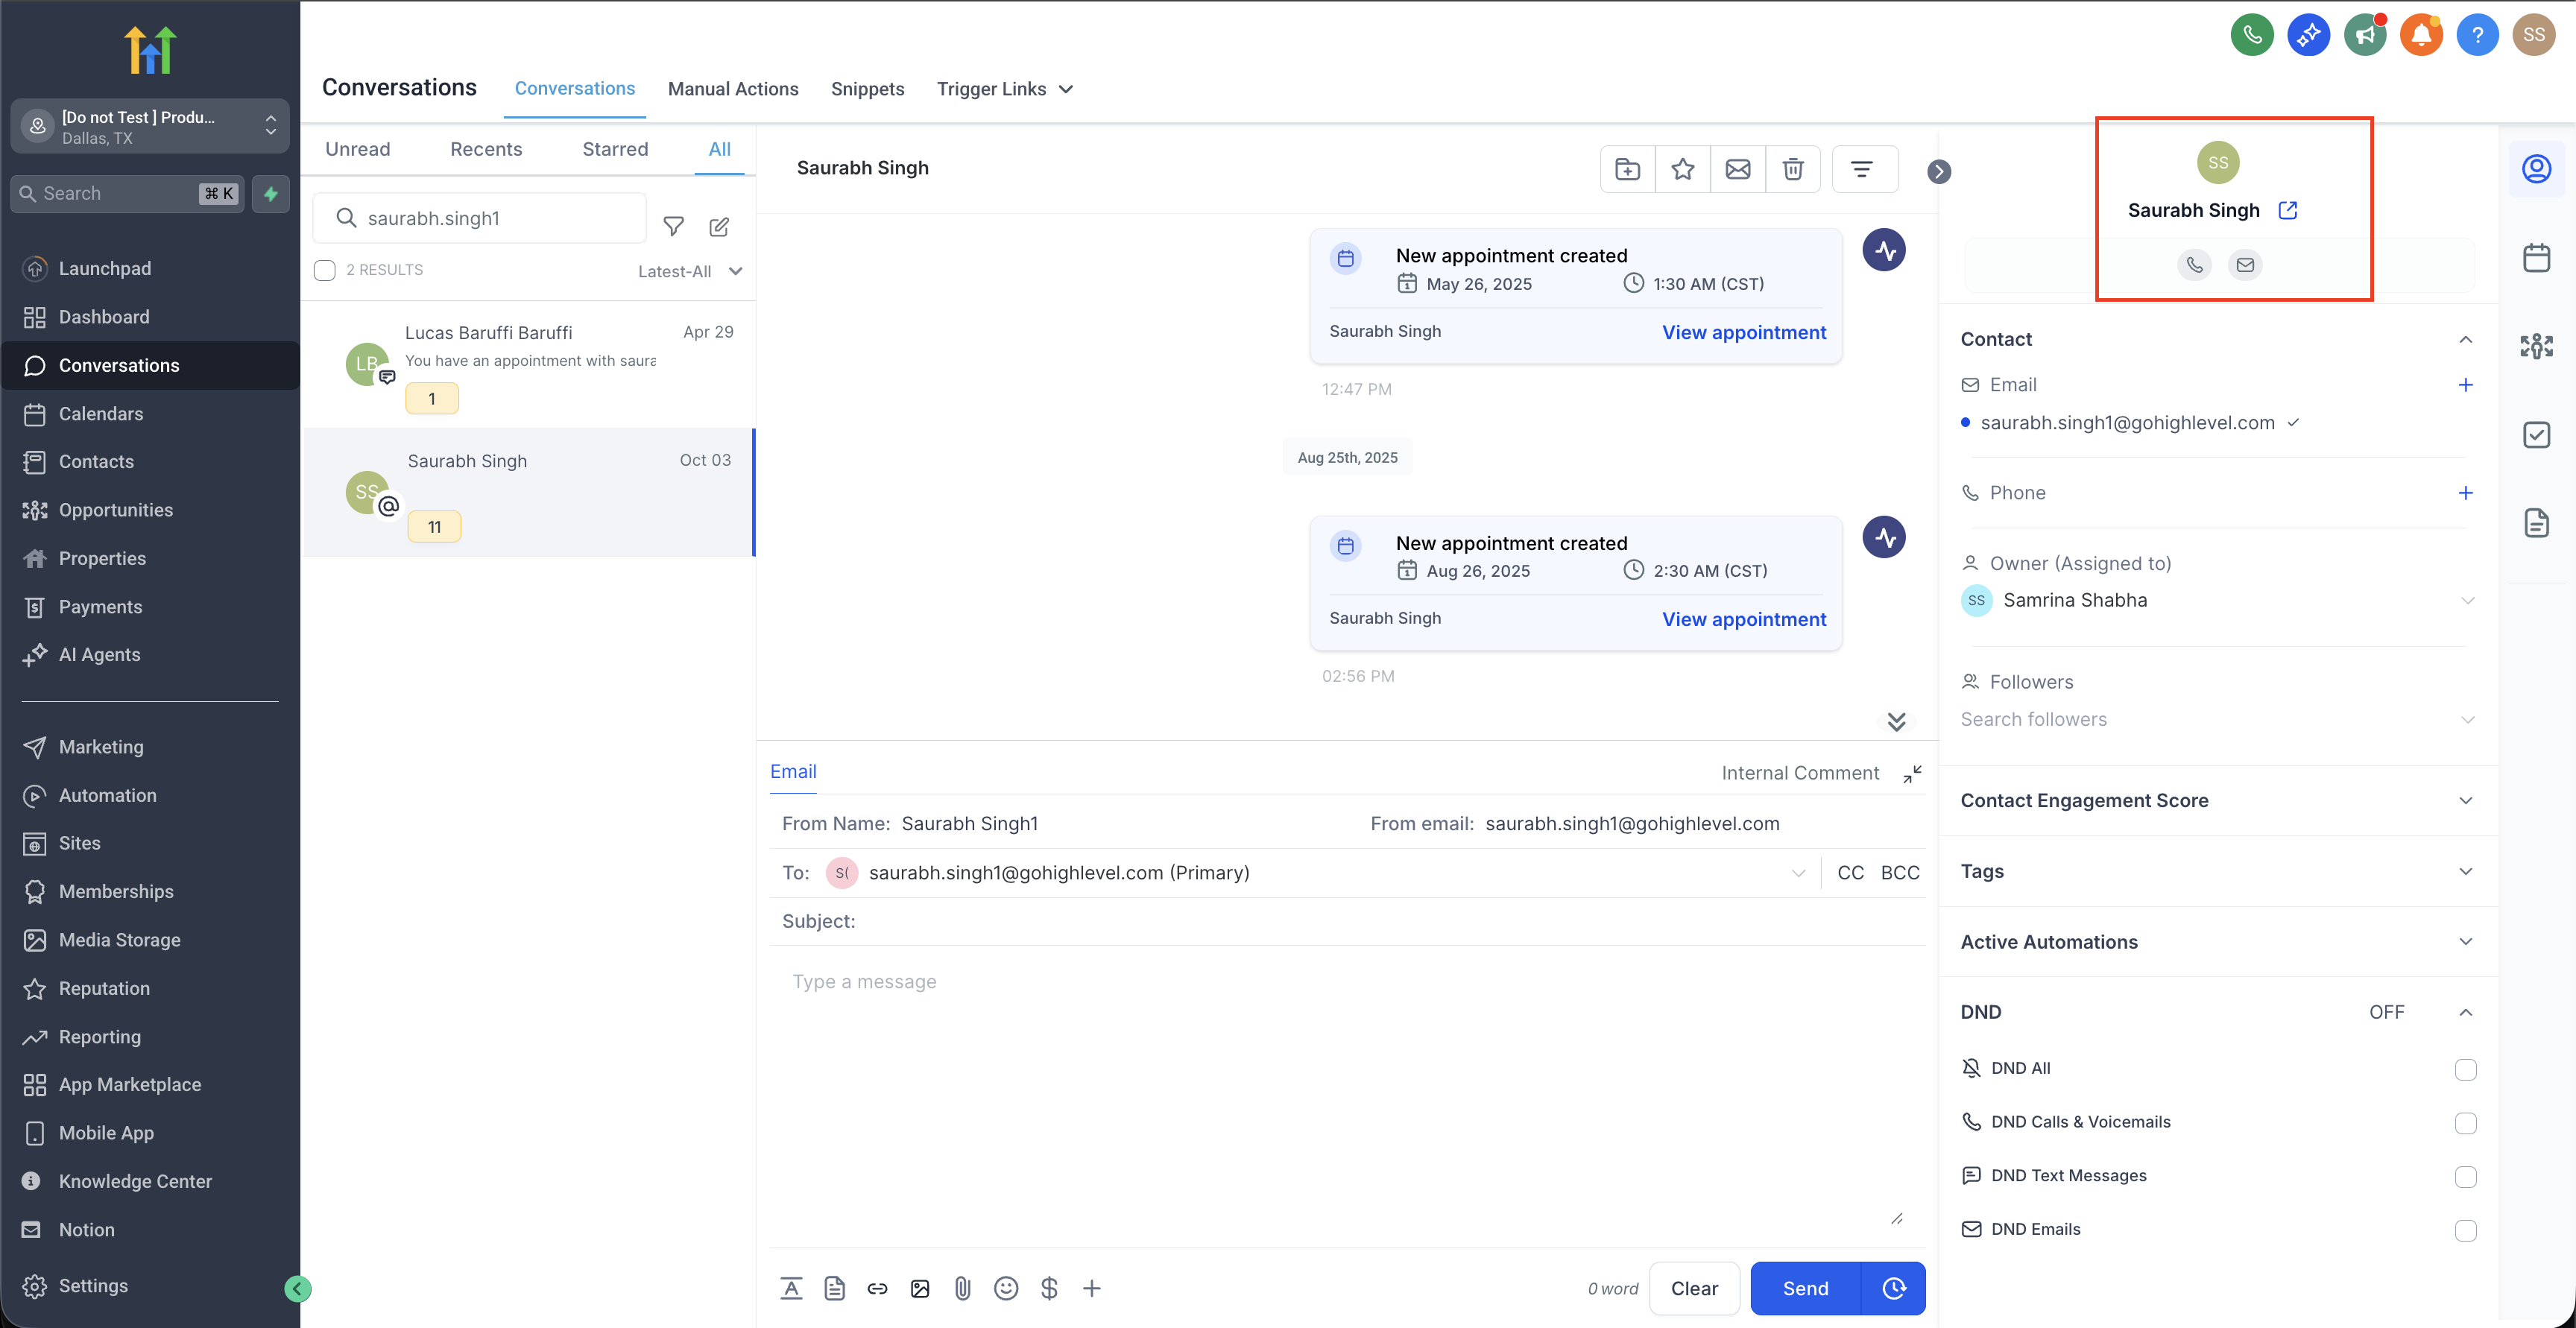
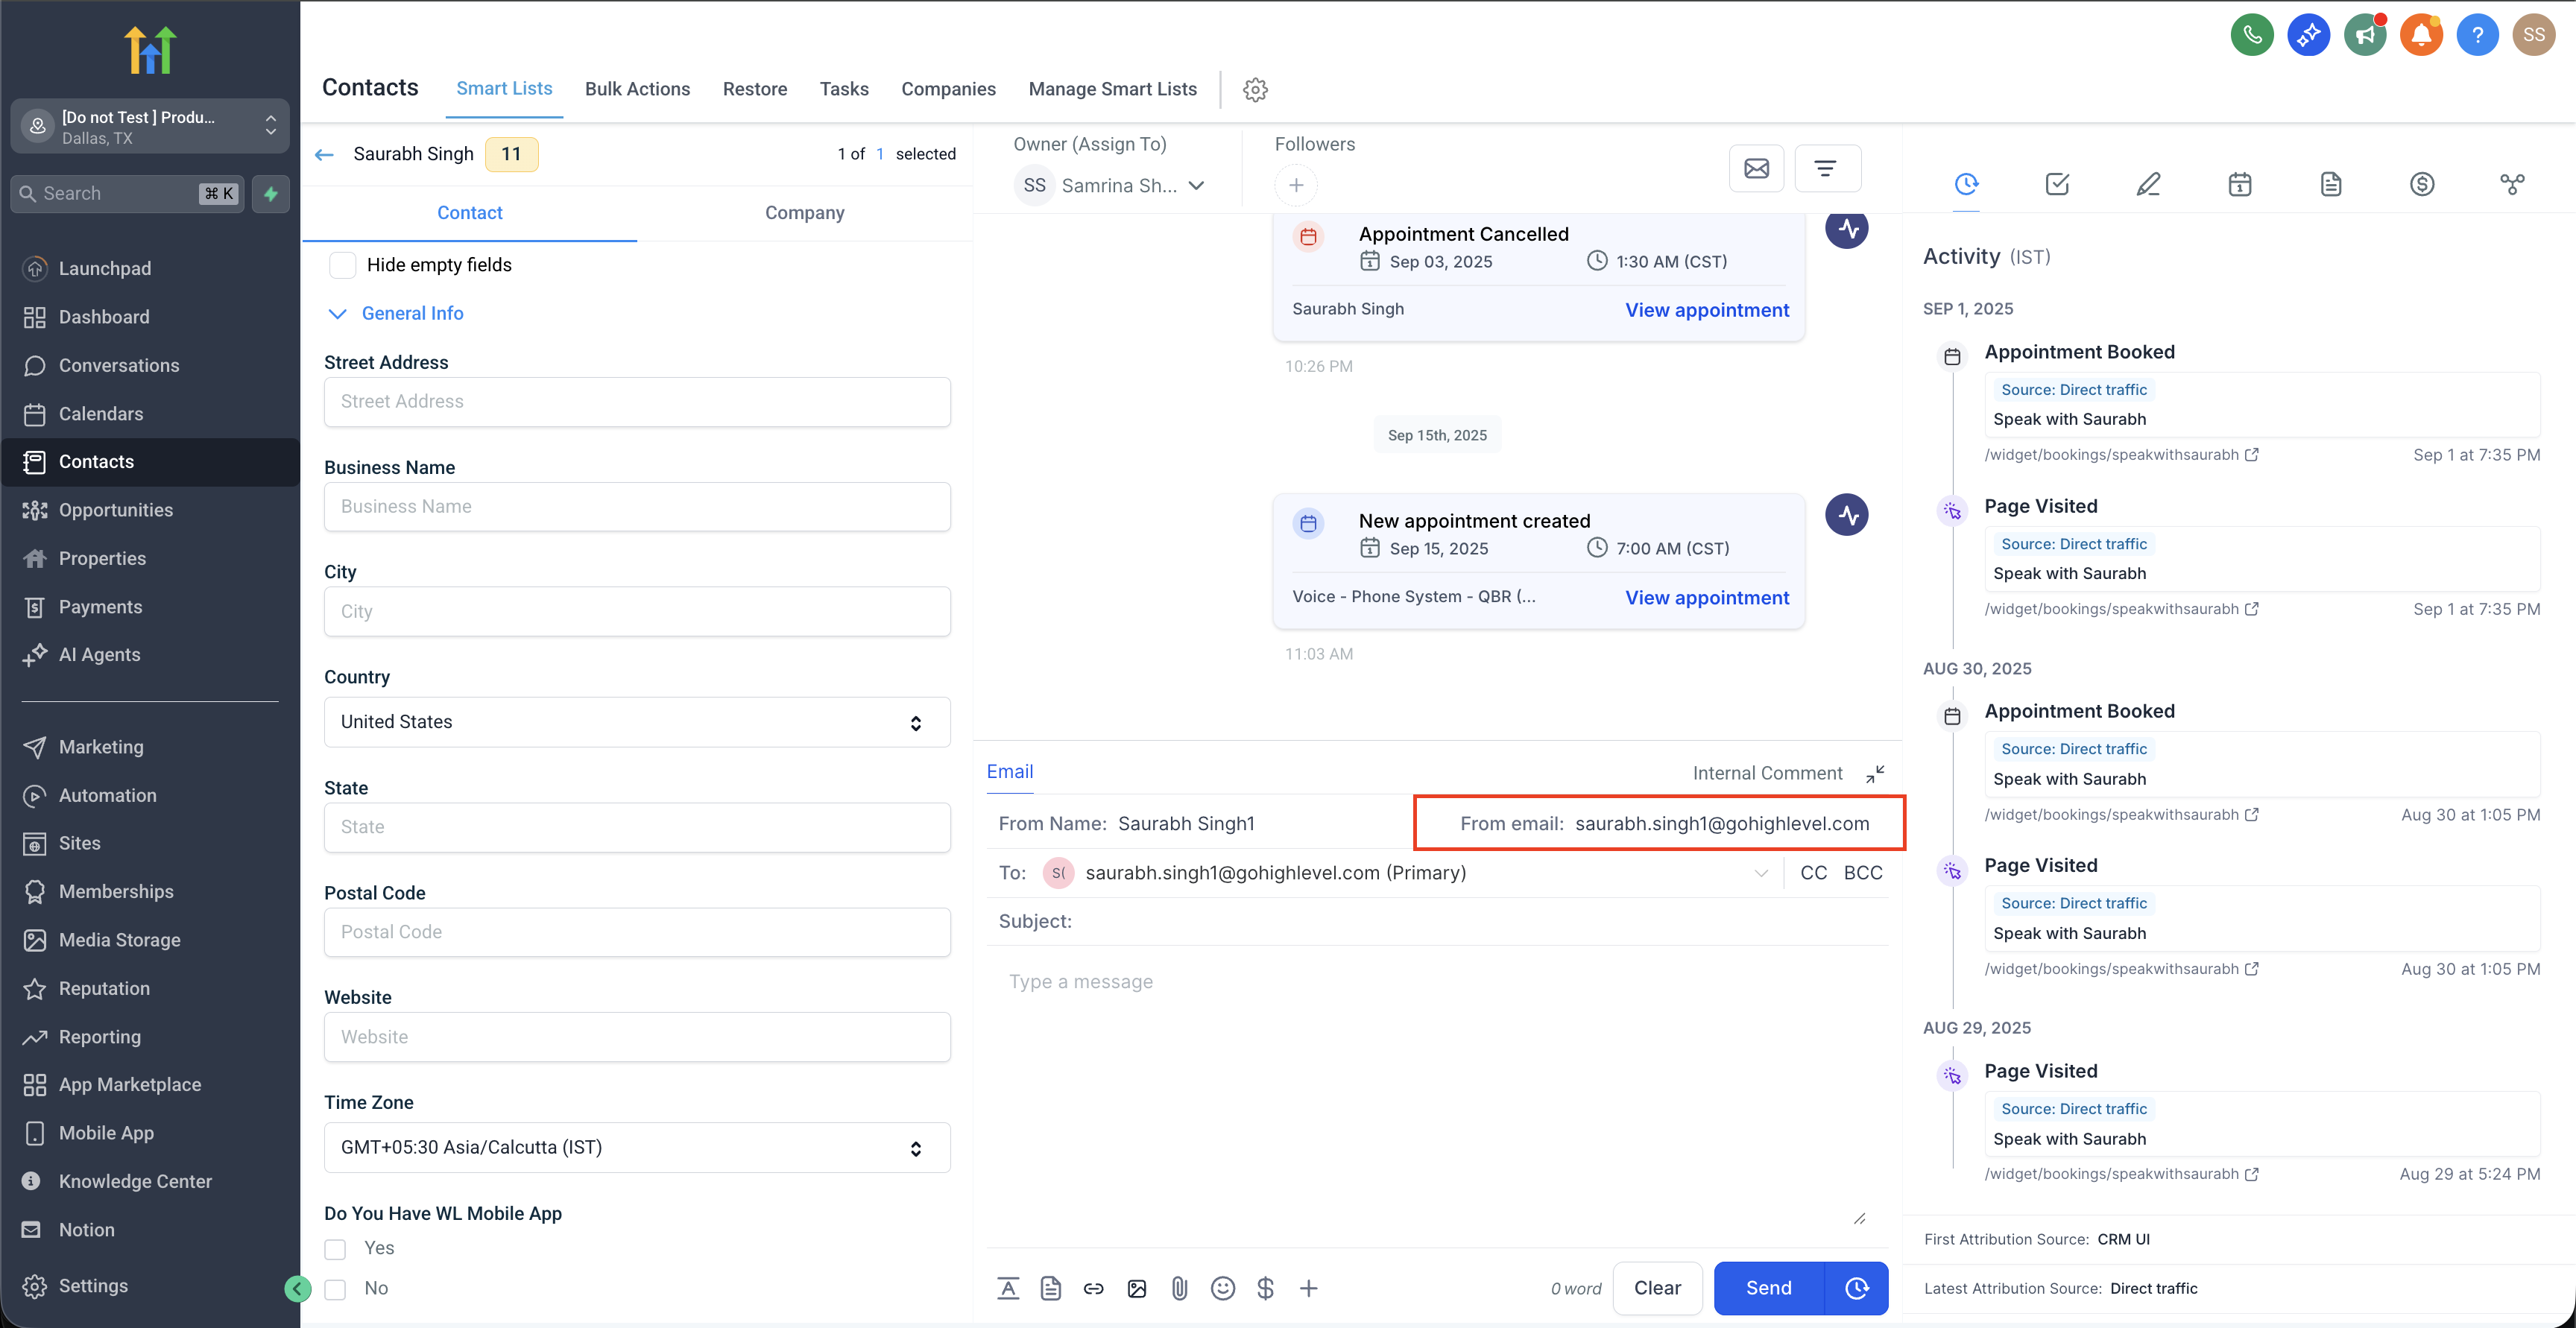
- Support teams using the Conversation tab rely on the logged in user email for manual replies.
02Sender email priorities, explained
HighLevel determines the visible sender based on the type of email and contact assignment. Manual messages always use the email of the user who is logged in, while automated sends follow a priority list that starts with the workflow or campaign settings and falls back to location and agency addresses.
The platform offers five places to set these details: the Conversation tab for one off emails, Email Templates for automated content, the Bulk Send dialog, Workflow settings, and the Send Email action inside a workflow. Each location lets you enter a From name and From email that will override defaults for that specific send.
When a workflow contains a Send Email action, the action’s sender fields trump the workflow level sender configuration. If the action leaves those fields blank, it inherits the workflow defaults. This hierarchy ensures the most specific sender information is used for each outbound email.
03How businesses use sender email priority
- Coaching business. A coach creates a bulk email to announce a new program. In the Bulk Send dialog they type the coach's name and personal email address, ensuring recipients see a familiar sender. The bulk send respects the custom From fields, overriding the default domain.
- Real estate agency. The agency builds an automated workflow that sends property listings. Within the workflow settings they select the agency's verified sending domain and enter the agency name as the From name. The workflow then uses this branding for all automated listings.
- Dental practice. The practice sets up a Send Email action inside a patient reminder workflow. They fill in the dentist's name and clinic email directly on the action. Those values dominate over any workflow level sender settings, so the reminder arrives from the dentist’s address.
04The numbers and rules that matter
- Manual Emails use logged in user email as 1st priority.
- Automated Emails use campaign / workflow settings as 1st priority, assigned user email as 2nd, location email as 3rd, agency email as 4th.
05How to set up and use sender email priority in HighLevel
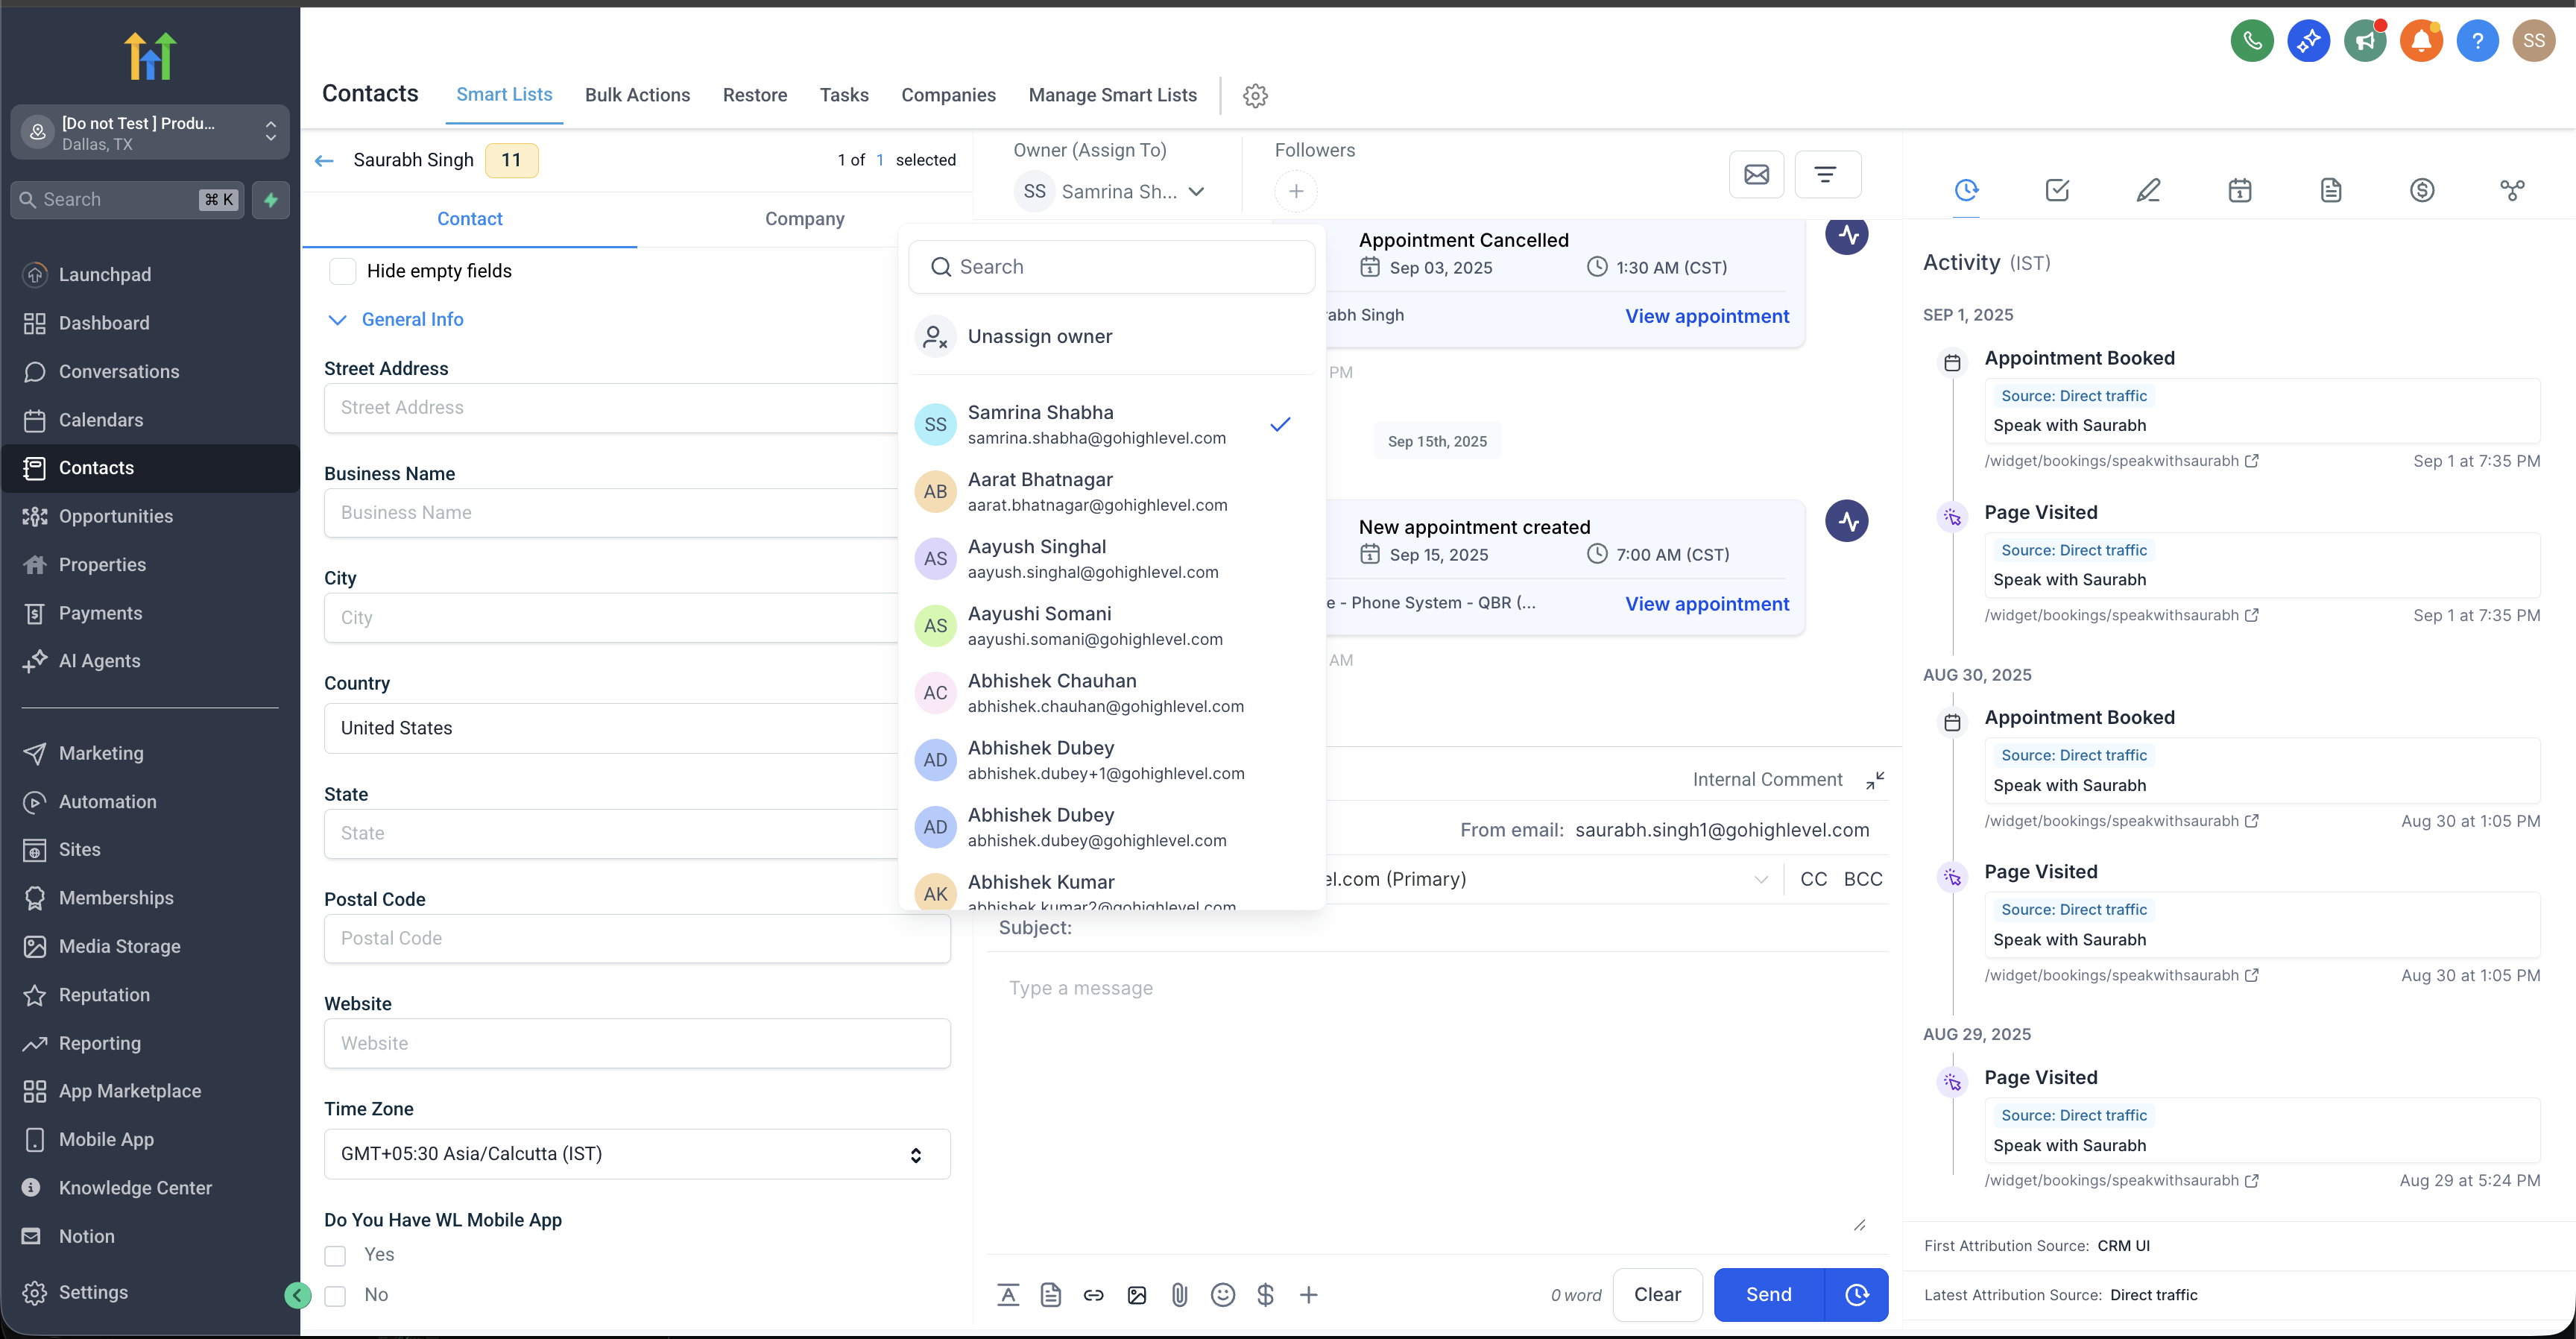
Check contact assignment
- Open the Contacts area and select Smart Lists.
- Find the contact you need and open the Conversations view.
- Look at the Assigned User field in the details panel to see if a user is listed.
Send bulk email with custom sender
- Navigate to Contacts then Smart Lists.
- Choose the contacts you want to include.
- Click the Send Email button to open the bulk send dialog.
- Enter the desired From Name and From Email fields before sending.
Configure workflow sender details
- Go to Automation and select Workflows.
- Click Create Workflow to start a new flow.
- Pick Start from scratch and confirm creation.
- In the builder open Settings, then Communication, and choose Sender details.
- Select All domains or a verified dedicated sending domain under Sender domain.
- Type the From name and From email, then save the workflow settings.
Set sender in a workflow Send Email action
- Add a new action by clicking the + button and selecting Send Email.
- Fill in the From Name and From Email fields inside that action.
- Confirm or save the action so the custom sender is applied.
06What it looks like in HighLevel

07Settings that matter
- Sender domain. Chooses which verified domain the workflow will use for outgoing automated emails.
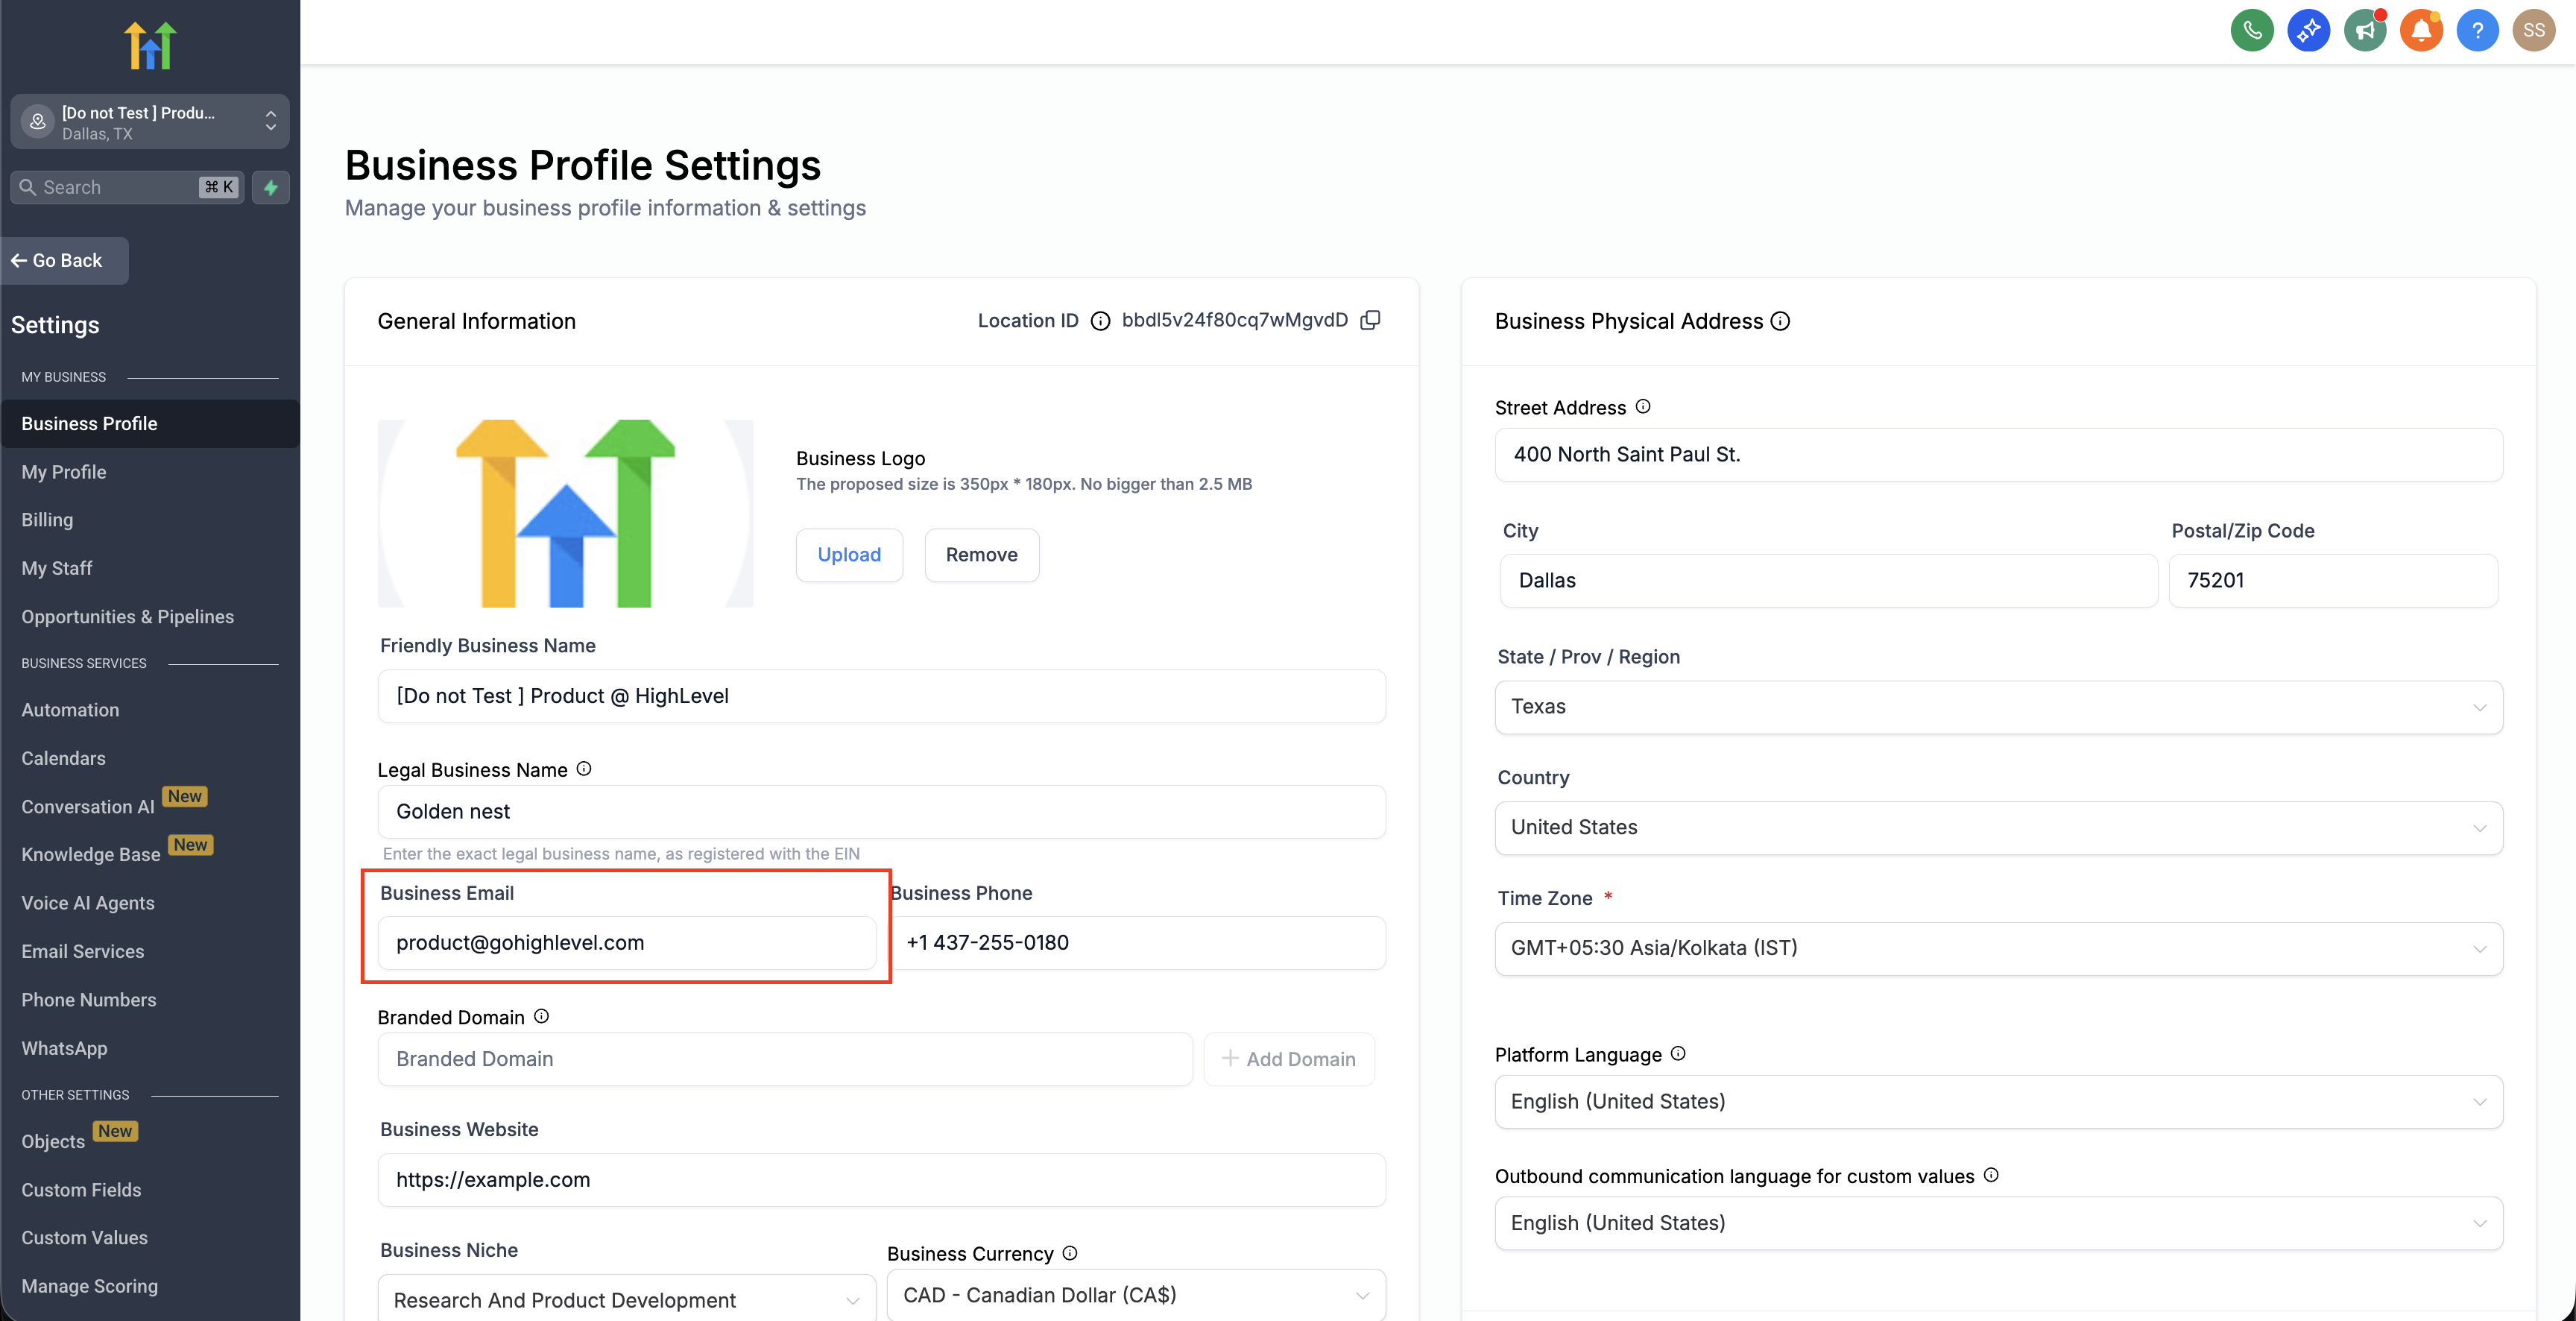
- Sender email. Specifies the email address that appears as the sender when the workflow sends messages.
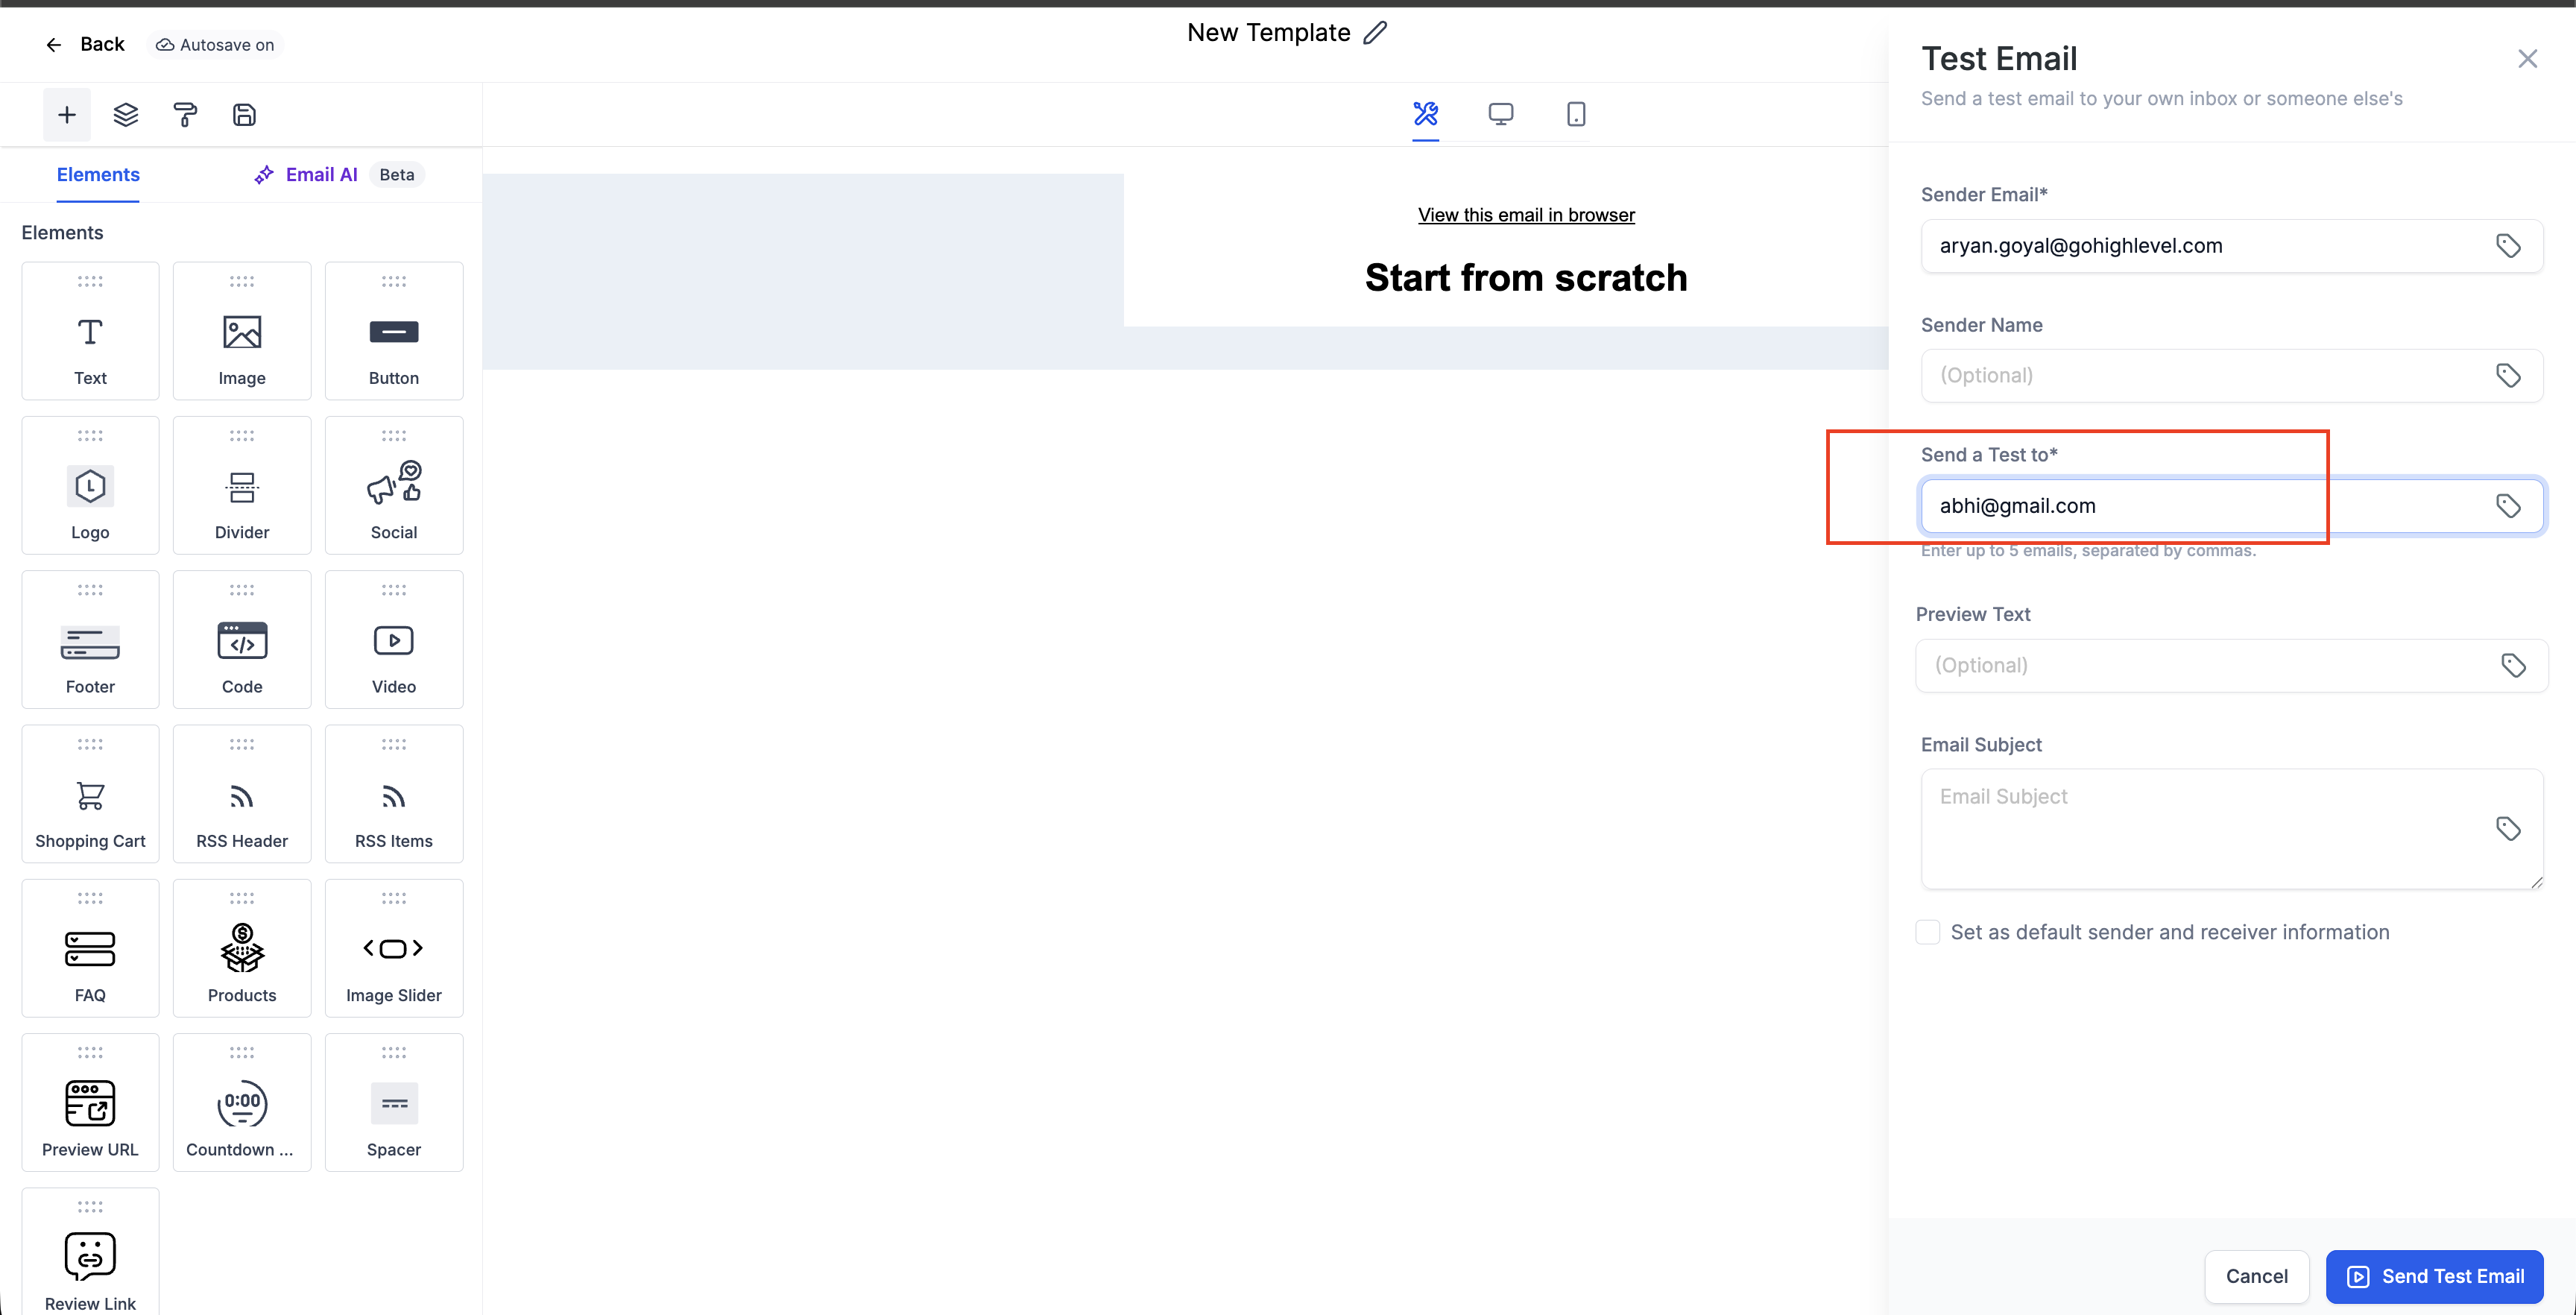
- From Name. Defines the display name shown to recipients for a particular email send.
- From Email. Sets the email address shown in the From field for a specific send, overriding defaults.
- Sender details. Group of fields in workflow settings where you set the domain, From name and From email for the whole workflow.
08Things to know before you rely on it
- Manual emails always use the logged in user's email; the assigned user's address does not apply.
- In automated sends, the priority order is: workflow or campaign setting, then assigned user, then location email, then agency email.
- A Send Email action’s From fields take precedence over the workflow level settings; if left blank, the workflow defaults are used.
- Workflows are now live in all accounts, so the same builder works for triggers, campaigns, and other automations.
09If something goes wrong
- Outlook displays a long, strange sender address.. Outlook shows the underlying envelope sender when it differs from the visible From address; the display cannot be changed within HighLevel.
- Gmail shows a "via" notice next to the sender.. Use a sending domain that matches the Mailgun domain configured for the location to eliminate the "via" label.
- Send Email action uses an unexpected sender.. Make sure the action’s From Name and From Email fields are filled; otherwise the action inherits the workflow’s sender settings.
10How it connects to the rest of HighLevel
- Set up an SMTP provider to control the sending address. SMTP setup
- Manage dedicated sending domains for automations. Dedicated domains
- Review HighLevel pricing and plan options. Pricing
Michael's take

People often think they can pick any From address for a one off email, but HighLevel only lets the logged in user’s email show up there. If I were setting up a campaign, I would first make sure the workflow’s sender details are exactly what I want, because those settings cascade down to every automated send.
Once the workflow sender is correct, I would still double check the Send Email actions that might override it. It’s easy to miss a single action and end up with a different From name for part of the flow, so a quick review saves headaches later.