
01Who this is for
- Real estate teams keep property listings, potential buyers and inquiries in one place, streamlining communication.
- Insurance agencies manage policies, policyholders and renewal tasks directly from the policy record.
- Small service businesses, such as pet grooming shops, track individual pets, appointments and notes within a single view.
02Custom Objects side panel, explained
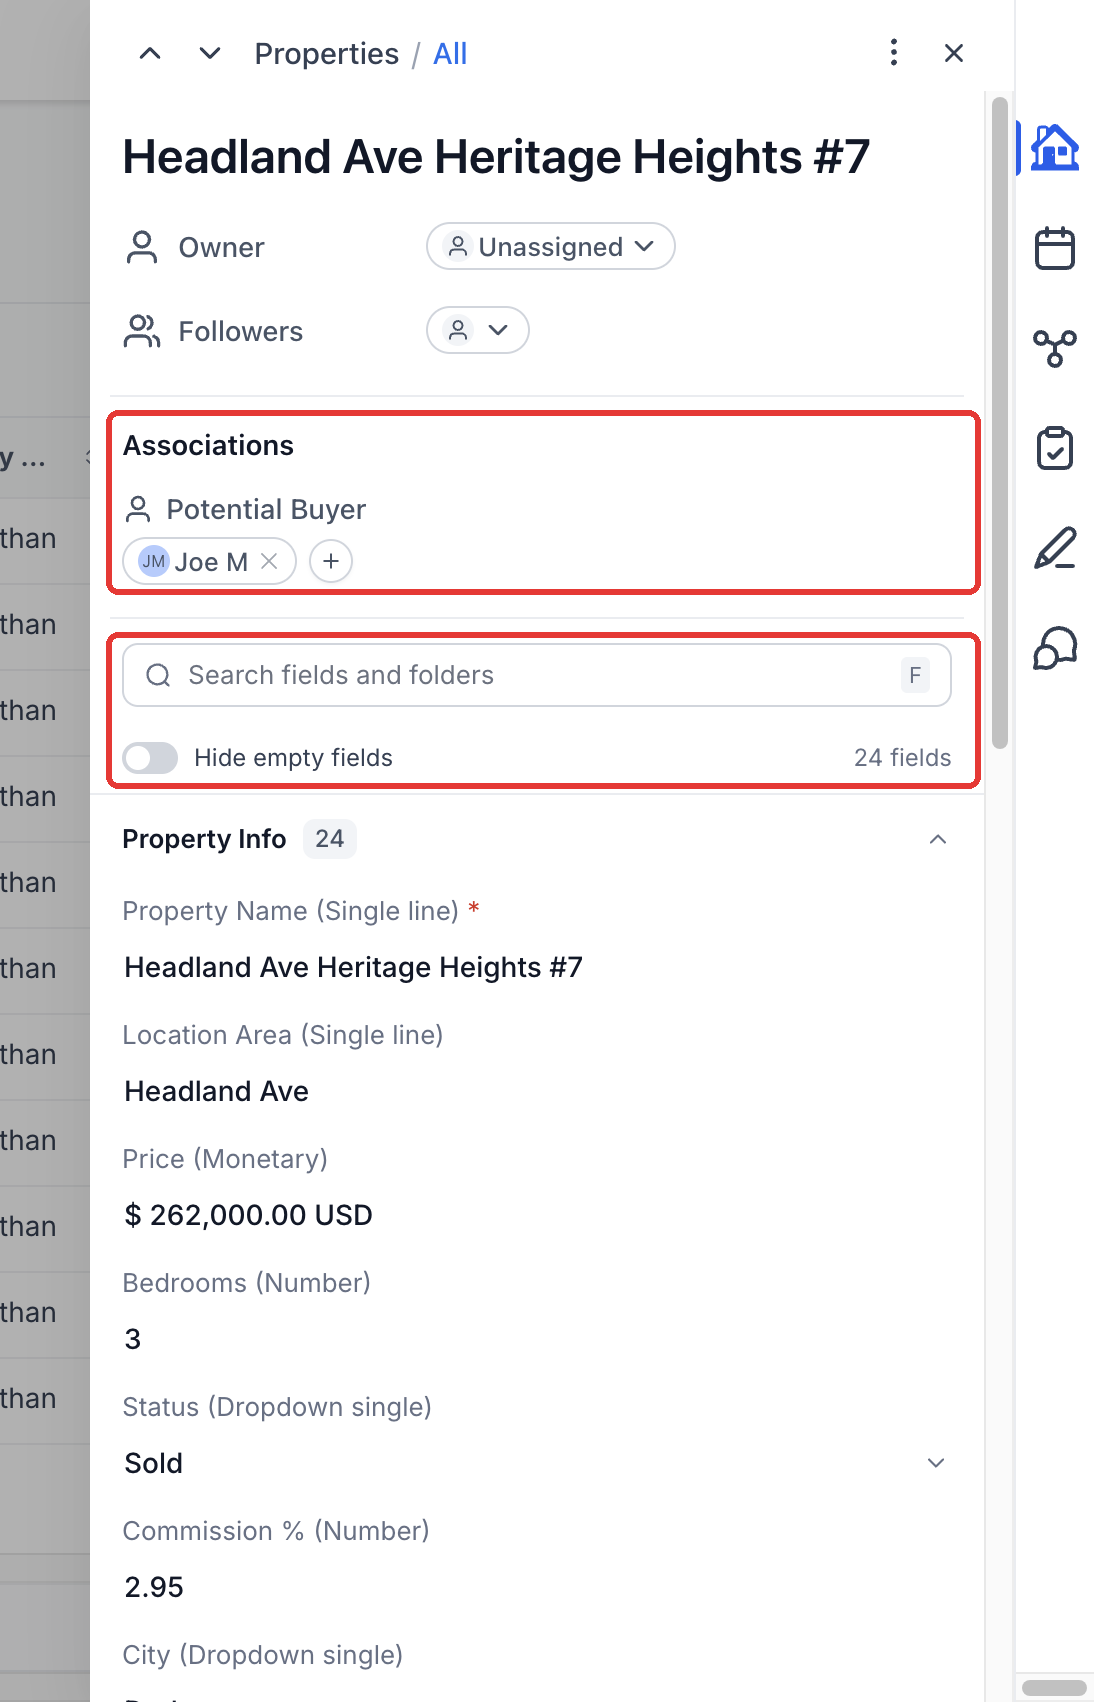
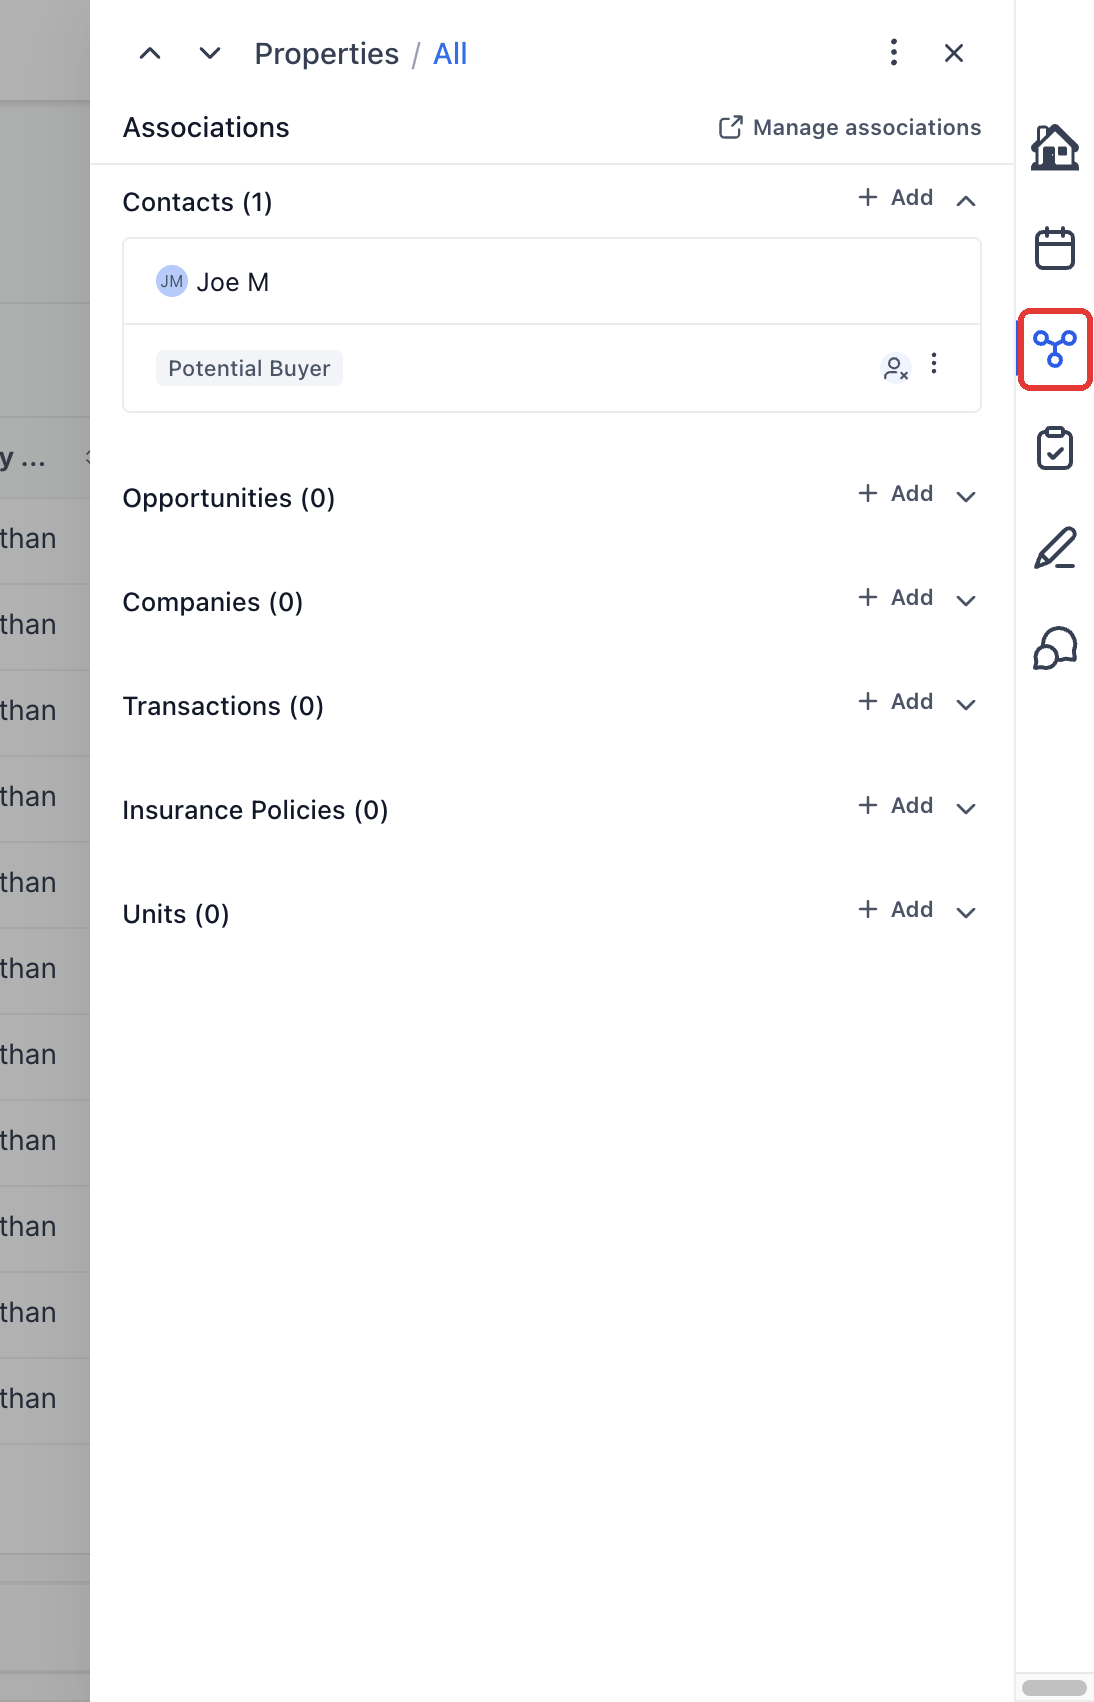
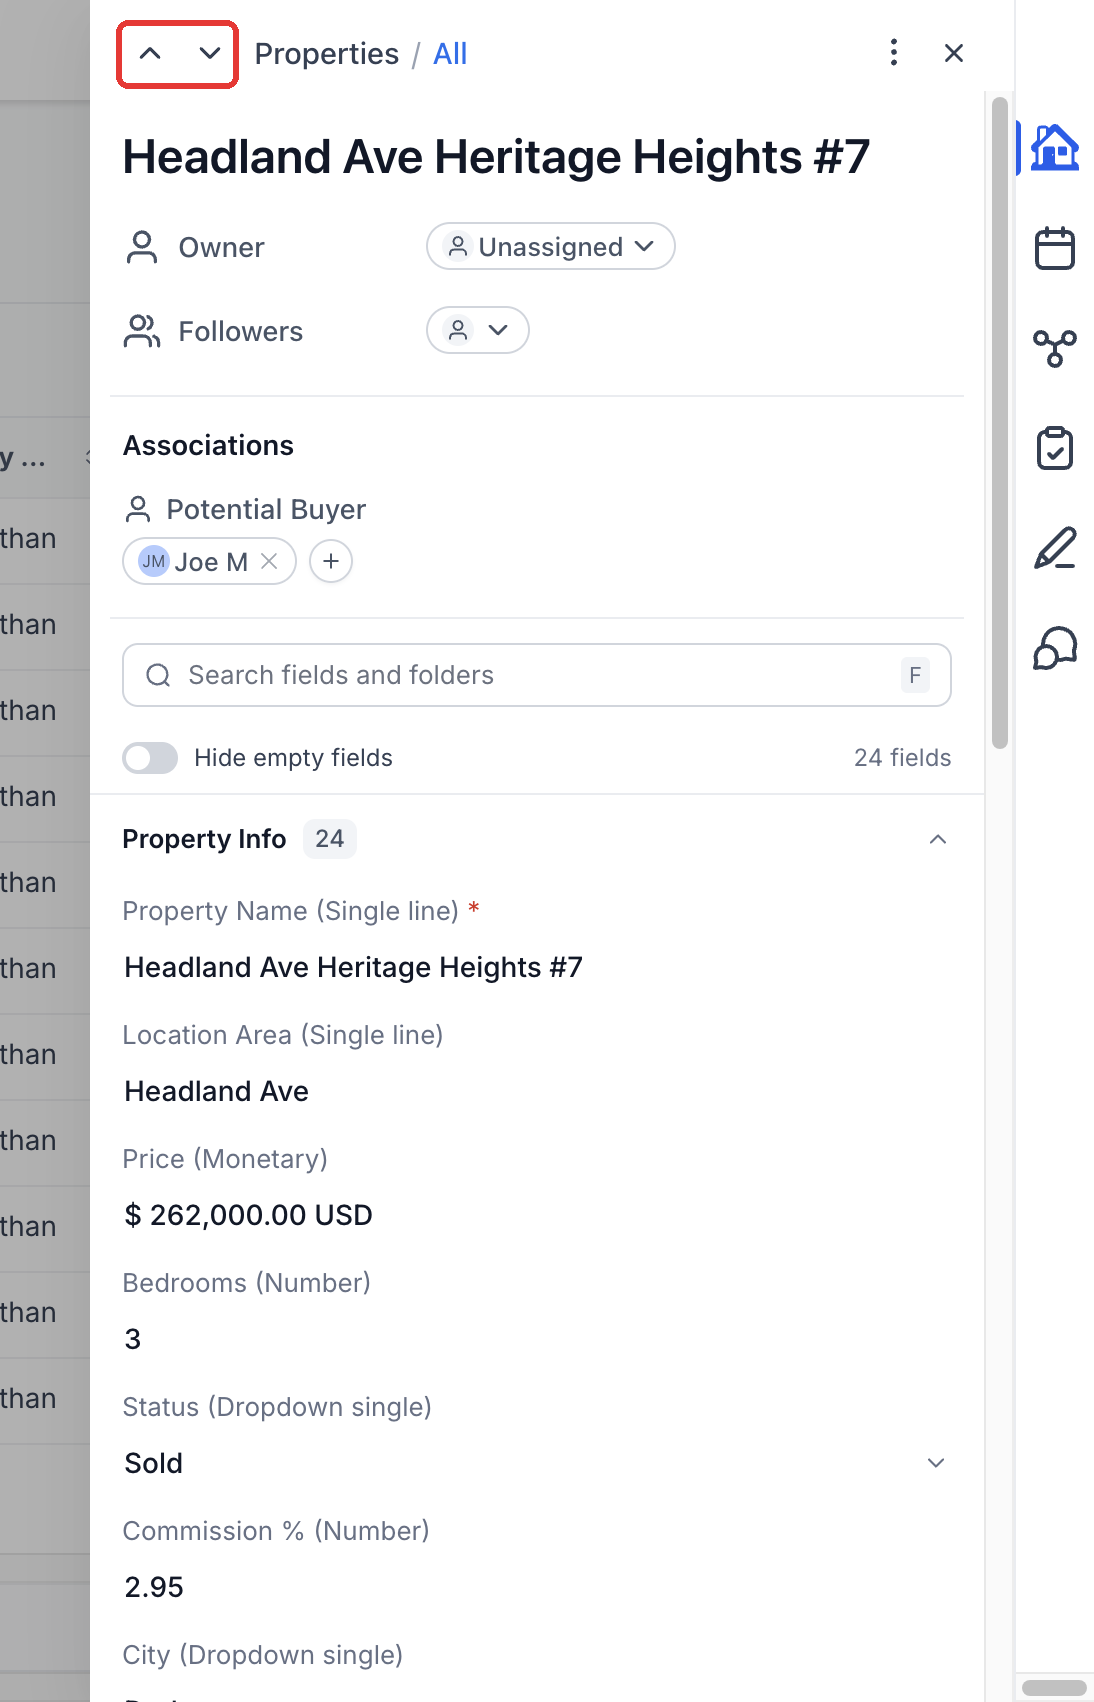
The side panel appears when a custom object record is opened from the left navigation. It shows six tabs, Details, Appointments, Associations, Tasks, Notes and Conversations, each providing quick access to record data and actions.
The panel lets team members start a conversation, schedule a new meeting or attach an existing appointment without navigating away, keeping the record list visible in the background.
03How businesses use Custom Objects side panel
- Real estate agency. Agents open a property record, view linked buyer contacts and upcoming showings, then schedule a new showing or add a conversation with a buyer directly in the side panel.
- Insurance brokerage. Agents select a policy record, review renewal tasks and notes, then start a renewal conversation with the policyholder or link a previously booked renewal appointment.
- Pet grooming service. Staff open a pet record, check past grooming appointments, add a note about special handling, and either book a new grooming slot or link an existing appointment for the same pet.
04Before you start
- The side panel is available only through a private beta and only for locations where it has been enabled.
05How to set up and use Custom Objects side panel in HighLevel
Open a record in the side panel
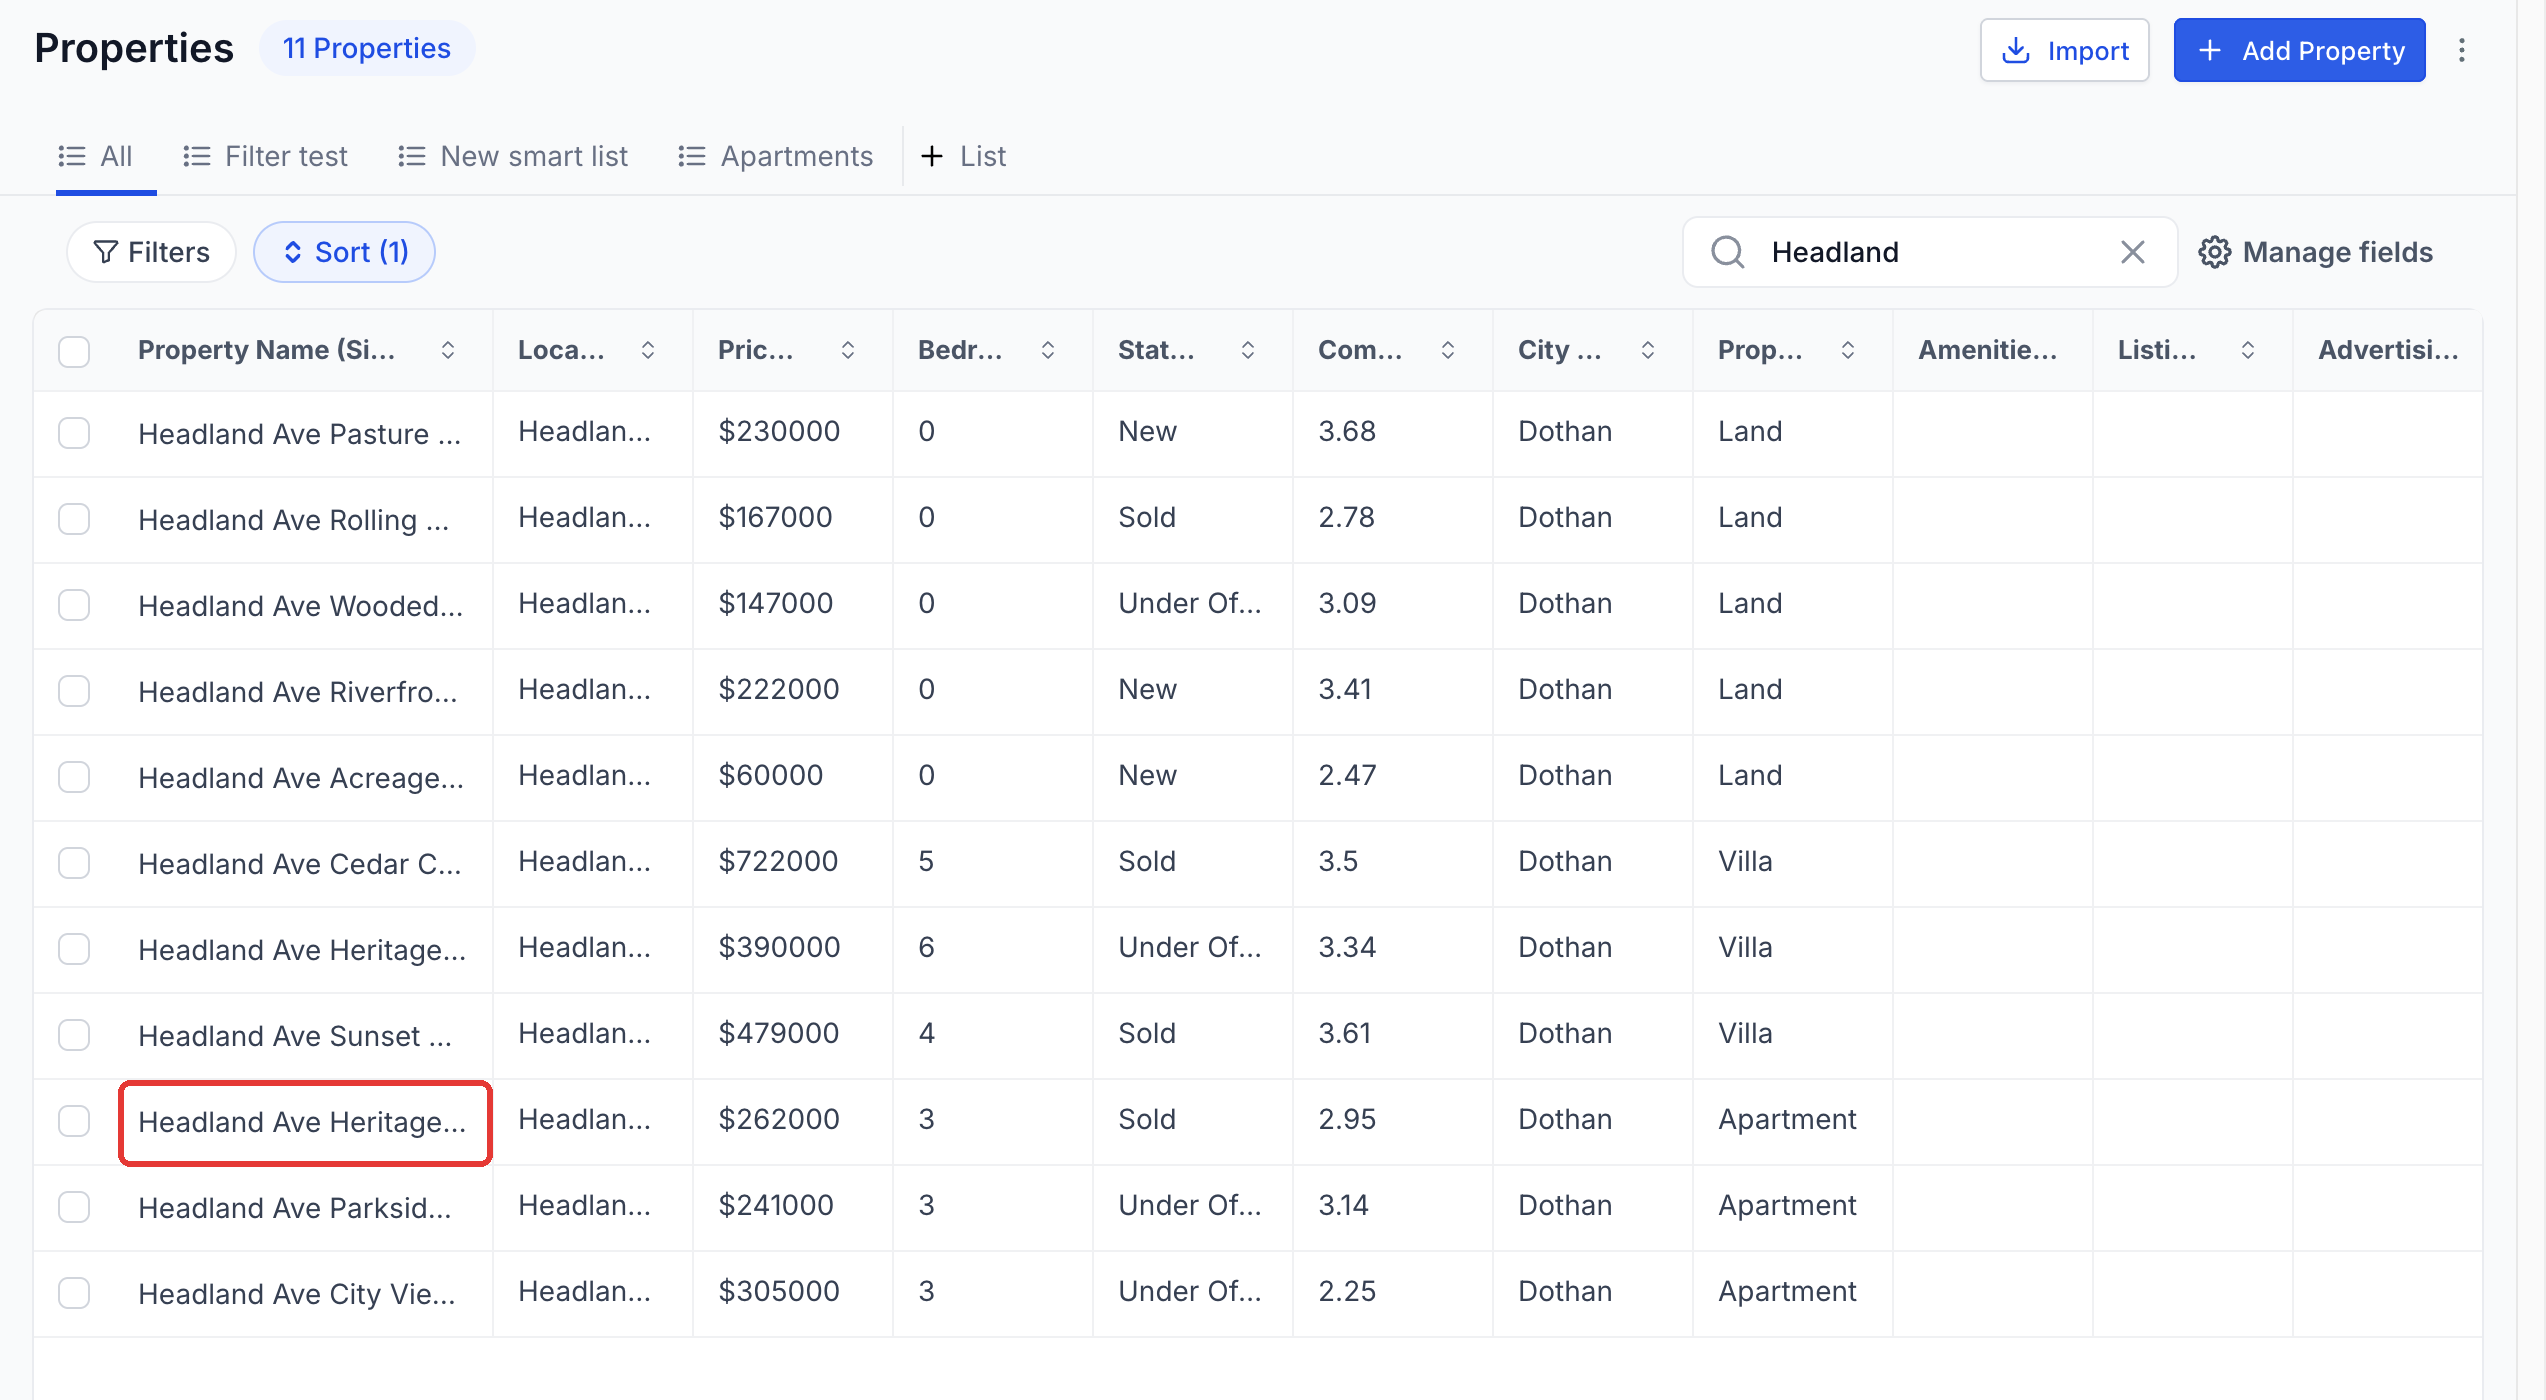
- Click the Custom Object name in the left sidebar.
- Select the desired record from the list that appears.
- Use the arrow icons at the top of the panel to move to the previous or next record.
- Click the Close button to return to the record list.
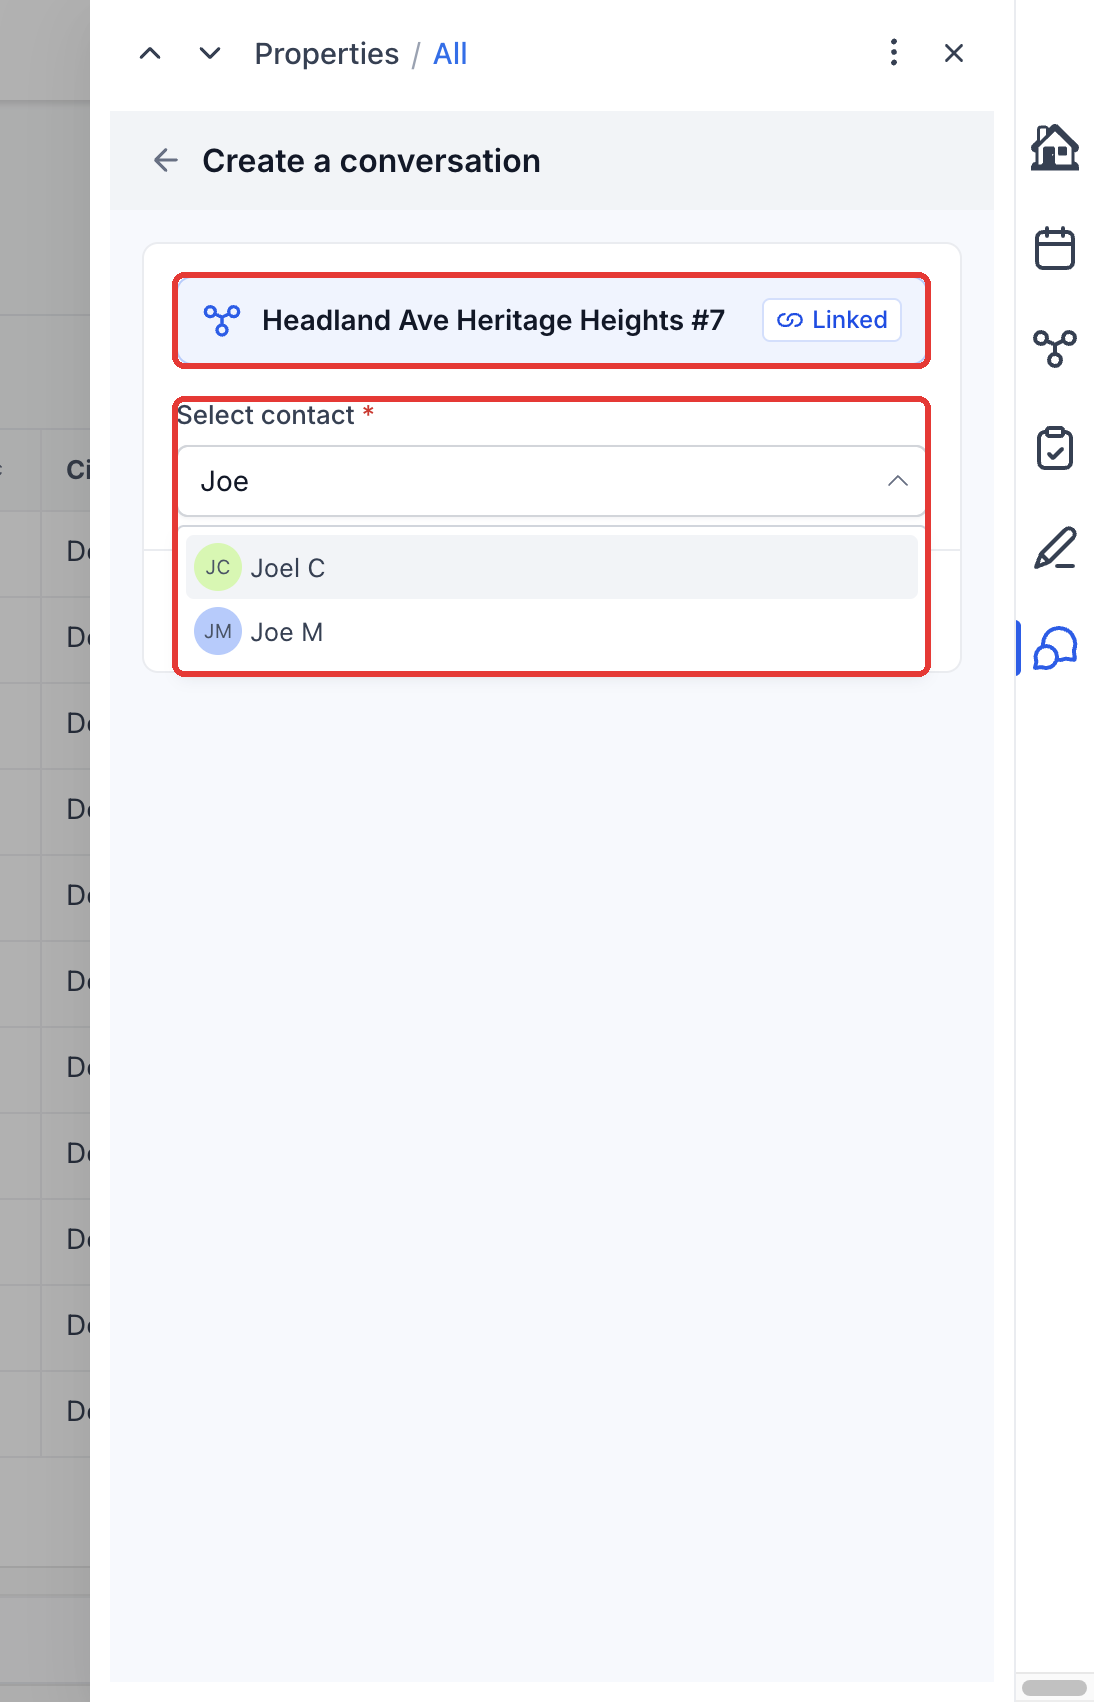
Create a conversation linked to the record
- Open the record and click the Conversations tab on the right edge of the panel.
- Click the Create a conversation button shown in the feed.
- Choose a Contact; the record is already linked automatically.
- Click Create conversation to add the new conversation to the record.
Book a meeting from the record
- Open the record and select the Appointments tab.
- Click the Add button and choose Meetings.
- Enter calendar, date, time and Contact details, confirming the Associated objects section shows the current record preselected.
- Press Book appointment to save the meeting linked to the record.
Link an existing appointment to the record
- Open the record and go to the Appointments tab.
- Click the Add button and select Link existing appointment.
- Search for the appointment you want to associate.
- Click the Link button beside that appointment to connect it to the record.
Record actions
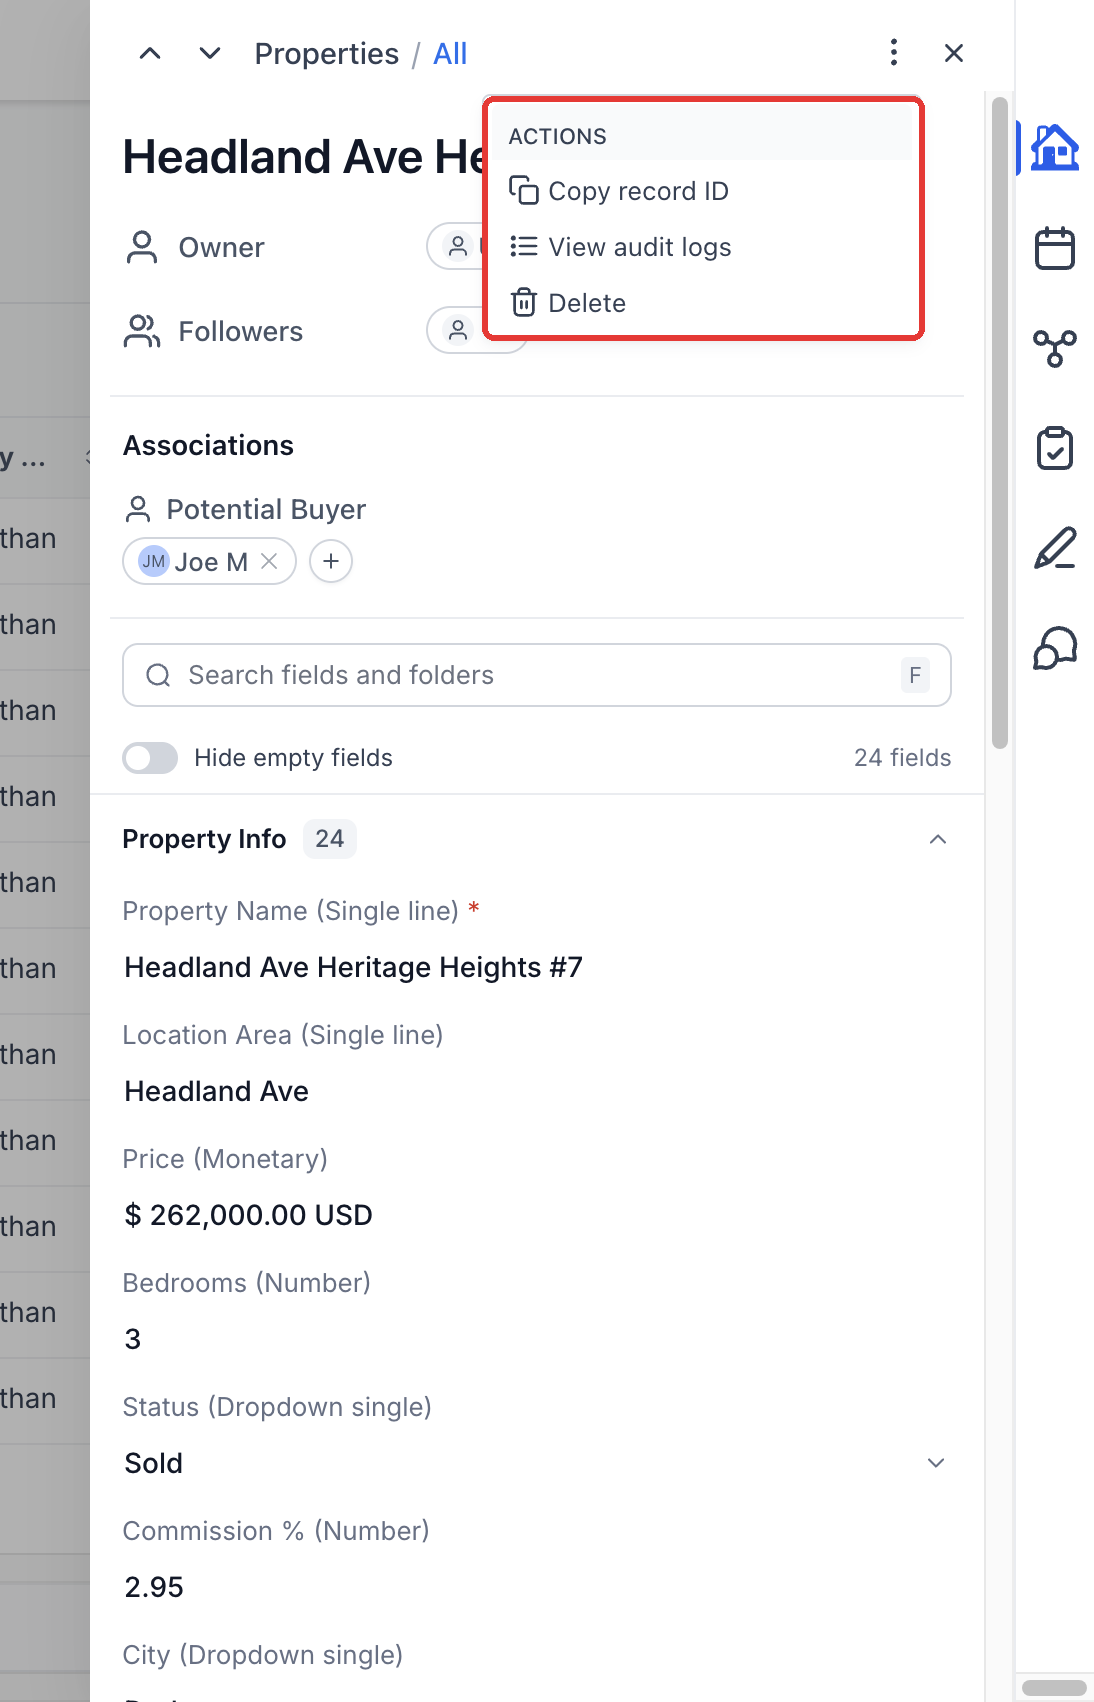
- Open the three dot menu at the top of the panel.
- Select Copy record ID, View audit logs, or Delete as needed.
06What it looks like in HighLevel
07Things to know before you rely on it
- The feature is in private beta and only works for locations where it has been enabled.
- The side panel does not contain Opportunity pipeline controls or a Payments tab.
08How it connects to the rest of HighLevel
- Getting started with custom objects Getting Started
- Custom objects available in all plans with higher limits Plans and limits
- Real estate case study for custom objects Real estate example
Michael's take

Michael ReimerFounder of CRM Pros, HighLevel Commander and Certified Admin
The side panel gives you that single workspace so you can see a property’s buyer list, schedule a showing and reply to a conversation without juggling windows.
The first setting I’d get right is the Associations tab. Make sure related records are linked correctly.
Get More InformationOpens on HighLevelPublished November 3, 2026 · Updated November 17, 2026