
01Who this is for
- Founders who need a quick overview of client interactions can scan the three panels instead of endless lists.
- Sales teams benefit from auto saving edits, reducing clicks while updating lead details.
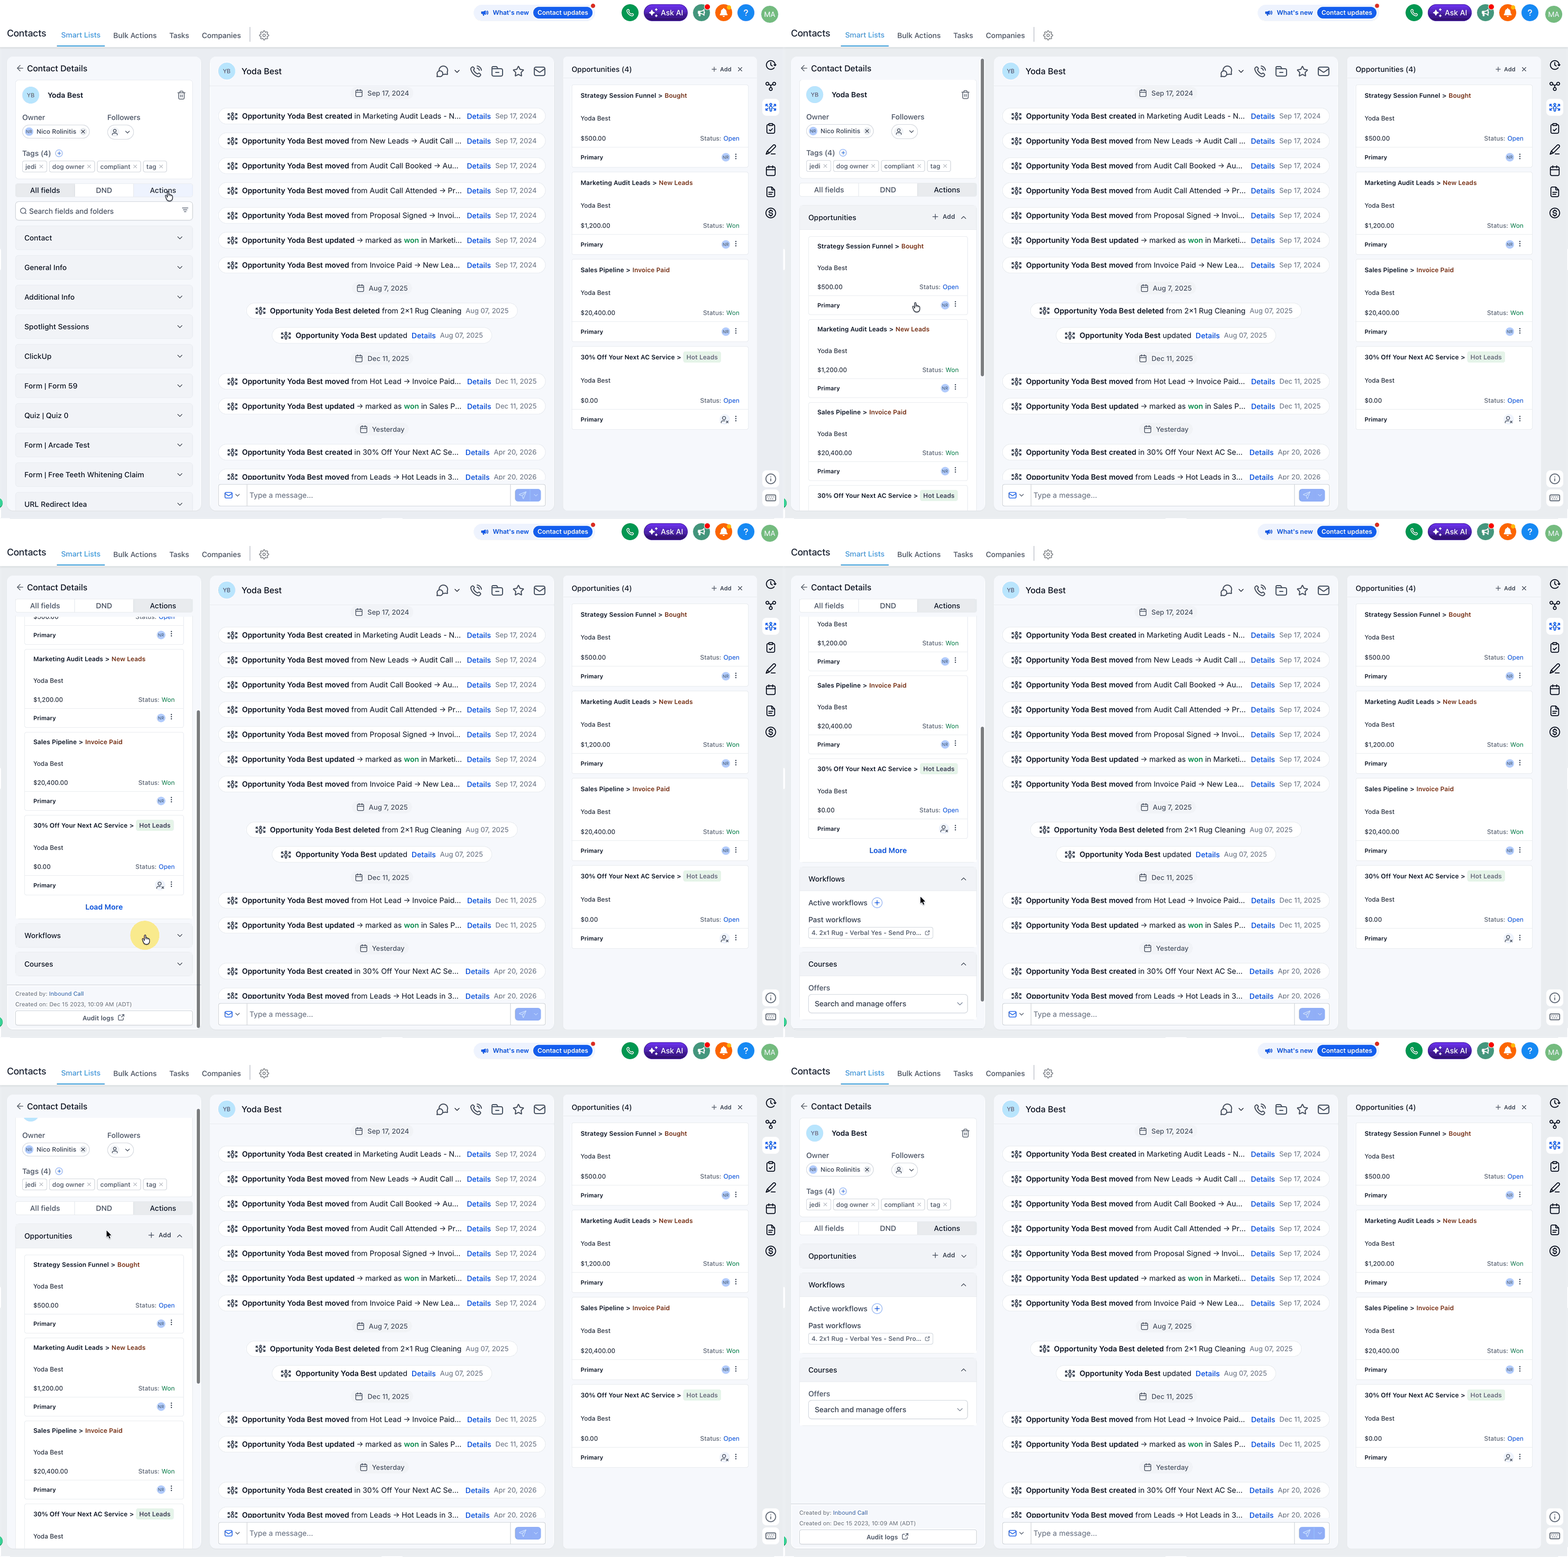
- Support staff gain faster access to notes, tasks and documents through the right hand action modules.
02All new contact detail page, explained
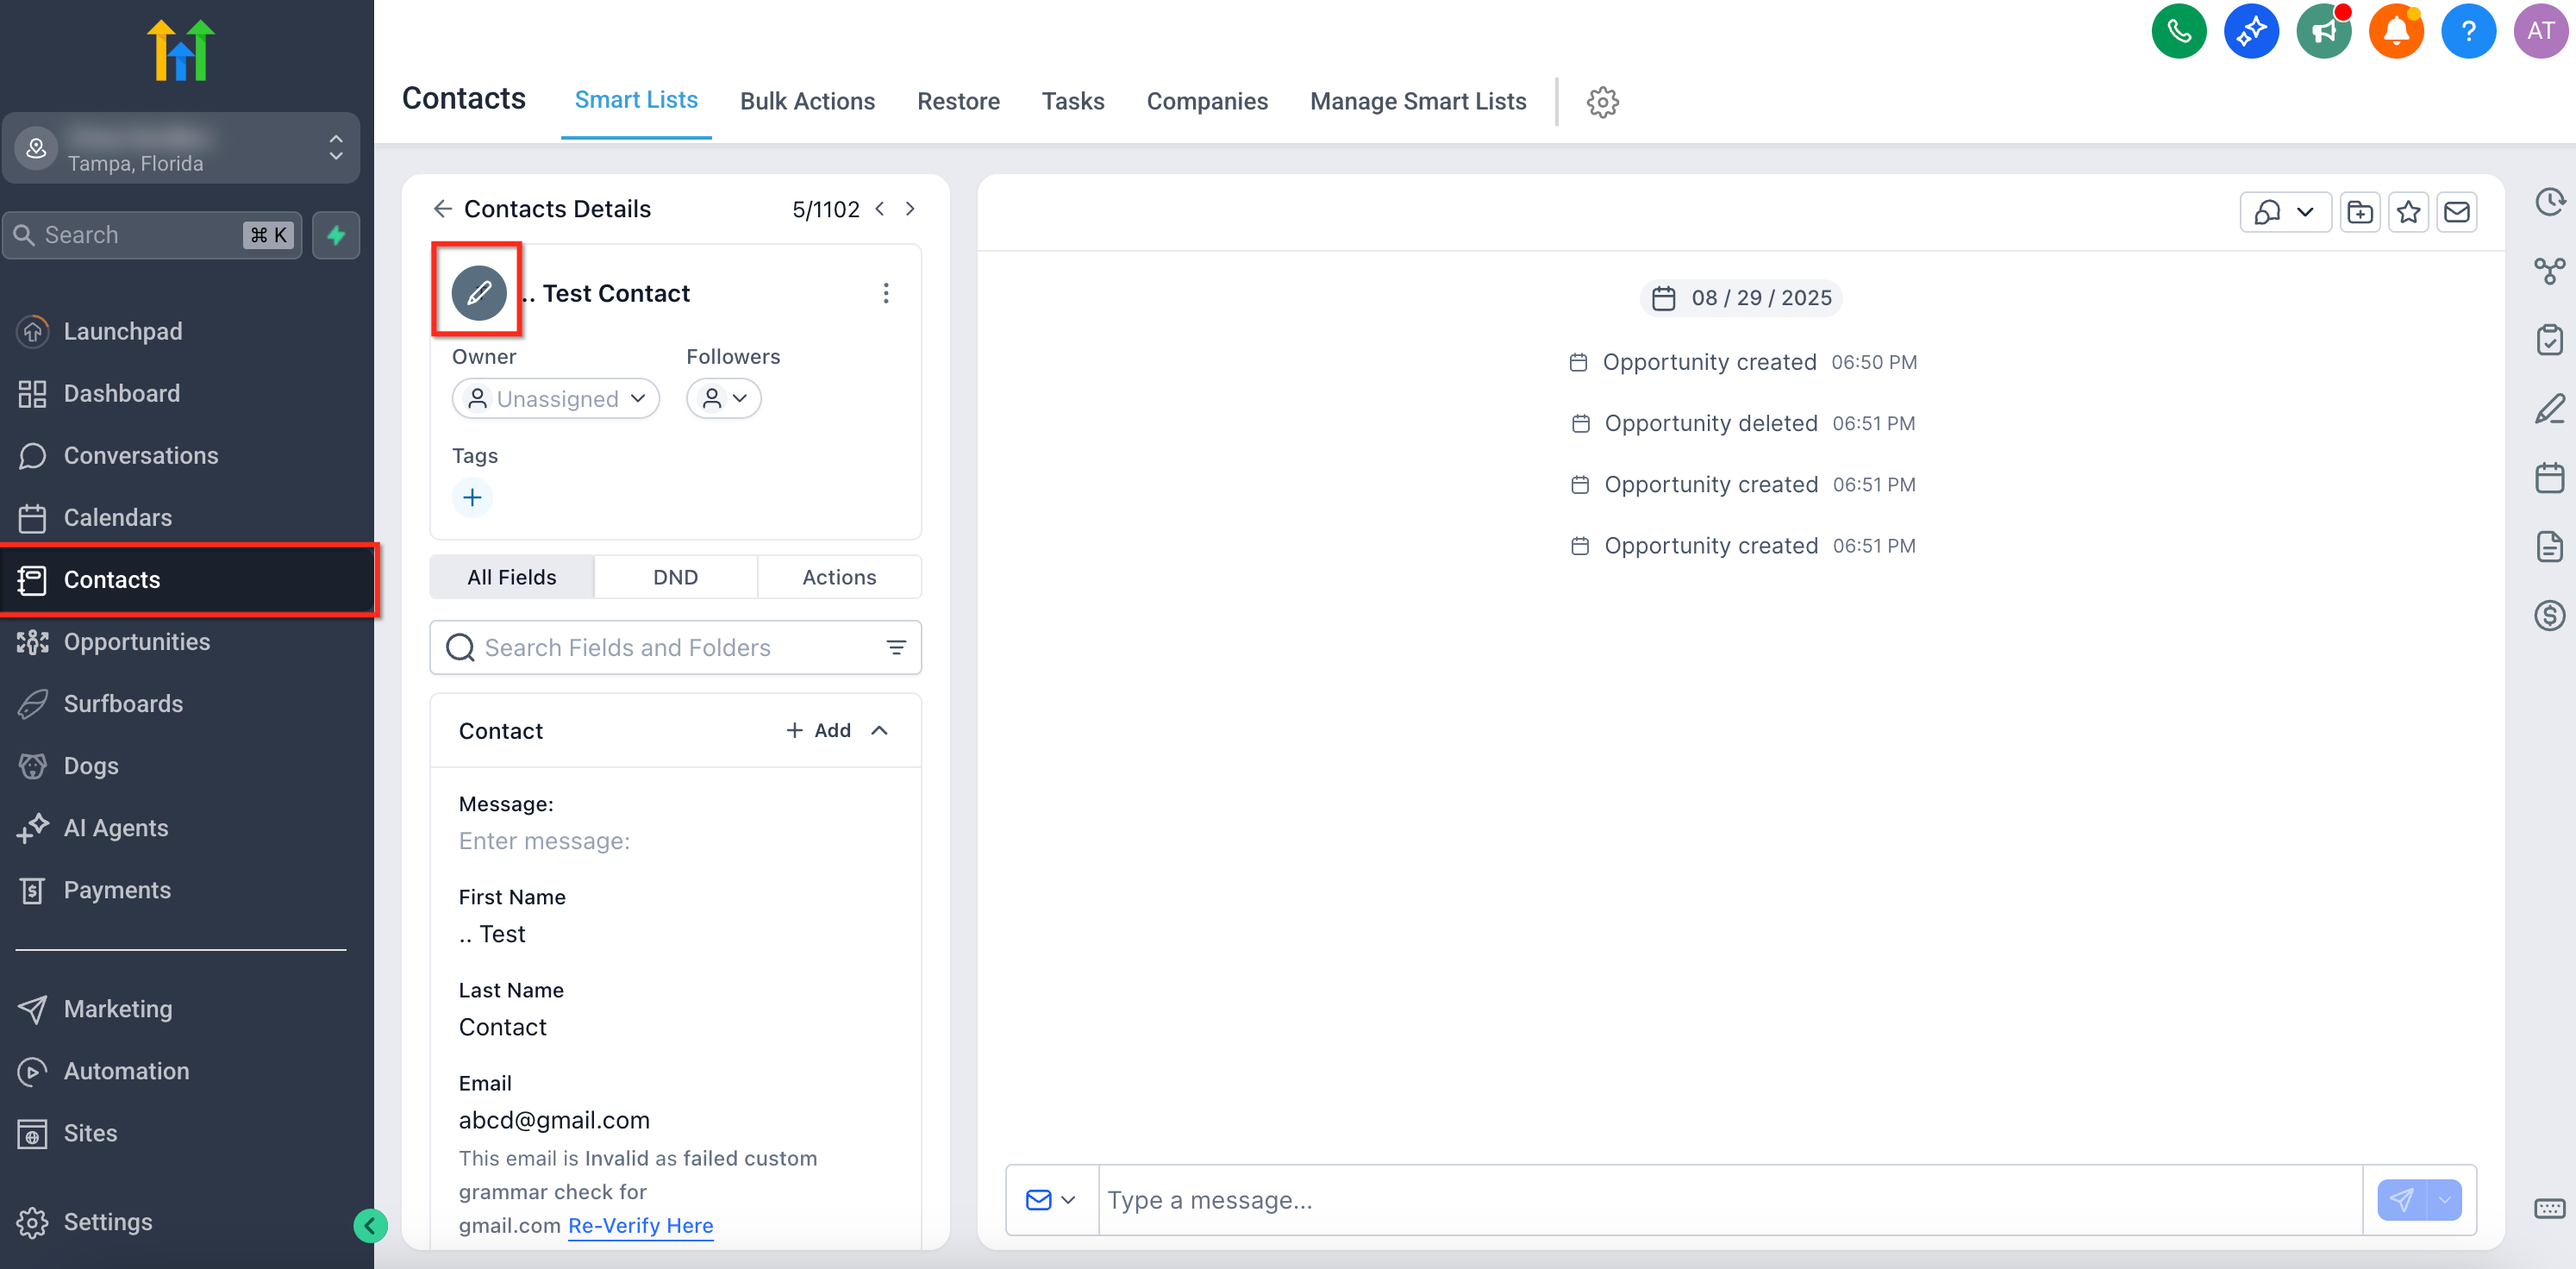
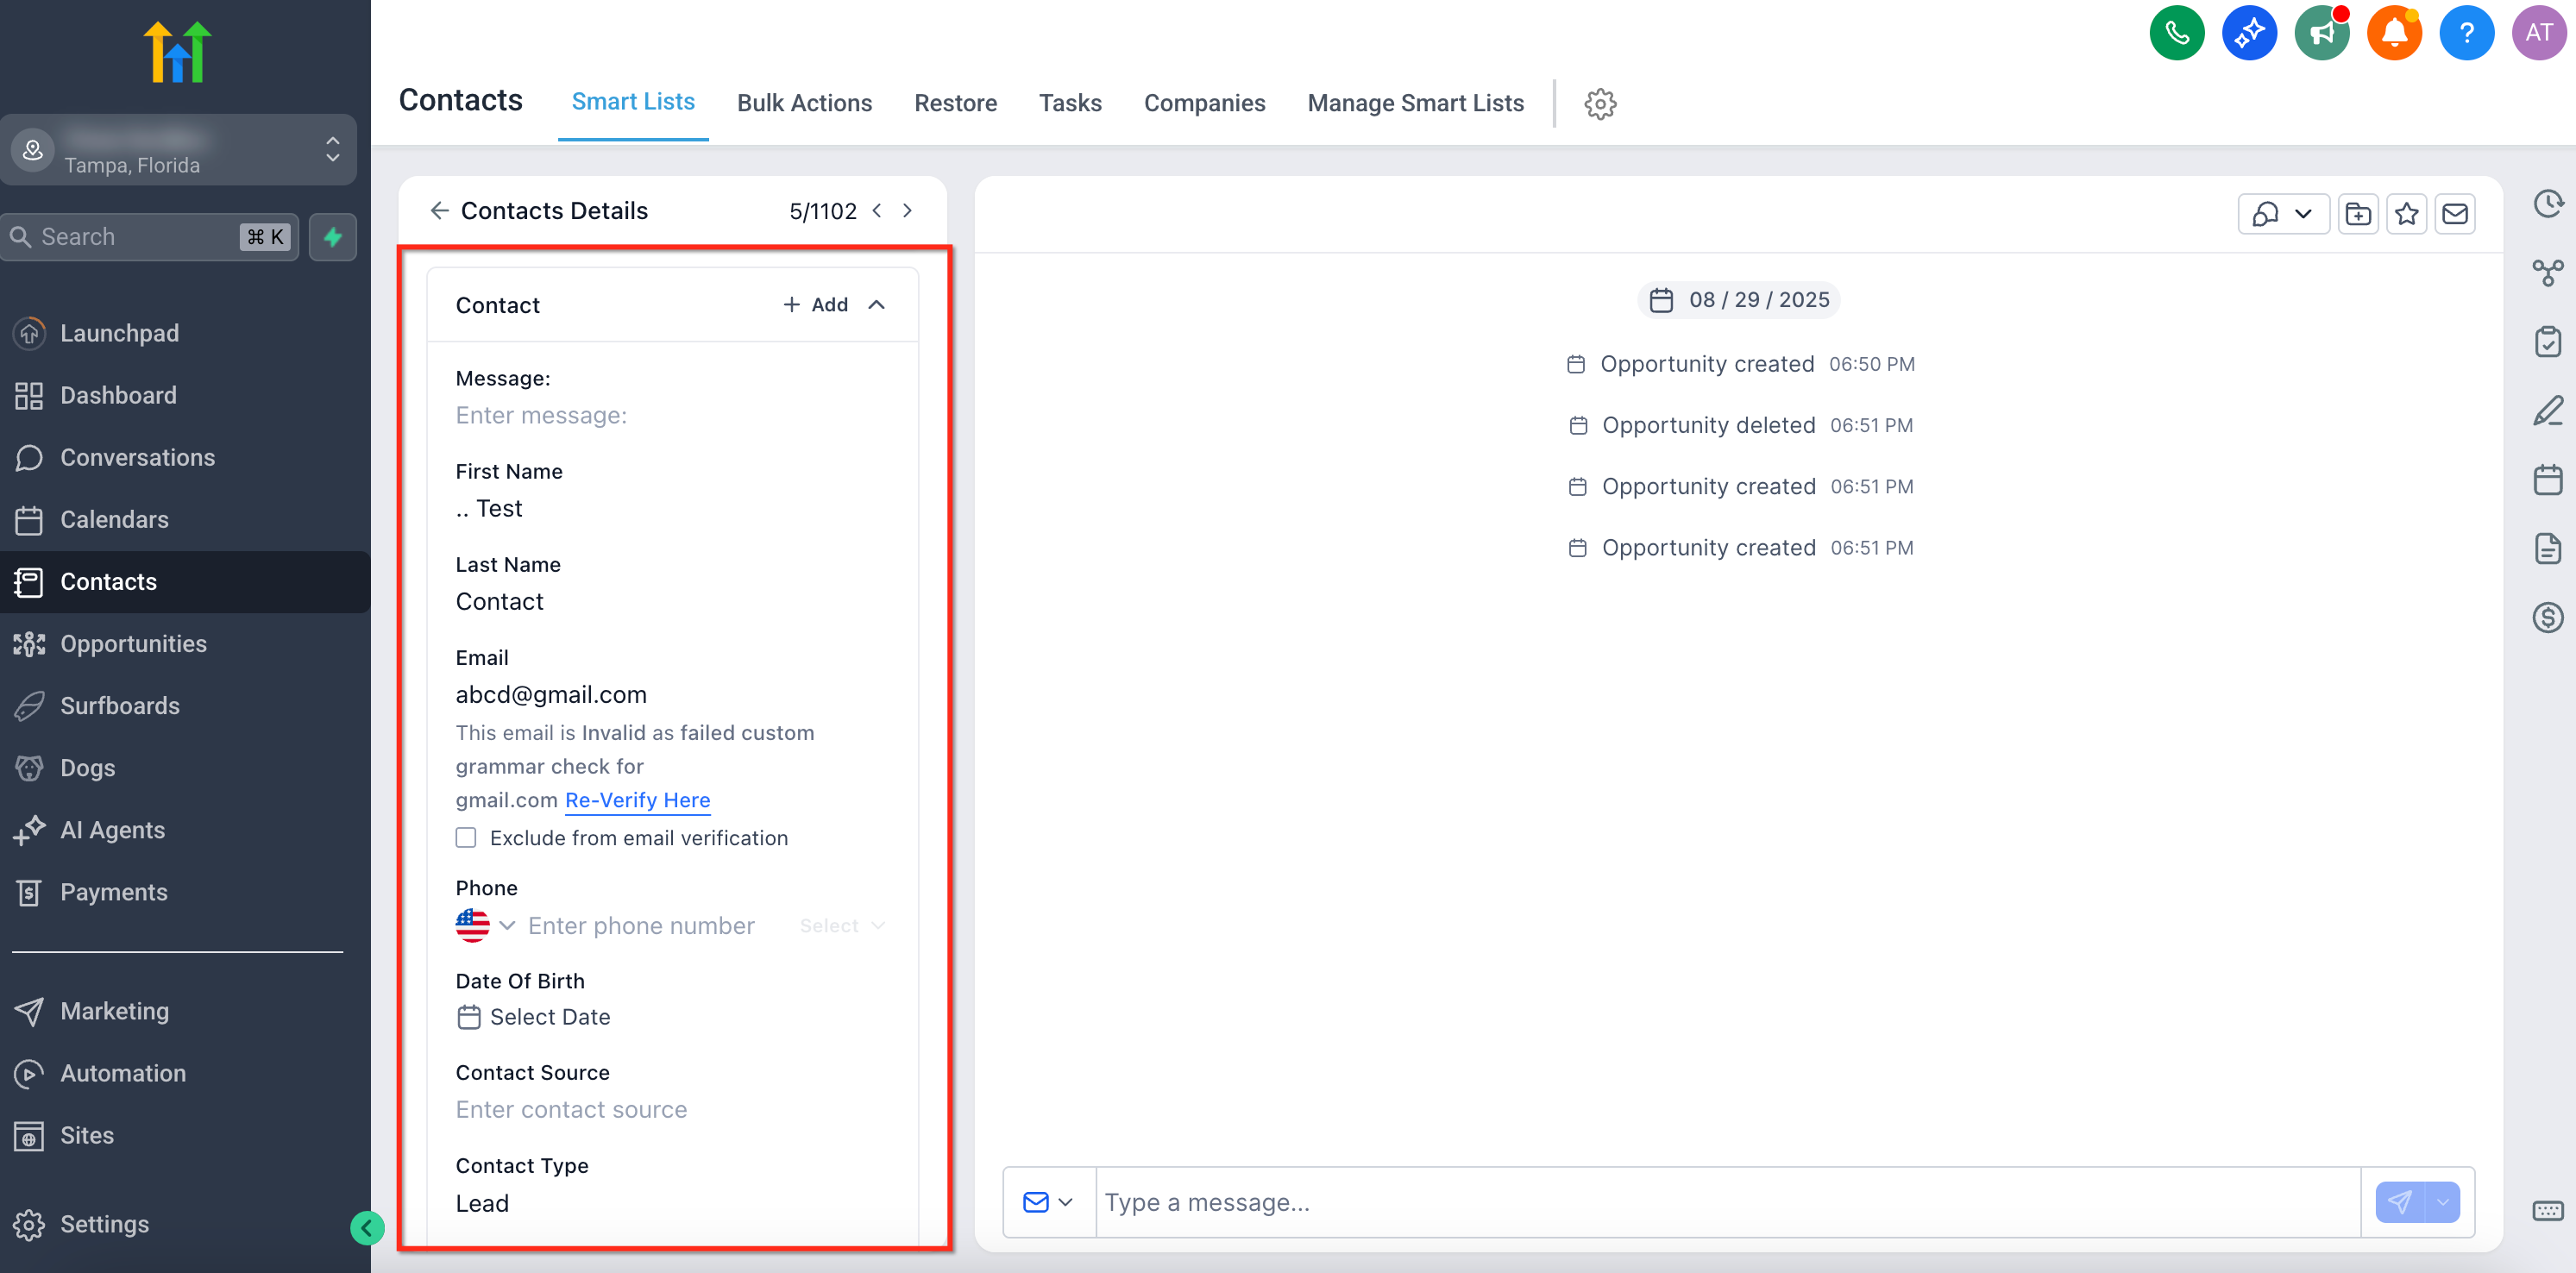
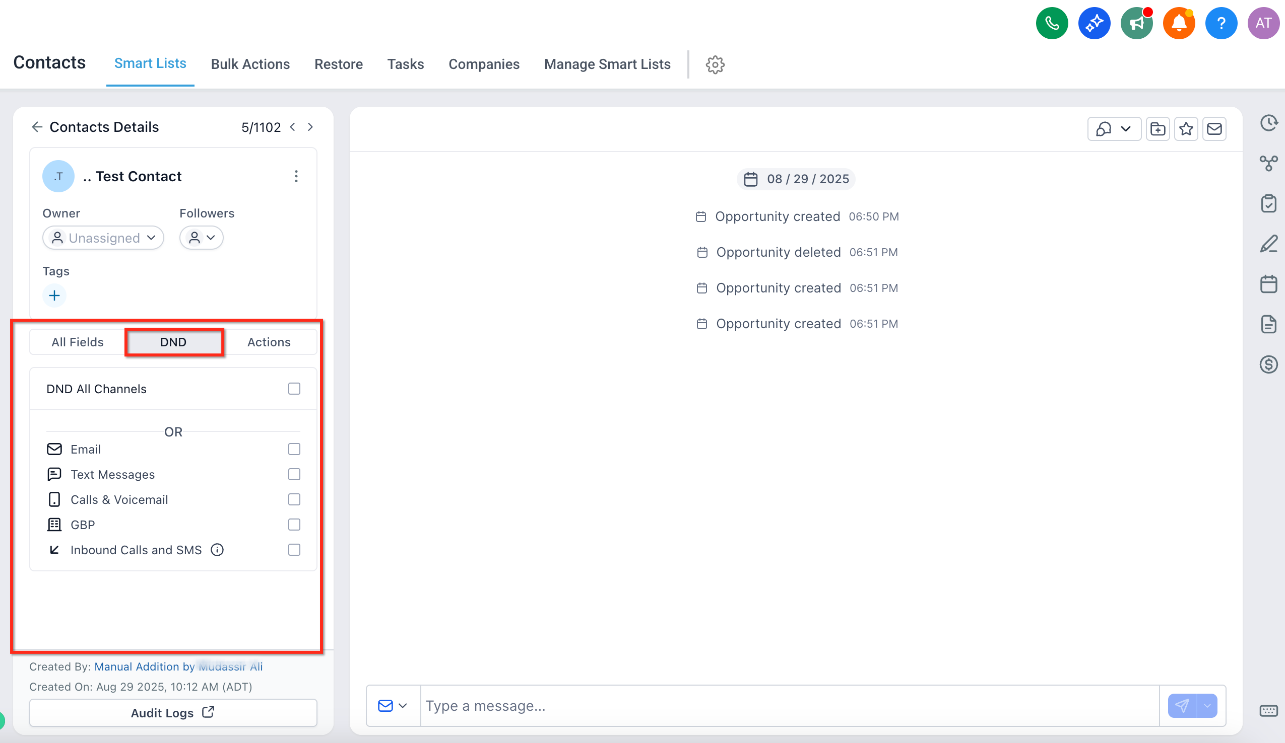
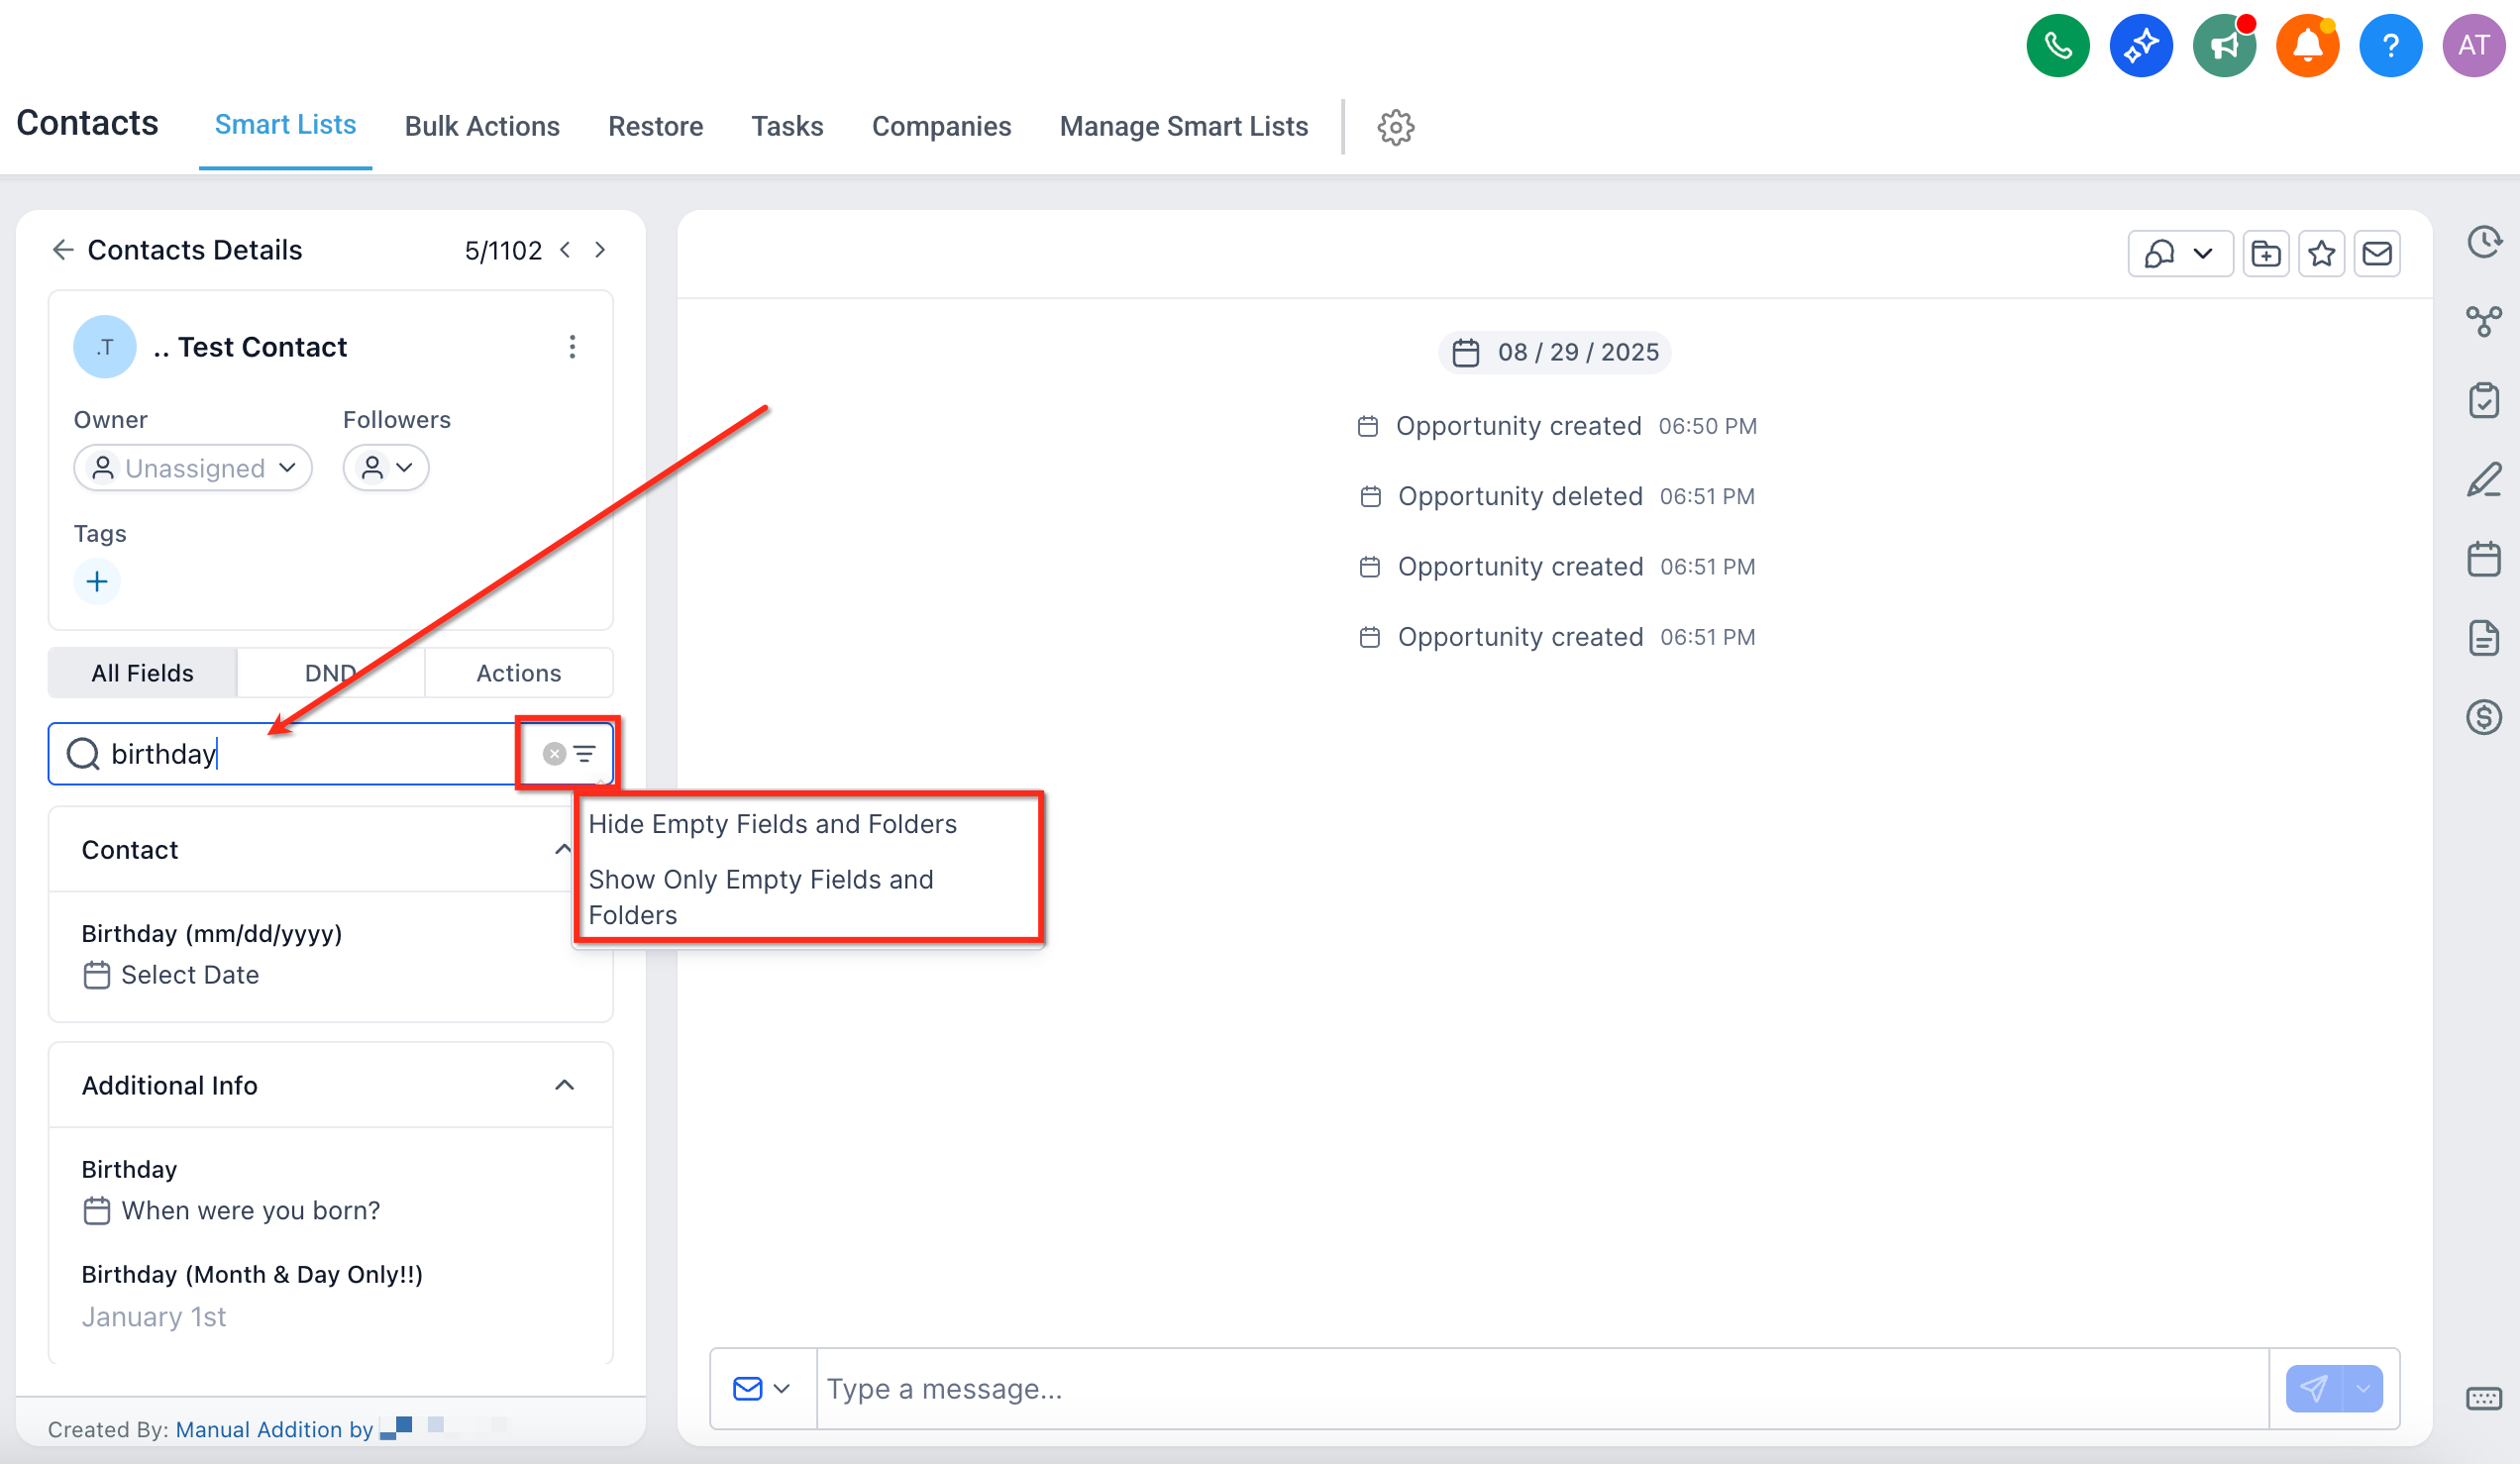
The Contact Detail Page is the central workspace for each contact. It splits information into a left panel (profile data and tags), a center panel (conversations and activity logs) and a right panel (tasks, notes, documents, payments and more). Each panel can be collapsed, and the system remembers your last layout.
Auto Save automatically records any field change the moment you leave the field. Admins turn it on once for the entire subaccount, after which all users work with live saves. Keyboard shortcuts let you move between contacts, collapse the right panel, or trigger a manual save if Auto Save is off.
03How businesses use all new contact detail page
- Real estate brokerage. Agents open a contact record, edit property owner details and rely on Auto Save to store changes right away. They tag owners with region codes, apply or cancel tag selections, and switch between listings using the arrow shortcuts.
- Dental practice. Staff update patient contact info, enable Auto Save to avoid extra clicks, and use the right panel to add appointment notes, tasks and payment records, all from the same page.
- Digital marketing agency. Campaign managers view client conversation history in the center panel, add or remove client tags for segmentation, and collapse the right panel when focusing on analytics, using ESC to hide it.
04Before you start
- An admin must have access to Settings > Contacts > Details Tab to enable Auto Save for the subaccount.
05How to set up and use all new contact detail page in HighLevel
Enable Auto Save
- Open any contact record.
- Edit a field so that the Save bar appears at the bottom.
- Select “Enable Auto Save” from the three dot menu.
- Click “Enable Auto Save” when prompted.
- Confirm the setting in the modal that applies Auto Save to the subaccount.
Edit contact tags
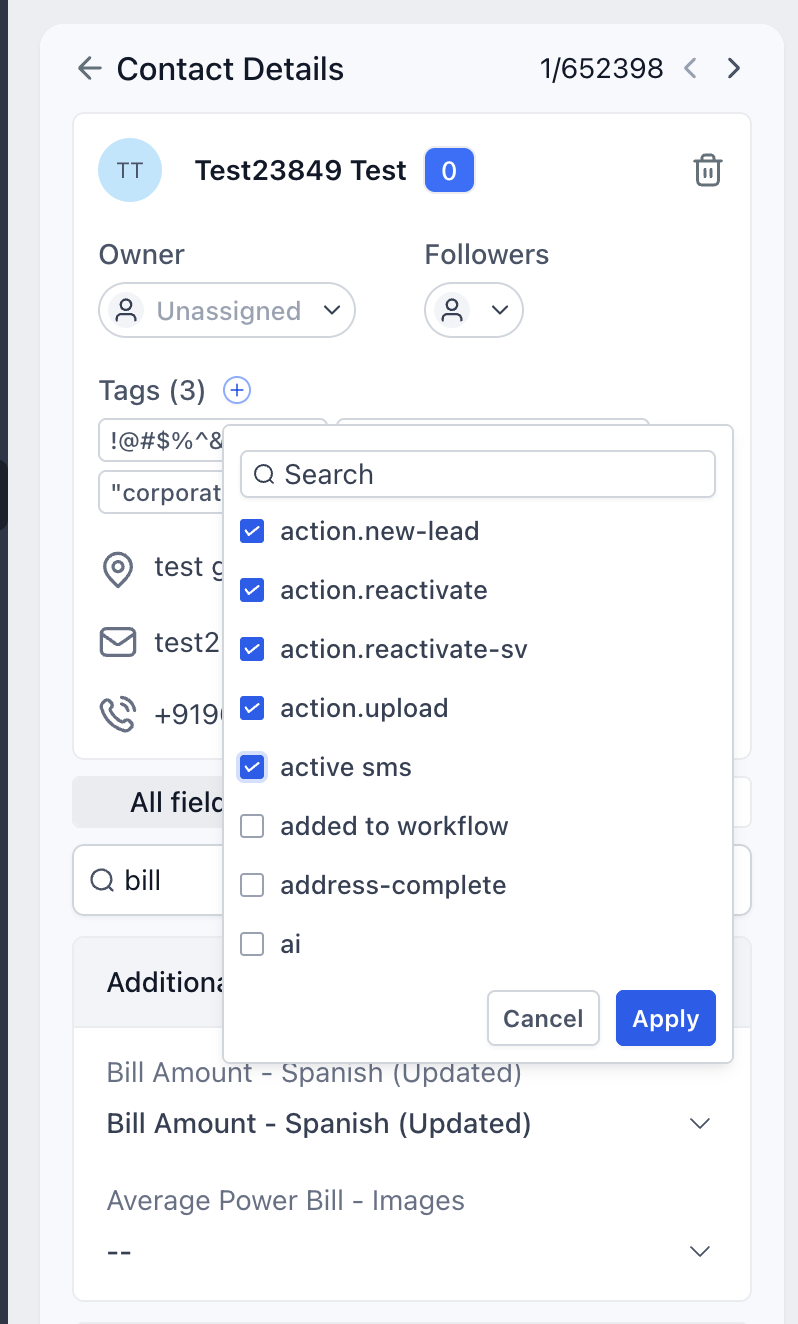
- Open the Tags dropdown on the contact.
- Select tags to add and deselect tags to remove.
- Click Apply to save your changes.
- Click Cancel to discard pending changes.
06What it looks like in HighLevel
07Settings that matter
- Auto, Save toggle. Turns automatic saving of field edits on or off for the entire subaccount.
08Things to know before you rely on it
- Auto Save is applied at the subaccount level; it cannot be enabled for individual users.
- If the “Enable Auto Save” button is missing, the feature may already be active.
09If something goes wrong
- Enable Auto Save button not visible. Check Settings > Contacts > Details Tab to see if Auto Save is already enabled.
10How it connects to the rest of HighLevel
- Learn how to tailor the contact detail page to match your workflow. Customize contact detail page
- See the new Activity Section view that works with the center panel. Activity section upgrade
- Review plan options and trial availability for access to the new contact page. Pricing and plans
Michael's take

Jumping into a brand new layout can feel disorienting, especially if you’re used to scrolling forever for a single detail. The new page packs a lot of information into three panels, and that density can be overwhelming at first glance.
Once you get past the initial adjustment, the layout becomes easier to use as you get used to the panel organization and shortcuts.