
01Who this is for
- Sales teams can view all relevant Company data before a call, keeping context in one screen.
- Customer support agents can start a conversation with a linked Contact directly from the Company view.
- Appointment coordinators can schedule or attach meetings to the correct Company without switching screens.
02Companies side panel, explained
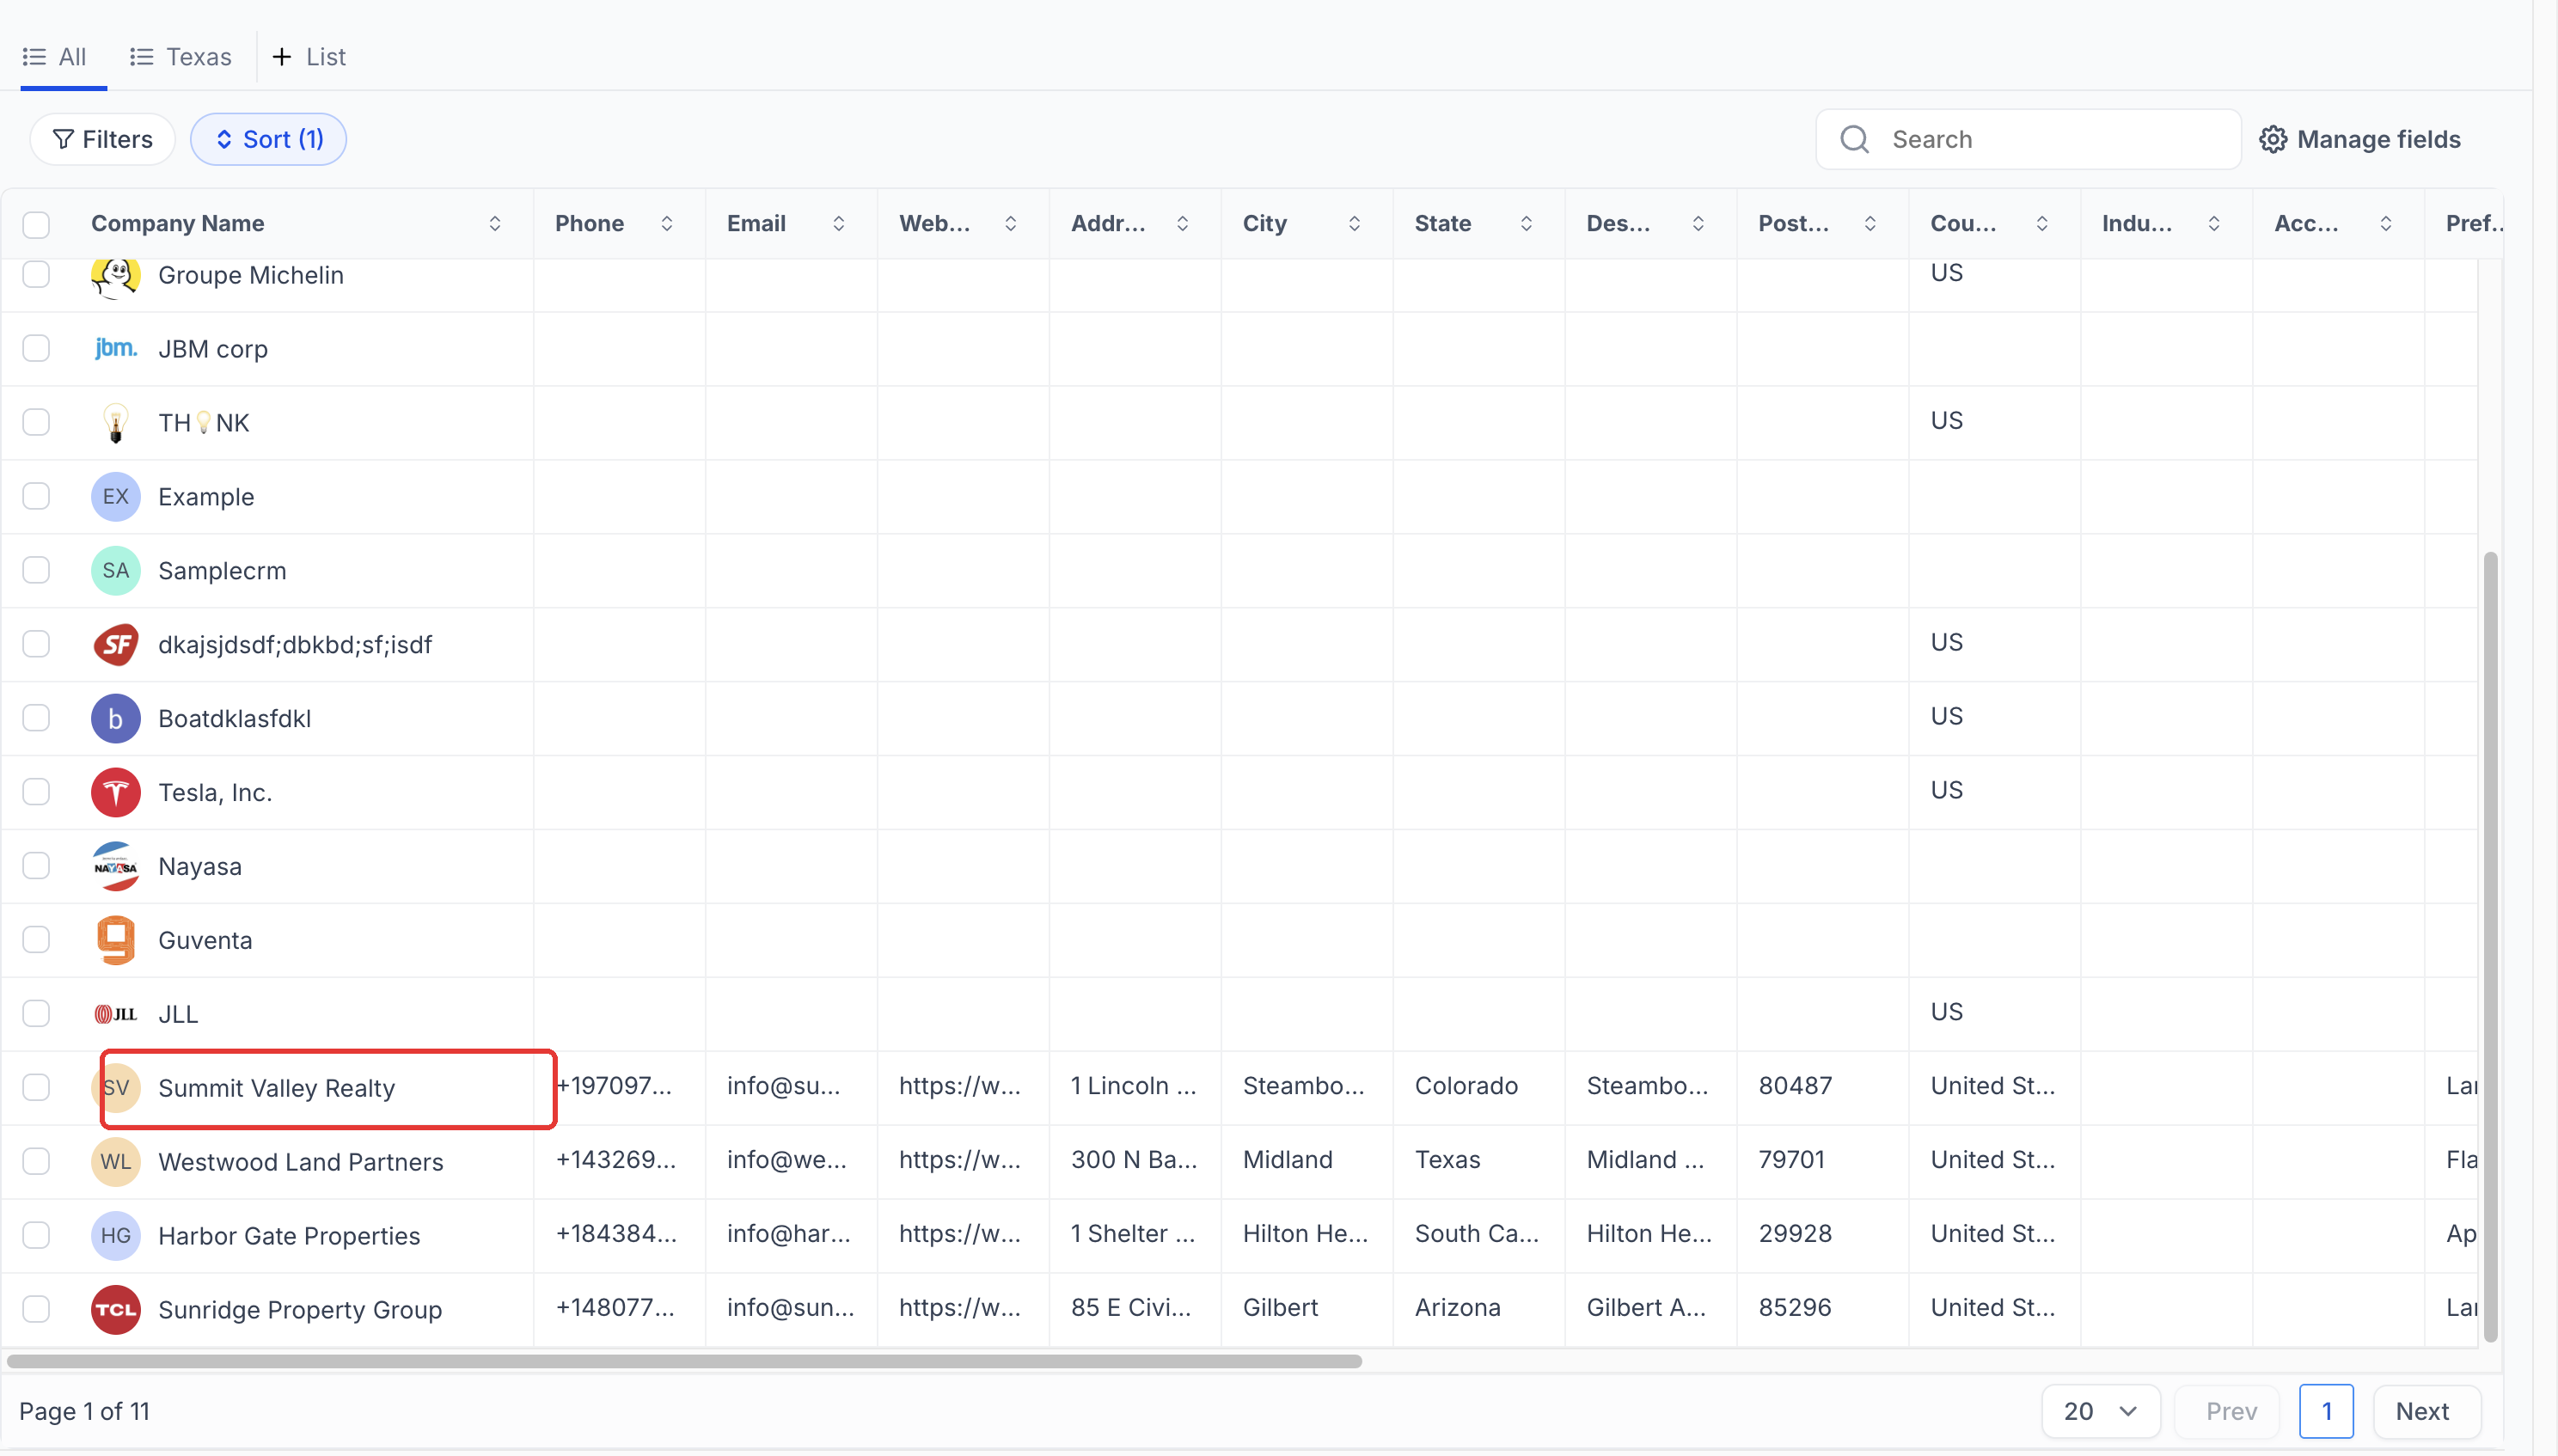
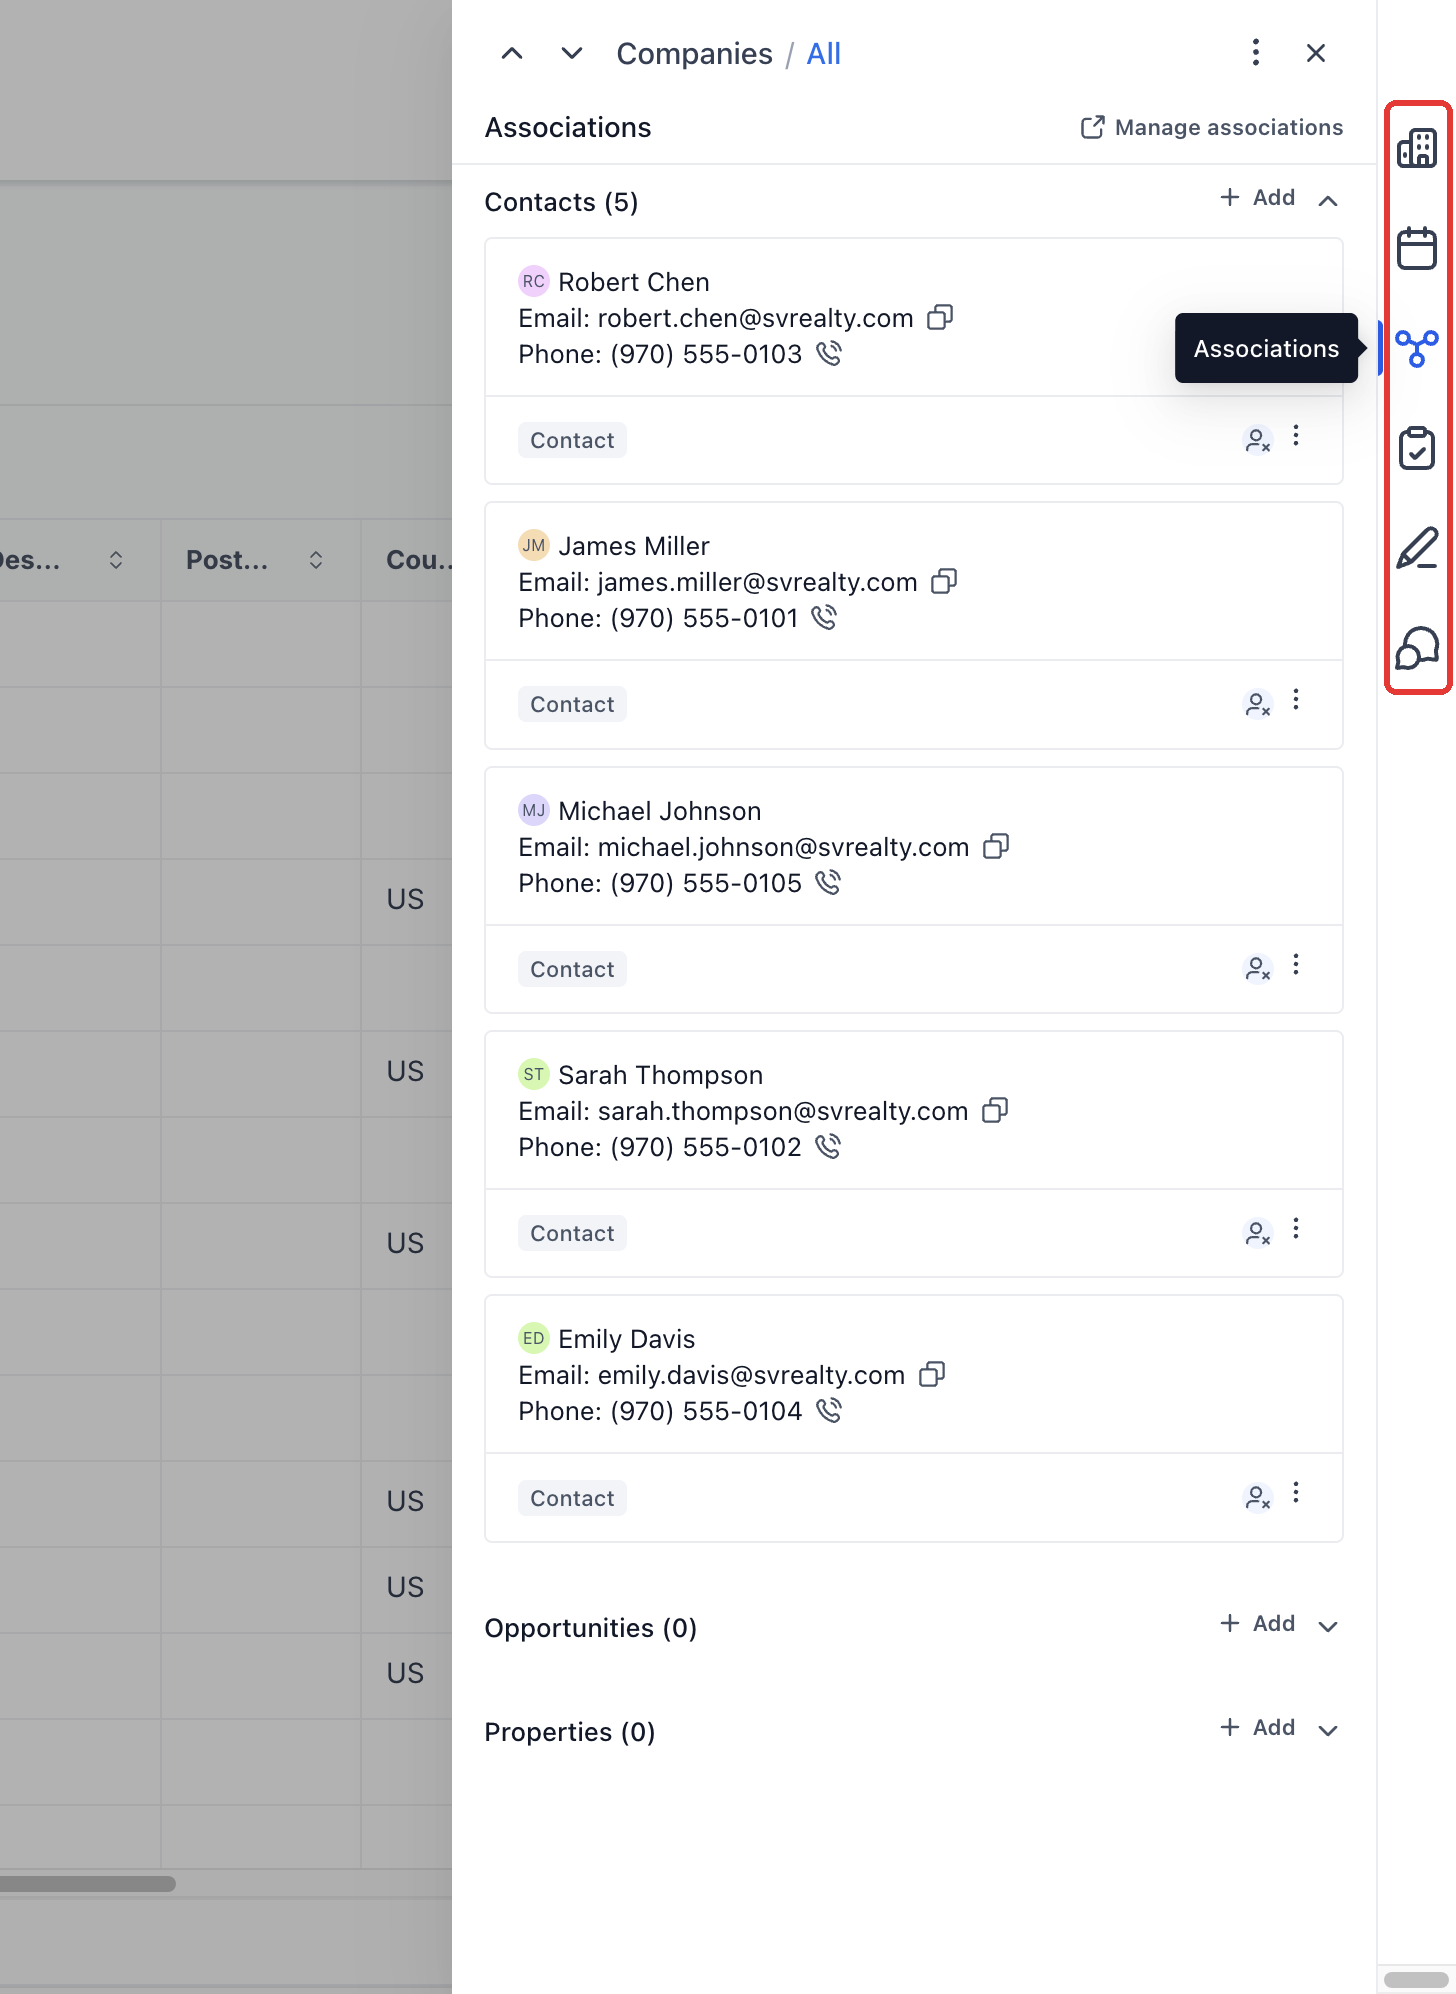
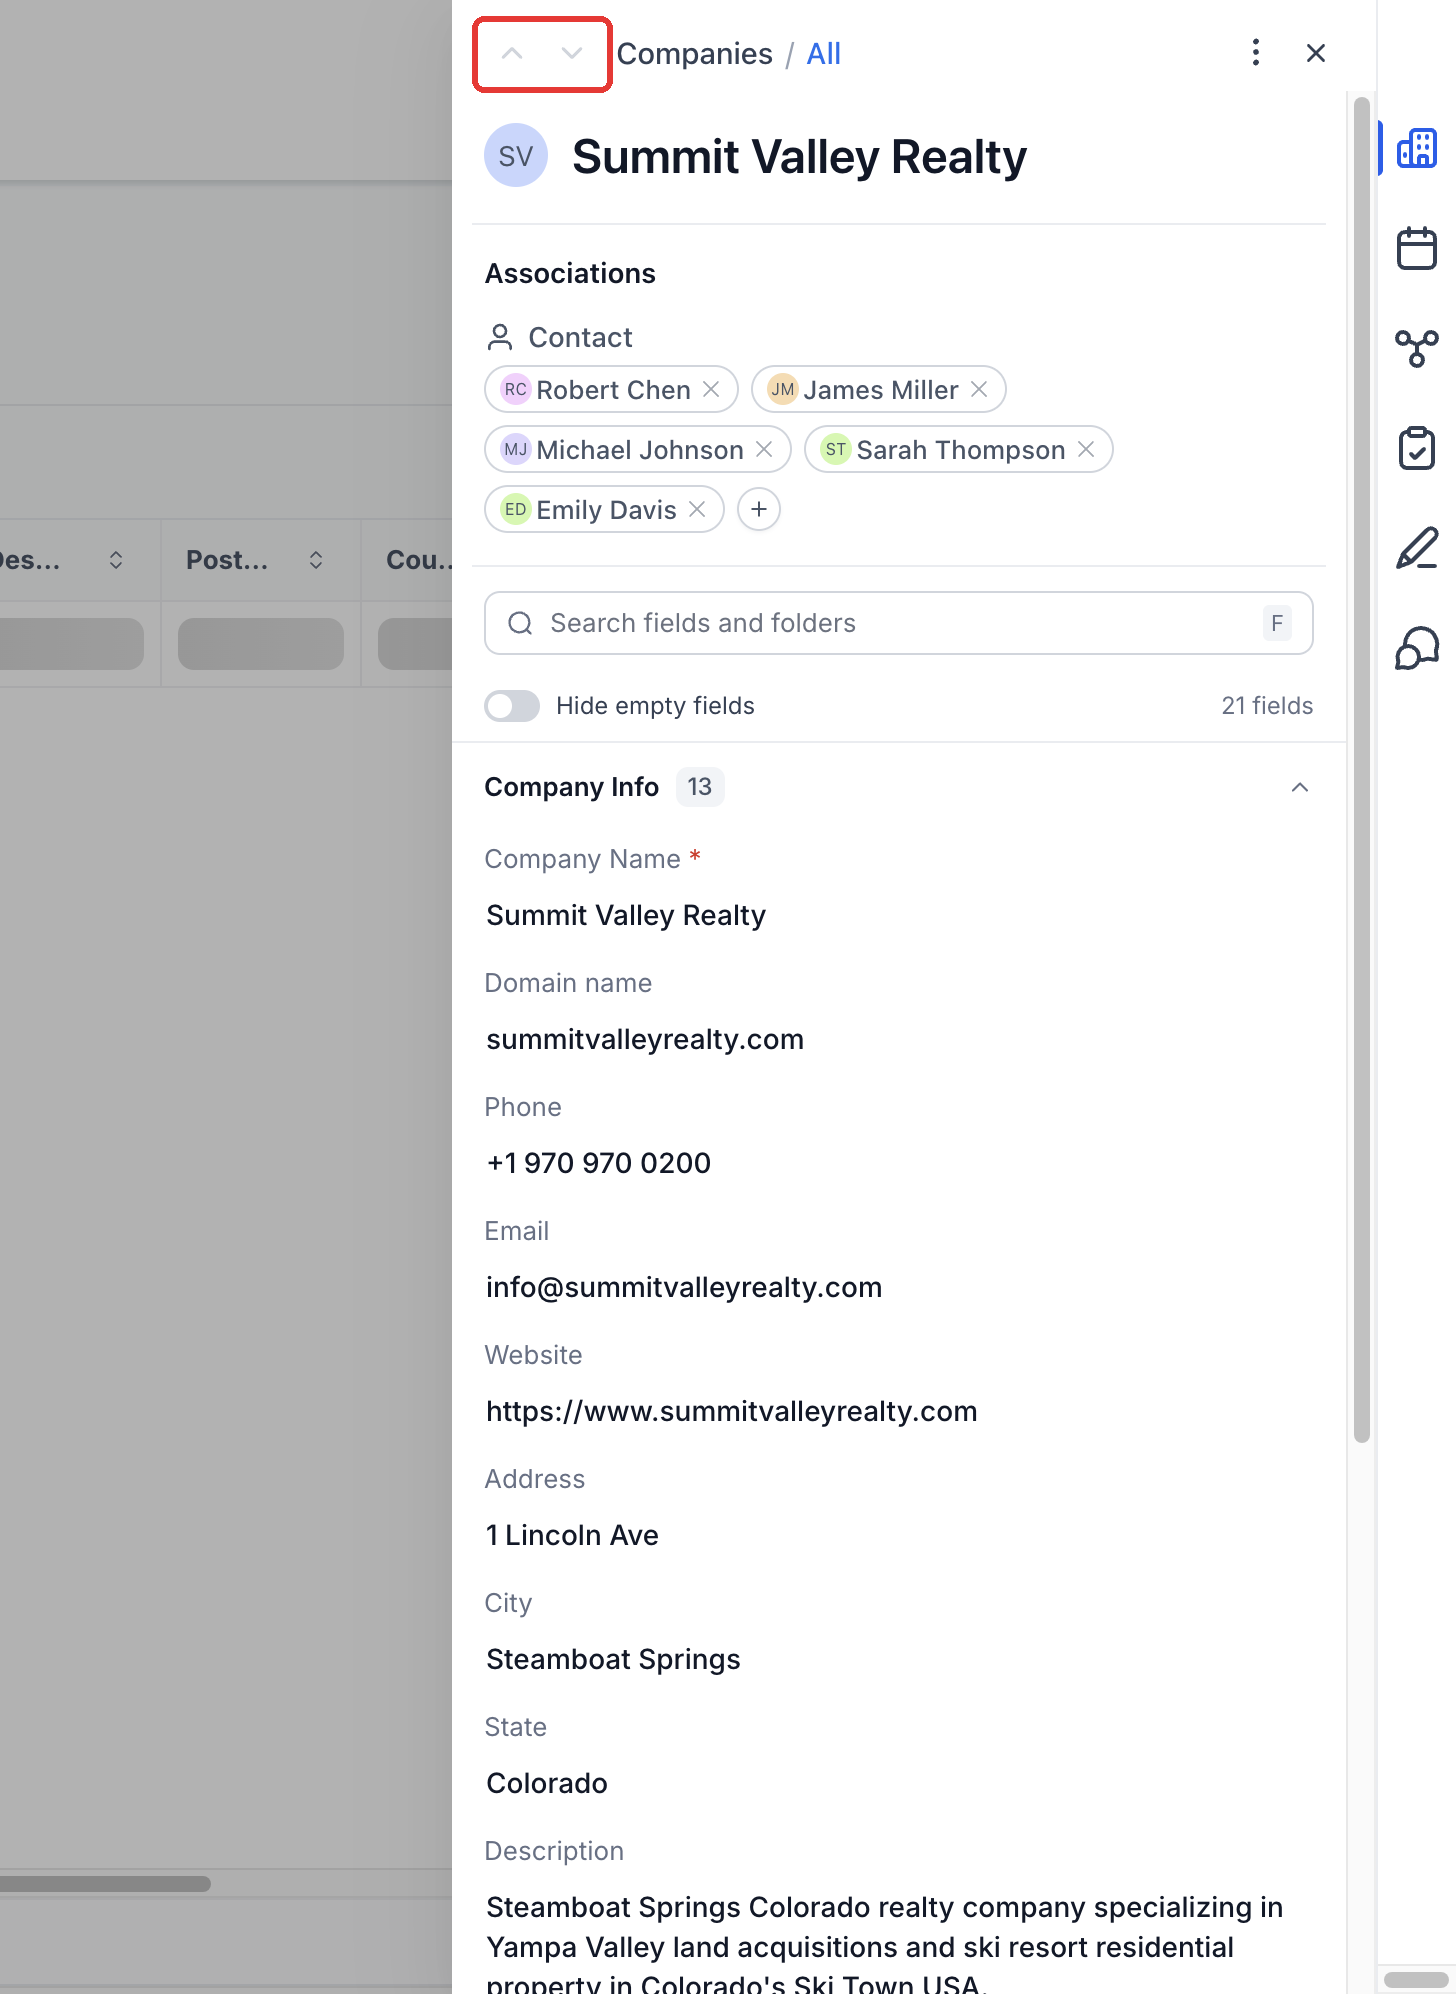
The side panel appears when a user clicks a Company name in Contacts > Companies. It overlays the list, leaving the list visible in the background. Six tabs, Details, Appointments, Associations, Tasks, Notes, and Conversations, provide quick access to each record type.
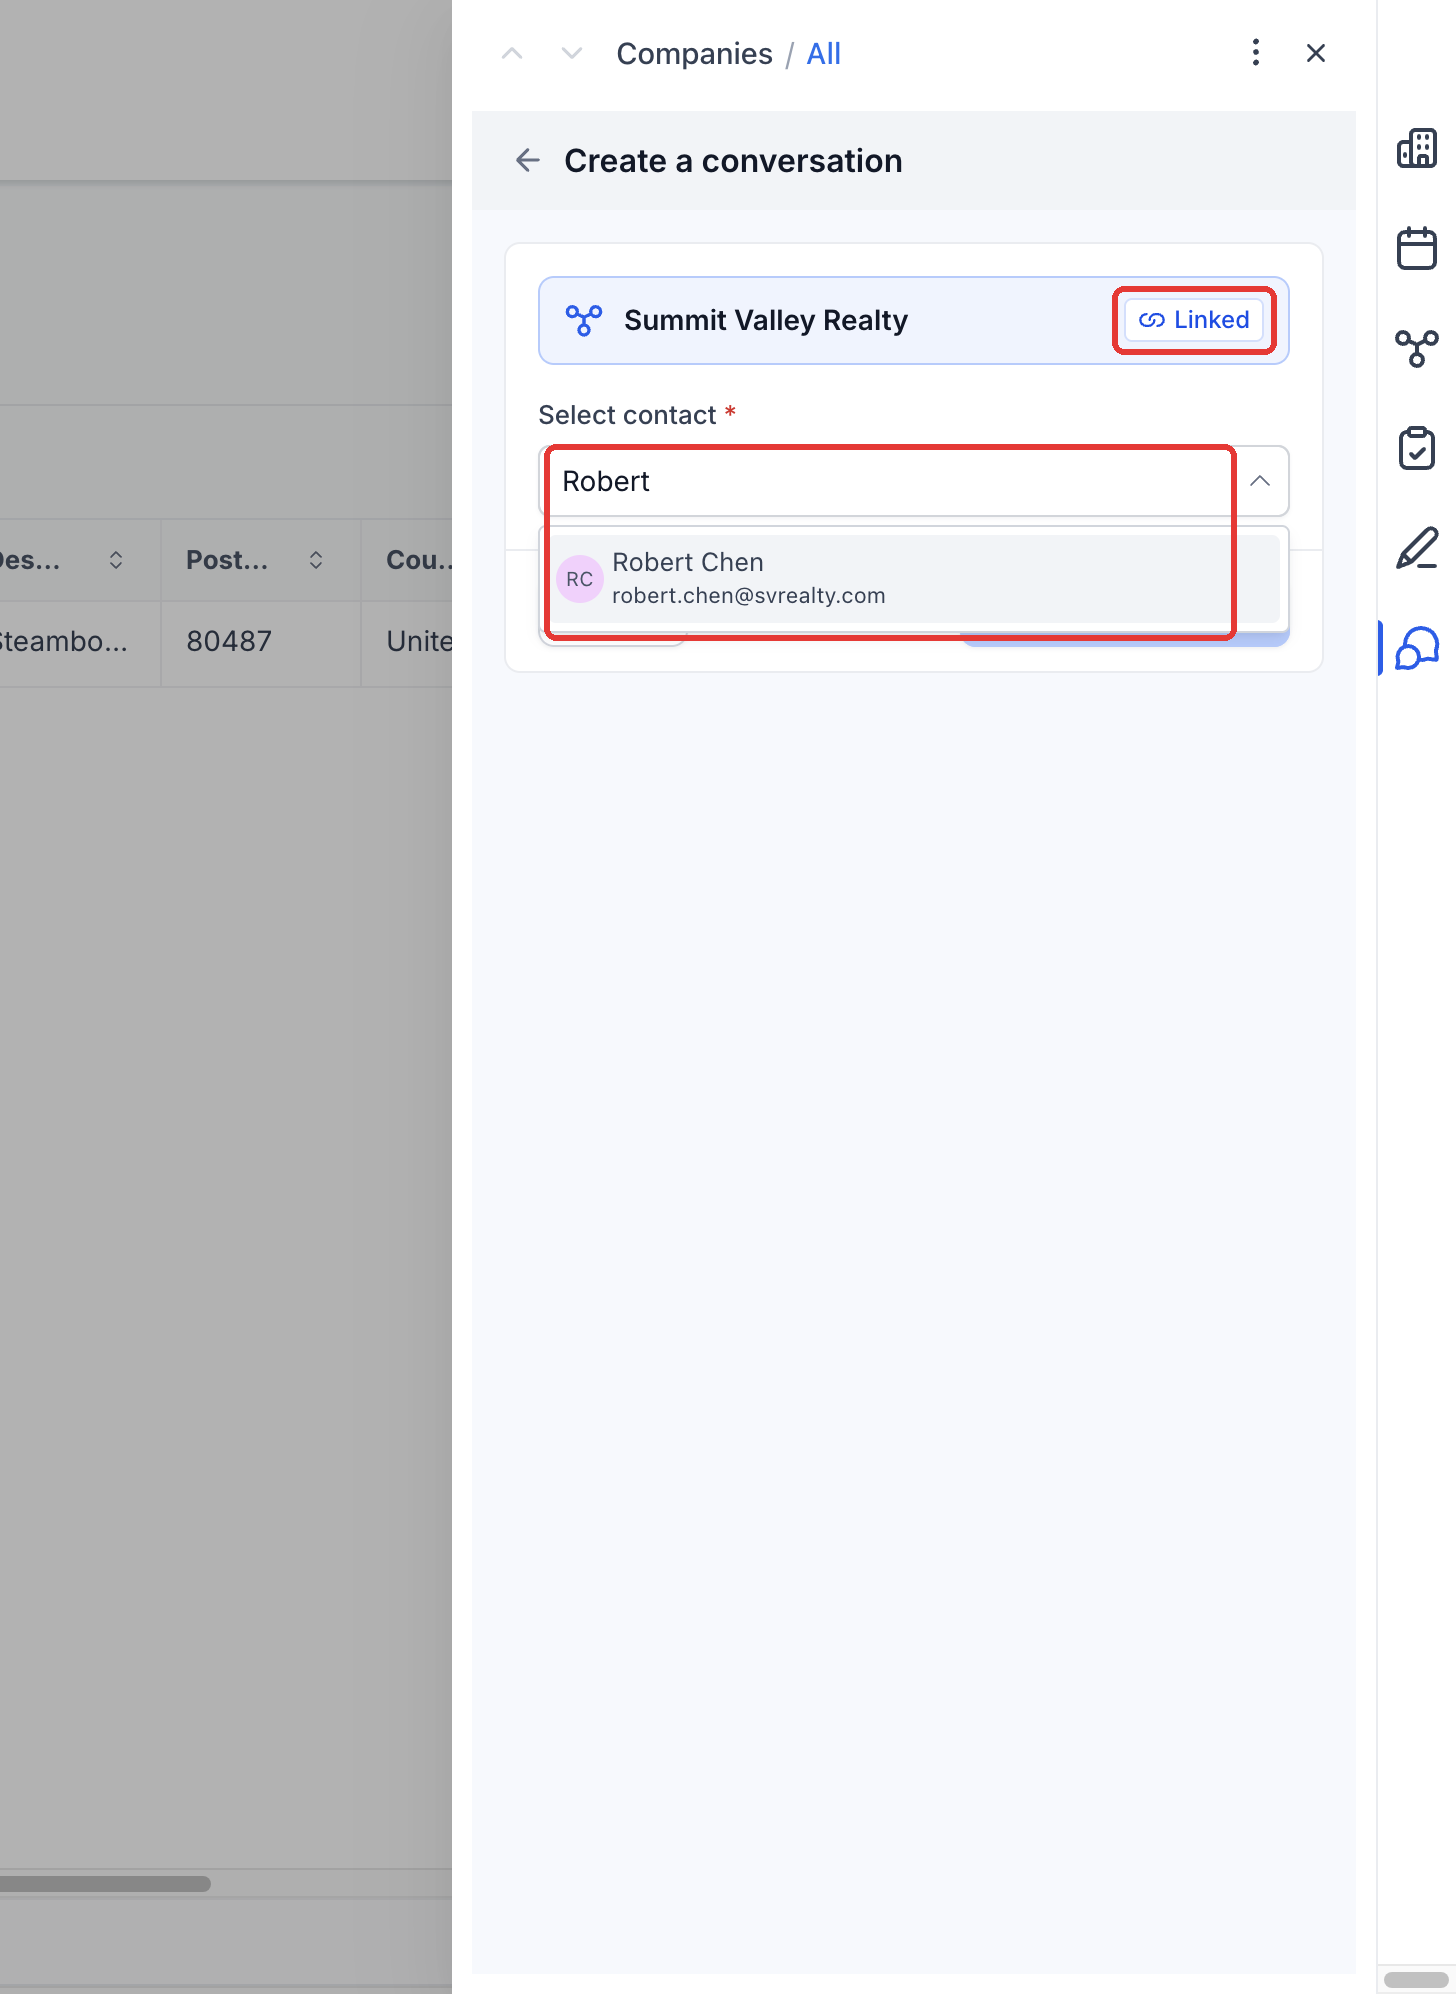
Each tab lets users both view information and take action. In Details, fields can be searched, hidden when empty, and edited inline. In Appointments, users can browse upcoming or past meetings, add new ones, or link existing bookings. The Conversations tab permits starting a new chat while keeping the Company linked for context.
03How businesses use the Companies side panel
- Real estate brokerage. Agents open a property owner's Company record, edit custom fields such as property type, and start a conversation with the owner to discuss listings. New showings are booked from the Appointments tab, automatically linking the Company.
- IT consulting firm. Consultants view a client Company's details, update service subscription fields, and add tasks. They schedule project kickoff meetings directly in the panel, ensuring the client Company is pre selected.
- Dental practice. Staff open a patient’s corporate account Company, link contacts for family members, and create a conversation to confirm insurance details. Existing dental appointments are linked to the Company for a complete history.
04Before you start
- The feature is only available in a private beta and must be enabled for the location.
05How to set up and use the Companies side panel in HighLevel
Open a Company record
- Navigate to Contacts > Companies.
- Click the name of the Company you want to work with.
- Use the arrow icons at the top of the panel to move to the previous or next Company in the list.
- Click Close to return to the Companies list.
Review Company details
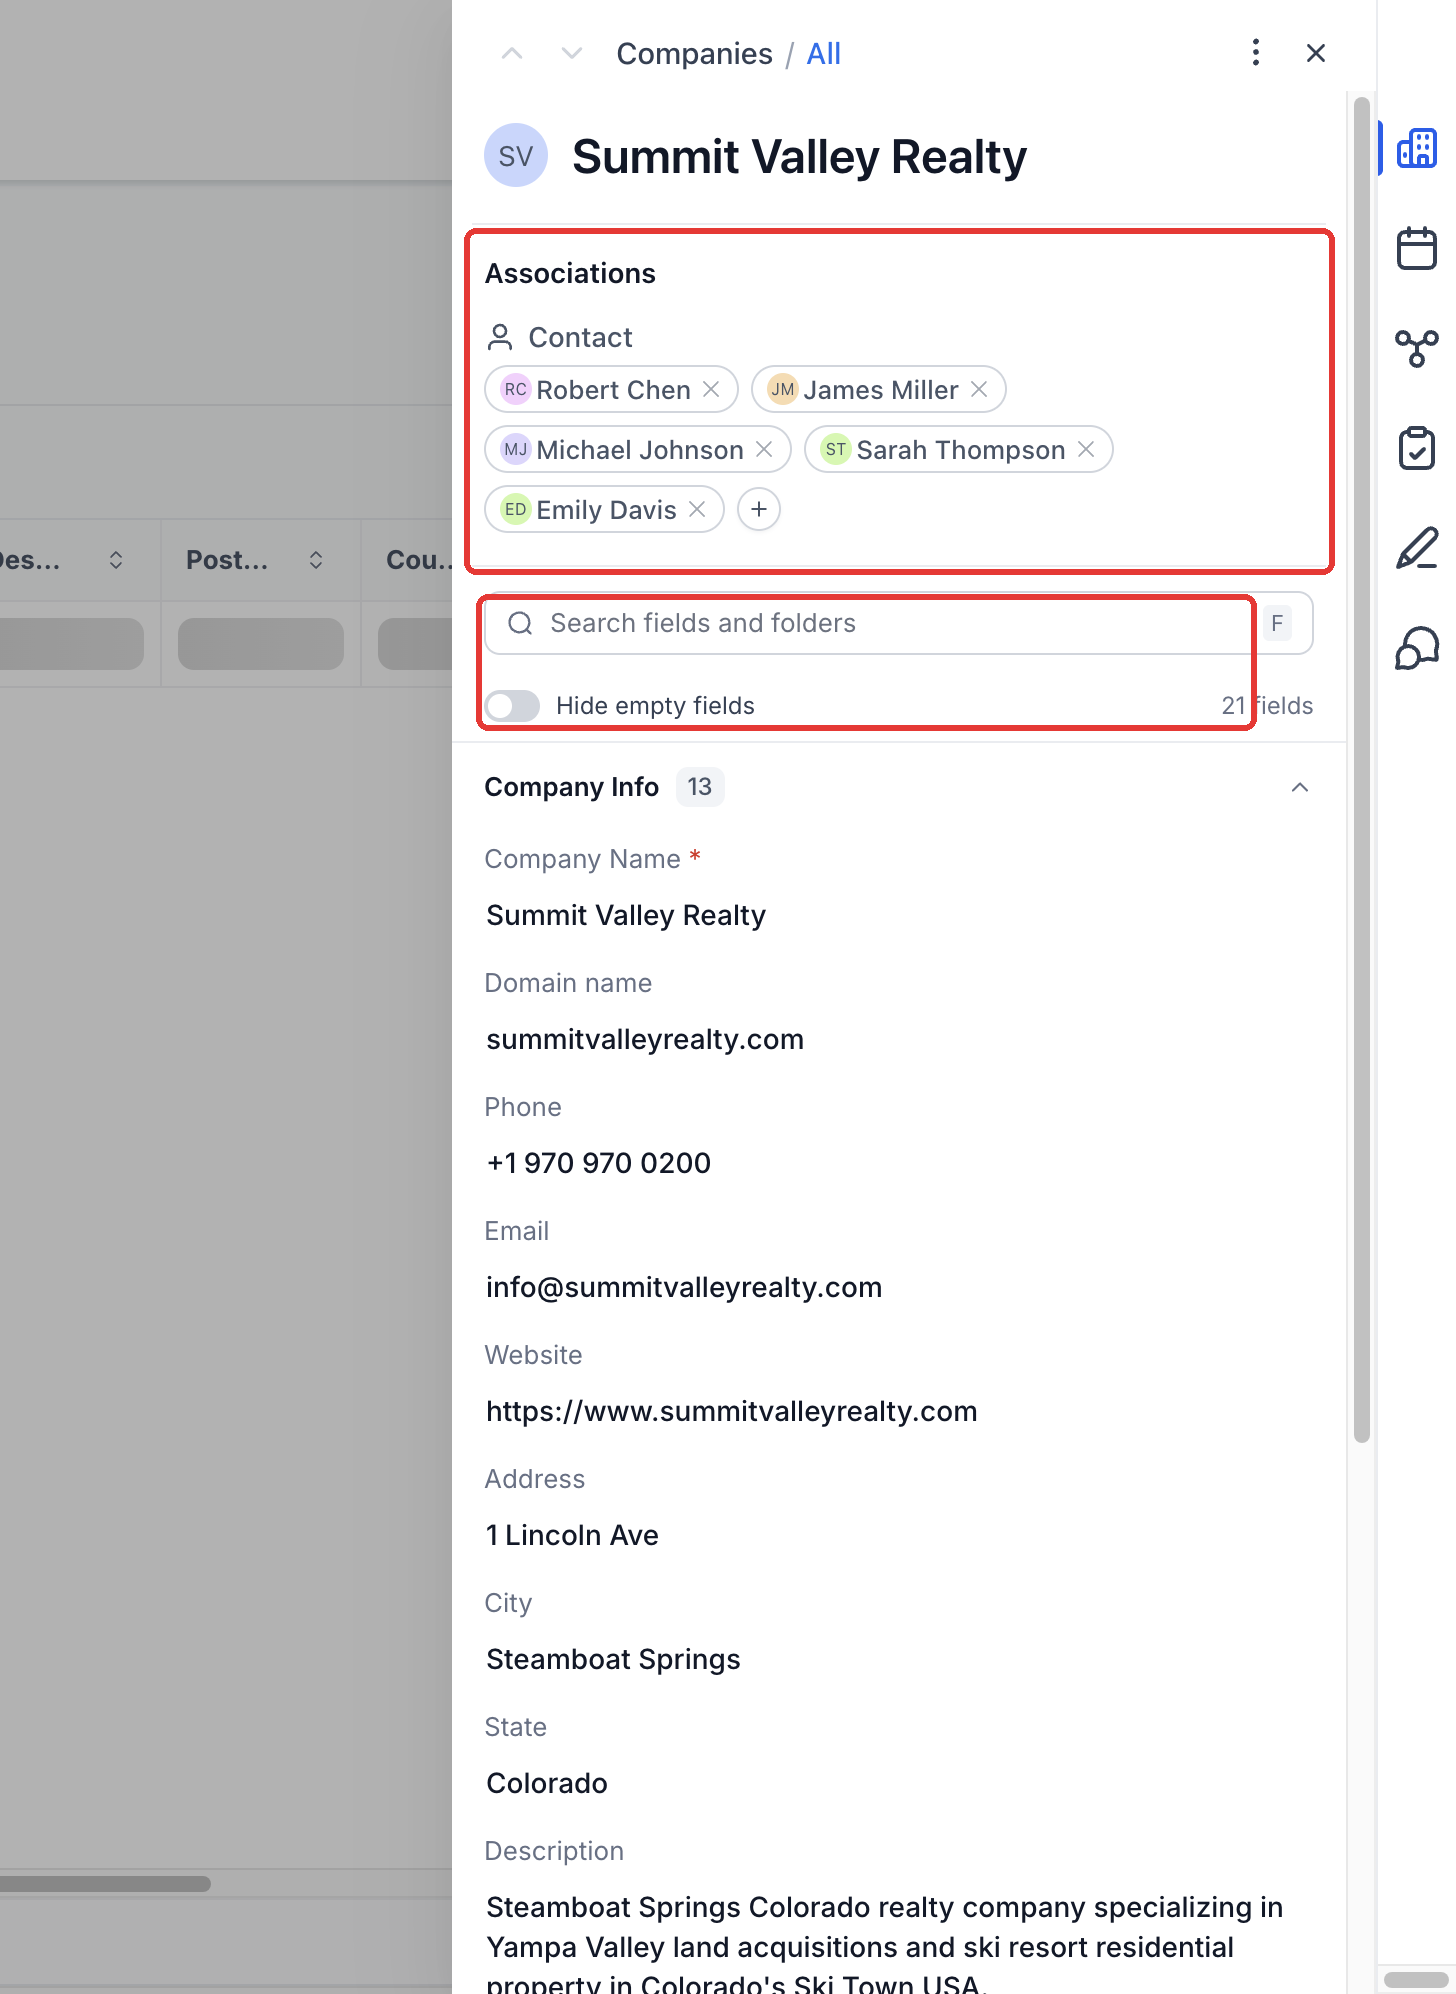
- In the side panel, view the Details tab that shows the Company name, associations, and fields.
- Enter a term in the field search box to locate a specific field or folder.
- Activate Hide empty fields to display only fields that contain values.
- Expand any folder to see its contained fields and the field count.
- Click a field value to open its inline editor and make changes.
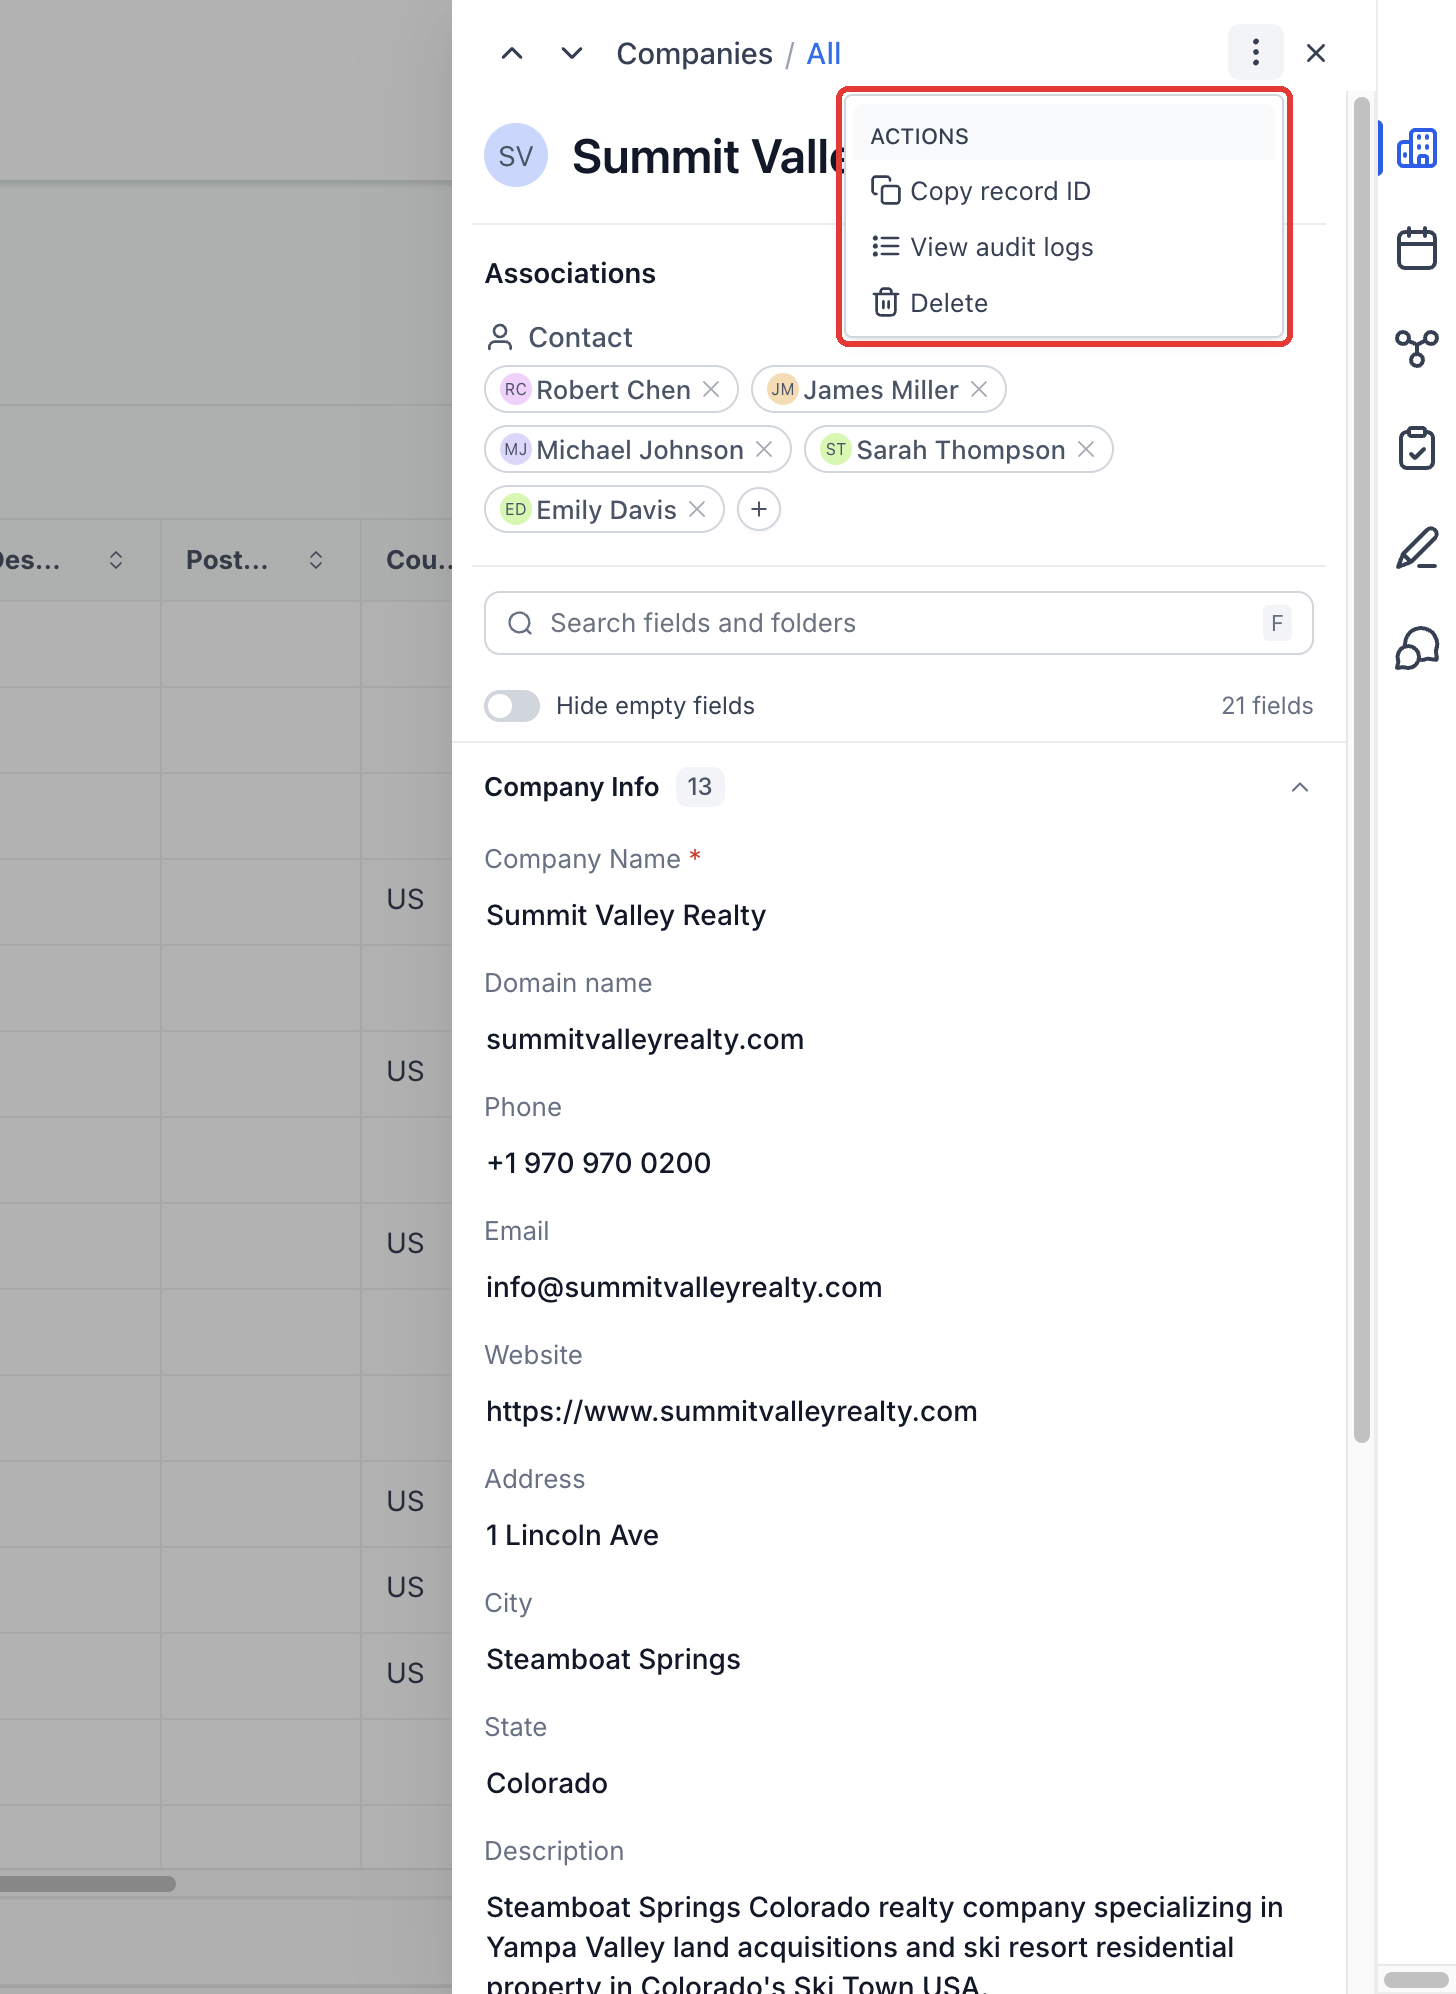
- Open the three dot menu to copy the record ID, view audit logs, or delete the record.
Work with Conversations
- With the Company open, select the Conversations tab.
- Look at the conversation feed; note the empty state if no chats exist.
- Click Create a conversation (or Create new conversation).
- Choose a Contact; the Company is already marked as Linked.
- Click Create conversation to start the thread.
Work with Appointments
- With the Company open, select the Appointments tab.
- Toggle between Upcoming and Past views.
- Use the Search by Calendar Name field to locate a specific appointment.
- Click Add and choose Meetings, Services, or Link existing appointment.
Book a meeting
- In the Appointments tab, click Add then select Meetings.
- Select the calendar, set date, time, and other details, and pick a Contact.
- In the Associated objects section, verify the Company is preselected.
- Click Book appointment to create the meeting.
Link an existing appointment
- In the Appointments tab, click Add and choose Link existing appointment.
- Search for the appointment you want to associate within the current location.
- Click Link beside the appointment to attach it to the Company.
06What it looks like in HighLevel
07Settings that matter
- Hide empty fields. When enabled, only fields that contain data are shown, making the Details view shorter.
08Things to know before you rely on it
- The side panel is only accessible to accounts that are part of the private beta.
- It is available only in locations where the feature has been turned on.
09How it connects to the rest of HighLevel
- Managing companies in HighLevel: key features and tips Companies overview
- How to set up Company based workflows in HighLevel Company workflows
- Automatic company creation and enrichment in HighLevel Auto create companies
Michael's take

Don’t assume the side panel will magically replace your existing workflow. It’s a new view, and you still need to keep your data clean and your contacts up to date before you rely on it for rapid account handling.
When it works, the Companies side panel gives you a single place to see everything about an account and act without flipping between screens.