
01Who this is for
- Founders of SaaS products who need to push lead data to an external CRM without writing code.
- Marketing agencies that want to automate contact sync between HighLevel and client ad platforms.
- Ecommerce owners who must update inventory or order status in a third party fulfillment system.
02Custom webhooks, explained
Custom Webhook lives inside the workflow builder under the Send Data actions. When a workflow reaches this step, HighLevel compiles the URL, HTTP method, headers, query parameters, and body payload, injecting any dynamic values you selected, then sends the request to the external endpoint.
The action can be configured for simple form style submissions or advanced JSON bodies. You choose an authentication method, add custom headers, and optionally capture the response for later review in execution logs. The request runs in real time each time the workflow executes.
03How businesses use custom webhook
- SaaS startup. The team adds a Custom Webhook step to a workflow that fires when a new trial sign up occurs. They map {{contact.email}} and {{contact.id}} into a JSON payload, set the method to POST, and send the data to their billing API.
- Digital marketing agency. An agency creates a workflow that triggers after a lead status changes. The Custom Webhook uses a GET request with query parameters like email={{contact.email}} to pull lead data from a client’s ad platform and records the response.
- Online membership platform. When a new member joins, the workflow runs a Custom Webhook with a Bearer token header and a nested JSON body containing {{contact.id}} and {{contact.name}}. The payload creates the member record in an external learning management system.
04The numbers and rules that matter
- Authentication options: Bearer Token, API Key, Basic Auth, OAuth2, No Auth + custom header.
- HTTP methods supported: GET, POST, PUT, DELETE.
- OAuth2 tokens are managed in Global Workflow Settings > OAuth2 / Manage Tokens.
05Before you start
- If using OAuth2, configure the token first in Global Workflow Settings > OAuth2 / Manage Tokens.
- Ensure the workflow contains the necessary contact or record fields that will be referenced in dynamic values.
06How to set up and use custom webhook in HighLevel
Set up a Custom Webhook action in a workflow
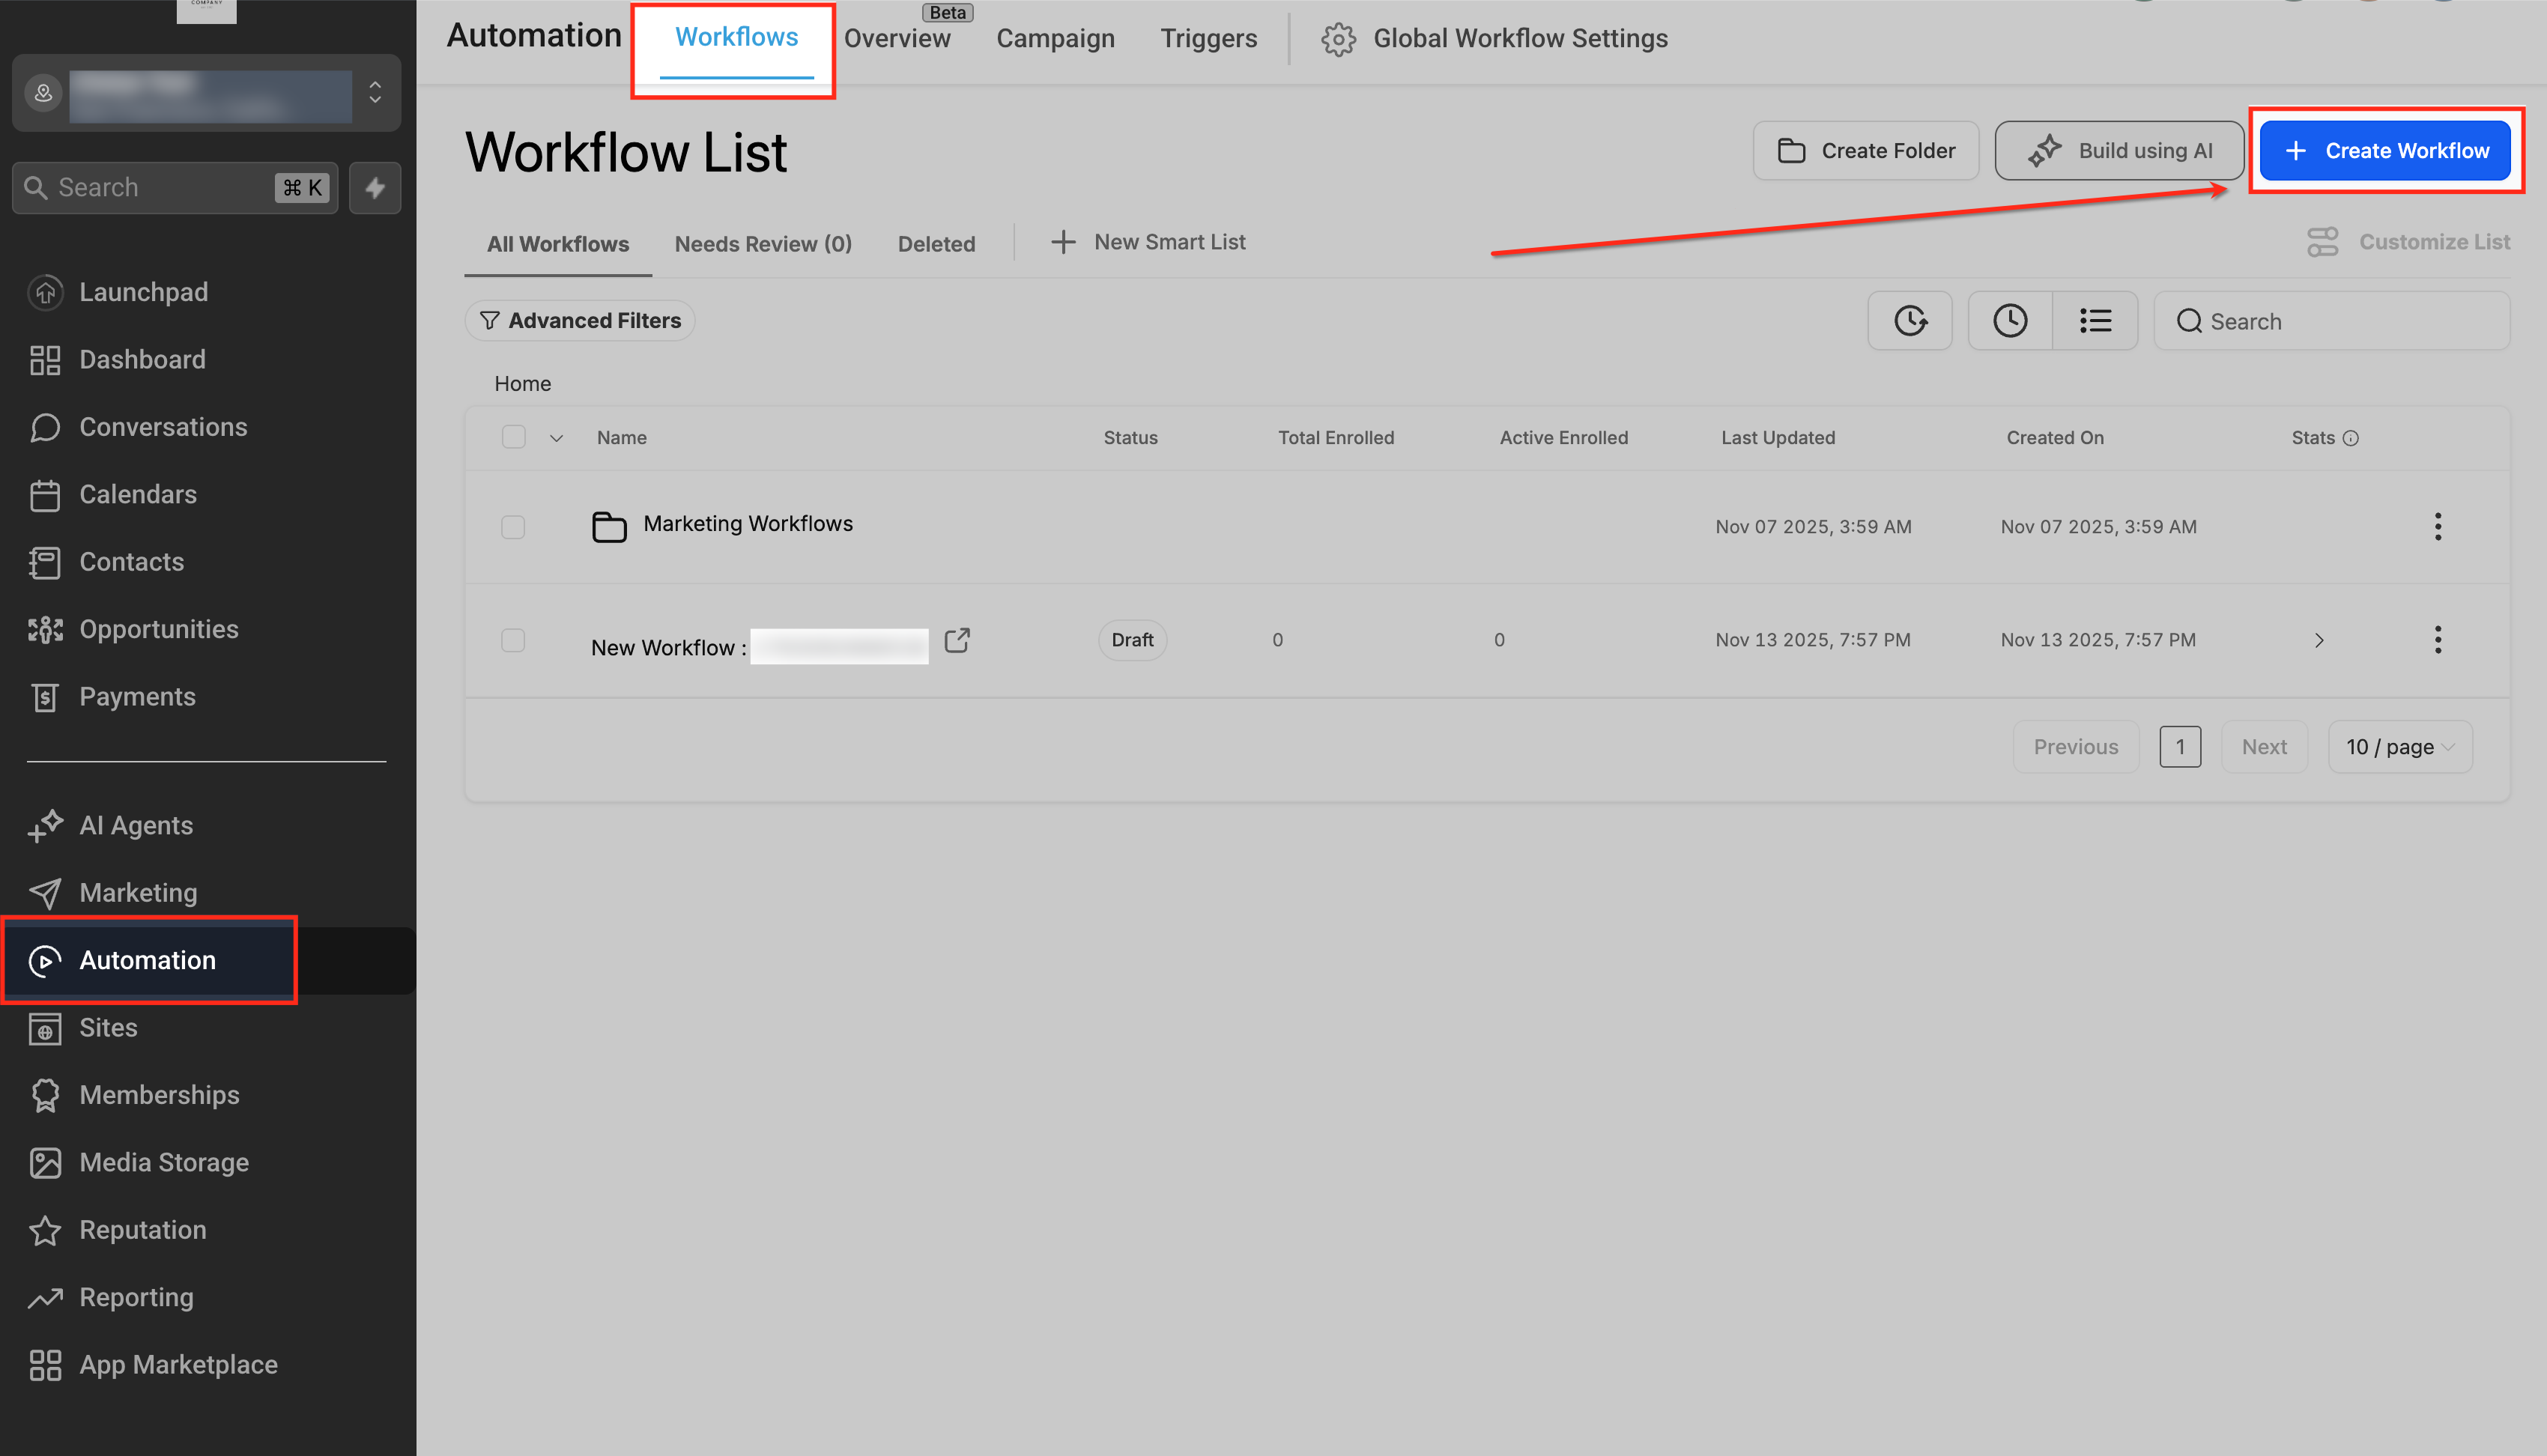
- Navigate to Automation > Workflows and open the workflow you want to edit.
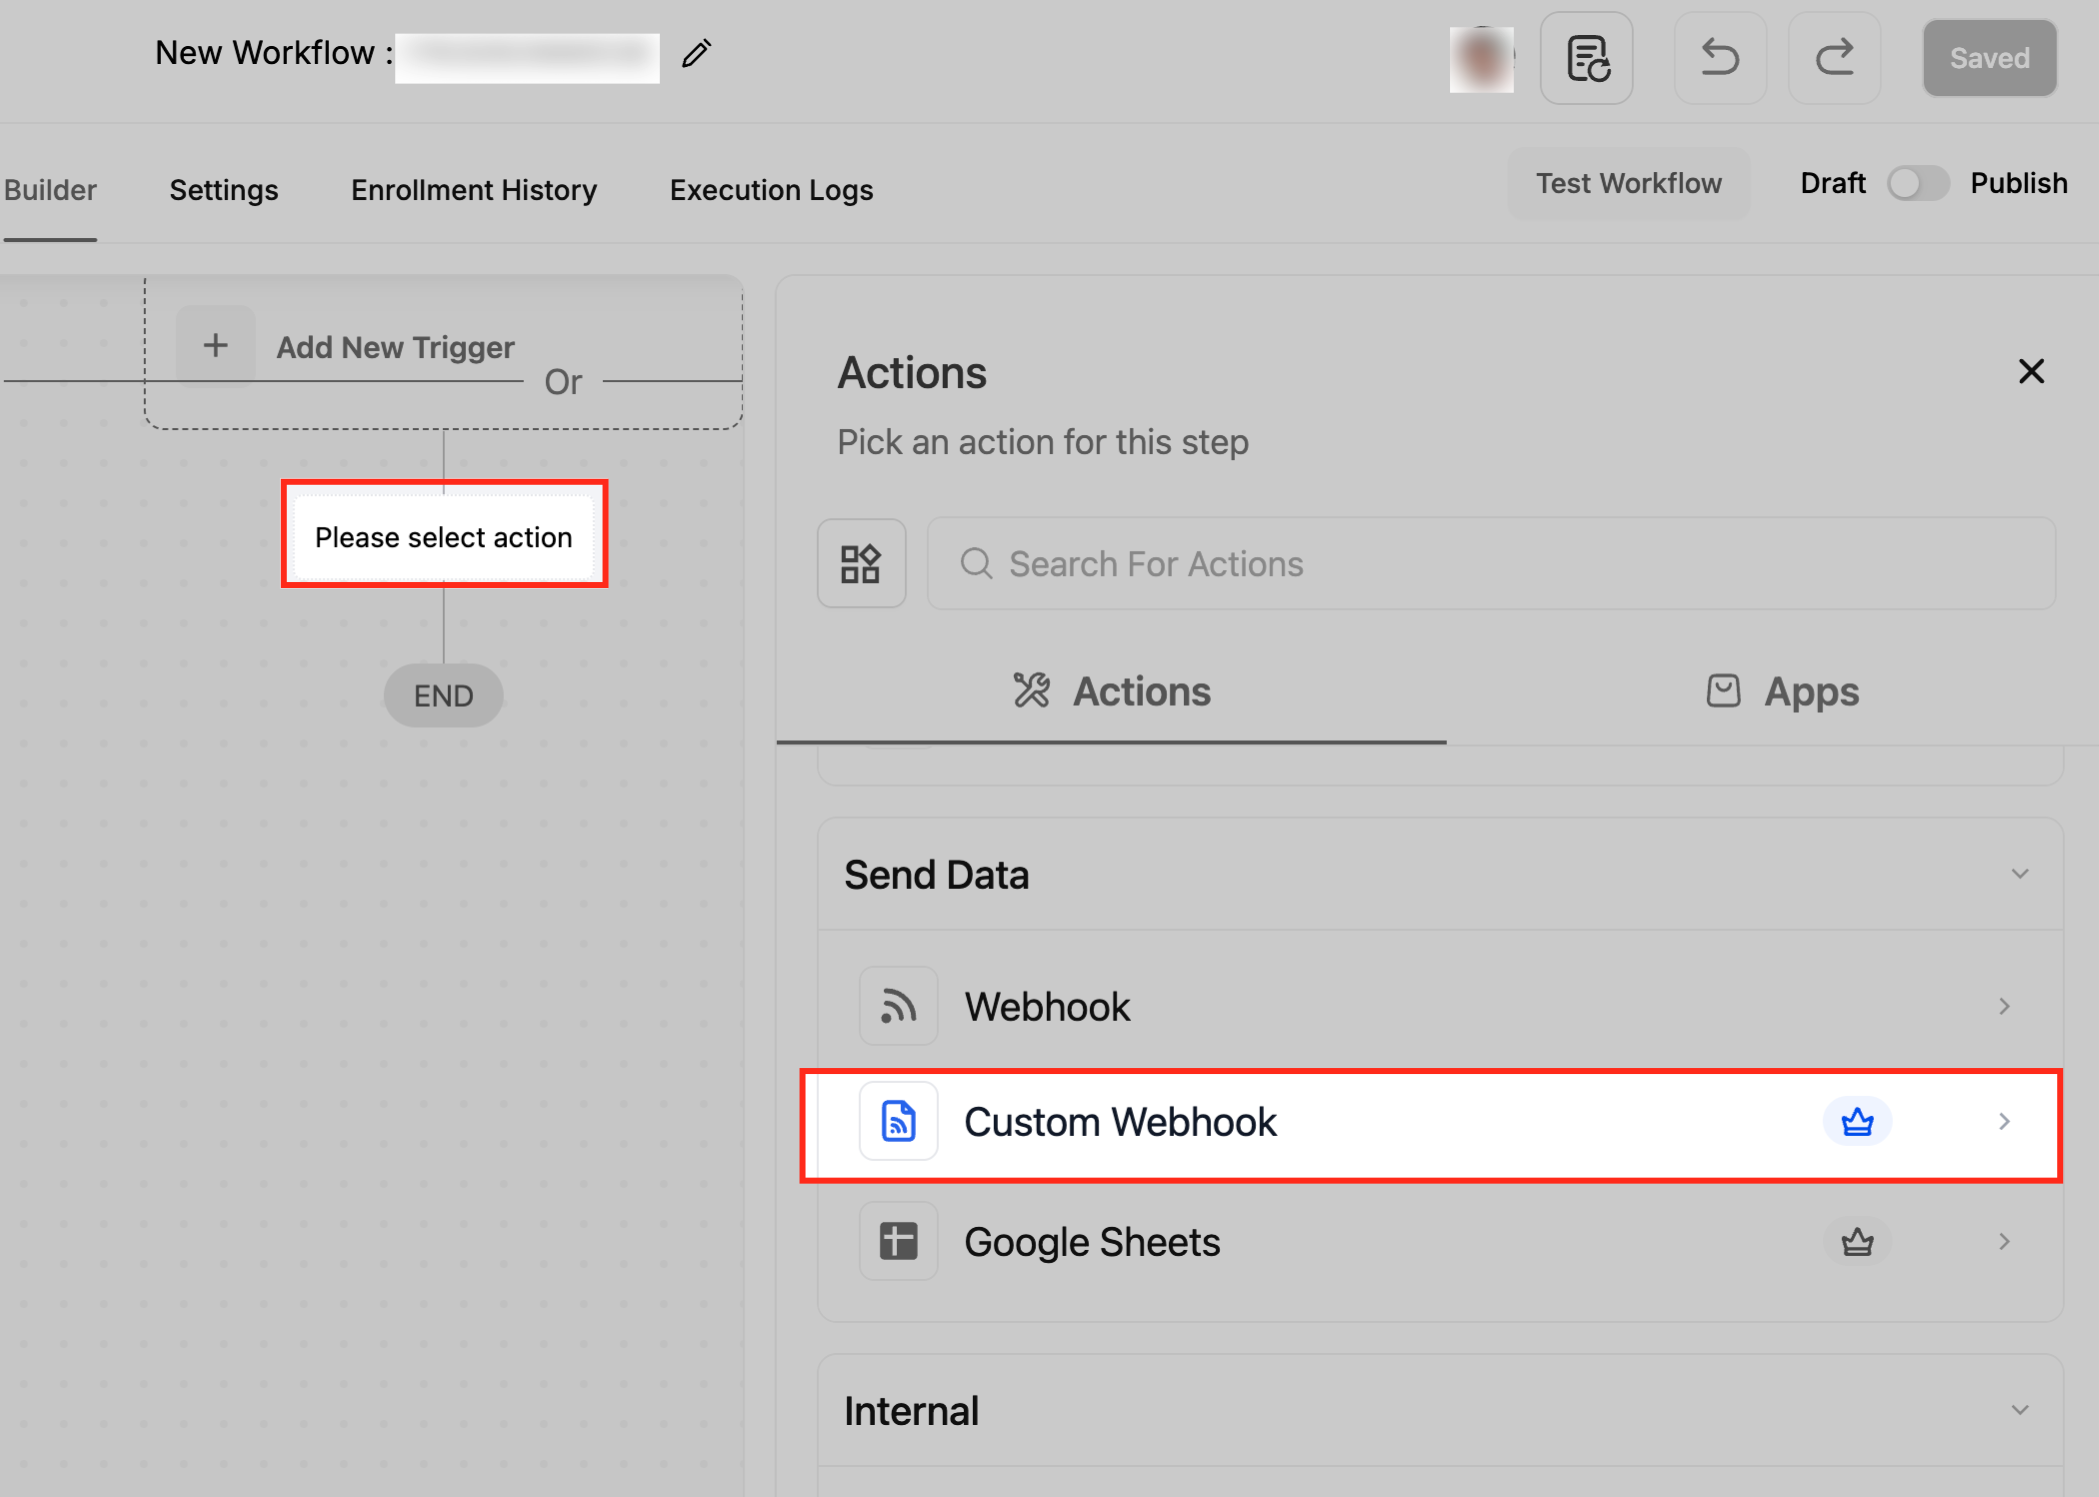
- Click + Add action, choose Send Data, then select Custom Webhook to create the step.
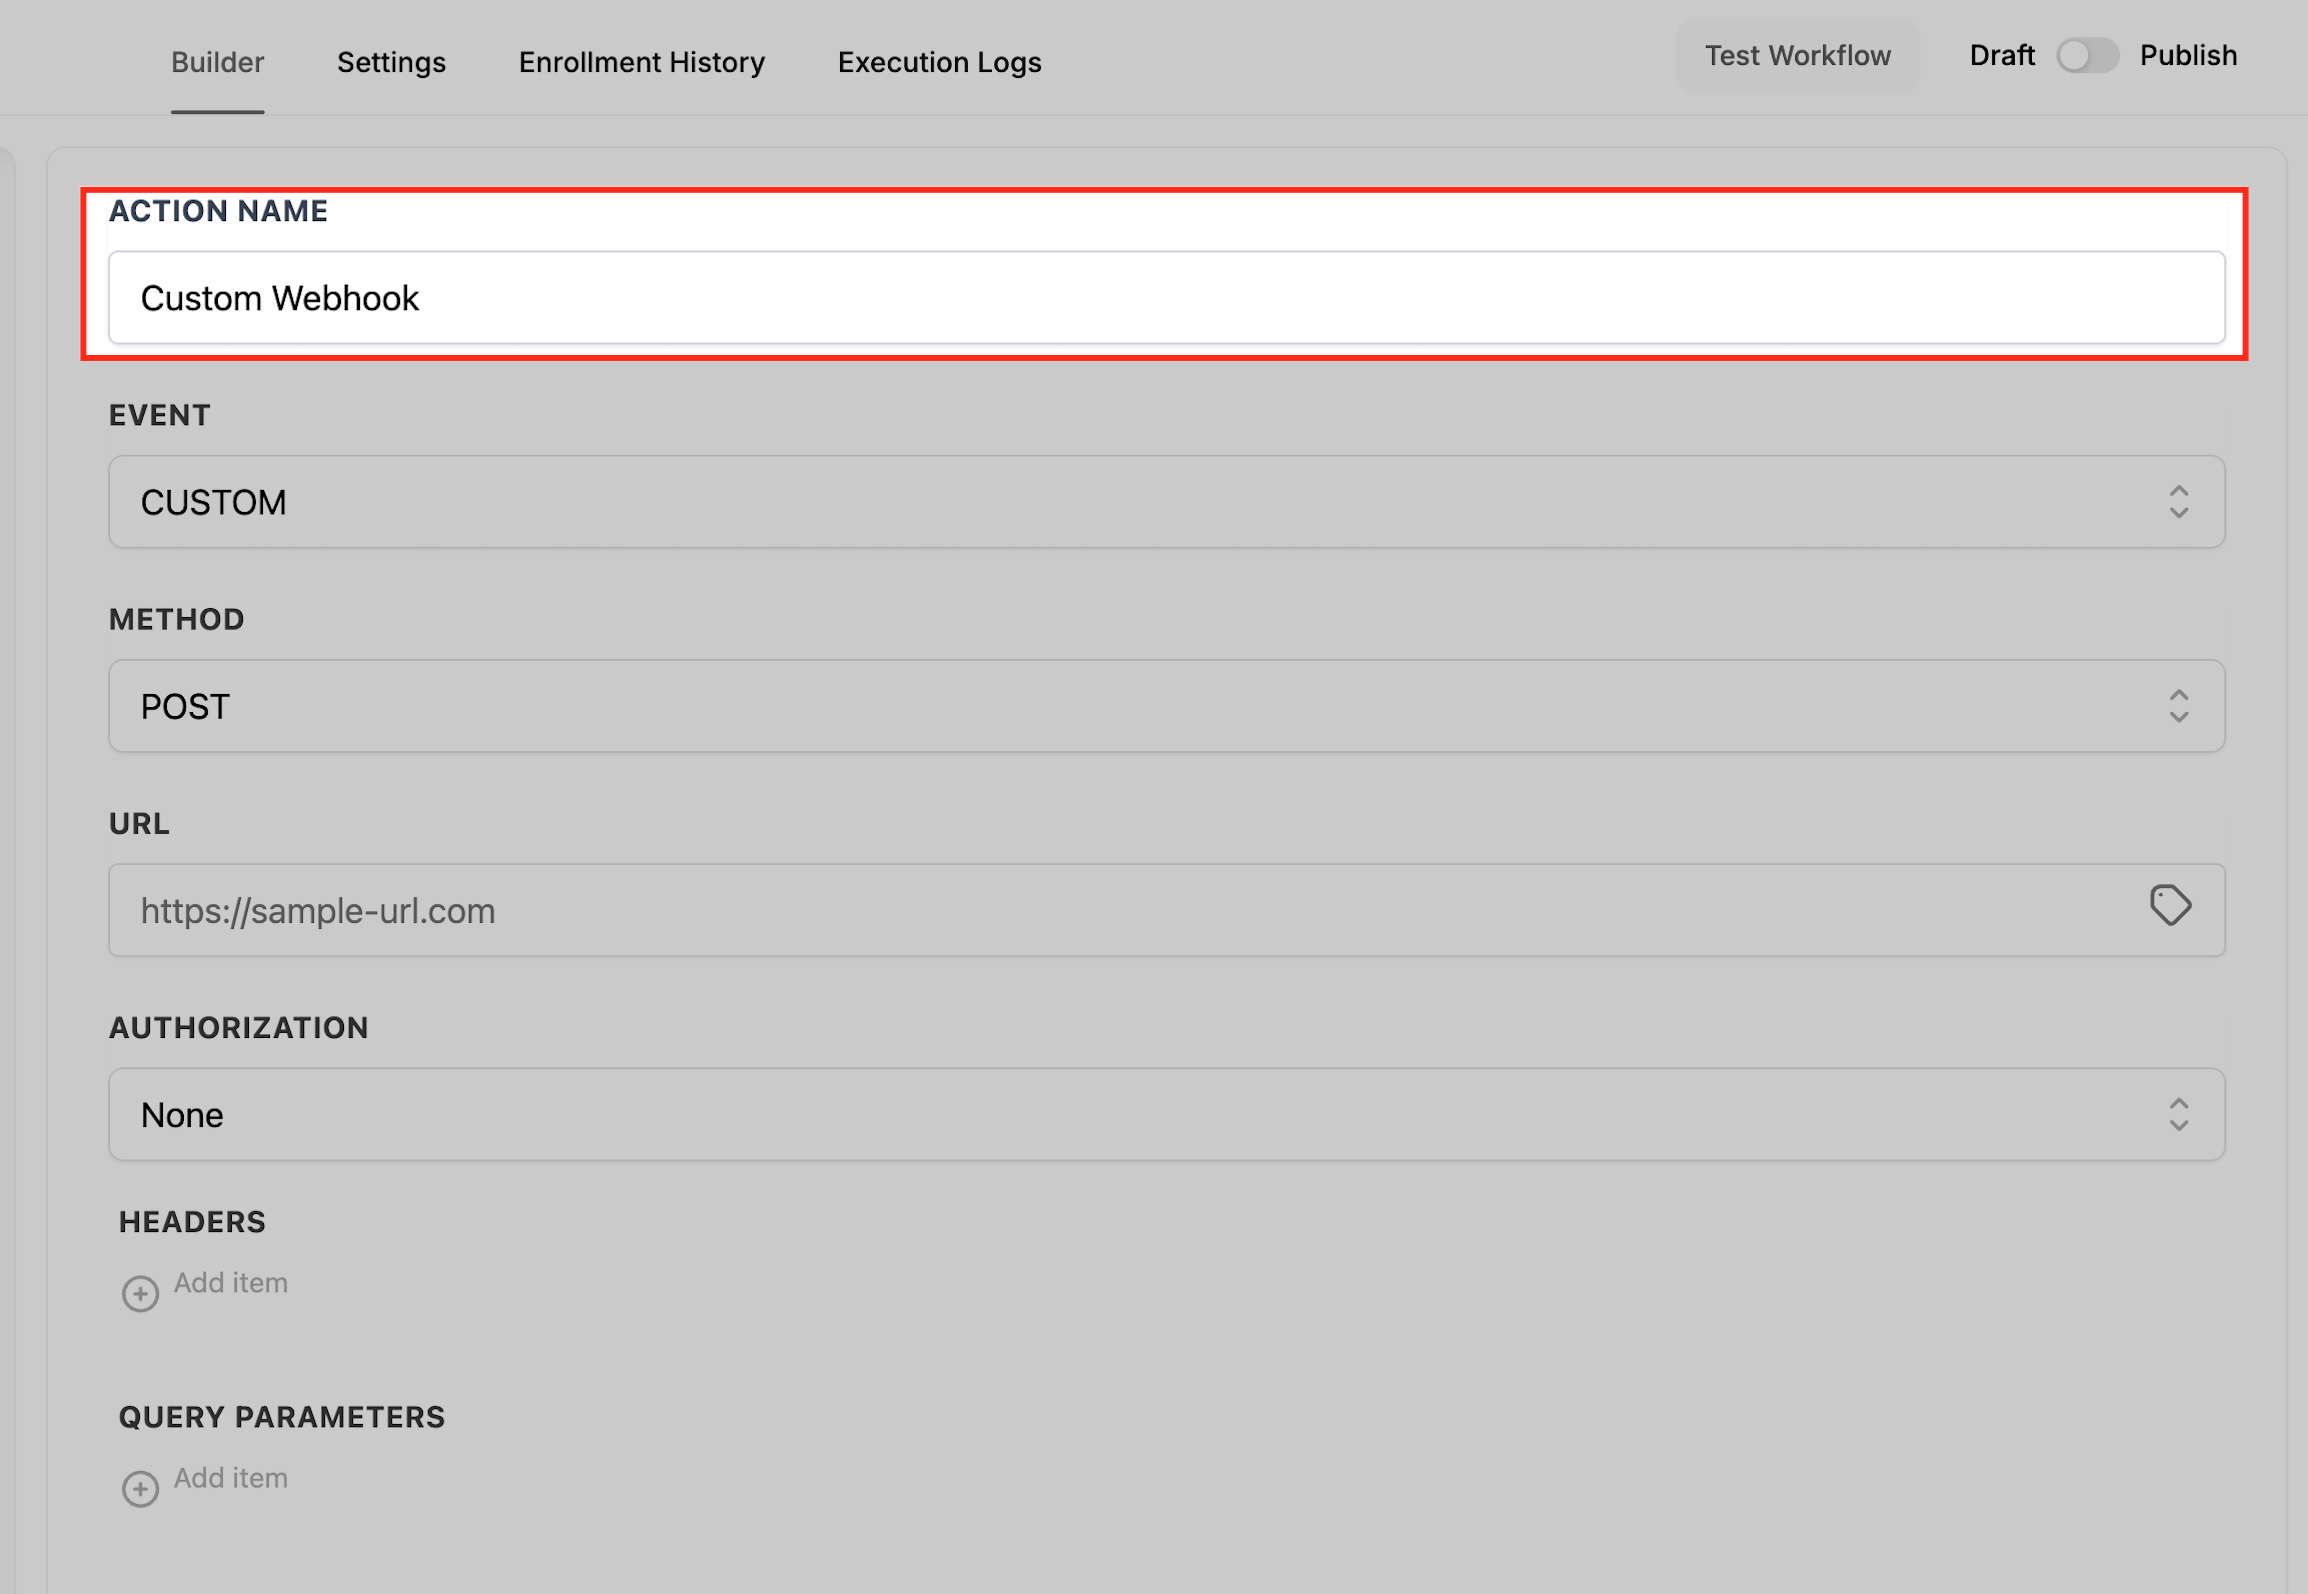
- Enter a clear, descriptive name for the action.
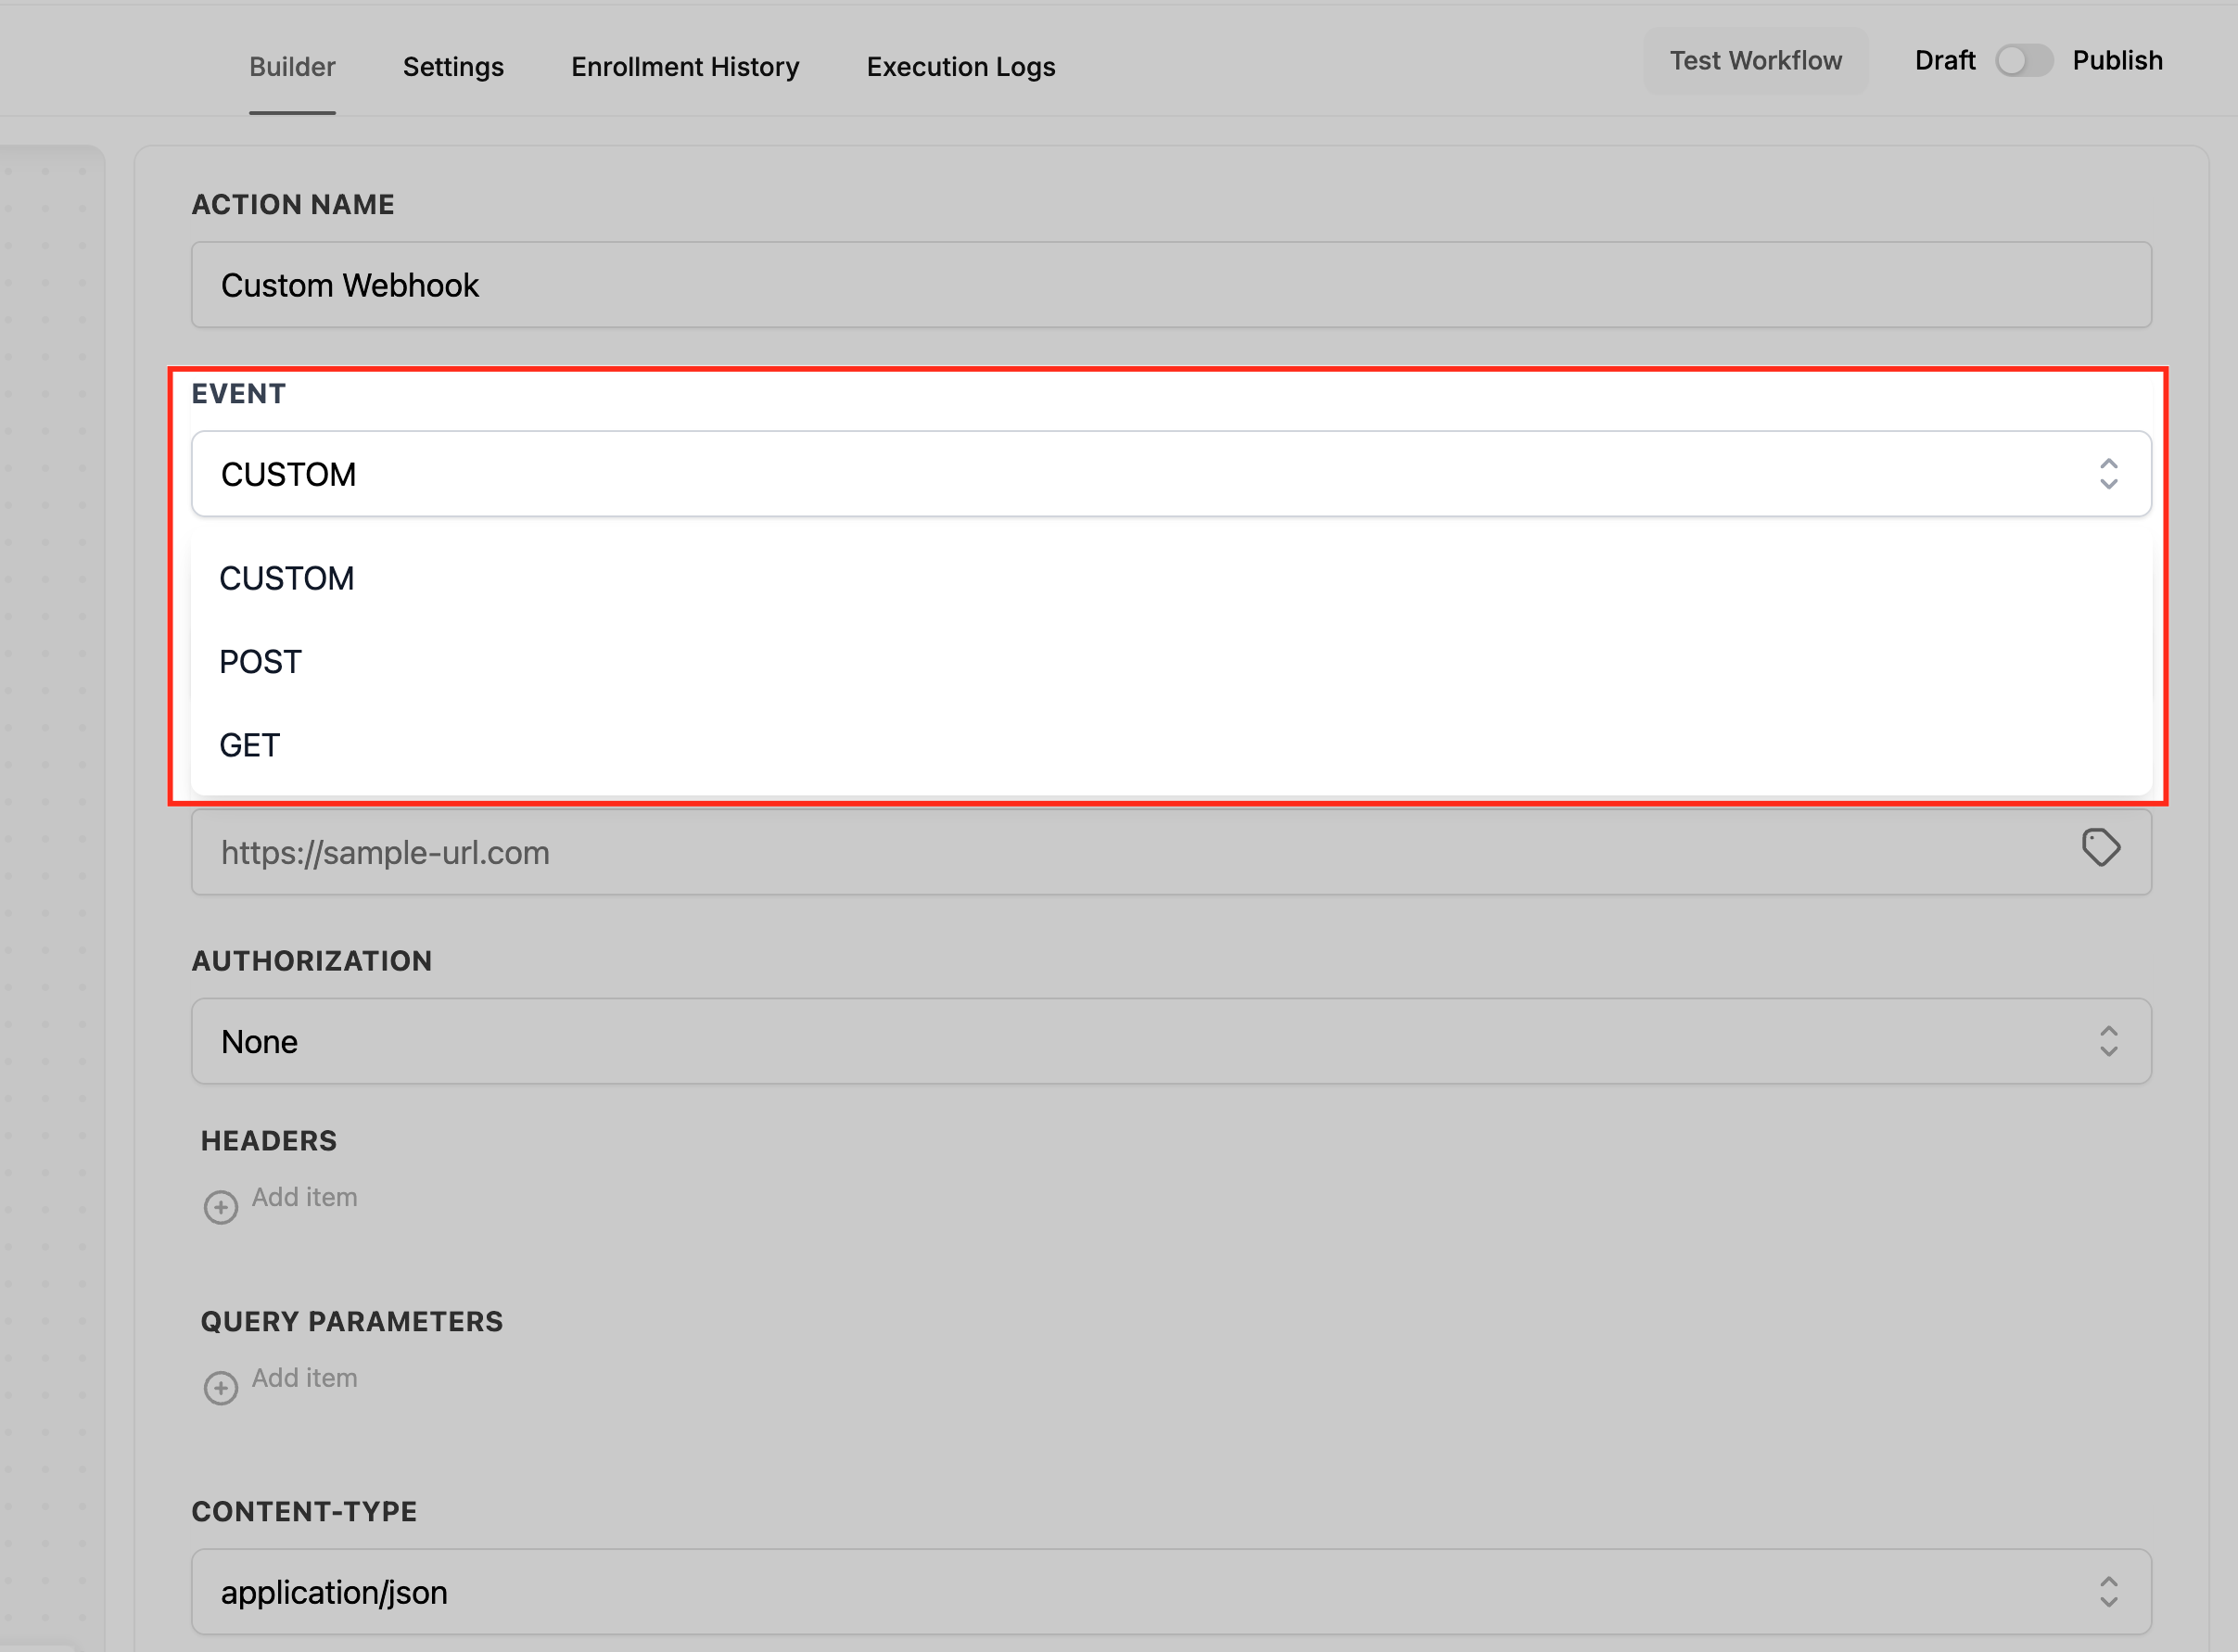
- Select the Event type that matches your integration needs.
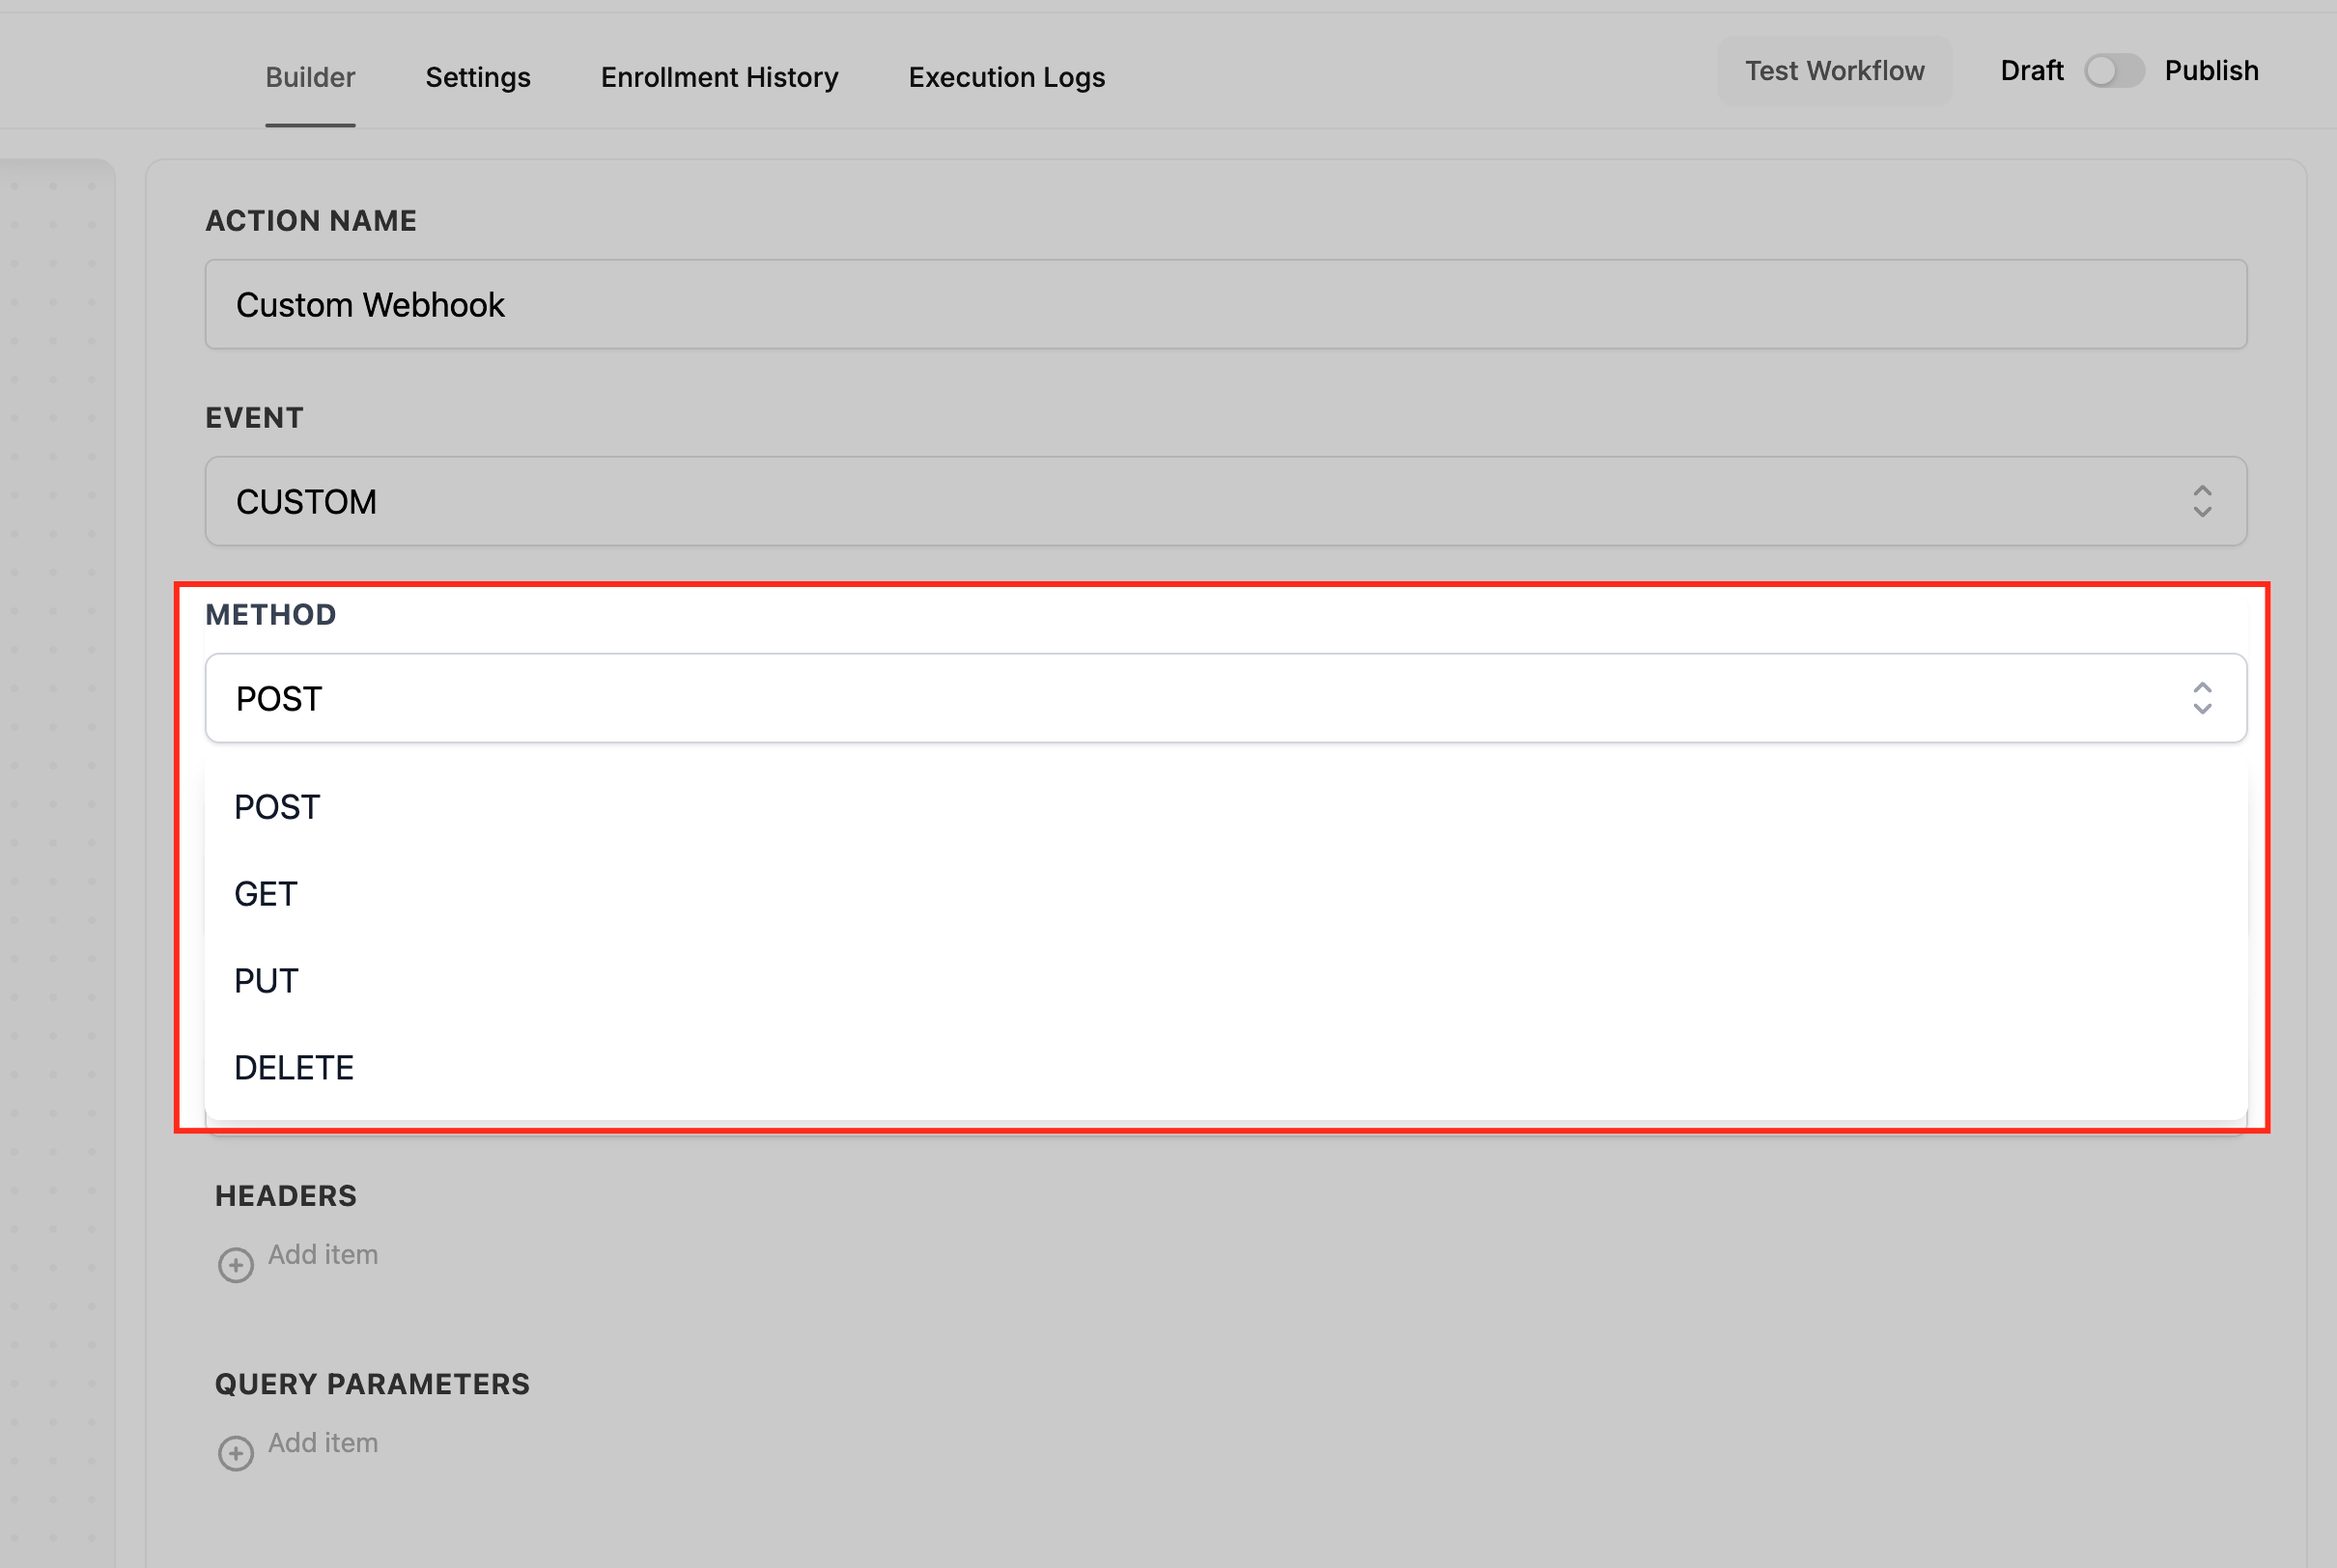
- If the Event is CUSTOM, pick the HTTP Method (GET, POST, PUT, DELETE) and set the Content Type.
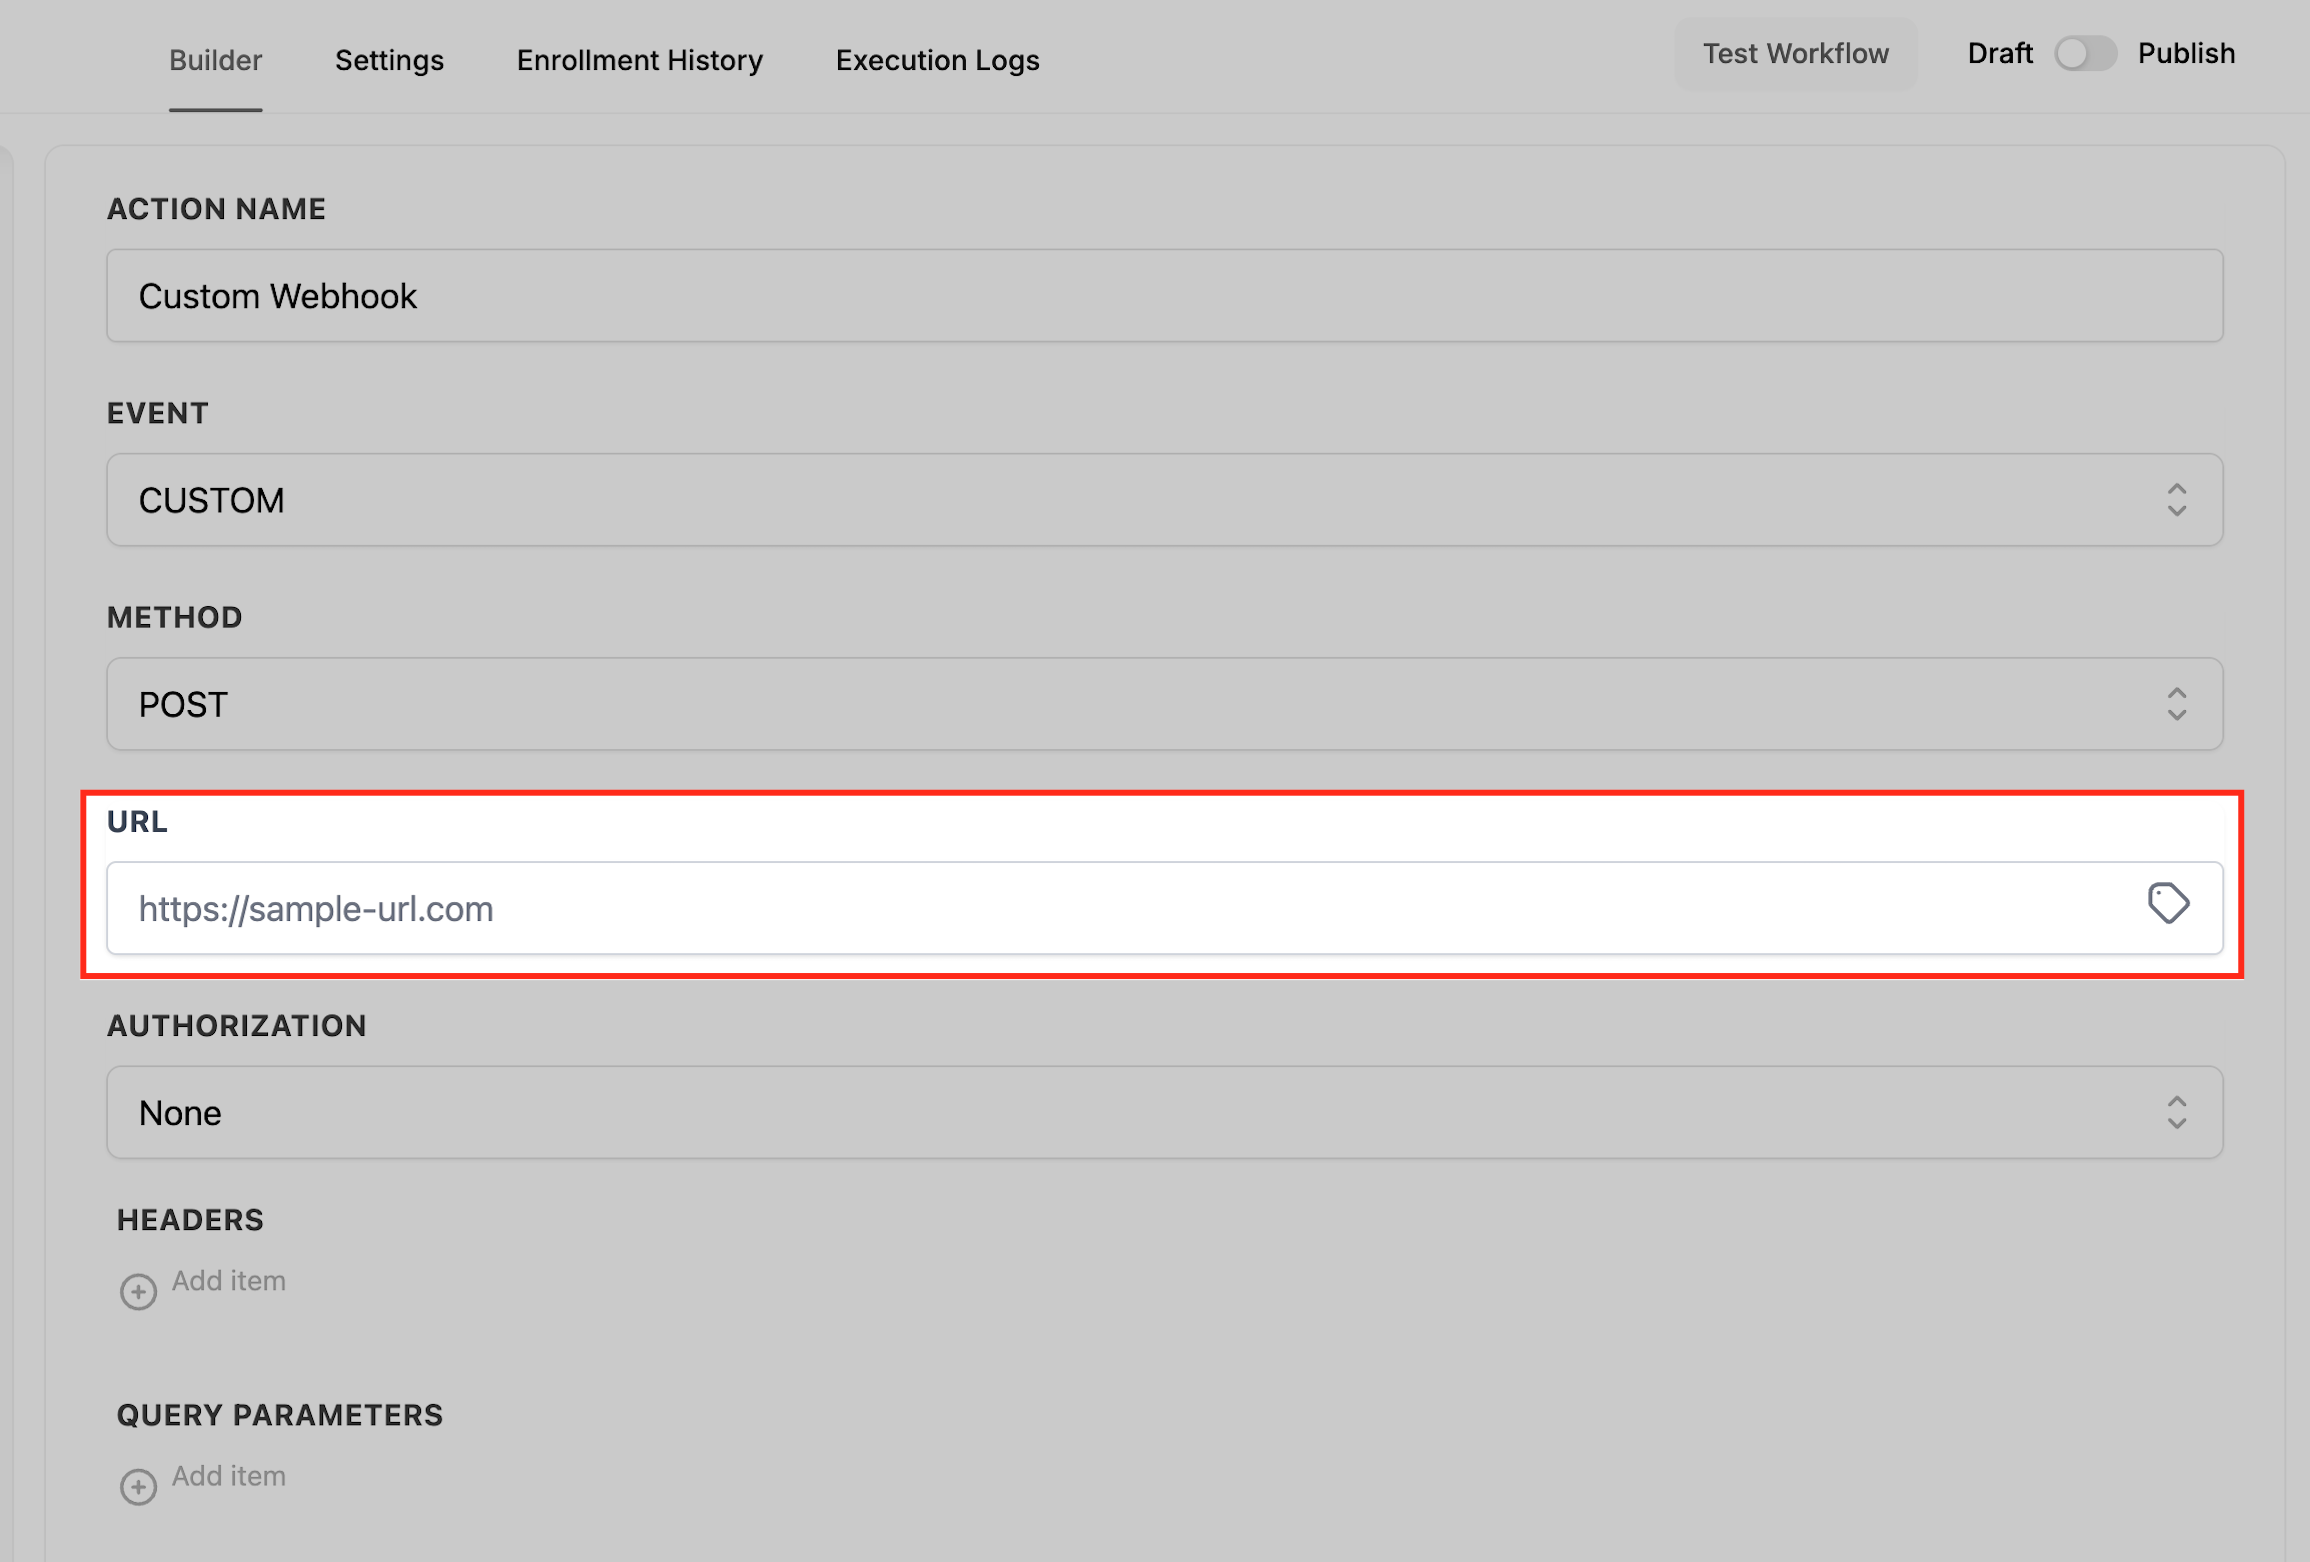
- Paste the target endpoint URL, inserting any path variables such as {{contact.id}}.
- Choose the required Authorization option and fill in the token, API key, username, or password.
- Add any needed Headers, mapping dynamic values where appropriate.
- Add any Query Parameters that the request requires.
- Optionally enable Save response from this Webhook, then click Save Action and run a test with a sample record.
07What it looks like in HighLevel
08Settings that matter
- Event. Determines which fields appear; CUSTOM gives full control over method, content type, and raw body, while POST and GET provide simplified interfaces.
- Method. Selects the HTTP verb (GET, POST, PUT, DELETE) for the request when Event is CUSTOM.
- Content, Type. Specifies the format of the request body, such as application/json or application/x www form urlencoded.
- Authorization. Defines the authentication method, Bearer Token, API Key, Basic Auth, OAuth2, or No auth, with fields for the required credentials.
- Headers. Key/value pairs sent with the request; can include Authorization, custom keys, and dynamic values.
- Query Parameters. Key/value pairs appended to the URL for GET requests or when the API requires them.
- URL. The endpoint address that receives the HTTP request; supports variable insertion in the path.
- Raw Body. A free form editor for JSON or other payload formats when Event is CUSTOM.
- Save response from this Webhook. When enabled, stores the response data so it can be reviewed in execution logs.
09Things to know before you rely on it
- Do not place secret values in query strings unless the provider explicitly requires it.
- If you don’t see Content Type or a Raw Body editor, verify that Event is set to CUSTOM.
- Response capture is only available in accounts that have the feature enabled.
- OAuth2 tokens must be created in Global Workflow Settings before they can be selected in the action.
10If something goes wrong
- 400 or 422 response. Check that the Content Type matches the payload format and that required fields and data types align with the provider’s schema.
- 401 or 403 response. Confirm the selected Authorization method and that the token, key, or credentials are correct and have the needed scopes.
- 404 response. Verify the endpoint URL and any path variables for correct IDs.
- 409 response. Ensure IDs are unique or follow the provider’s upsert rules to avoid conflicts.
- 429 response. Add delays or retries in the workflow according to the provider’s rate limit guidelines.
- 5xx response. Retry the request later and consult the provider’s status or support if the issue persists.
11How it connects to the rest of HighLevel
- Use the standard Outbound Webhook action for simpler integrations Outbound Webhook
- Learn the basics of HighLevel workflow automation Workflow basics
- Set up an inbound webhook trigger to receive data from external services Inbound webhook trigger
Michael's take

Wondering if you really need a custom webhook when you can use the simple outbound webhook? The custom version gives you full control over method, headers, auth and payload shape, which is essential when a partner API demands a Bearer token or a JSON body. I’d start by mapping a contact’s email into a POST JSON payload and testing it against Webhook.site to confirm the format.
If I were building a two way integration with an external CRM, I’d first set up the OAuth2 token in Global Workflow Settings, then create a Custom Webhook step in CUSTOM mode. That way I can switch methods, add a Content Type header and capture the response for debugging before I activate the automation for real leads.