
01Who this is for
- Founders who need consistent SEO across their site and want the latest URL management.
- Marketing agencies managing client blogs and requiring a unified blog builder.
- Content managers who maintain multiple blogs and must keep published links working.
02Blog migrations, explained
The old blogging tool stores posts under the Default Blog in Sites > Blogs. Those posts use the legacy layout and lack the newer URL and SEO options. Moving them places the articles into the new Blog experience, which supports canonical URLs, enhanced sitemaps and better URL organization.
The migration occurs inside the Sites section. You select the posts you want to move, click the Move Blog button, and the system transfers the records to the new blog container. After the move, the original URLs stop pointing to the content because the new system generates fresh URLs.
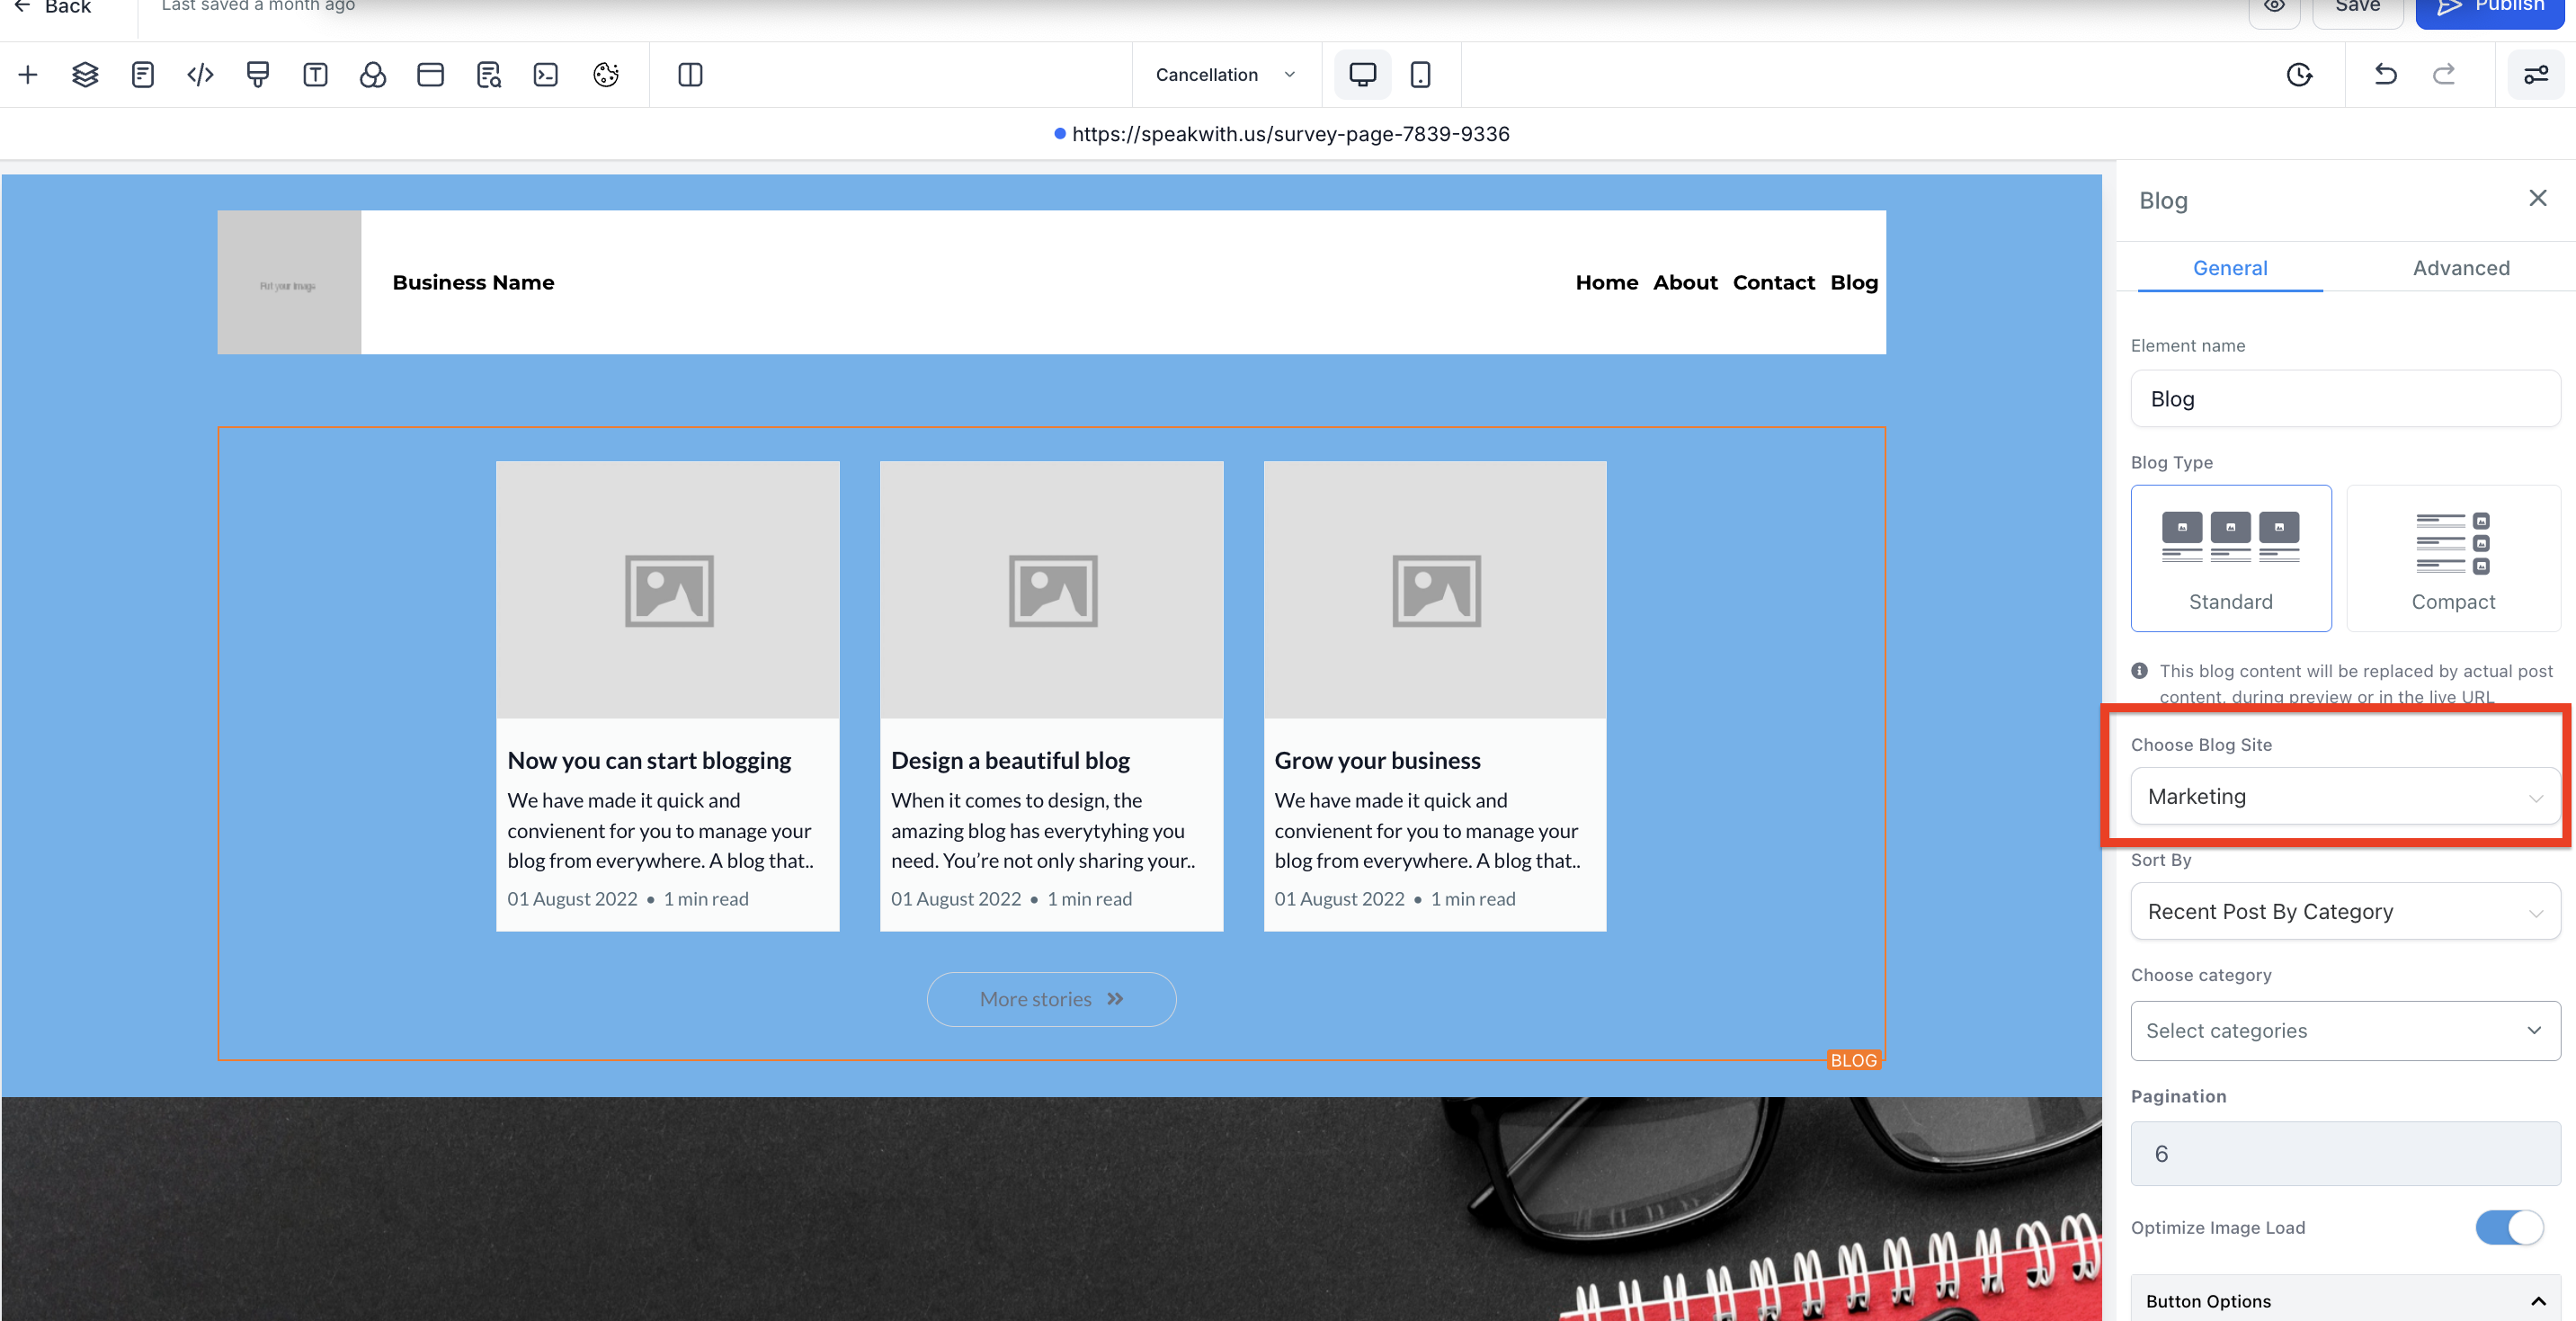
Because URLs change, you should record the original links before migration and set up 301 redirects if you need the old addresses to continue working. Any Funnel or Website page using a Blog Post List element must be edited to point to the new blog and republished.
03How businesses use blog migrations
- Digital marketing agency. The agency opens Sites > Blogs, selects client posts in the Default Blog, and clicks Move Blog. After migration, it updates any Blog Post List widgets on client funnels to reference the new blog, then republishes the pages.
- Real estate brokerage. The brokerage reviews its property blog entries in Default Blog, records the URLs, moves the posts to the new blog, and later creates 301 redirects so existing listings keep their search rankings.
- Health clinic. The clinic checks the Default Blog for patient education articles, selects the ones to migrate, runs the Move Blog action, and then edits the clinic's website Blog Post List element to show the newly migrated content.
04The numbers and rules that matter
- The new Blog experience includes URL organization, canonical URL settings, and sitemap features.
05Before you start
- Record the URLs of all published posts before starting the migration.
06How to set up and use blog migrations in HighLevel
Move blog posts from the legacy Default Blog to the new blog
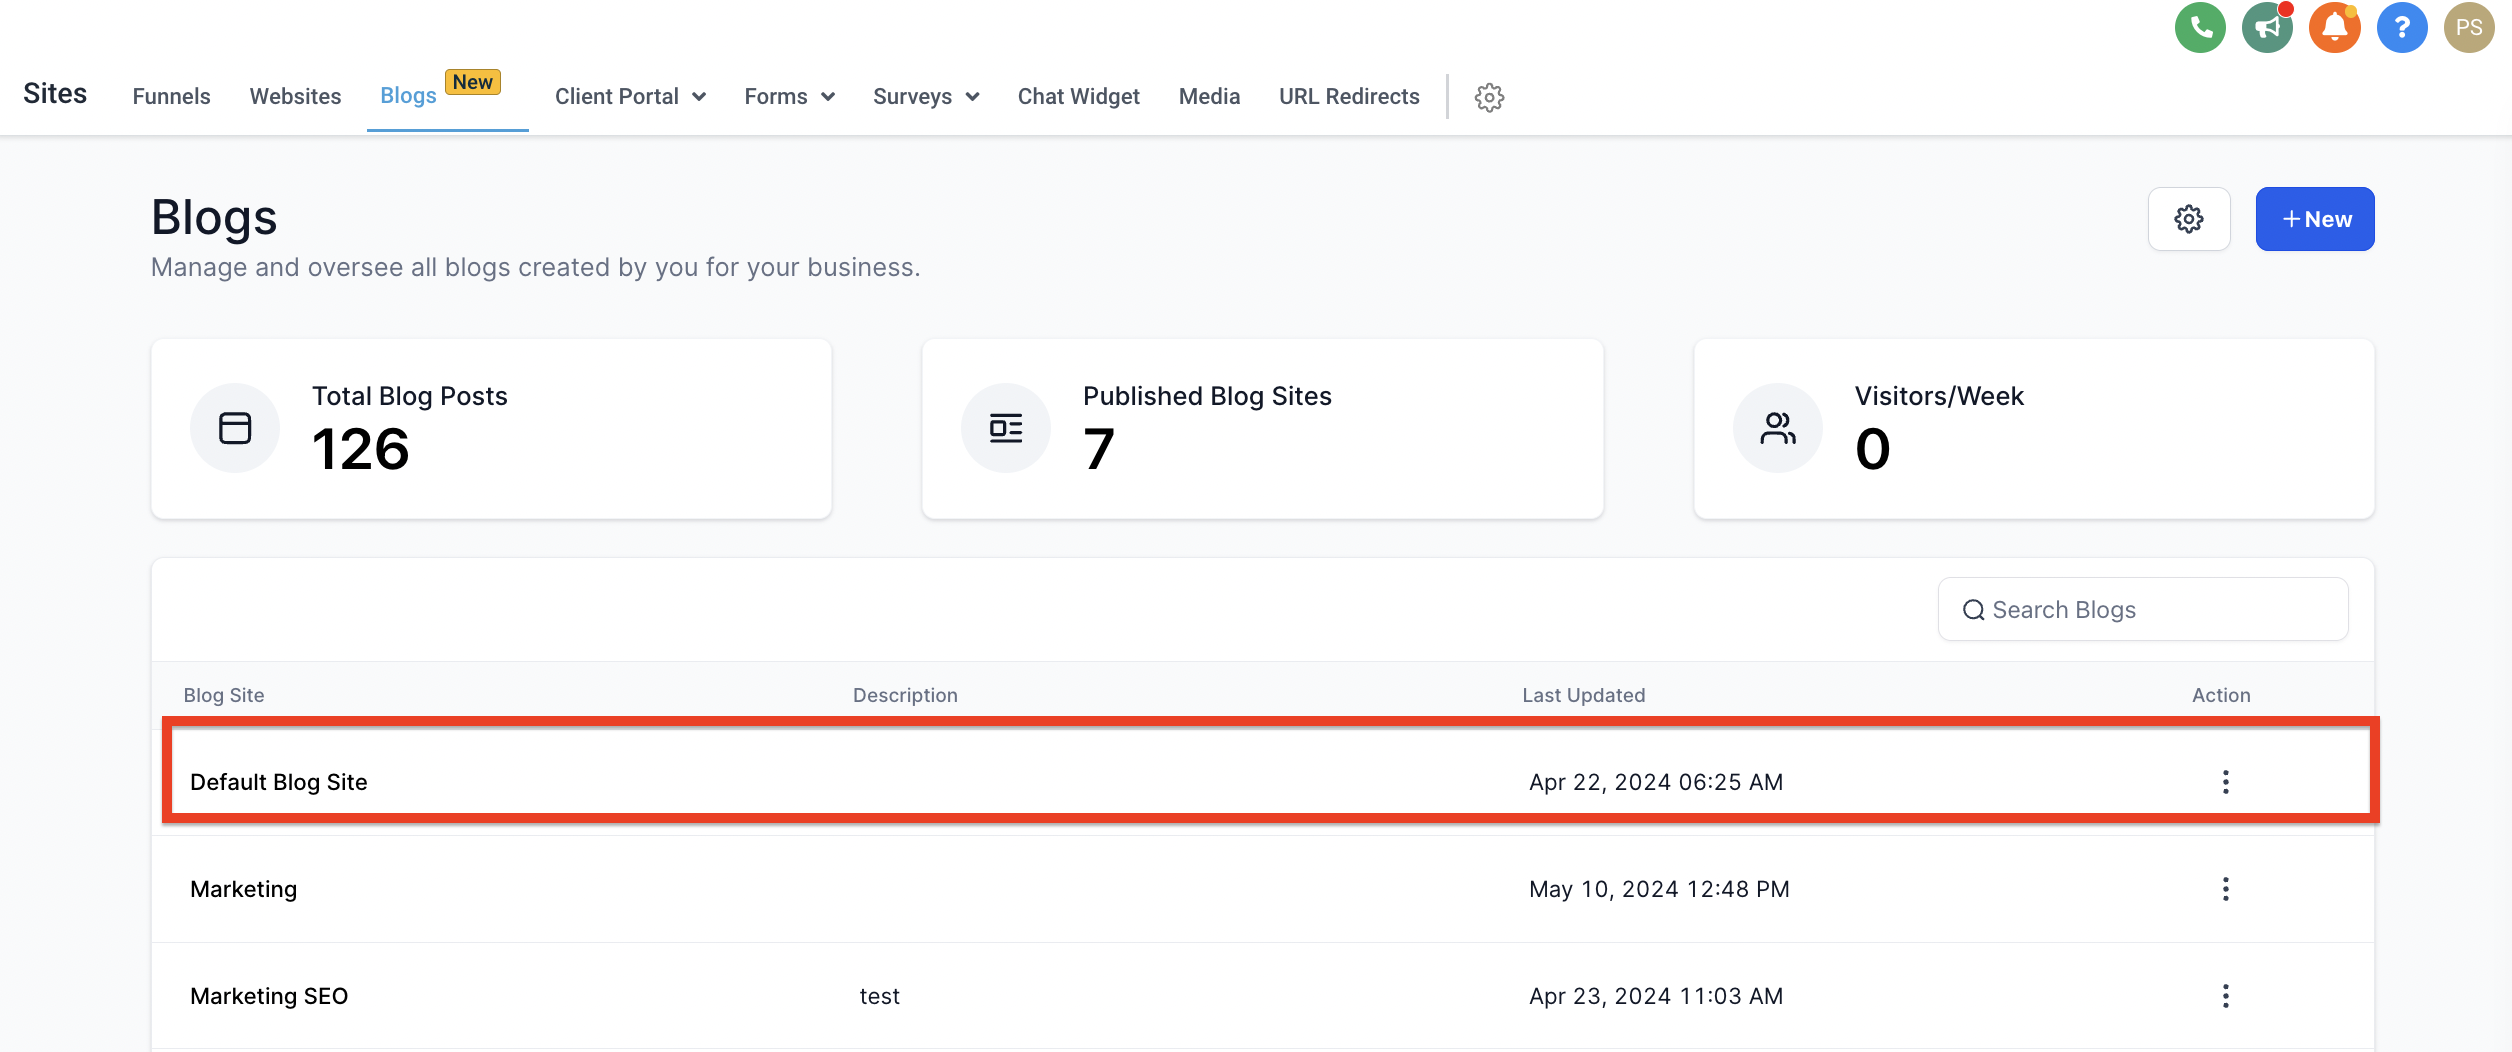
- Navigate to Sites > Blogs.
- Open the Default Blog that holds the legacy posts.
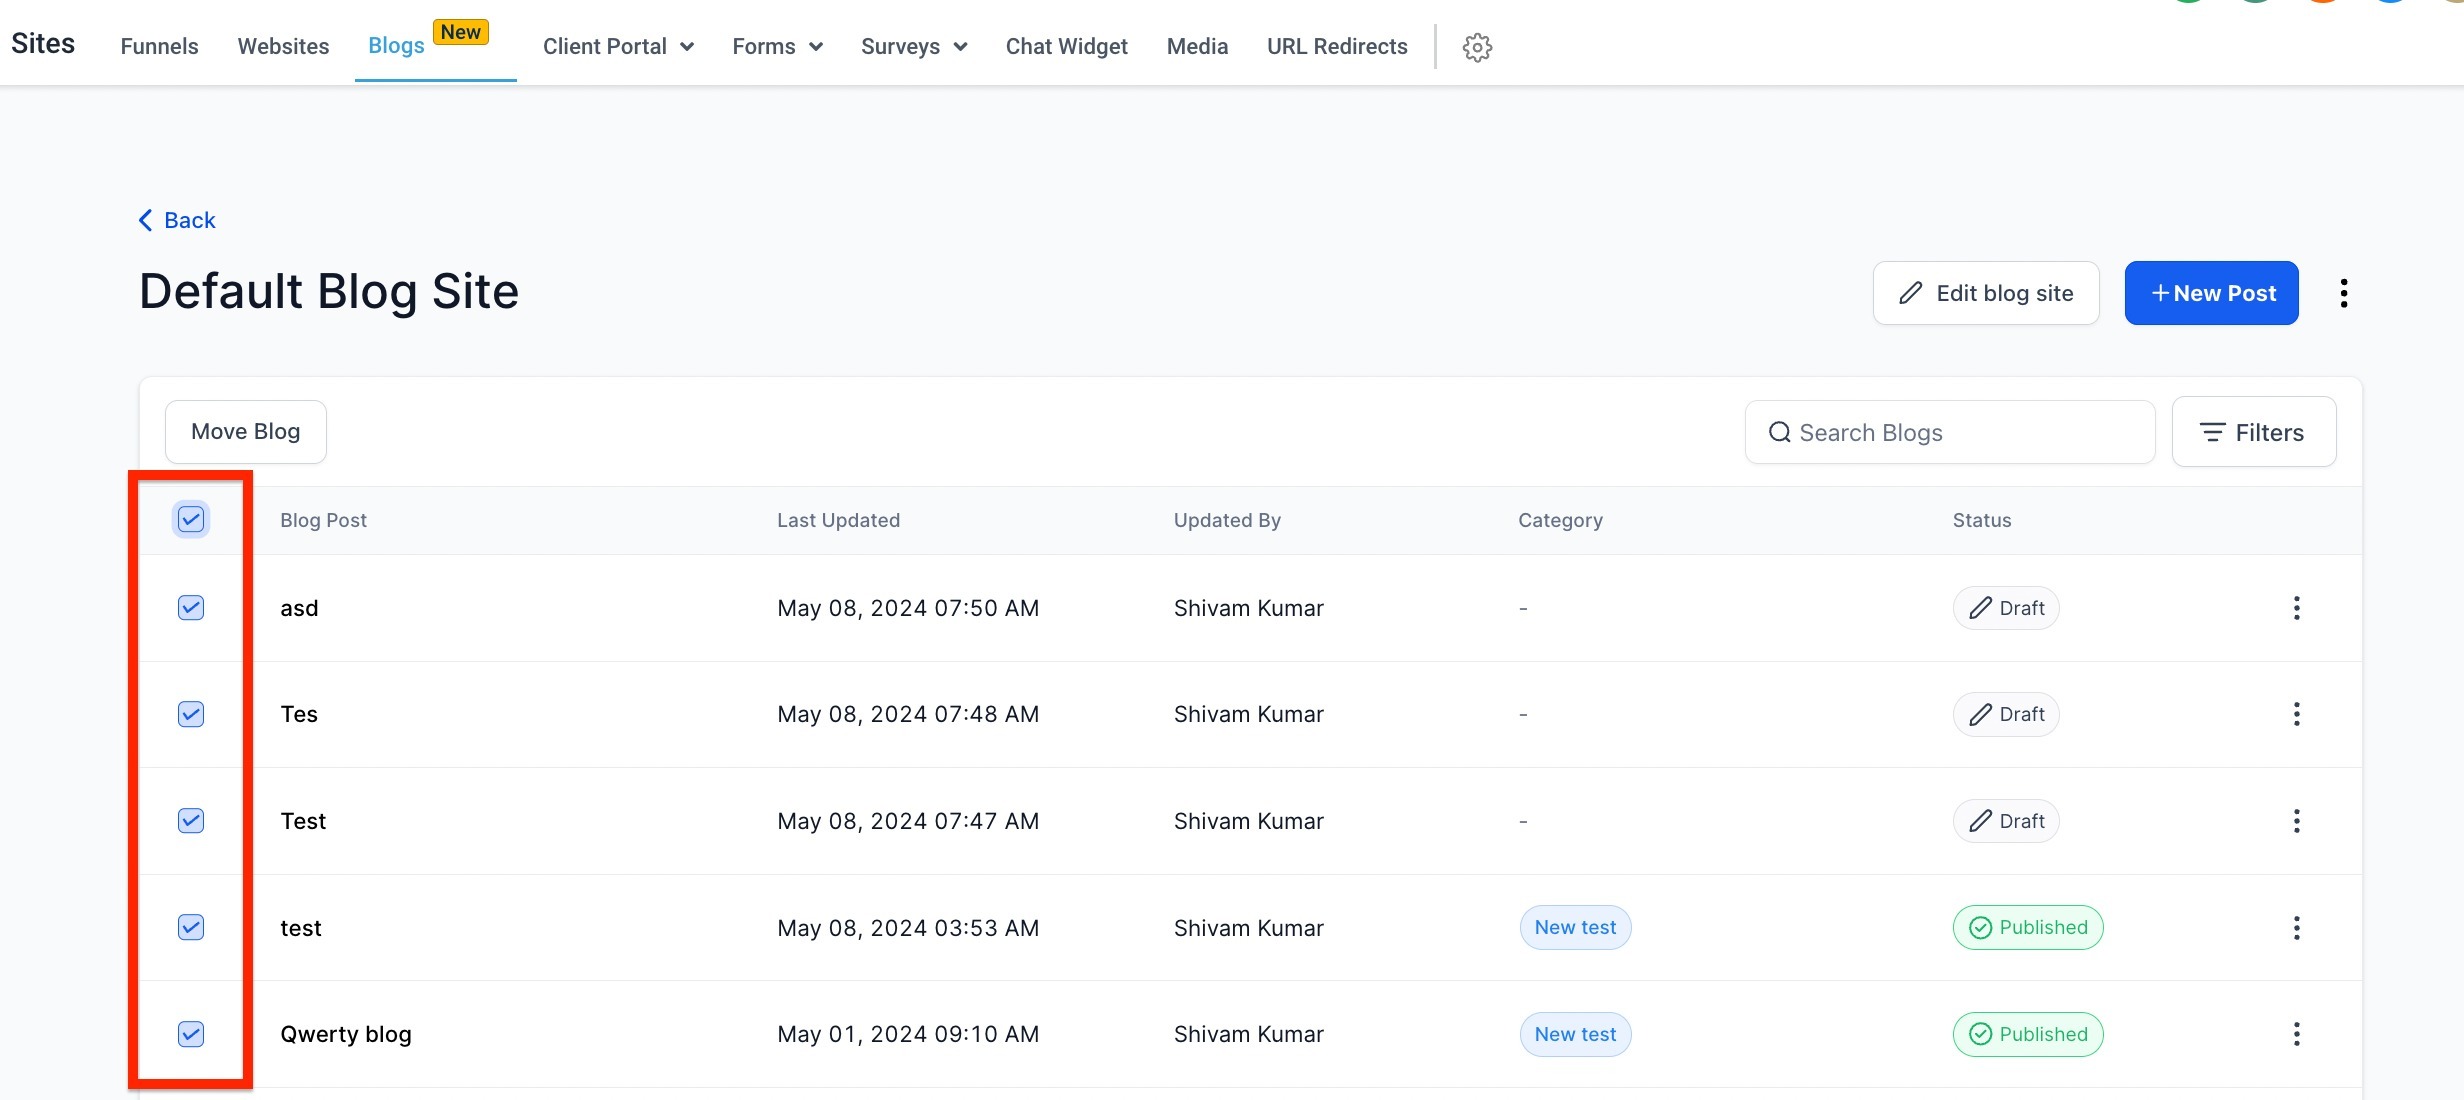
- Examine the list of posts in Default Blog.
- Check the box beside each post you want to transfer.
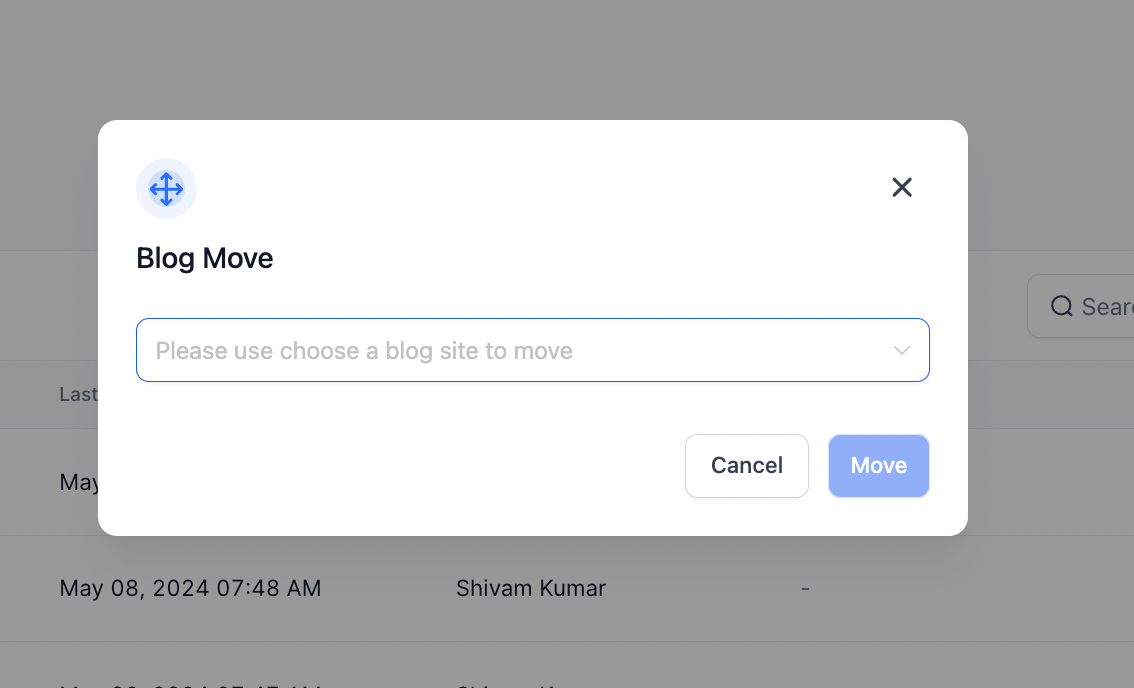
- Press the Move Blog button to shift the selected items to the new blog.
- If a funnel or website uses a Blog Post List element, edit that element, choose the new blog, and republish the page.
07What it looks like in HighLevel
08Things to know before you rely on it
- Migrated posts receive new URLs; the old URLs stop working unless you add 301 redirects.
- Legacy blogs remain functional but do not have the newer URL management or SEO features.
09How it connects to the rest of HighLevel
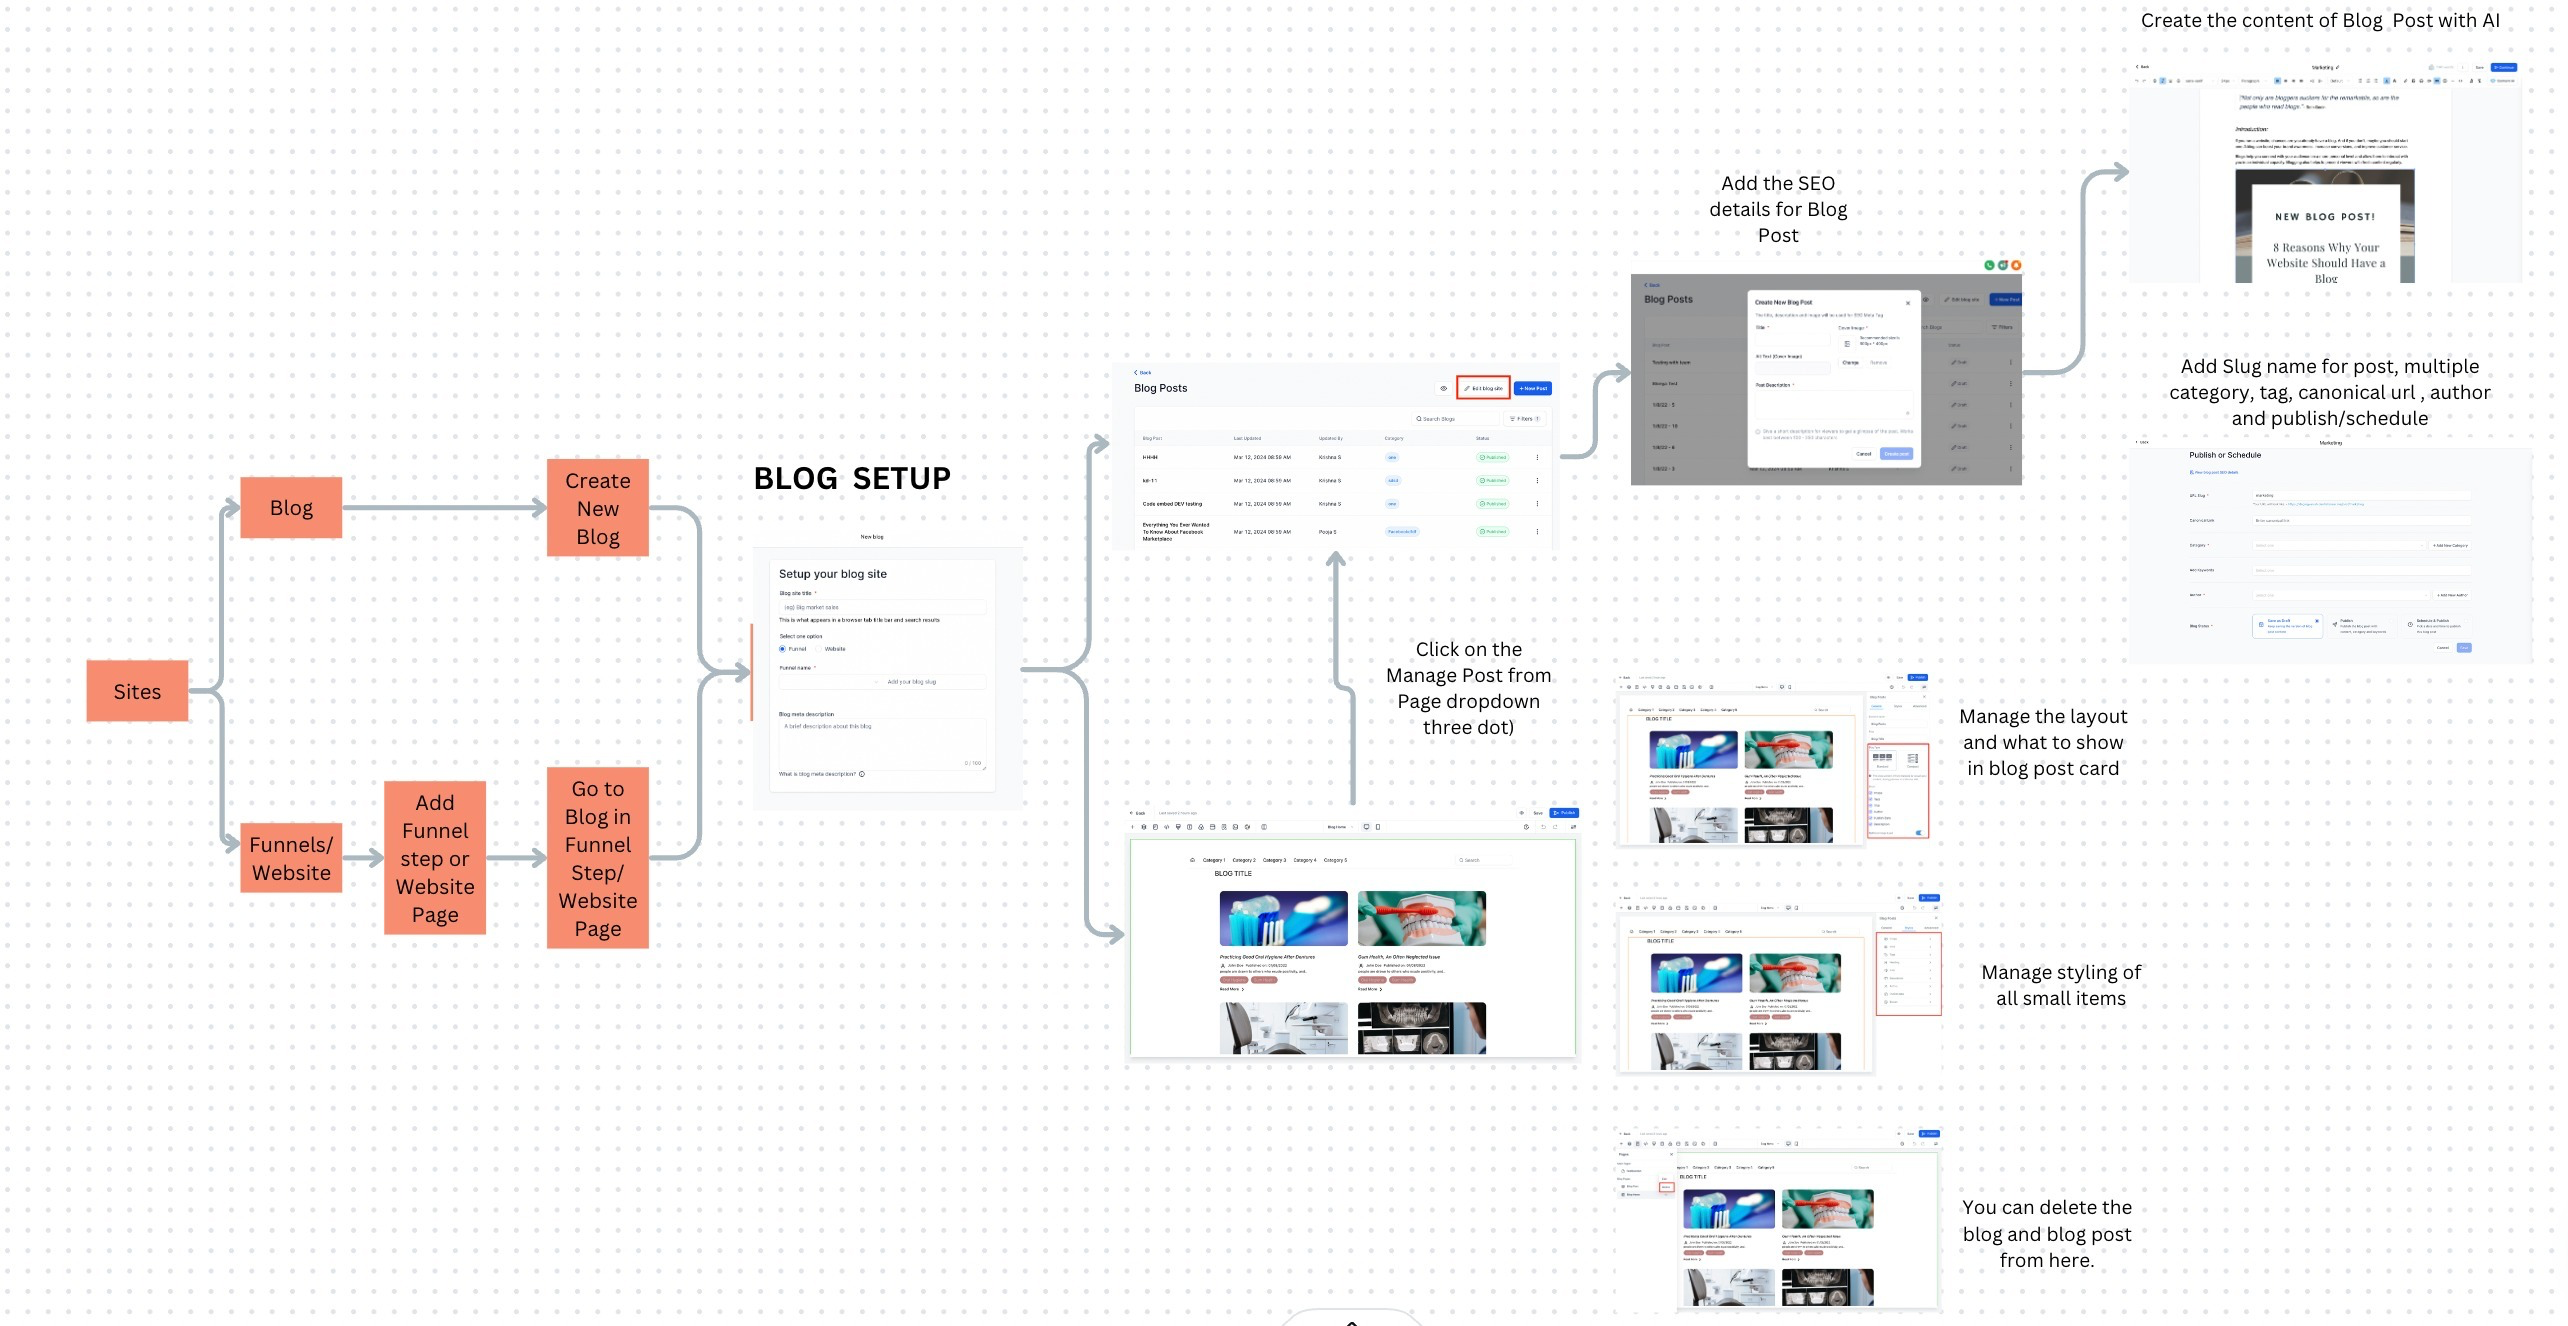
- Getting started with blogs and blog posts in the new experience New blog setup guide
- Add search and category navigation to a HighLevel blog Blog navigation guide
- Import blog posts using a URL in HighLevel Import posts
Michael's take

The updated URL handling, canonical tags and sitemap generation can lift organic visibility, and the 301 redirects let you protect existing inbound links.
If your blog is a low traffic side project or you rarely change URLs, the migration effort and need to manage redirects may outweigh the benefits. In those cases you might stay with the legacy setup and avoid the extra steps.