
01Who this is for
- Marketing agencies, they can control duplicate content across client blogs and preserve SEO value.
- ecommerce store owners, they can ensure product related articles rank correctly without splitting link equity.
- Content creators, they can point search engines to the original post when syndicating articles.
02Canonical URLs, explained
Canonical URLs are tags that declare the authoritative version of a page when identical or similar content exists at different addresses. When a search engine encounters duplicate pages, it follows the canonical tag to the URL you specify, preventing split ranking signals.
In HighLevel, canonical settings are reachable through Sites > Blogs. You can configure a set of URLs for the whole blog, for each category, and for author bio pages, or assign a specific URL to a single post. The system stores the values and injects a <link rel="canonical" …> element into the page’s HTML.
03How businesses use canonical URLs
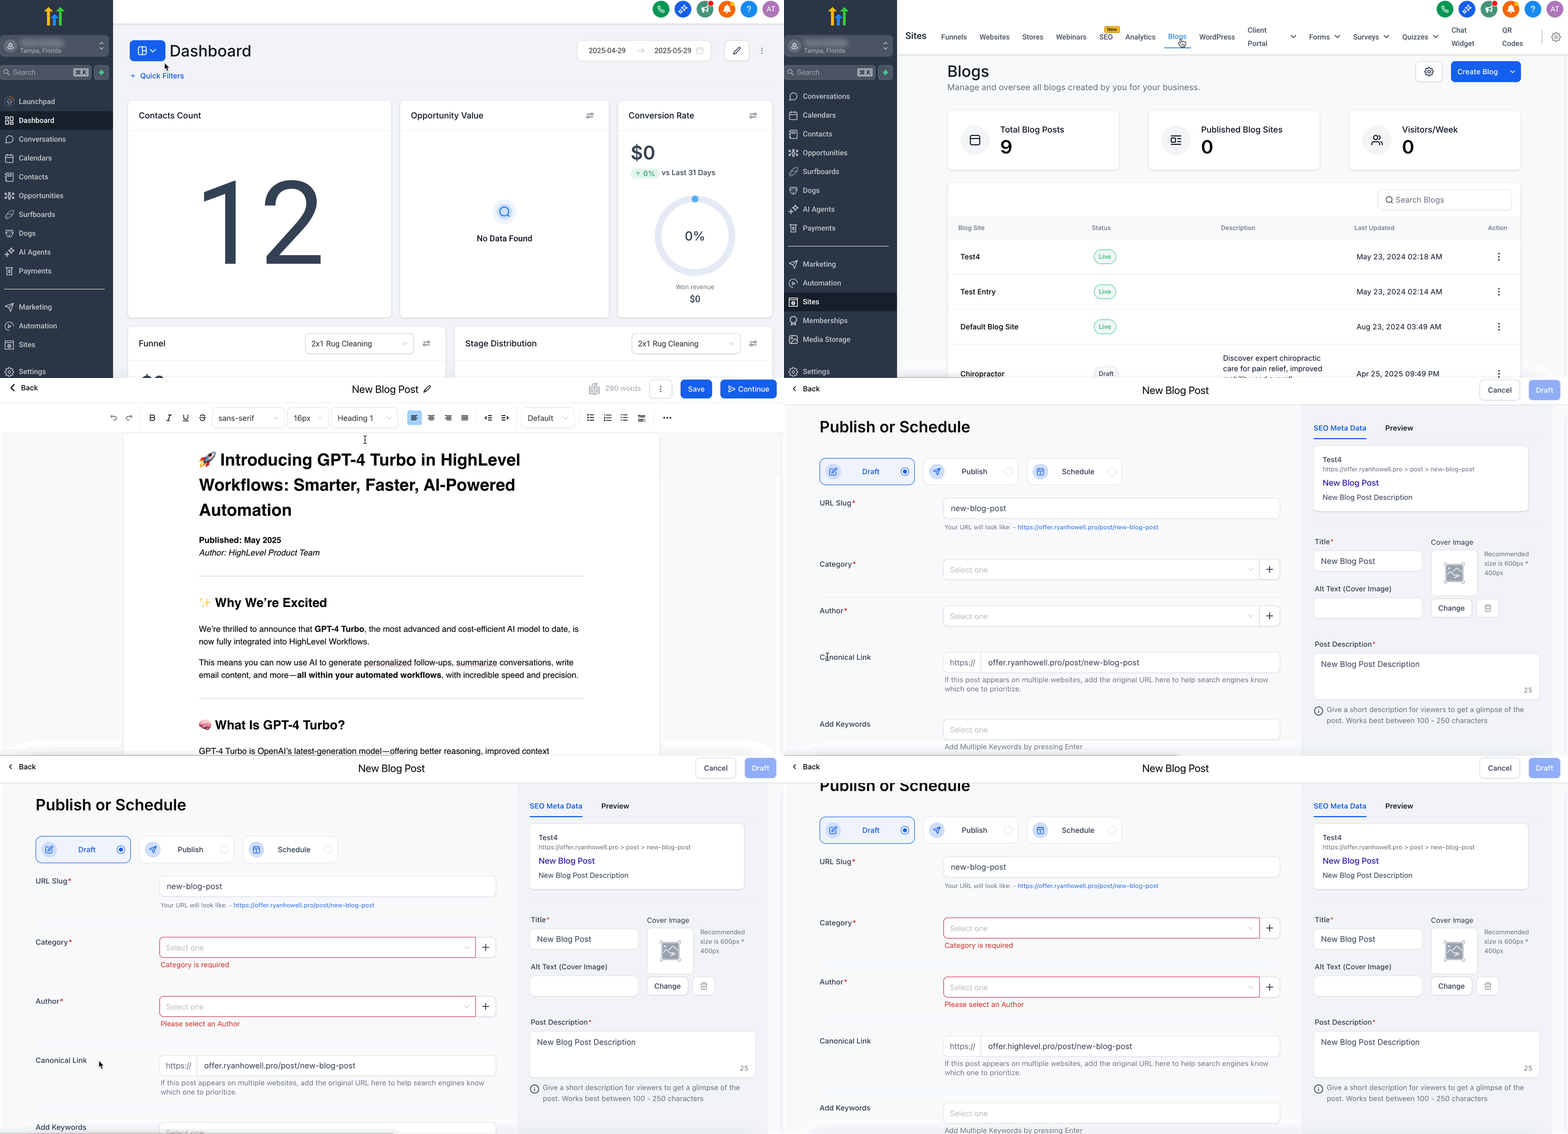
- Site wide canonical configuration. Navigate to Sites > Blogs, open the desired blog, choose Canonical Links, and fill in the primary blog, category, and author URLs. This signals to search engines the official source for those page types.
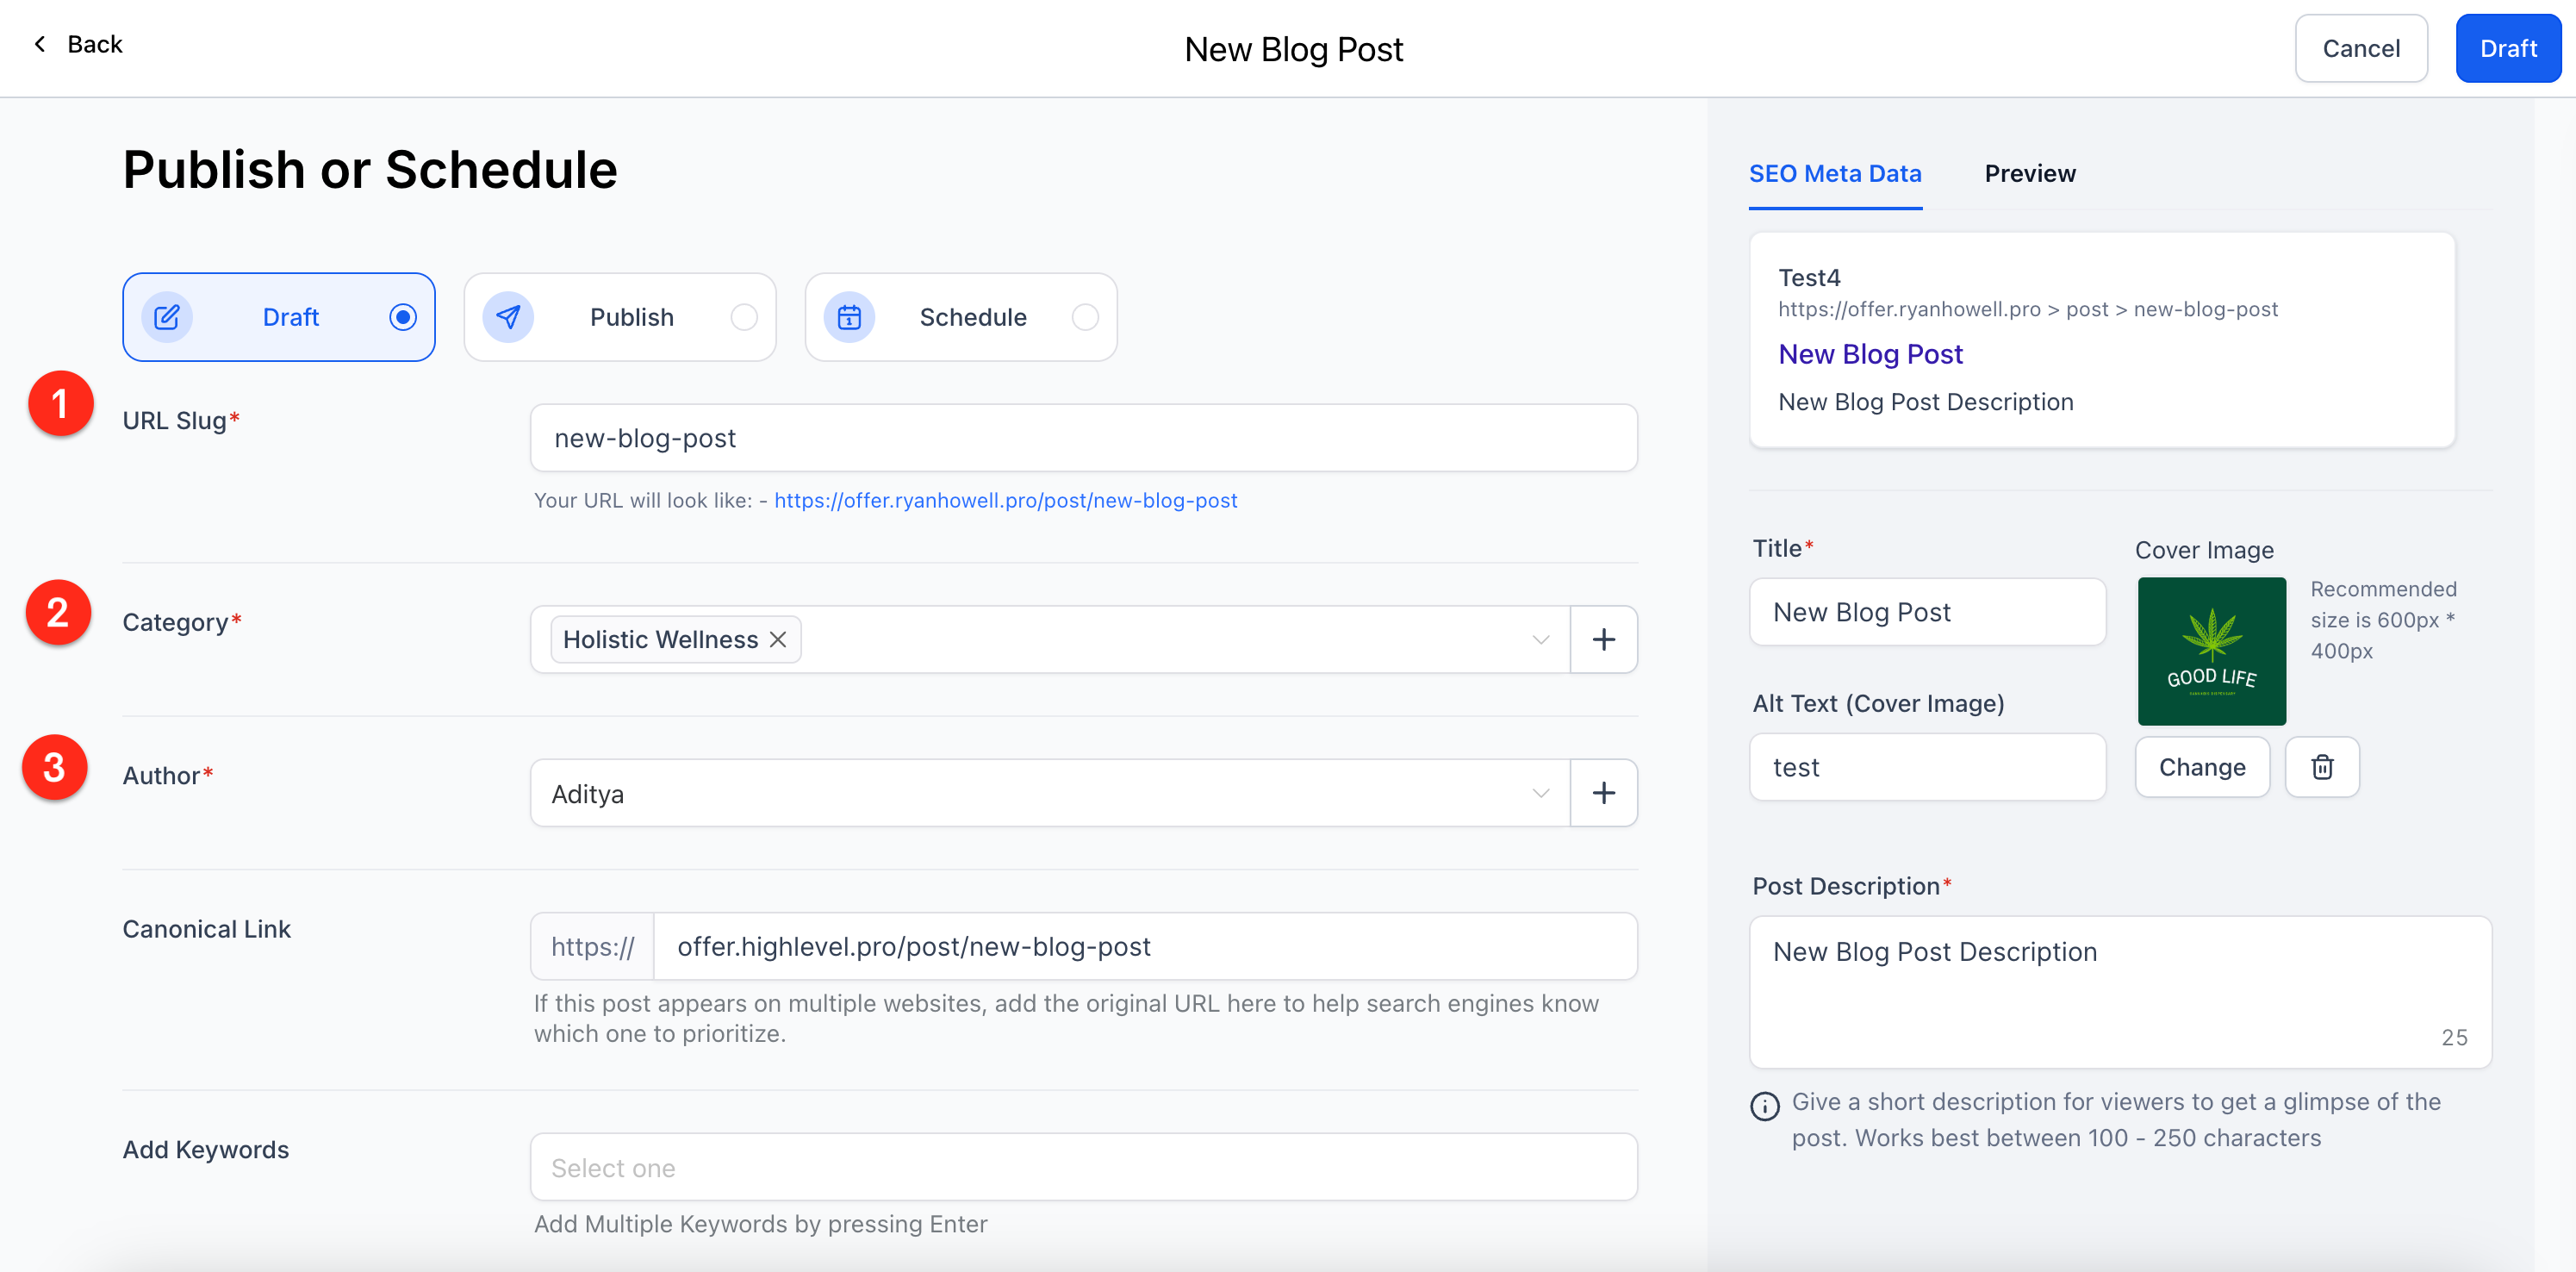
- Individual post canonical tag. While creating or editing a blog post in Sites > Blogs, locate the Canonical Link field on the final step and paste the URL of the preferred version before saving or publishing.
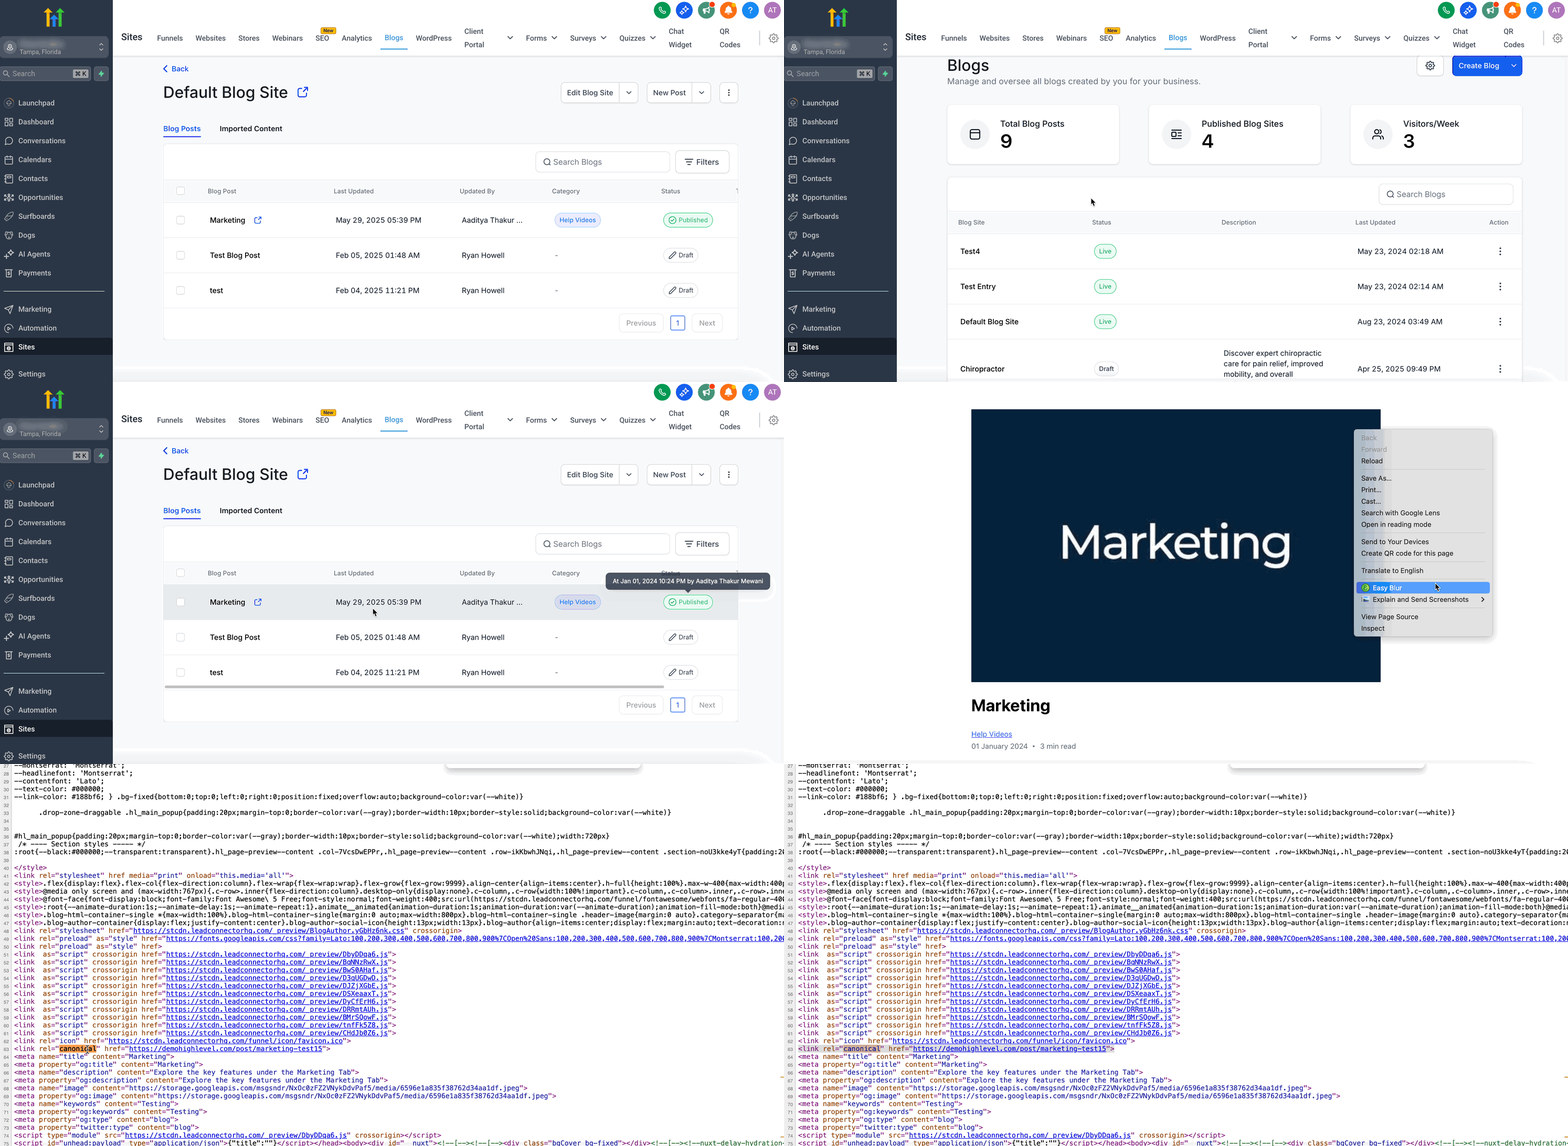
- Verification of canonical implementation. After publishing, right click the page, select View Page Source, and confirm that a <link rel="canonical" href="."> tag points to the intended URL.
04How to set up and use canonical URLs in HighLevel
Set canonical URLs for blog, category, and author pages
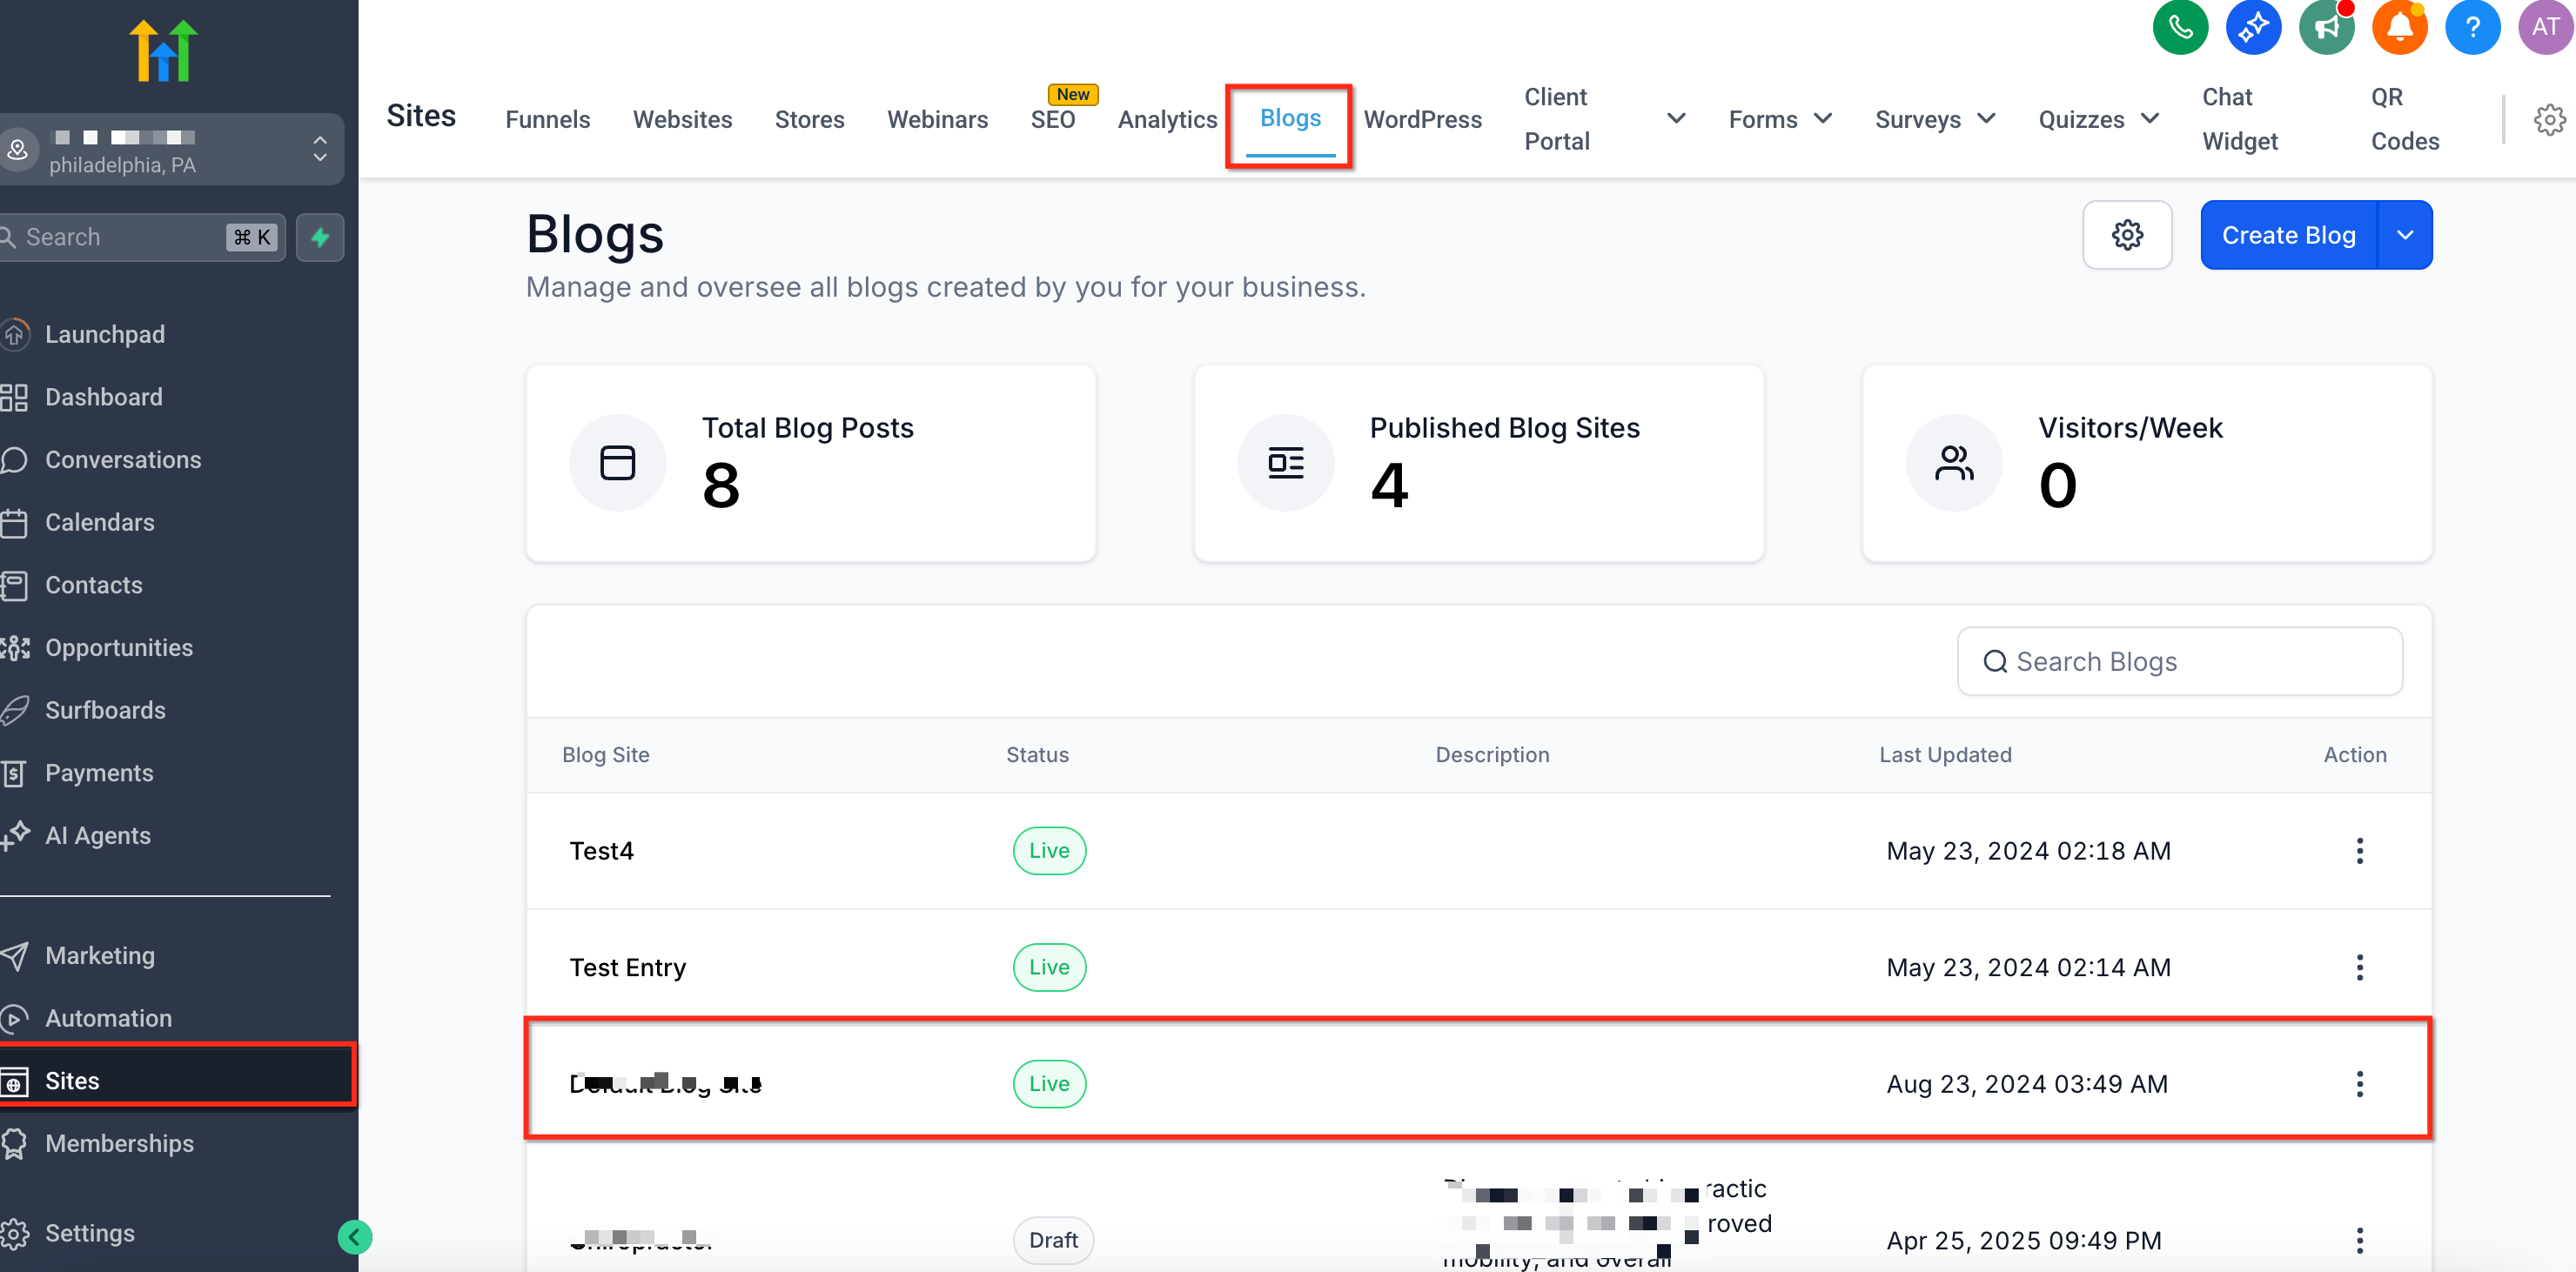
- Open Sites > Blogs.
- Select the desired blog and click Continue to access its settings.
- Choose the Canonical Links option.
- Enter the primary blog domain in URL Slug, the category URL in Category URL, and the author bio URL in Author URL.
Set canonical URL for an individual blog post
- Navigate to Sites > Blogs.
- Create a new post or edit an existing one.
- Add the post content and complete the metadata.
- Click Continue to reach the final step of the editor.
- Locate the Canonical Link field and paste the URL of the preferred version.
- Click Save, Schedule, or Publish to apply the change.
Update canonical link for a published post
- Find the published blog post in Sites > Blogs.
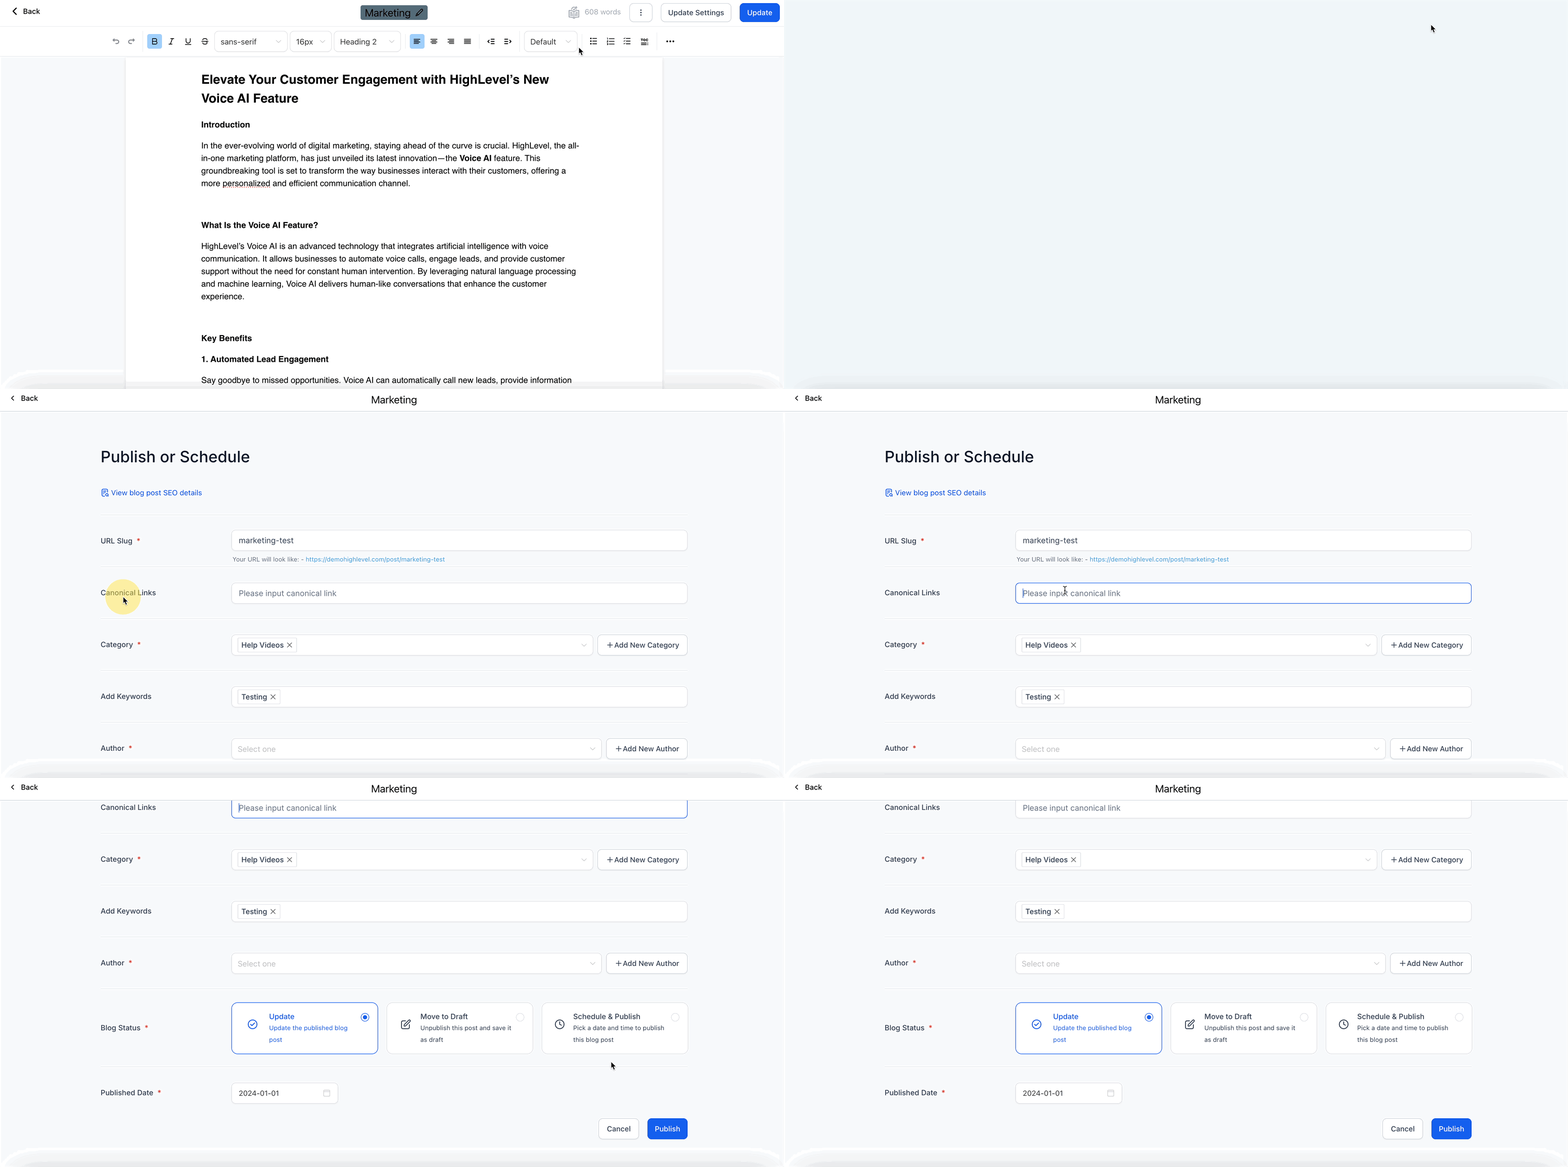
- Click Update Settings for that post.
- Enter the new canonical URL in the Canonical Link field.
- Save the changes.
Verify canonical link implementation
- Right click the published blog page and choose View Page Source.
- Search the source code for a <link rel="canonical" …> tag.
- Confirm that the href attribute matches the URL you set as canonical.
- Optionally run an SEO tool to double check the tag’s presence.
05What it looks like in HighLevel
06Settings that matter
- Canonical Links. Group of fields where you define the main URLs for the blog, its categories, and author pages.
- URL Slug. Absolute URL that represents the primary blog homepage.
- Category URL. Absolute URL that should be treated as the authoritative source for all category archive pages.
- Author URL. Absolute URL for the main author biography page used as the canonical reference.
- Canonical Link. Field on an individual post editor where you paste the URL of the preferred version of that post.
07Things to know before you rely on it
- The article does not list any specific limits or restrictions for using canonical URLs in HighLevel.
08How it connects to the rest of HighLevel
- Set up and manage blogs in HighLevel Blog setup guide
- Add and edit SEO information for blog posts SEO settings
- Start a 30 day HighLevel trial Free trial
Michael's take

Skipping canonical URLs can leave search engines confused about which page deserves credit, and that can split link equity across duplicates.
When you add the proper canonical tag, you tell search bots exactly which page to rank, keeping your SEO value focused and your site’s visibility strong.