
01Who this is for
- Founders who send client emails can ensure every message carries consistent branding and contact information.
- Sales teams can save time by applying their personal signature automatically to all outbound emails.
- Support agents can include a signature with links to help articles, improving response professionalism.
02Email signatures, explained
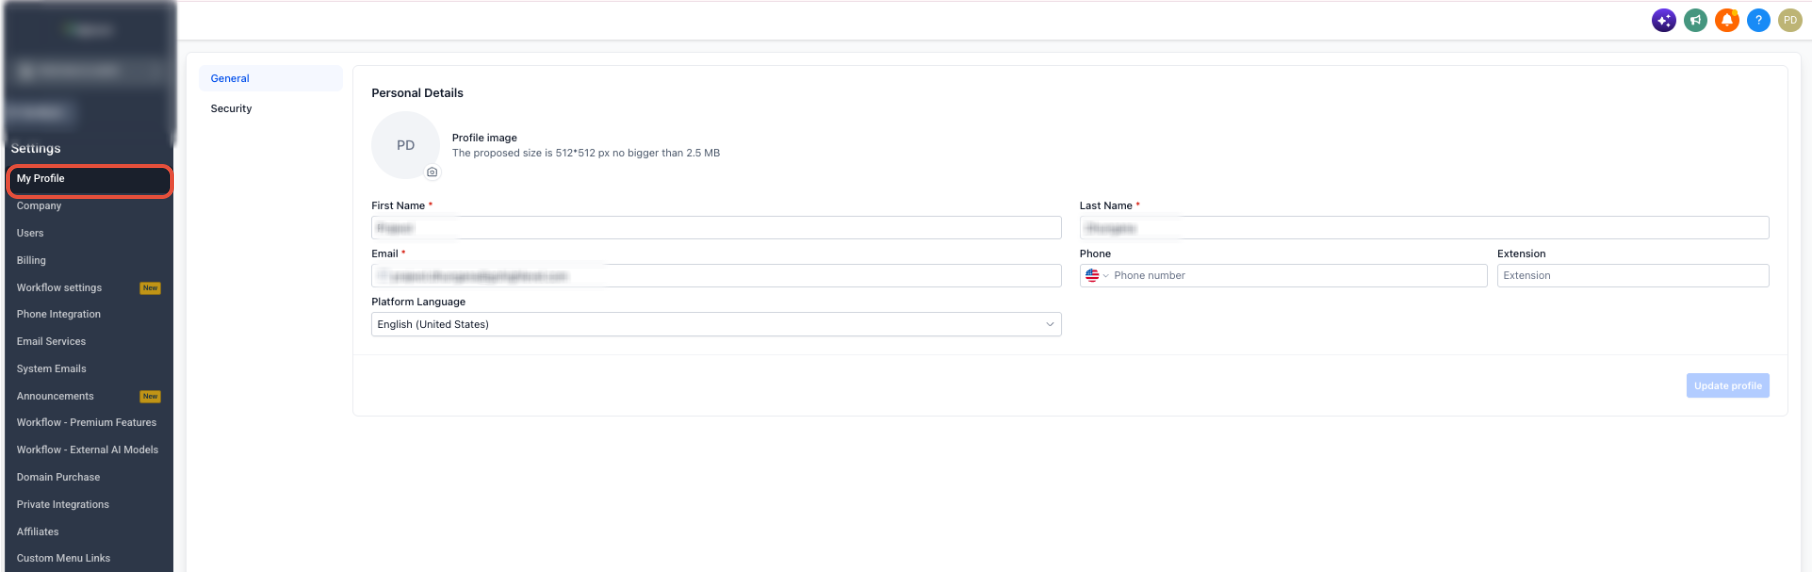
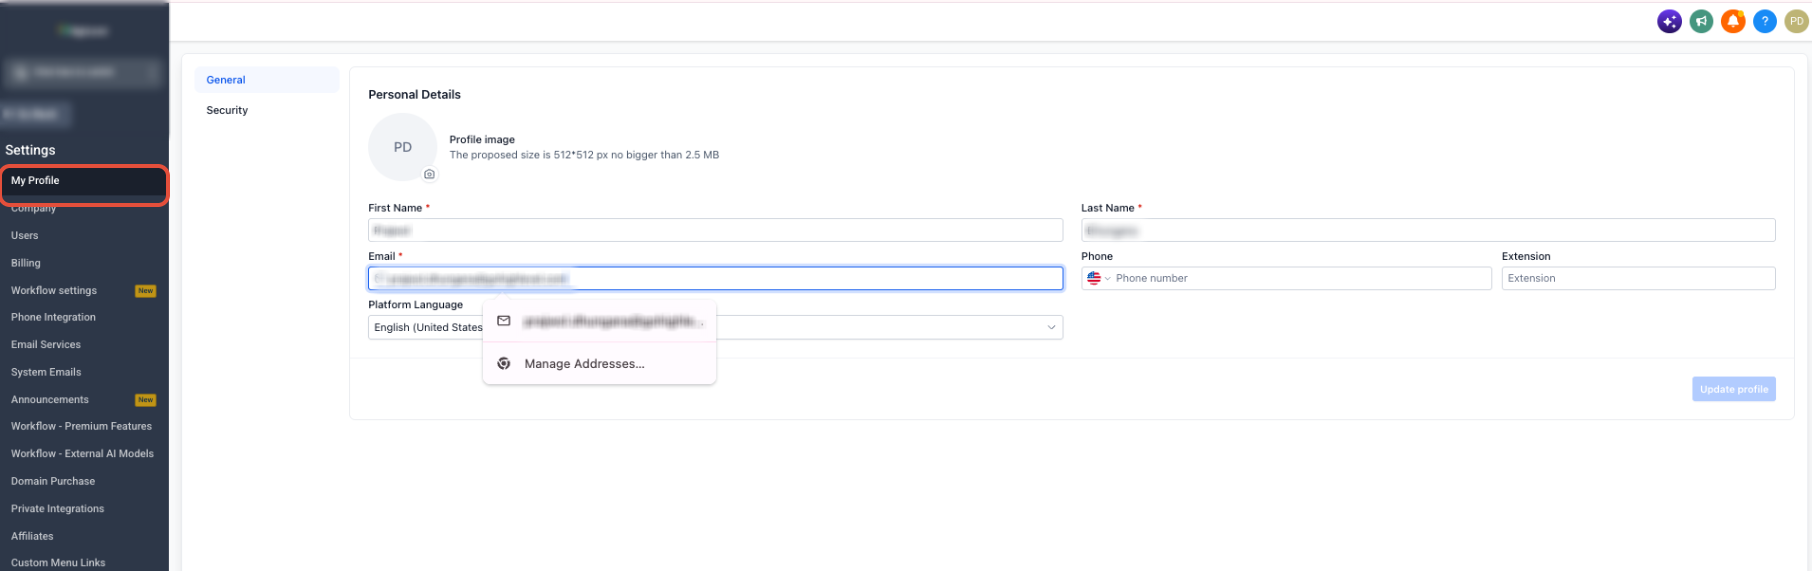
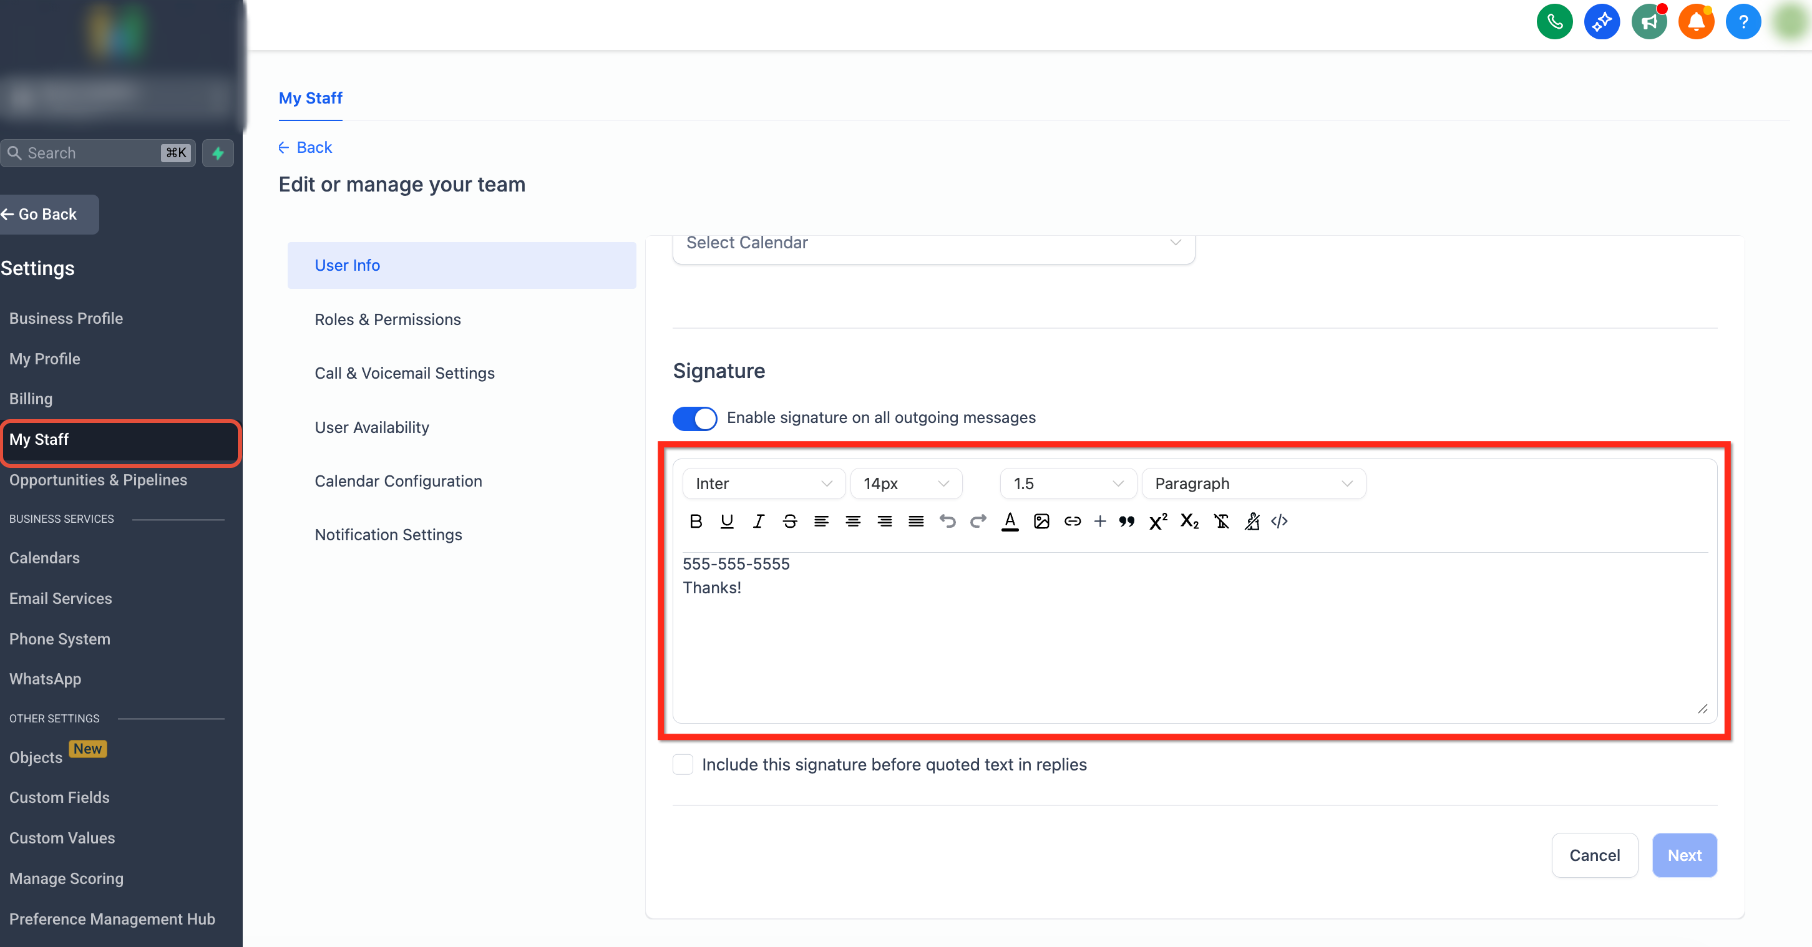
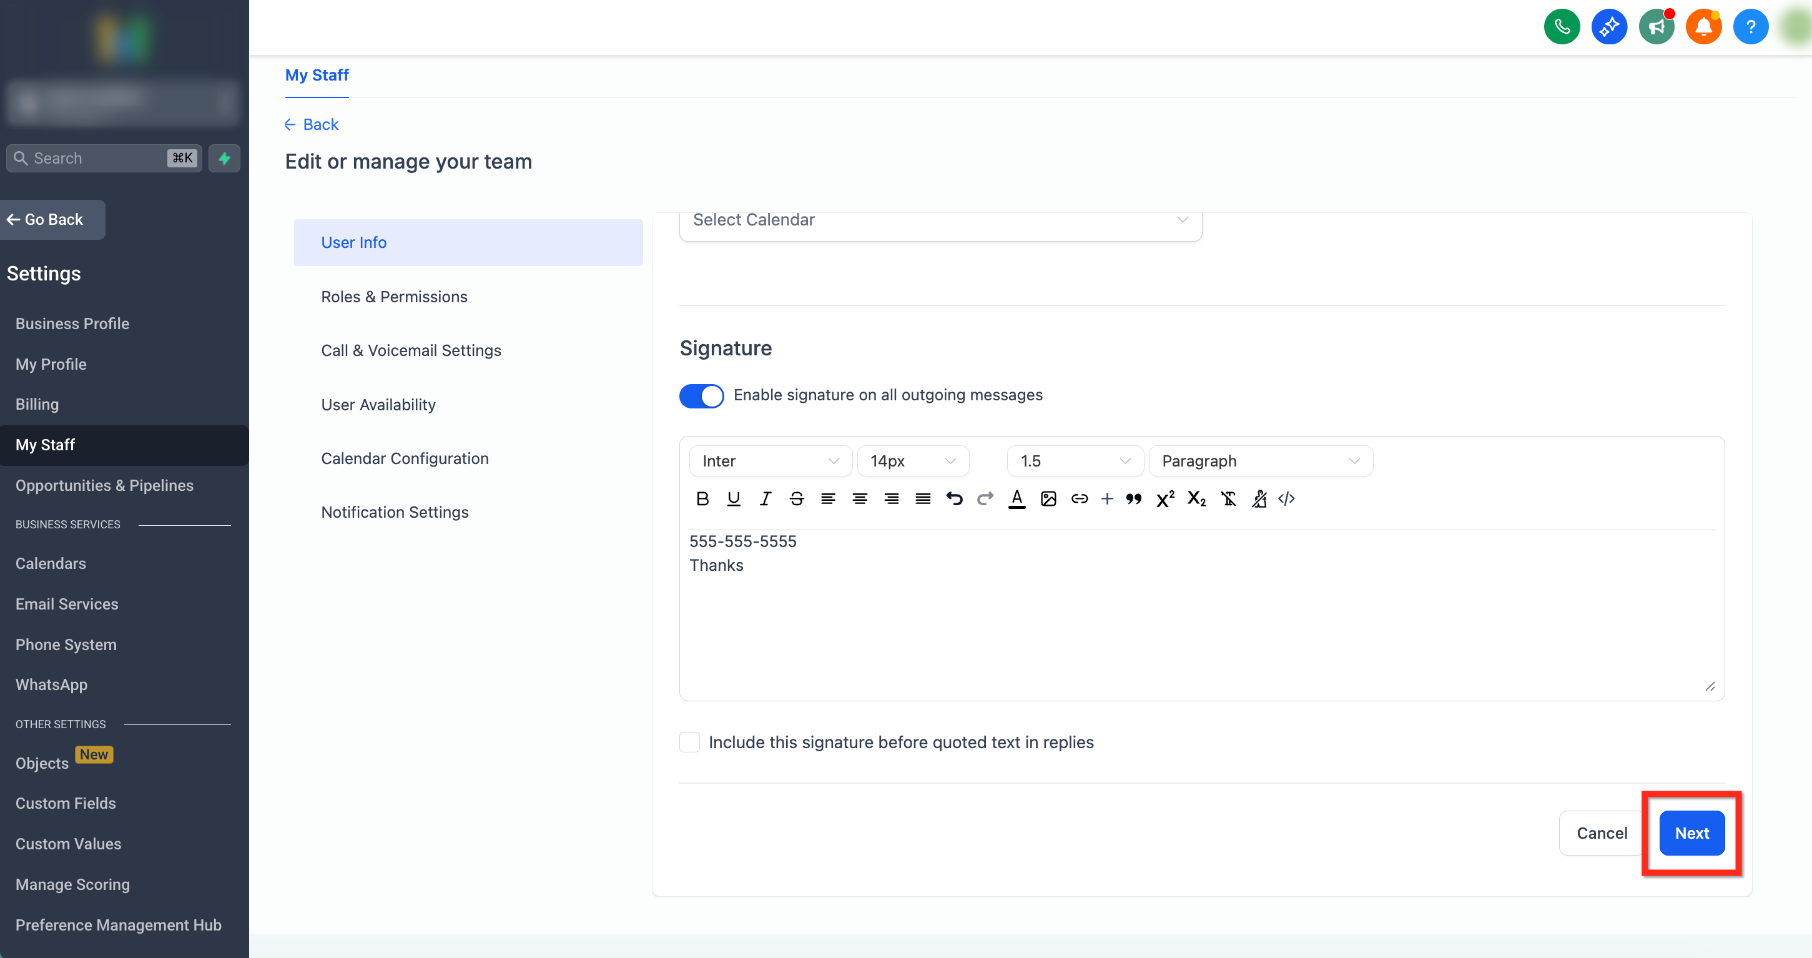
An email signature is a piece of formatted content saved for each user inside a subaccount. Users edit their signature from Settings > My Profile > General, where a rich text editor lets them add text, images, links, custom values or raw HTML.
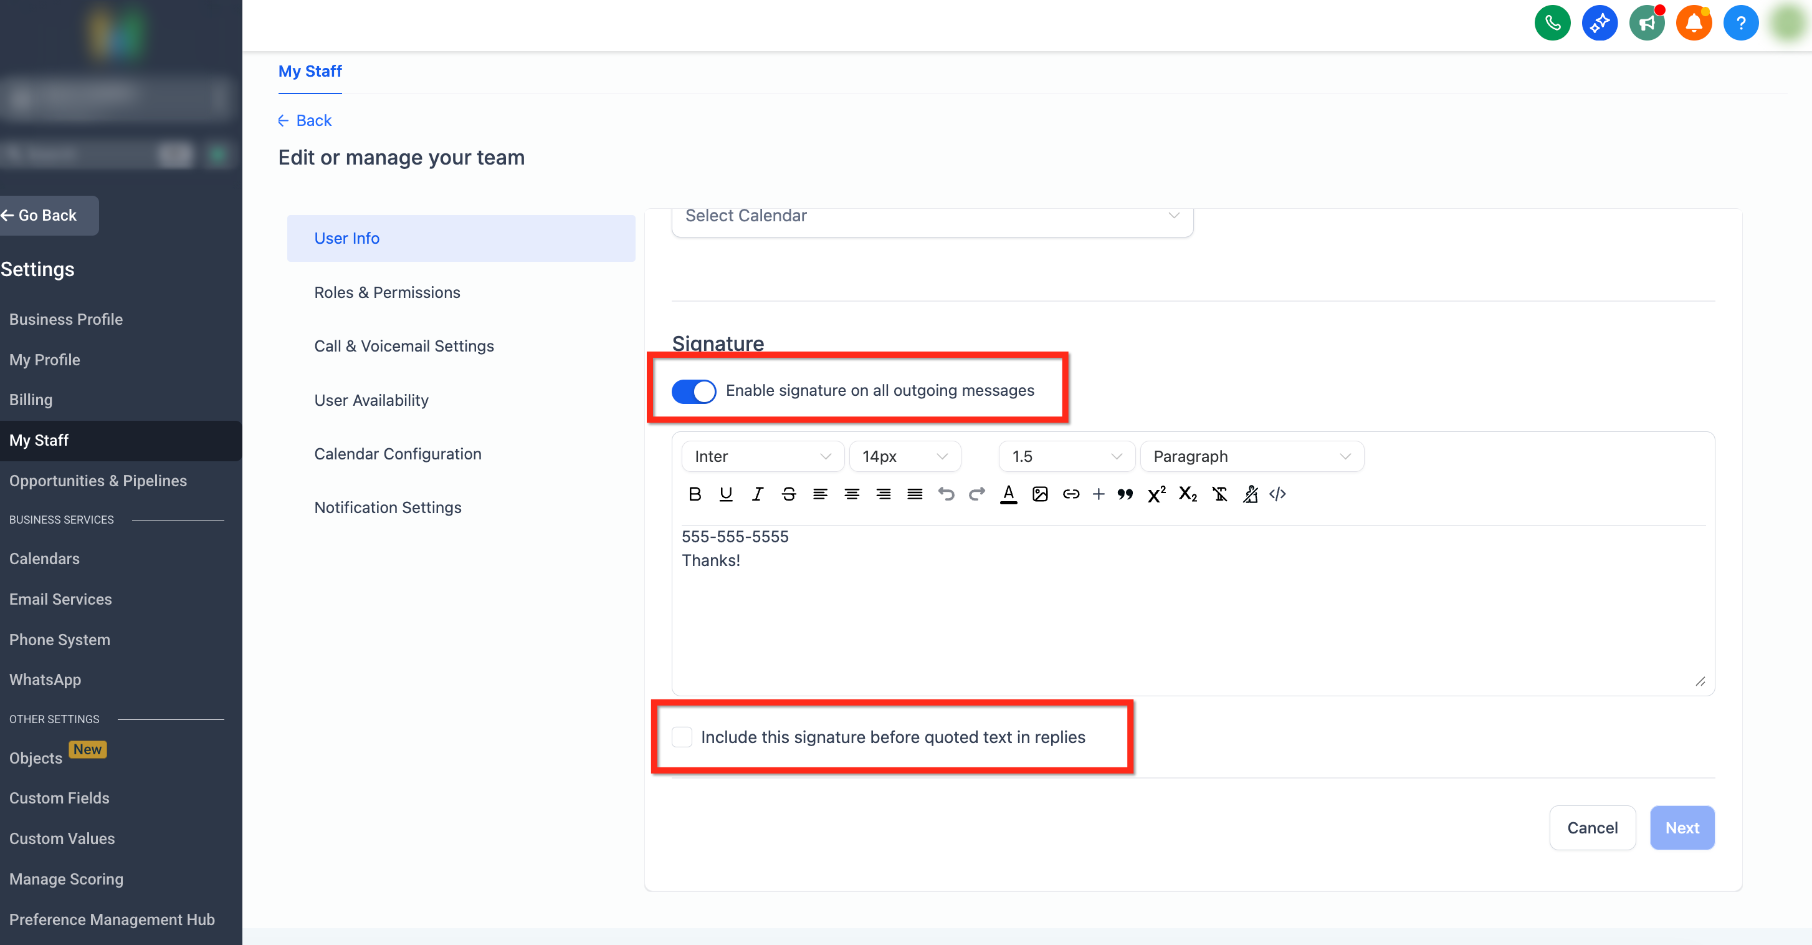
When the option “Enable Signature in All Outgoing Messages” is turned on, HighLevel automatically appends the saved signature to every supported outbound email. The additional setting “Include This Signature Before Quoted Text in Replies” decides whether the signature appears above the quoted email thread when a reply is sent.
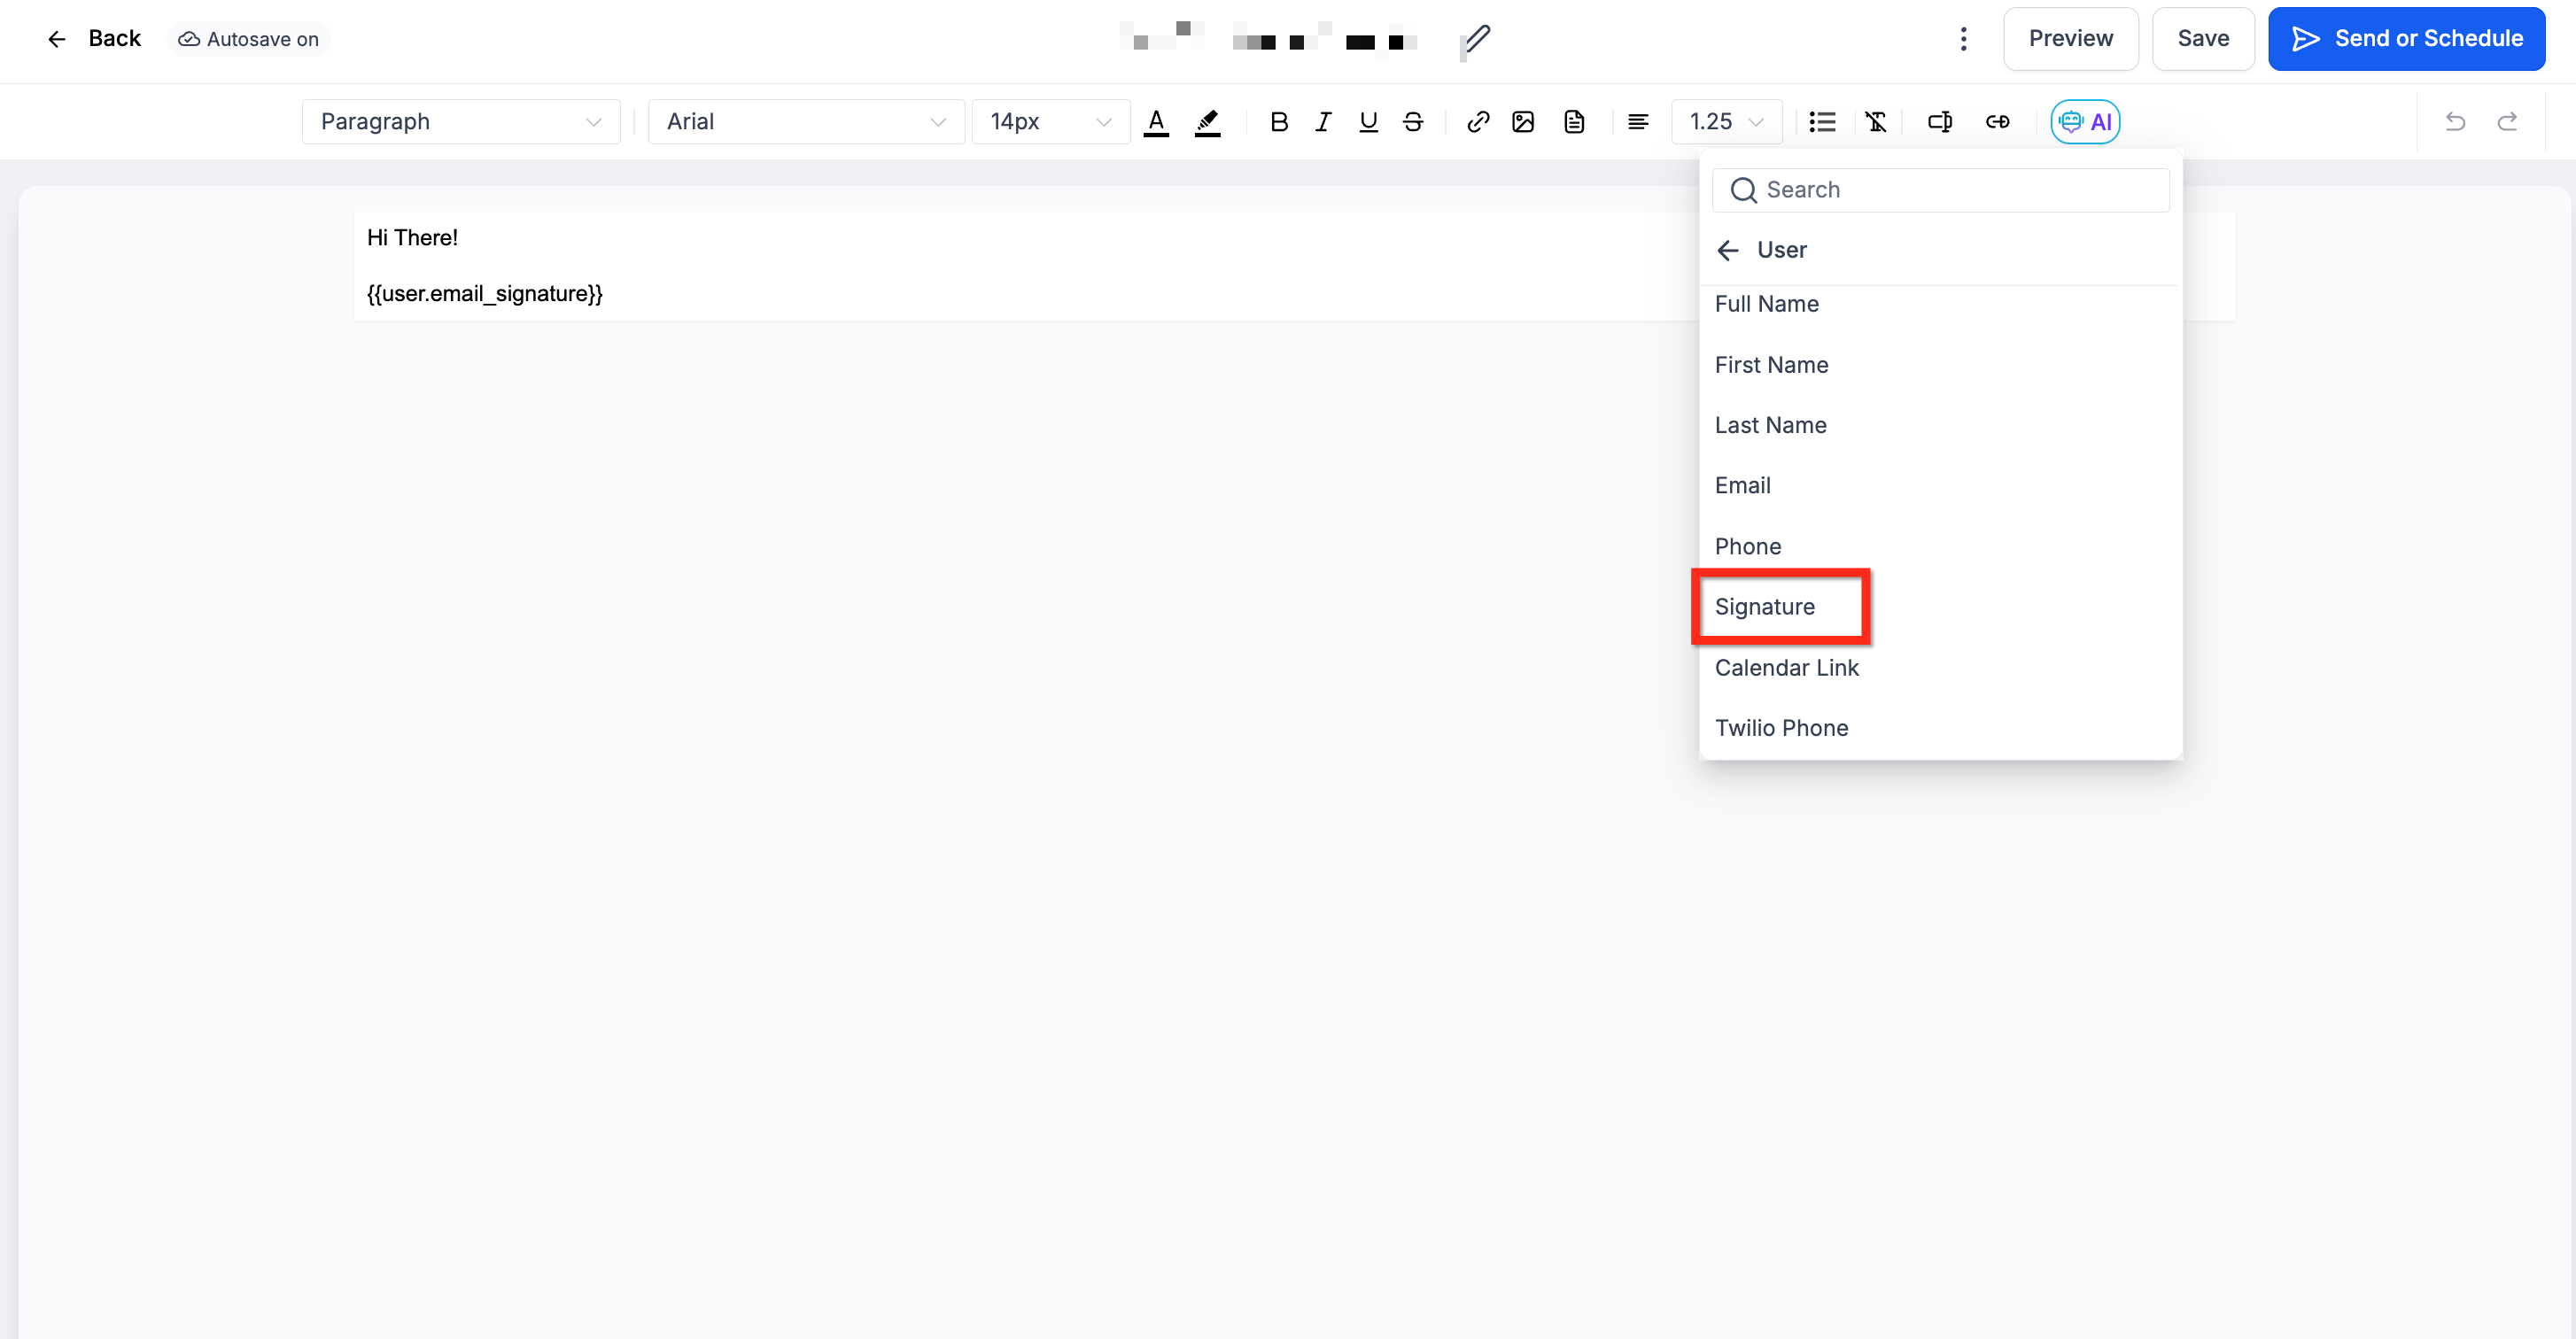
For precise placement, users can insert the custom value {{user.email_signature}} anywhere in an email template, campaign or supported editor. The merge field pulls the signature of the user context that generates the email.
03How businesses use email signatures
- Real estate agency. Agents edit their personal signature with contact details and a link to listings. The signature auto adds to all client emails, ensuring consistent branding without manual copy paste.
- Dental practice. Each dentist creates a signature with their name, office phone, and a link to appointment scheduling. They can place the {{user.email_signature}} tag in reminder emails to keep the information consistent.
- Online coaching business. Coaches add a signature that includes a link to their resource library. In newsletter campaigns they insert the {{user.email_signature}} tag so every sent email shows the correct coach’s signature.
04The numbers and rules that matter
- Saved per user within a Subaccount.
05How to set up and use email signatures in HighLevel
Set up or edit email signature
- Open Settings > My Profile > General from the subaccount view.
- In the General tab, locate the email signature editor.
- Enter or paste the desired signature content using the editor tools; you can use Insert HTML or the source view for raw HTML.
- Use the Clear All button if you need to remove existing content and start over.
- Turn on “Enable Signature in All Outgoing Messages” and optionally enable “Include This Signature Before Quoted Text in Replies”.
- Click the save control to store the signature and its settings.
Insert a user signature using Custom Values
- Open the email editor where the signature should appear.
- Click the Custom Values button.
- Select the User category, then choose Signature.
- Insert the displayed merge field {{user.email_signature}} at the desired location.
Use an email signature in a campaign
- Edit the campaign content where the signature is needed.
- Add the merge field {{user.email_signature}} at the appropriate spot.
- Save the campaign so the system inserts the user’s saved signature when the email is sent.
06What it looks like in HighLevel
07Settings that matter
- Enable Signature in All Outgoing Messages. Controls whether the saved signature is automatically appended to every supported outbound email.
- Include This Signature Before Quoted Text in Replies. Determines if the signature appears above the quoted text when replying to an email thread.
08If something goes wrong
- Signature does not appear in sent emails. Confirm the signature was saved to the correct user profile and ensure the “Enable Signature in All Outgoing Messages” option is turned on.
- Wrong user’s signature is inserted via merge field. Check that the email’s user context (assigned user or sender) matches the intended signature owner.
09How it connects to the rest of HighLevel
- Manage who can edit and view email signatures through user access settings User access
- Explore all configuration options for signatures and other profile settings All Settings
- Learn how agency role permissions affect signature editing for subaccounts Agency role management
Michael's take

The easiest win is to turn on the “Enable Signature in All Outgoing Messages” setting so every email automatically carries the right footer.
If I were setting this up, I’d create a clean signature with my name, title and a link to my site, then test a few outbound messages to confirm the signature appears where I expect. A quick check of the user context for any campaign that uses the merge field makes sure the right signature shows up every time.