
01Who this is for
- Marketing managers can craft branded messages quickly by styling headings and paragraphs directly in the email editor.
- Small business owners gain control over font and colour to keep emails consistent with their visual identity.
- Email designers can add links and adjust spacing to improve layout without leaving the platform.
02Text elements, explained
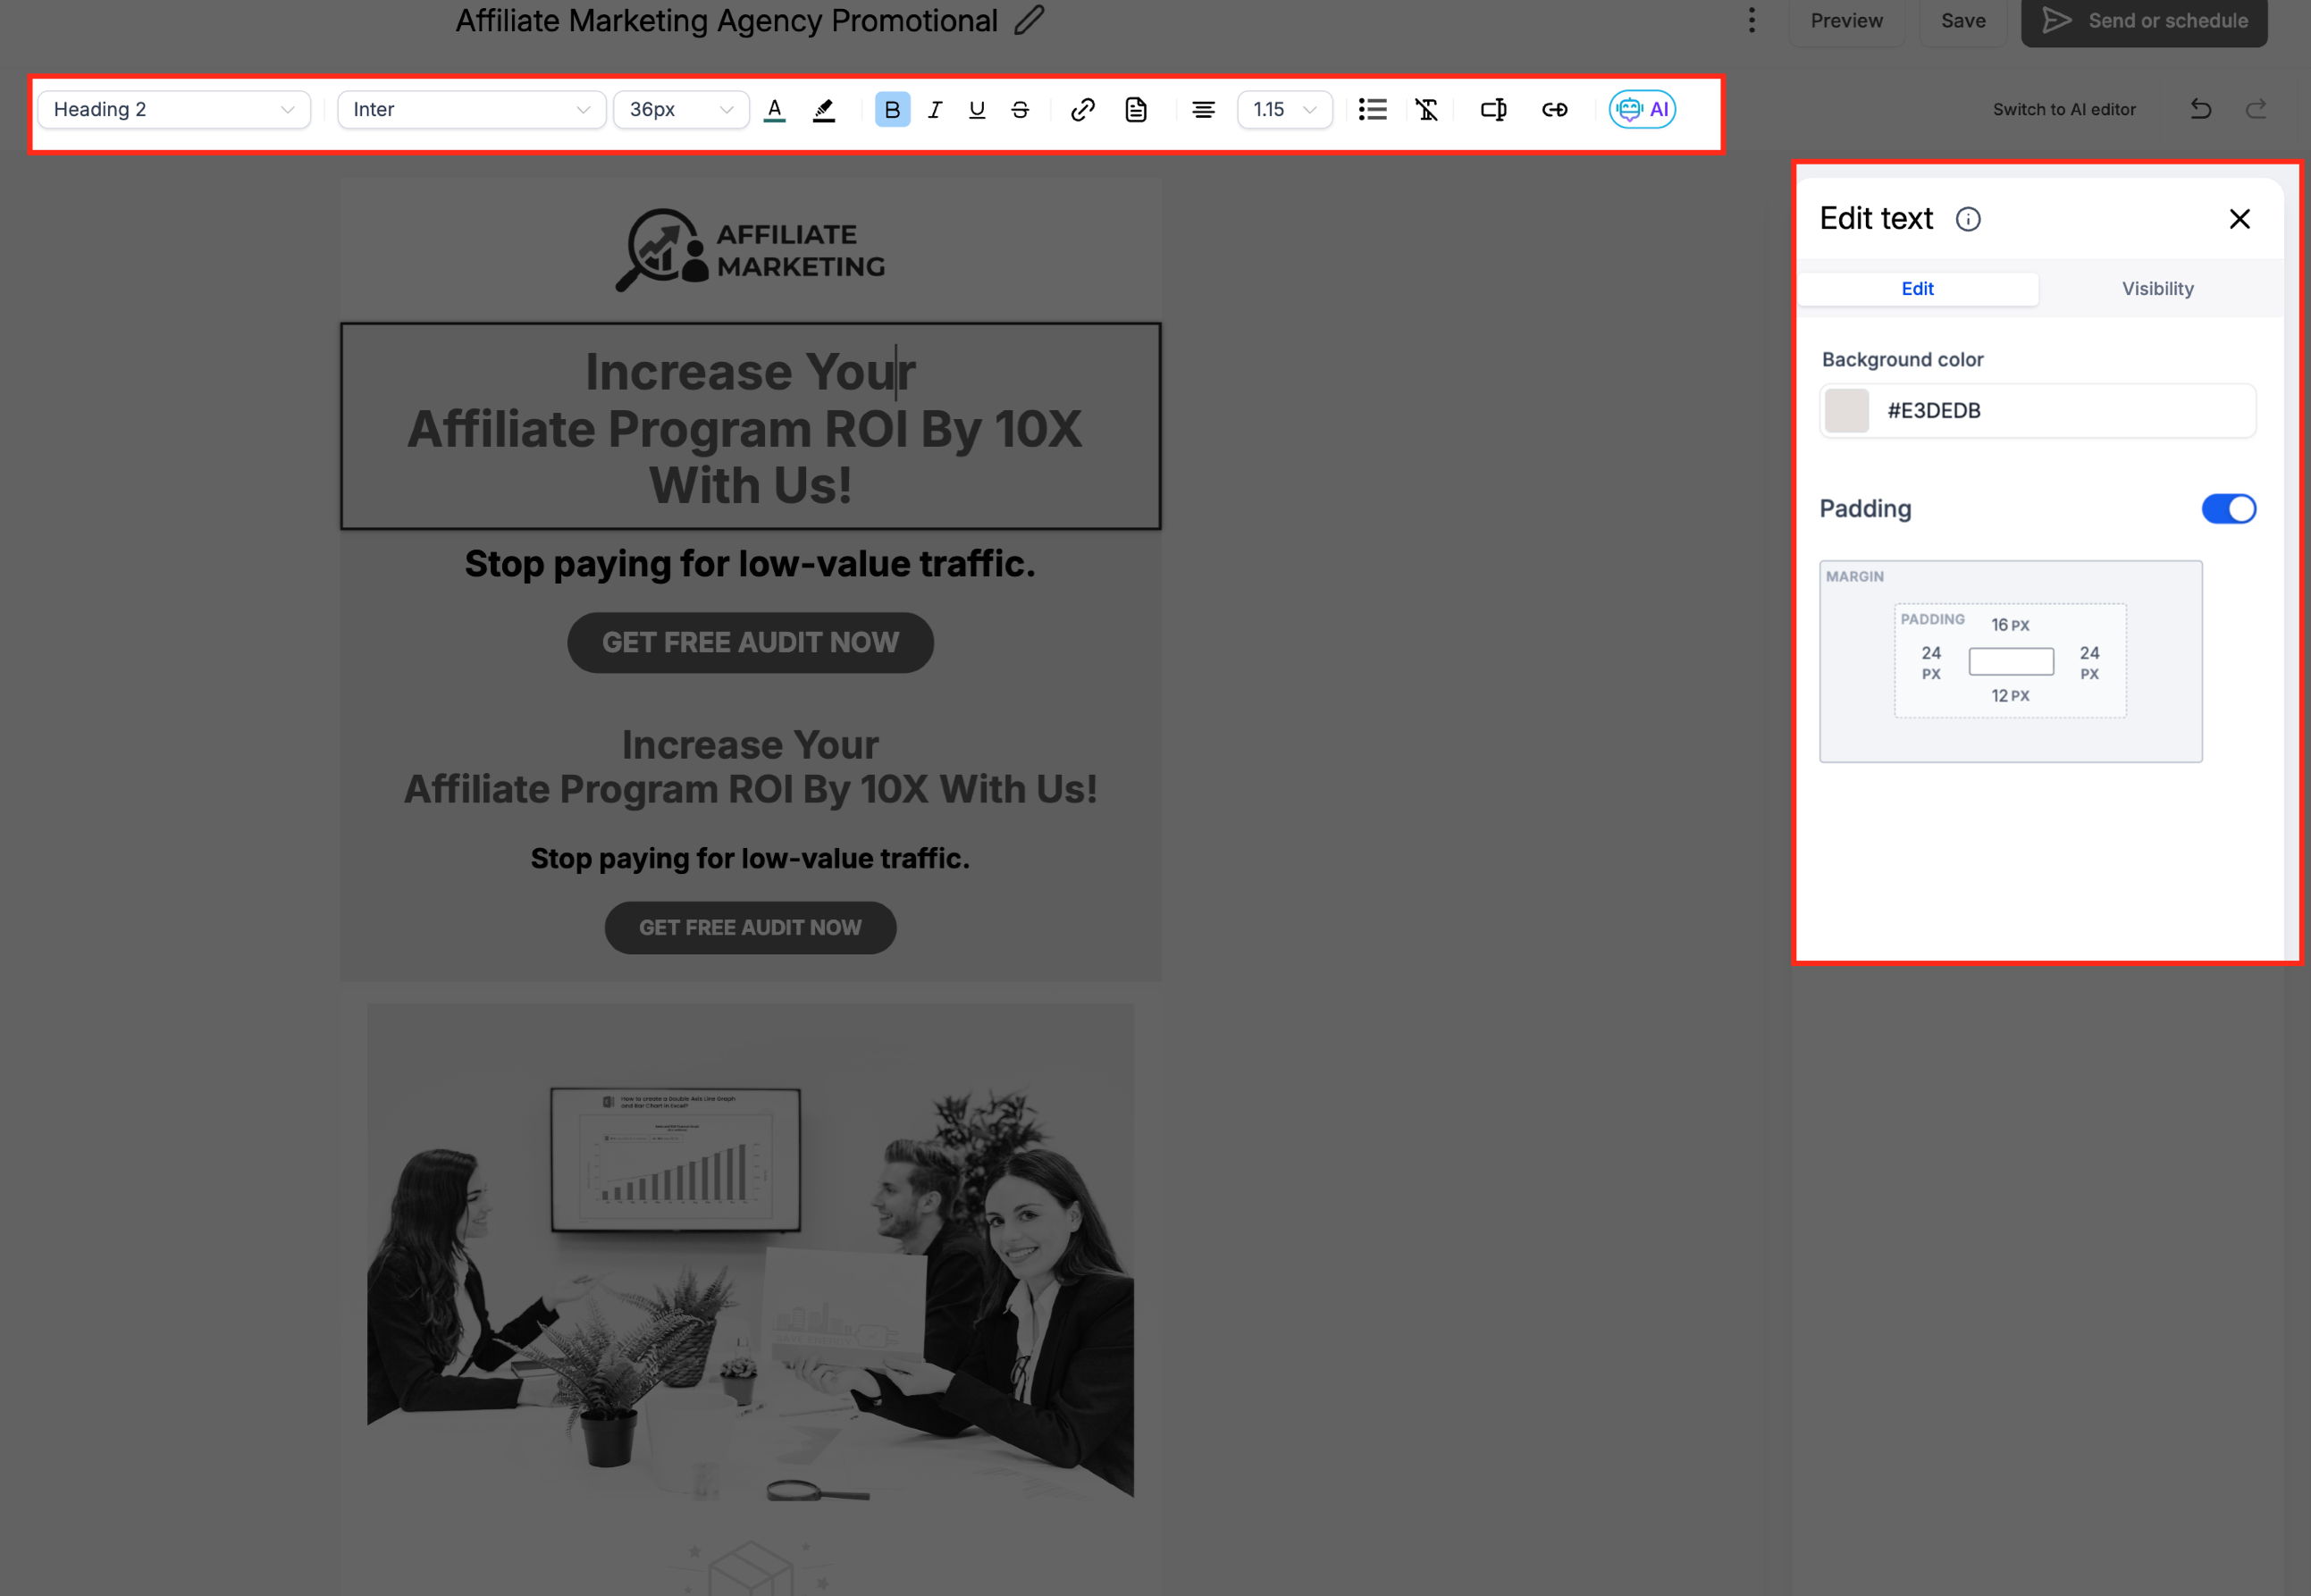
The Text Element appears as a draggable block inside the Email Builder. When placed, it opens an Edit tab where you can type or paste copy and use a formatting toolbar. The toolbar supports bold, italic, underline, lists, alignment, heading levels and link insertion.
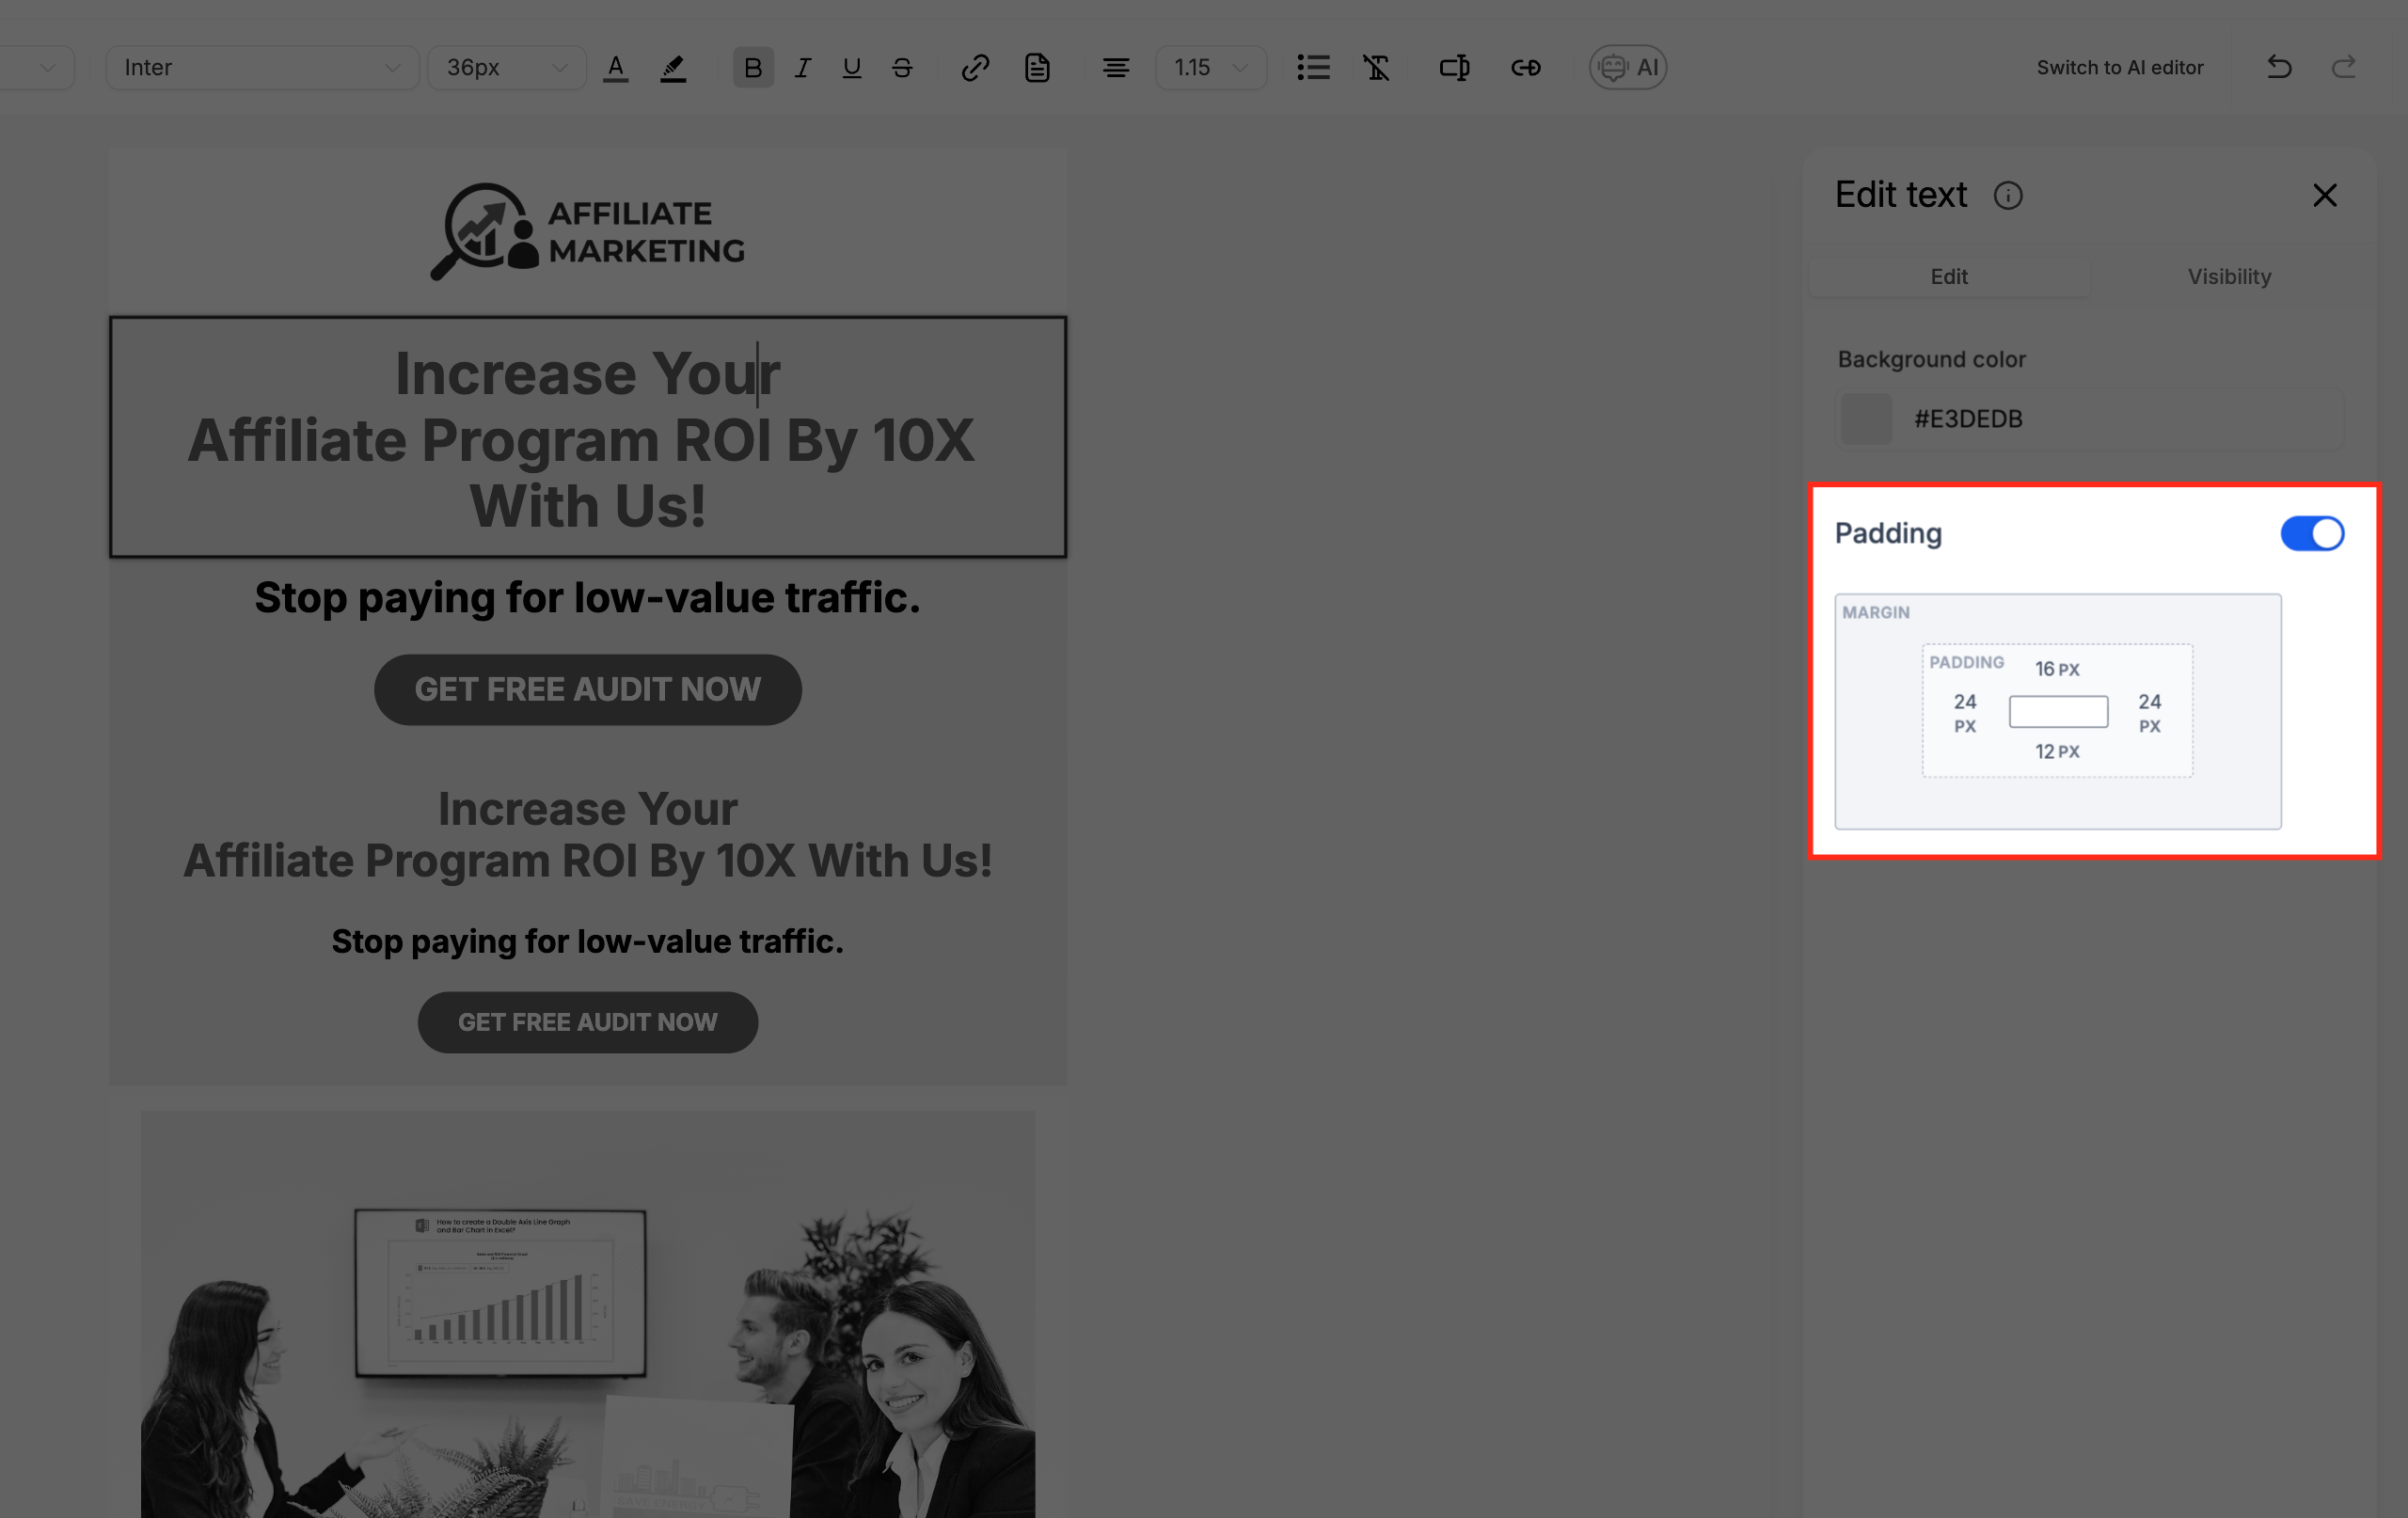
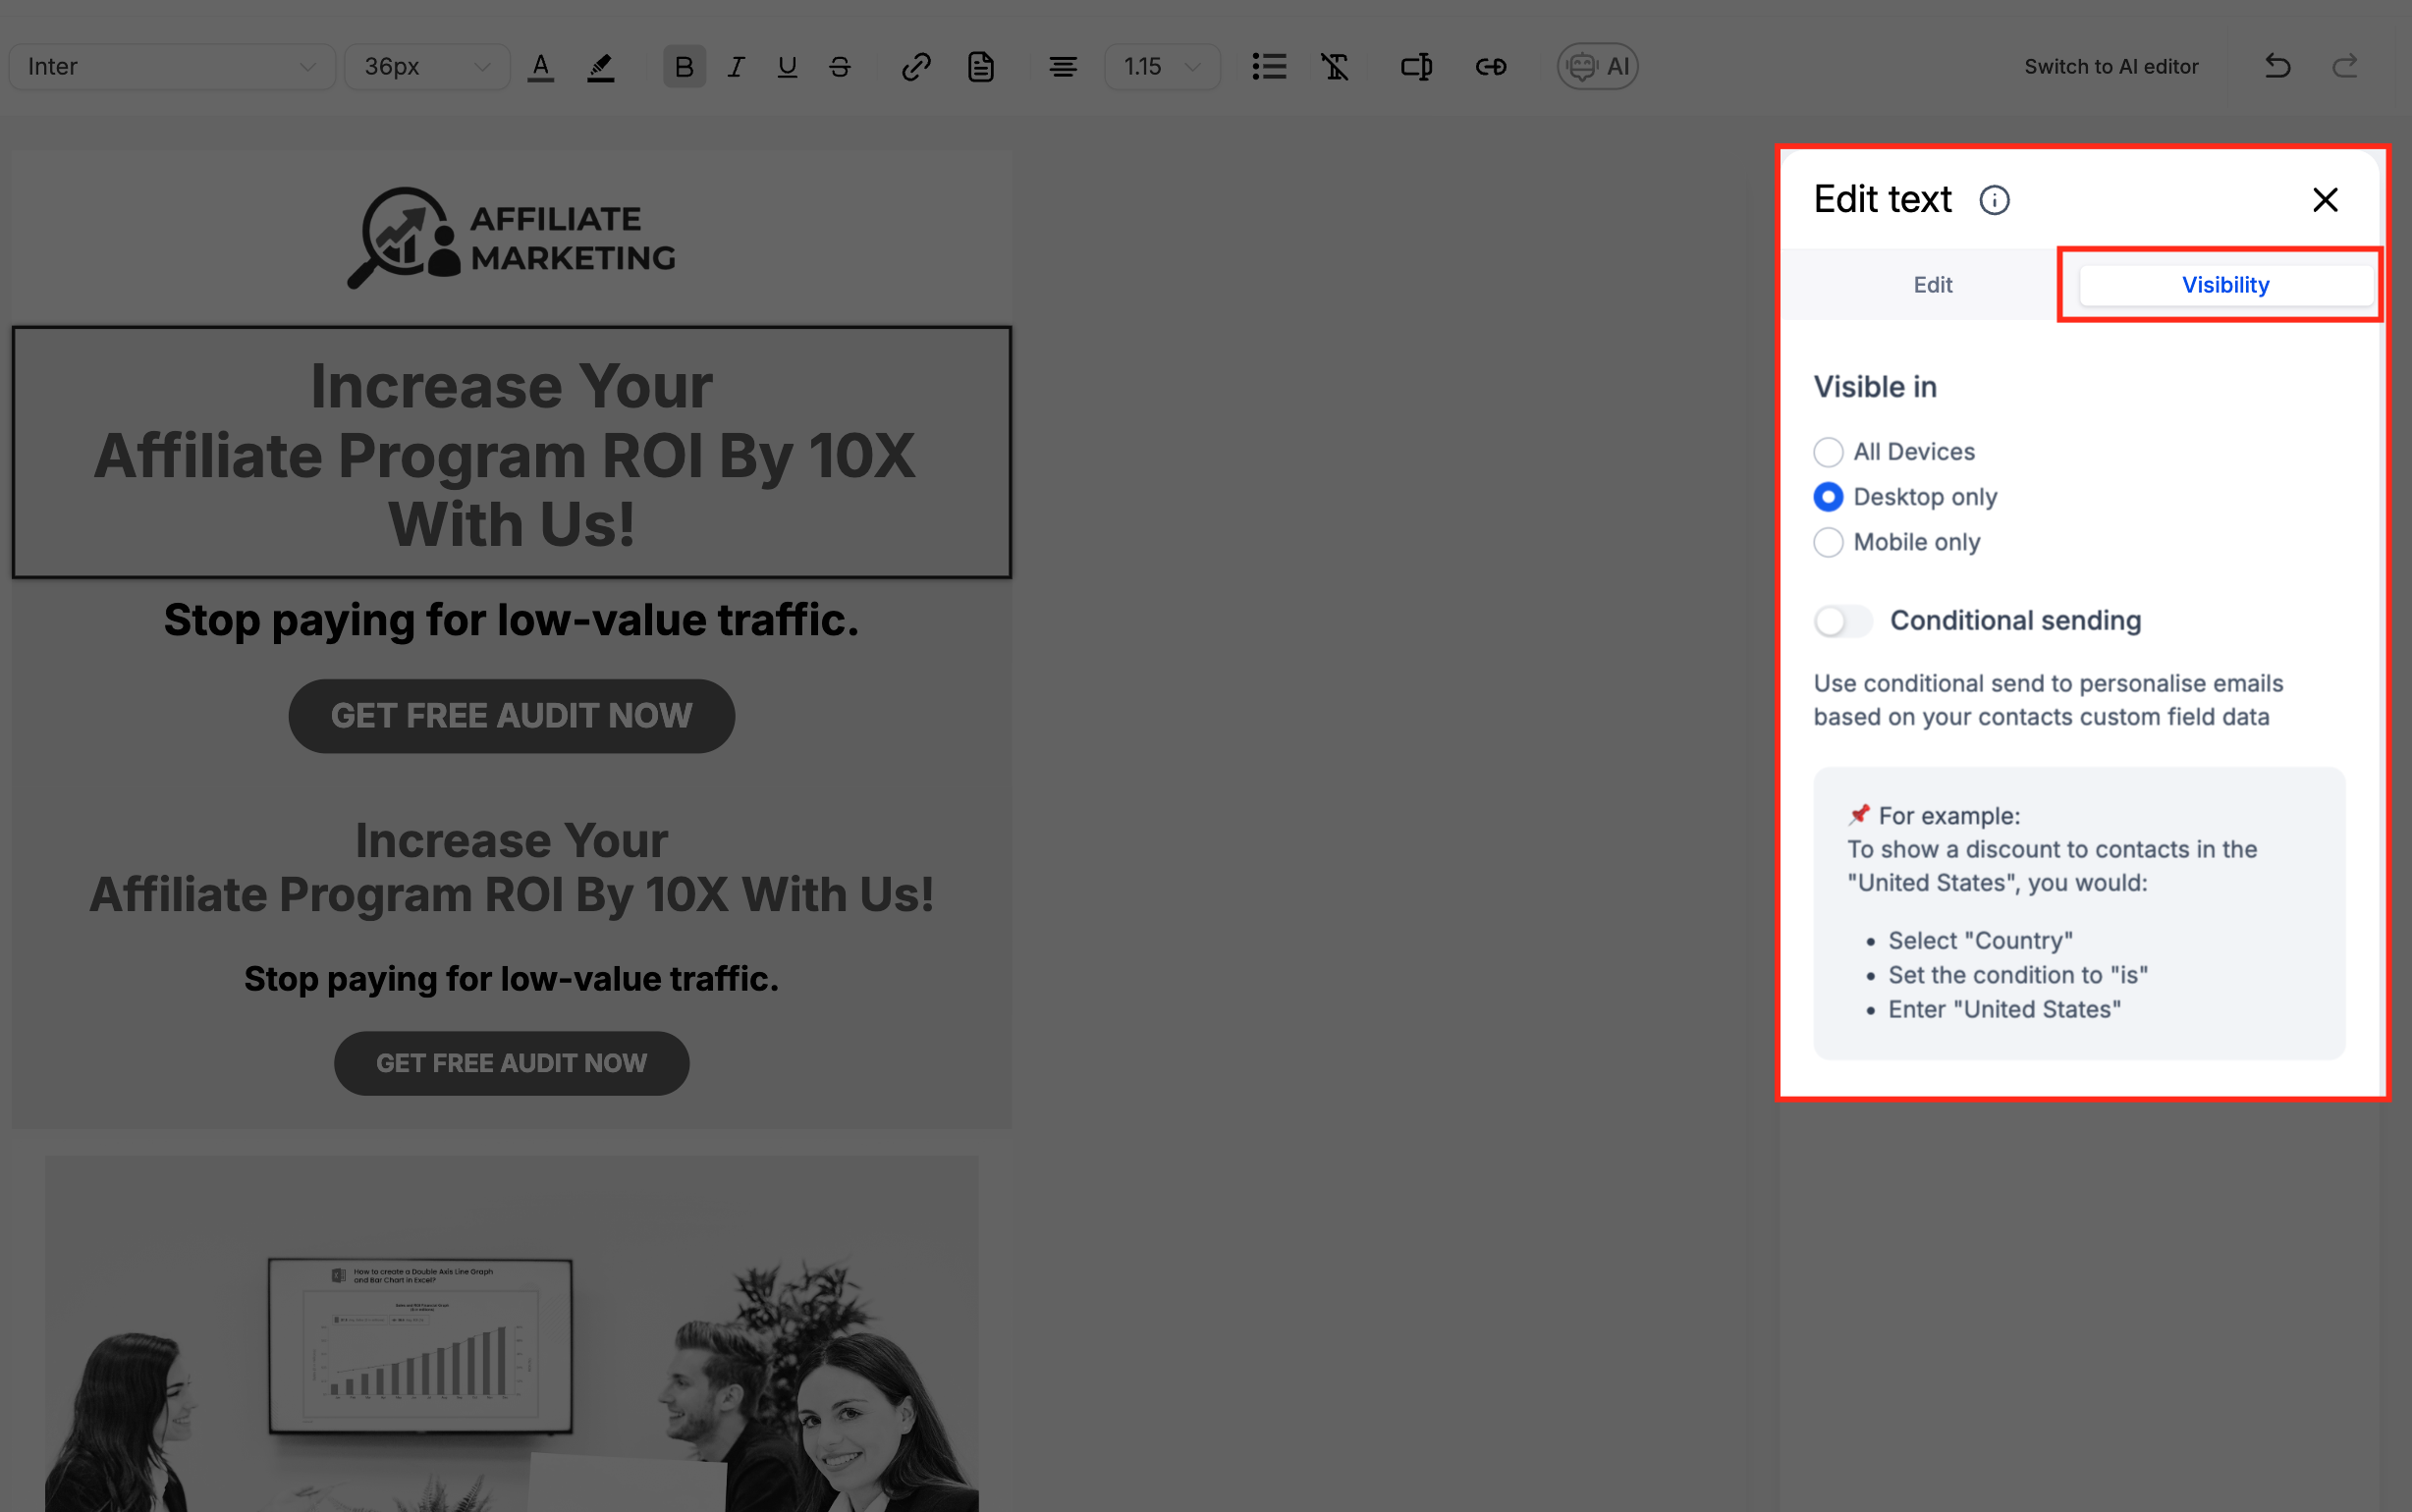
The element automatically resizes for desktop and mobile displays, preserving readability. Additional options let you set padding around the text and control device based visibility or conditional sending.
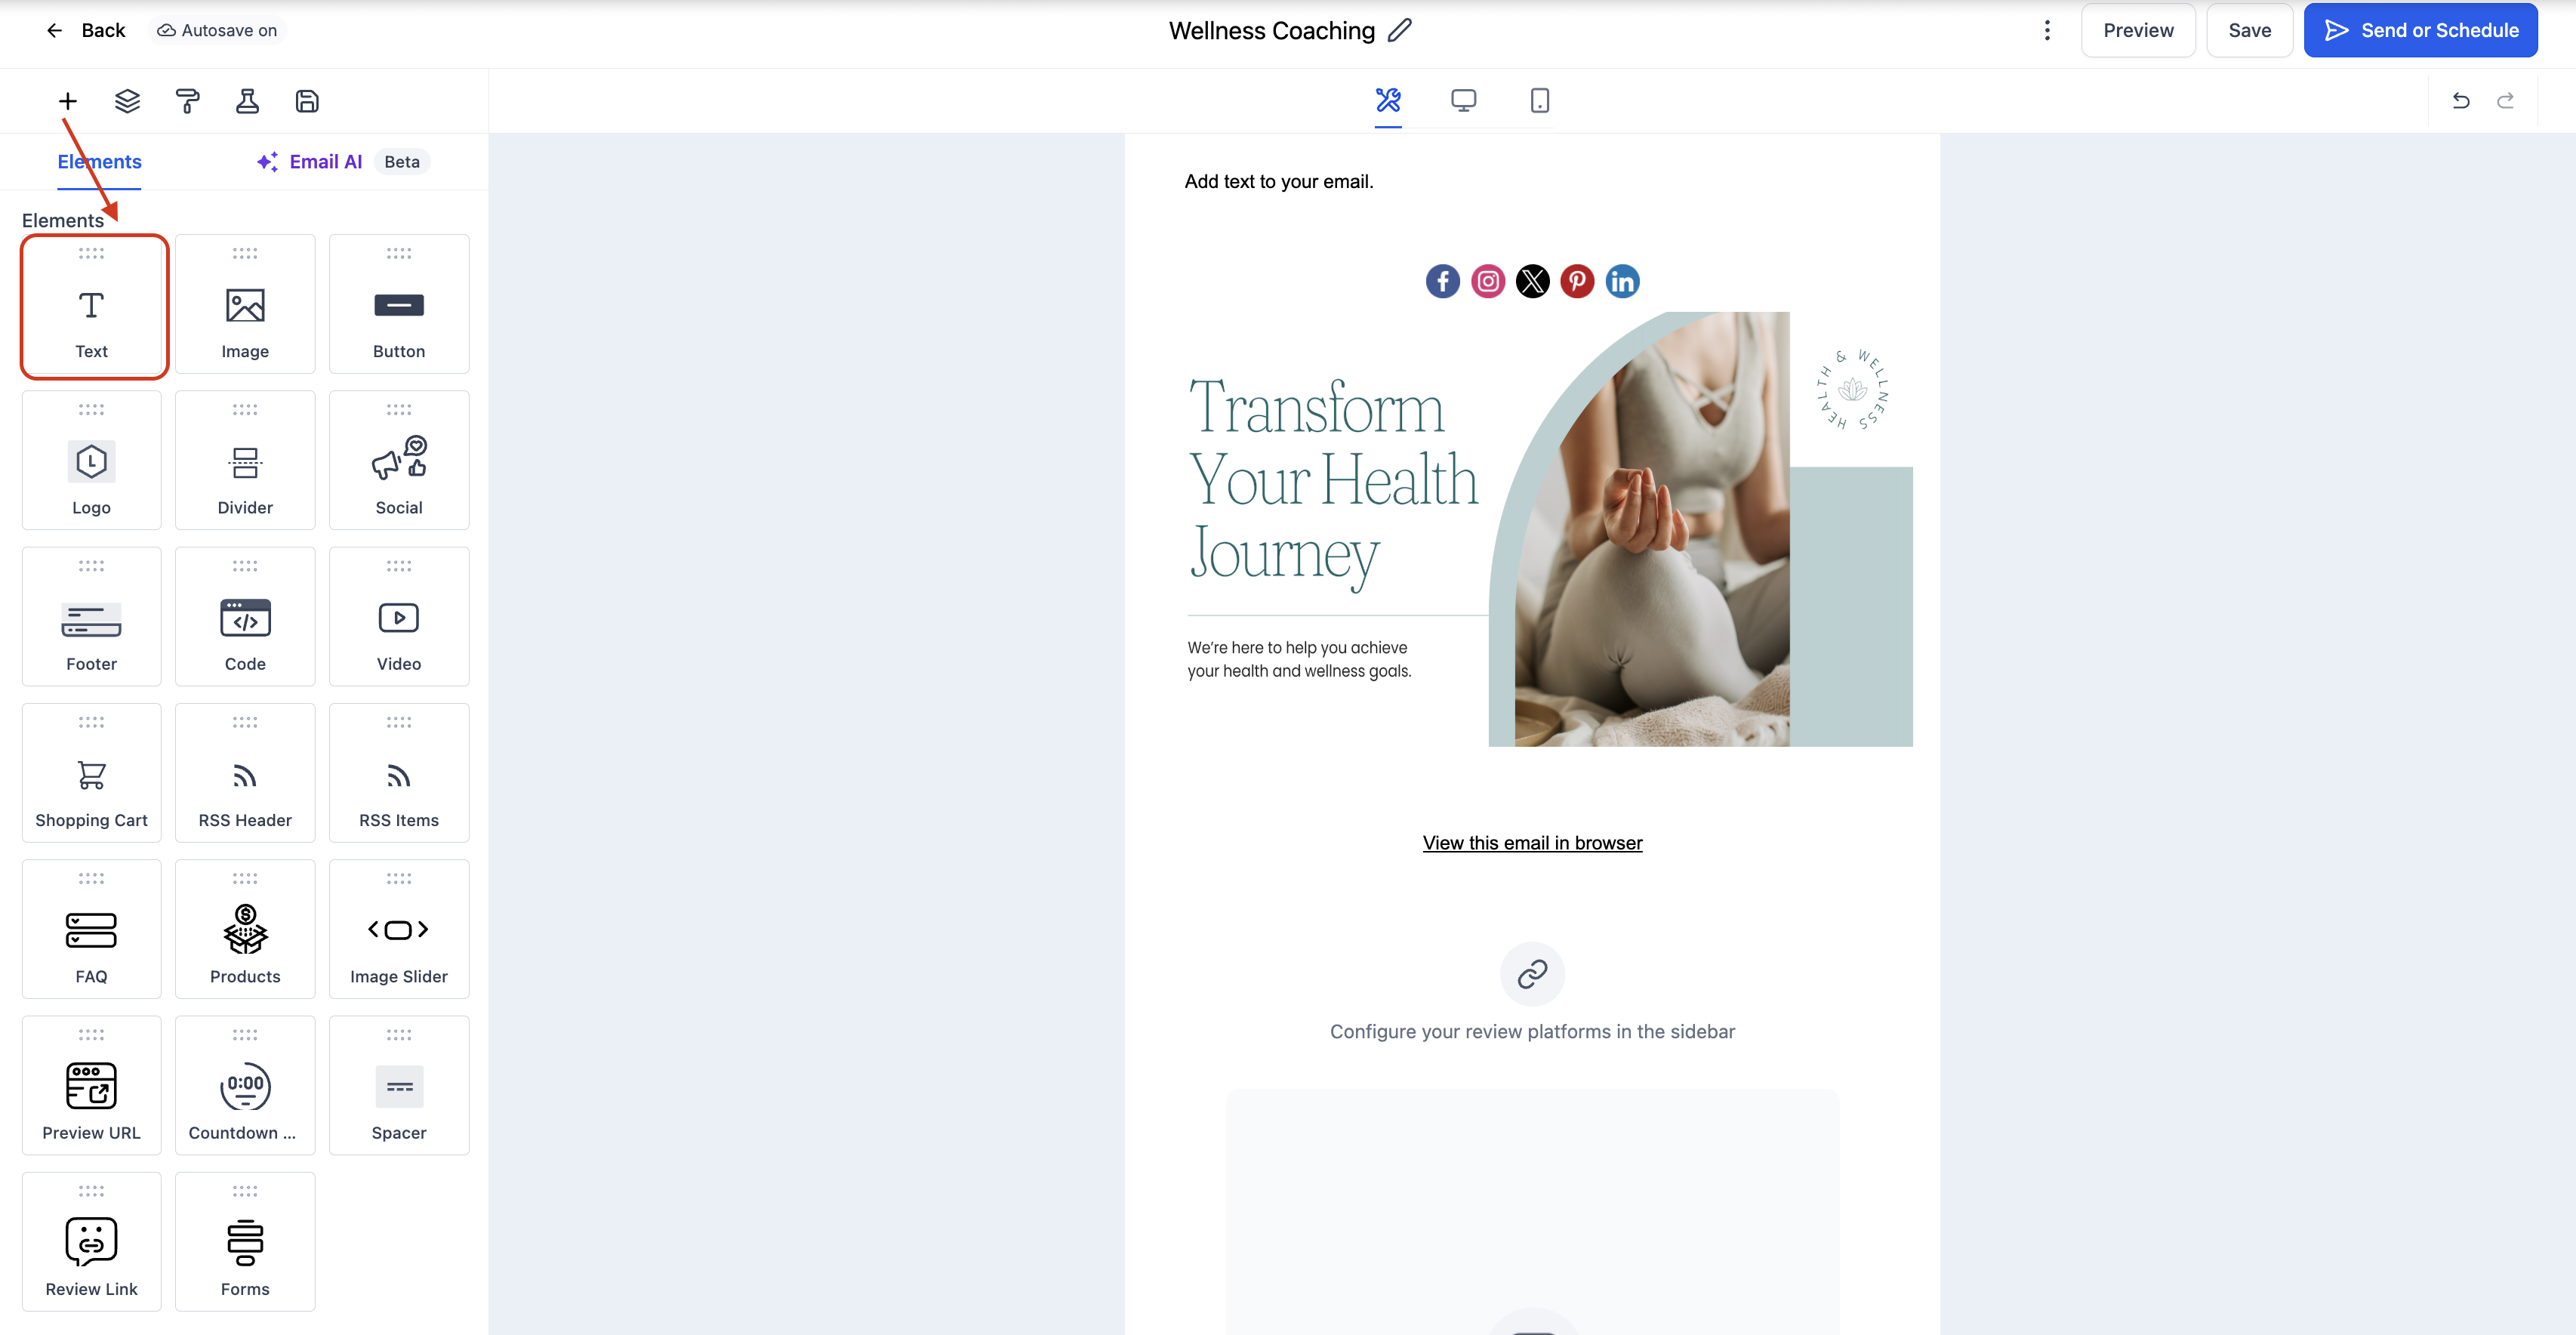
You locate the Text Element from the Add Elements (+) menu on the left side of the builder. After configuring content and style, you can preview the email in both desktop and mobile modes before finalizing the campaign.
03How businesses use the Text Element
- Digital marketing agency. Add a Text Element to each client email template, style headings with brand colours, insert clickable links to landing pages, and adjust padding to match the agency’s design standards.
- Ecommerce store. Create product announcement emails by dragging a Text Element, using bullet lists to outline features, embedding hyperlinks to product pages, and setting mobile visibility so the text stays readable on phones.
- Non profit organization. Build fundraising newsletters by adding a Text Element, applying different font sizes to emphasize calls to action, customizing line spacing for clarity, and previewing on both desktop and mobile before sending.
04How to set up and use the Text Element in HighLevel
Add and configure a Text Element in an email template
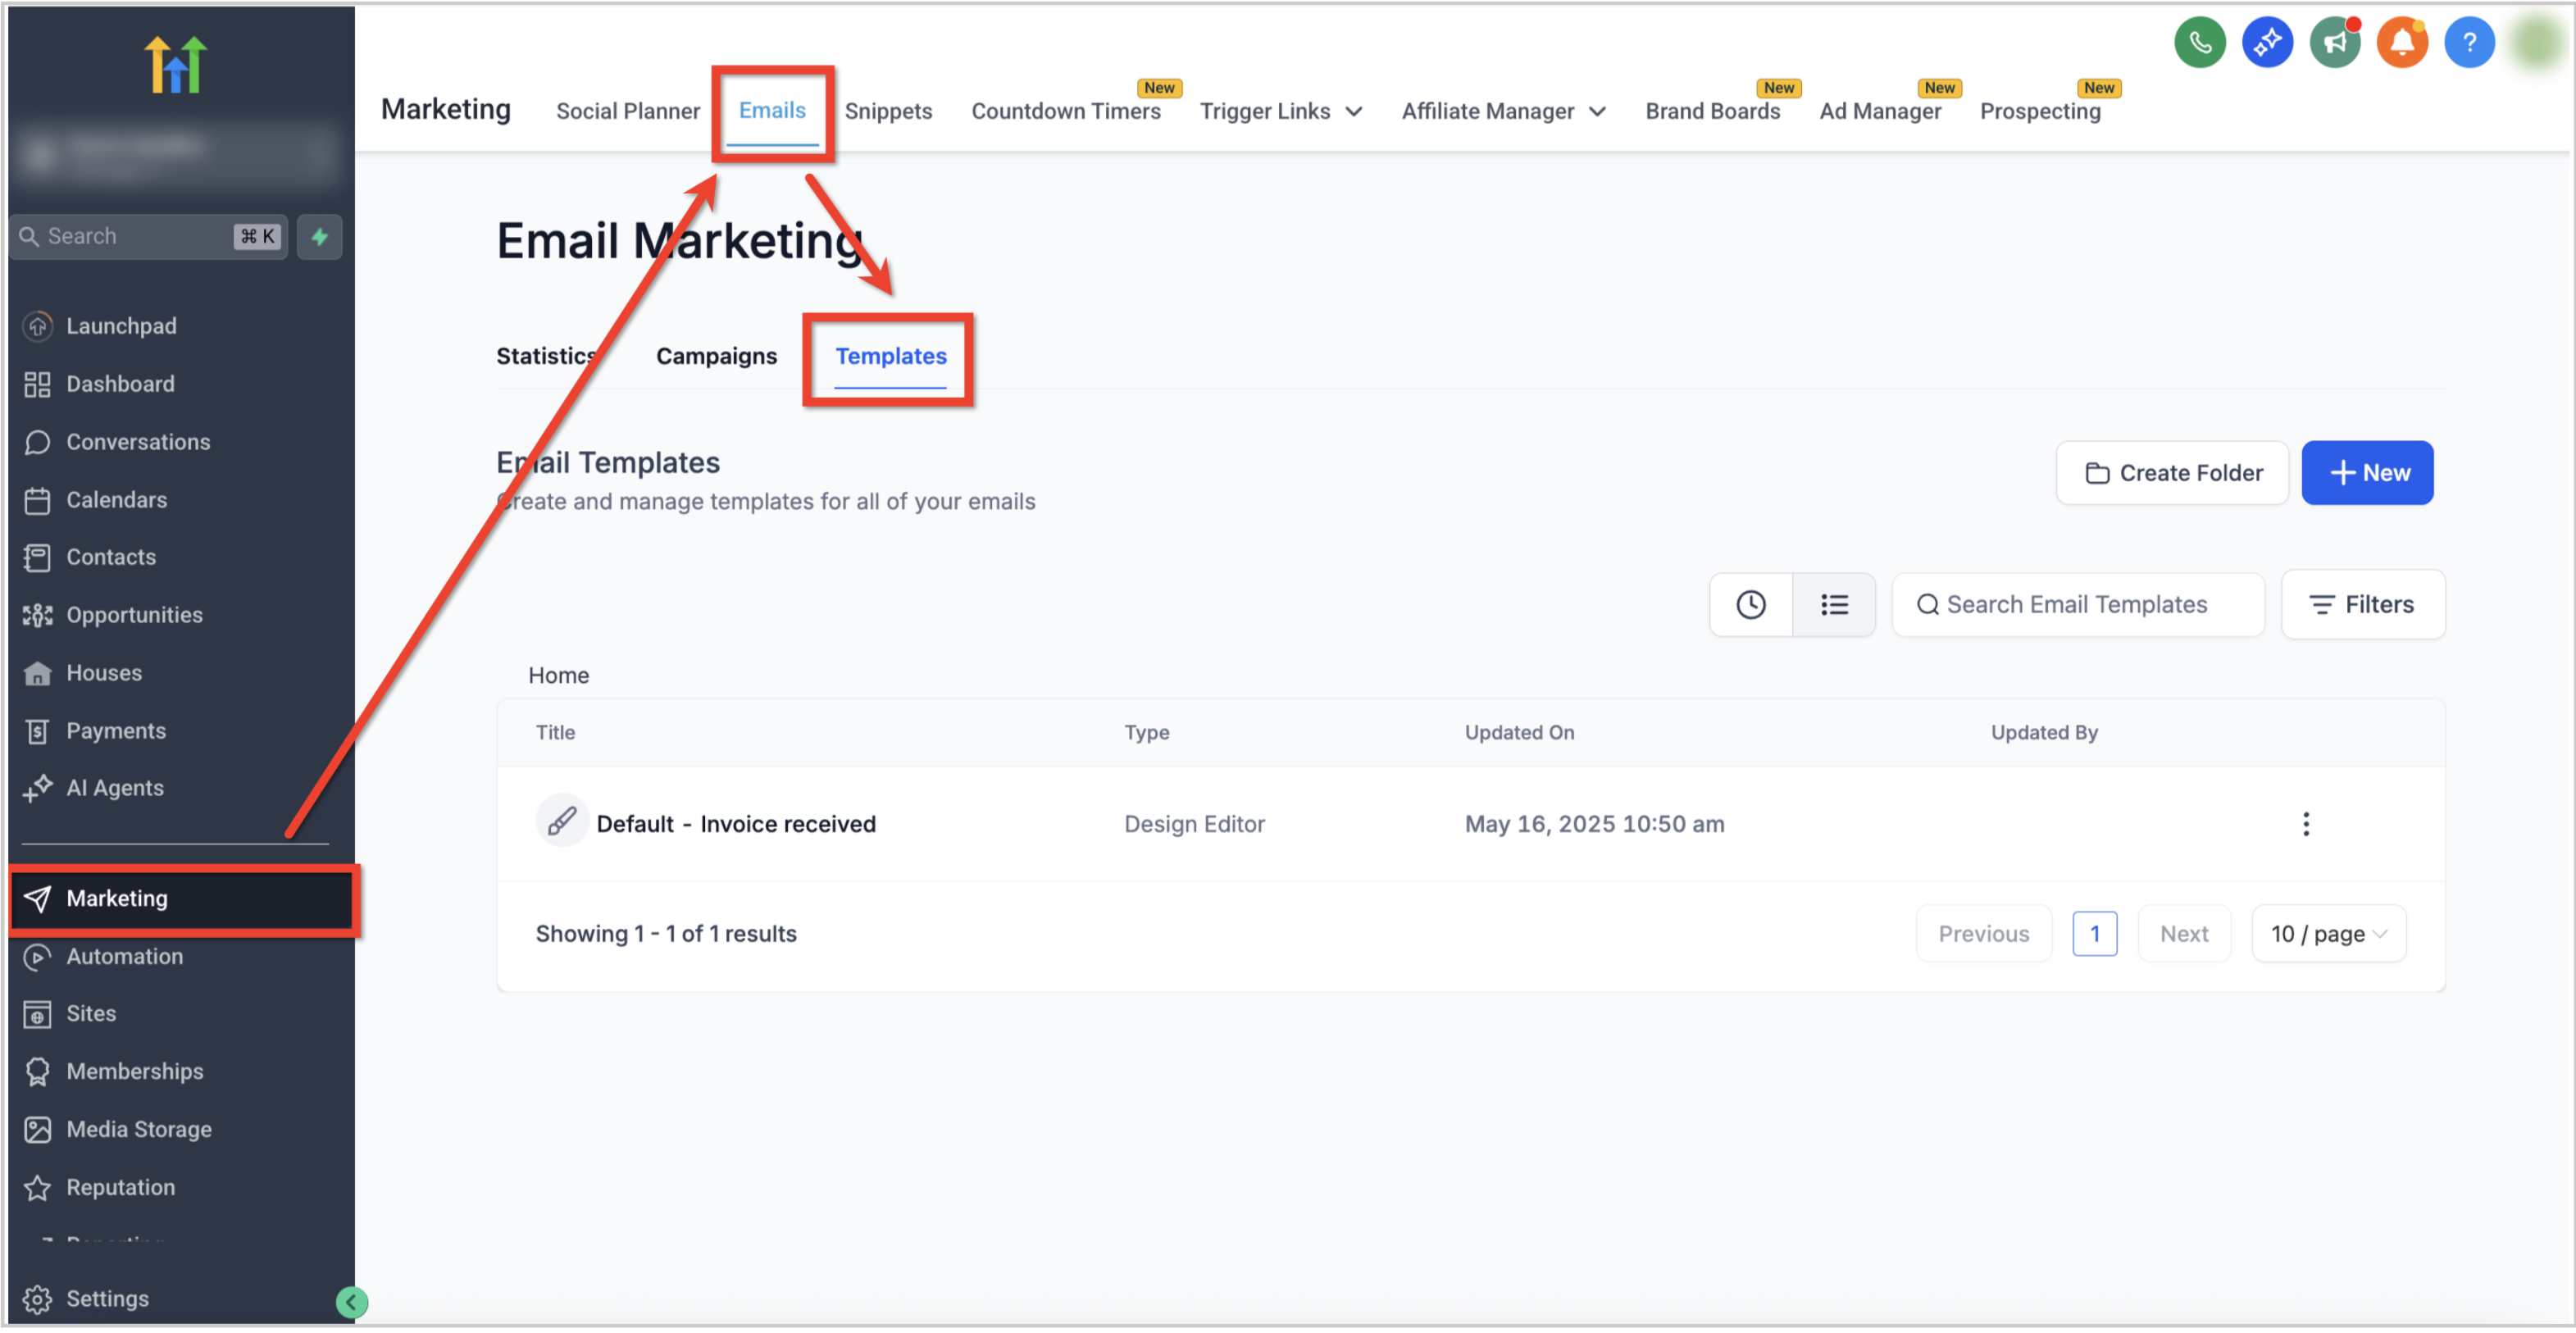
- Go to Marketing > Emails > Templates from the subaccount dashboard.
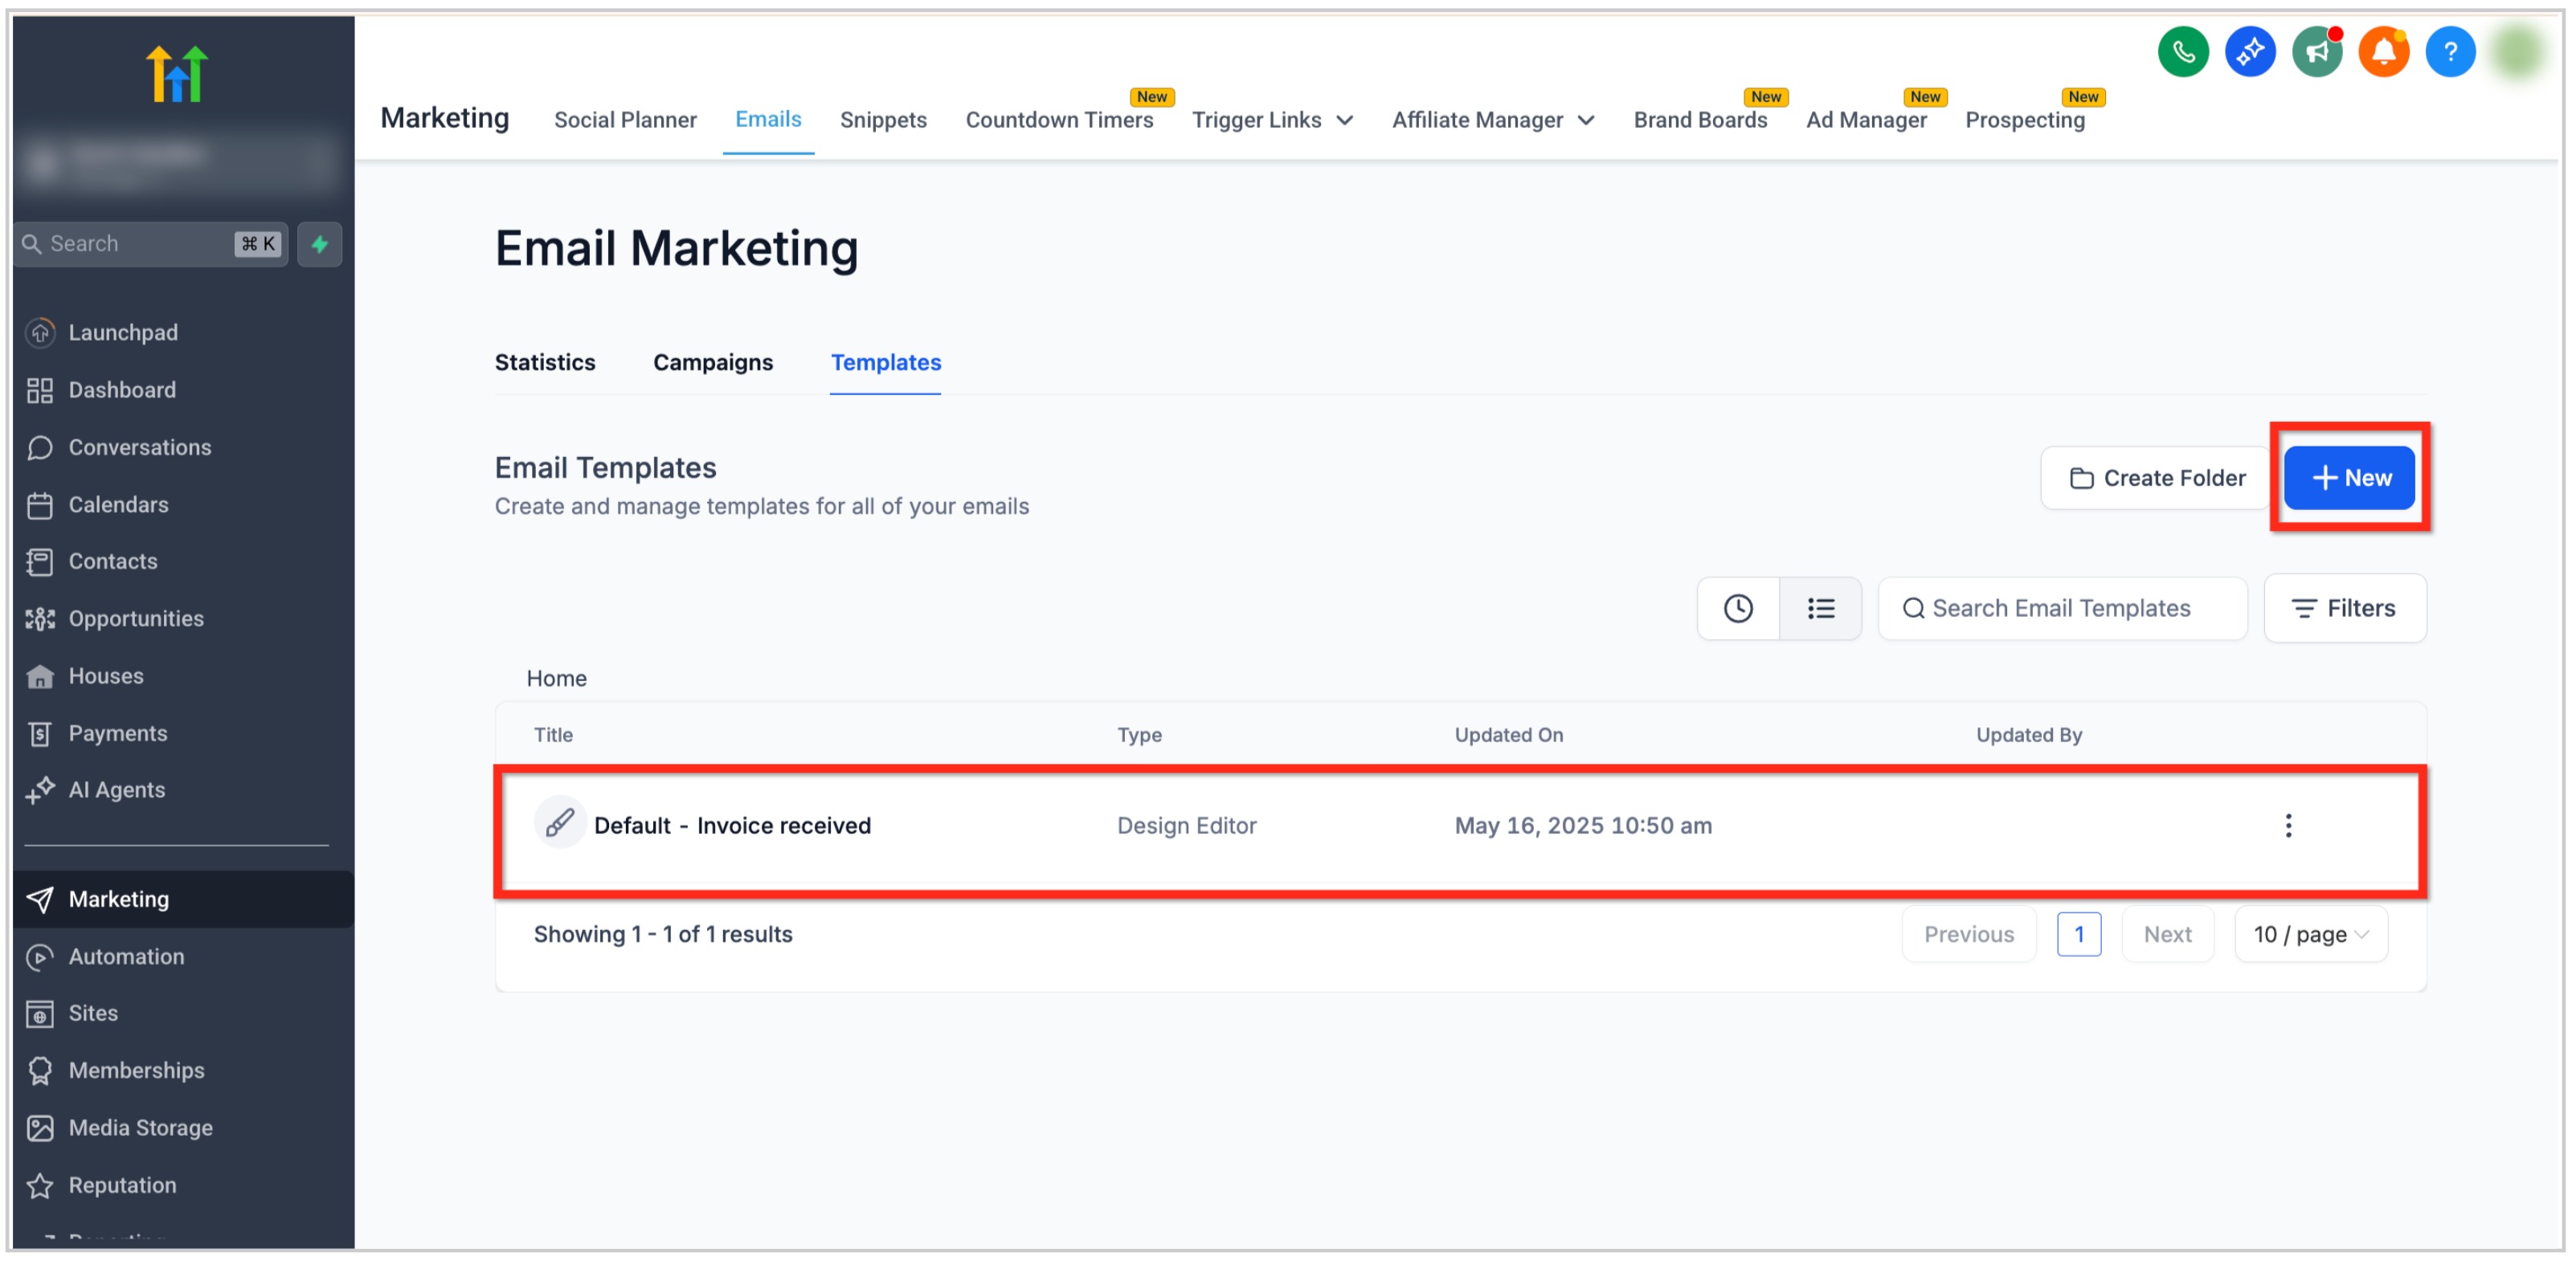
- Open an existing template or press the + New button to start a new one.
- In the Email Builder, click the Add Elements (+) icon on the left side.
- Find the Text Element block and drag it into the desired spot in the layout.
- Select the added Text Element to open its Edit tab.
- Enter or paste your copy directly into the provided text field.
- Use the formatting toolbar to apply bold, italic, underline, lists and alignment.
- Choose a heading level (H1 H4) and toggle the Bold (B) button in the inline toolbar if needed.
- Modify font size, text colour and line spacing to improve readability.
- Highlight a phrase, click the link icon and insert the target URL.
- Adjust the Padding settings to set space around the text block.
- Open the Visibility tab to change device based visibility or conditional sending.
- Switch between desktop and mobile preview modes to verify the formatting.
05What it looks like in HighLevel
06Settings that matter
- Edit tab. Opens the area where you can type content and access formatting tools.
- Toolbar. Provides buttons for bold, italic, underline, lists, alignment, and other text styles.
- Heading styles. Allows you to apply H1 H4 tags to selected text.
- Bold (B) button. Toggles bold styling on heading text without altering the heading level.
- Font size. Changes the size of the selected text.
- Color. Sets the colour of the selected text.
- Spacing. Controls line height or spacing for better readability.
- Hyperlink tool. Inserts a URL into highlighted text.
- Padding options. Sets the margin around the text element.
- Visibility tab. Configures device specific visibility and conditional sending rules.
07Things to know before you rely on it
- Always preview your email on both desktop and mobile before sending to check how the text renders across email clients.
08How it connects to the rest of HighLevel
- Add custom fonts to enhance typography in the Email Builder Custom fonts
- Insert a Video element alongside text for richer content Video element
- Save and reuse your email design with the template library Template library
Michael's take

Never skip the preview step; it’s easy to miss how formatting renders in different email clients.