
01Who this is for
- Ecommerce owners, they can add urgency to flash sale pages and promotional emails.
- Event planners, they can display a clear deadline for registration or start time on event pages and invitations.
- Coaches and course creators, they can highlight enrollment windows on sign up pages and follow up messages.
02Fixed countdown timers, explained
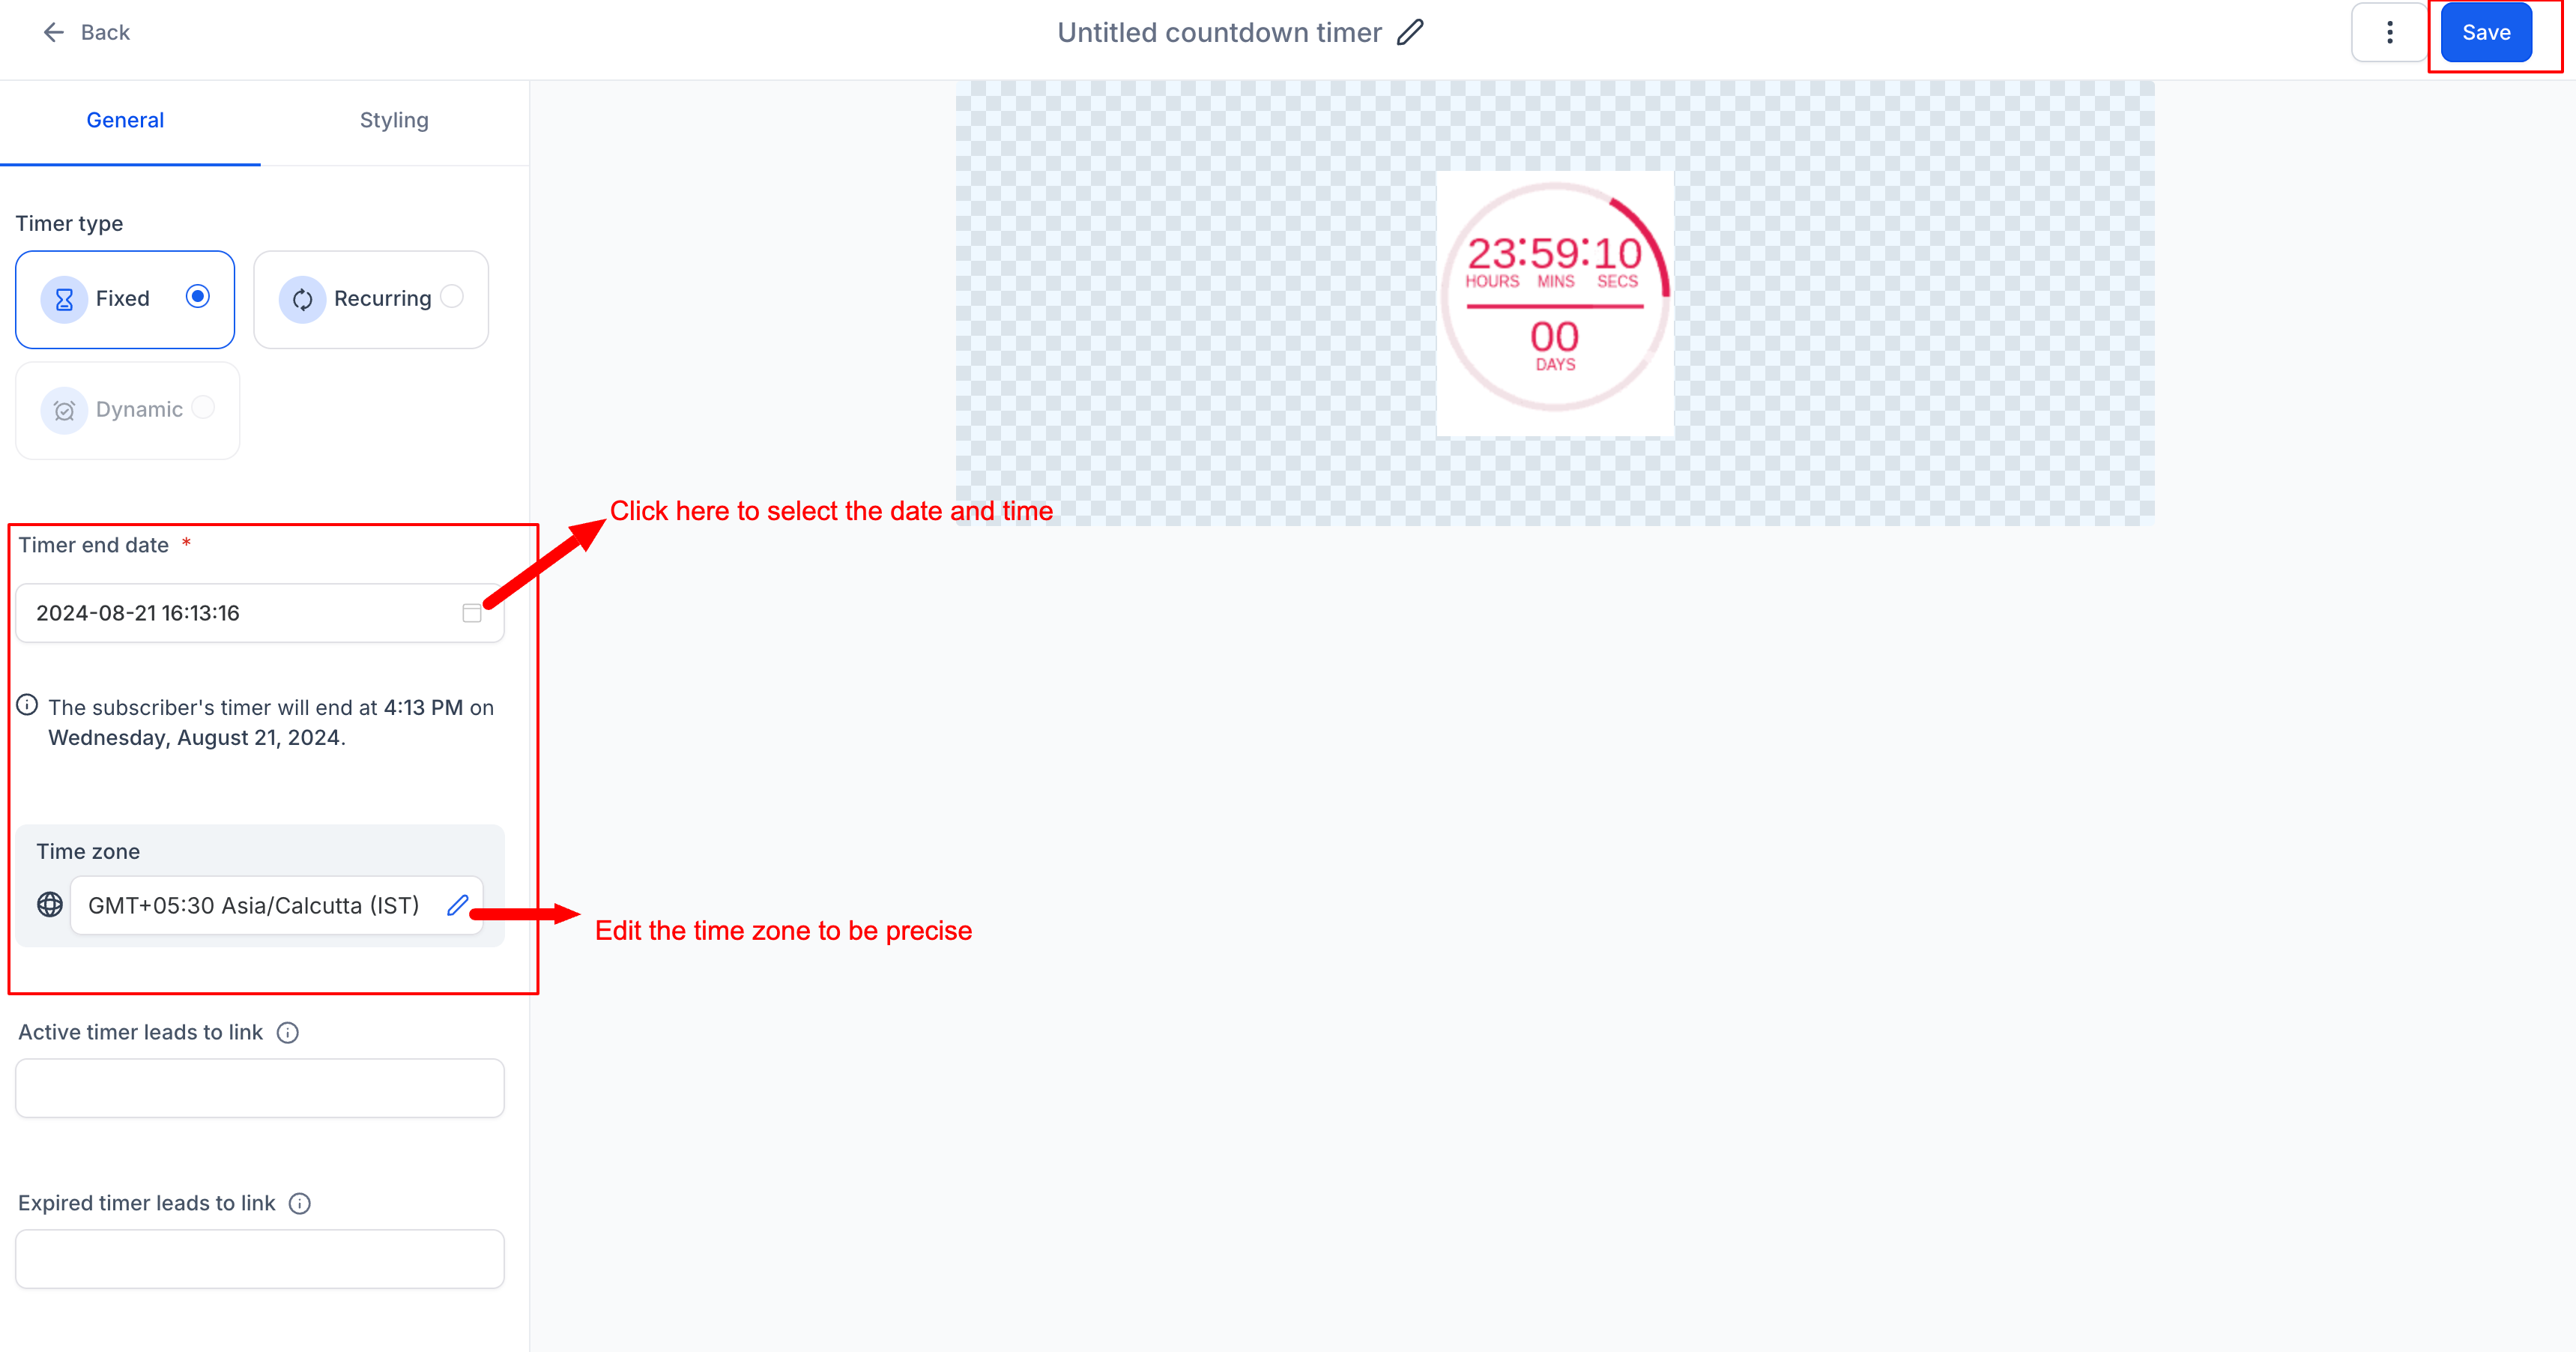
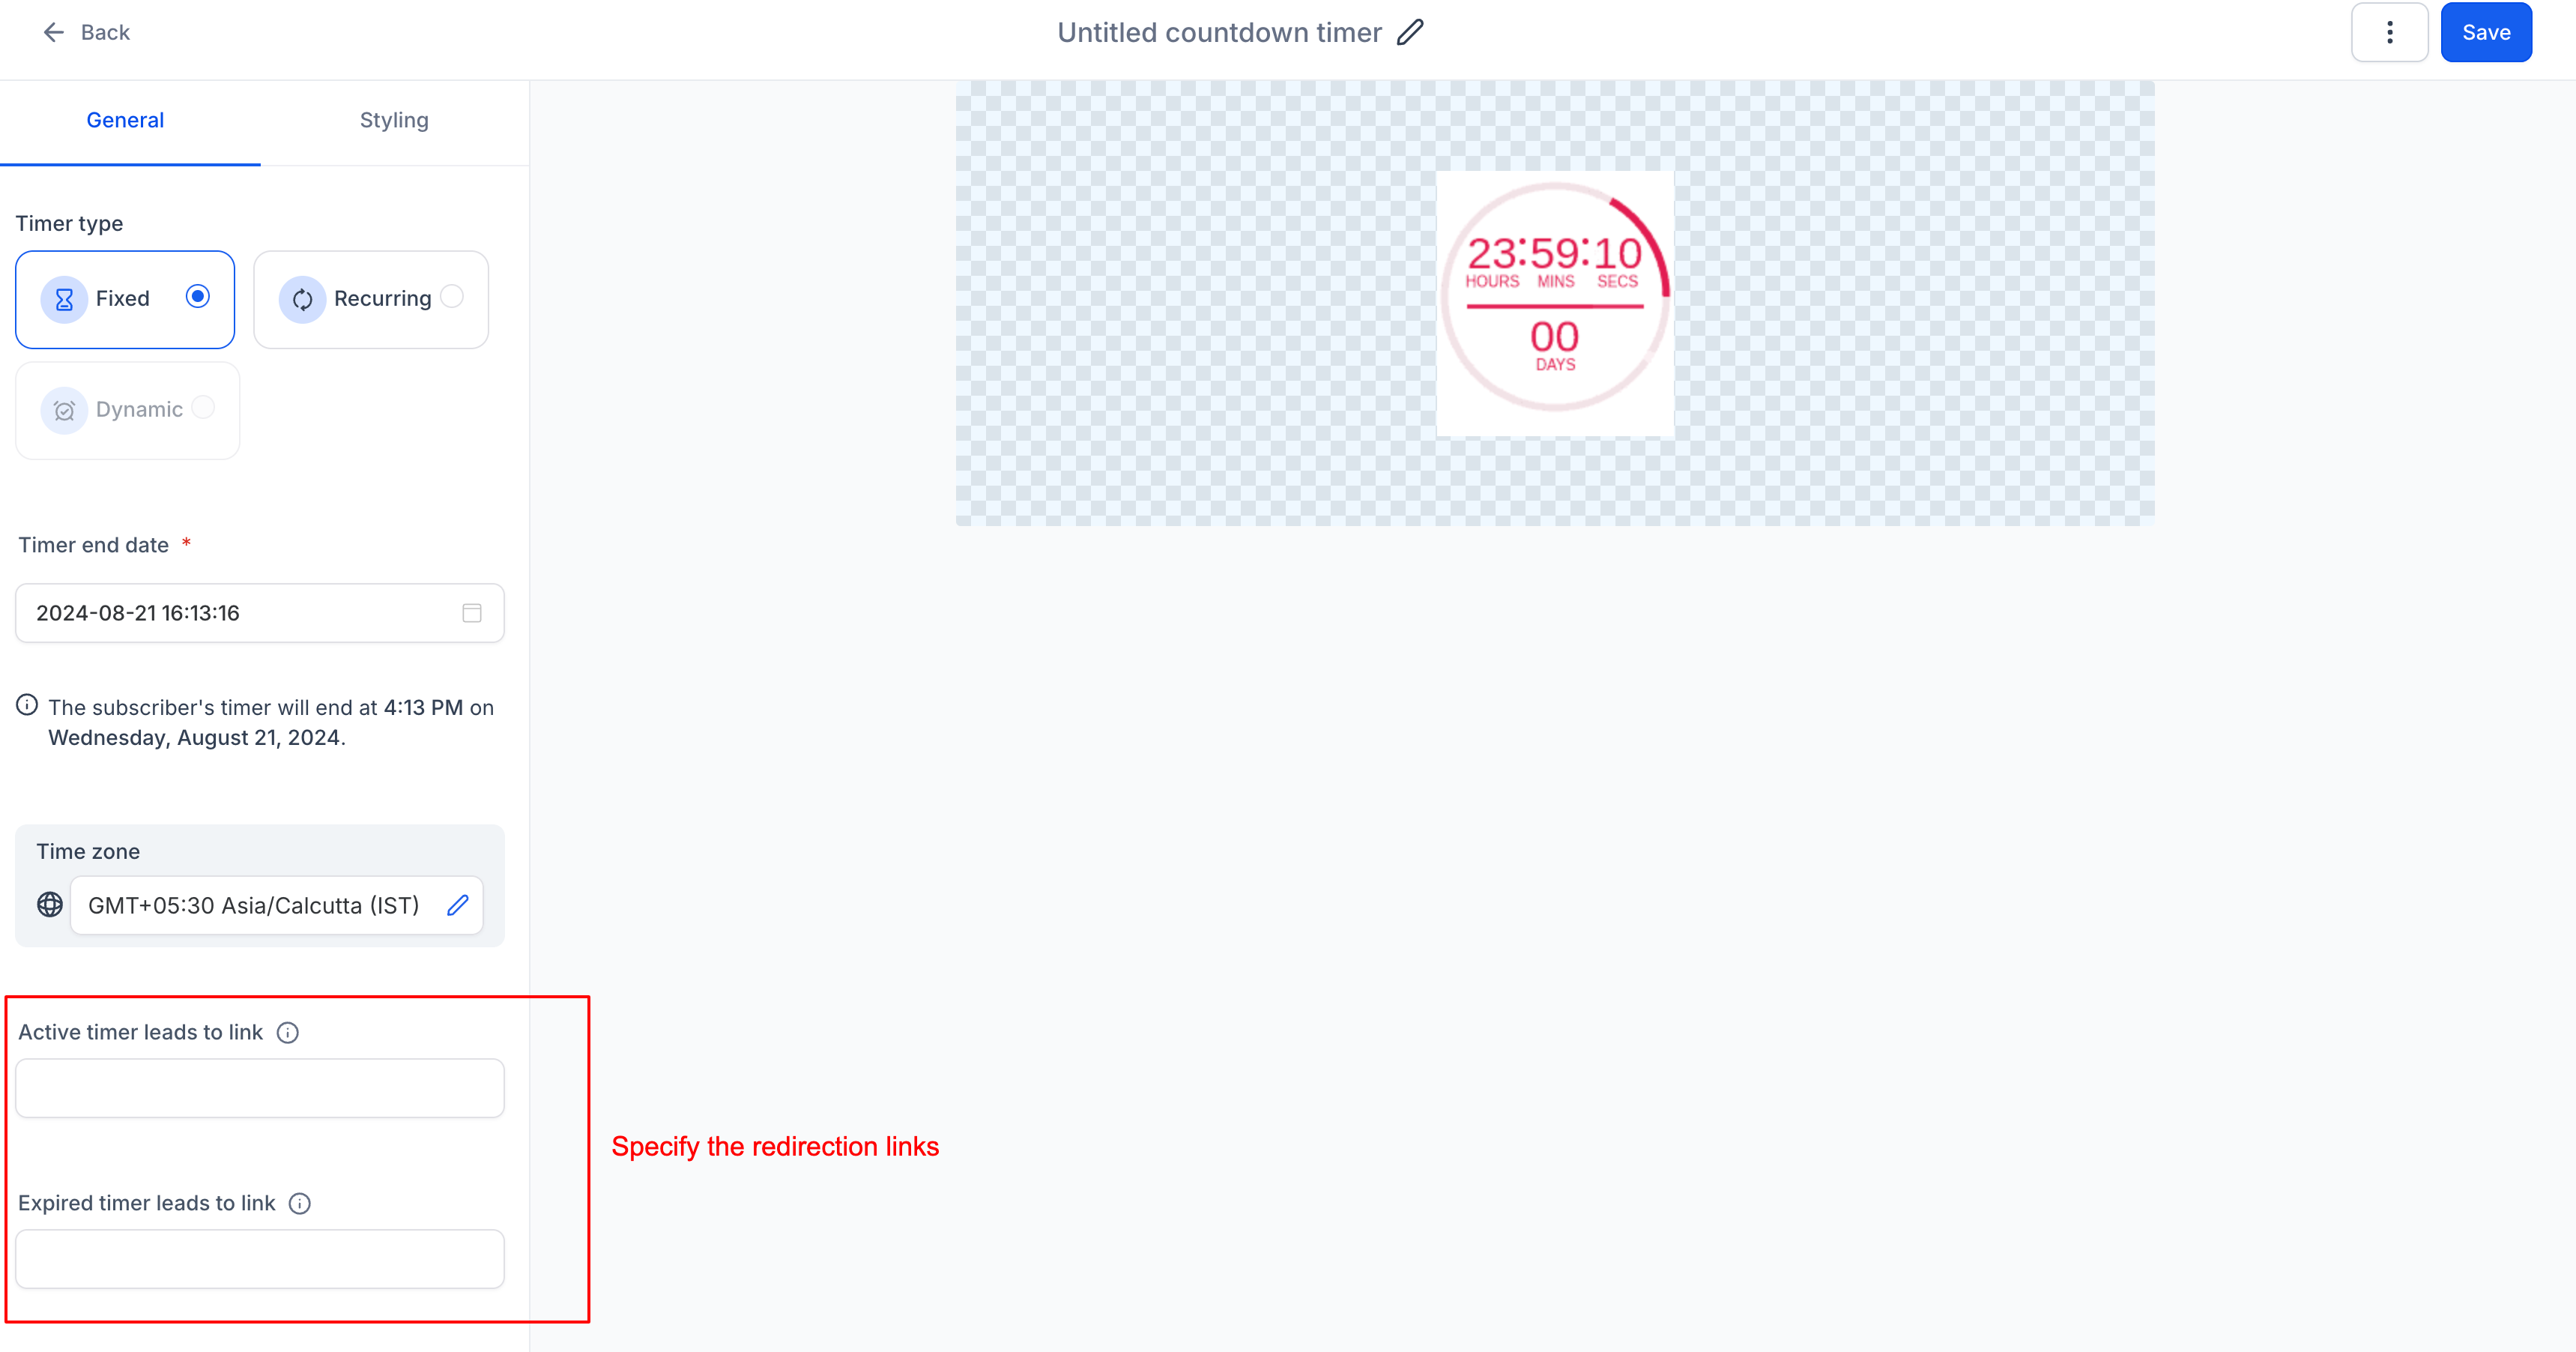
The feature lets you build a timer that counts down to a single, fixed moment. You choose the end date, time, and timezone, and optionally adapt the deadline to each contact’s local time. The timer shows a live countdown and can redirect users to different URLs while active or after expiry.
The timer is created in the Marketing > Countdown Timer area. After selecting a template, you set the timer type, configure details, add active and expired links, style its appearance, give it a name, and save. Saved timers are stored at the location level and can be reused across funnels, emails, and landing pages.
03How businesses use fixed countdown timer
- Ecommerce store. Create a fixed timer that ends when a flash sale closes. Add an active link to the product page and an expired link to a “sale ended” page. Insert the timer into the sale landing page and promotional emails.
- Webinar organizer. Set a timer that ends at the webinar start time. Use the active link to direct registrants to the live stream and the expired link to a replay page. Place the timer on the registration page and reminder emails.
- Online course provider. Configure a timer that ends when enrollment stops. Enable Adapt to Contact Time Zone so each prospect sees the deadline in their own timezone. Add the timer to the sign up page and nurture emails.
04The numbers and rules that matter
- Color options: Brand Colors from the location's default Brand Board, Global Custom Colors configured for the location, Default Colors available in the color picker.
- Styling includes Counter color, Label color, Separator color, Background color, fonts and expiry image.
05How to set up and use fixed countdown timer in HighLevel
Create a fixed countdown timer
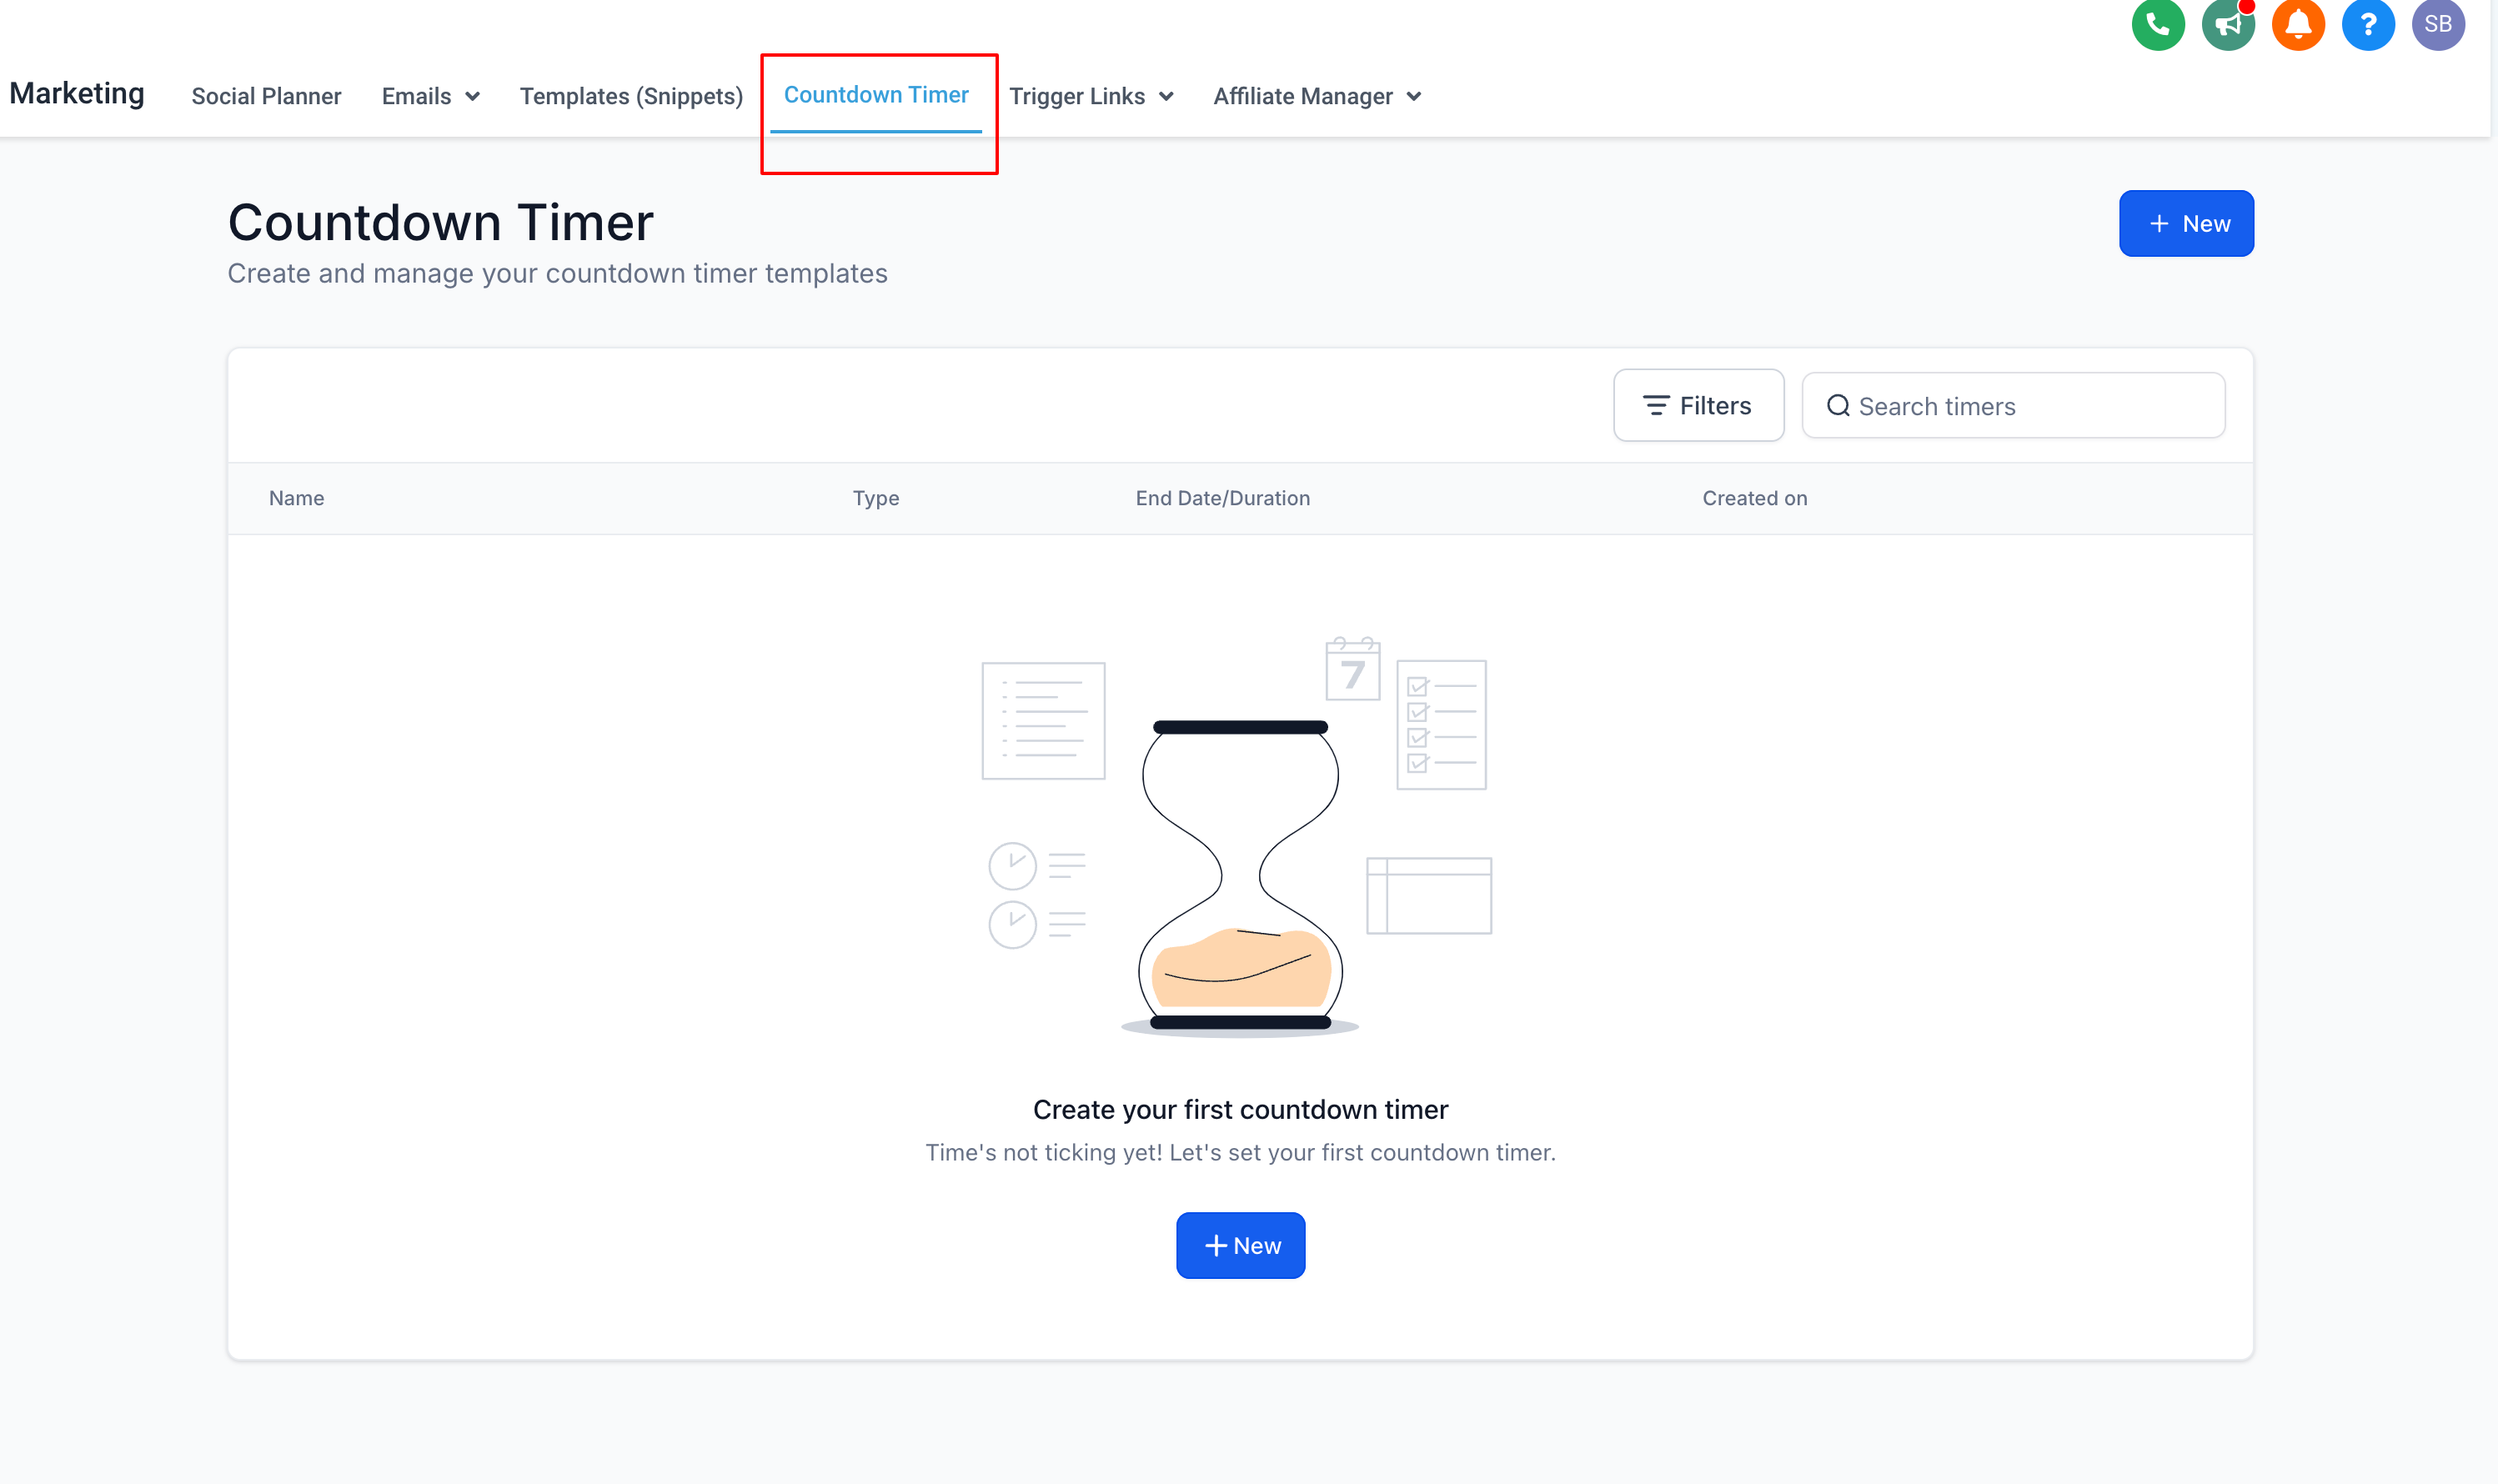
- Open the Marketing menu and choose Countdown Timer.
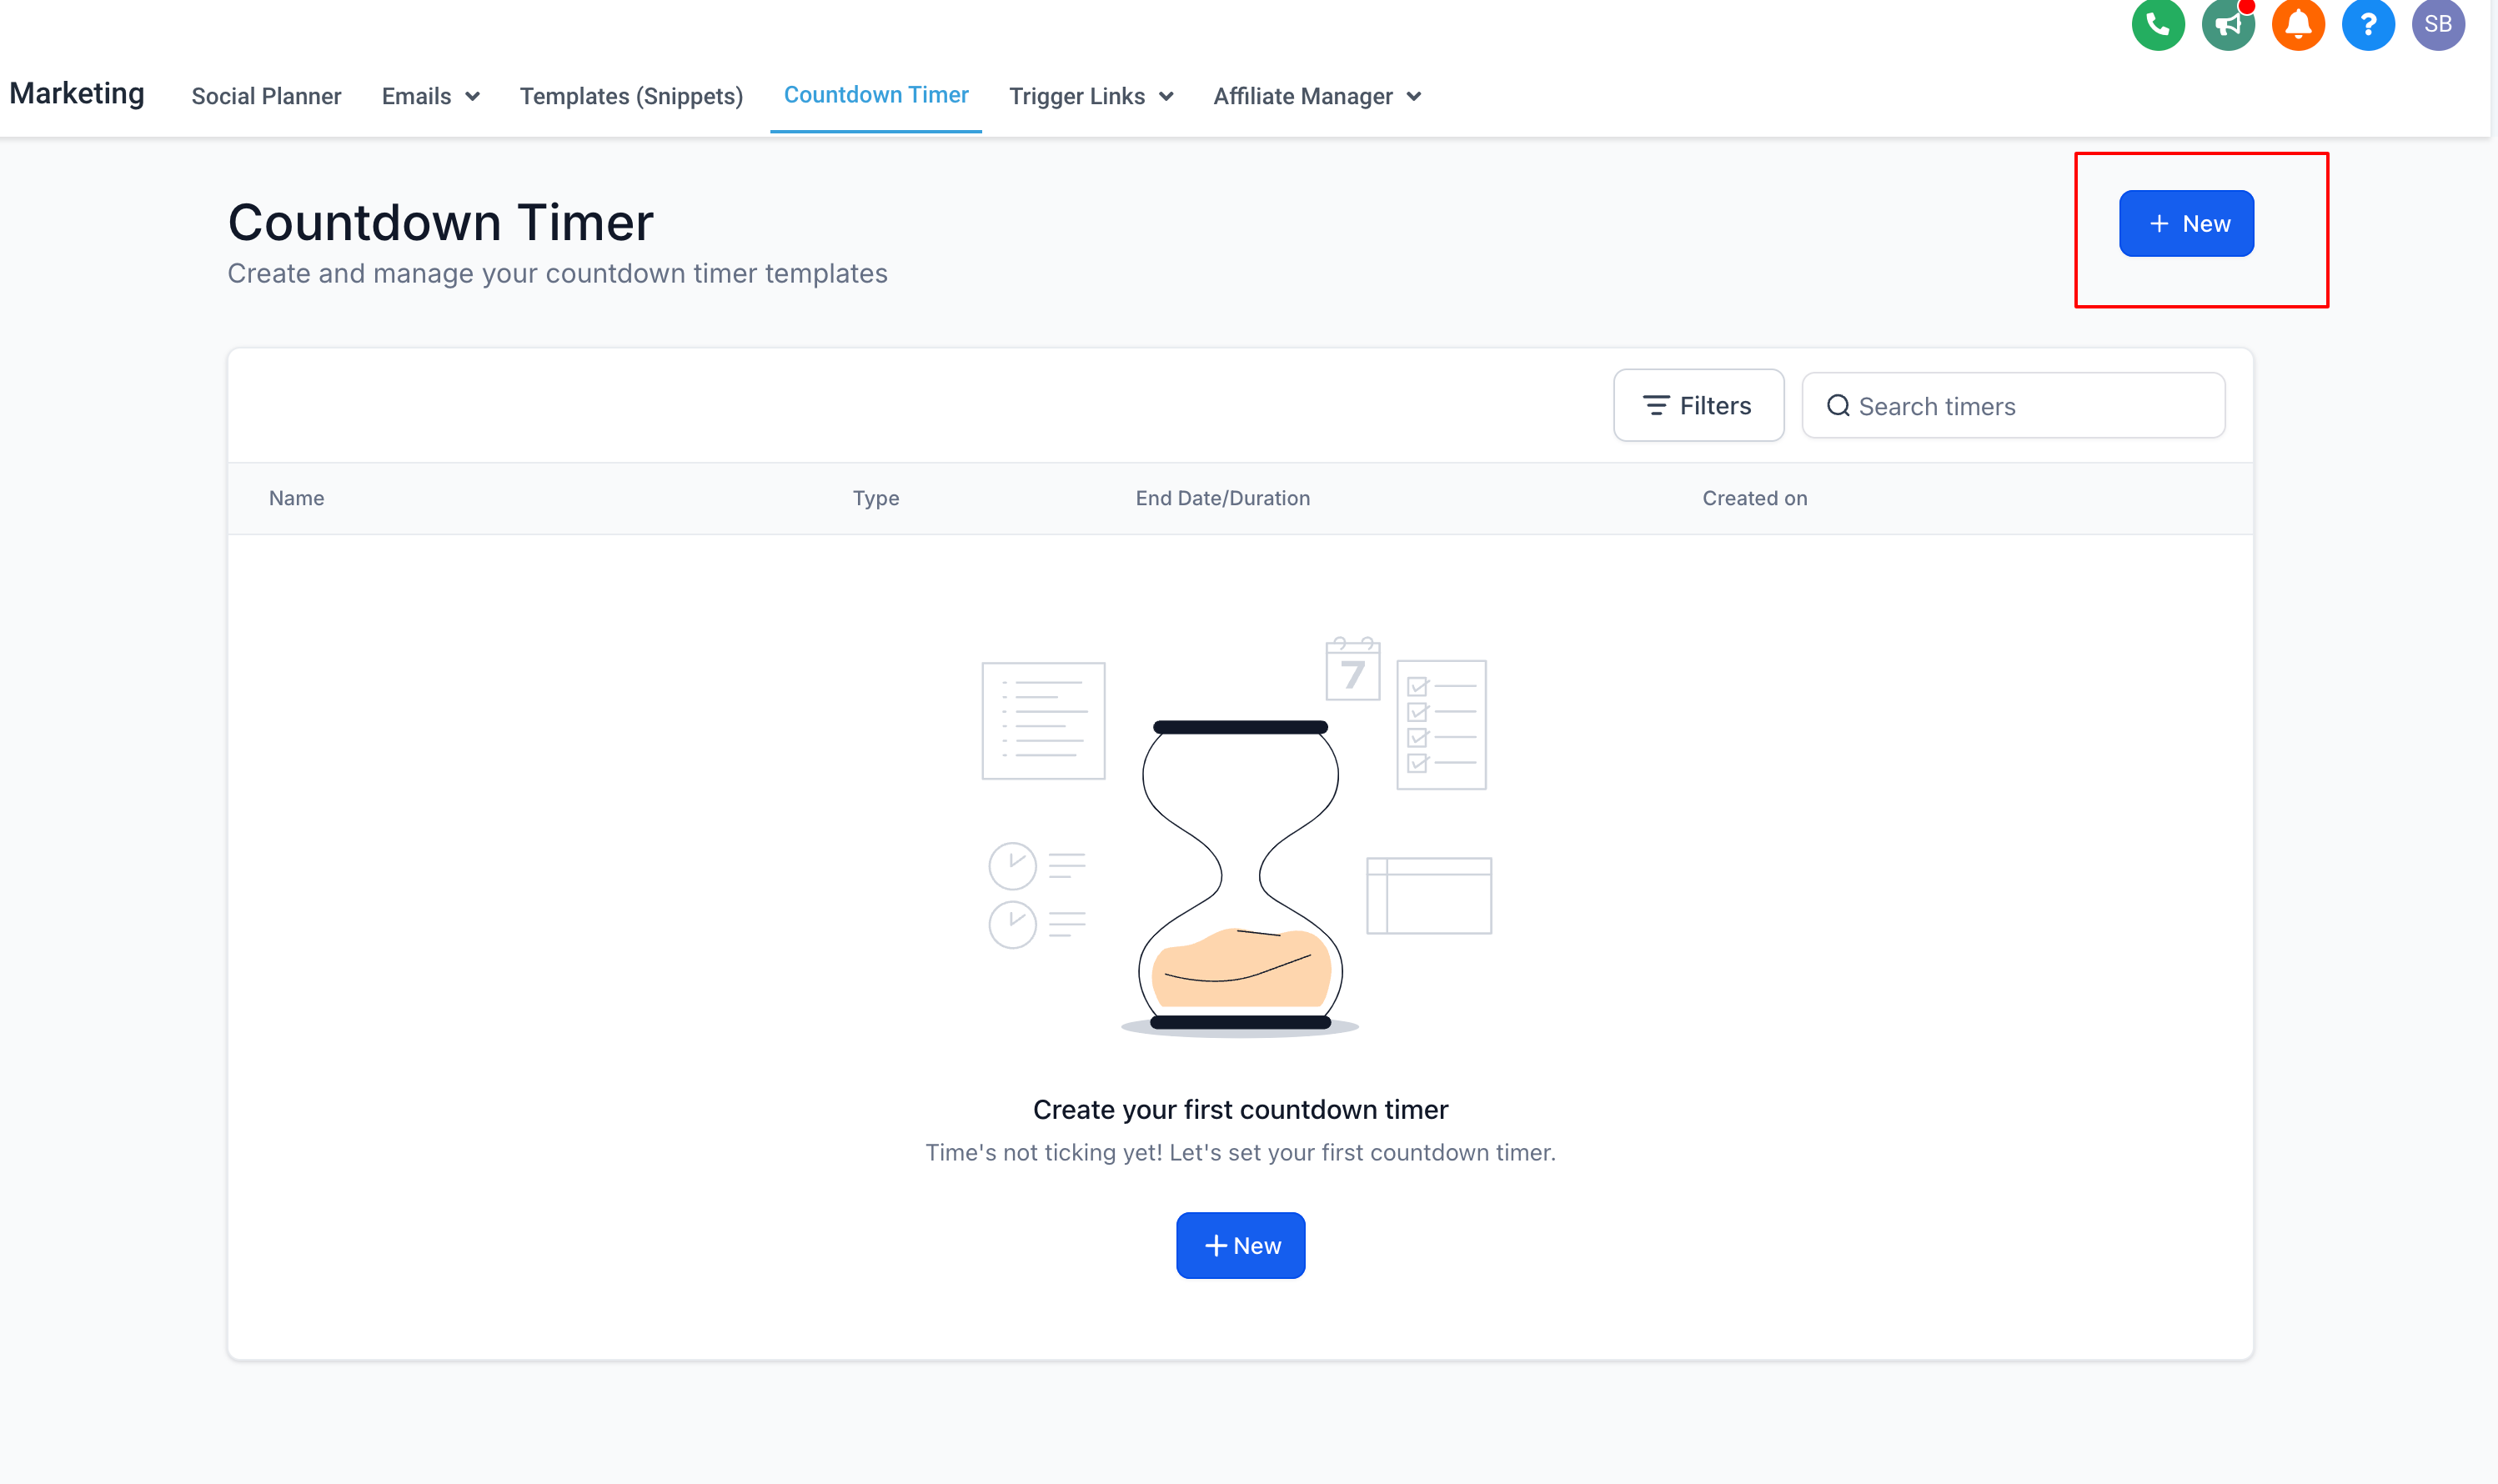
- Click the New button to start a new timer.
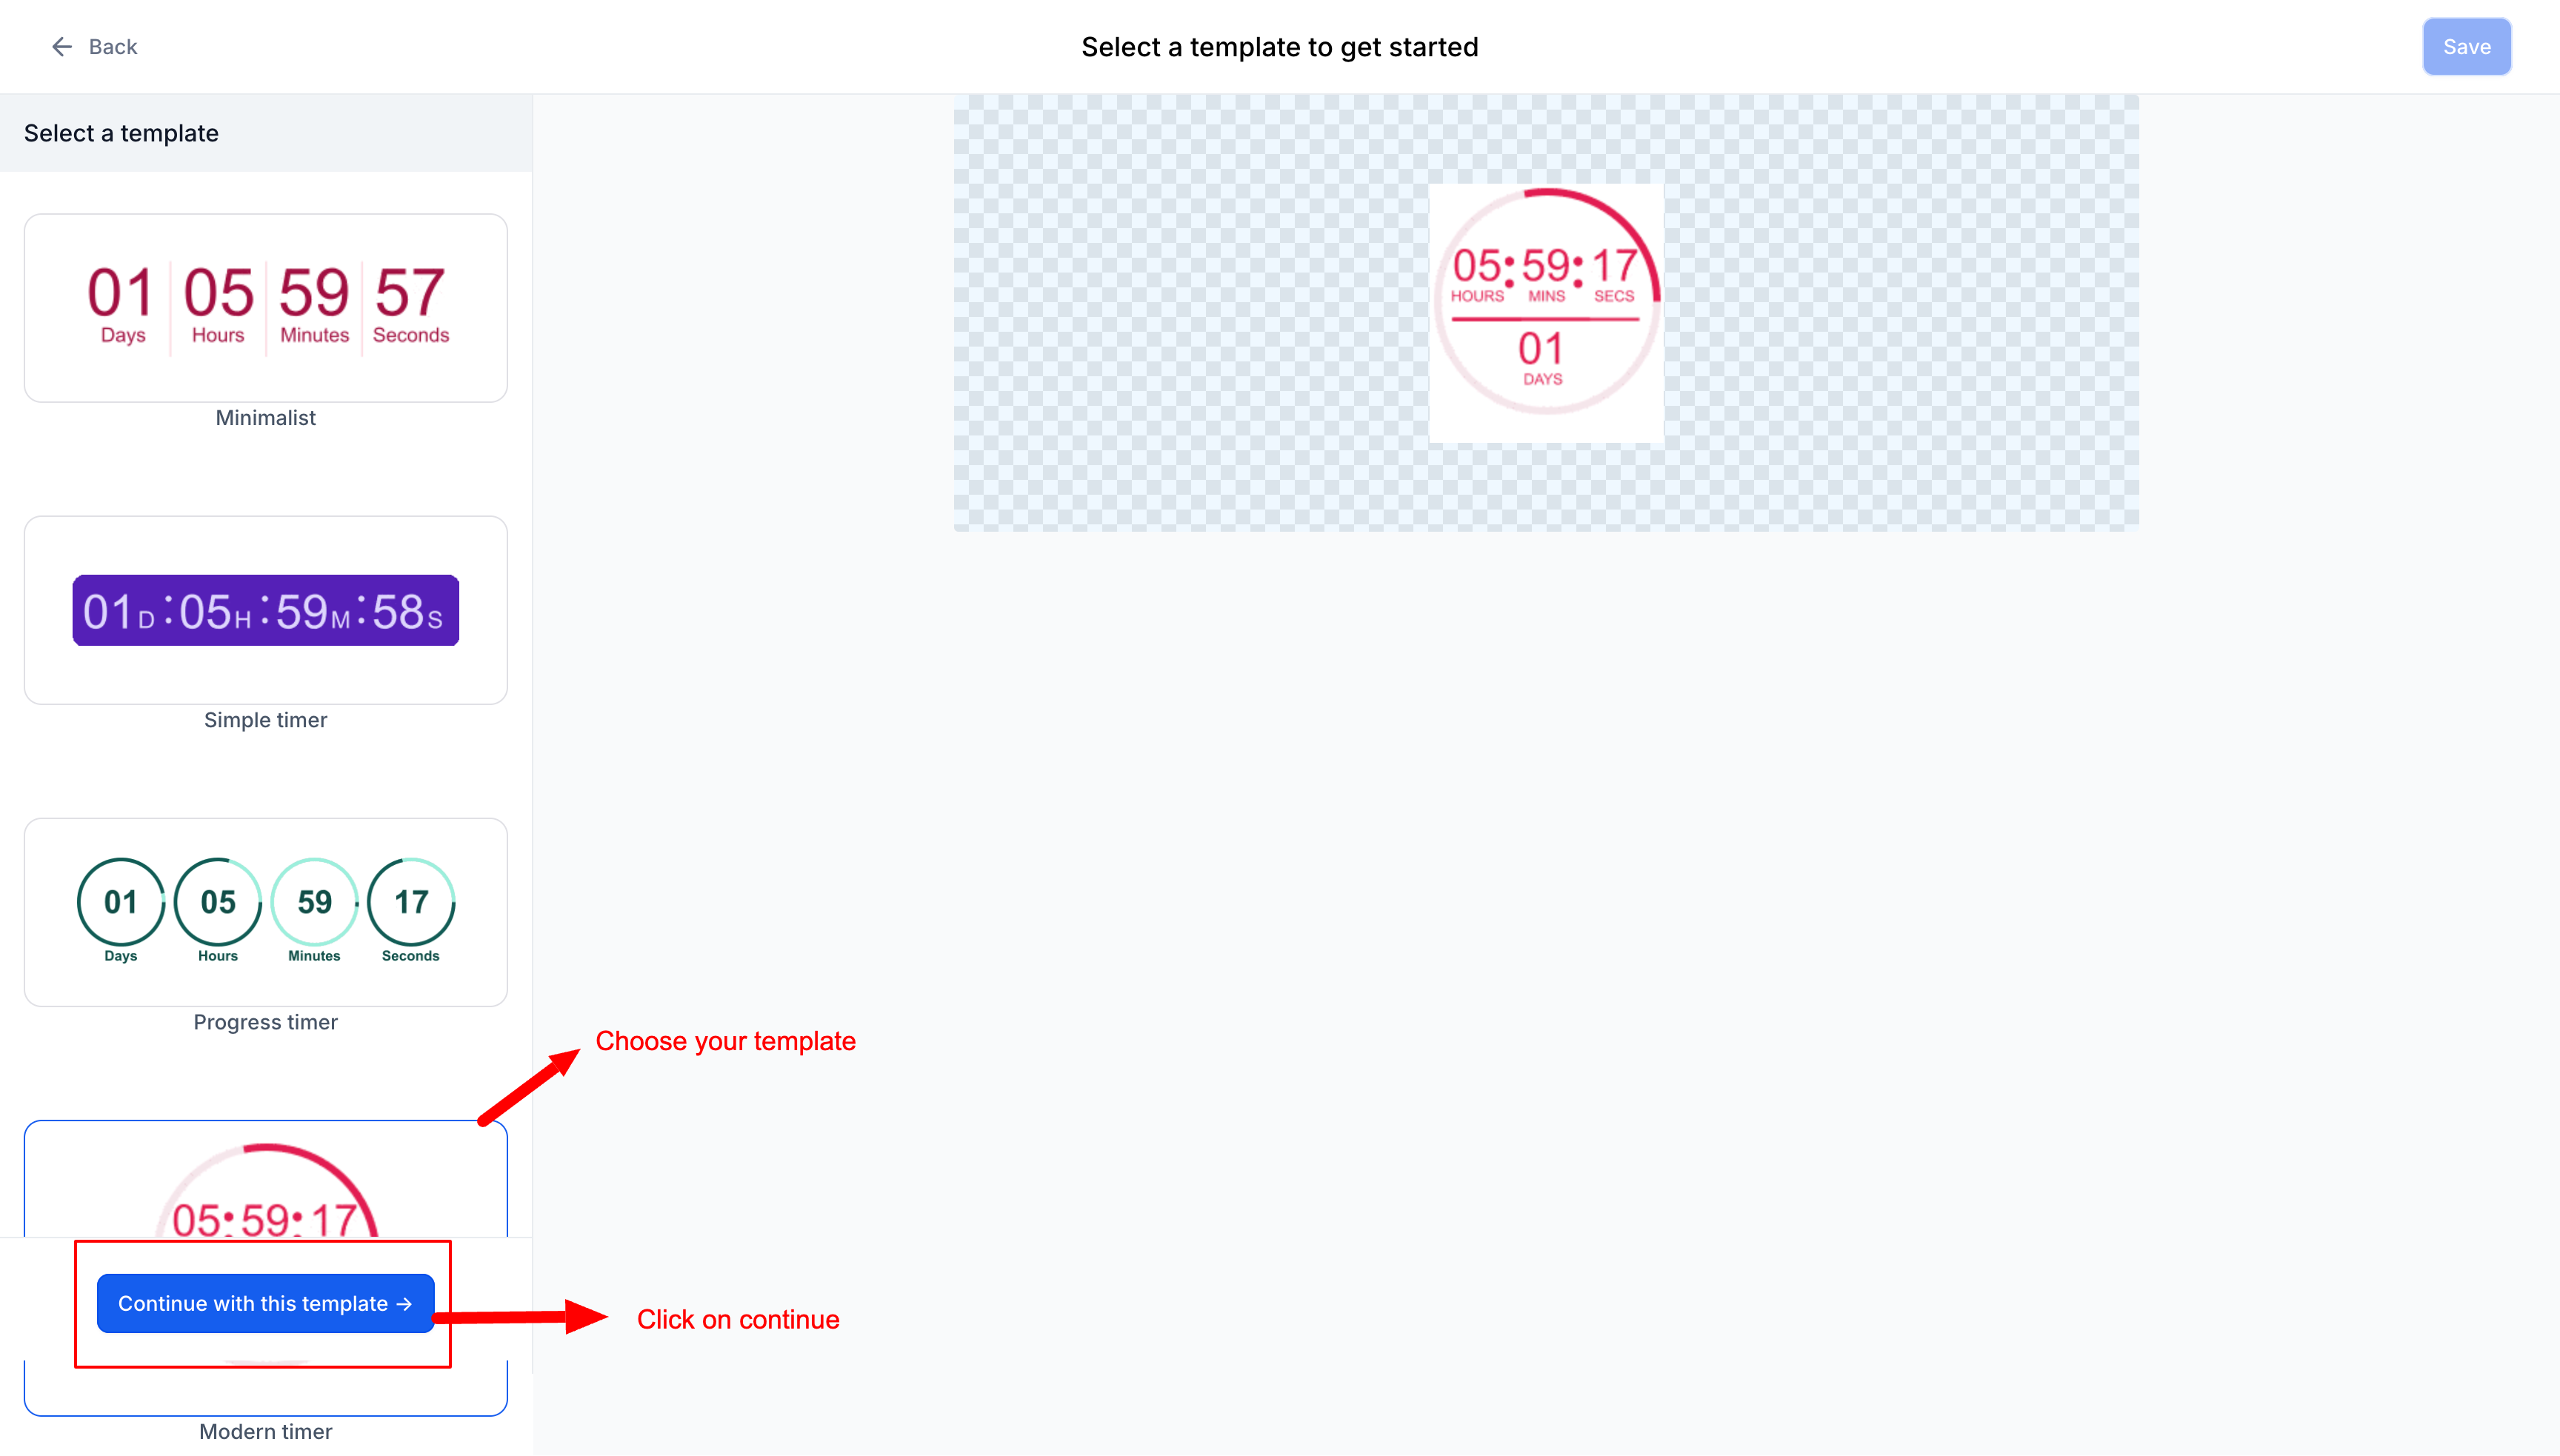
- Select a design template and press Continue with this template.
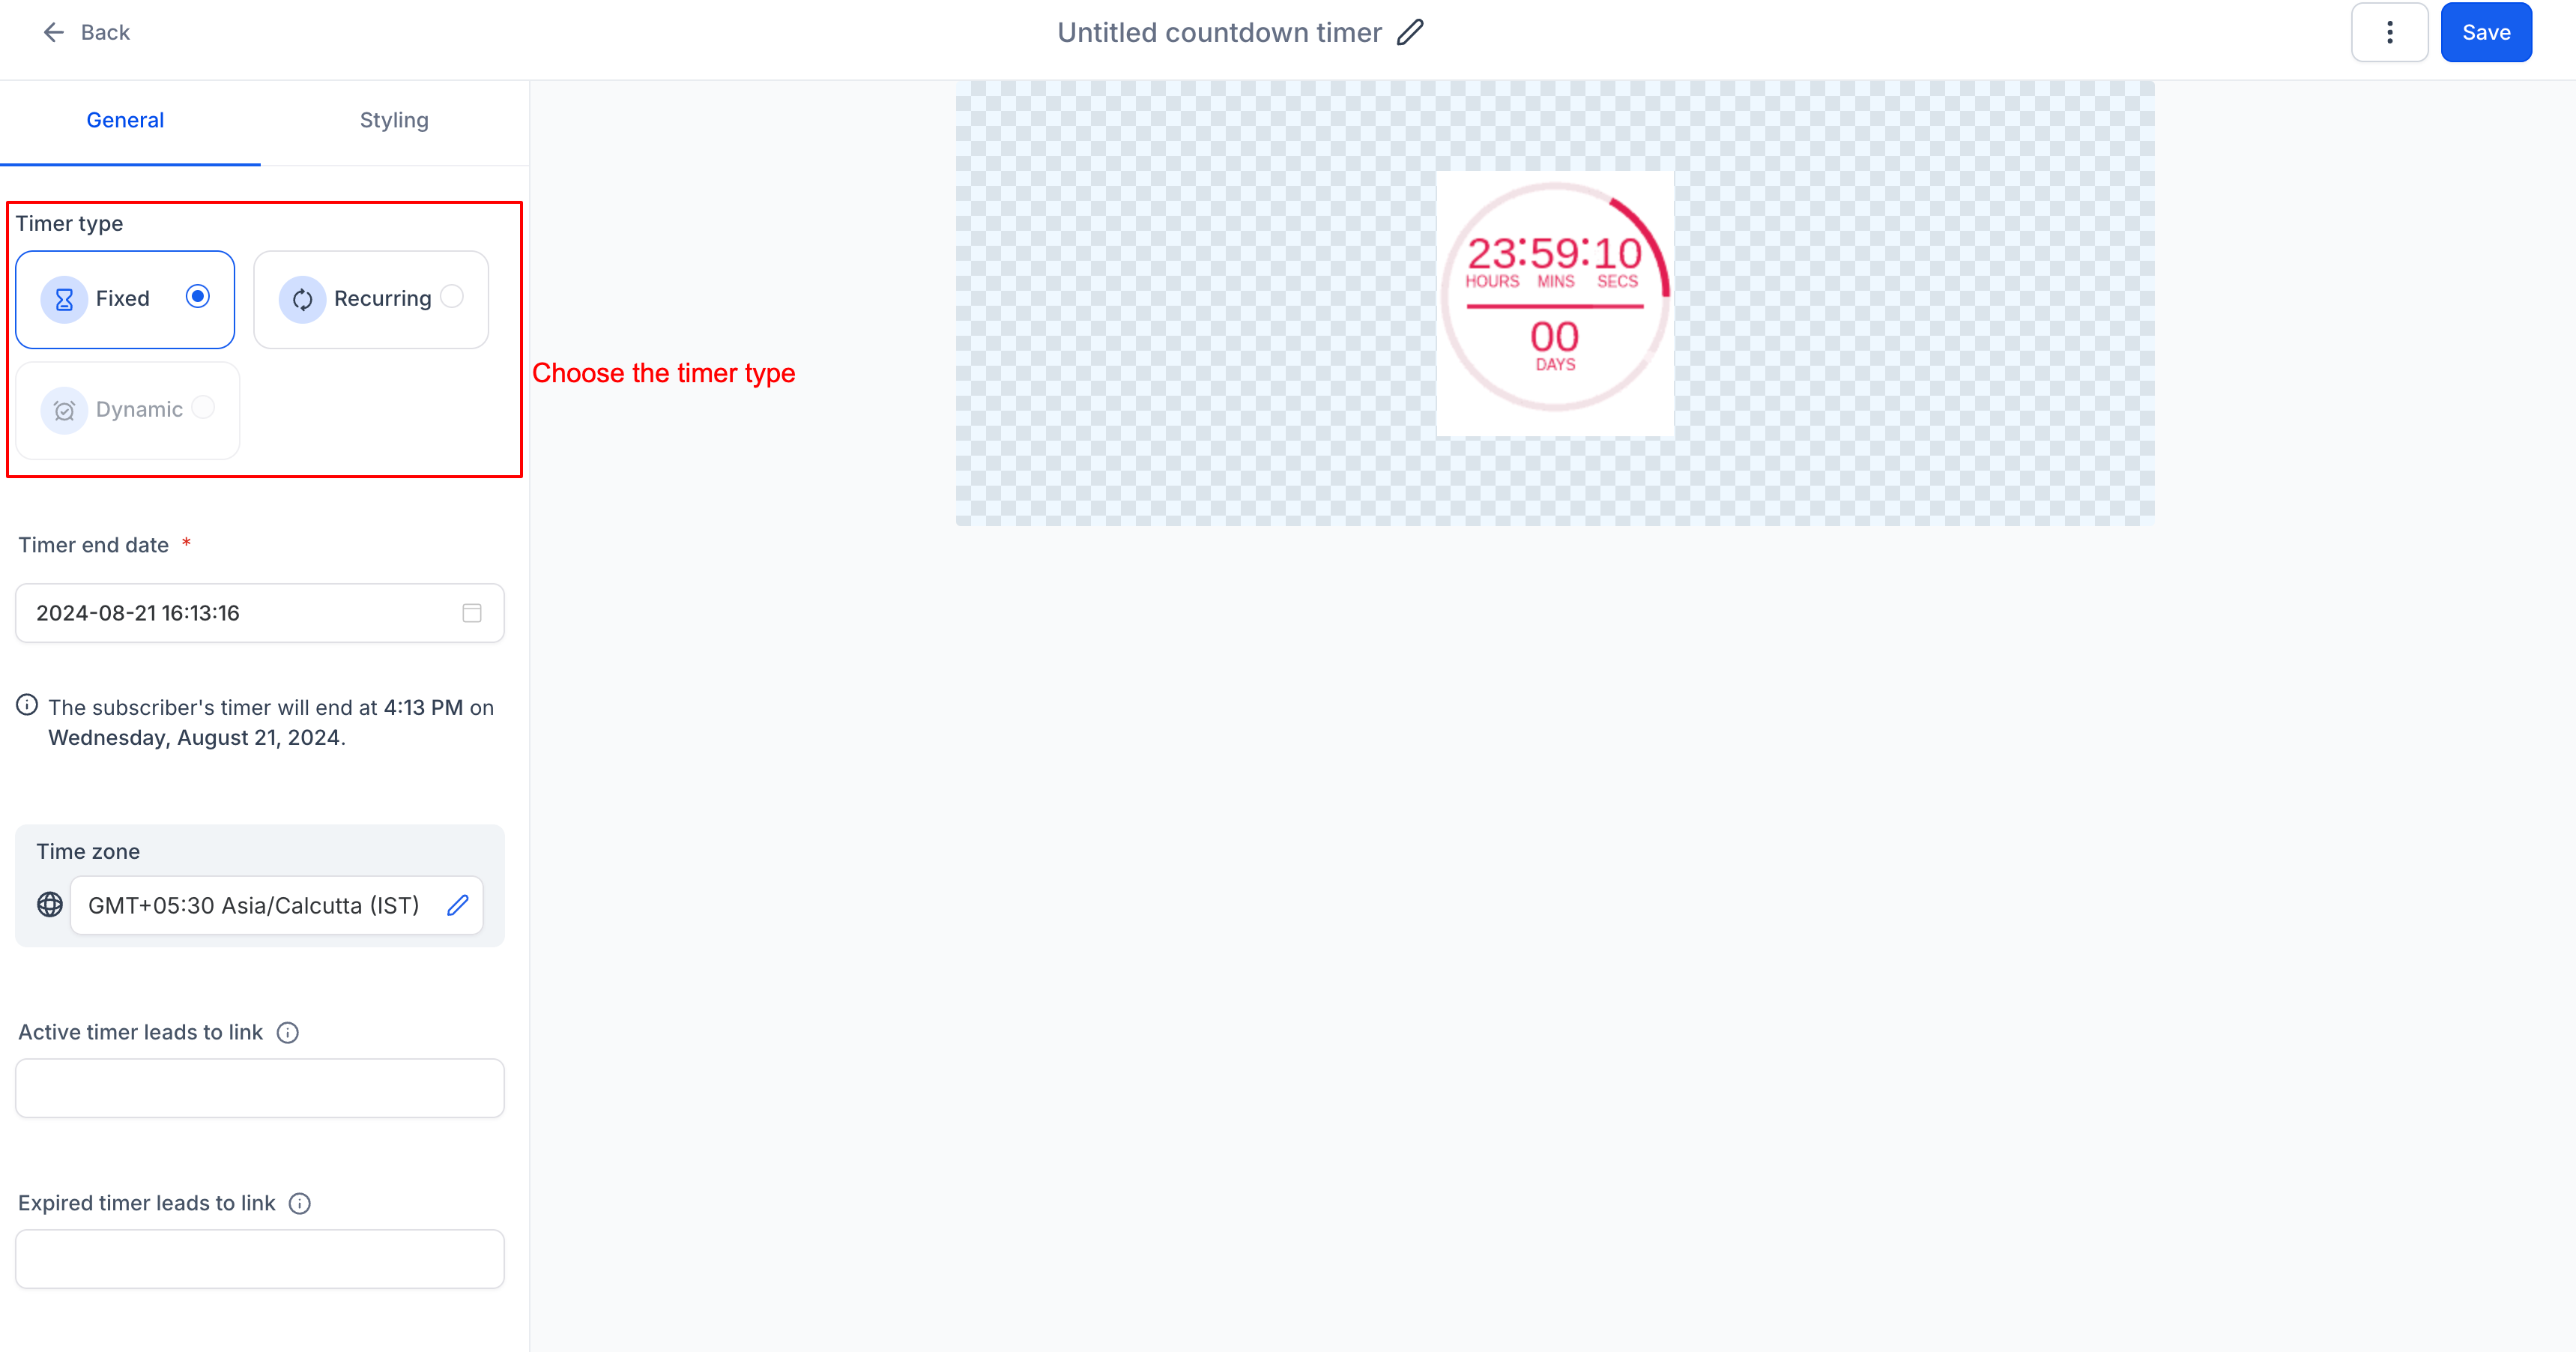
- Choose Fixed as the timer type.
- Enter the end date, time, select a timezone, and optionally enable Adapt to Contact Time Zone.
- Provide the URL for the Active Link and the URL for the Expired Link.
- Open Styling to adjust colors, fonts, expiry image, and time format, using brand or custom colors.
- Click the timer name at the top and type a descriptive title.
- Press Save to activate the timer.
06What it looks like in HighLevel
07Settings that matter
- Timer Type. Determines whether the timer counts down to a single fixed moment, repeats on a schedule, or adjusts dynamically.
- Adapt to Contact Time Zone. When enabled, the timer’s end time is converted to each contact’s local timezone for personalized deadlines.
- Styling. Controls the visual appearance, including colors, fonts, background, and time display format.
08Things to know before you rely on it
- Timer types are limited to Fixed, Recurring, or Dynamic as offered in the selection list.
- Colors chosen in the timer picker are saved at the location level and remain available for other timers.
09How it connects to the rest of HighLevel
- Getting started with countdown timers Countdown timer basics
- Using countdown timers in emails Email integration
- How to add countdown timers in funnels Funnel usage
Michael's take

The visible clock creates a clear deadline, encouraging users to act quickly.
I’d start by dropping a fixed timer on the product launch page and linking it to the signup form. Test the timer in a few time zones, make sure the active and expired links point where you want.