
01Who this is for
- Founders designing email newsletters can visually separate sections for brand consistency.
- Marketing teams can quickly modify border appearance without developer help.
- Small agencies can style client emails efficiently using built in controls.
02Border customization in Email Builder, explained
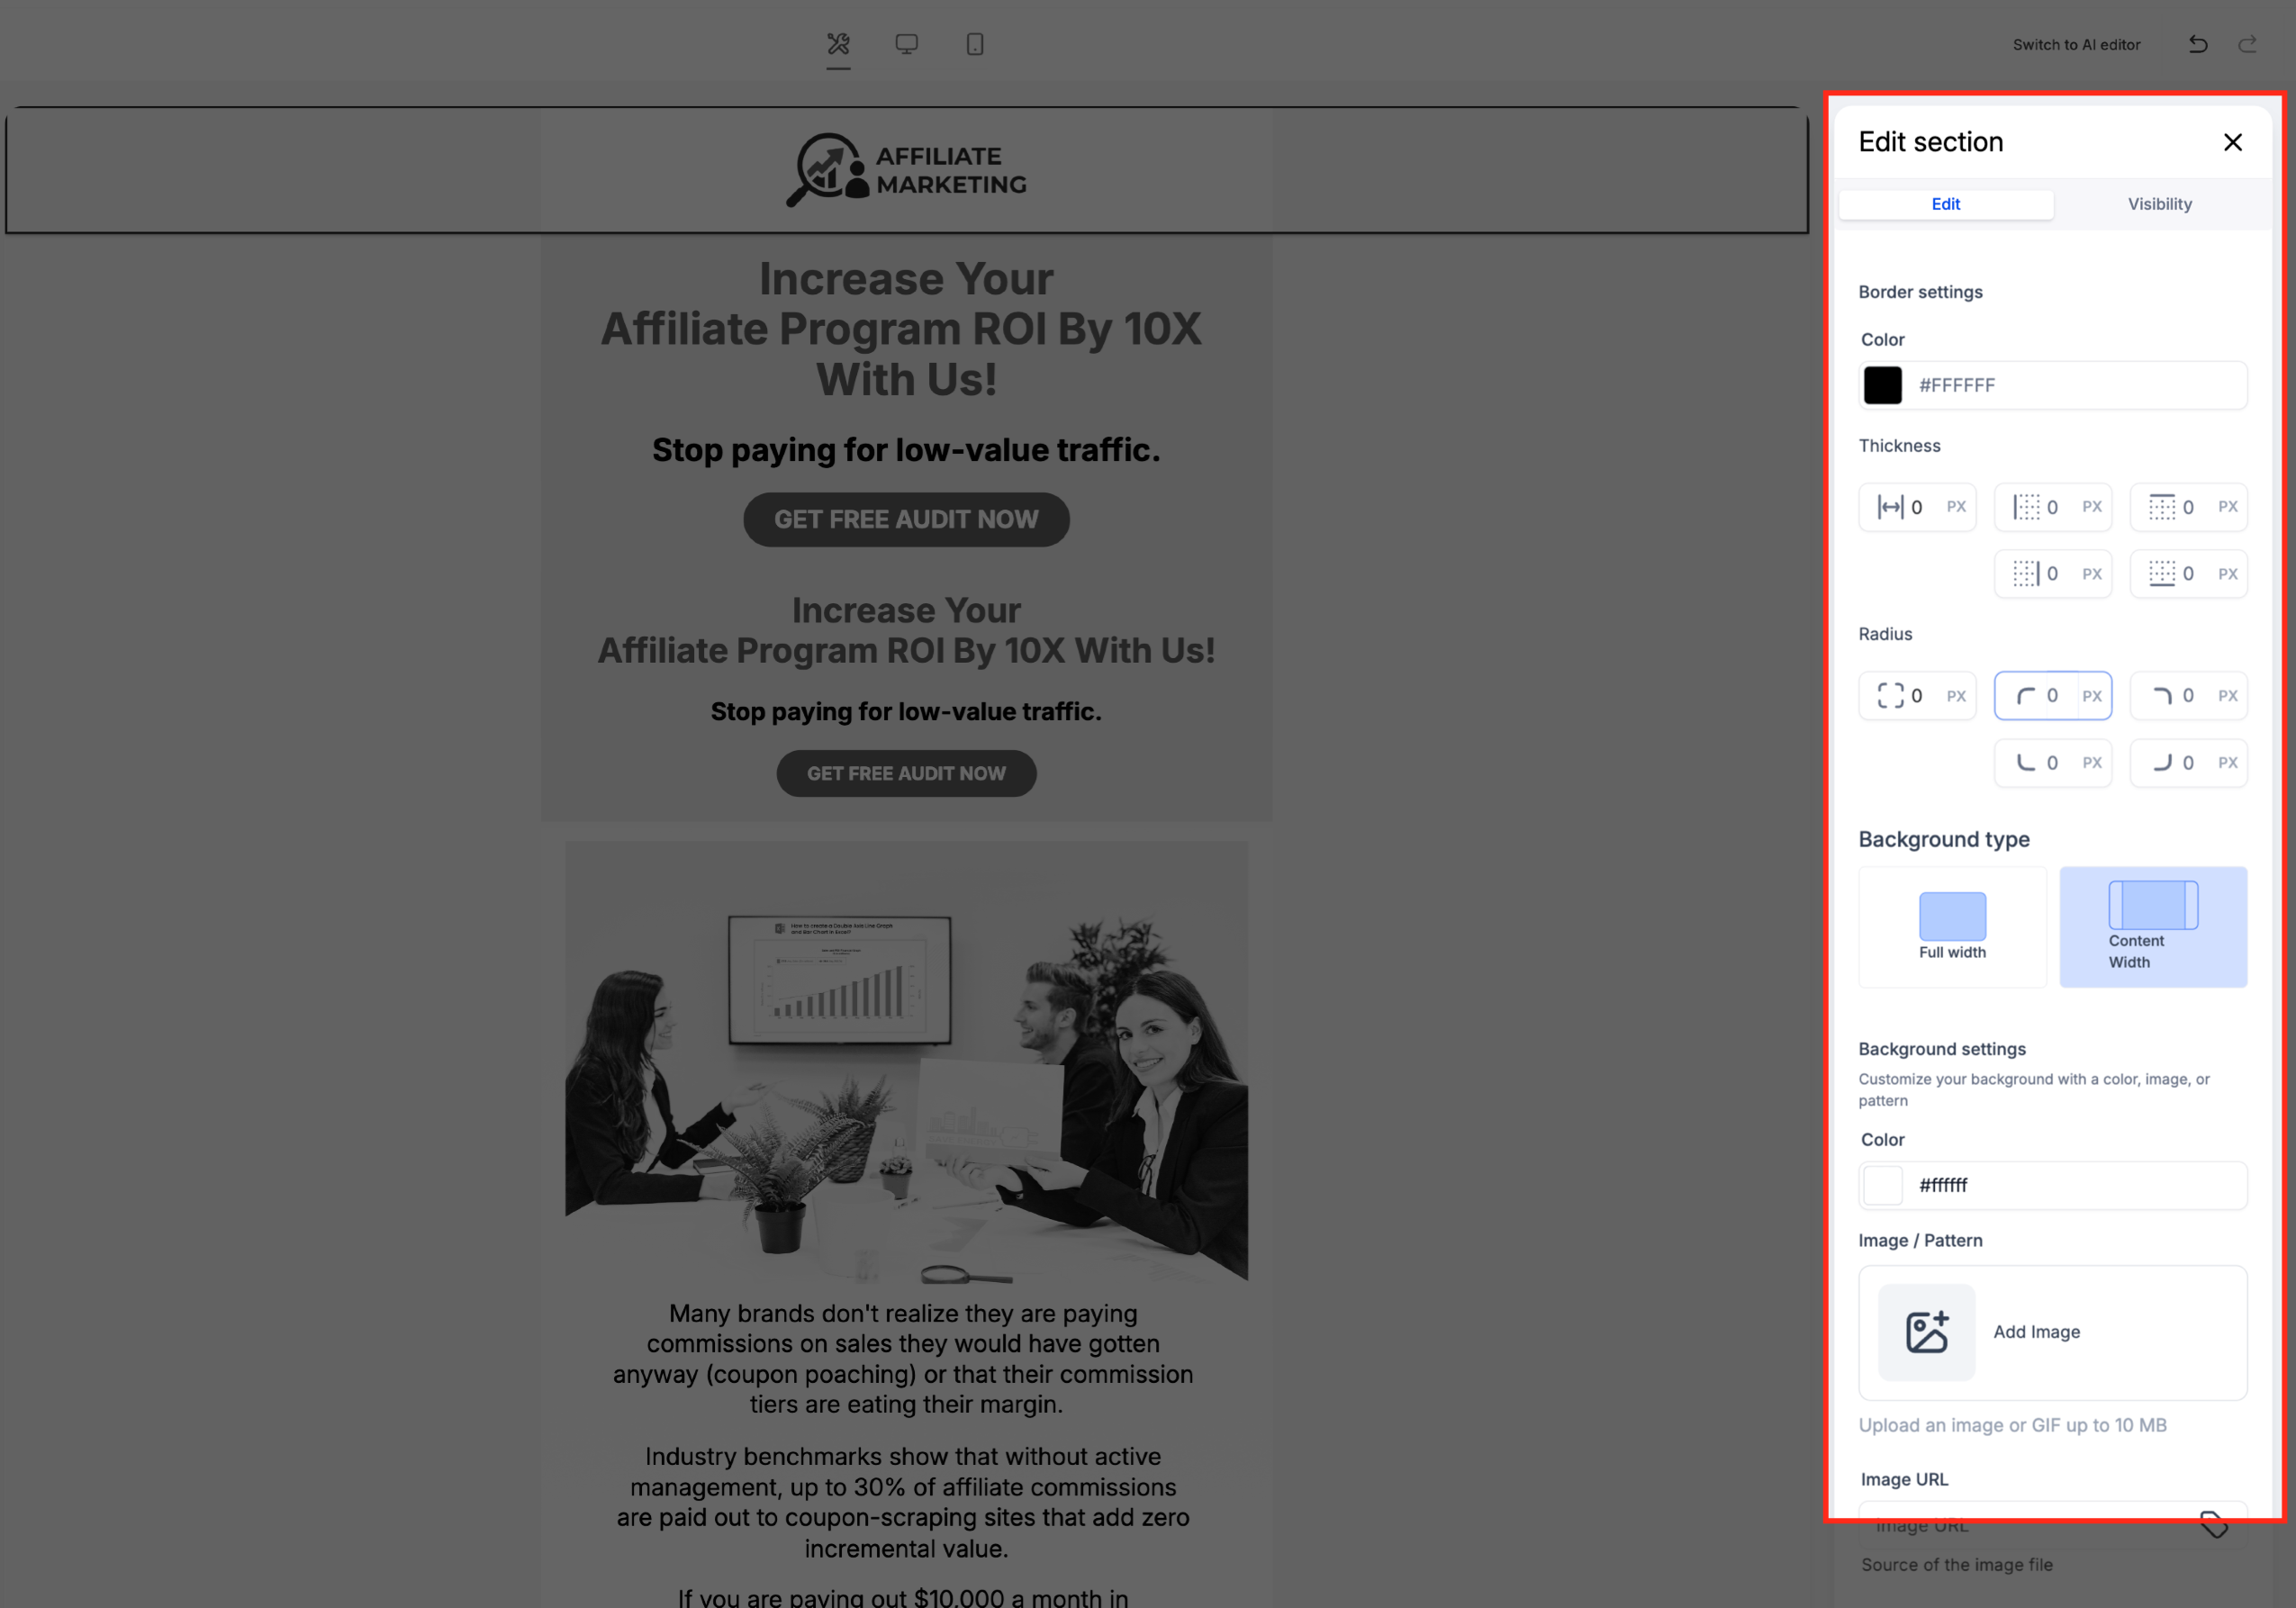
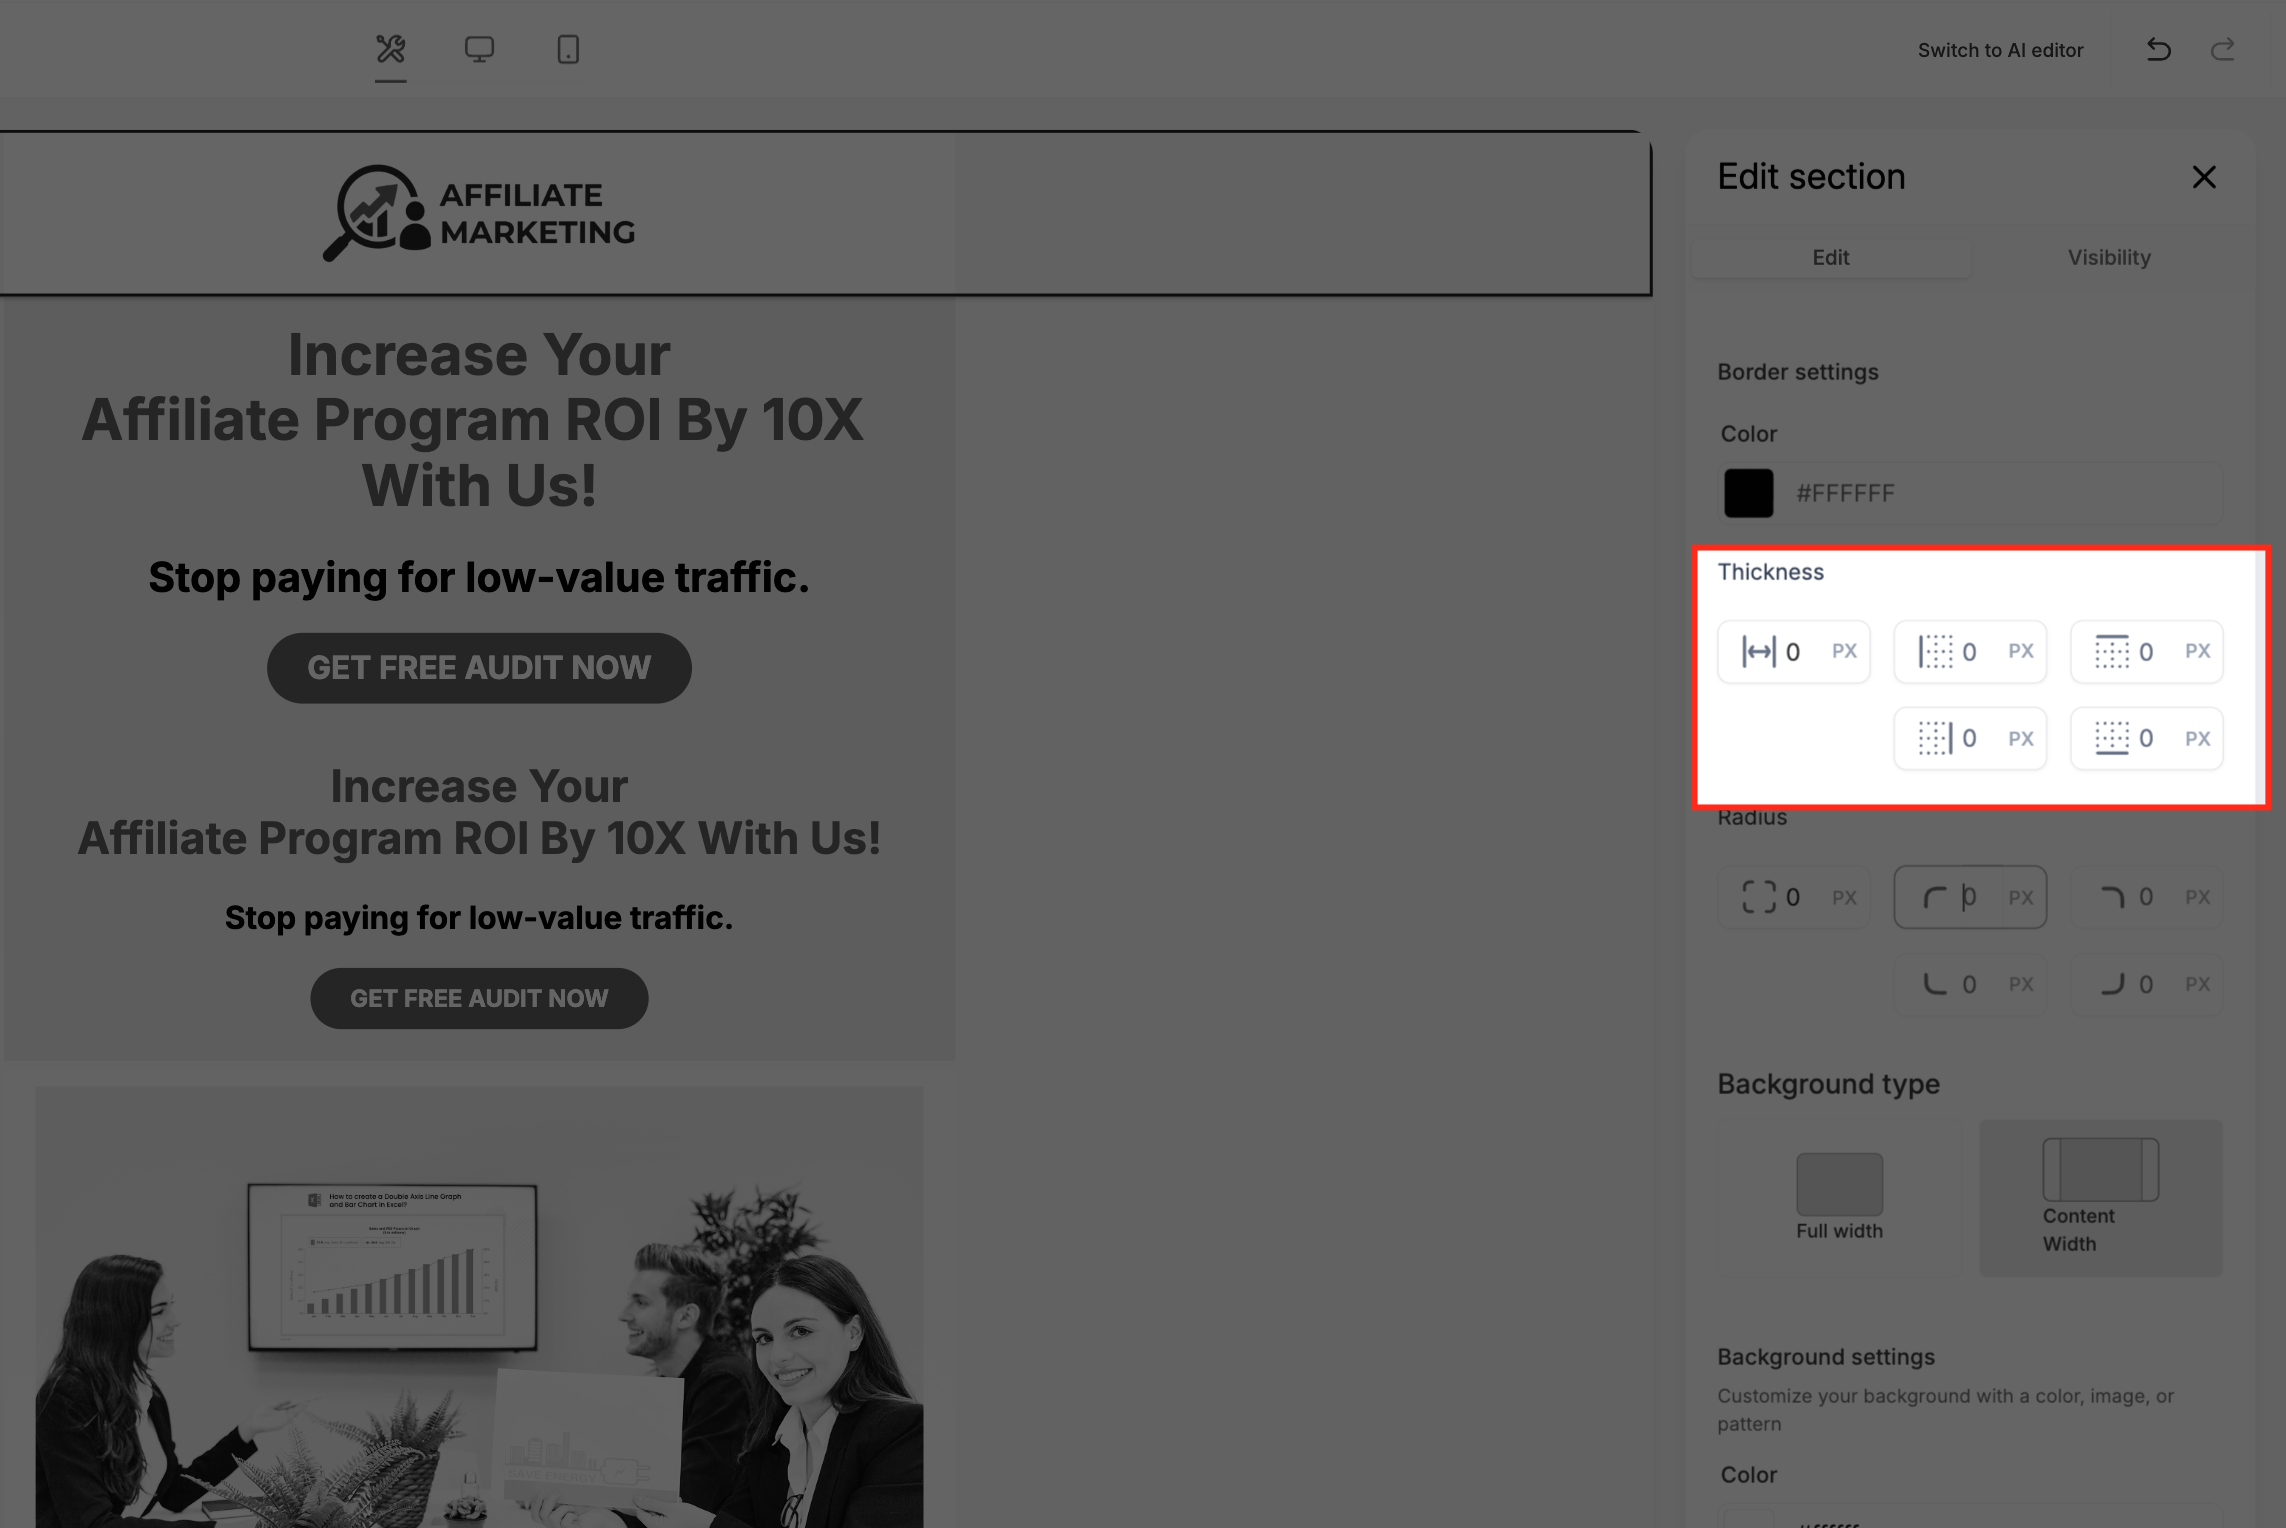
Border customization is a set of controls within the Email Builder that lets you change the outline of a supported email section. The controls cover three properties: the color of the border, how rounded the corners are, and the width of the line.
These options appear in the Border settings panel of the Edit section area. As you adjust a value, the change is shown right away in the design view. The feature works at the section level, so each section can have its own border style without adding custom code.
03How businesses use border customization
- Ecommerce store. Choose a brand matching color for the product showcase section, set a moderate radius for a soft look, and apply a thin border thickness. Review the changes in the builder and send a test email to confirm appearance.
- Real estate agency. Select a bold color for property listing sections, increase the radius to create rounded corners, and use a thicker border to make the listings stand out. Preview on desktop and mobile, then save the email.
- Online course provider. Apply a light color border around lesson modules, keep the radius low for square edges, and set a slim thickness for subtle separation. Use the builder’s preview and send a test email before finalizing.
04Before you start
- A Subaccount that contains the email campaign or template you want to edit must be available.
05How to set up and use border customization in HighLevel
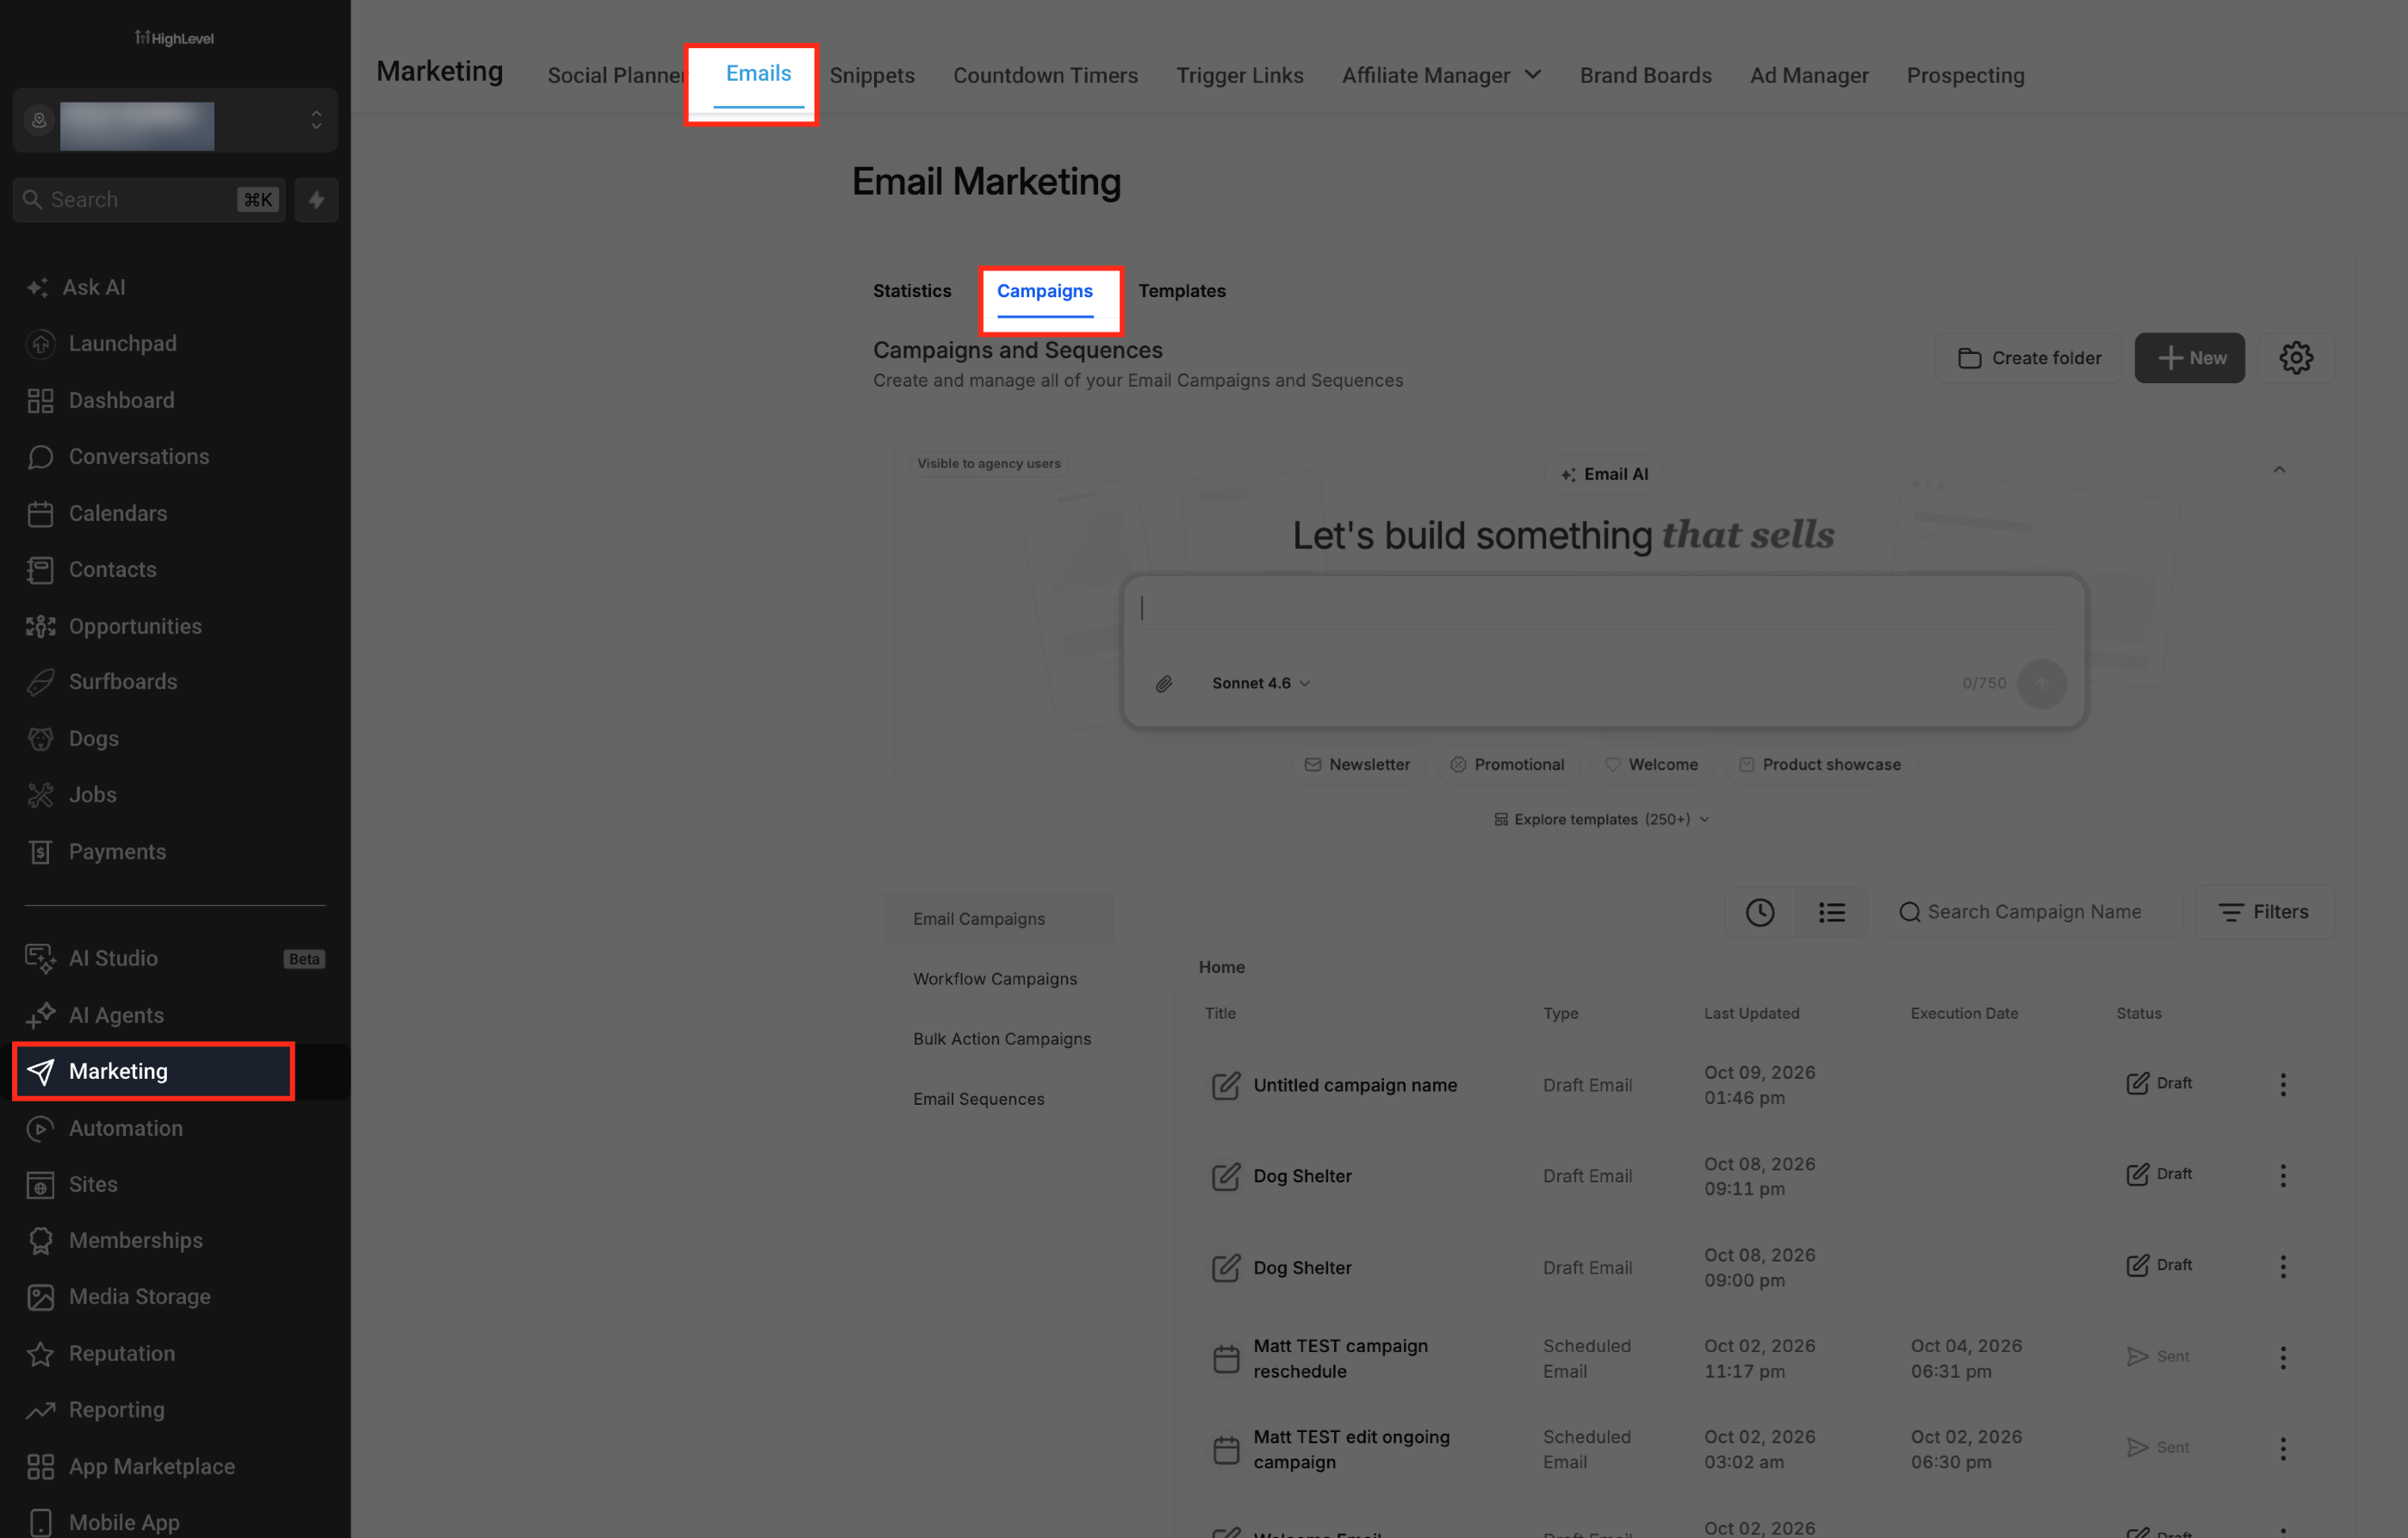
Open the Email Builder
- Navigate to the Subaccount that holds the email you plan to edit.
- Click the Marketing menu.
- Select Emails.
- Open Campaigns or Templates and choose an email to create or edit.
- Launch the Design Editor for the selected email.
Select the Email Section
- Click on the section you want to style.
- Find the Edit section panel that appears.
- Expand the Border settings area.
Customize Border Color
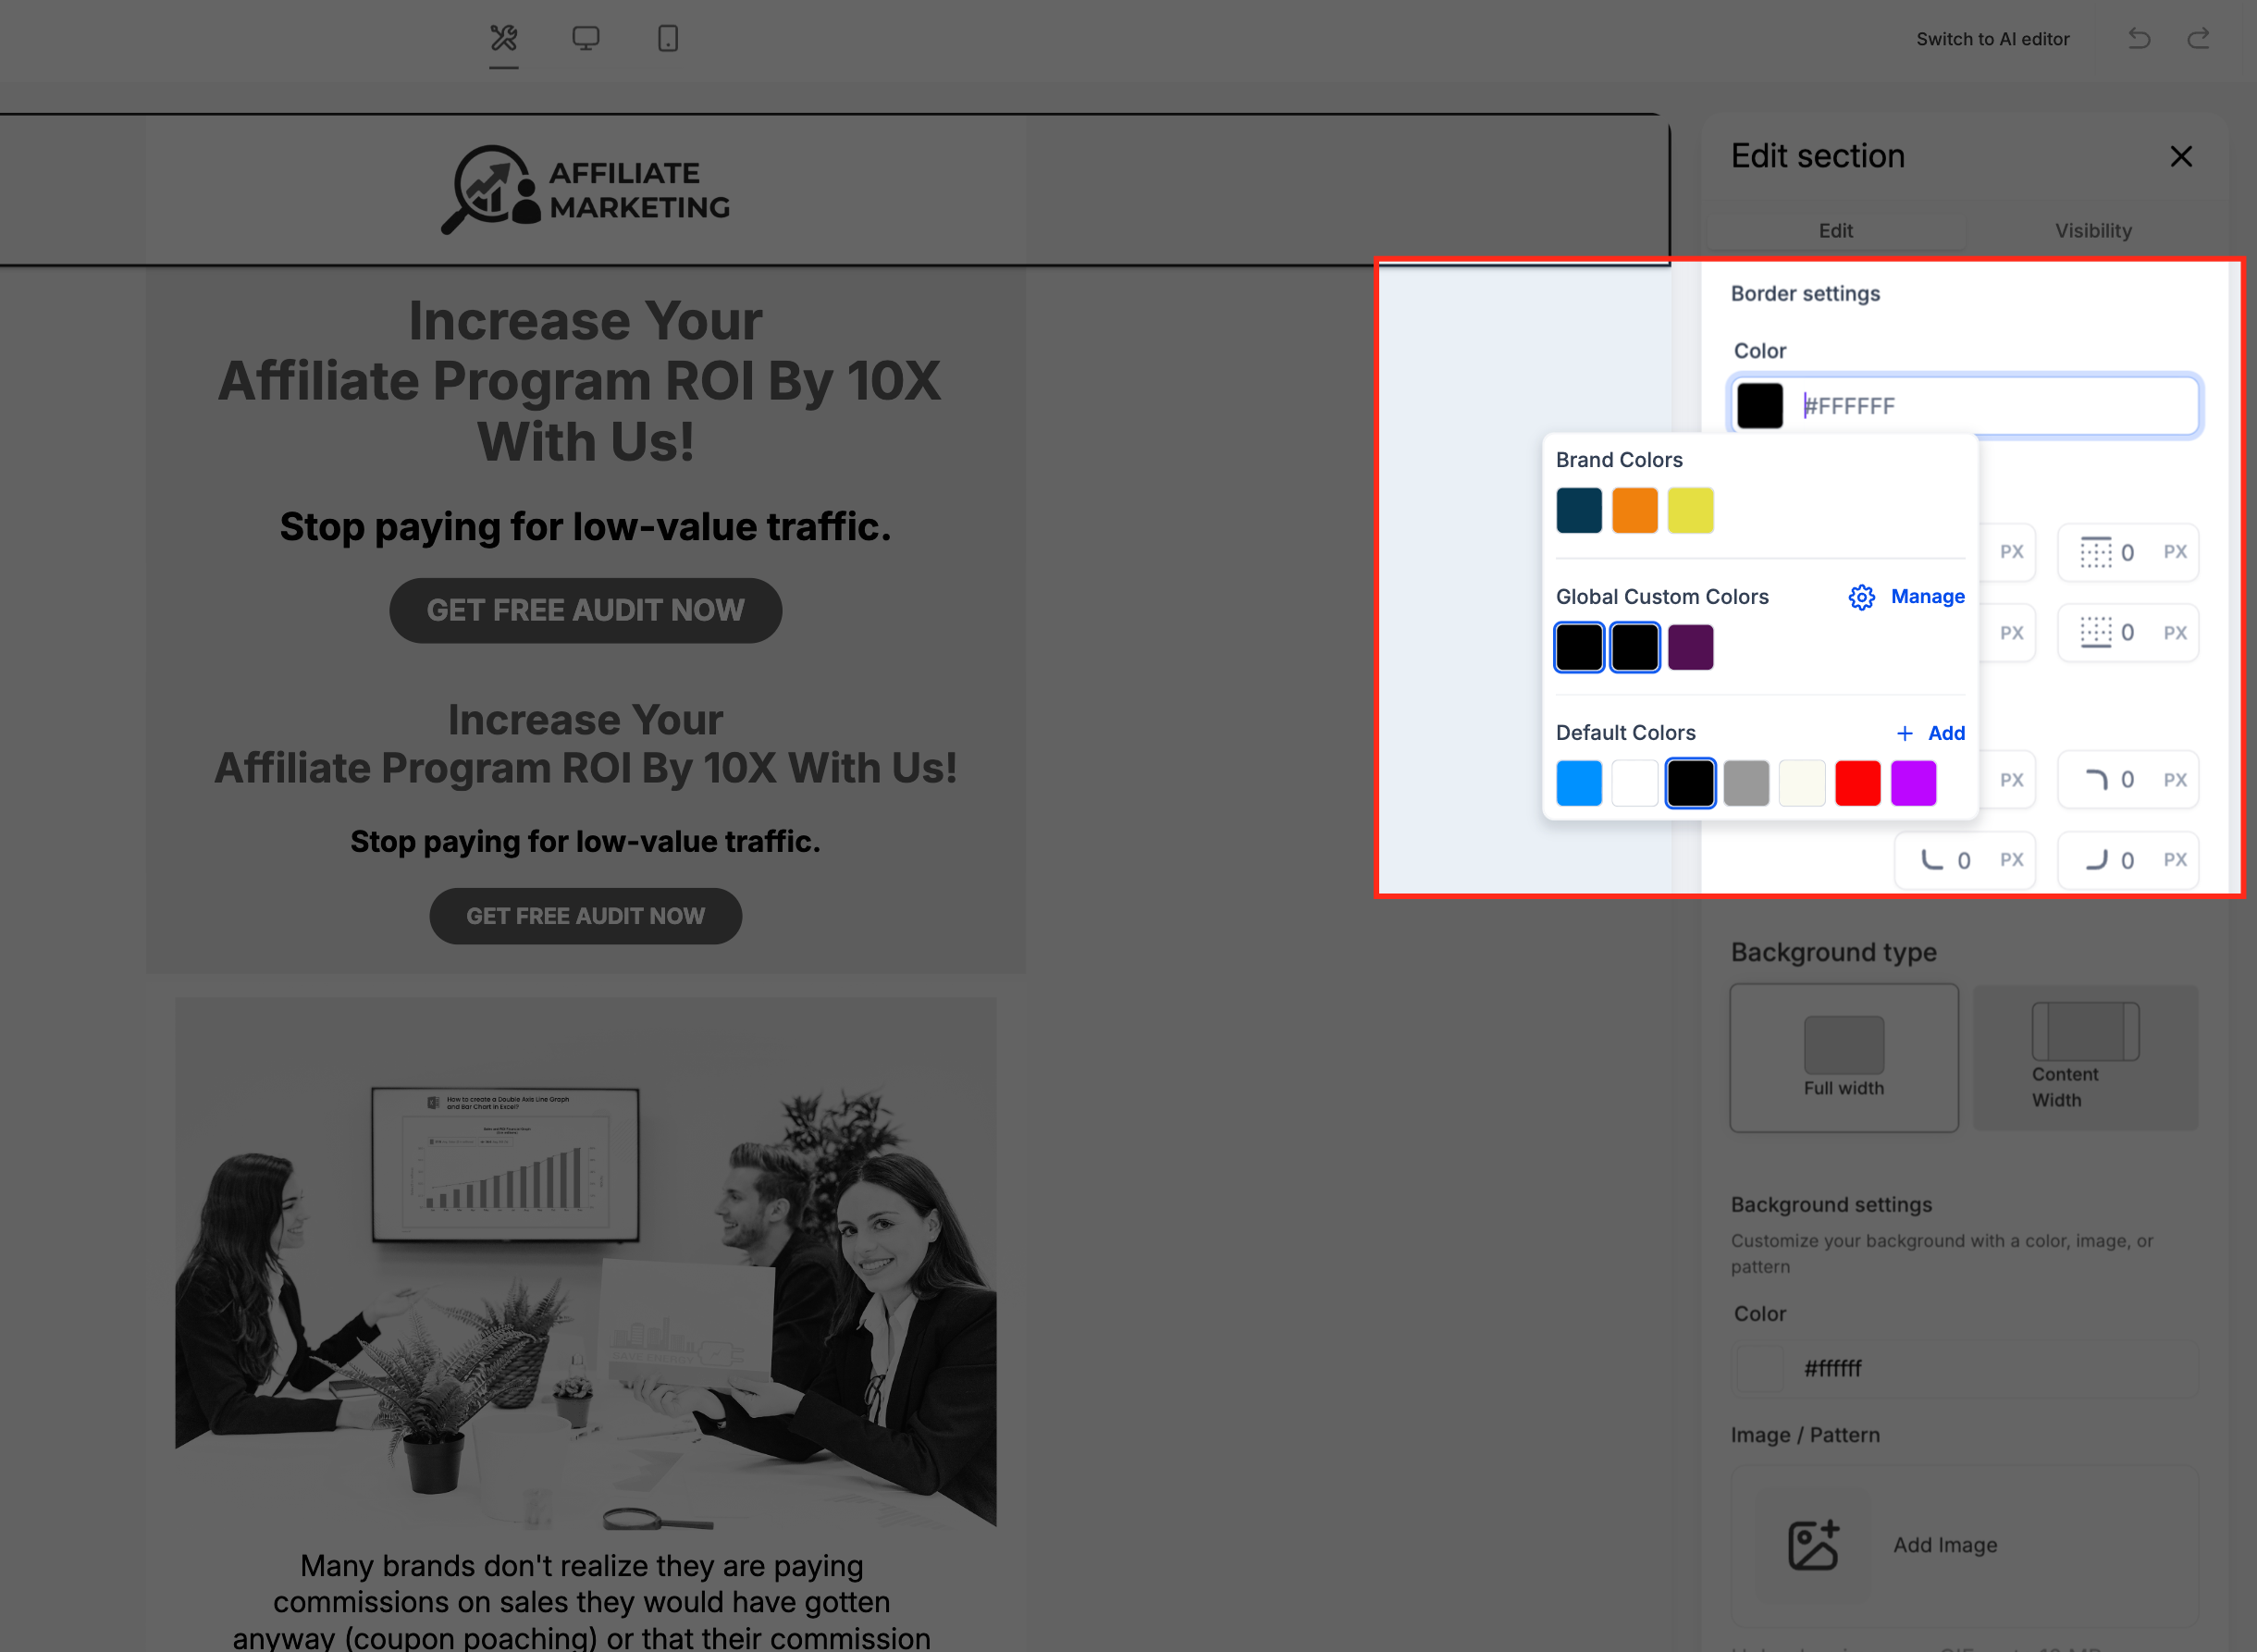
- In the Border settings, locate the border color control.
- Open the color picker.
- Pick the desired color.
- Observe the updated border color in the builder.
Adjust Border Radius
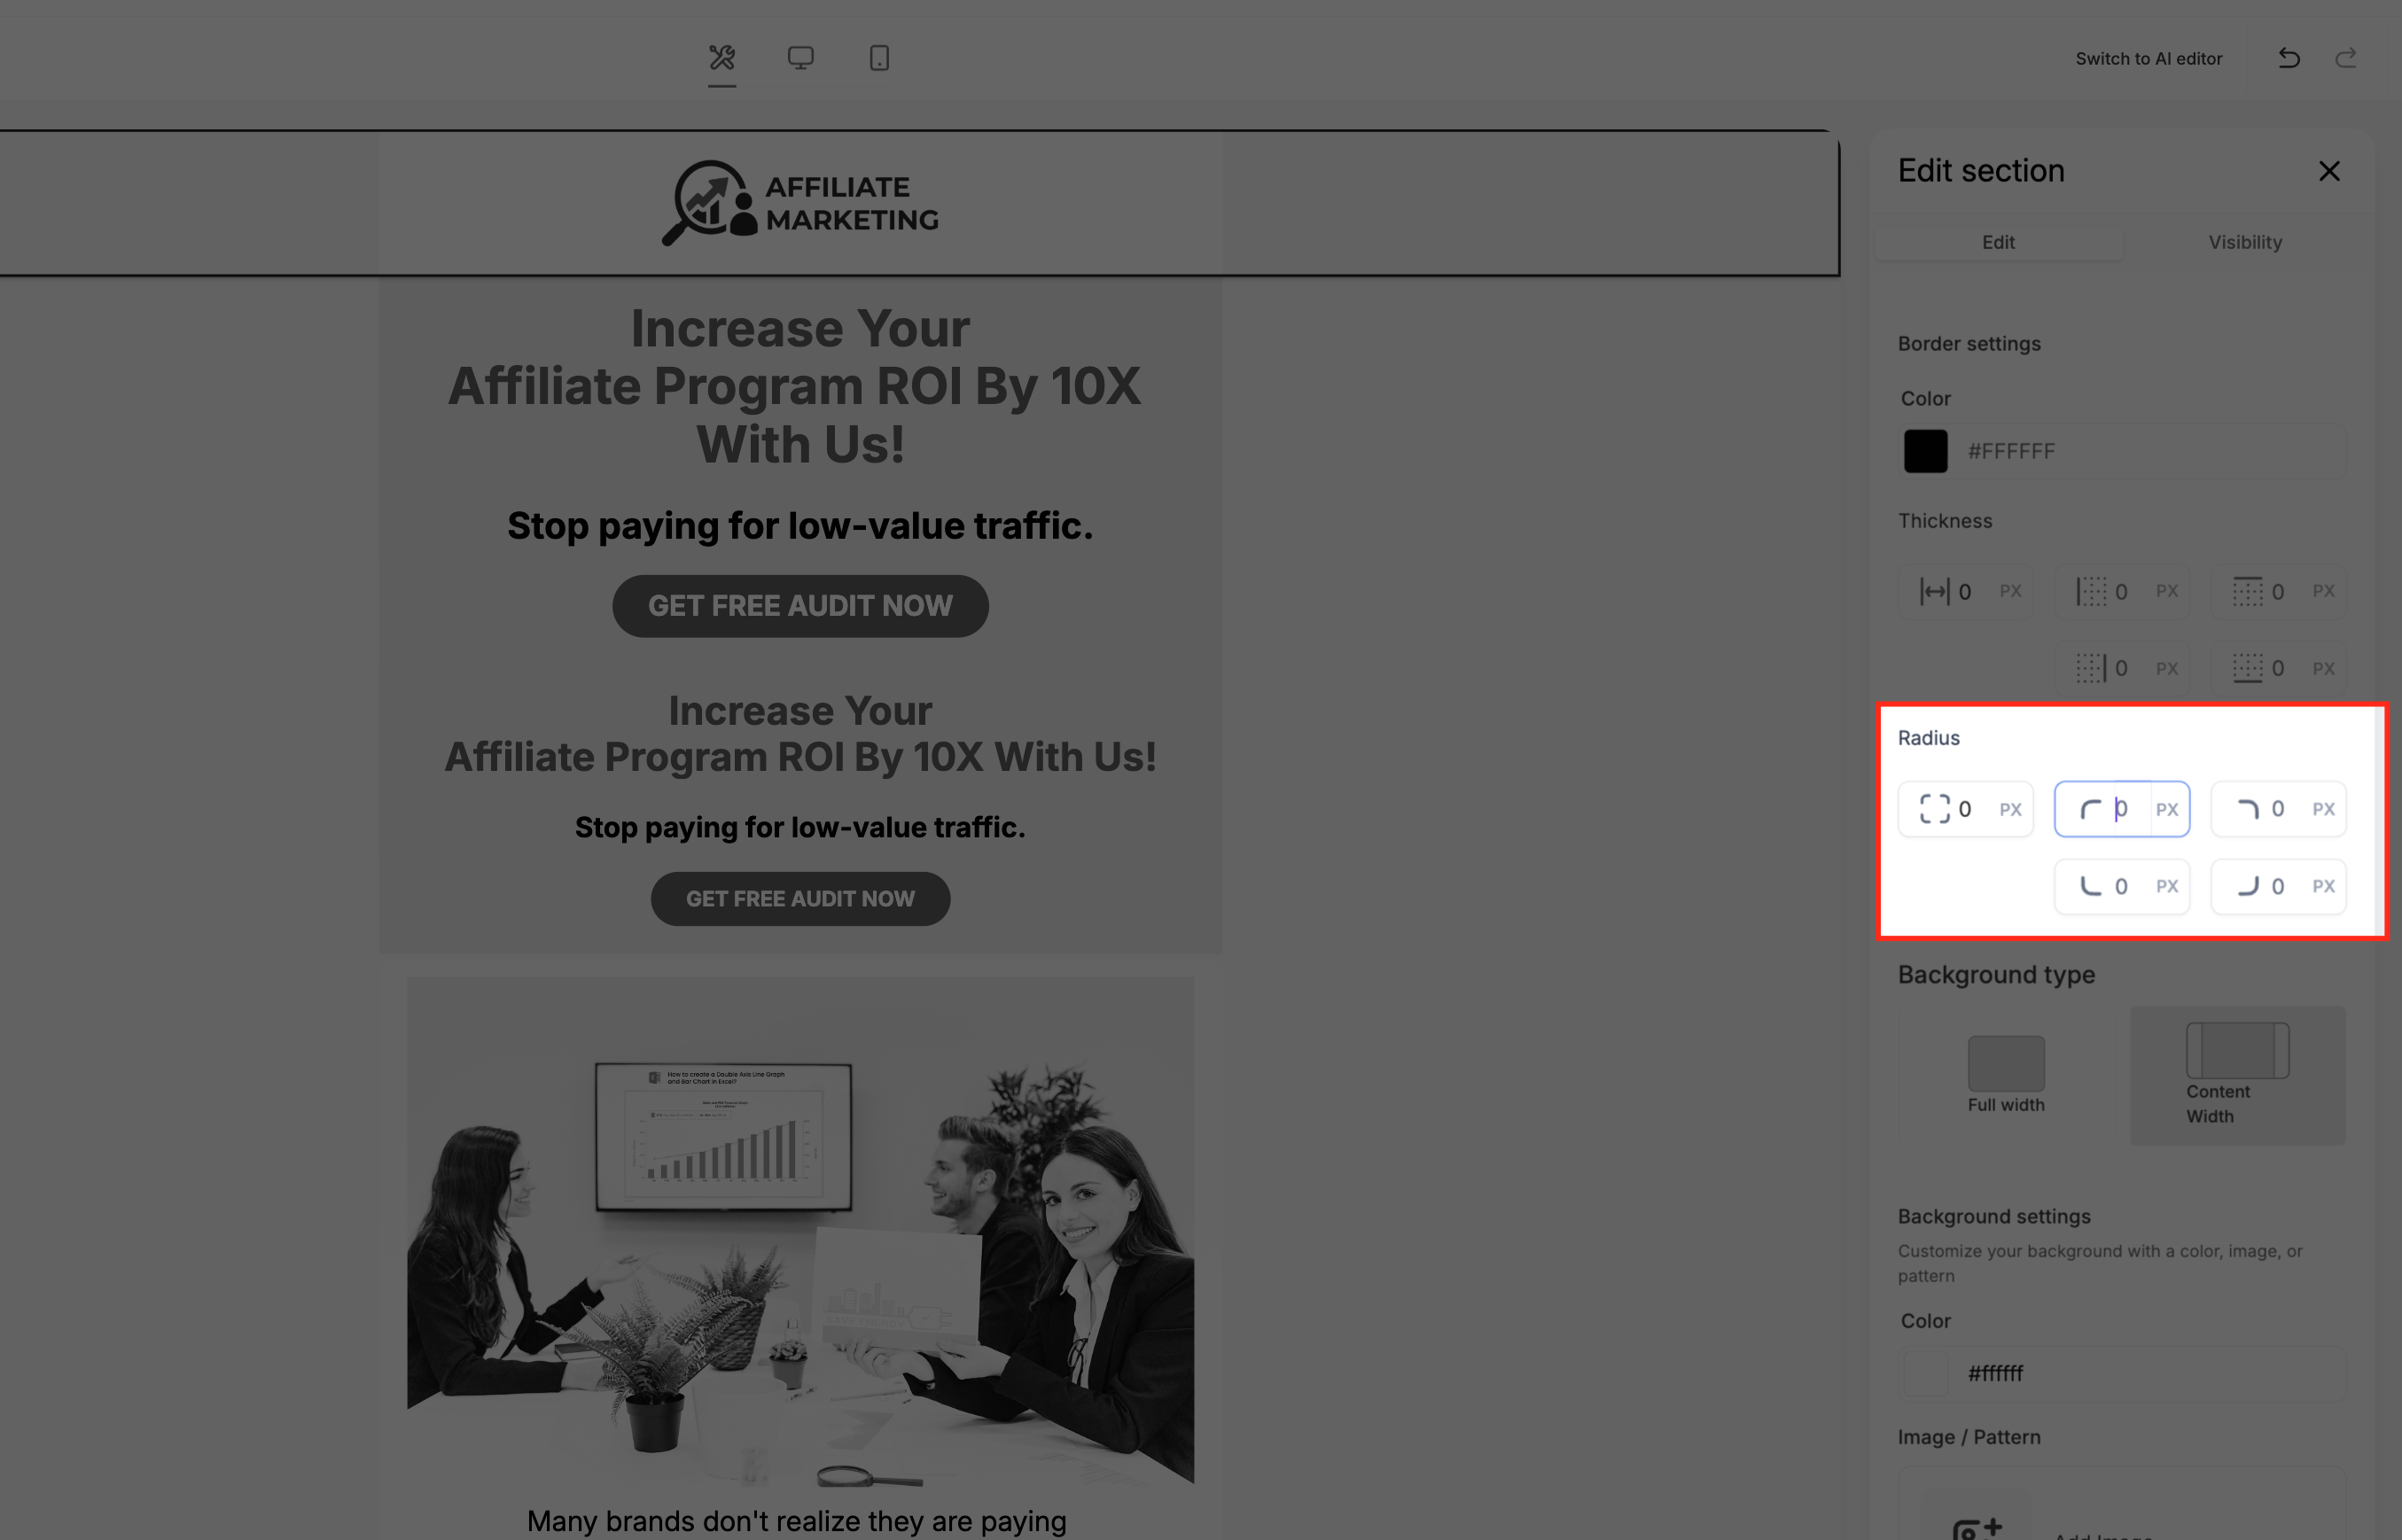
- Open the Border settings panel.
- Locate the Border Radius control.
- Modify the radius using the provided control.
- See the corners update in the editor.
Adjust Border Thickness
- Open the Border settings panel.
- Locate the Border Thickness control.
- Change the thickness using the control.
- Watch the border width update in the design view.
Preview and Test Border Changes
- Review the border modifications directly in the Email Builder.
- Switch between desktop and mobile preview modes to check layout.
- Save the email.
- Send a test email to verify rendering in an actual inbox.
06What it looks like in HighLevel
07Settings that matter
- Border Color. Determines the color applied to the outline of the selected email section.
- Border Radius. Controls how rounded or square the corners of the section appear.
- Border Thickness. Sets the visible width of the section border.
08Things to know before you rely on it
- Border controls are only available on supported email sections, not on every element in the builder.
- Email rendering can differ across clients; preview and test before sending.
09How it connects to the rest of HighLevel
- Learn how to move the edit panel inside the Email Builder. Edit panel positioning
- Send or schedule the email after finalizing border settings. Send email campaign
Michael's take

Michael ReimerFounder of CRM Pros, HighLevel Commander and Certified Admin
Border customization is a handy way to add visual polish to your emails without touching code.
If you never use bordered sections or prefer to rely on external design tools, you can skip this feature.
Get More InformationOpens on HighLevelPublished November 2, 2026 · Updated November 17, 2026