
01Who this is for
- Marketing managers benefit because they can see which campaigns deliver the most qualified leads.
- Sales directors gain insight into the status distribution of opportunities across sources for better coaching.
- Agency owners track client performance by source to allocate budget and report results.
02Lead Source Report, explained
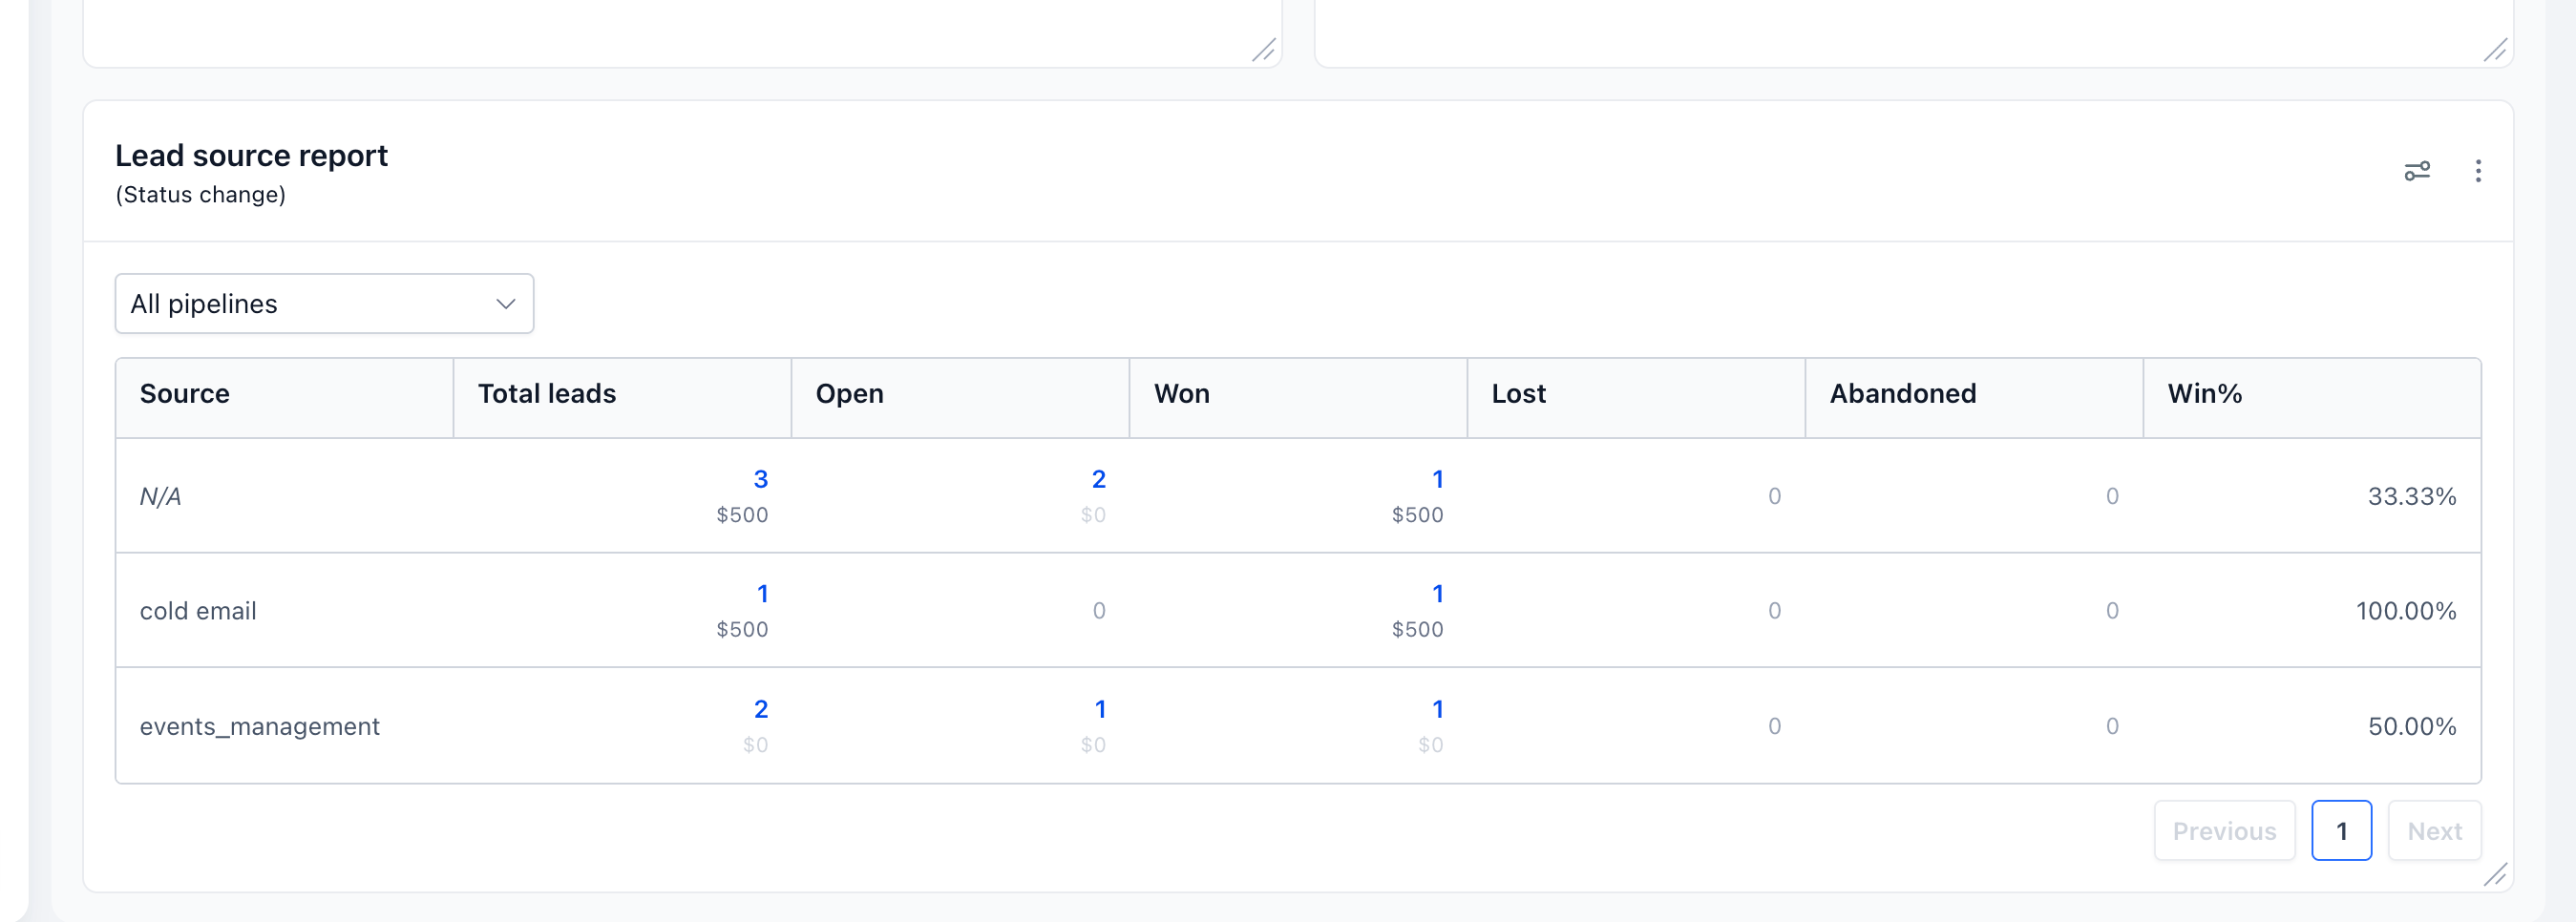
The Lead Source Report appears as a widget on any HighLevel dashboard. Each row represents a source and columns break down total leads, open, won, lost, and abandoned opportunities. Monetary values are shown when the user has permission to view lead values.
Filters let you narrow the data by pipeline, assigned user, source, attribution, tags, followers, lead value, or custom fields. Date settings let you choose whether the report uses the created date or the status change date for the reporting period.
The widget lives inside the Dashboard area of a subaccount. Clicking a count opens the list of individual opportunities for that source and status, and you can also isolate records that lack source information using the "Is empty" filter.
03How businesses use lead source report
- Digital marketing agency. The agency adds the widget to its client specific dashboard, selects the client’s pipeline, and filters by source to see which ads generate the most qualified leads. It then clicks the won count to review the closed deals.
- Real estate brokerage. A broker includes the widget on the team dashboard, applies a filter for the assigned agent, and watches open versus lost leads per source to guide coaching and outreach strategies.
- Ecommerce store. The store owner places the widget on the sales dashboard, sets the date range to the current month, and uses the source filter to compare organic versus paid traffic, then drills into any N/A rows to add missing source data.
04The numbers and rules that matter
- Filters include Pipeline, Assigned User, Source, Attribution, Tags, Followers, Lead Value, Custom Fields.
05Before you start
- Access to a HighLevel subaccount dashboard is required.
- Permission to view lead values is needed to see monetary columns.
06How to set up and use lead source report in HighLevel
Set up the Lead Source Report
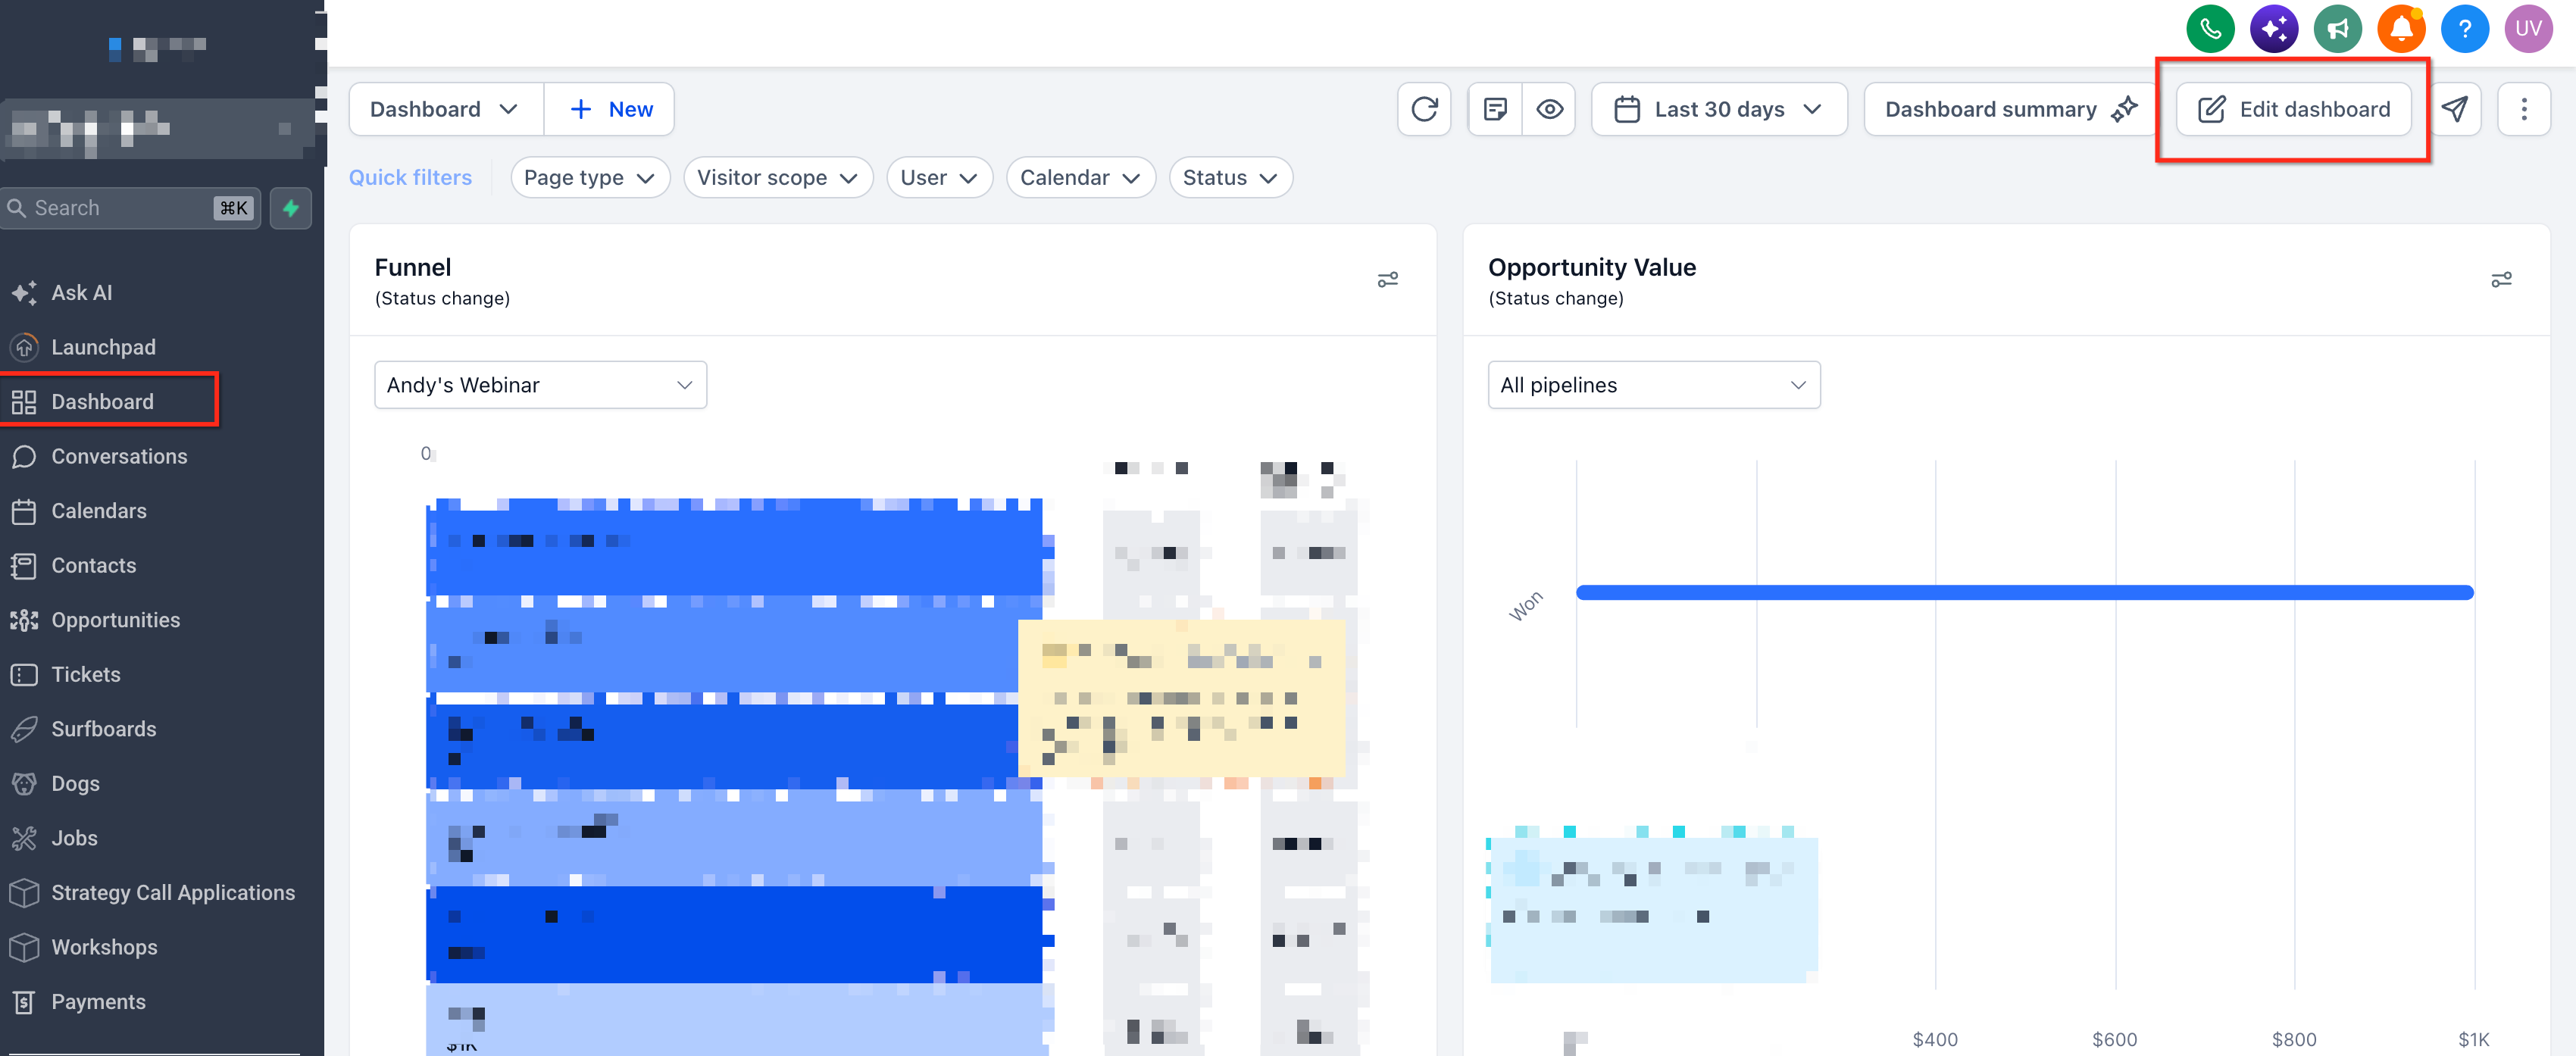
- Navigate to the Dashboard in the chosen HighLevel subaccount.
- Click Edit dashboard and then choose Add widget.
- Search for Lead Source Report in the Widget Gallery.
- Select the widget and pick the pipeline you want to analyse.
- Configure any filters you need under Conditions.
- Adjust the date settings to define the reporting period.
- Click Save to place the widget on the dashboard.
07What it looks like in HighLevel
08Settings that matter
- Conditions. Controls which opportunities are included by applying filters such as pipeline, assigned user, source, attribution, tags, followers, lead value, or custom fields.
- Date settings. Determines whether the report uses the opportunity’s created date or its status change date for the selected time frame.
09Things to know before you rely on it
- The report counts each opportunity, not unique contacts; a single contact can appear multiple times.
- Monetary values only appear if the user has the required permission.
- UTM parameters are not used as the Source; the widget groups by the Opportunity Source field.
10If something goes wrong
- Opportunities missing from the report. Check the selected pipeline, date range, and any applied filters.
- Opportunity values not visible. Confirm that your account has permission to view lead values.
11How it connects to the rest of HighLevel
- Learn how to add and customize dashboard widgets in HighLevel. Add widgets guide
- Understand dashboard permissions and user specific widget settings. Permissions overview
- See pricing options and plans for HighLevel. Pricing page
Michael's take

The Lead Source Report gives a useful snapshot of where opportunities are coming from.
Don’t forget to include a source for every incoming lead; empty source rows hide valuable insight.