
01Who this is for
- Property managers, they can sort houses, apartments, and cabins into clear sections for clients.
- Equipment rental firms, categories such as Cameras or Lighting keep gear lists easy to browse.
- Event venue owners, grouping rooms by capacity or style lets customers find suitable spaces quickly.
02Listings and categories, explained
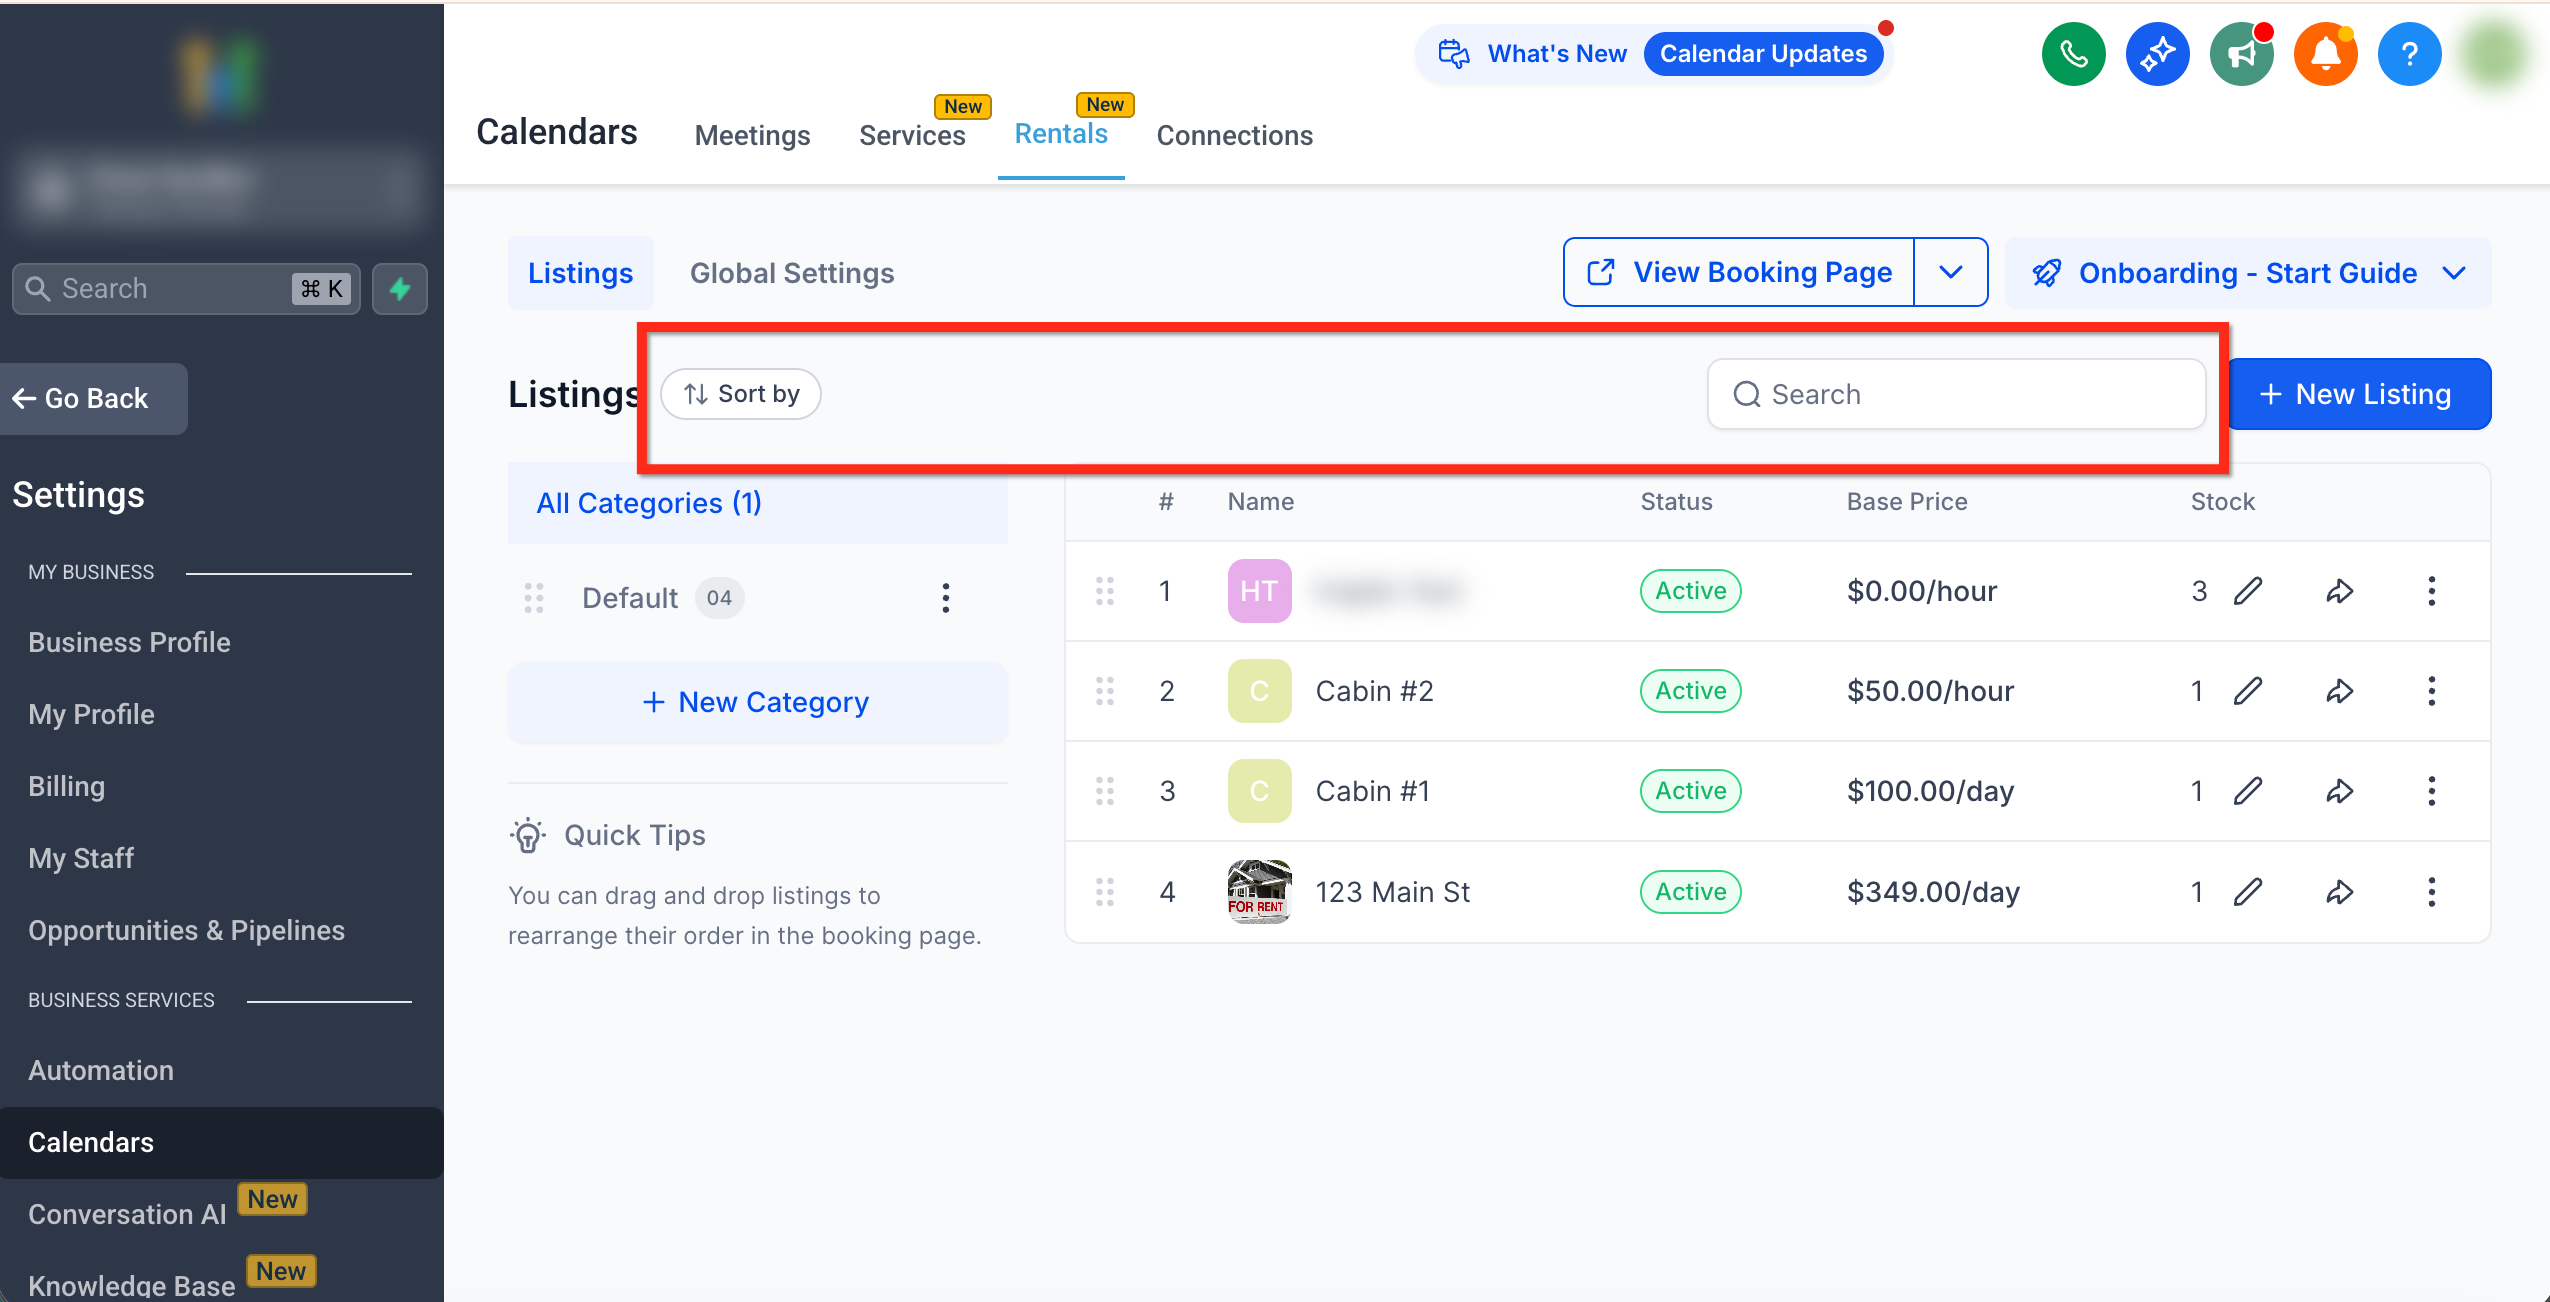
Categories act as containers for rental listings. When you assign a listing to a category, it appears only when that group is selected in the sidebar. The order you place categories in the left panel is reflected on the public booking page, letting you prioritize certain groups.
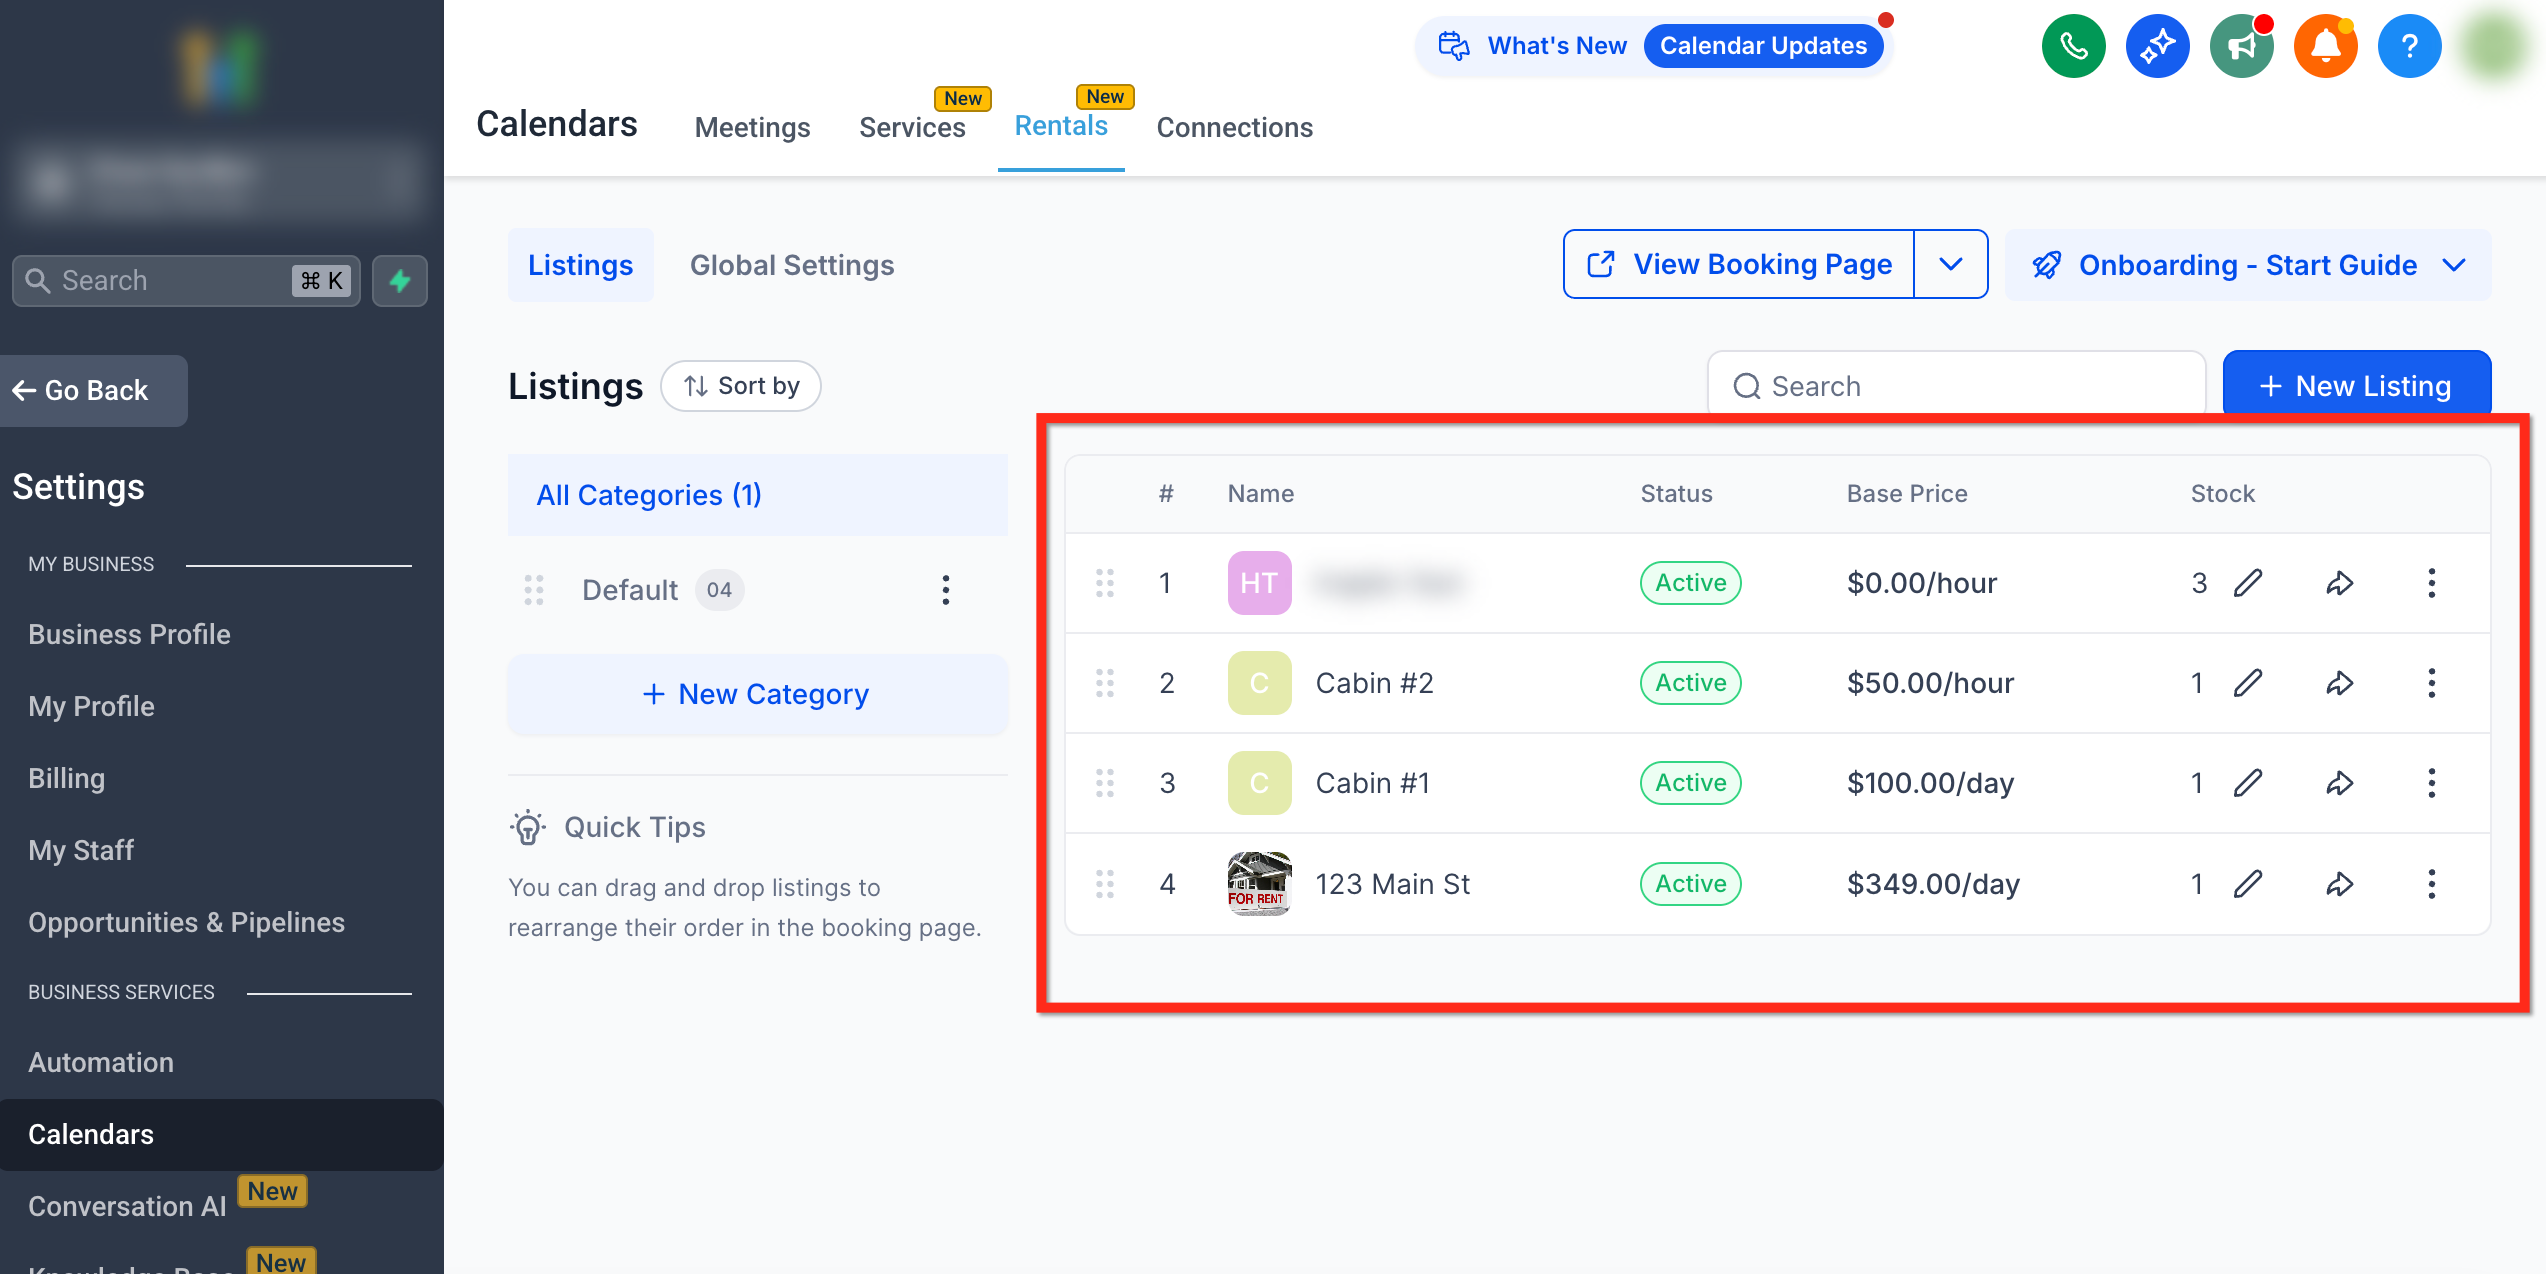
Categories are managed from the Rentals module under the Listings view. The panel on the left shows all existing categories, each with its own edit, share, and delete options accessed via a three dot menu. Changing a category’s name or URL slug updates the link that can be sent to customers.
Every listing must belong to a single category; if omitted, the system uses a default category. Categories do not influence pricing or calendar availability, which remain set per listing.
03How businesses use listings and categories
- Property manager. Create categories like Beach Houses or Urban Lofts, assign each property listing to the appropriate group, and share the category link with prospective renters to show only relevant homes.
- Equipment rental company. Set up categories such as Cameras and Lighting Gear, place each piece of equipment into its category, then distribute the category URL to production teams needing specific gear.
- Event venue owner. Organize rooms by size or theme, edit category names to match marketing terms, and provide the category link to clients looking for venues that fit their event requirements.
04The numbers and rules that matter
- You can have up to 50 categories per account.
05How to set up and use listings and categories in HighLevel
Access rentals module
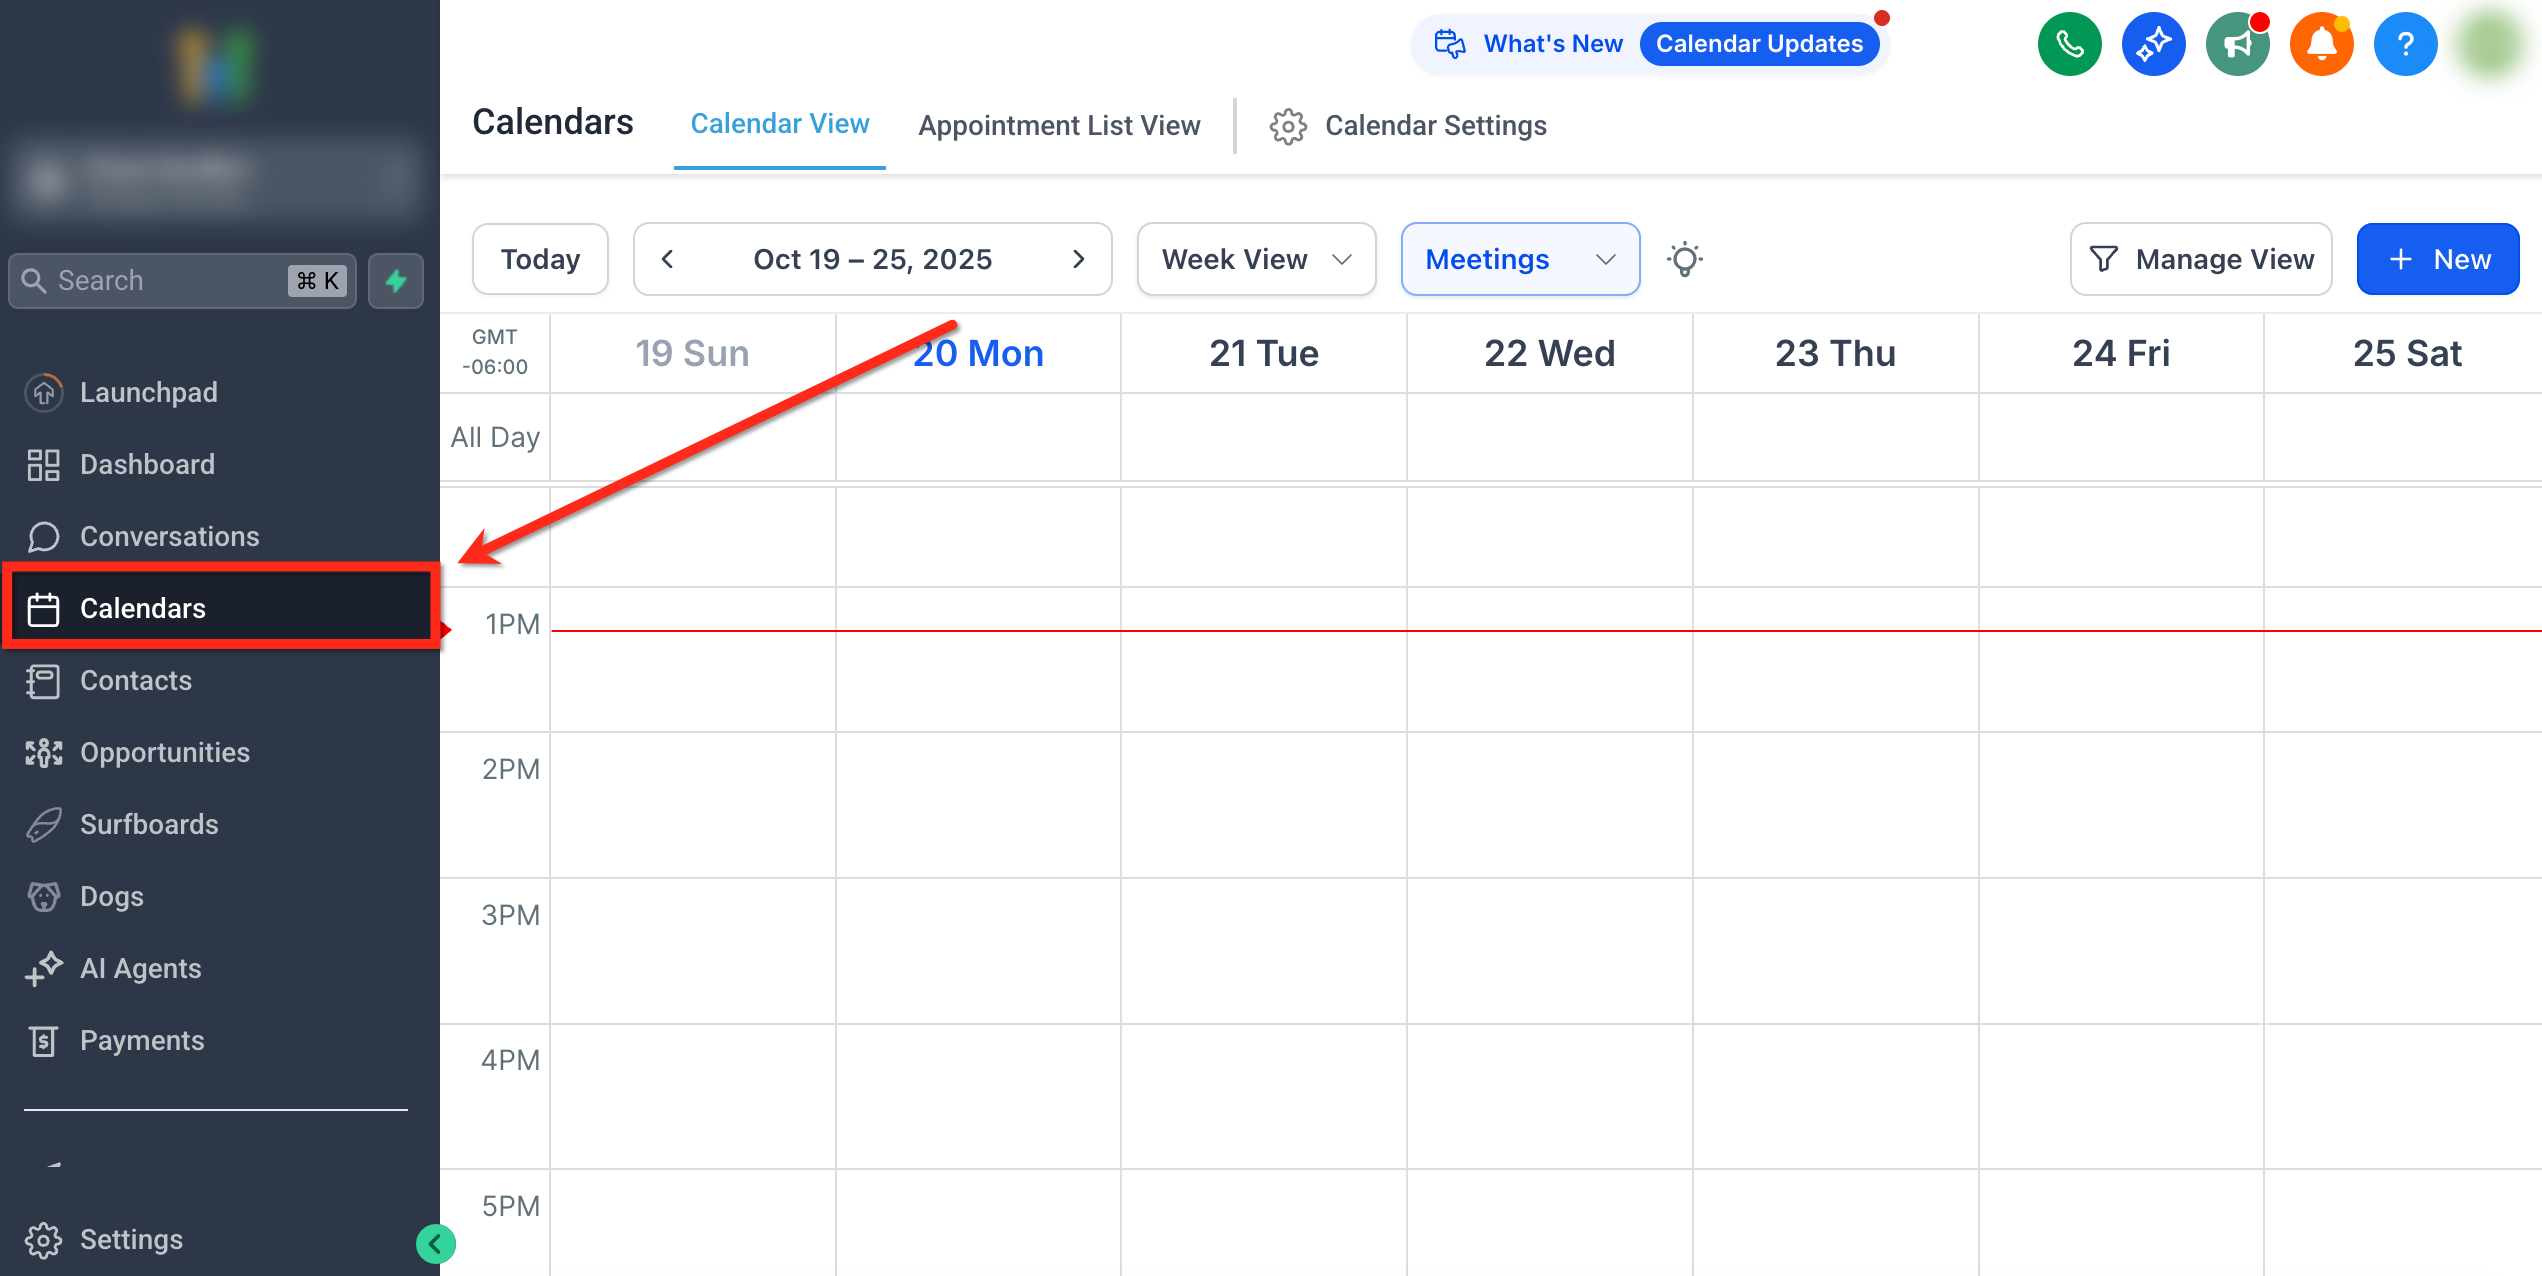
- Click the Calendars tab on the left navigation bar.
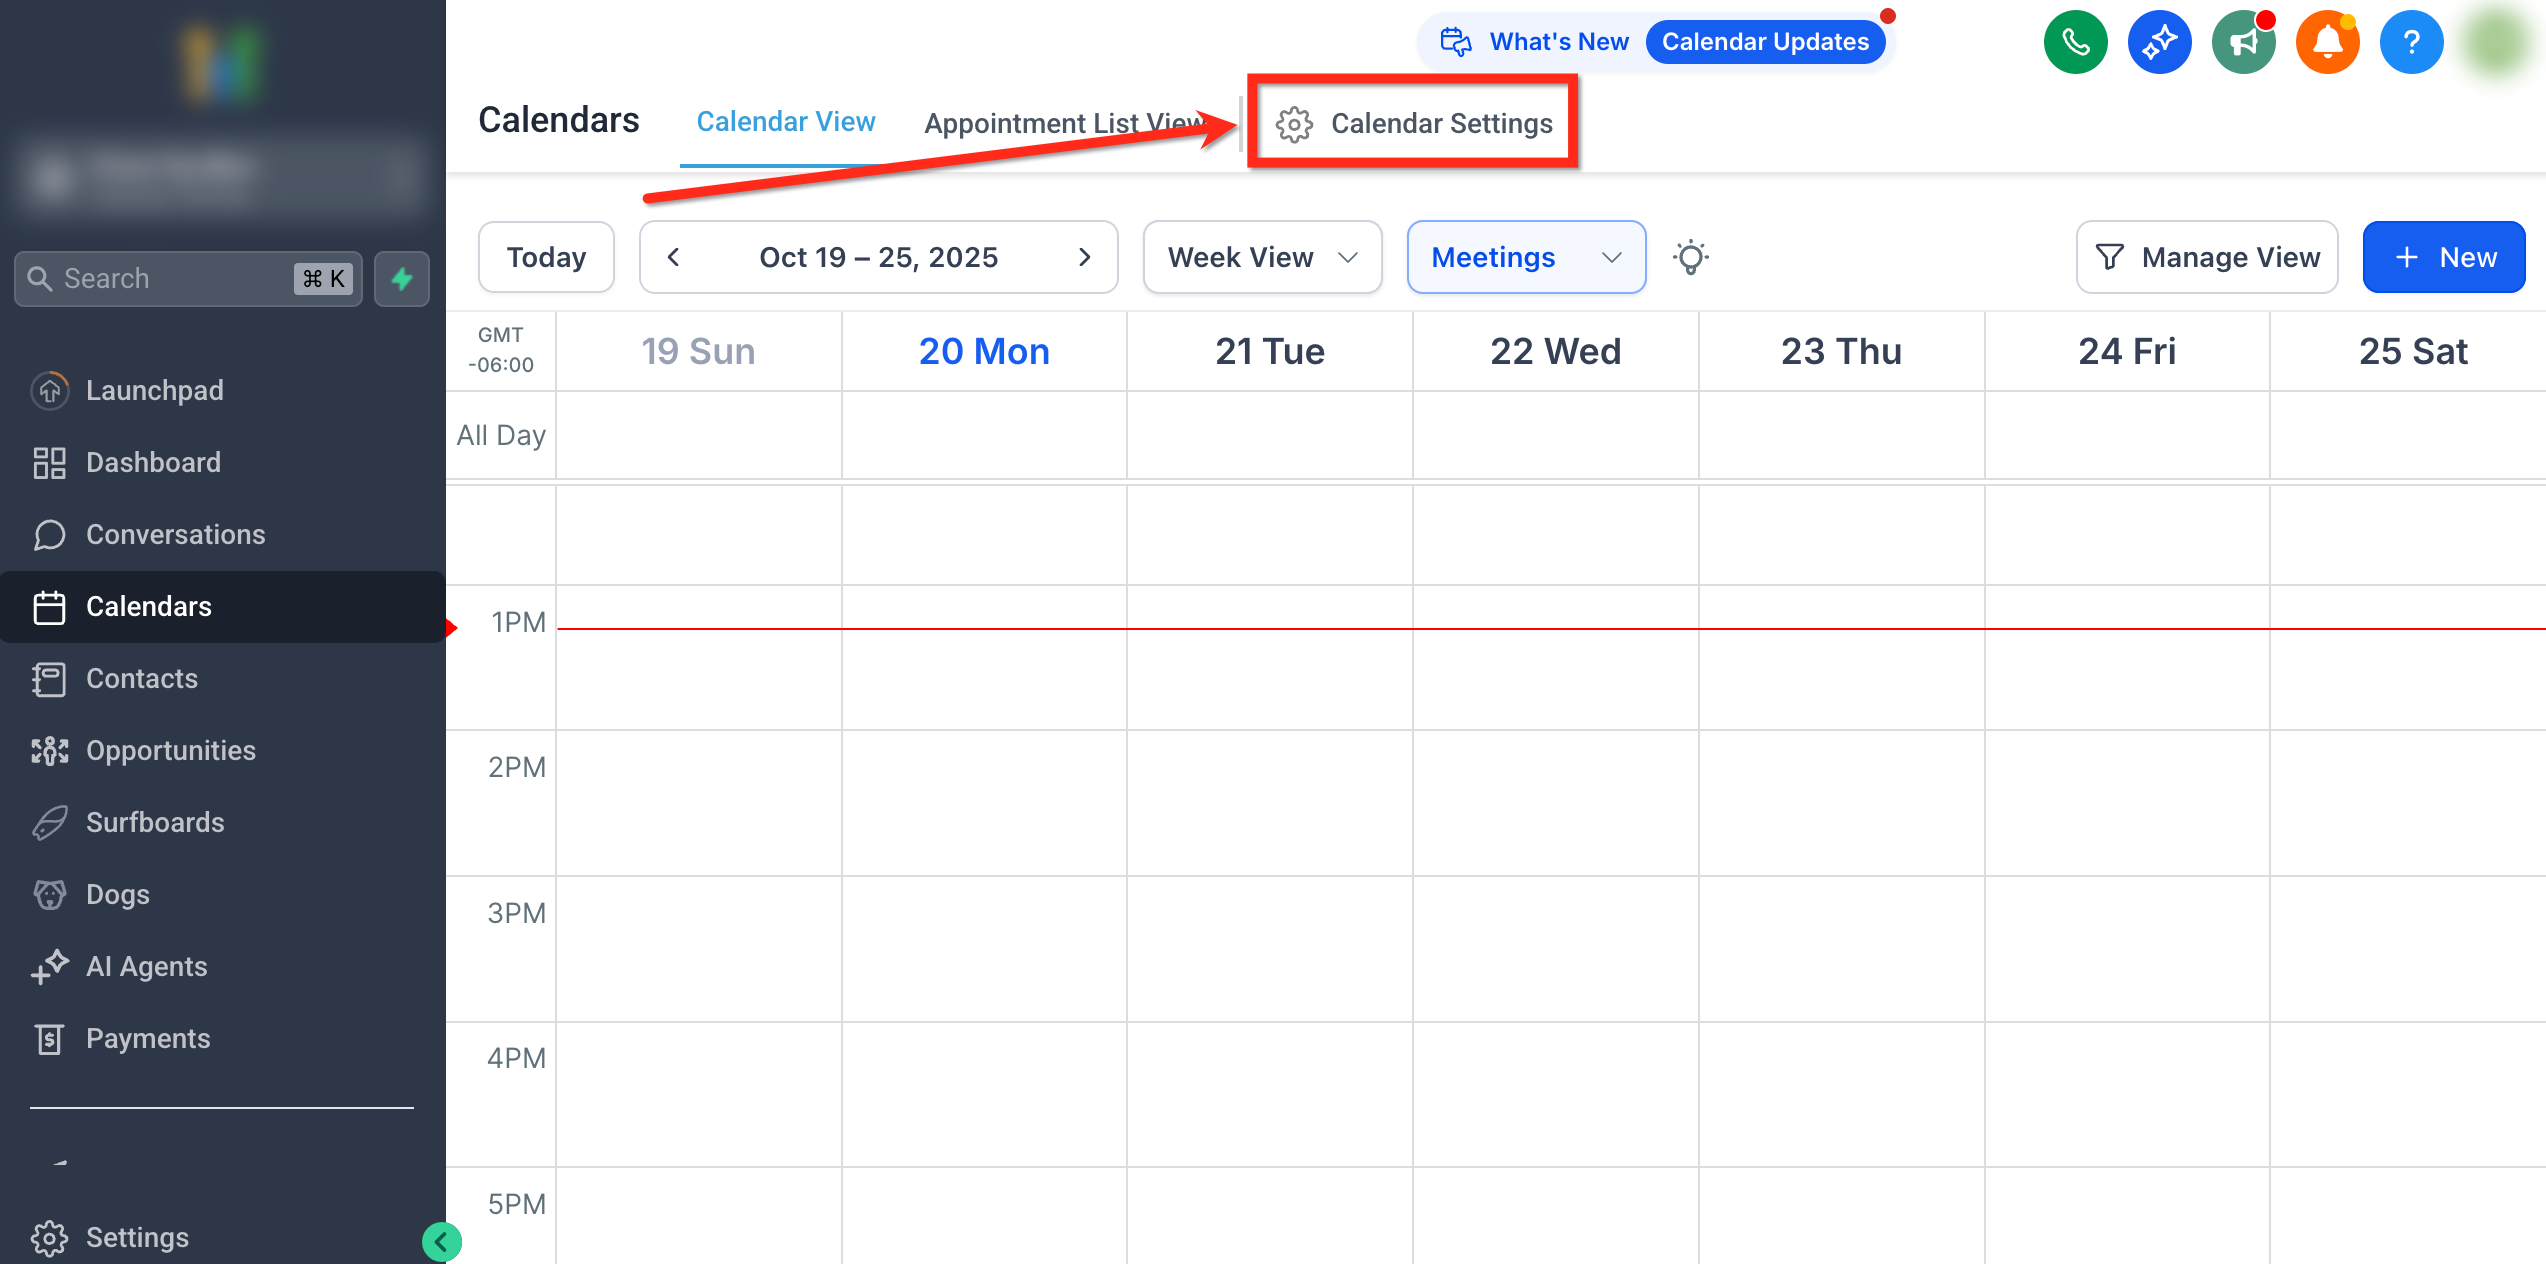
- Select Calendar Settings from the top navigation ribbon.
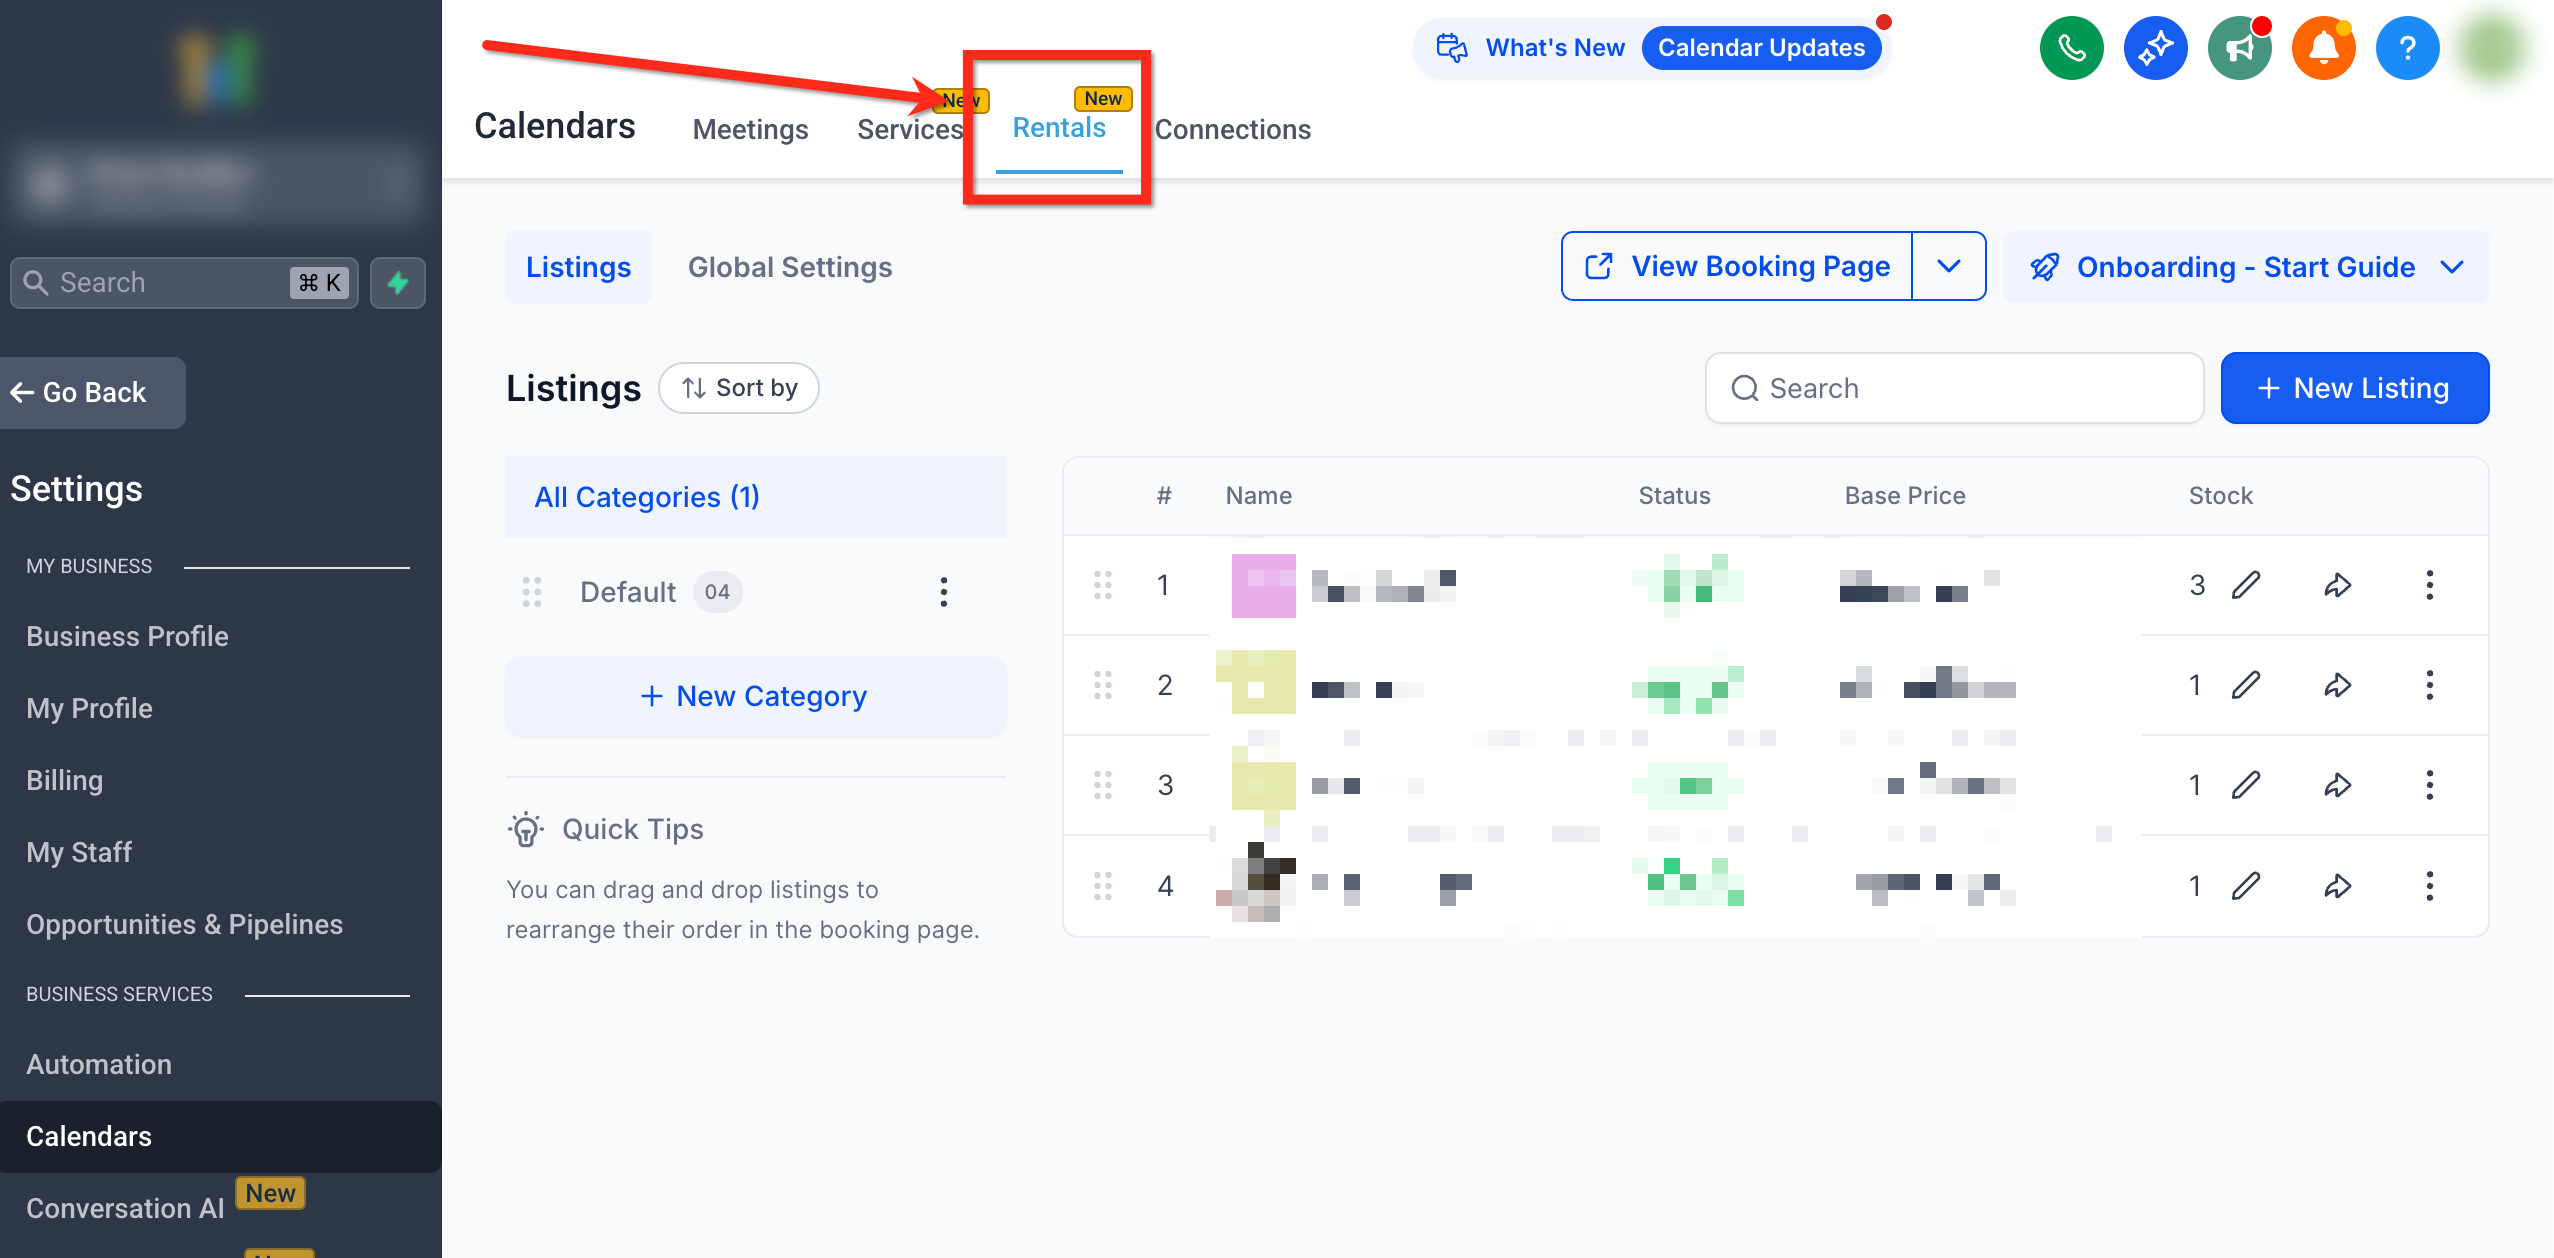
- Choose the Rentals tab from the top navigation bar.
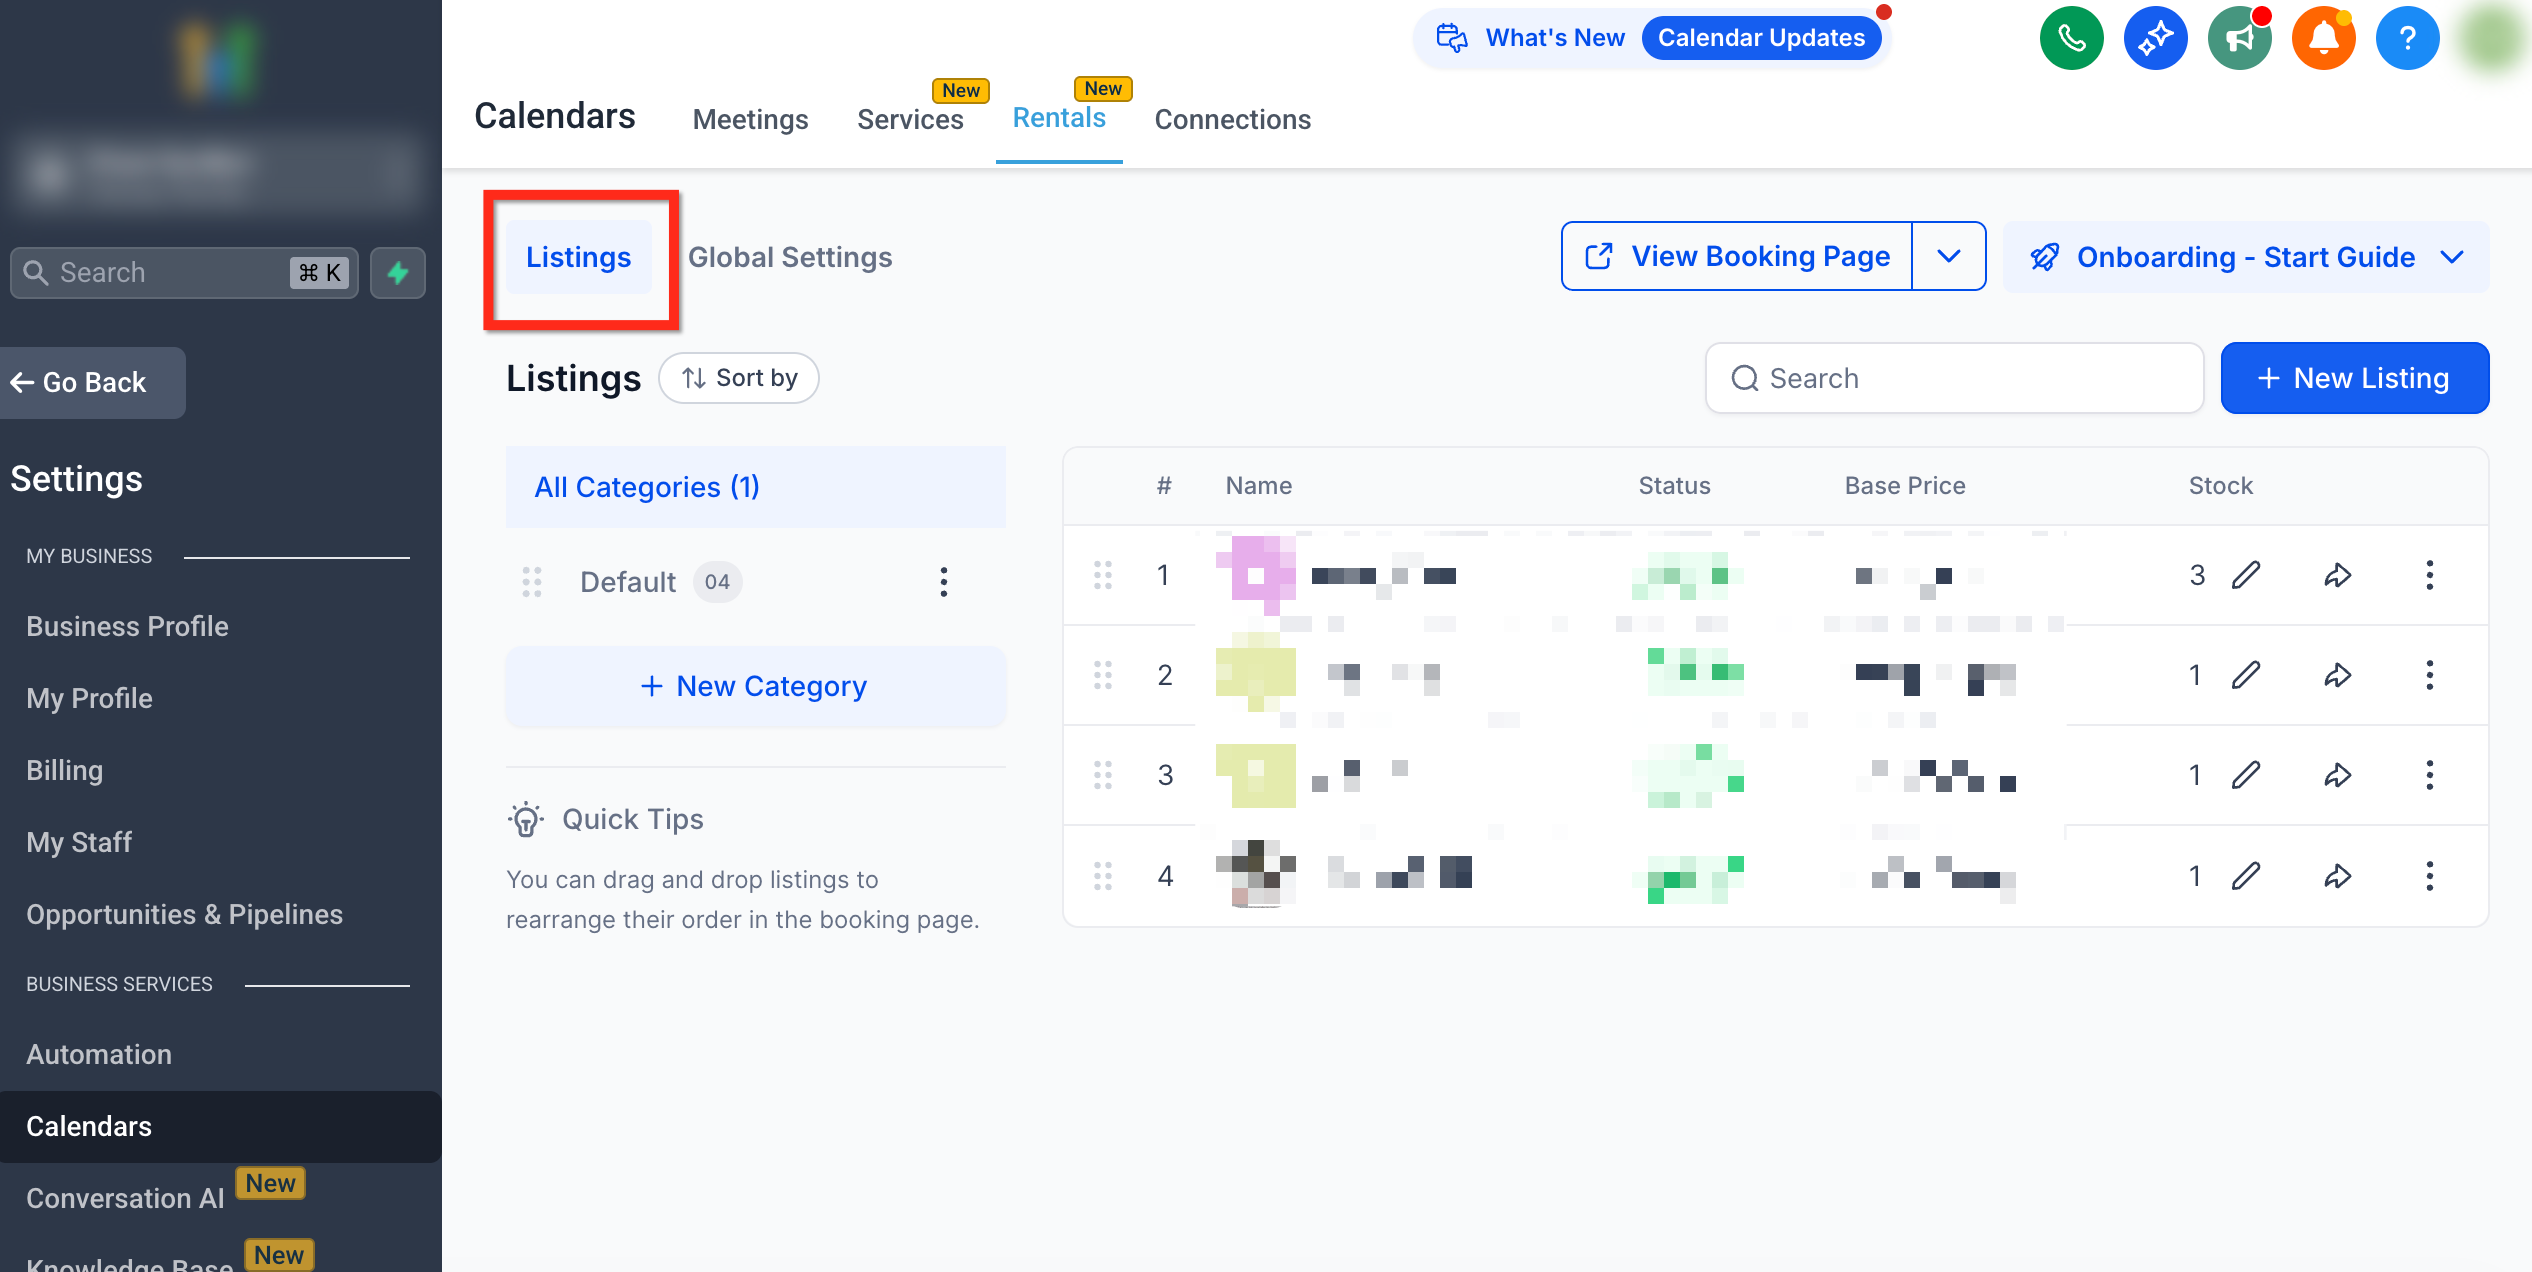
- Click Listings under Rentals.
Create a new category
- Go to Rentals > Listings.
- Click the + New Category button beneath the category panel.
- In the Add New Category modal, type a Category Name and optionally a Custom URL Slug.
- Press Create Category to save the new group.
Edit a category
- Click the ⋮ menu next to the desired category name.
- Select Edit from the menu.
- Modify the category name or the custom URL slug as needed.
- Save the changes.
Share a category
- Click the ⋮ menu beside the category you want to share.
- Choose Share from the options.
- Copy the public booking URL that appears.
Delete a category
- Click the ⋮ menu next to the category you wish to remove.
- Select Delete from the menu.
- Listings that were in the removed category are moved to the default category.
Reorder categories
- In the left panel, drag and drop categories into the desired order.
- The new order is reflected on the customer booking page.
06What it looks like in HighLevel
07Settings that matter
- Category Name (required). Defines the label shown for the category in the sidebar and on the booking page.
- Custom URL Slug. Creates the part of the public link that points directly to the filtered category page.
08Things to know before you rely on it
- A maximum of 50 categories can be created per account.
- Each listing can belong to only one category; multiple assignments are not allowed.
- Categories do not control pricing or calendar availability for listings.
09How it connects to the rest of HighLevel
- Create and edit individual rental listings Create & edit listings
- Configure pricing and discounts for rentals Pricing & discounts
- Set global rental preferences and defaults Global settings
- View and manage bookings in the calendar view Calendar view
- Explore pricing plans for HighLevel Pricing
Michael's take

If I were setting up a new rental business, I’d build the categories first, assign each listing as I add it, and immediately test the public booking page to confirm the order matches the customer experience.