
01Who this is for
- Founders of SaaS businesses who need separate bots for onboarding and support, allowing each bot to handle its own set of contacts.
- Marketing managers of ecommerce stores who want to route shoppers to a sales bot or a post purchase support bot based on tags.
- Customer success teams in service companies that require a premium customer bot and a regular customer bot to operate on the same chat widget.
02Conversation AI channel management, explained
Conversation AI Channel Management is a bot level deployment feature inside HighLevel. It lets you decide which bot can answer a message, on which channel, and for contacts that meet chosen tag criteria. The Deploy tab of each bot holds the channel switches and tag rules.
The feature works across supported channels: SMS, Email, Facebook, Instagram, WhatsApp, Live Chat and Chat Widget. For each channel you can enable it, choose a specific phone number, page or widget, and add "Has tags" and "Doesn’t have tags" conditions with AND/OR logic. HighLevel prevents two bots from sharing the exact same channel, destination and tag set, so routing conflicts are avoided.
Channel assignments are not set from the Agents List. Instead, open a bot, go to its Deploy tab, and configure each channel individually. Once set, the bot will respond only to messages that match its deployment rule. Direct assignments via workflows or the Transfer Bot action still take priority over these rules.
03How businesses use Conversation AI channel management
- Real estate agency. The agency creates a "Lead Capture" bot and a "Client Support" bot. In each bot’s Deploy tab they enable the Facebook channel, select the appropriate page, and add tag conditions, "new lead" for the capture bot and "client" for the support bot. When a prospect messages the page, HighLevel routes the conversation to the correct bot based on the contact’s tags.
- Ecommerce store. The store enables the Chat Widget channel for a "Shopping Assistant" bot and an "Order Help" bot. Both bots are linked to the same widget, but the assistant bot uses the "has tags" condition "browsing" while the order bot uses "has tags" "order pending". Visitors see the appropriate bot depending on their tag.
- SaaS startup. The startup configures a "Trial Onboarding" bot on the SMS channel, assigning it to the phone number used for trial sign ups and adding the tag "trial user". A separate "Paid Support" bot is assigned to the same number but only for contacts with the tag "paid customer". Texts from each group are automatically handled by the matching bot.
04The numbers and rules that matter
- Supported channels: SMS, Email, Facebook, Instagram, WhatsApp, Live Chat, Chat Widget.
05Before you start
- Enable Conversation AI Channel Management in Settings > Labs before changing any bot channel assignments.
06How to set up and use Conversation AI channel management in HighLevel
Enable Conversation AI channel management
- Open the subaccount where you want to use the feature.
- Navigate to Settings.
- Select Labs.
- Locate Conversations AI Channel Management.
- Turn the feature on.
- Wait about five minutes for the migration to finish.
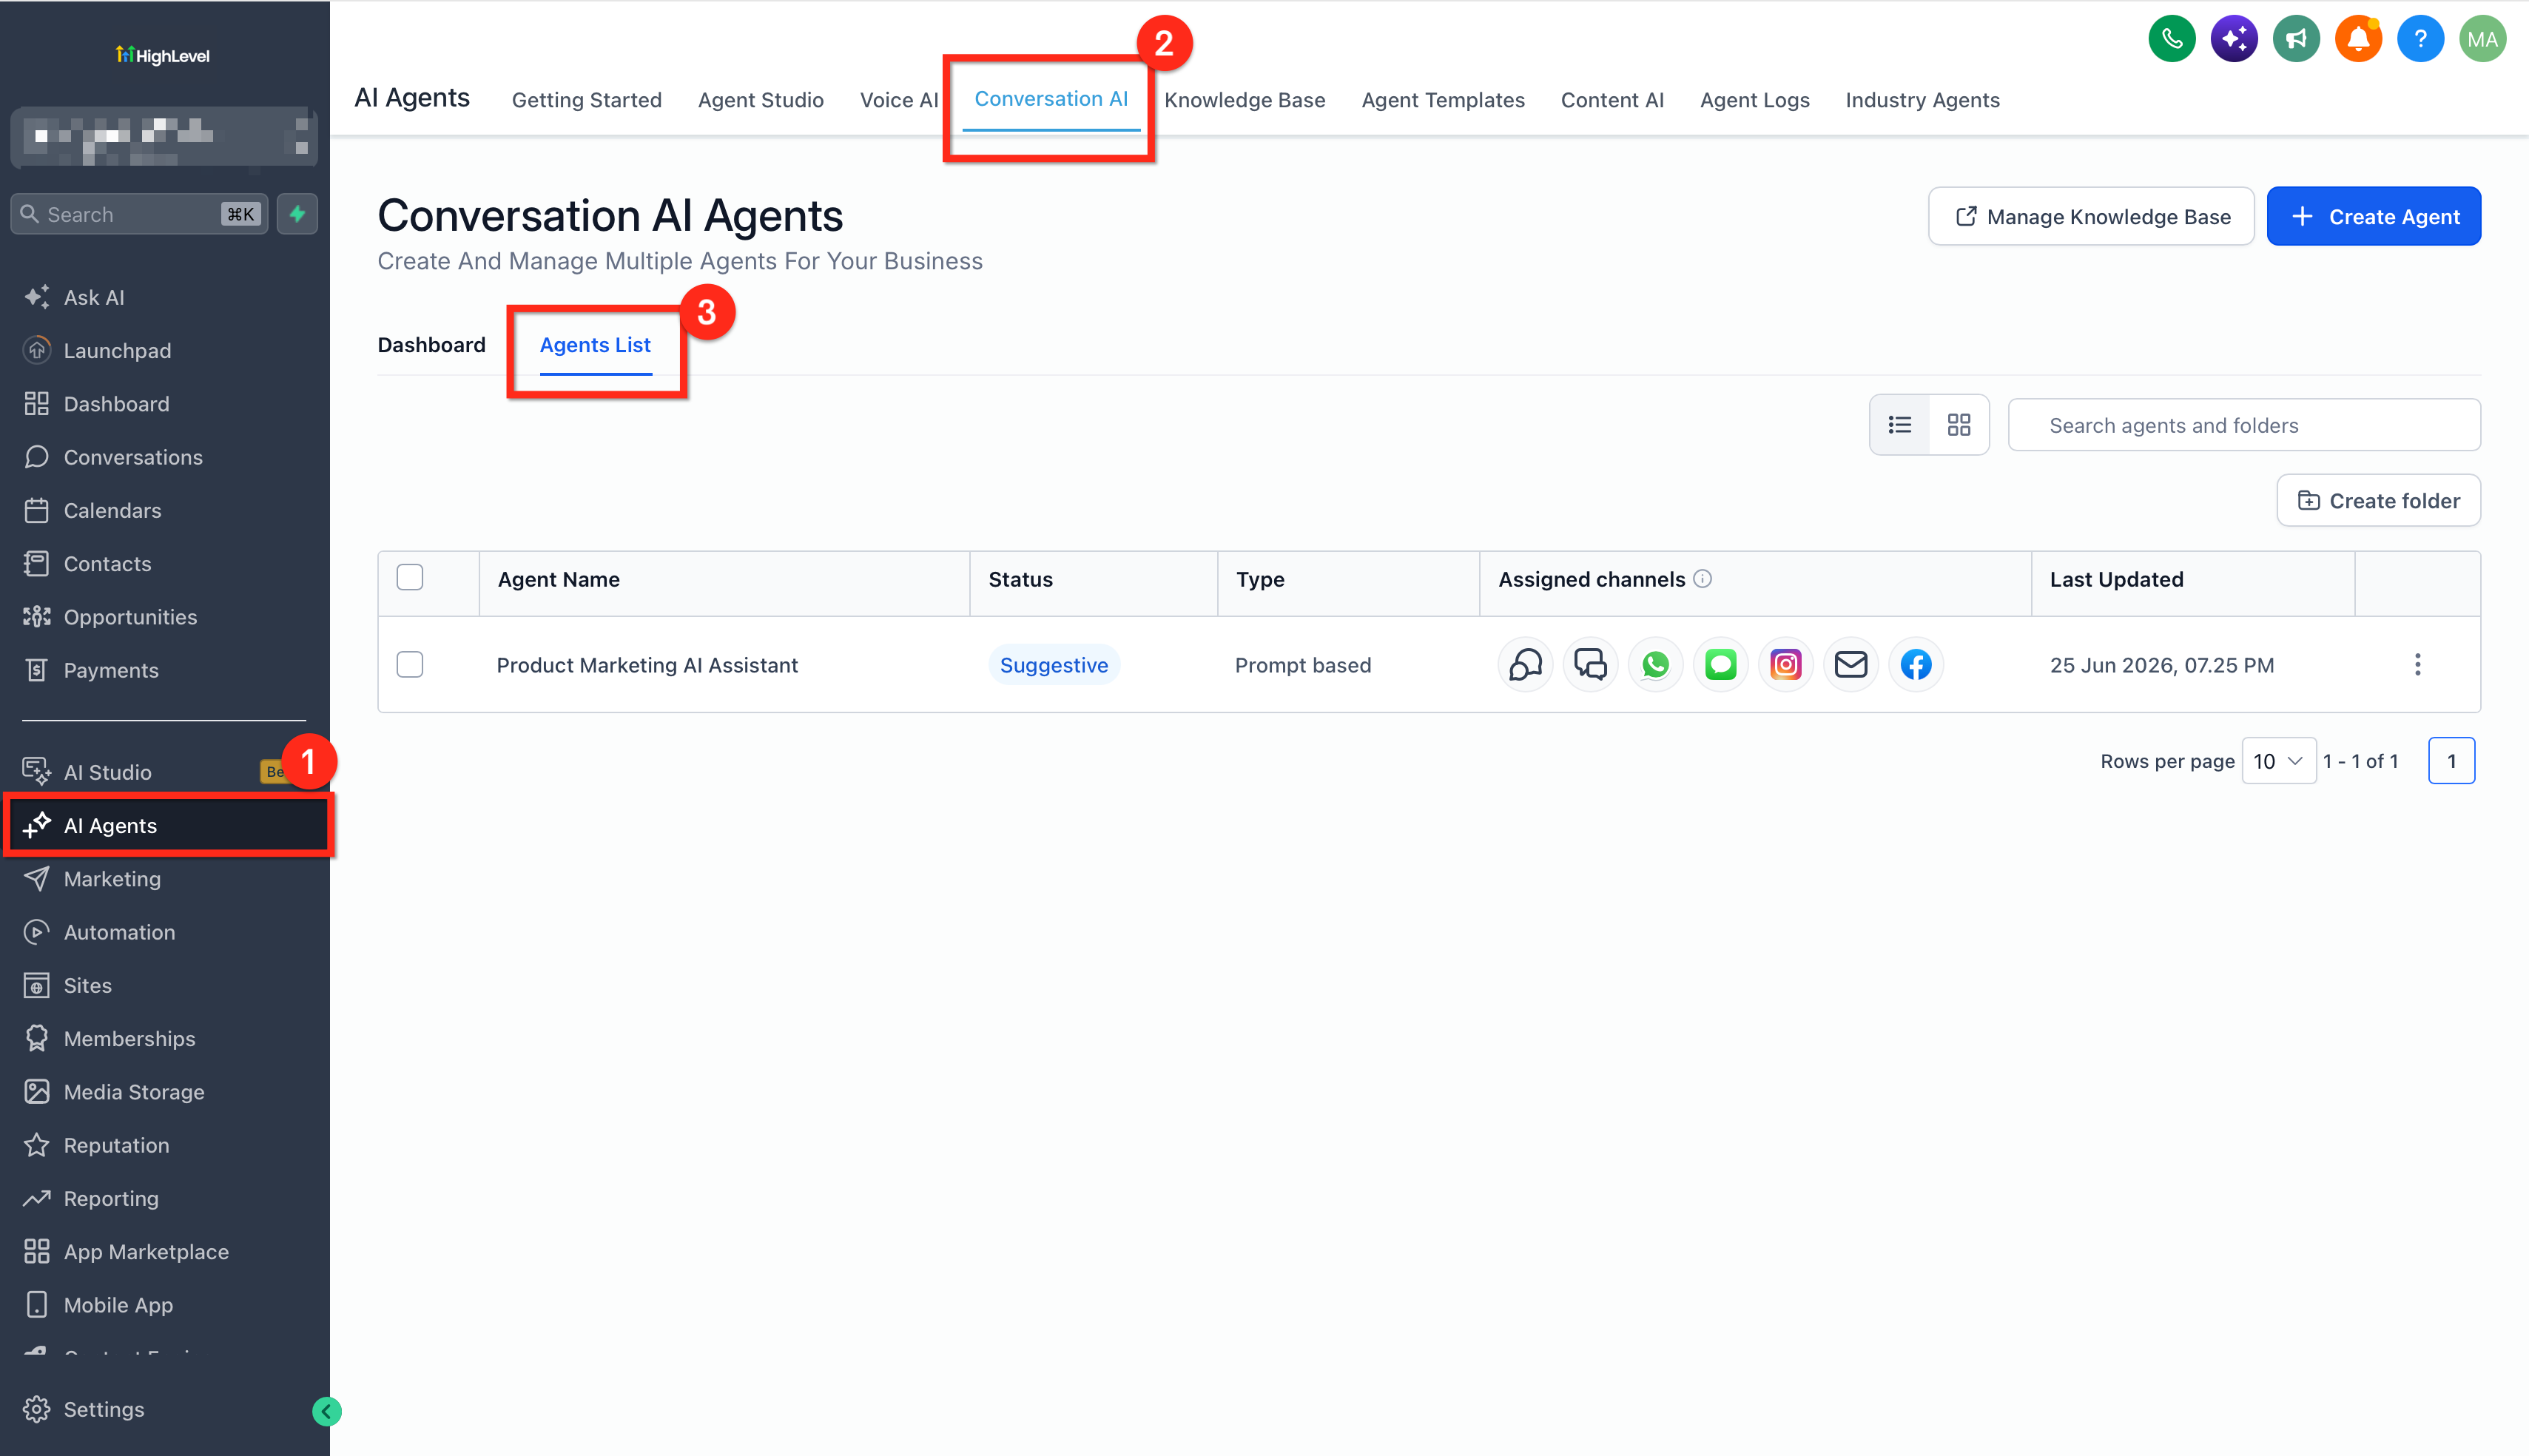
- Open AI Agents > Conversation AI > Agents List.
- Inspect the Deploy settings of the existing bots.
Configure a bot’s deploy settings
- Go to AI Agents > Conversation AI.
- Open the Agents List tab.
- Pick the bot you wish to set up.
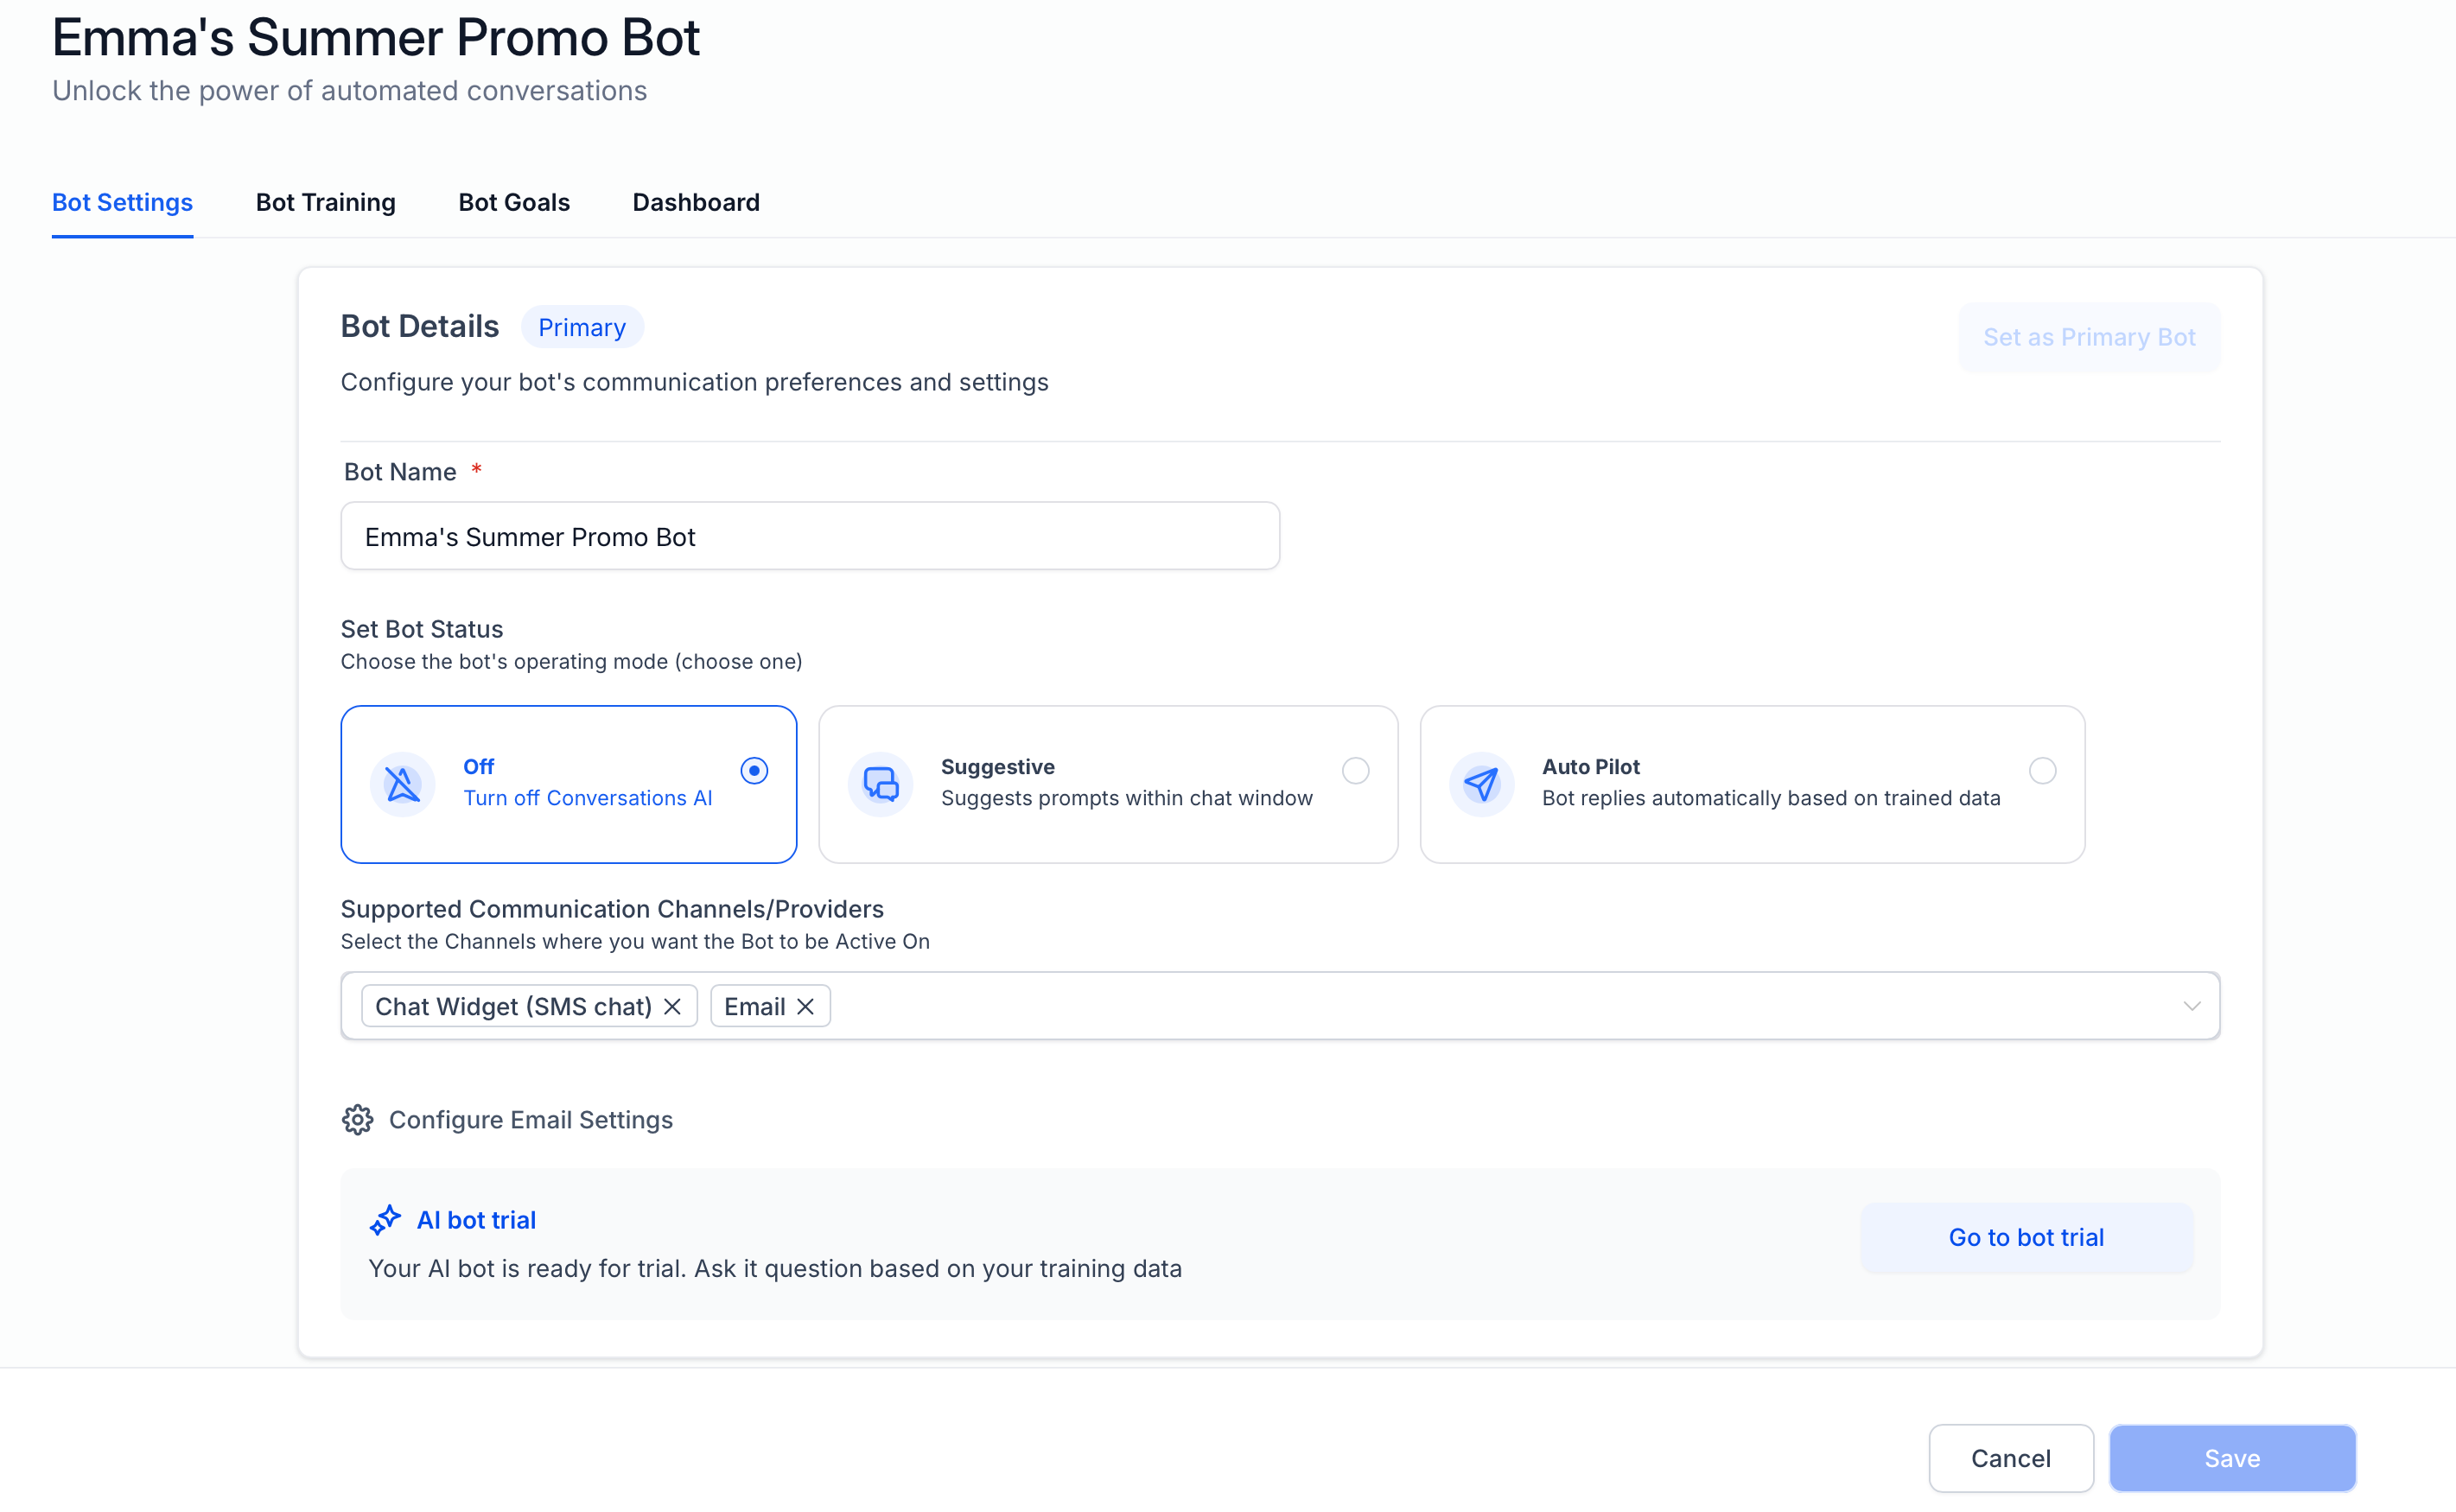
- Click Deploy.
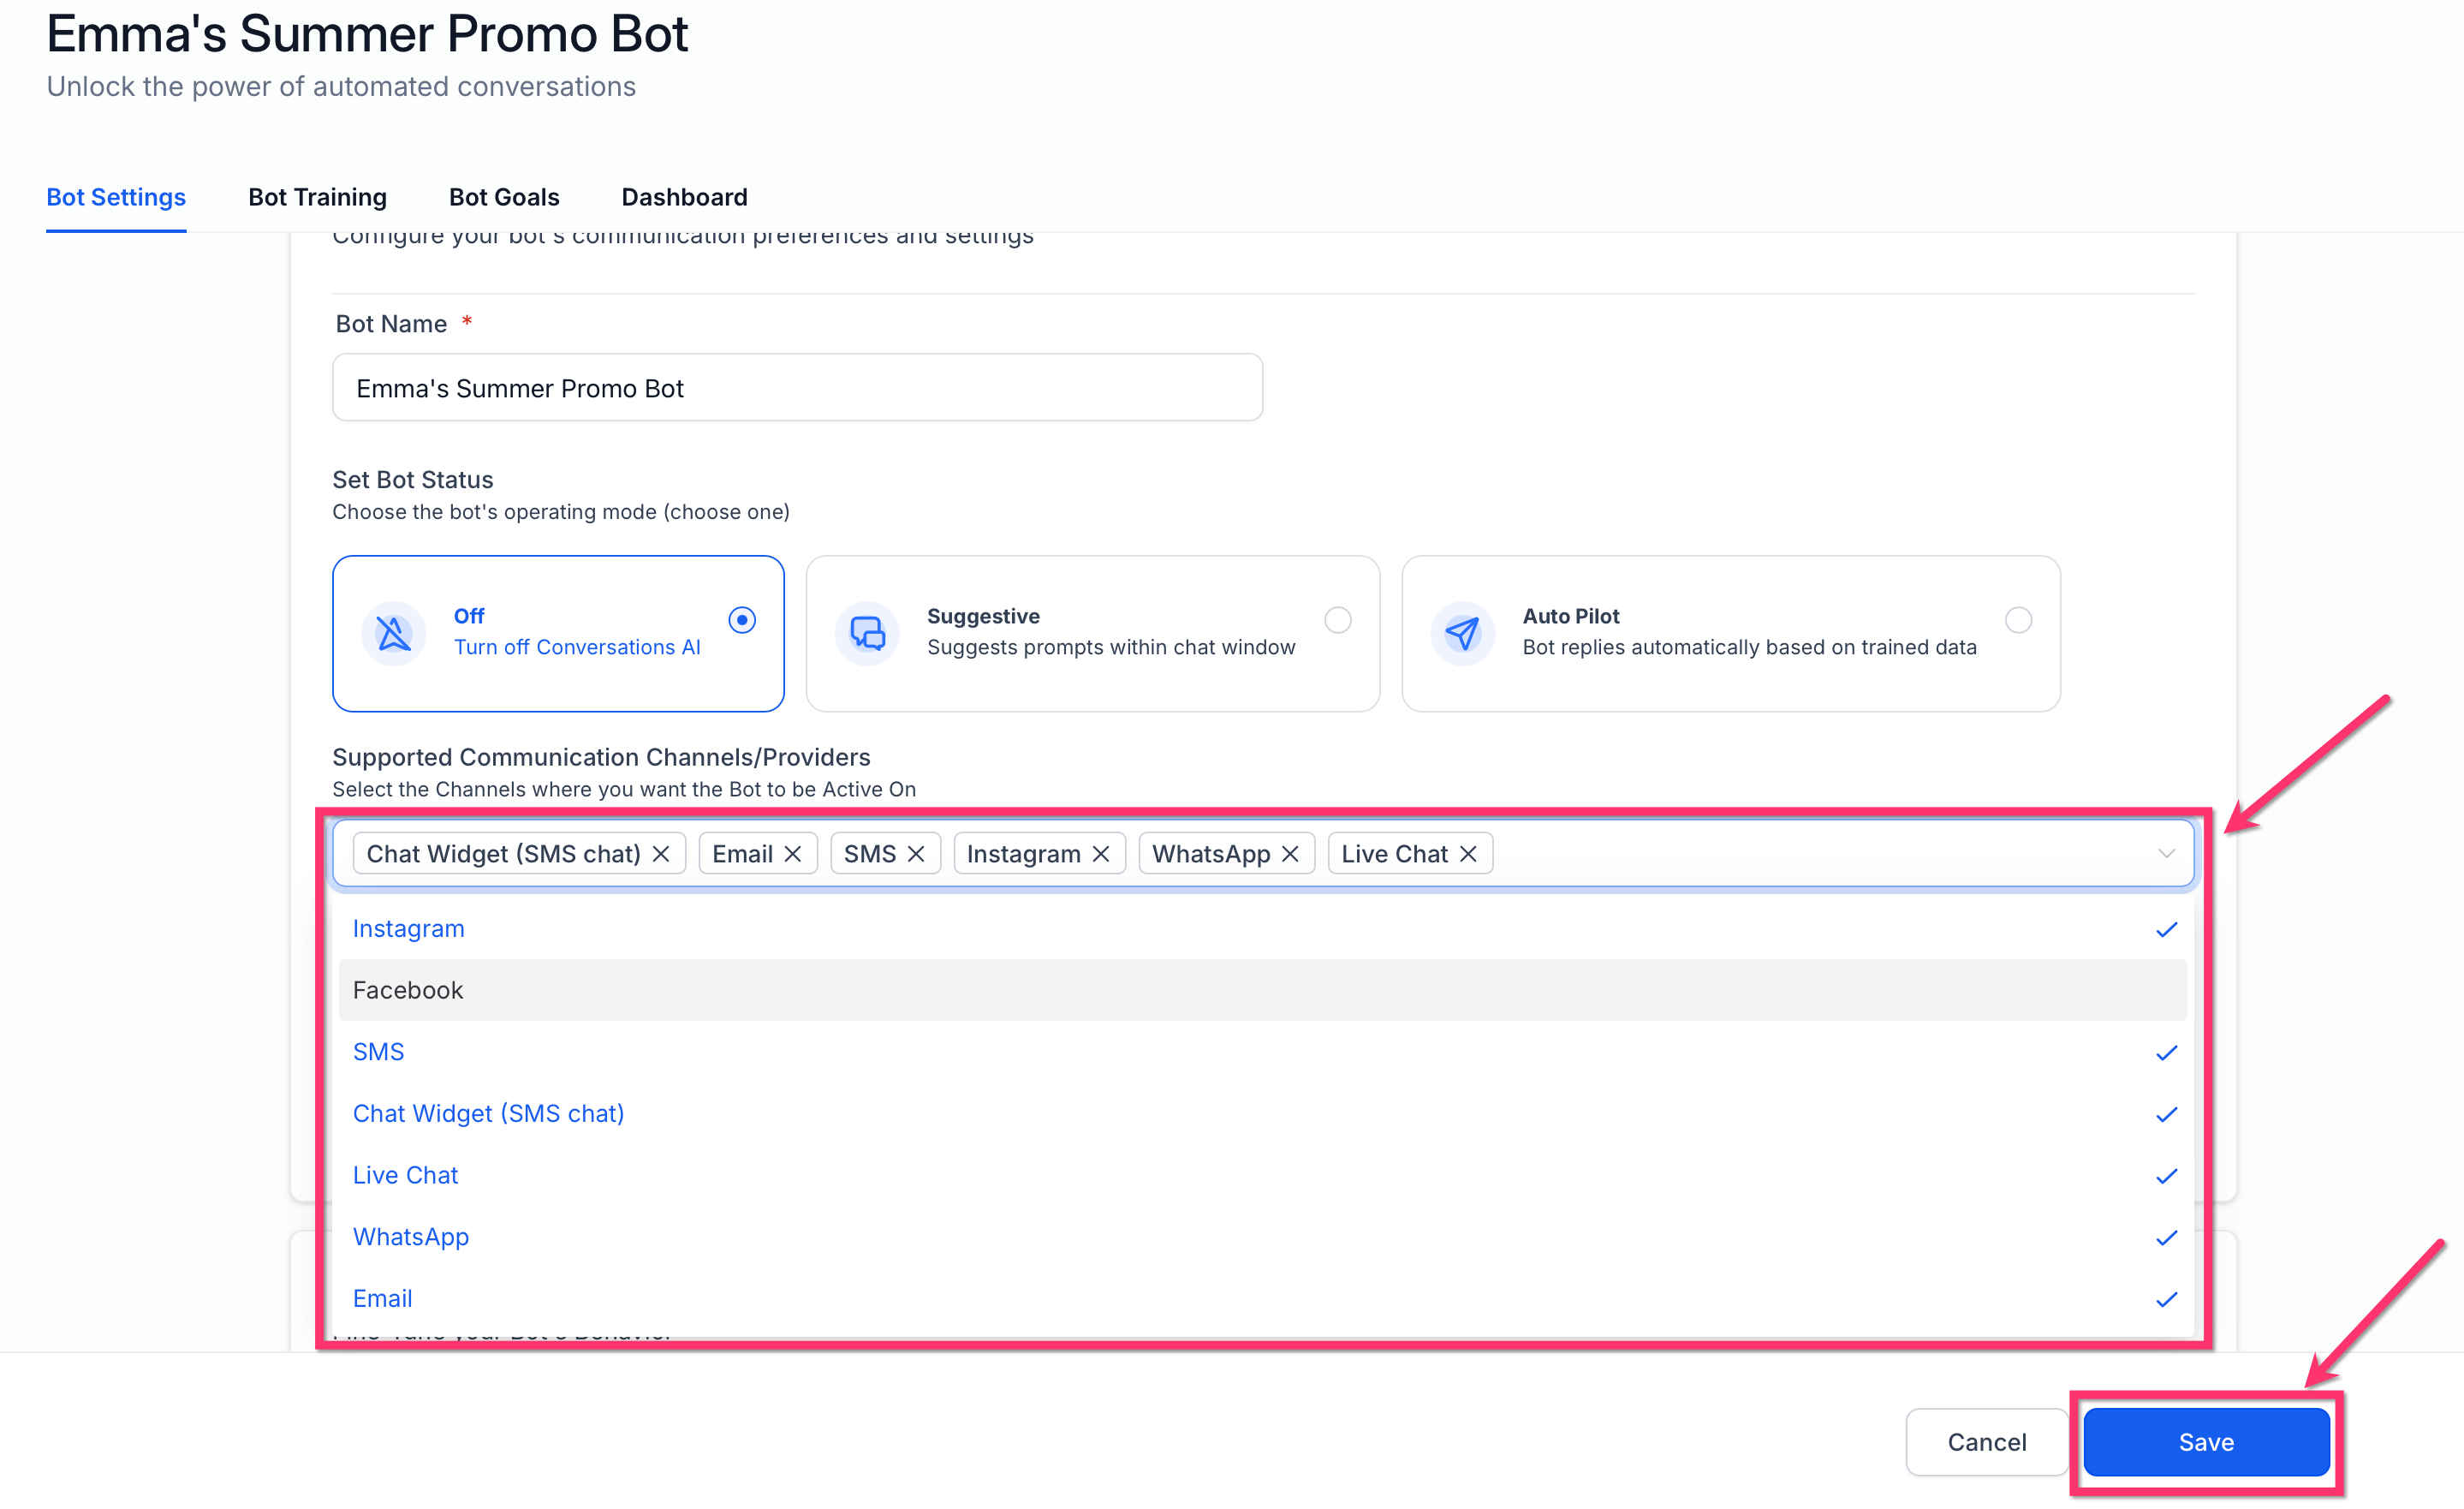
- Switch on the desired channel.
- Press the channel’s edit icon for extra options.
- Activate Assign channel.
- Choose the specific page, phone number, account or widget.
- Add any required Has tags conditions.
- Add any required Doesn’t have tags conditions.
- Select AND or OR for the tag logic.
- Click Update.
- Click Save to store the deployment settings.
- Repeat these actions for any additional channels.
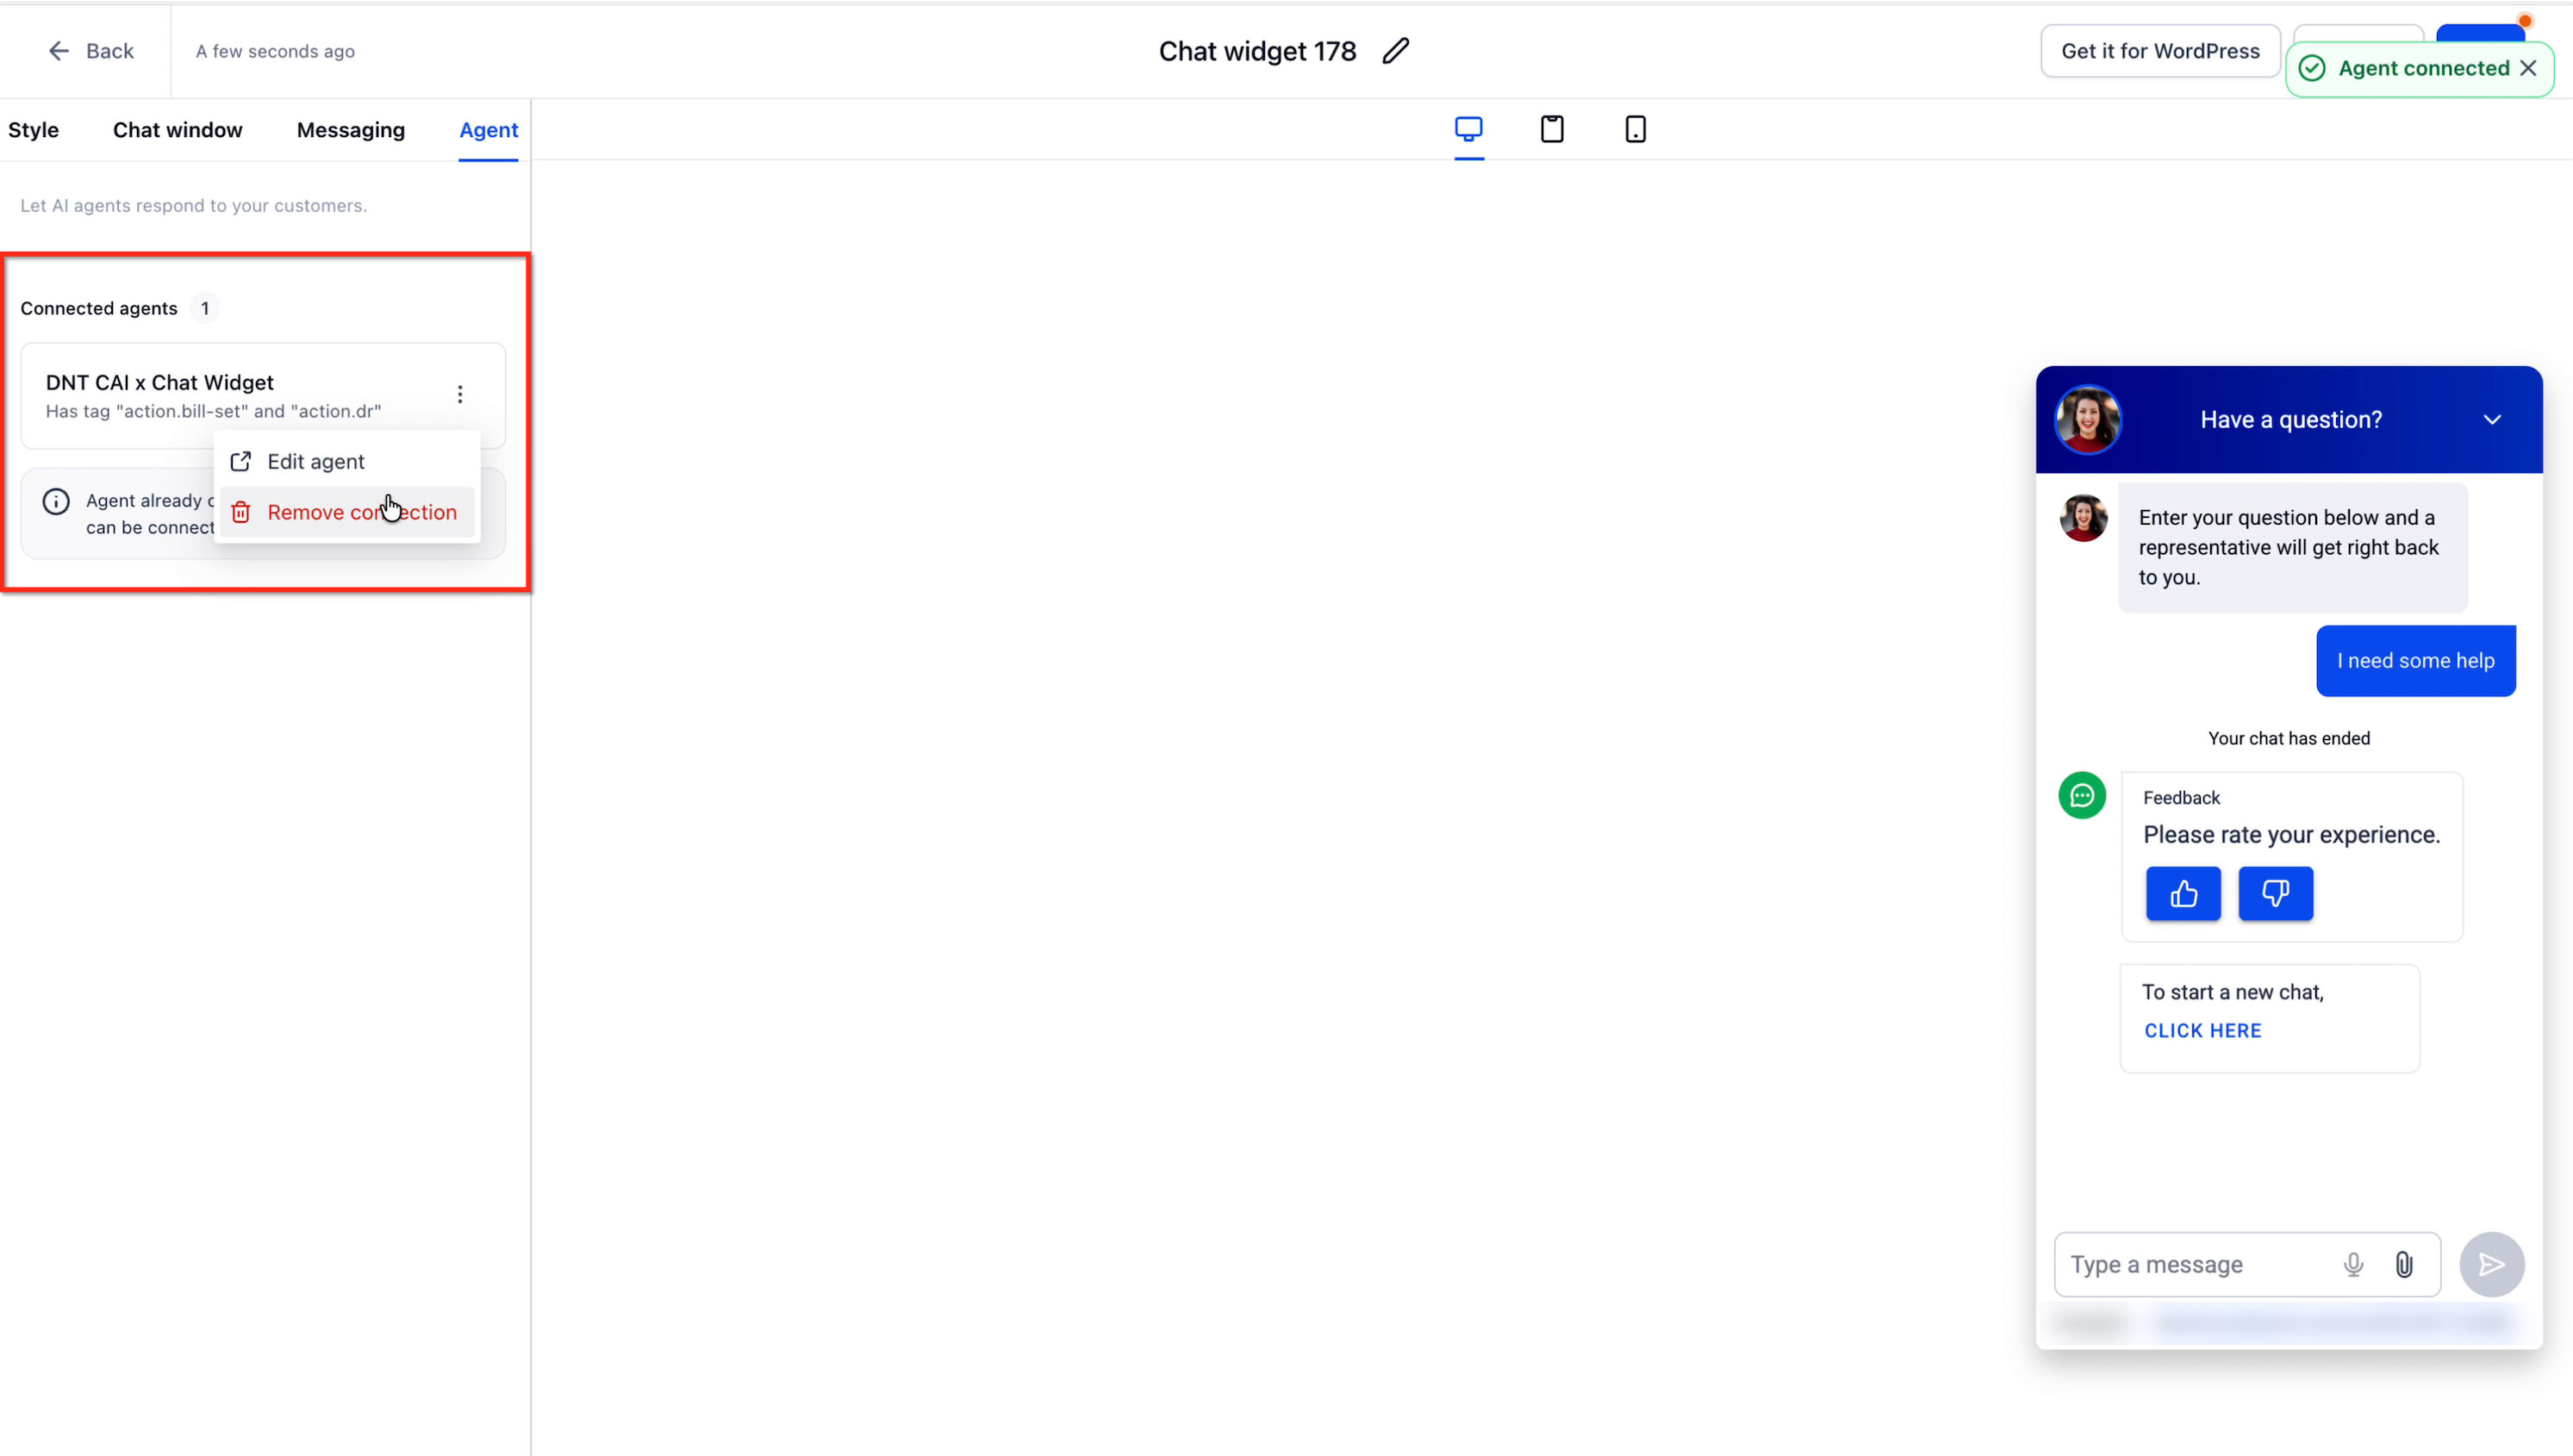
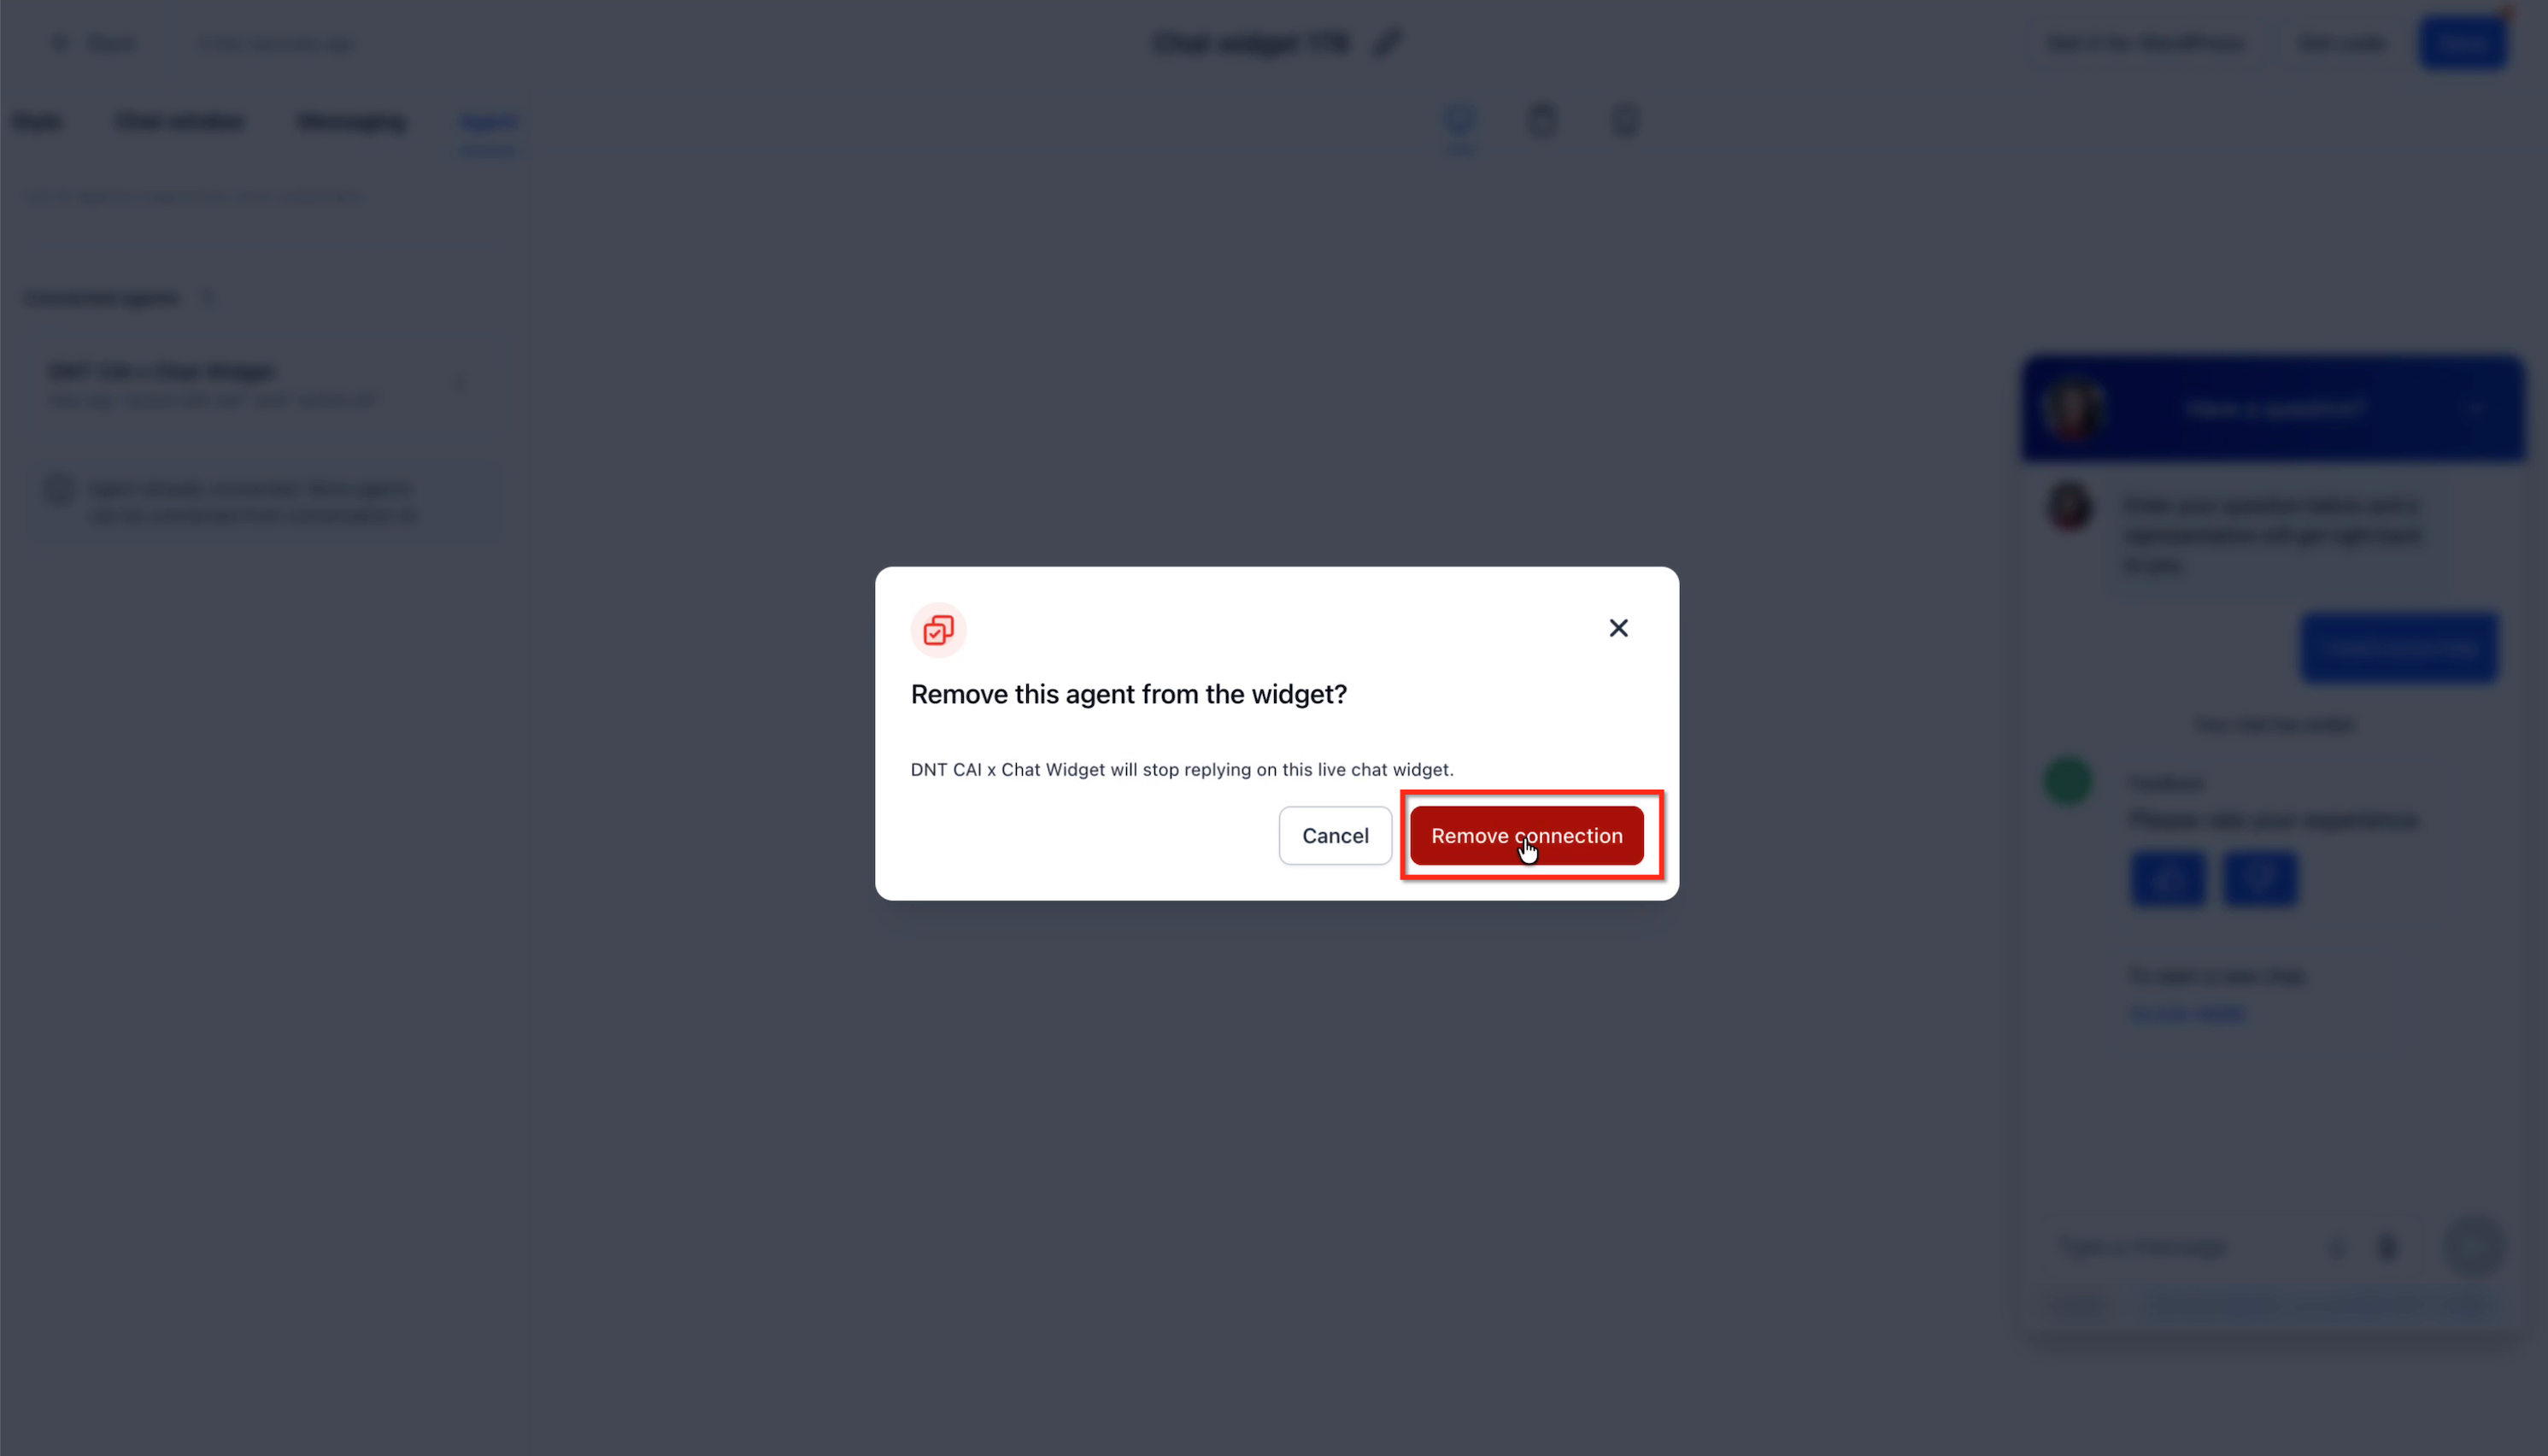
Connect a bot to a website chat widget
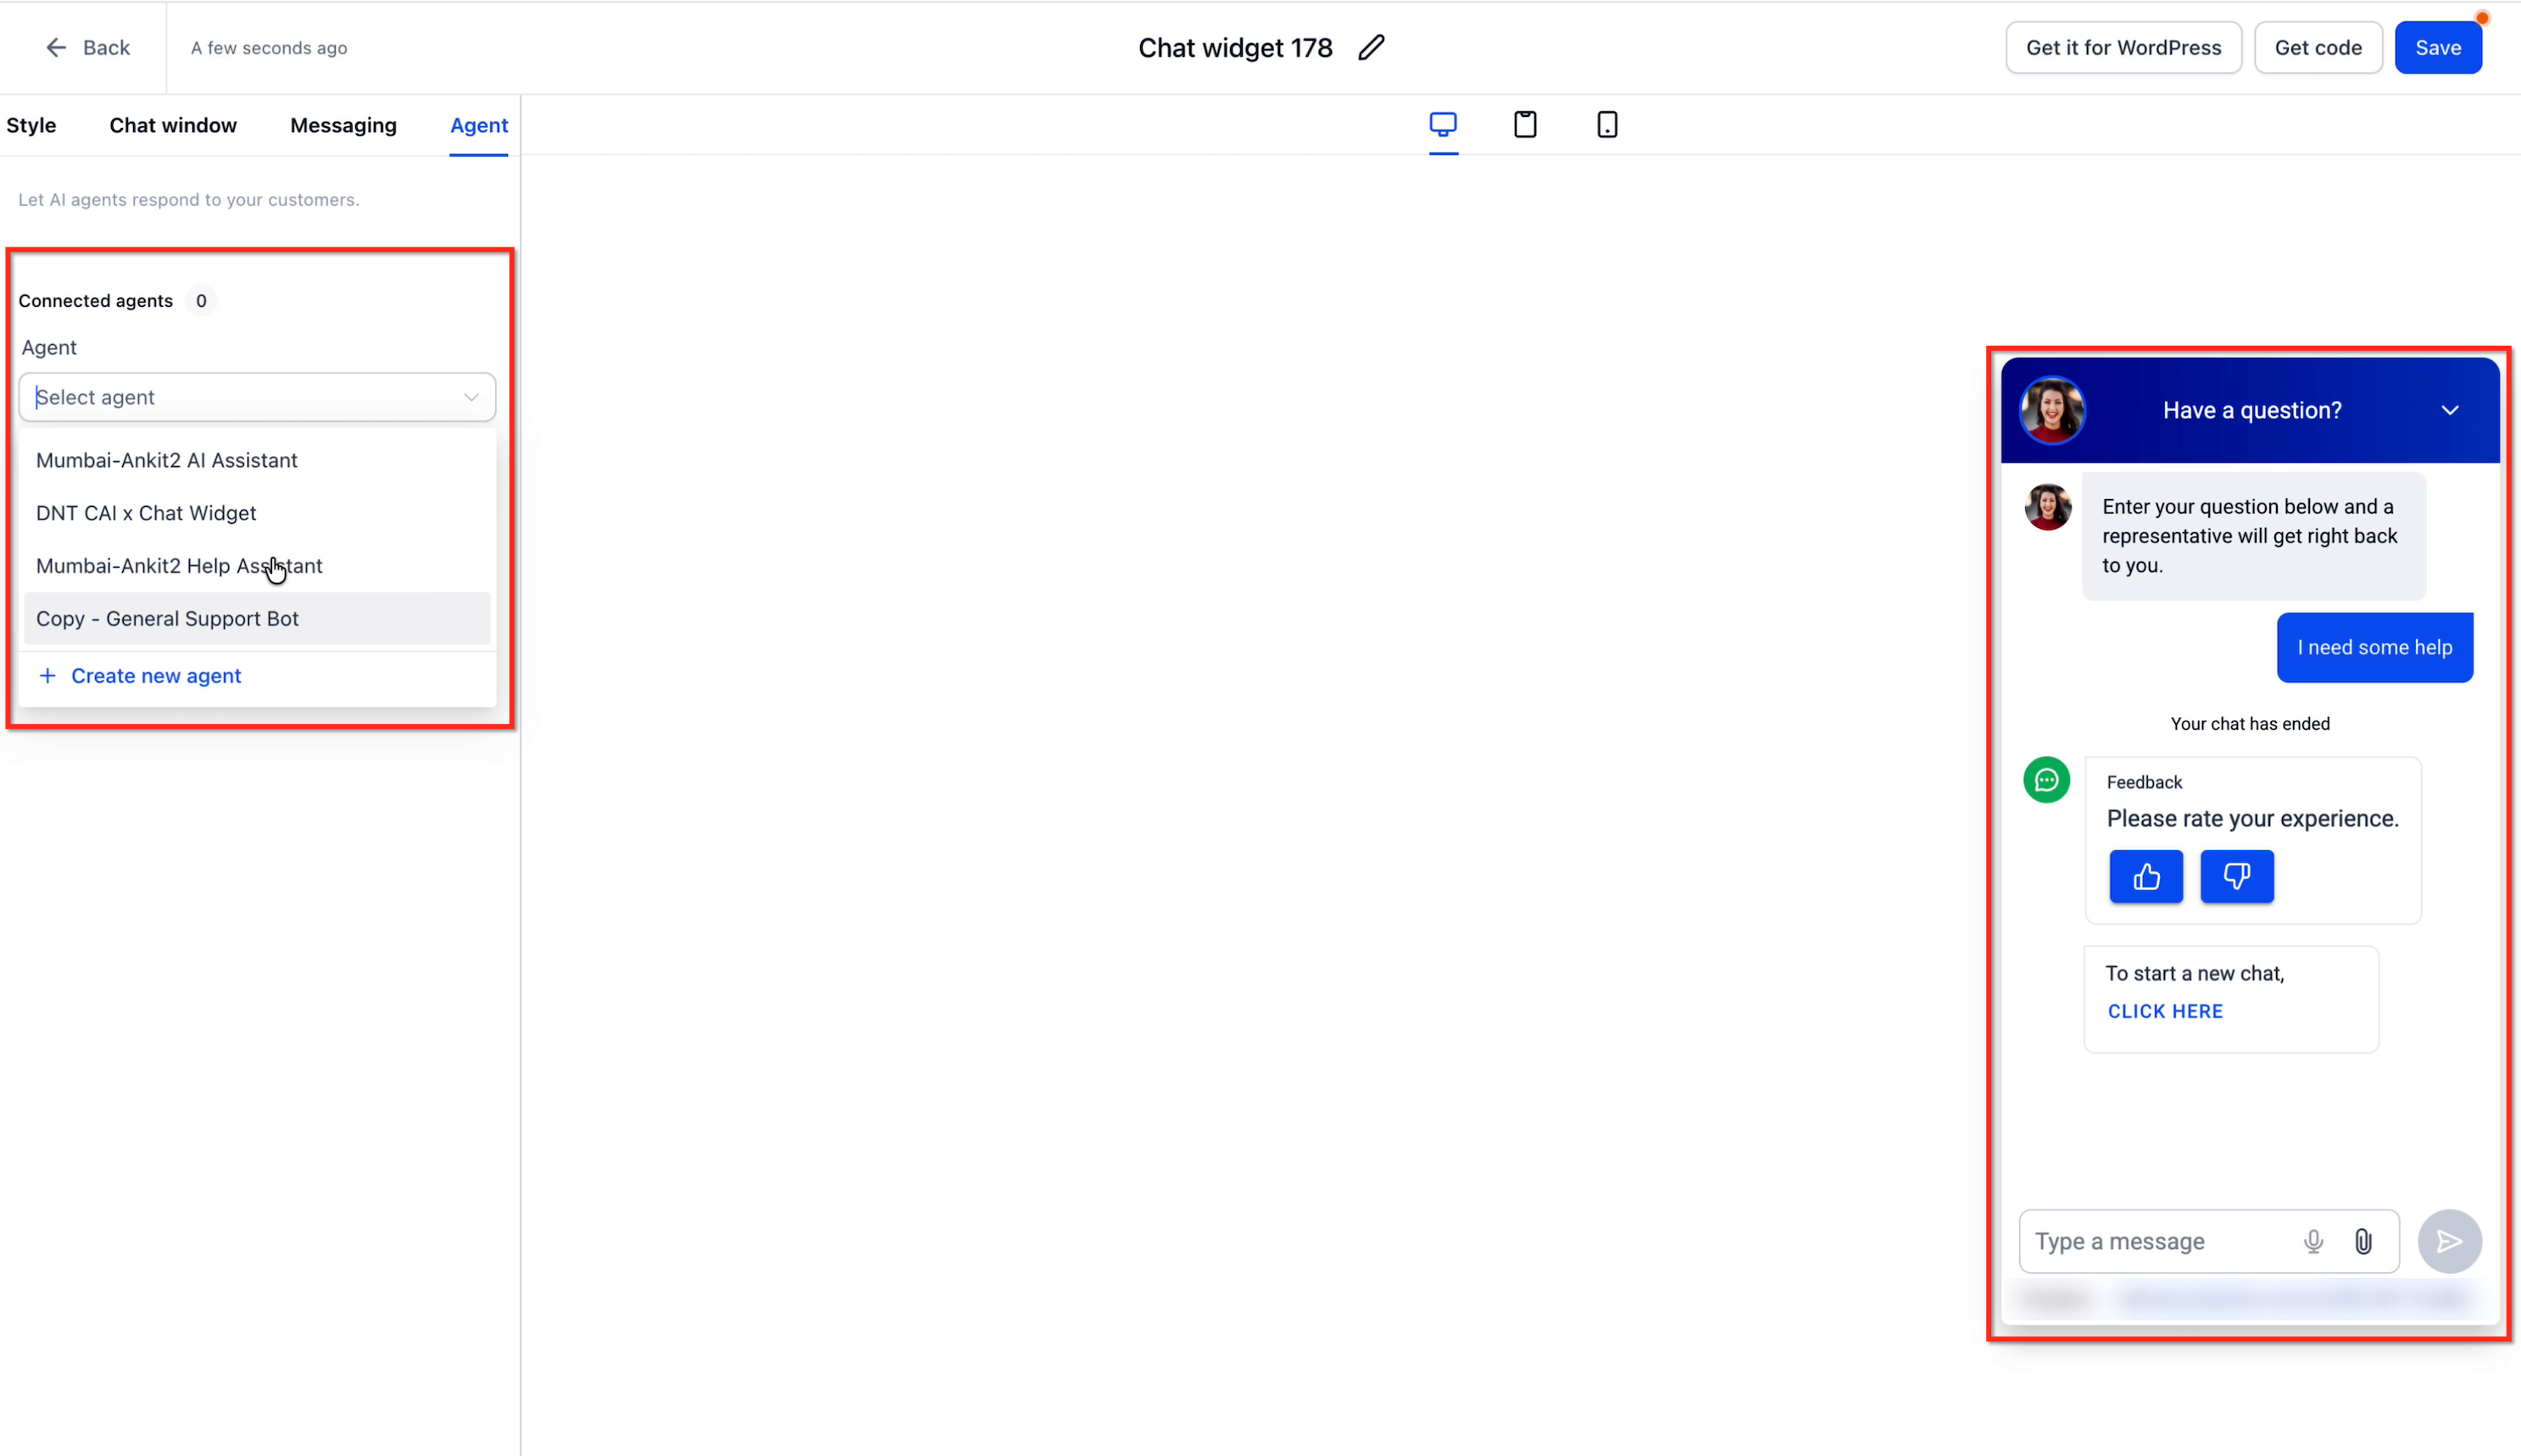
- From the Subaccount view, go to Sites > Chat Widget.
- Open the Live Chat or All in One widget you want to edit.
- Select the Agent tab.
- If using an All in One widget, expand the Conversation AI section.
- Under Agent, pick the Conversation AI bot you want to link.
- Review the Has tags and Doesn’t have tags displayed.
- Click Save.
Verify which bot responded
- Open a contact that carries the tag expected for the test bot.
- Send a message through the channel you configured.
- Look at the Conversation AI Bot panel to see which bot is assigned.
- Open the AI Response Info for the generated reply.
- Confirm that the bot name shown matches the bot you intended to use.
07What it looks like in HighLevel
08Settings that matter
- Assign channel. Specifies the exact page, phone number, account or widget that the bot may use on the selected messaging channel.
- Has tags. Defines tag conditions a contact must meet for the bot to be eligible on that channel.
- Doesn’t have tags. Defines tag conditions a contact must not have for the bot to be eligible on that channel.
- AND / OR. Sets whether a contact must satisfy all selected tag rules (AND) or any one of them (OR) for the bot to be chosen.
- Channel switch. Enables or disables a specific messaging channel for the bot’s deployment.
09Things to know before you rely on it
- HighLevel blocks identical routing rules, so two bots cannot share the same channel, destination and tag combination.
- Only one Conversation AI agent can be linked directly from the Chat Widget builder; additional agents must be managed via AI Agents > Conversation AI.
- The feature is currently available as an optional Labs setting and may move to default availability later.
10If something goes wrong
- Cannot save a channel configuration. Another bot already uses the same channel, destination and tag set. Modify the destination or tag conditions to create a unique rule.
- Bot does not respond to a message. Check that the contact’s tags satisfy the bot’s Has tags and Doesn’t have tags conditions, and verify the channel and destination are enabled for that bot.
11How it connects to the rest of HighLevel
- Set up a chat widget on your site to use with Conversation AI Chat widget setup
- Customize chat widget appearance and add a video avatar Widget customization
- Manage AI Employee access, rebilling and reselling options AI Employee access
Michael's take

Businesses that run multiple AI bots often end up fighting over the same inbox or widget, causing missed messages and confusing customers. The first thing I would get right is the channel assignment on each bot’s Deploy tab, making sure every bot has a unique combination of channel, destination and tag rule.
Once the basic assignments are solid, I would test a few contacts with the appropriate tags to verify the routing works as expected.