
01Prospecting widgets, explained
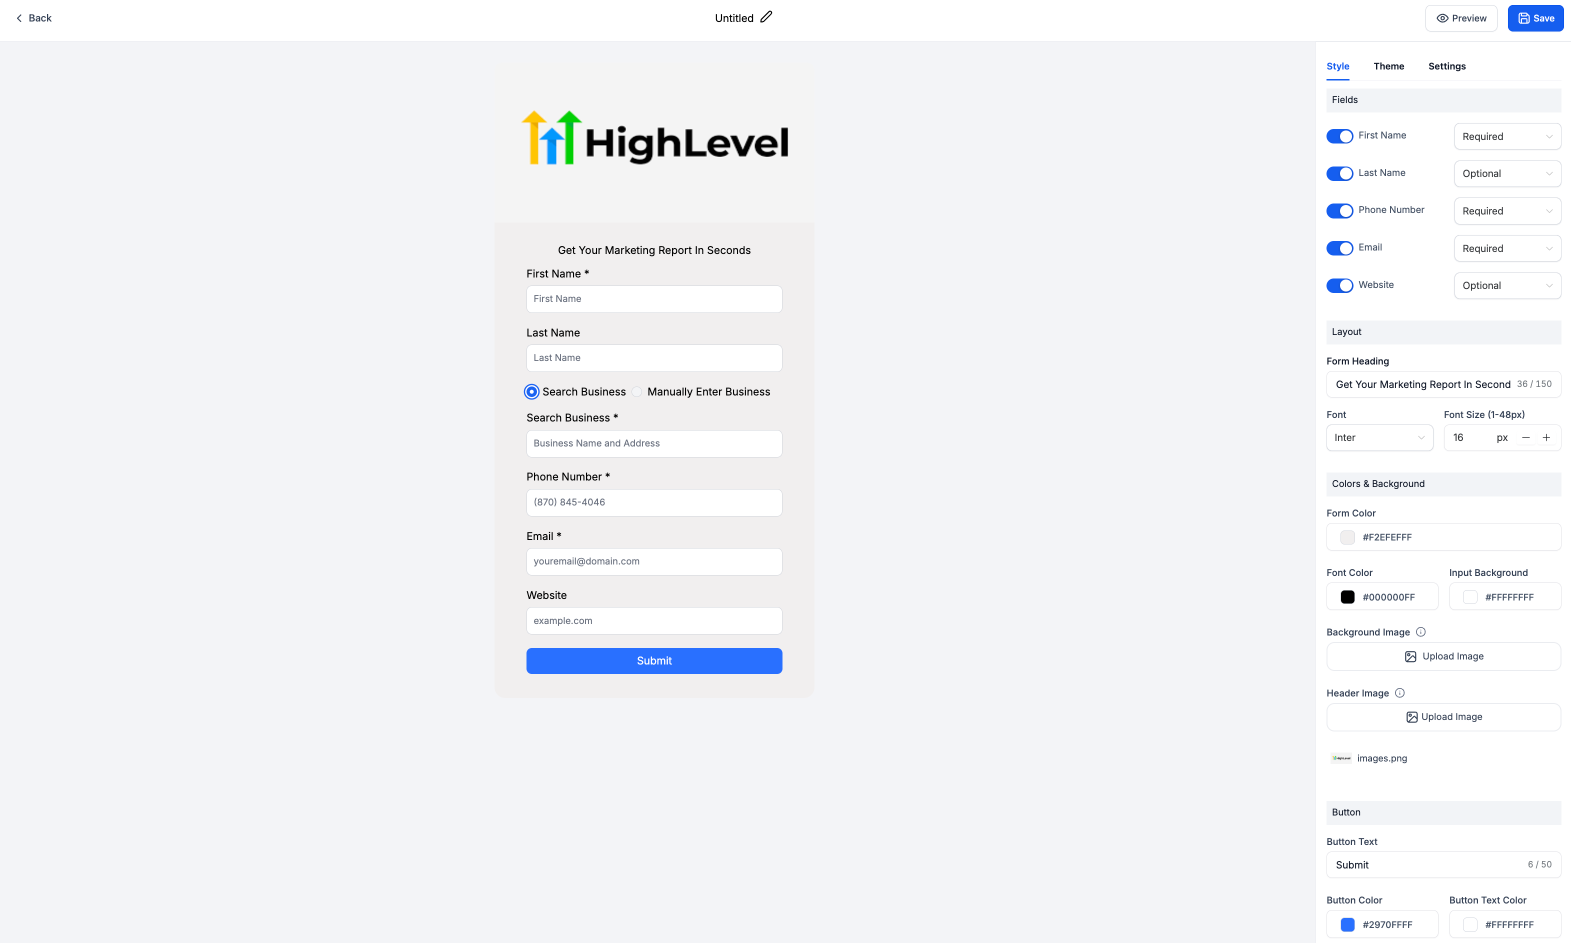
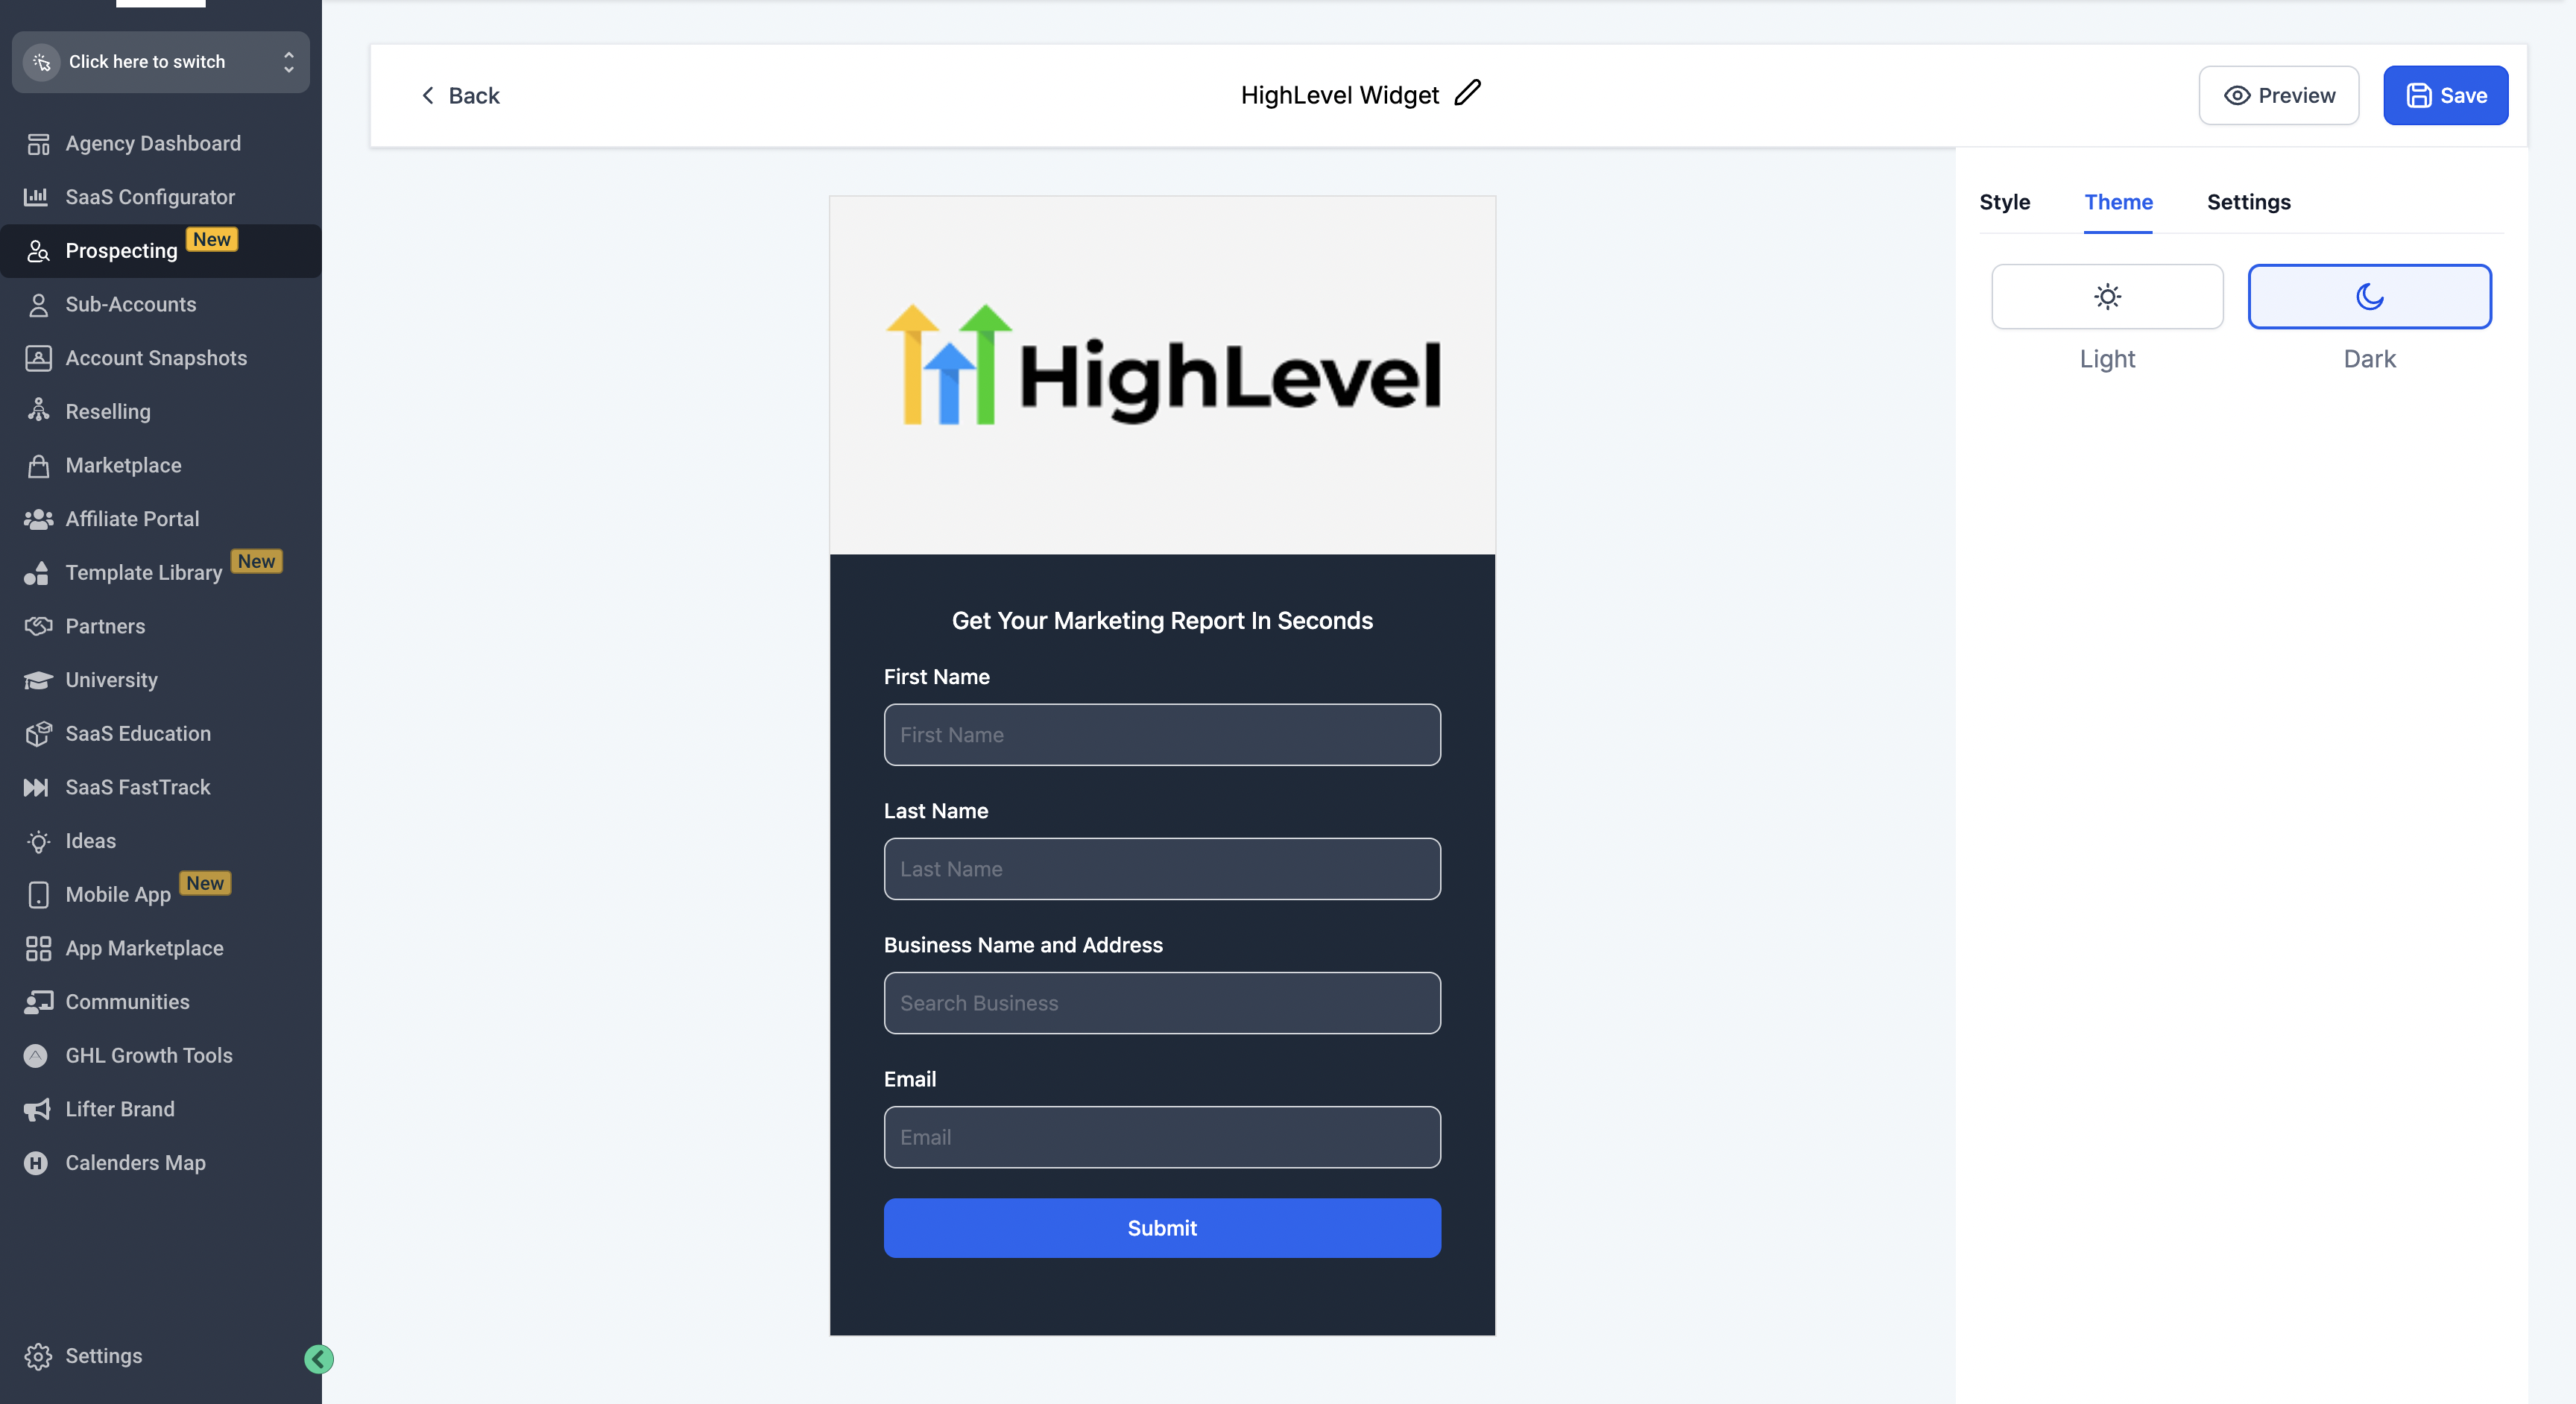
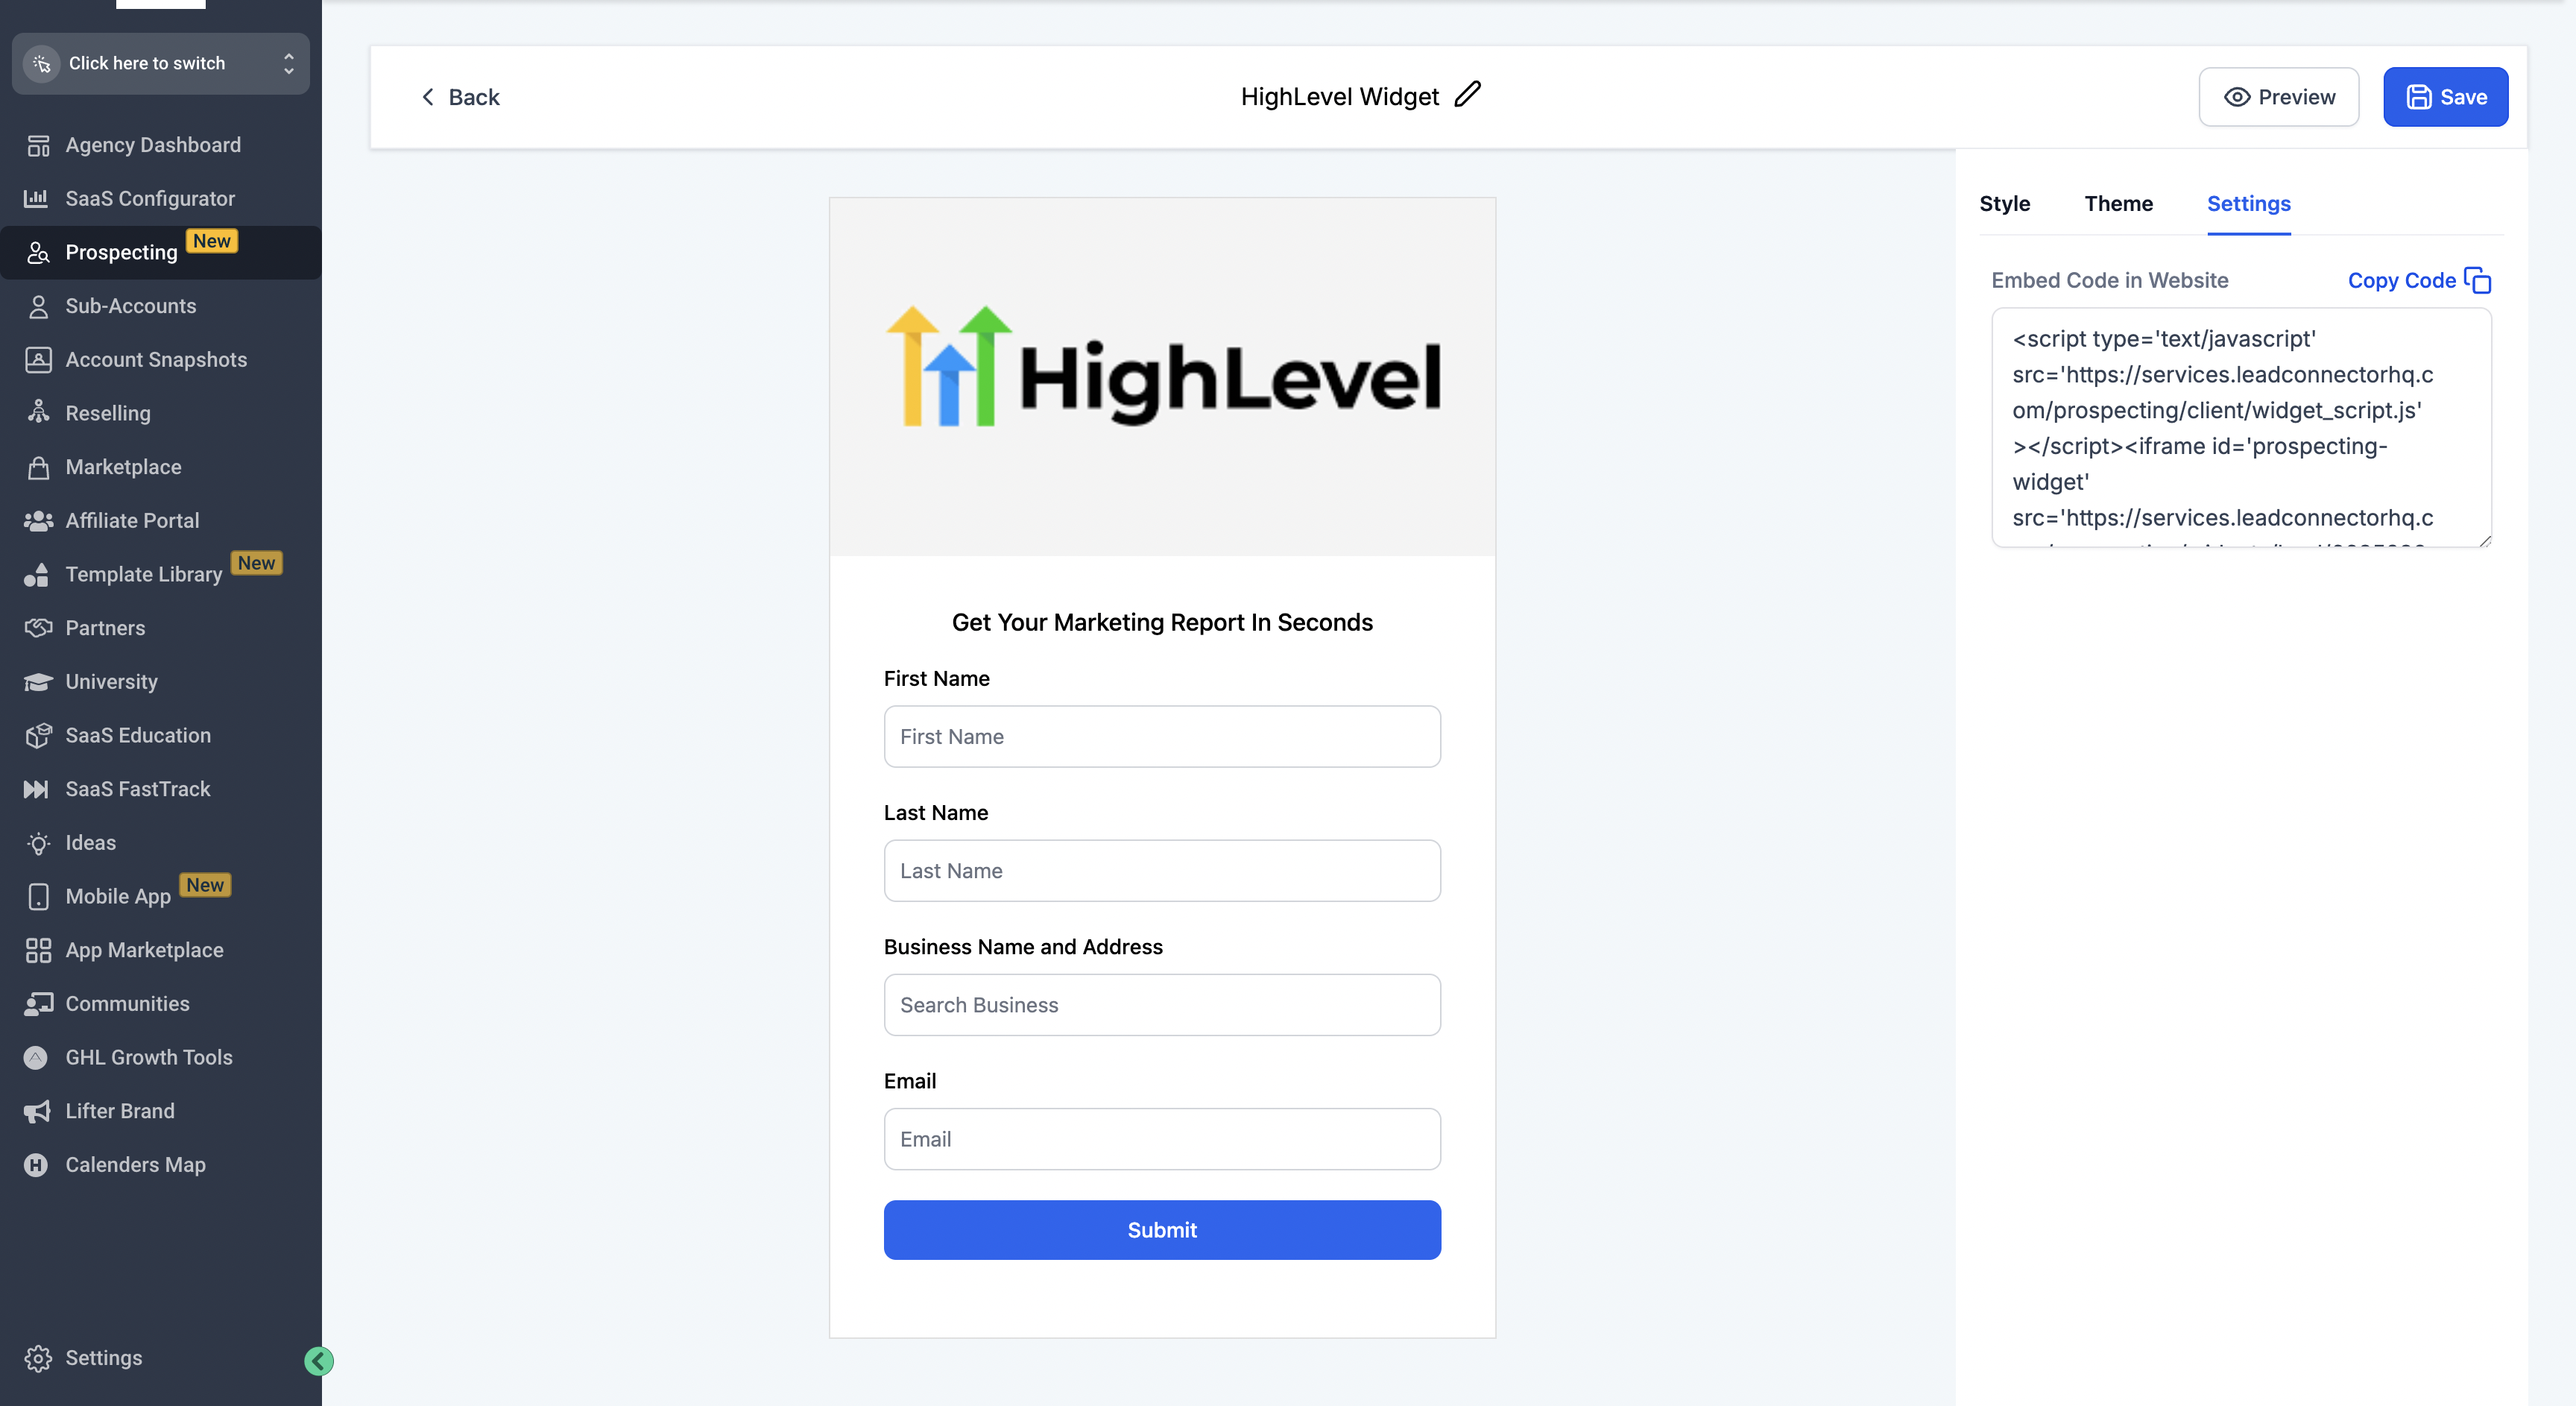
Prospecting widgets are lead capture forms that live on a website. They are built inside the Prospecting dashboard and can be fully branded with colors, fonts, images and a Light or Dark theme. The widget can show or hide any input fields, make them optional or required, and even let a visitor type a business name that does not appear in Google.
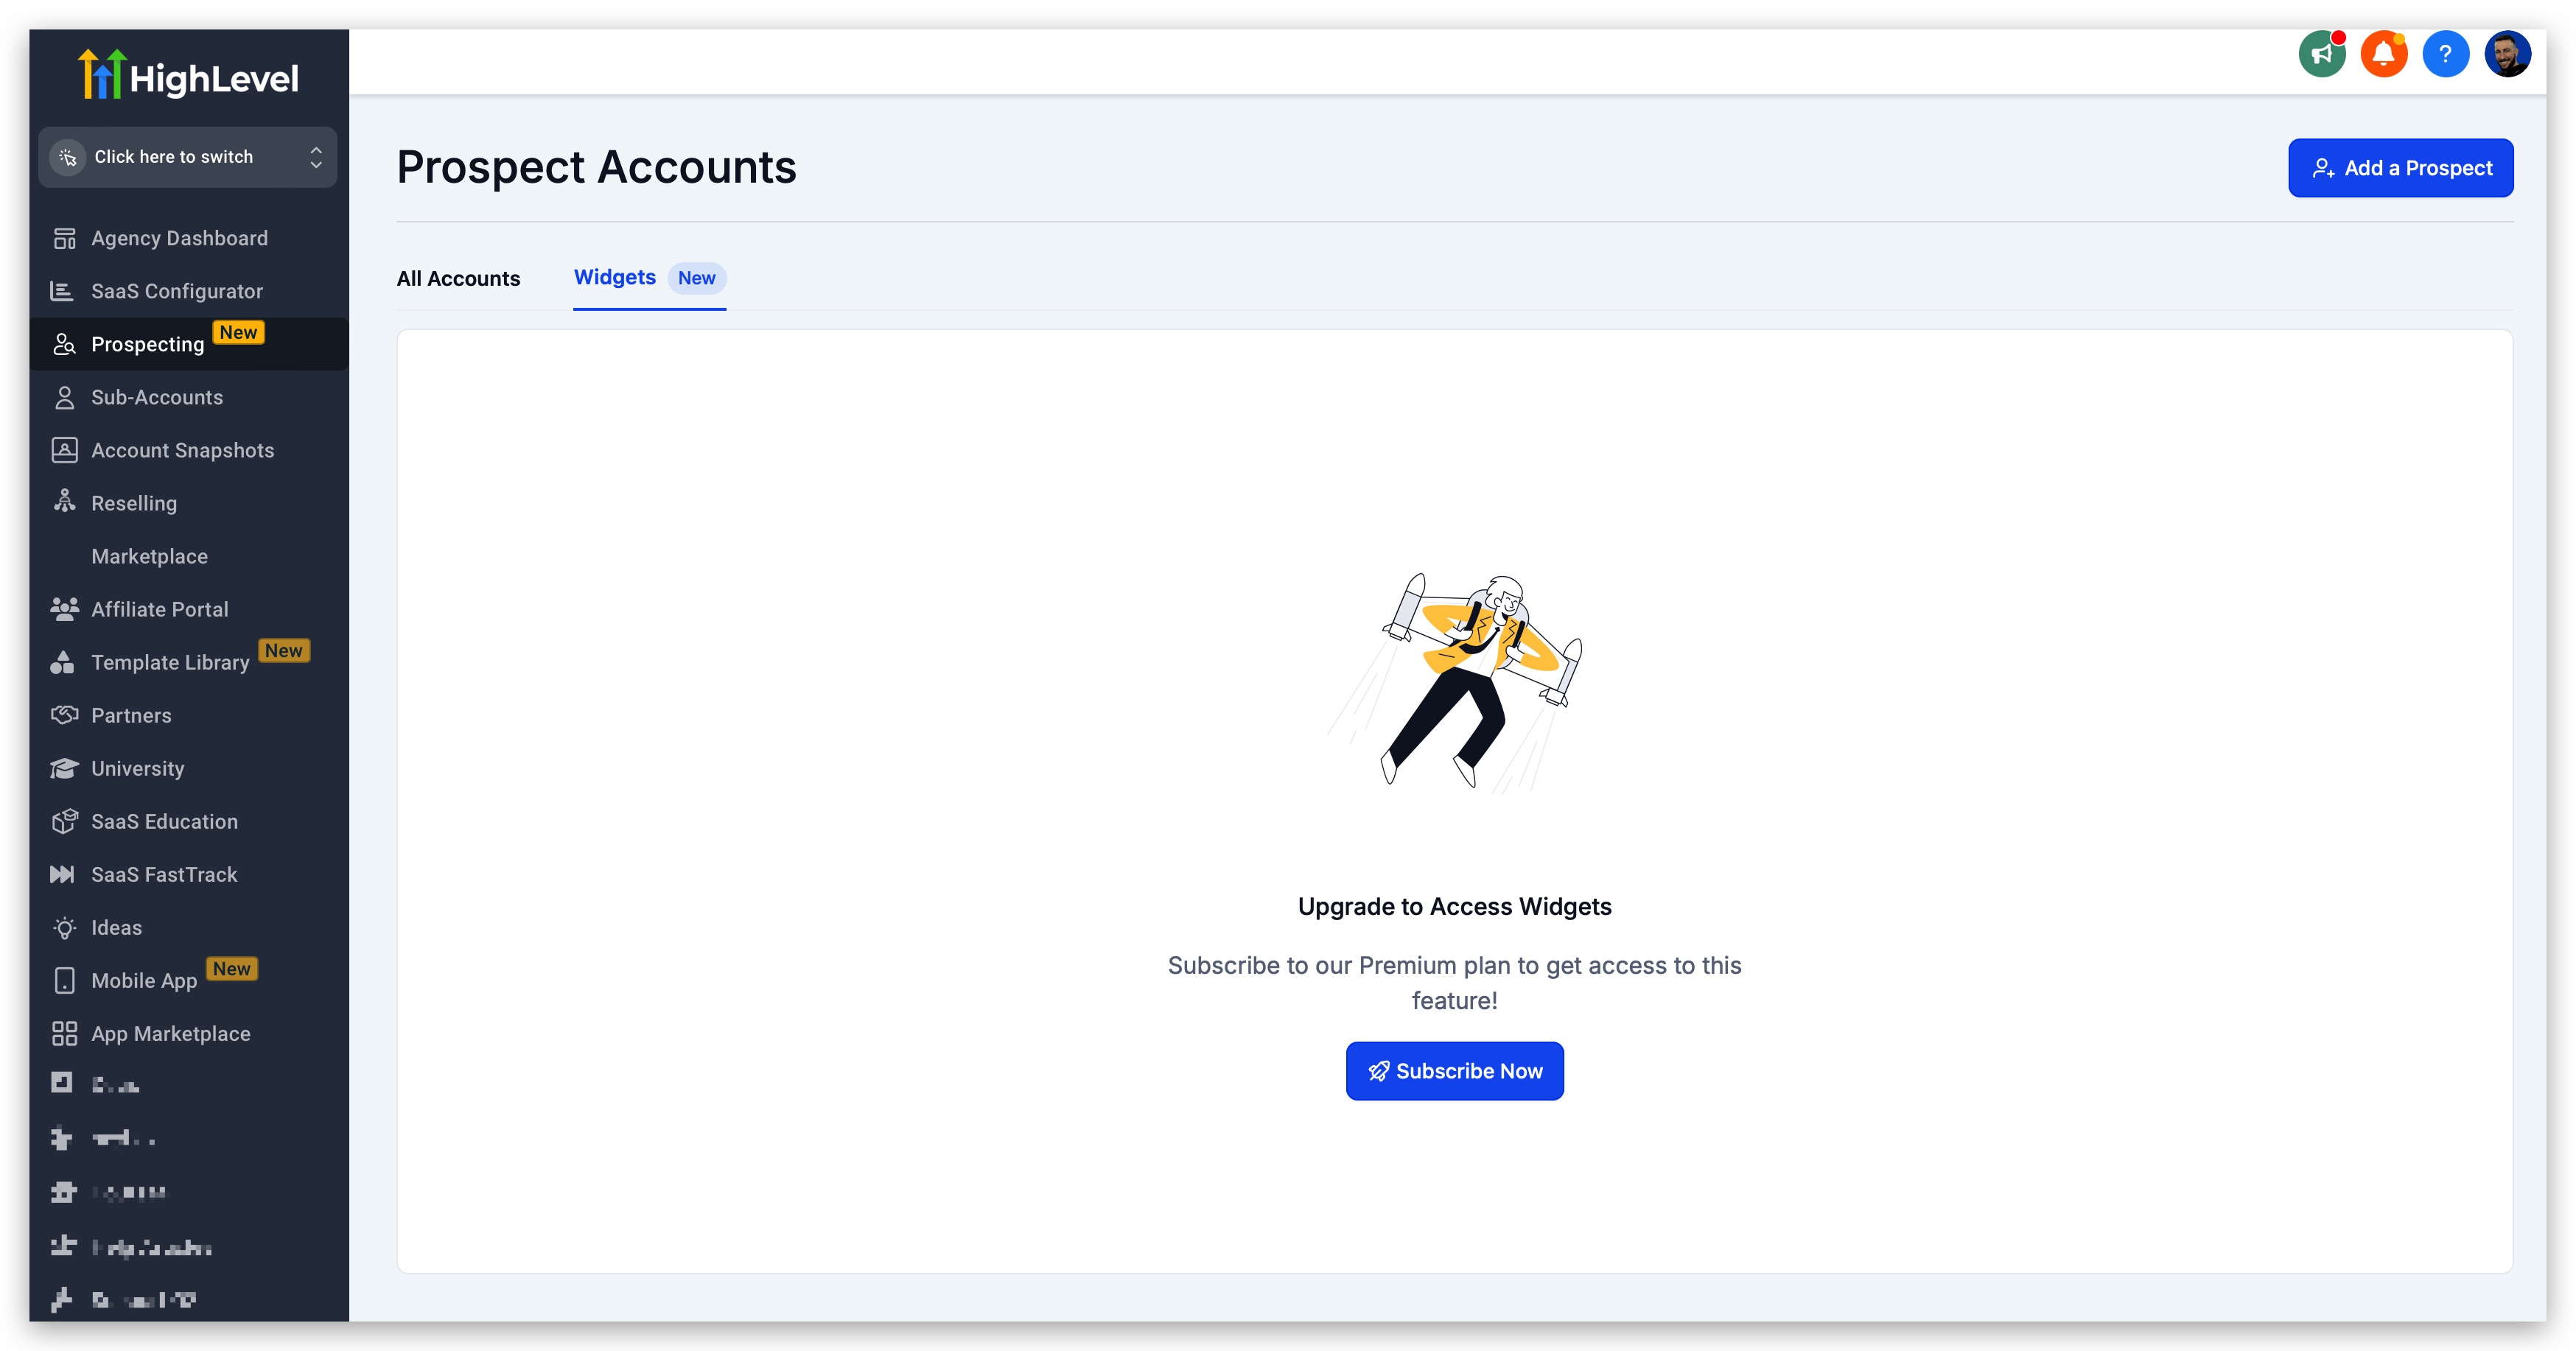
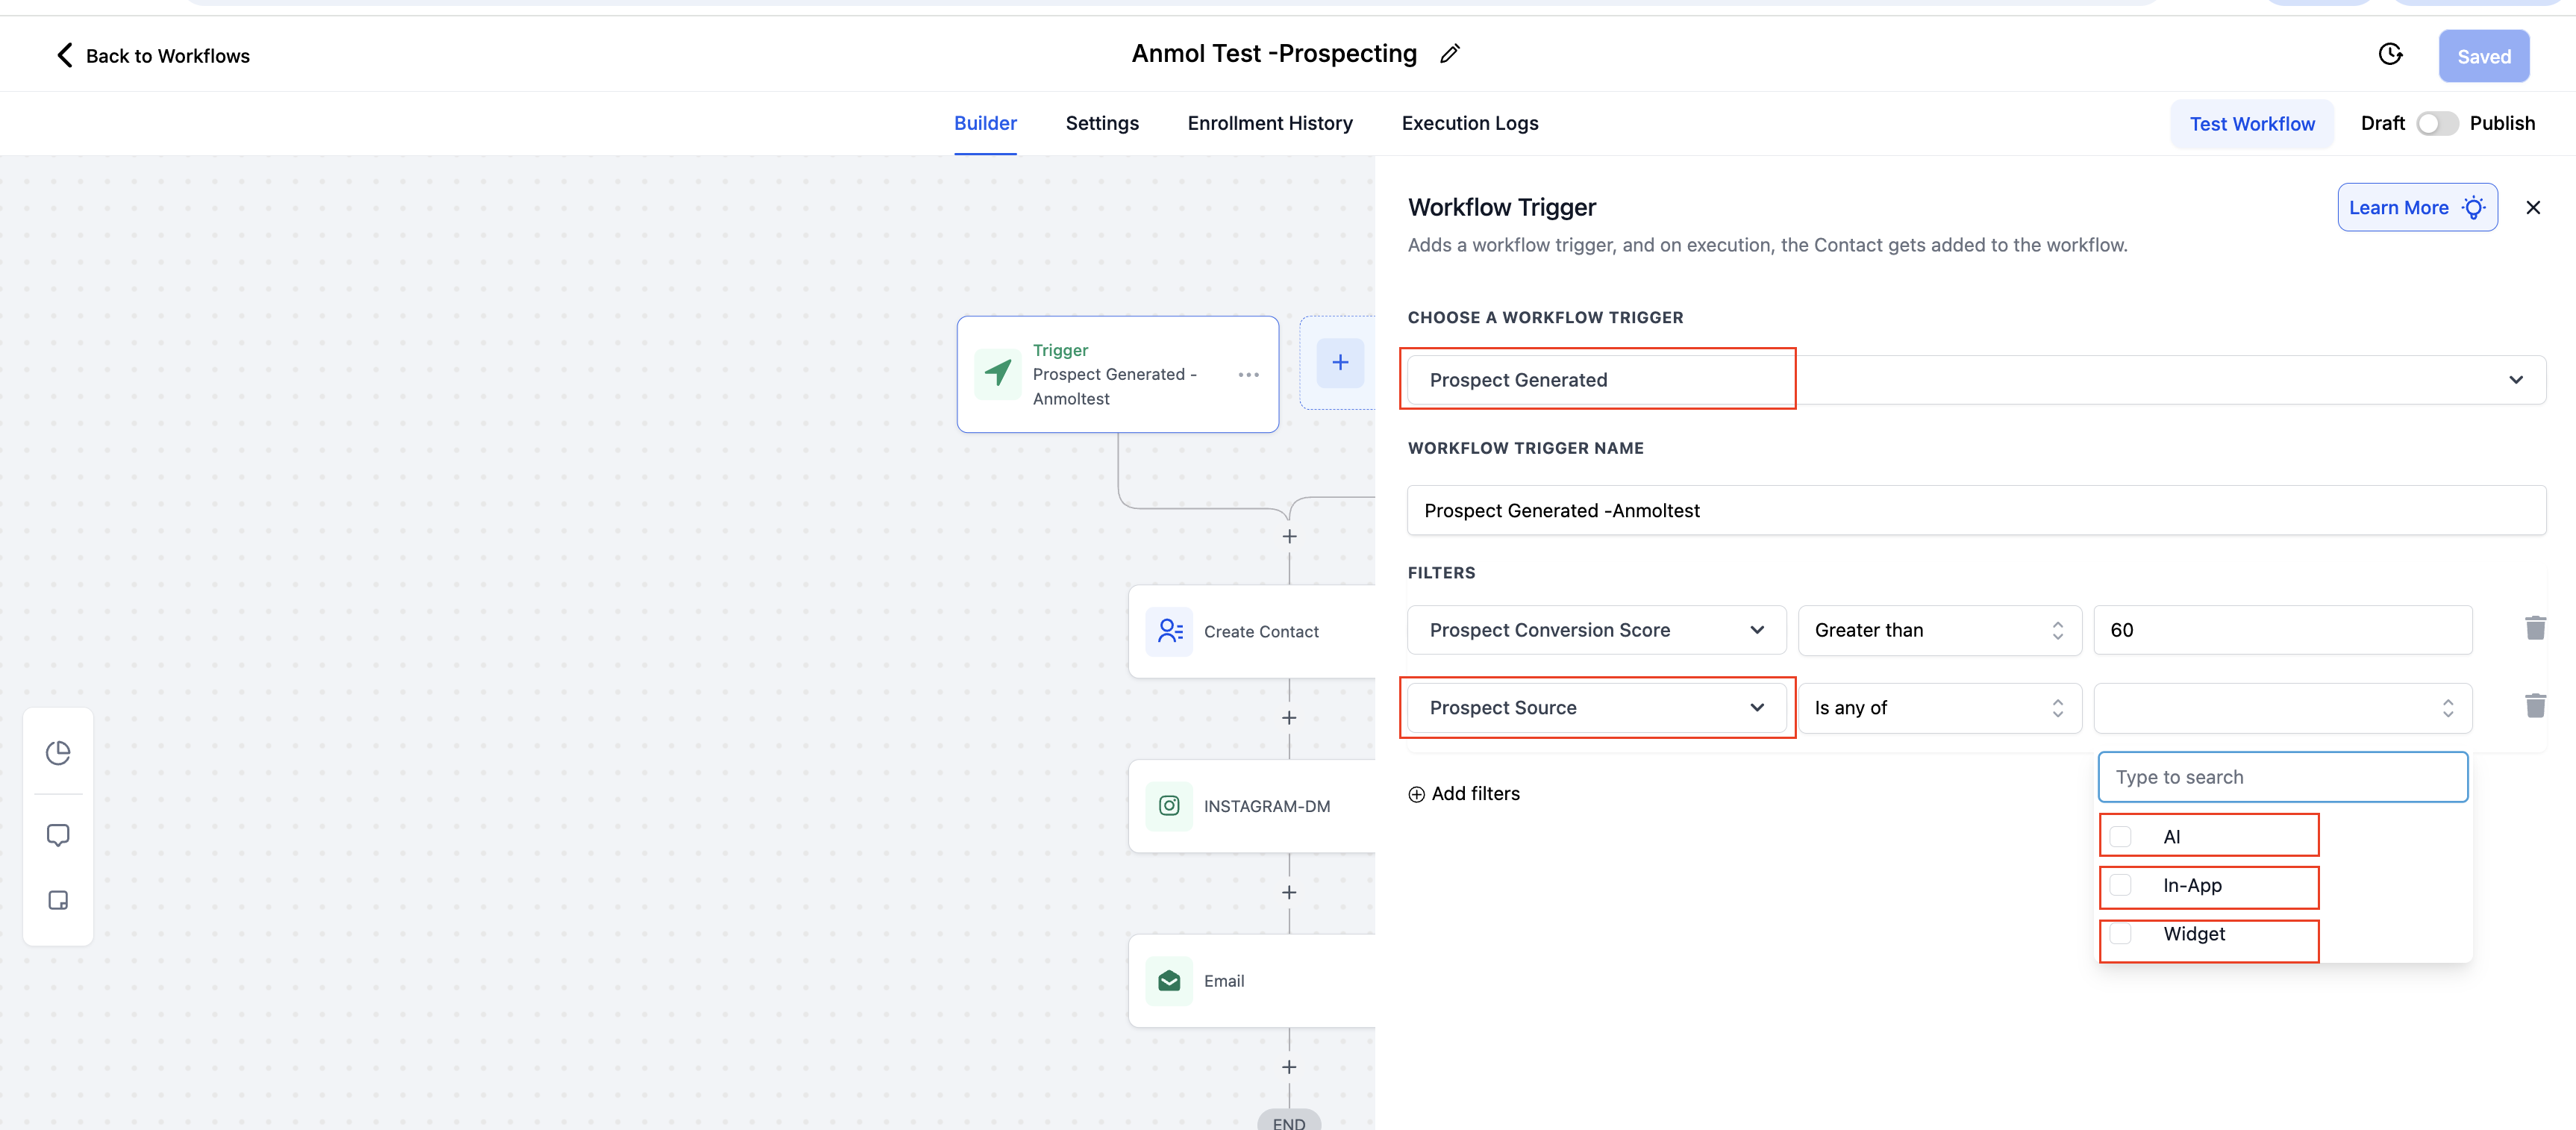
When a visitor submits the widget, the contact is automatically saved in the HighLevel CRM, tagged for segmentation and can fire any workflow you have set up. The widget works only after upgrading to the paid version of the prospecting tool and inside a SubAccount with Premium Prospecting enabled.
02How businesses use prospecting widgets
- Lead generation on a landing page. Create a widget, set the heading and colors to match the page, then embed the generated code on the landing page. Visitors fill out the form and become tagged leads ready for follow up.
- Client acquisition for agencies. Build separate widgets for each client site, customize branding for each, and use workflows to assign new contacts to the appropriate agency pipeline.
03The numbers and rules that matter
- Create up to 8 widgets for different websites or use cases.
04Before you start
- Upgrade to the paid version of the prospecting tool inside an agency account.
05How to set up and use prospecting widgets in HighLevel
Upgrade to paid prospecting tool
- Navigate to the Prospecting section in Agency View.
- Click the "Upgrade" button.
- Follow the on screen steps to complete the purchase.
Create and customize a widget
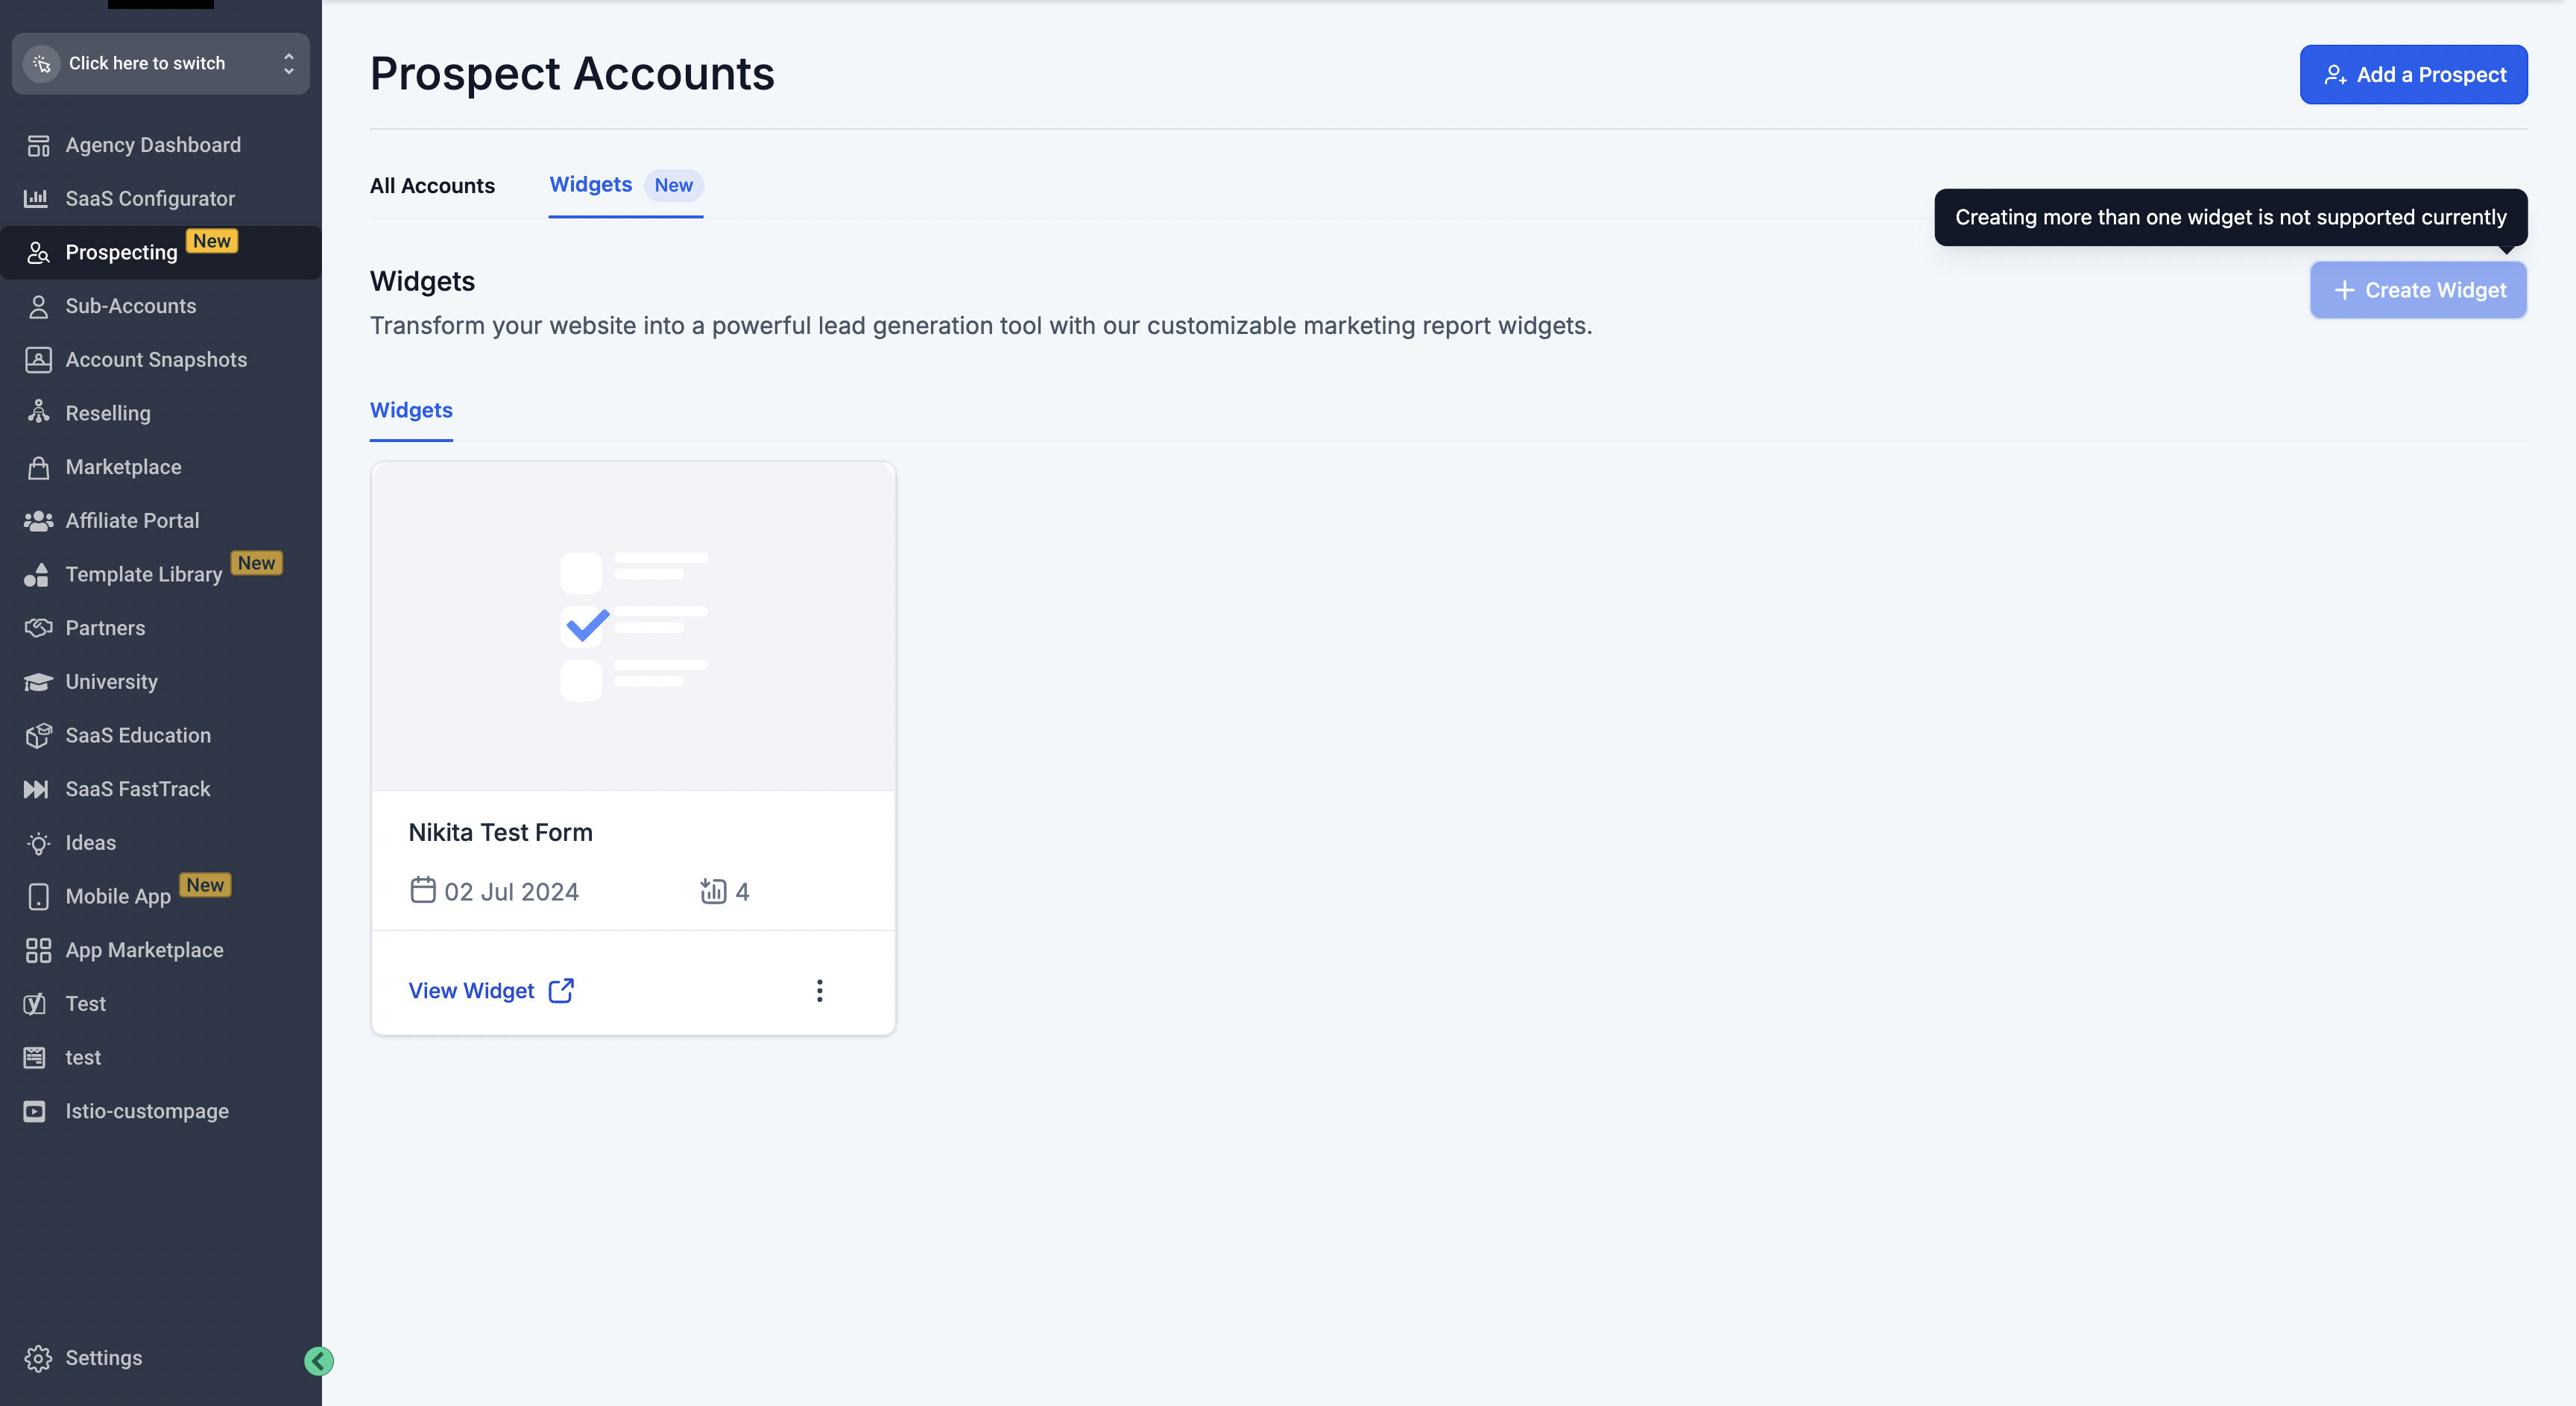
- Go to Prospecting in Agency View or under the Marketing tab in a SubAccount.
- Click to create a new widget.
- Edit the form heading, colors, background and select Light or Dark theme.
- Set submit button color, text color and label.
- Choose which input fields are shown, hidden, optional or required.
- Allow manual business entry for businesses not listed on Google.
- Select font family and font size.
- Upload custom background or header images.
- Use Preview Mode to test styling and field behavior.
- Save the widget.
Embed widget on a website
- In the widget’s Settings tab, generate the embed code.
- Log in to the website’s backend or CMS (WordPress, Joomla, Drupal, etc.).
- Navigate to the page or section where the widget should appear.
- Paste the embed code into the page content or widget area.
- Publish the page.
- Visit the page to verify the widget loads without errors, fits the layout and all interactive elements work as expected.
Monitor leads and automate follow up
- Open the Prospecting Tool Dashboard.
- View lead details; leads will show a "Forms" tag across their name.
- Create or edit workflows that trigger on the lead tag.
- Add actions such as welcome email, SMS, pipeline assignment or nurture sequence.
06What it looks like in HighLevel
07Settings that matter
- Theme selection. Choose Light or Dark theme to match the website’s overall look.
- Submit button customization. Set background color, text color and label text for the widget’s submit button.
- Field visibility and requirement. Show, hide, mark optional or required any input fields on the form.
- Manual business entry. Allow visitors to type a business name when it does not appear in Google.
- Font customization. Select font family and size for the form text.
- Background and header images. Upload custom images to brand the widget.
- Preview mode. Test styling, field behavior and user experience before publishing.
08Things to know before you rely on it
- Only available after upgrading to the paid version of the prospecting tool.
- Leads are automatically added to the CRM only inside a SubAccount with Premium Prospecting enabled.
09If something goes wrong
- Widget does not appear on the website. Check that the embed code was copied correctly and that the page’s HTML allows script tags.
- Form fields are not showing as expected. Use Preview Mode to verify field visibility settings, then republish the widget.
Michael's take

Prospecting widgets give you a branded capture point that feeds leads directly into your CRM after you embed the generated code. The real value shows up when you let the widget trigger follow up workflows, turning every form submission into a conversion ready opportunity (only when Prospecting is done in SubAccounts).
If I were setting this up, I’d start with a single widget on a high traffic landing page, use Preview Mode to nail the look, and then hook it to a simple welcome email workflow. Once the basics work, scaling to multiple client sites is just a matter of cloning the widget and adjusting the branding.