

In this video Michael Reimer sets up a real ticketed event in GoHighLevel Events, the app found under Client Apps. He creates ticket types, caps the venue capacity, reviews the automatic notifications, adds pixel tracking, registers as a guest and runs check in. It is for anyone who runs workshops, classes or seminars.
The event is a half day workshop called AI for Local Business, on a Saturday morning from 9:00 to 1:00. Michael explains every setting the way he would to a client. He also notes that HighLevel ran its own LevelUp conference on this app, including the check in at the door.
Should you pick ticketed or RSVP in HighLevel Events?
Go to Client Apps, click Events and then Create Your Event. The first choice is the one you cannot change later. Ticketed means people pay for or claim a ticket. RSVP is a free guest list where people say they are coming. Michael compares it to a concert versus a backyard party.
His rule is simple. If you will ever charge for a seat, pick ticketed. You can still give away free tickets inside a ticketed event. The workshop in the video is ticketed.
What goes into the event details, and which setting gets missed?
Start with a name that says exactly what people get. Upload a cover image and watch for the focus point. That is the spot that stays visible when the image is cropped on a phone, so put it on your headline. The short summary shows in listings and link previews. The description is your sales page: who it is for and what they leave with. A live phone preview on the right updates as you type.
Next come the date and time, then the location. Type the venue name and Google finds it, which puts a real map with directions on the page. Last is the organizer, with your logo, your name and an email people can reply to. Click Create Event and you get a checklist of what is left.
Then the mistake Michael says almost everyone makes. Look at the time zone. His defaulted to the other side of the world, which would send reminders at 3:00 in the morning. Click Edit Details, set the time zone to where the event happens and save.
How do ticket types and venue capacity work together?
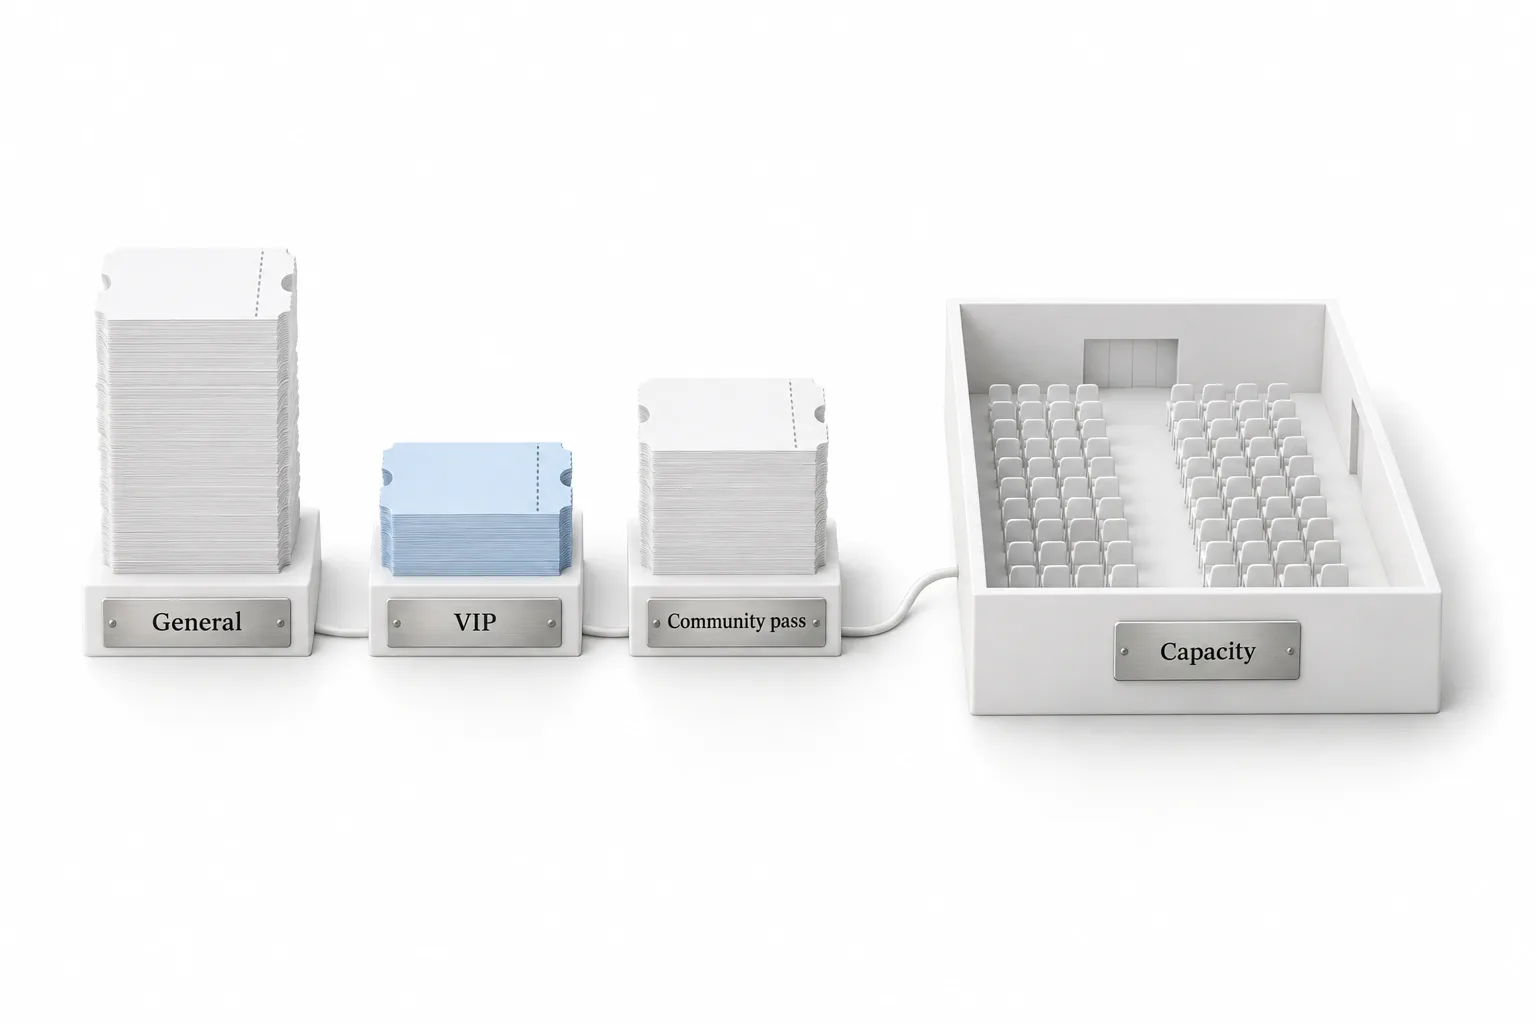
Click Create Ticket. Each ticket type gets a name, a price and a quantity. Michael builds three. General admission has 80 seats. VIP has 20 seats, with lunch and a one on one account review. A community pass is free for 30 people, which he likes for past clients or partners. When you add the next ticket you also see an option to reuse one from another event, so a monthly workshop gets set up once.
Then open settings and set venue capacity. His three tiers add up to 130 tickets, but the room holds 120 people, so he caps the whole event at 120. His way to remember it: capacity is the fire code and tickets are the menu. Whichever runs out first stops the sale.
Two more switches matter here. Collect Details for Each Attendee means that when someone buys four tickets, every guest gets their own name and their own ticket. Under payments, live mode can be turned off while you test, so nobody gets charged and nothing counts. Ticket sales run through your own card processor, so connect Stripe or another payment provider before you sell.
Which messages go out without you sending them?
Organizers get an alert on every signup plus a daily summary. Guests get a confirmation when they register, a reminder three days before, an update if the time or venue changes, and a thank you with a feedback survey afterward.
If you run Facebook ads, open link and tracking and paste your Meta pixel. HighLevel maps the page view, the checkout and the purchase, so your ads learn from people who buy a ticket and not only from people who click. Pages and design controls what guests see. Every section can be turned on or off, and you can add questions and answers. Check the mobile view and the checkout page before you publish. The published event has its own link, and it can be dropped into a funnel or website with one snippet.
How does check in work on event day?
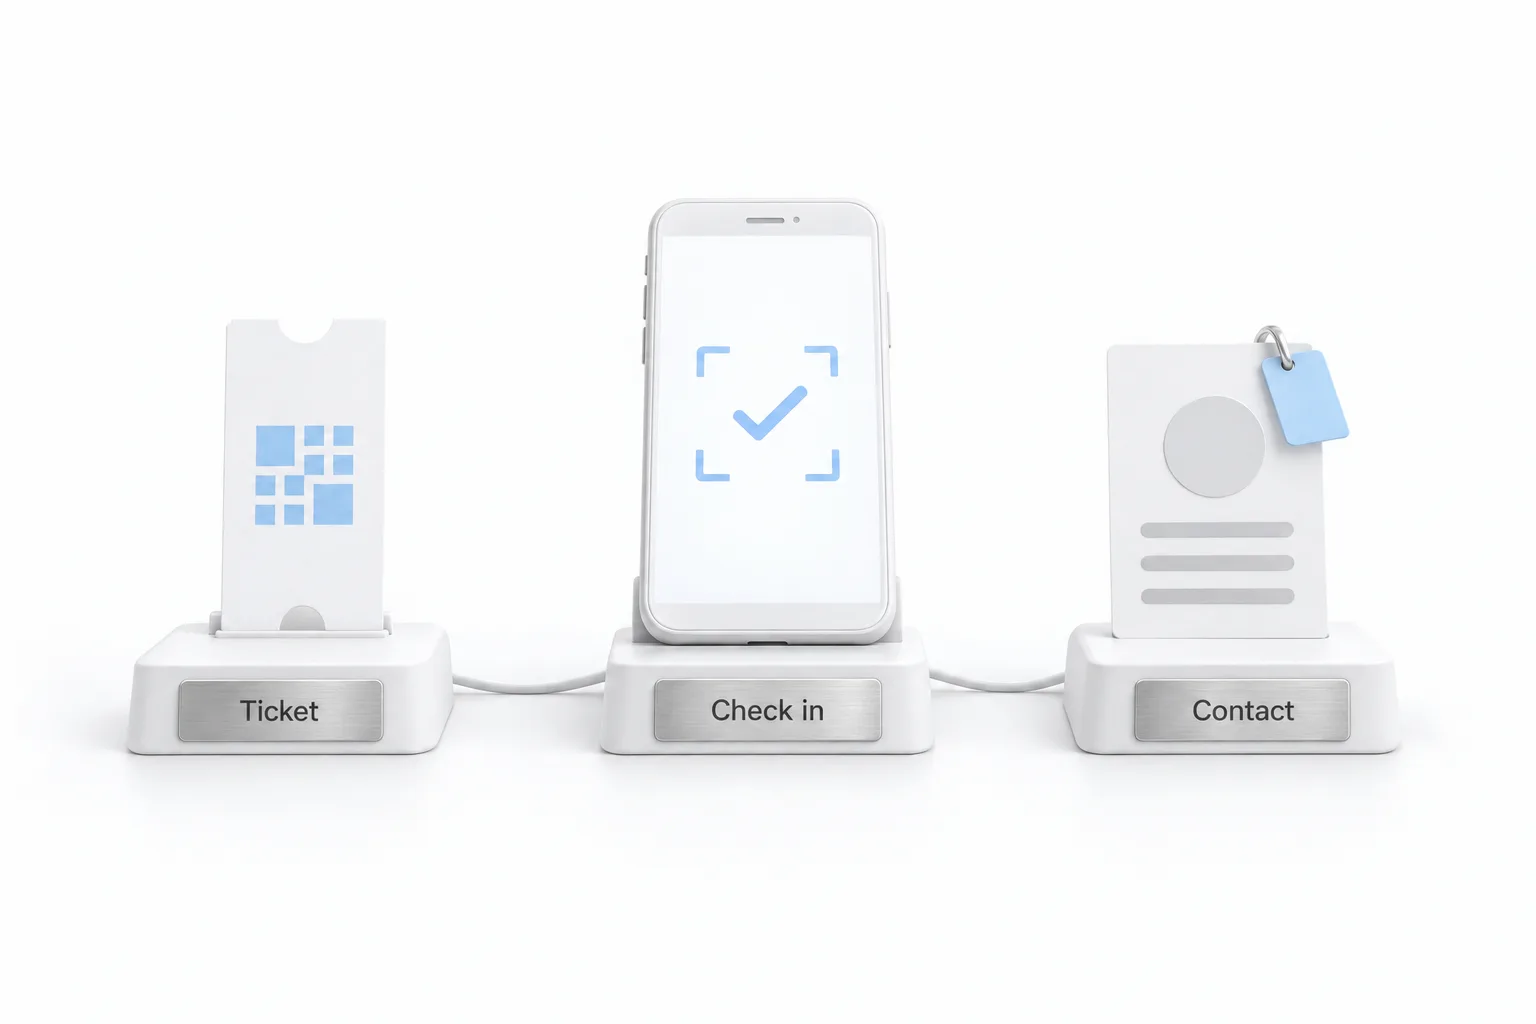
Michael registers as a guest with the community pass. The confirmation arrives with a ticket and a QR code, and one tap puts it in Apple Wallet or Google Wallet. On the day, open the check in tab. You can scan tickets with the HighLevel mobile app or check people in from the list. Scan the same ticket twice and it says the ticket was already used. Live attendance shows at the top.
Every guest lands in the CRM as a contact, with the event on their record: which ticket they bought and when they checked in. The Event Checked In trigger can tag everyone who showed up and start a follow up the same afternoon. If workflows are new to you, build your first workflow first.
How do you set up your own ticketed event in GoHighLevel?
The video runs in the order you would build it.
- Create the event. Go to Client Apps, click Events and create your event. Pick ticketed if you will ever charge for a seat, or RSVP for a free guest list. This choice cannot be changed later.
- Fill in the details. Add a clear name, a cover image with the focus point on your headline, a short summary, a description, the date, the venue and the organizer details.
- Fix the time zone. After creating the event, click Edit Details and set the time zone to where the event happens so reminders go out at the right time.
- Build tickets and capacity. Create each ticket type with a name, price and quantity, then set the venue capacity in settings so sales stop when the room is full.
- Test before you sell. Turn on Collect Details for Each Attendee, turn off live mode while you test, and review the automatic confirmation, reminder, update and thank you messages.
- Track and publish. Add your Meta pixel under link and tracking, check the mobile and checkout views, then publish and share the event link.
- Check guests in. On event day, scan tickets with the HighLevel mobile app or check guests in from the list, and use the Event Checked In trigger to follow up.
What changes when your events run inside HighLevel?
Michael's main argument is about where the attendee ends up. With a separate ticketing site, you pay that site's fee on every ticket. Here you pay only your card processor, and every attendee is a contact you can follow up with. He names gyms running classes, real estate teams running seminars and restaurants running tasting nights as businesses that already pay a ticket site.
He is straight about the limits. There is no reserved seating yet, so every ticket is general admission. There is no wait list for sold out tickets. Recurring events are not built in, so you duplicate the event for each date. Refunds are handled by you as the organizer. If you need assigned seats for a theater, it is not there yet. For workshops and seminars, he says it is more than enough.
What you do after the event is its own subject. See how to run a live event follow up.
For more on running and speaking at events, browse the speaking and events posts. To build a test event with live mode off, start a GoHighLevel 30 day trial through Michael's link. Still deciding on the platform? Read whether HighLevel is worth it.