
01Who this is for
- Agency owners who manage multiple client blogs benefit from the ability to migrate content quickly without copying each article manually.
- Content marketers can bulk upload campaign posts, set future publish dates, and ensure SEO fields are pre filled across dozens of entries.
- Small business owners moving from platforms like WordPress or Wix gain a fast path to republish their existing articles on HighLevel.
02CSV blog importer, explained
The CSV Blog Importer lives inside the Blogs section of HighLevel. After selecting a blog, users launch the importer from the New Post menu and supply a CSV or Excel file that matches the provided template. The system checks the column headers, creates missing authors or categories, and interprets any publish dates.
During the import flow, each row becomes a blog card that can be previewed on desktop and mobile. Users may edit the content, adjust the publish or schedule date, and see SEO metadata such as title, meta description, and social image before confirming the upload.
Validation happens automatically; the importer highlights missing images, bad dates, or overly long meta descriptions. Errors are shown as inline chips, and a row level report is available for any failed rows.
03How businesses use CSV blog importer
- Digital marketing agency. The agency downloads the sample CSV, fills it with client posts, and uploads the file. After a quick preview, they adjust any SEO fields and set future dates to line up with campaign calendars before importing all posts at once.
- Content marketing team. The team prepares a spreadsheet of scheduled articles, includes publish dates, and uses the importer to create blog entries that automatically go live on the planned dates.
- Small business owner. The owner exports existing website articles, populates the CSV template, runs the import, reviews each preview, fixes any missing images, and publishes the articles as drafts to edit later.
04The numbers and rules that matter
- Upload up to 60 posts per CSV/XLSX file.
- File size limit is 25 MB.
- All rows count toward the 60 post limit regardless of status.
05Before you start
- A HighLevel subaccount with access to the Sites > Blogs area.
- An existing blog site (or a new one created via the Create Blog dropdown).
- A CSV or XLSX file that follows the downloadable template.
06How to set up and use CSV blog importer in HighLevel
Import blog posts using CSV
- Sign in to the subaccount.
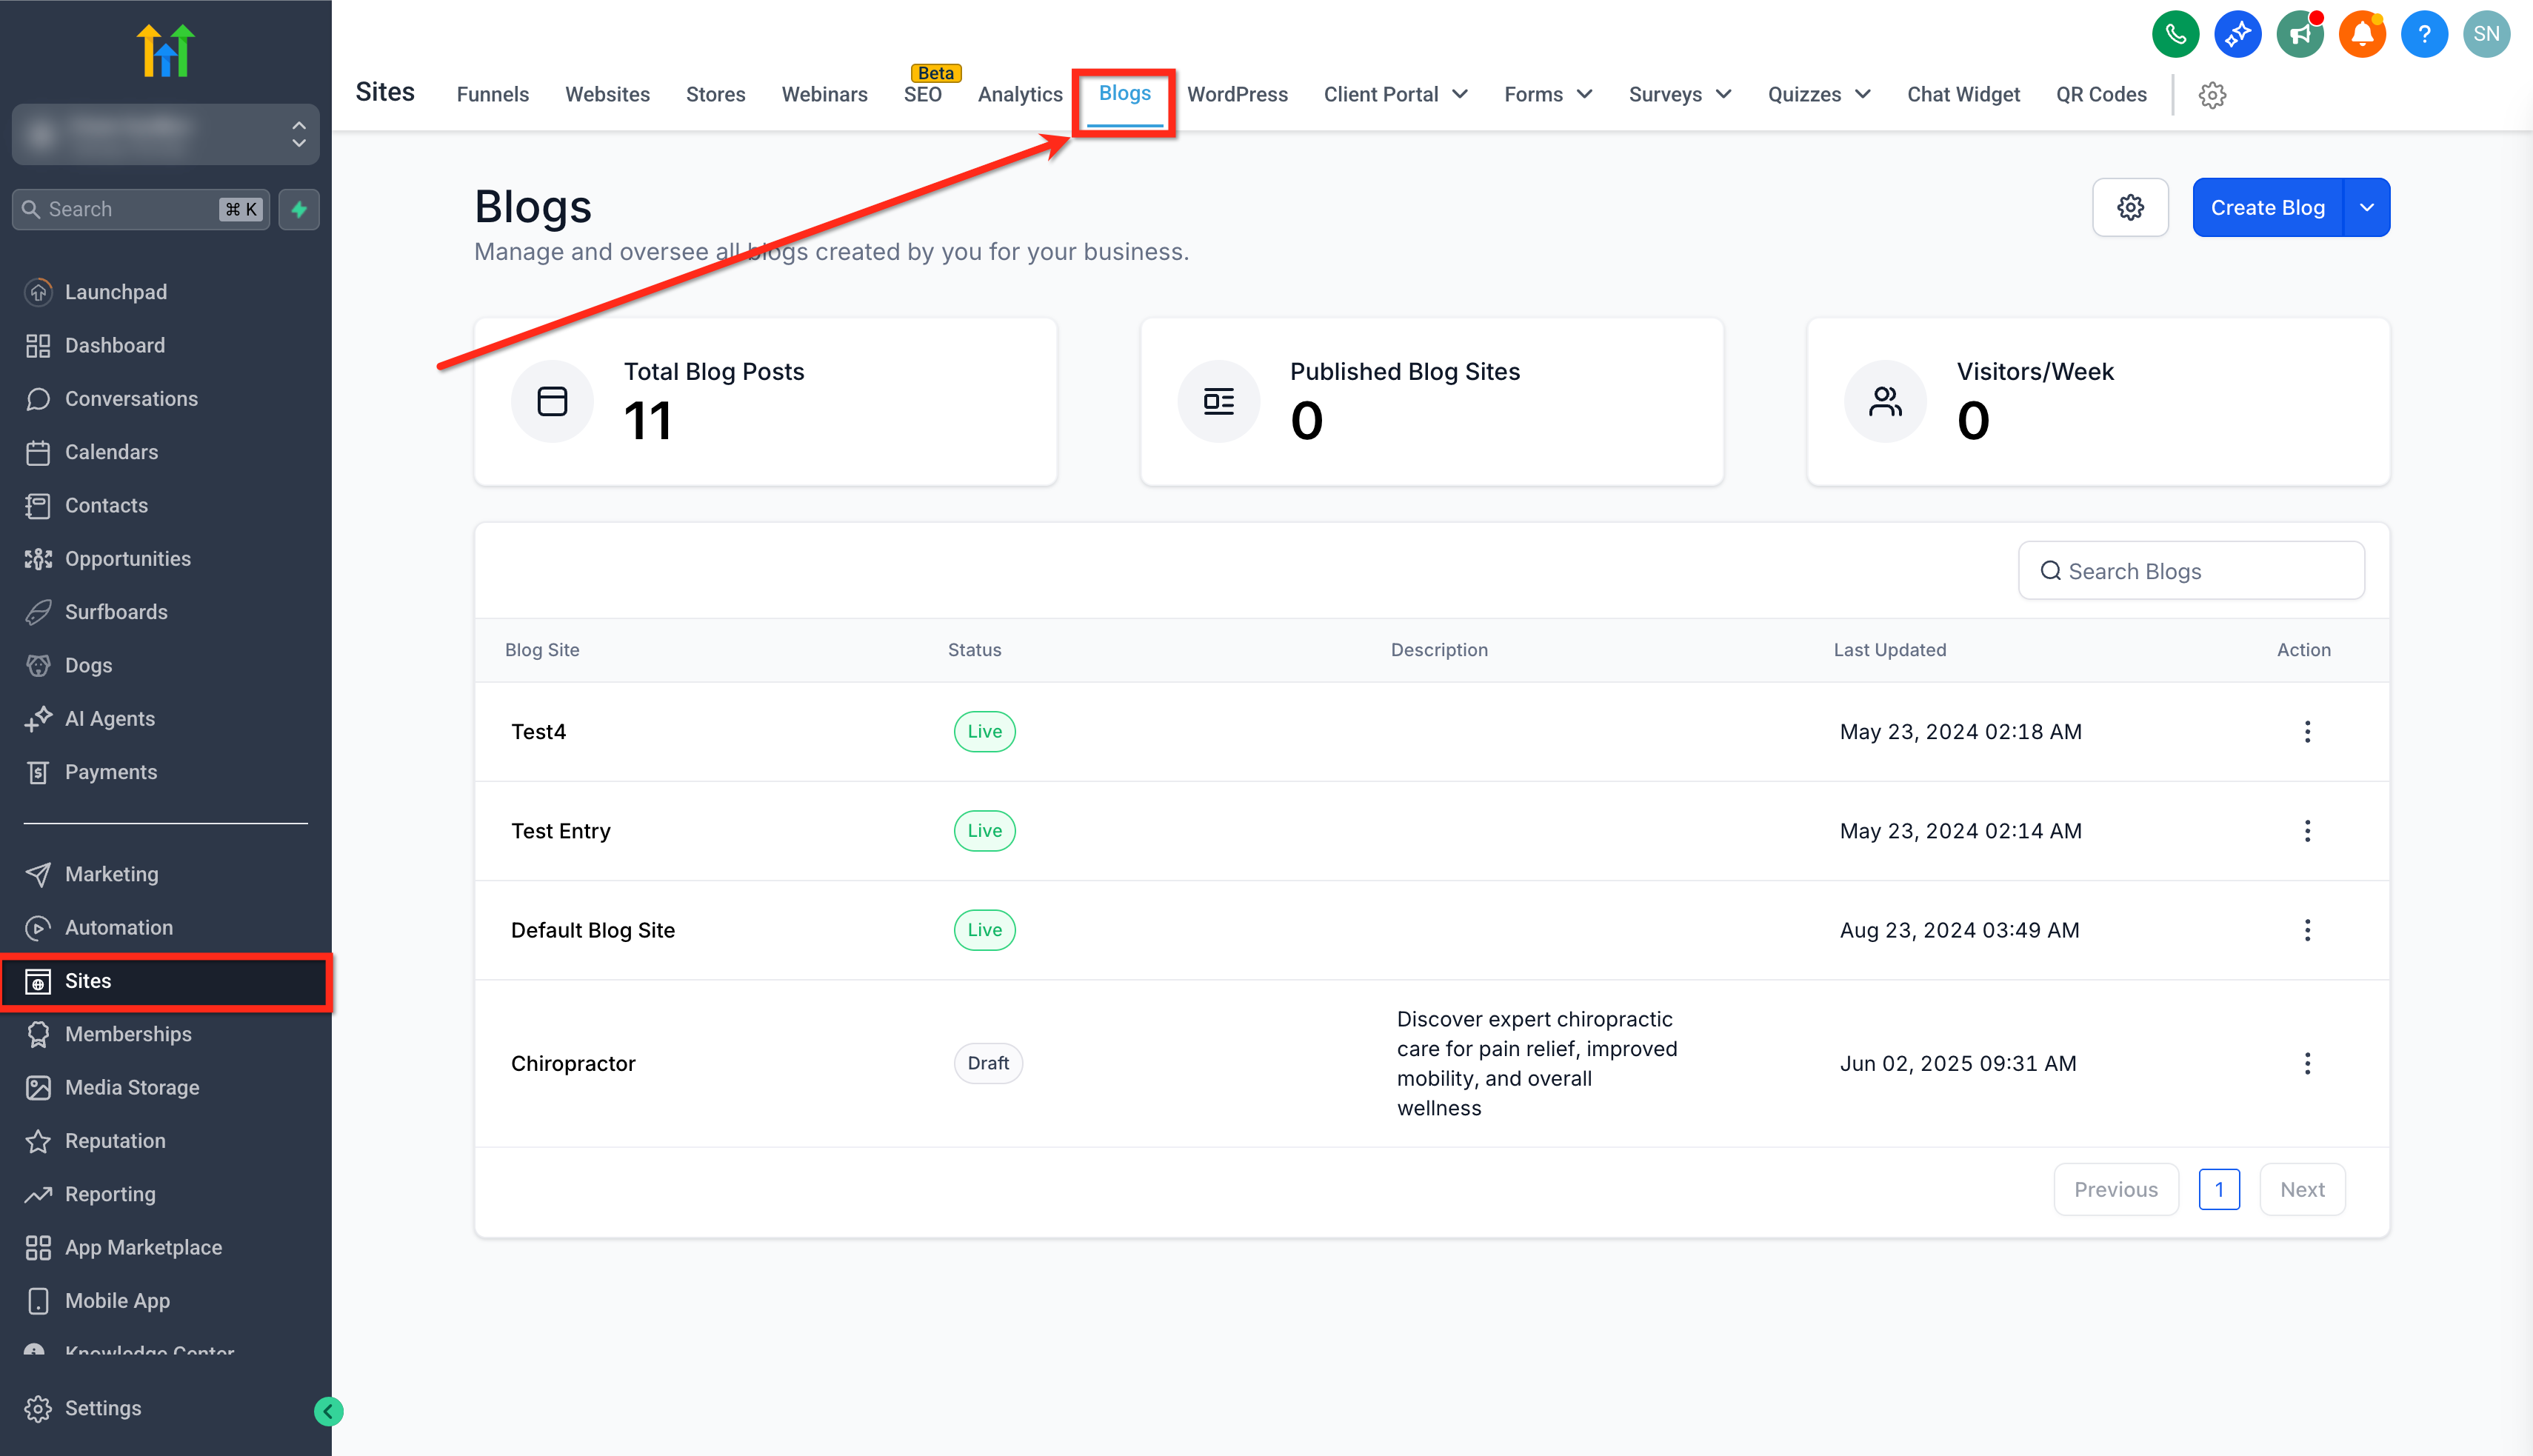
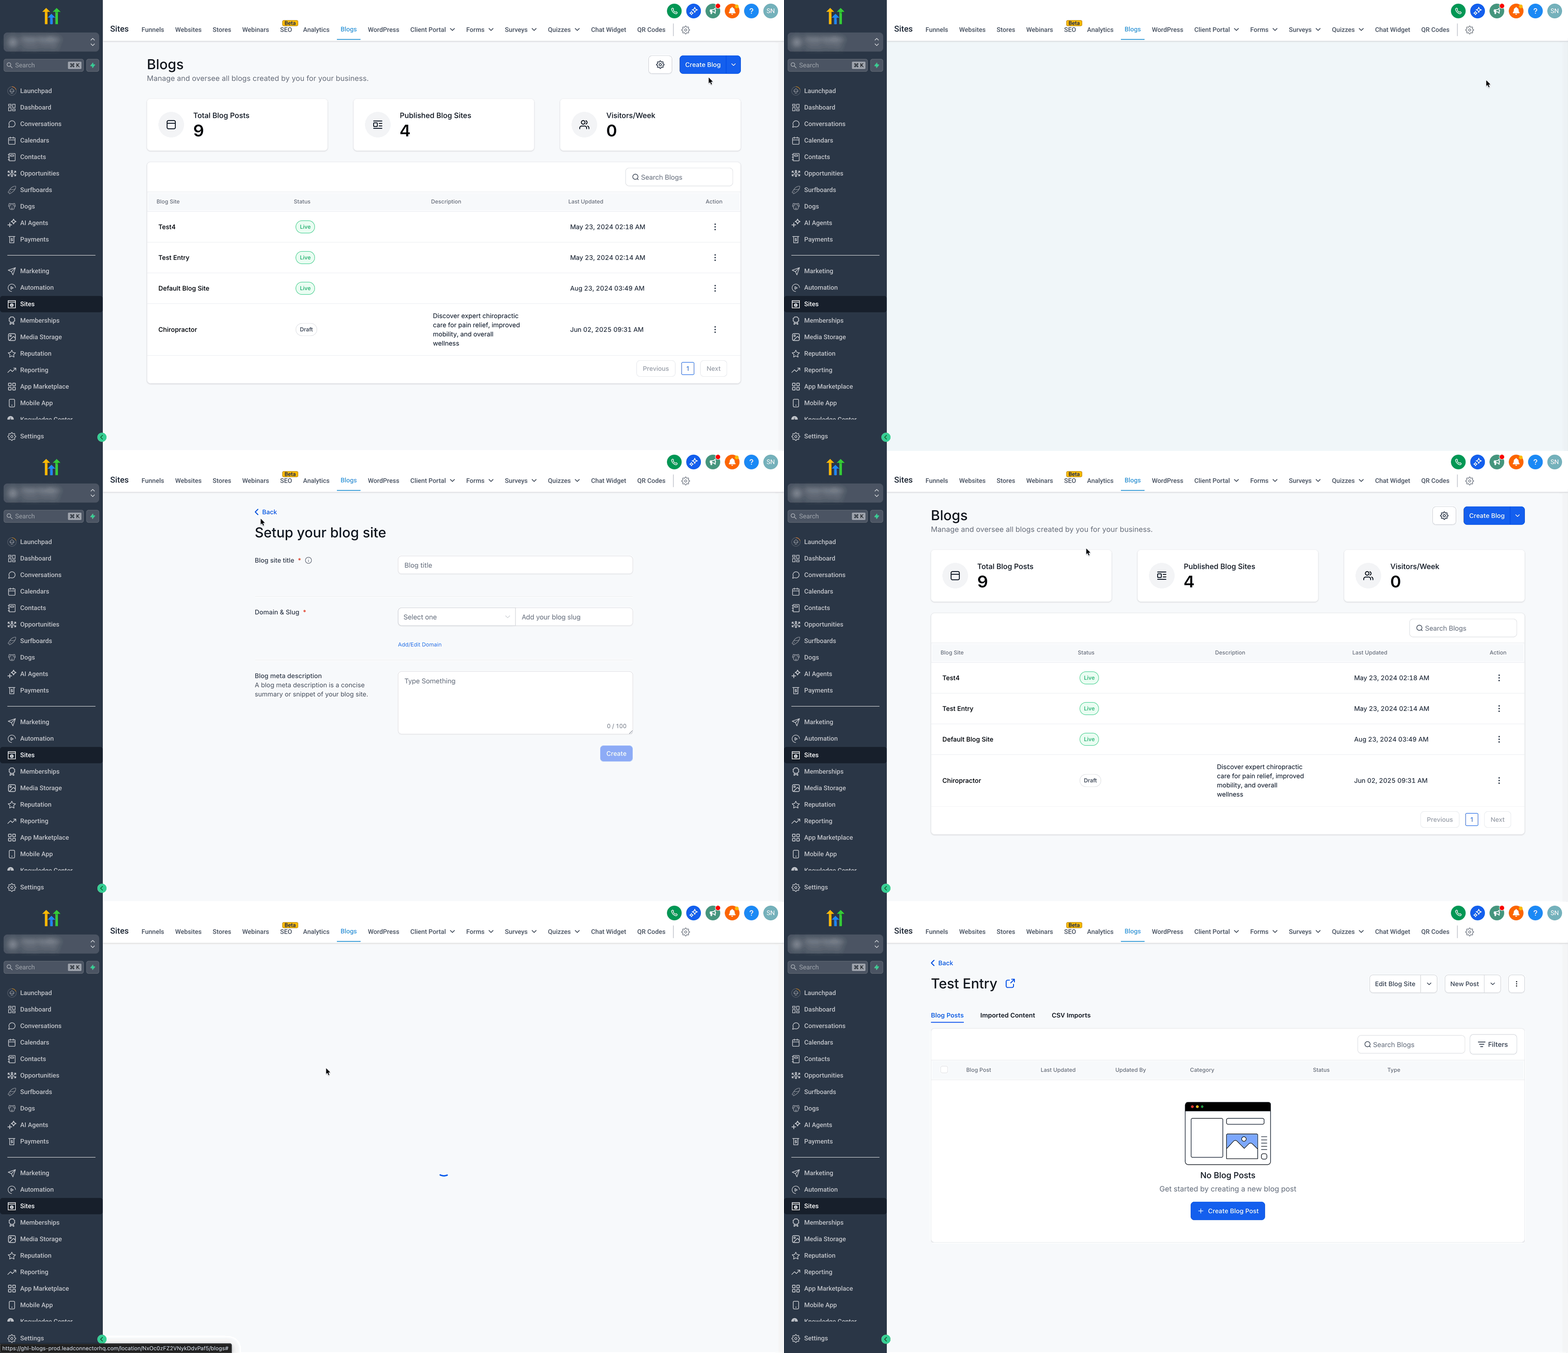
- Navigate to Sites > Blogs in the left navigation.
- Open the target blog by selecting it or creating a new blog via the Create Blog dropdown.
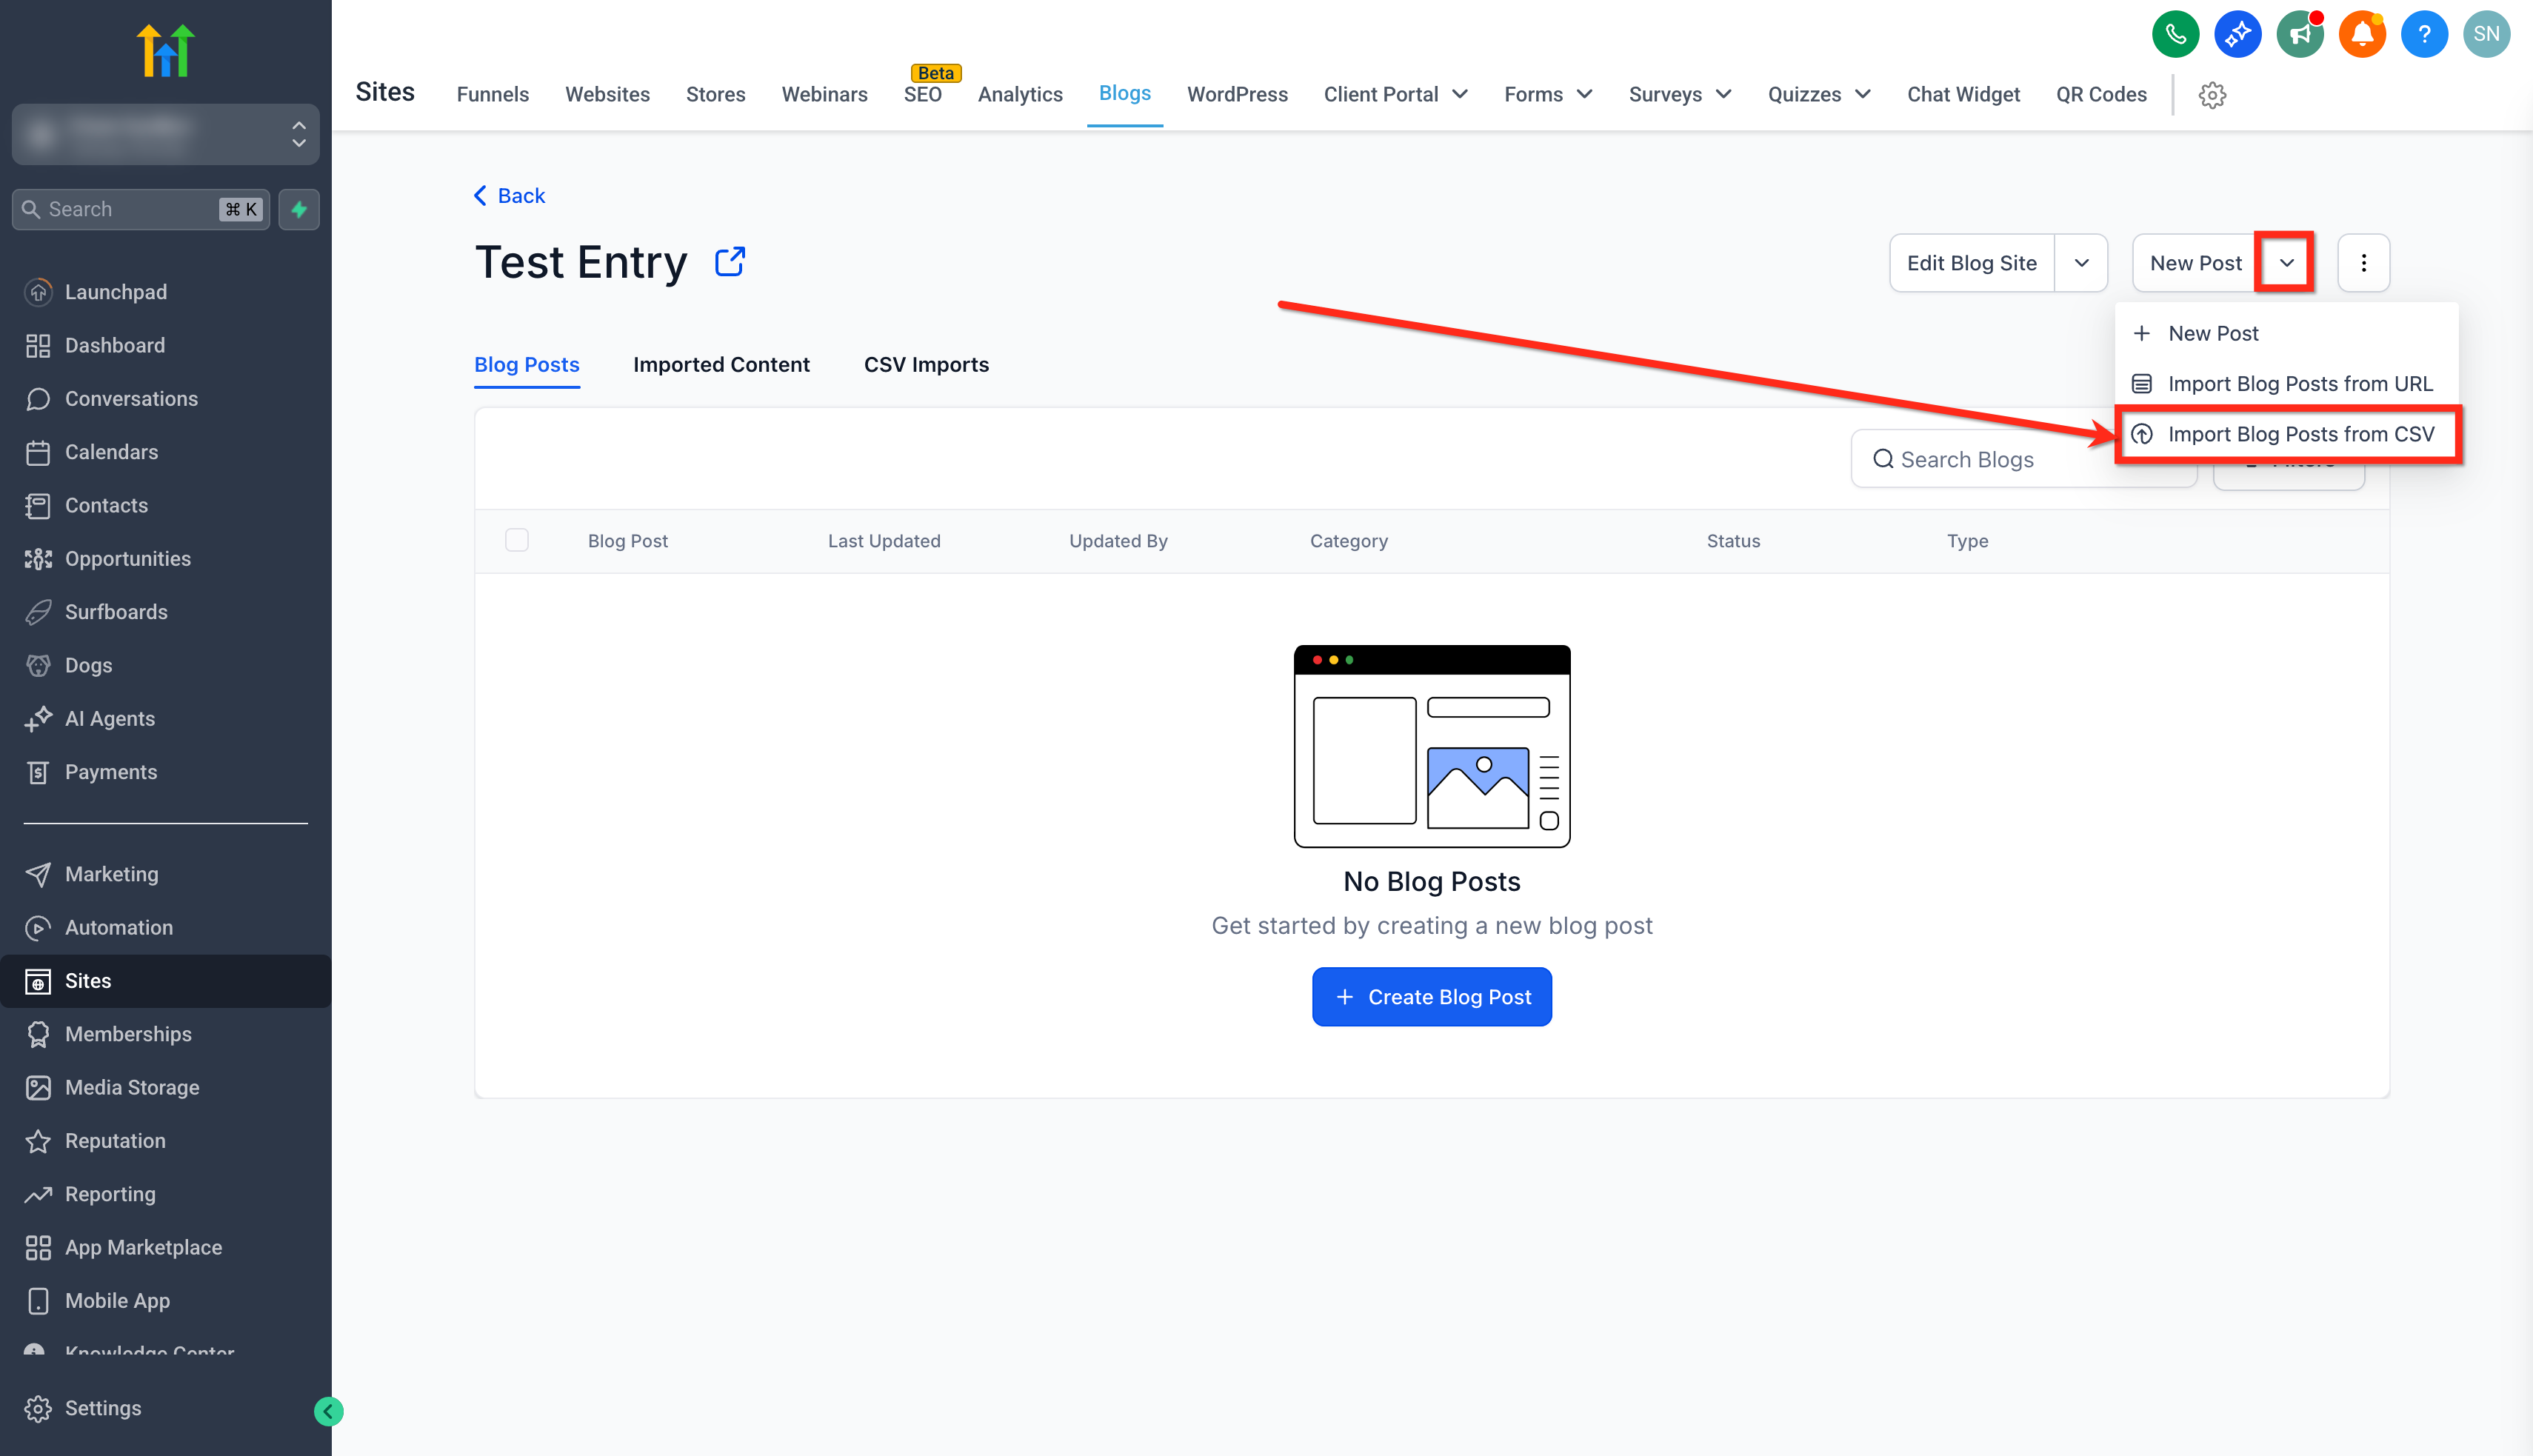
- Open the New Post dropdown and choose Import Blog Post from CSV.
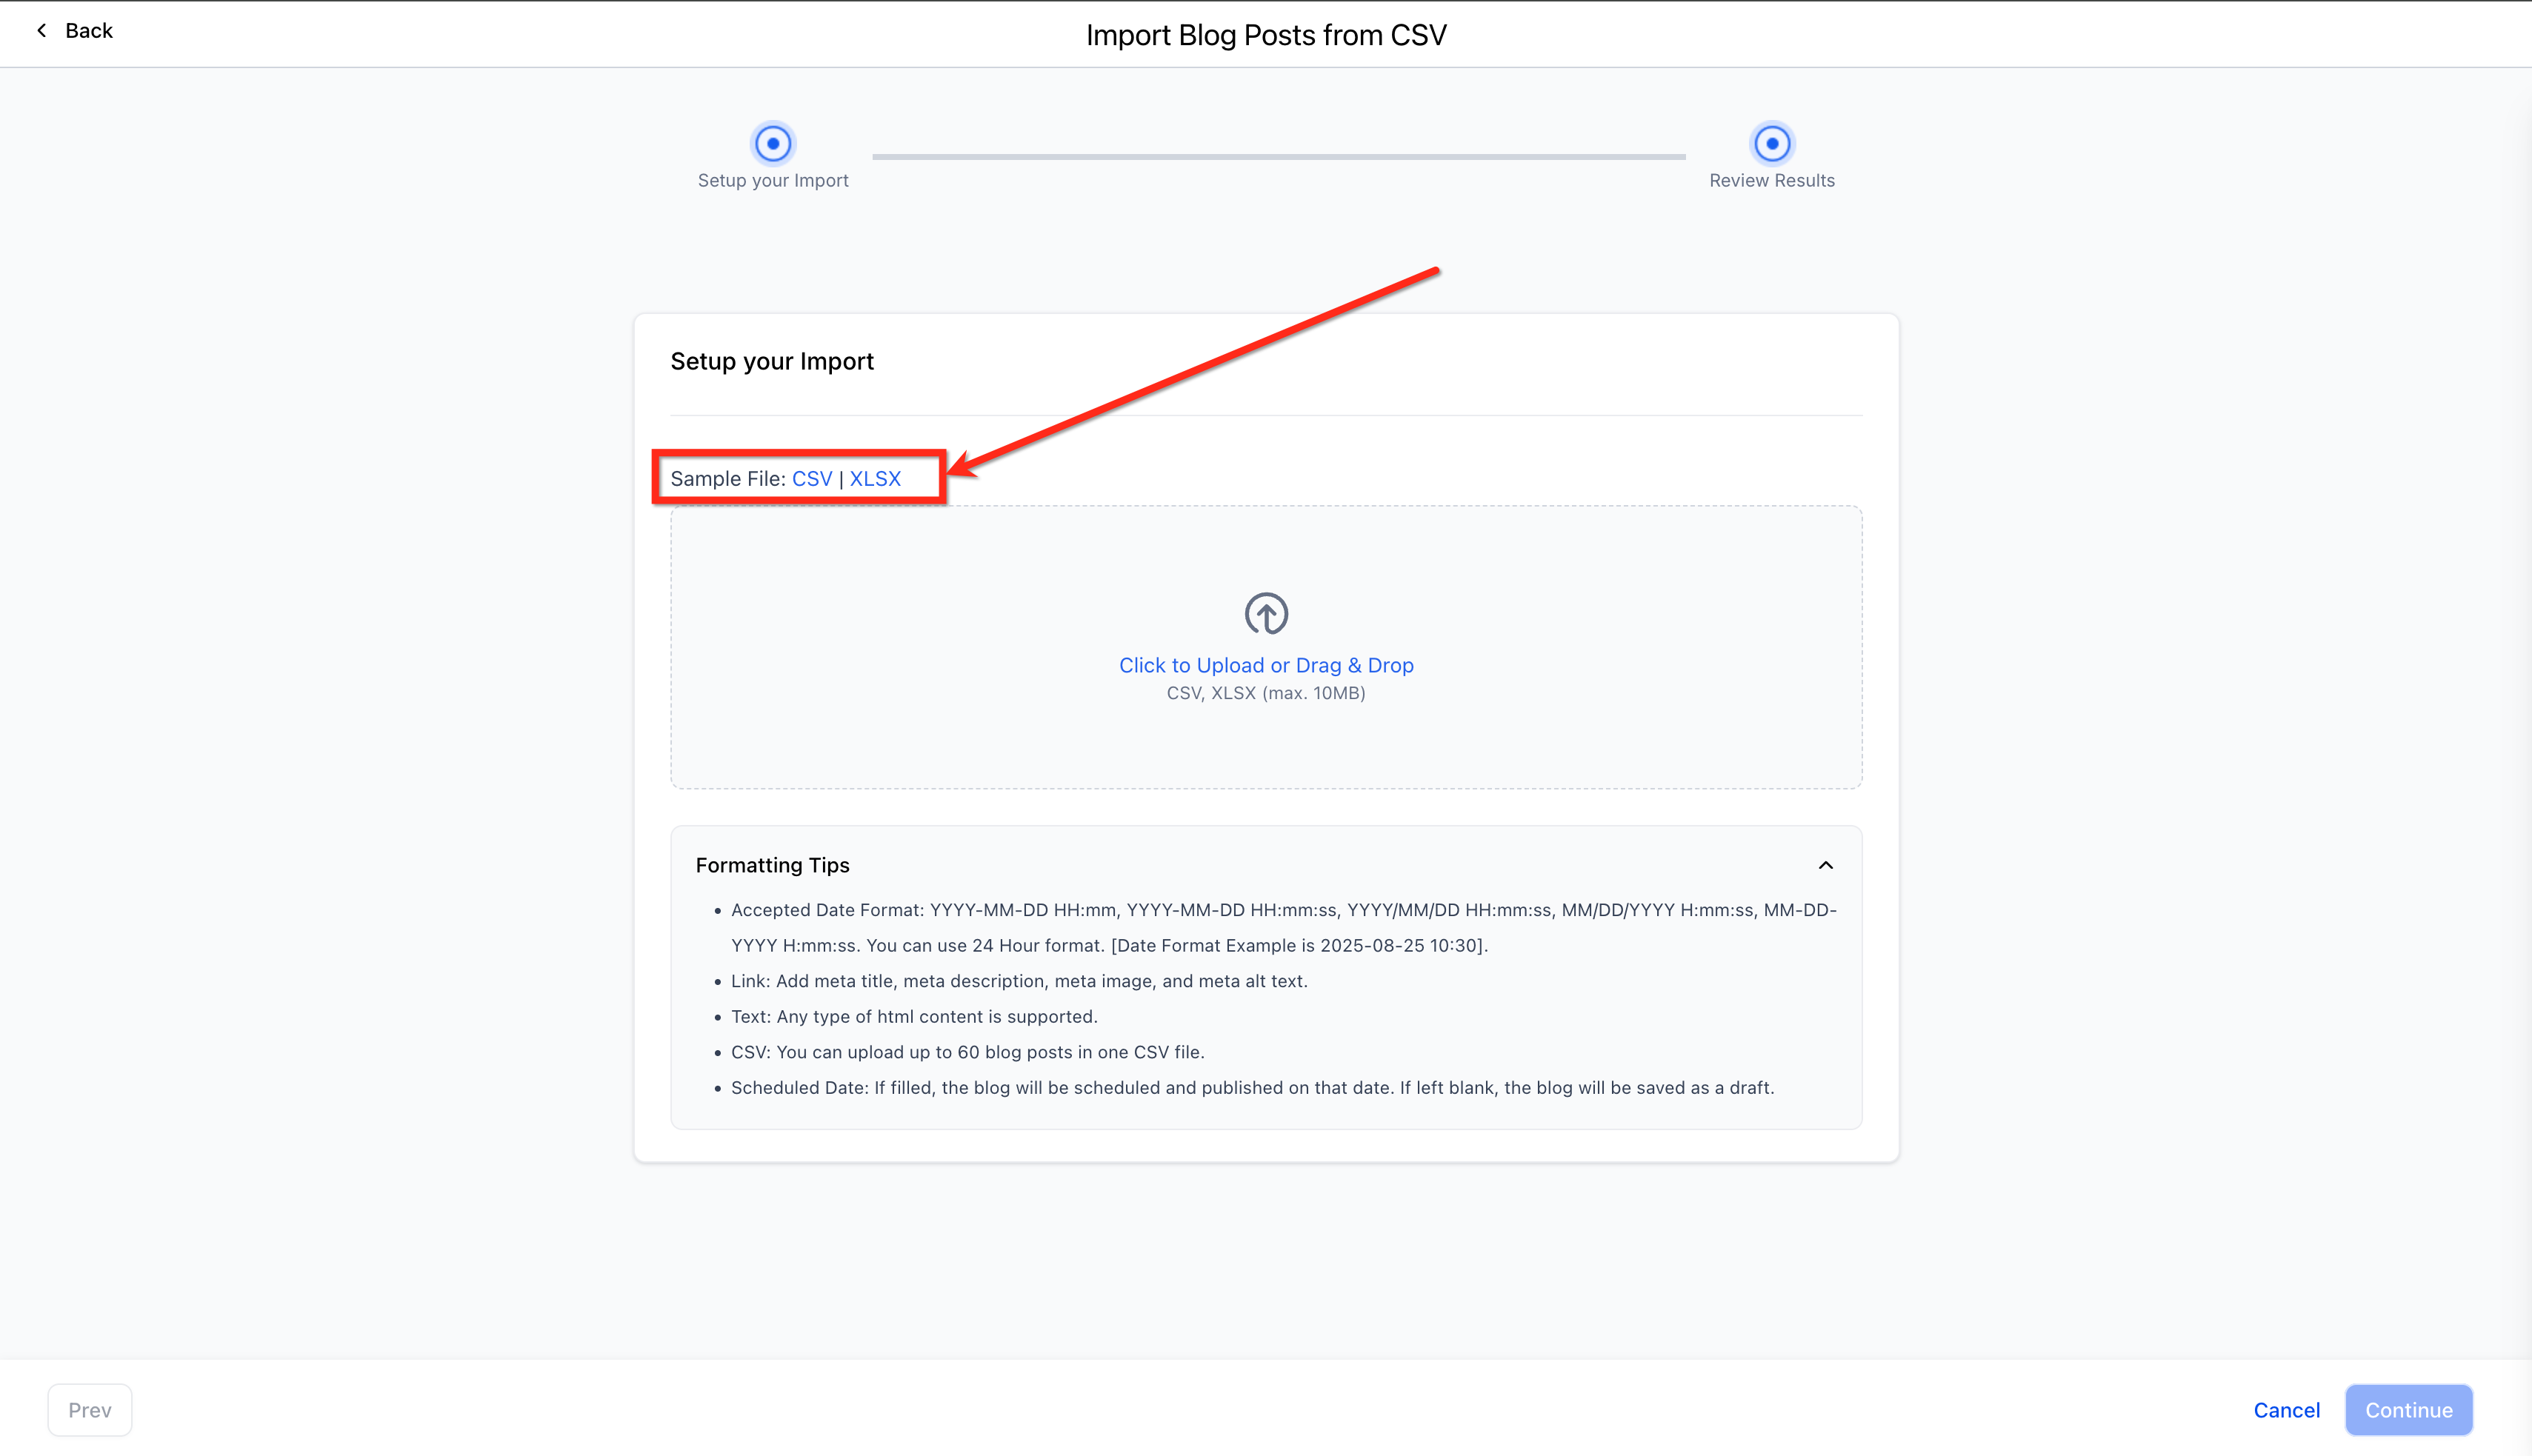
- Download the sample file, fill in your posts, and save the completed CSV or XLSX.
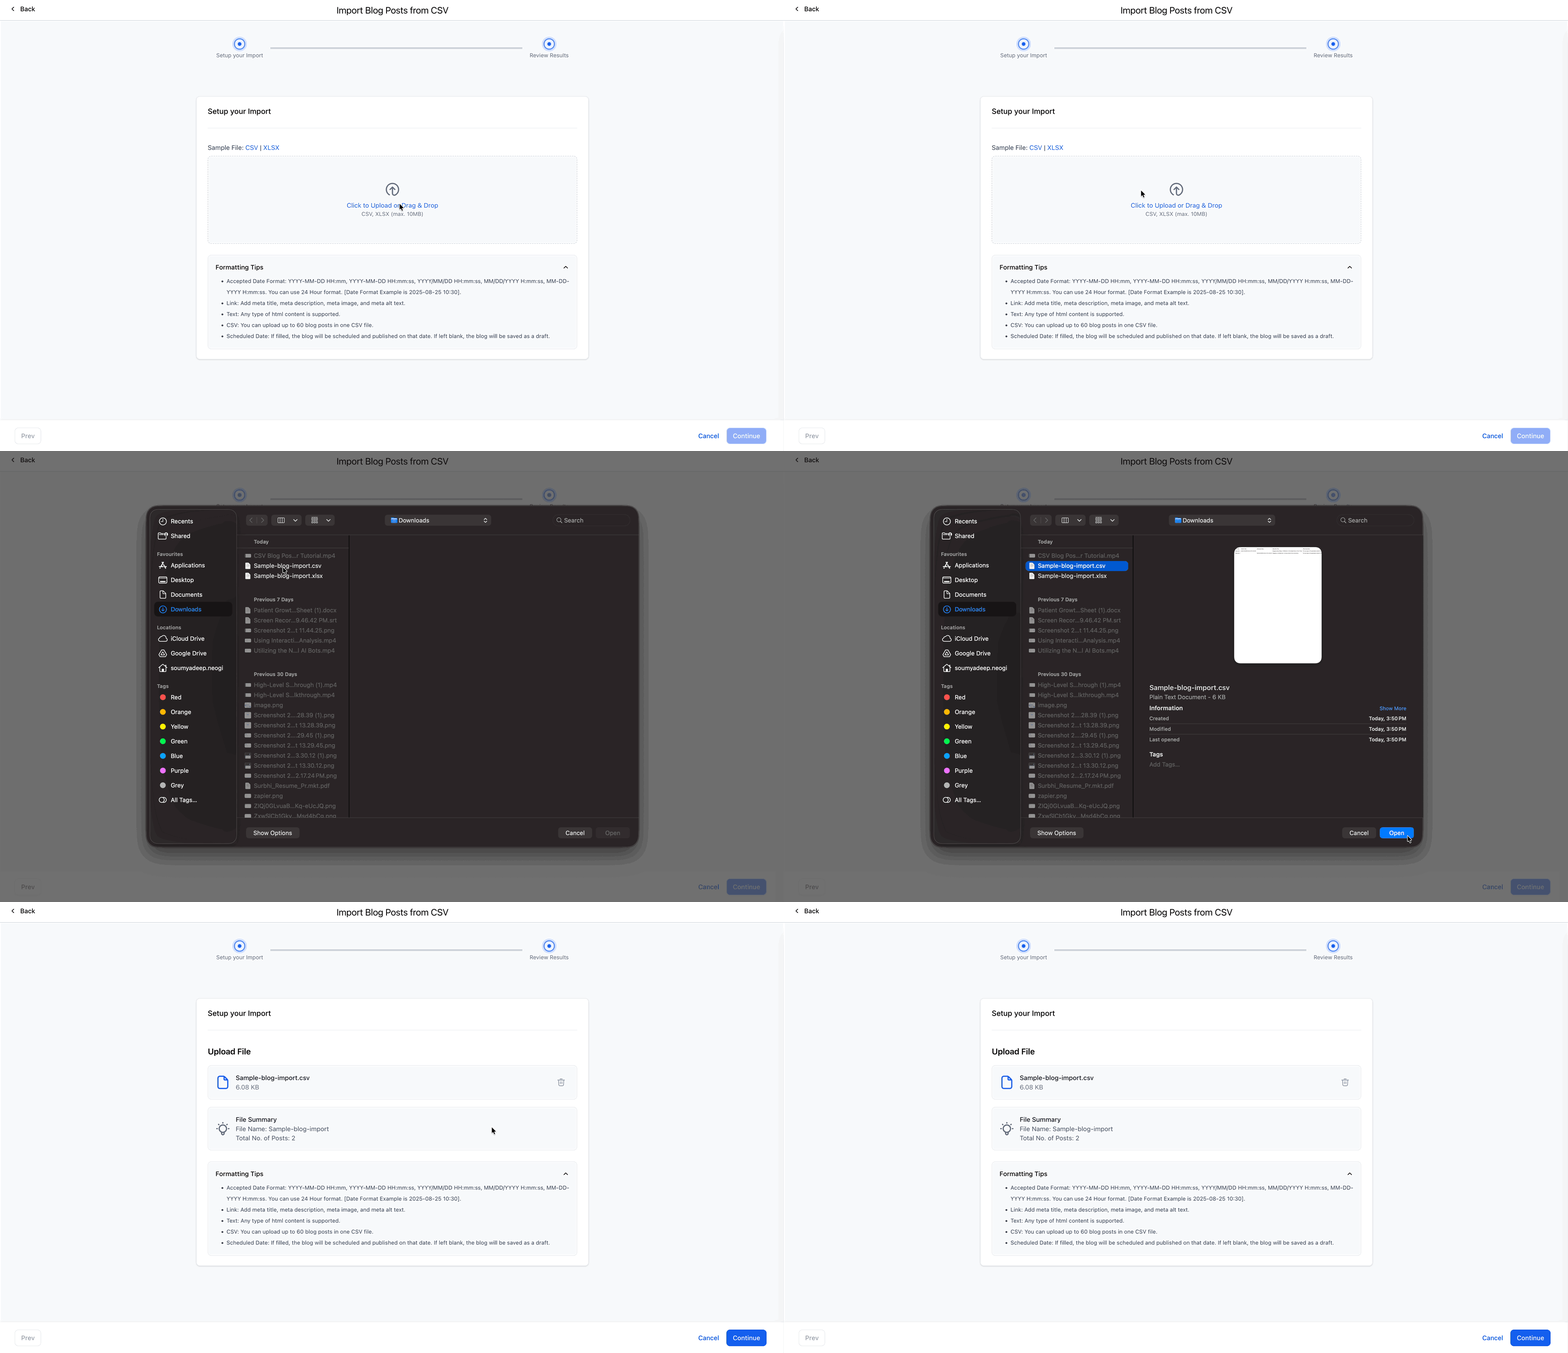
- Click the upload area, locate the prepared file, and select it.
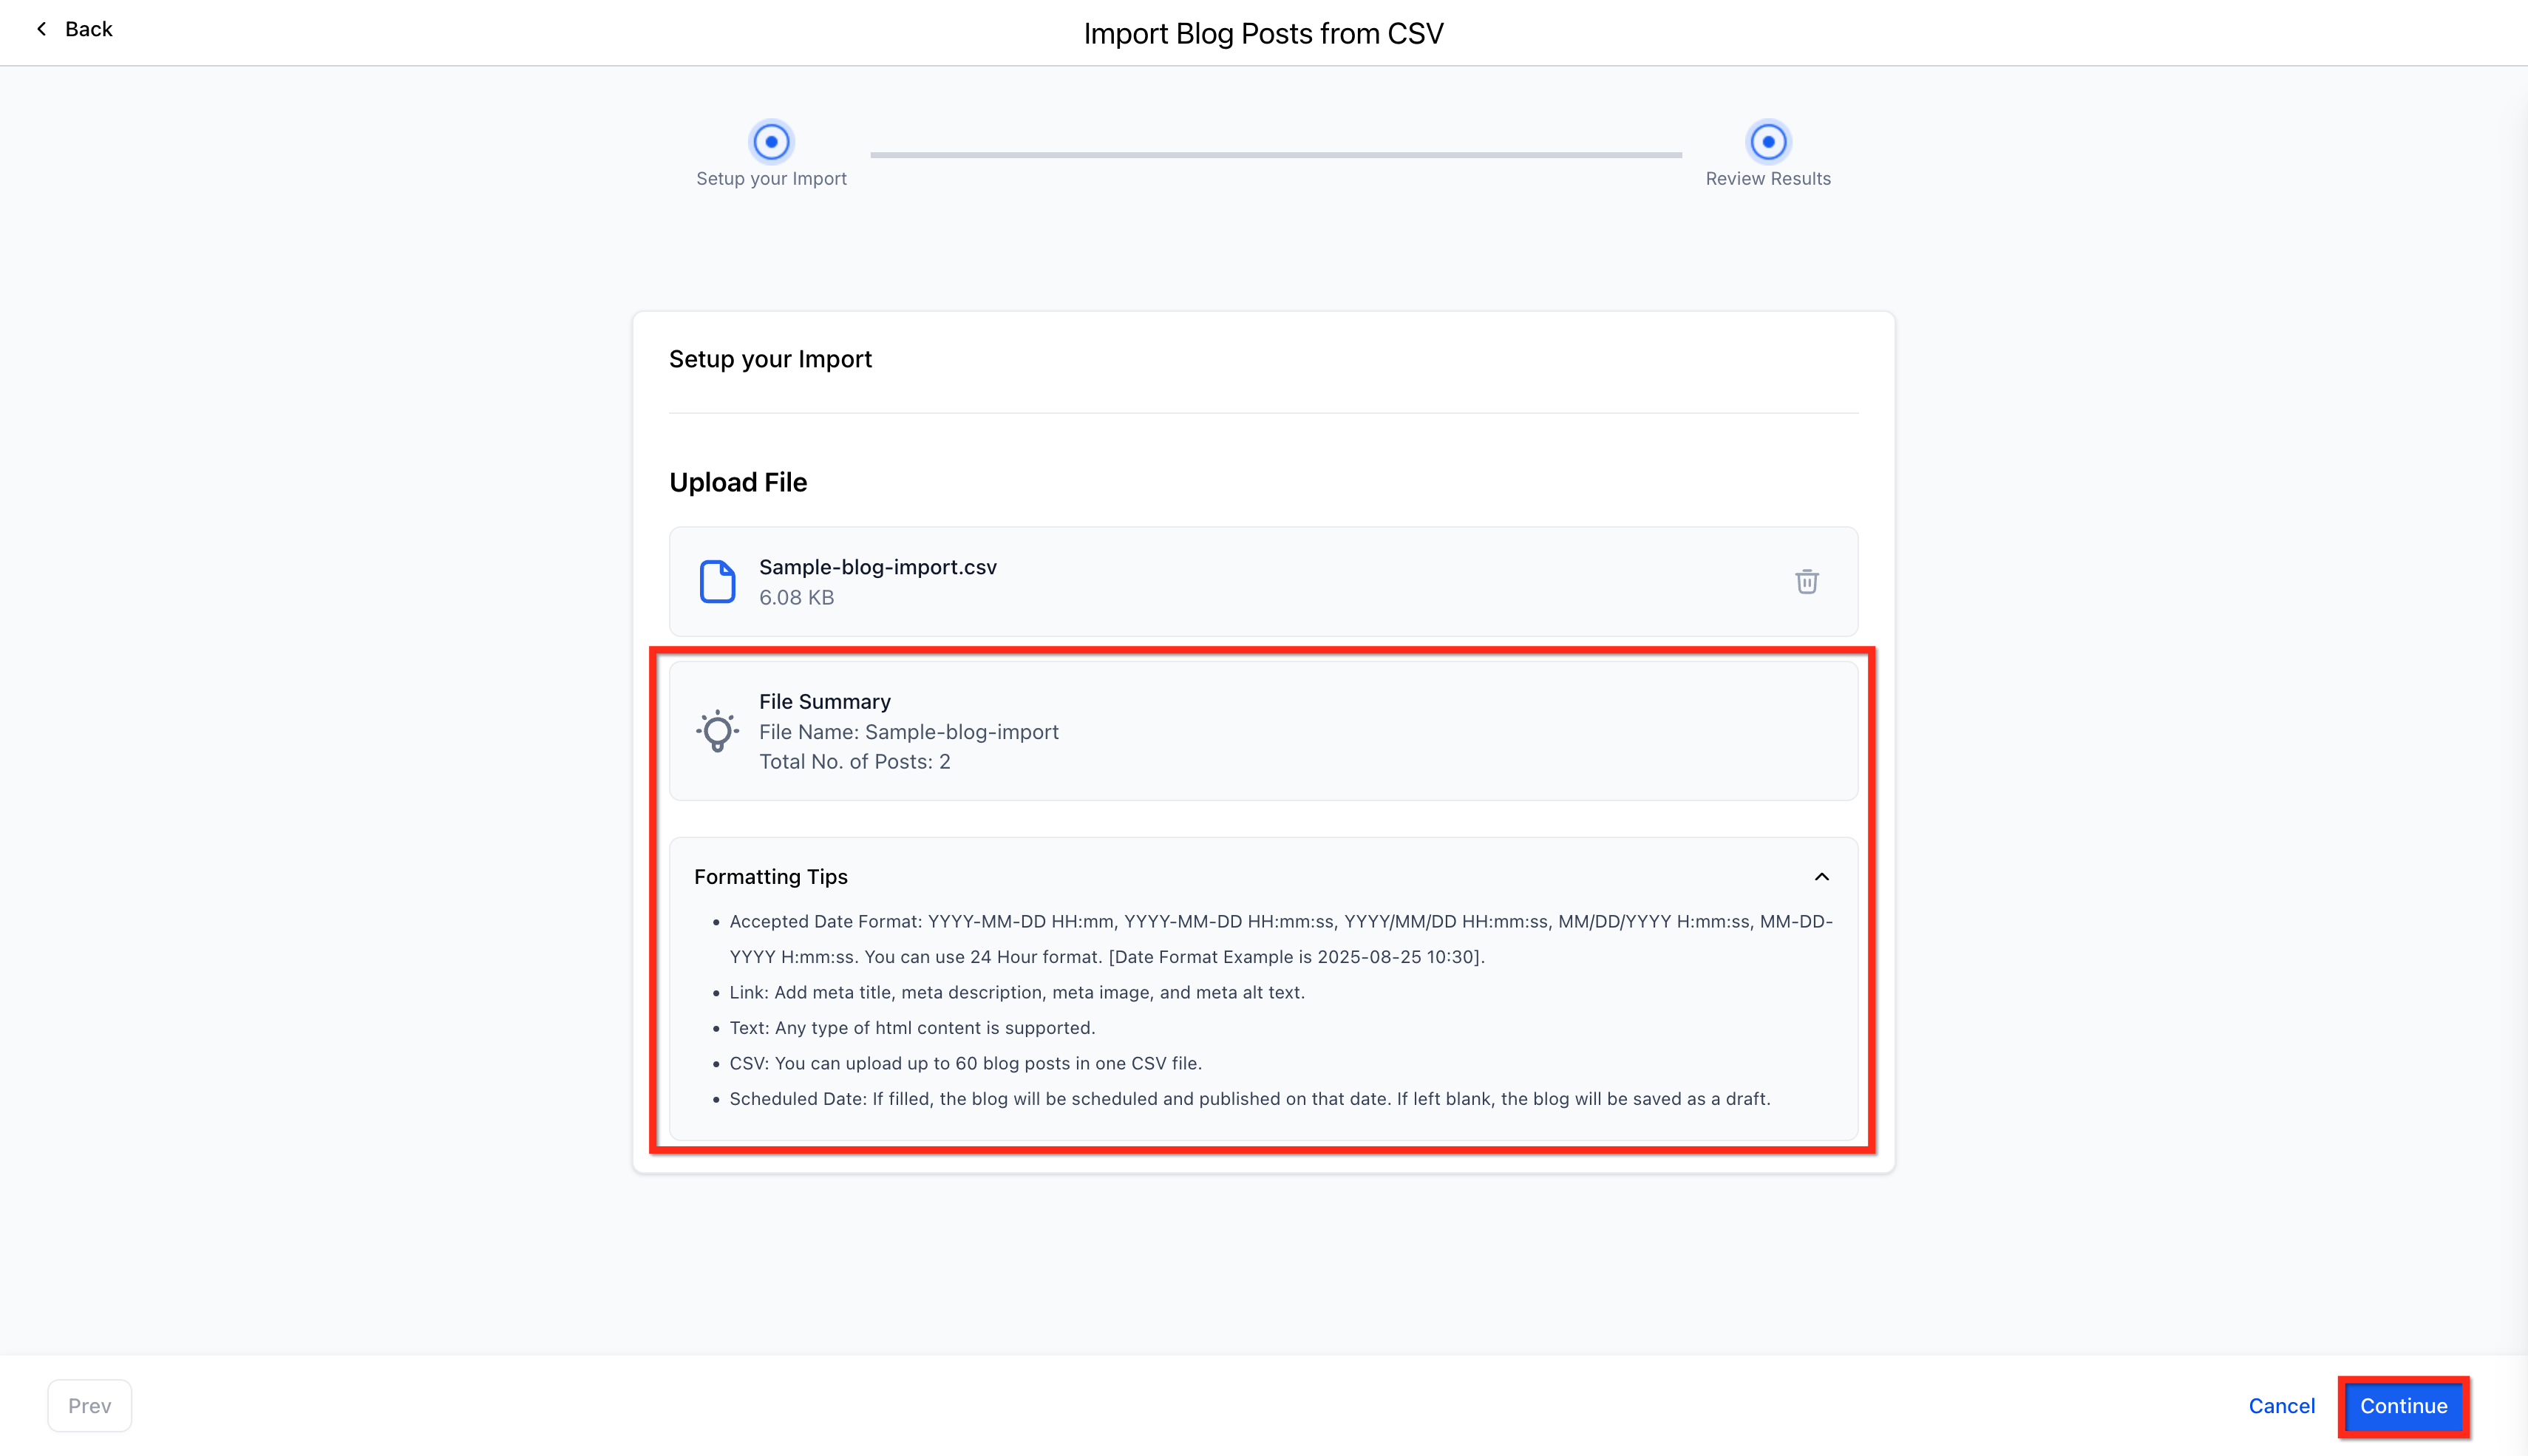
- Check the file summary that shows the name and total rows, then click Continue.
- In the preview list, open a post card, edit the content if needed, and set its publish date using the picker.
- Press Import, review the confirmation modal that lists how many rows will be Published, Scheduled, or saved as Drafts, and confirm by clicking Import again.
- If any rows show errors, open Posts with Errors, correct the issues in the source file, and re upload.
07What it looks like in HighLevel
08Settings that matter
- Publish Date. Determines whether an imported row becomes a published post, a scheduled future post, or a draft based on the date value.
- Time Zone. Ensures that the scheduled publish time respects the subaccount’s local time zone.
09Things to know before you rely on it
- A maximum of 60 posts can be imported per CSV or XLSX file.
- The upload file must be smaller than 25 MB; larger files should be split into separate batches.
- All rows, even those that become drafts, count toward the 60 row limit.
- If a publish date is missing or invalid, the row is imported as a draft.
- Duplicate titles generate new draft posts; the system does not merge them automatically.
10If something goes wrong
- Rows fail validation and appear in Posts with Errors.. Open the error report, review the column and message for each failed row, correct the source CSV or XLSX, and re upload the file.
11How it connects to the rest of HighLevel
- Set up and manage blogs in HighLevel Blog setup guide
- Create individual blog posts manually Manual post creation
- Add SEO information to blog posts SEO fields
- HighLevel pricing and plans Pricing page
Michael's take

CSV blog importer is a solid time saver for agencies moving dozens of articles at once.