
01Who this is for
- Agency owners who need to keep a client facing number while consolidating communications in HighLevel.
- Admins responsible for managing carrier documentation and ensuring numbers stay active during a transfer.
02Port in Numbers, explained
Port In Numbers is an in app feature that collects the information carriers need to move a US phone number into HighLevel. After a request is entered, HighLevel builds the Letter of Authorization and emails it to the designated representative for a digital signature. The request appears in the Port In Numbers tab where status, request ID and carrier actions are displayed.
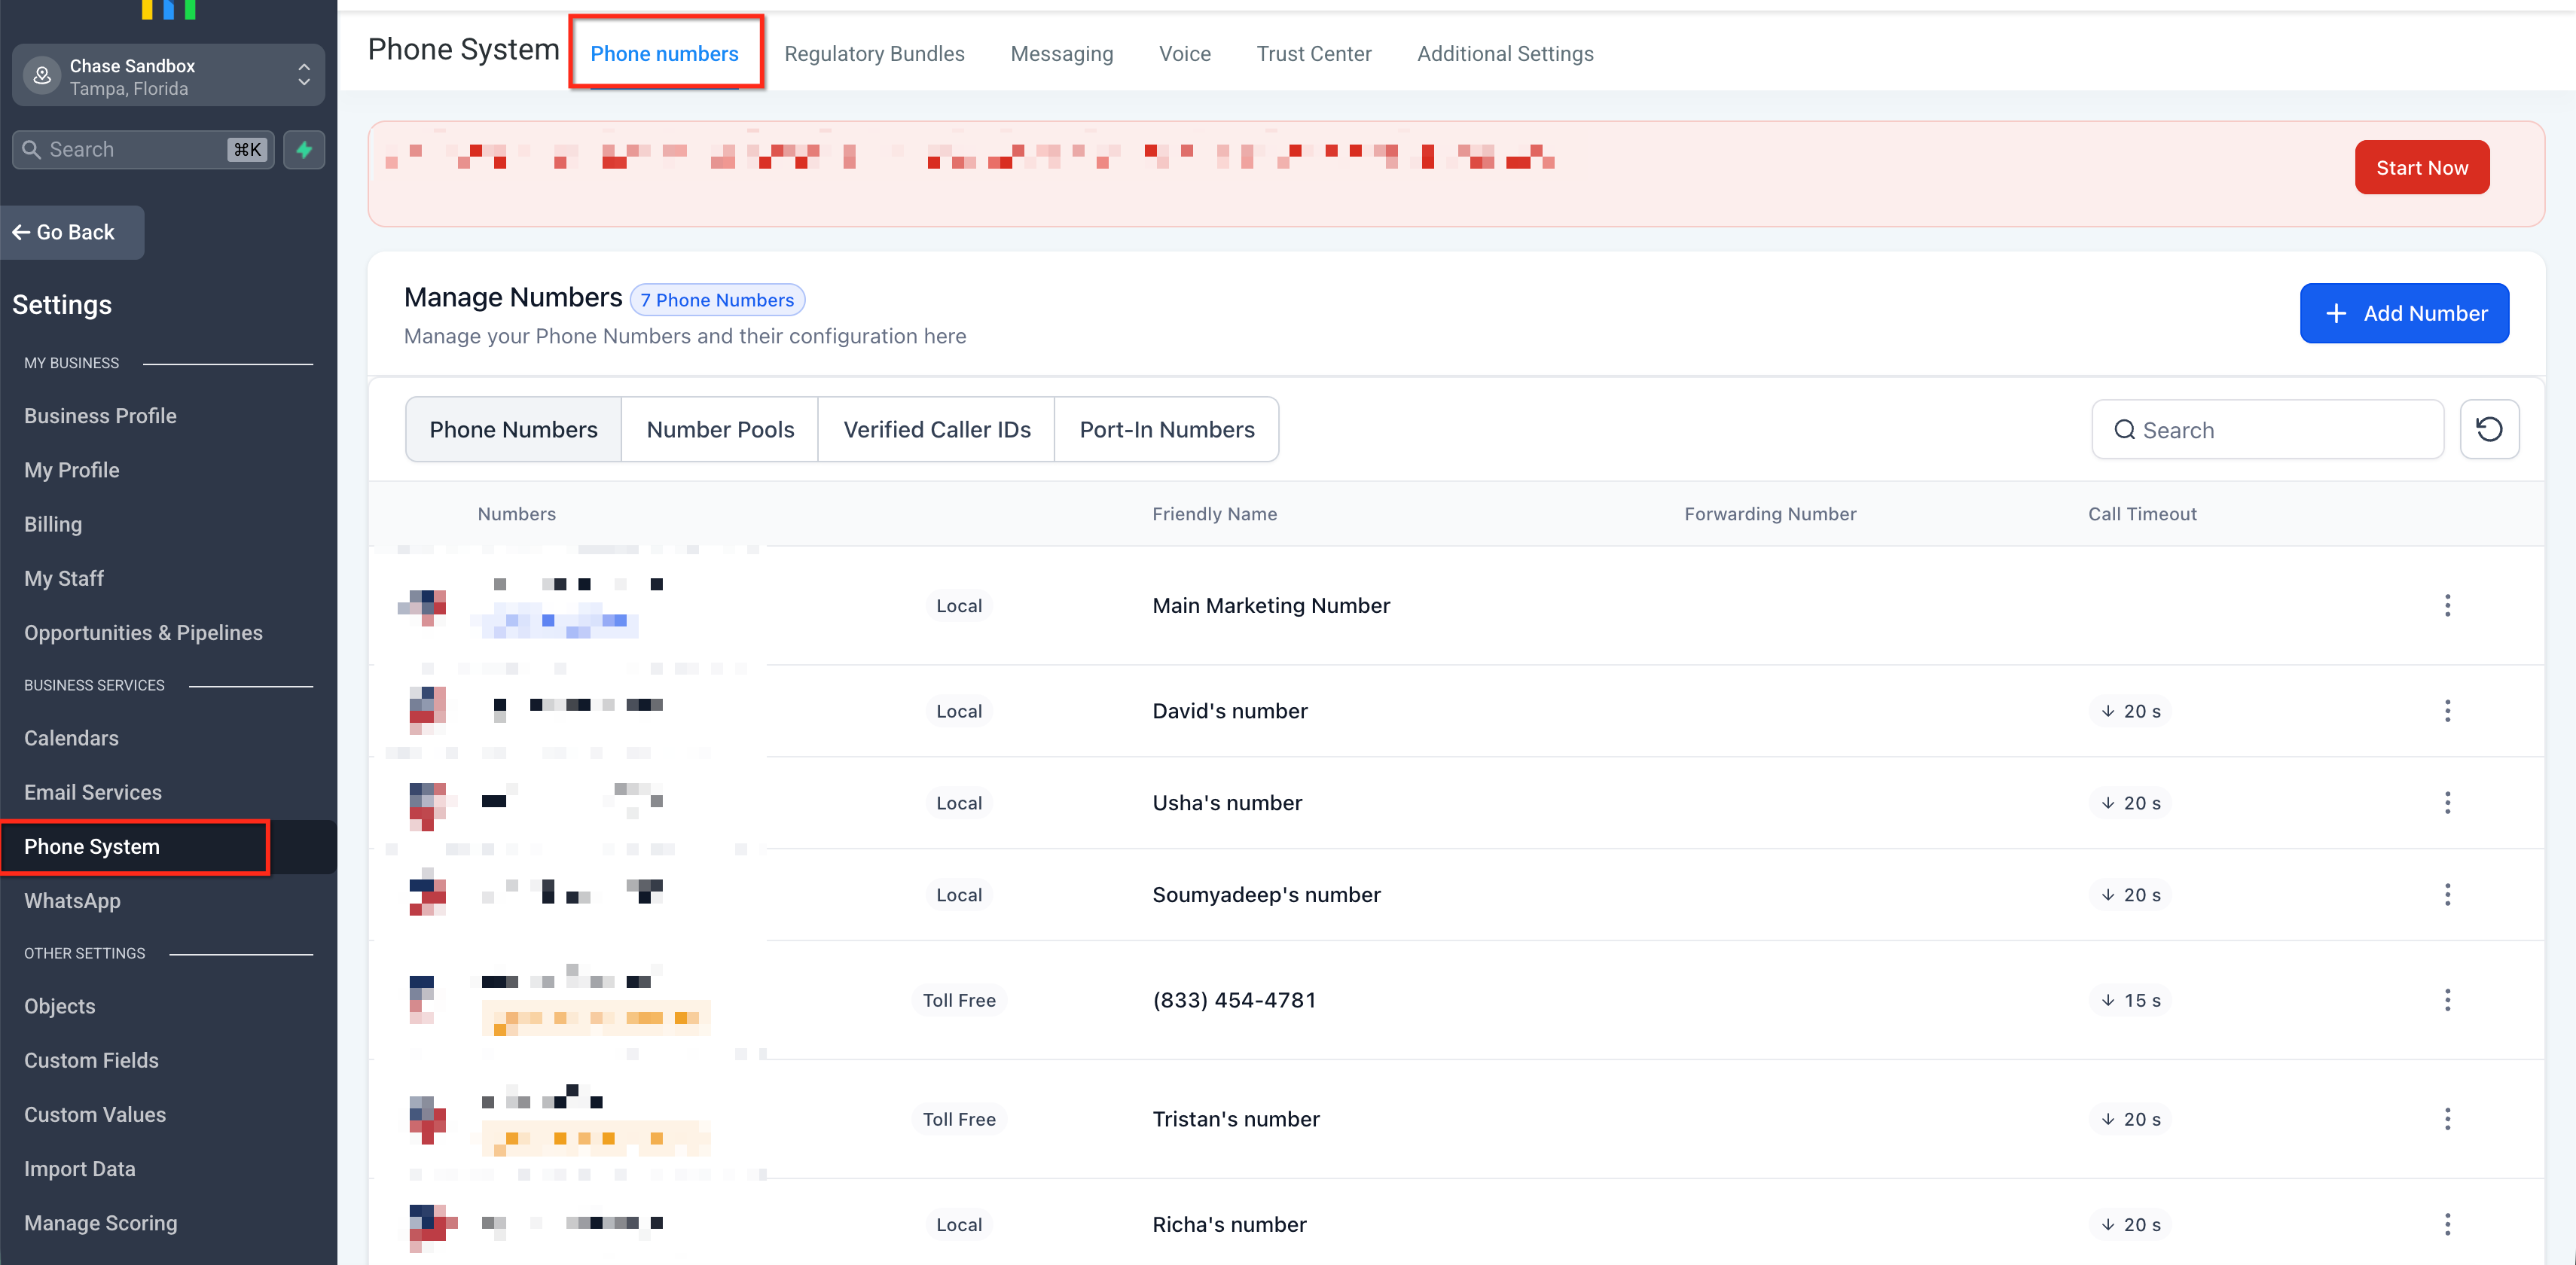
The workflow lives inside the Phone System area. Users open Phone System > Phone Numbers, start a new entry, and choose the Port In Numbers option. The interface guides them through acknowledgements, number entry, contact details and document upload, then records the request for ongoing tracking.
03How businesses use Port In Numbers
- Real estate agency. The agency owner logs in as an Agency Owner, enables the Labs feature, and starts a Port In Numbers request for the office’s main landline. They upload the latest carrier billing statement, enter the authorized representative’s email, and submit. The agency watches the request status until the number appears in HighLevel’s Phone Numbers.
- Dental practice. The practice admin, acting as Agency Admin, adds multiple clinic landlines using a comma separated list in the Port In Numbers form. After uploading the billing PDF, they send the generated LOA to the dentist’s email for signing and monitors the request through the Port In Numbers dashboard.
- SaaS startup. The startup Founder, with Owner rights, enters a wireless number that includes the required PIN, uploads the carrier bill, and submits the request. They then ensure the designated contact signs the auto generated LOA and track the port’s progress without leaving HighLevel.
04The numbers and rules that matter
- Upload only the billing statement as a PDF or image file up to 10 MB.
- Porting timelines: About 2 to 4 weeks for fewer than 50 numbers, 6 to 8 weeks for larger or more complex ports.
05Before you start
- Gather the current carrier account number.
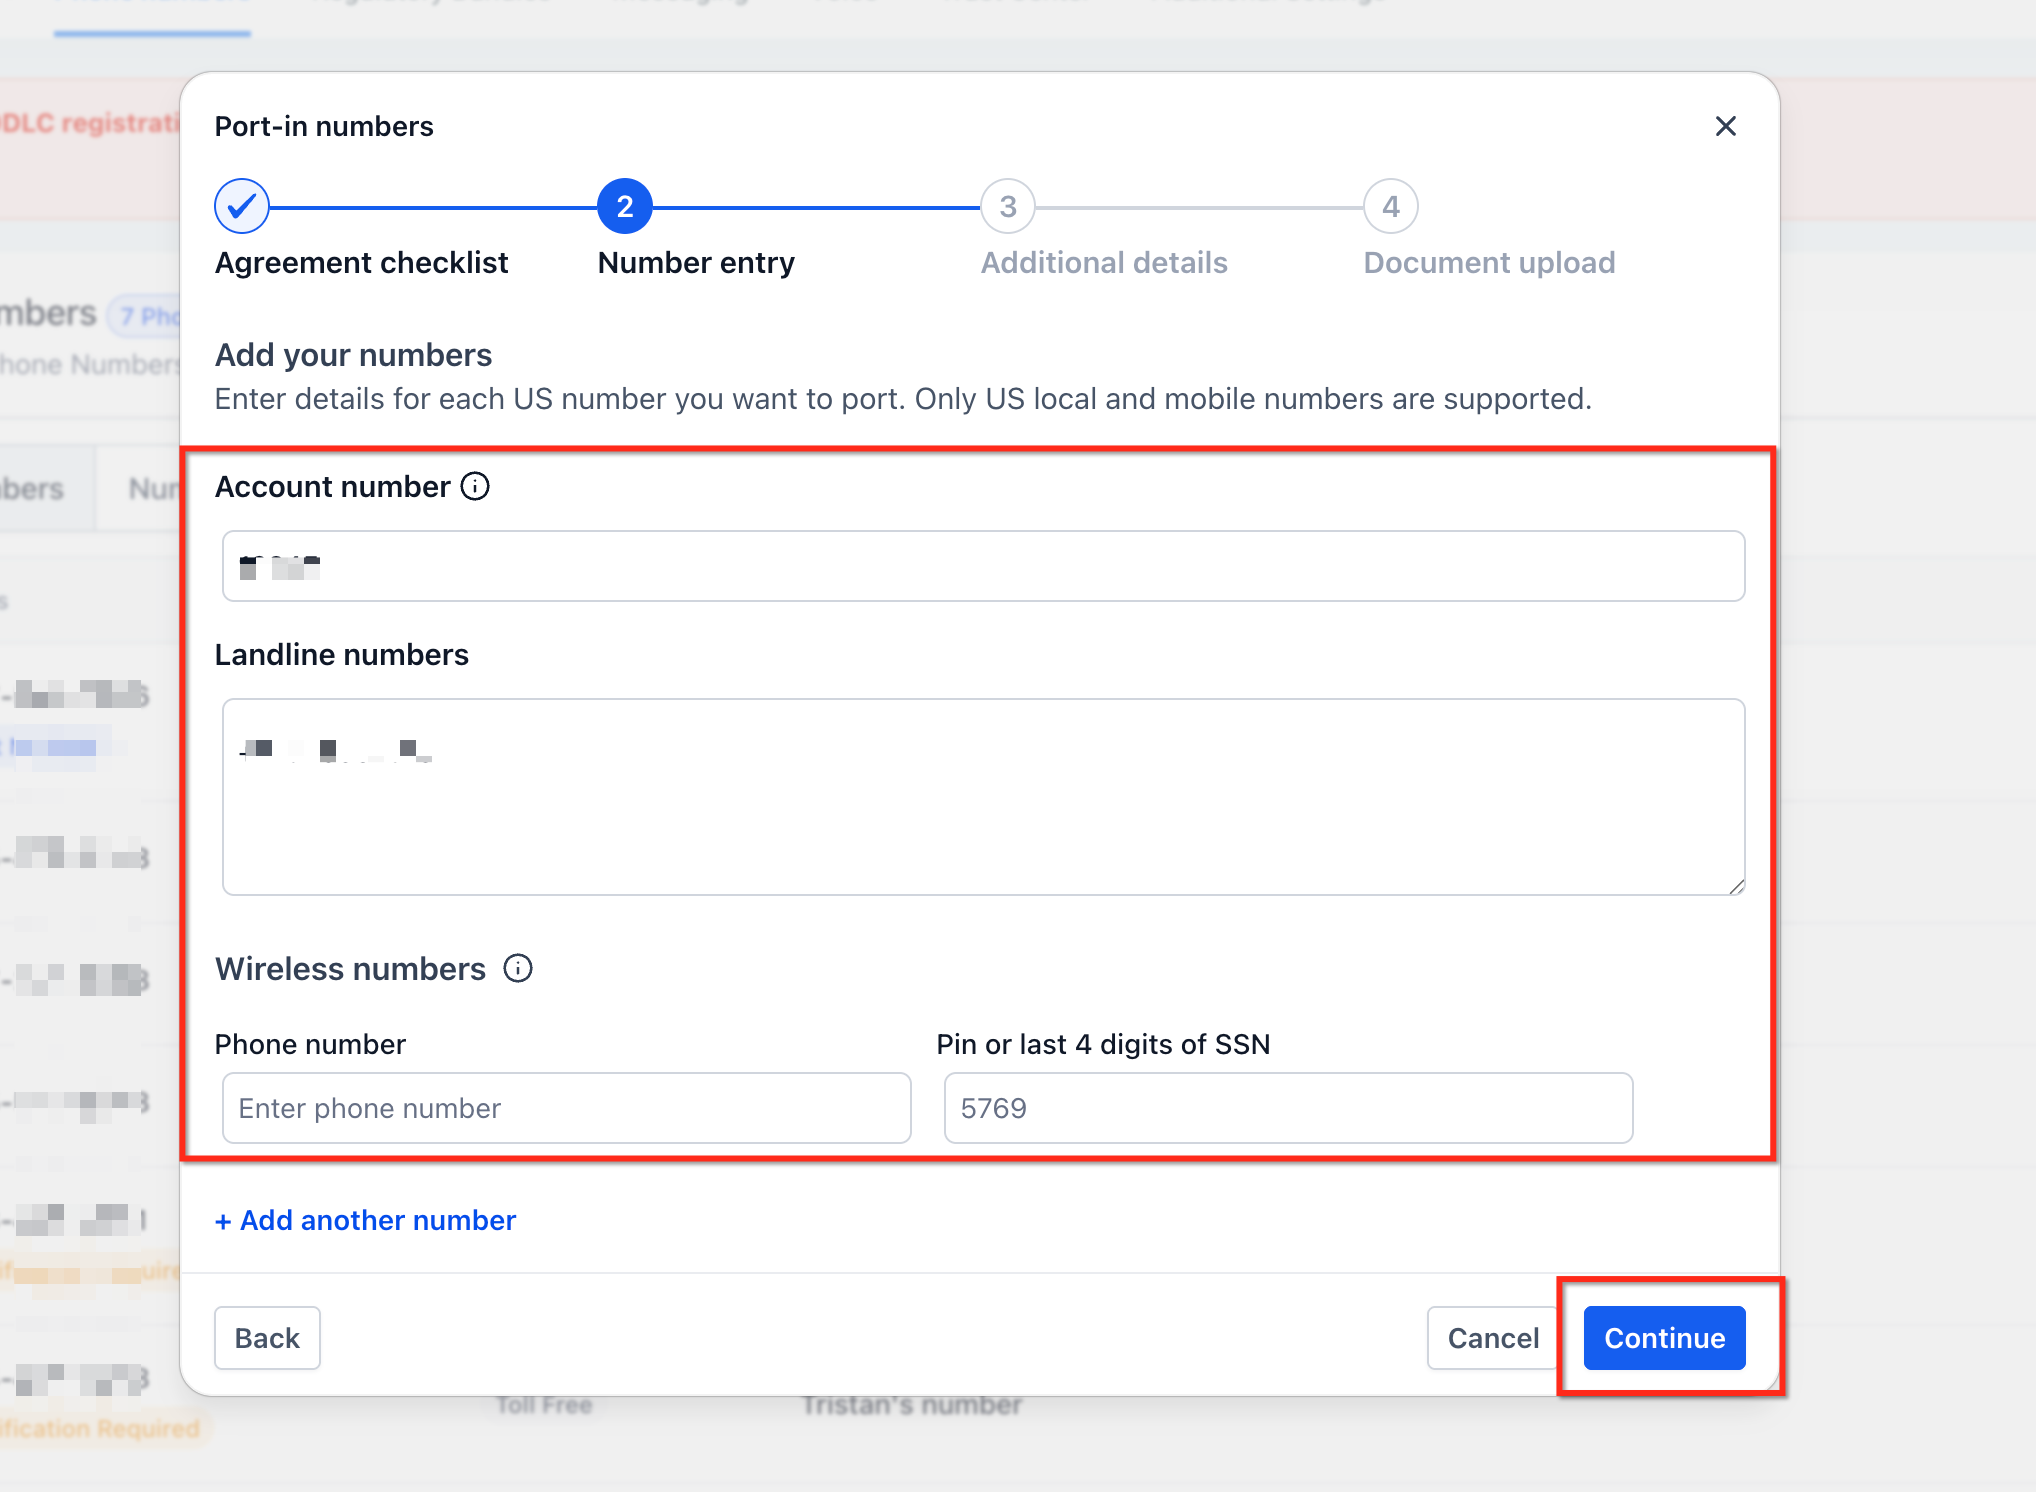
- List landline numbers as a comma separated string and note any wireless numbers.
- Collect the wireless PIN or last four digits of the SSN if required.
- Prepare the authorized representative’s full name and email address.
- Have a PDF or image of the billing statement that does not exceed 10 MB.
- Keep the numbers active with the existing carrier until the port is complete.
06How to set up and use Port In Numbers in HighLevel
Submit a port in request
- Log in to HighLevel as an Agency Owner or Agency Admin.
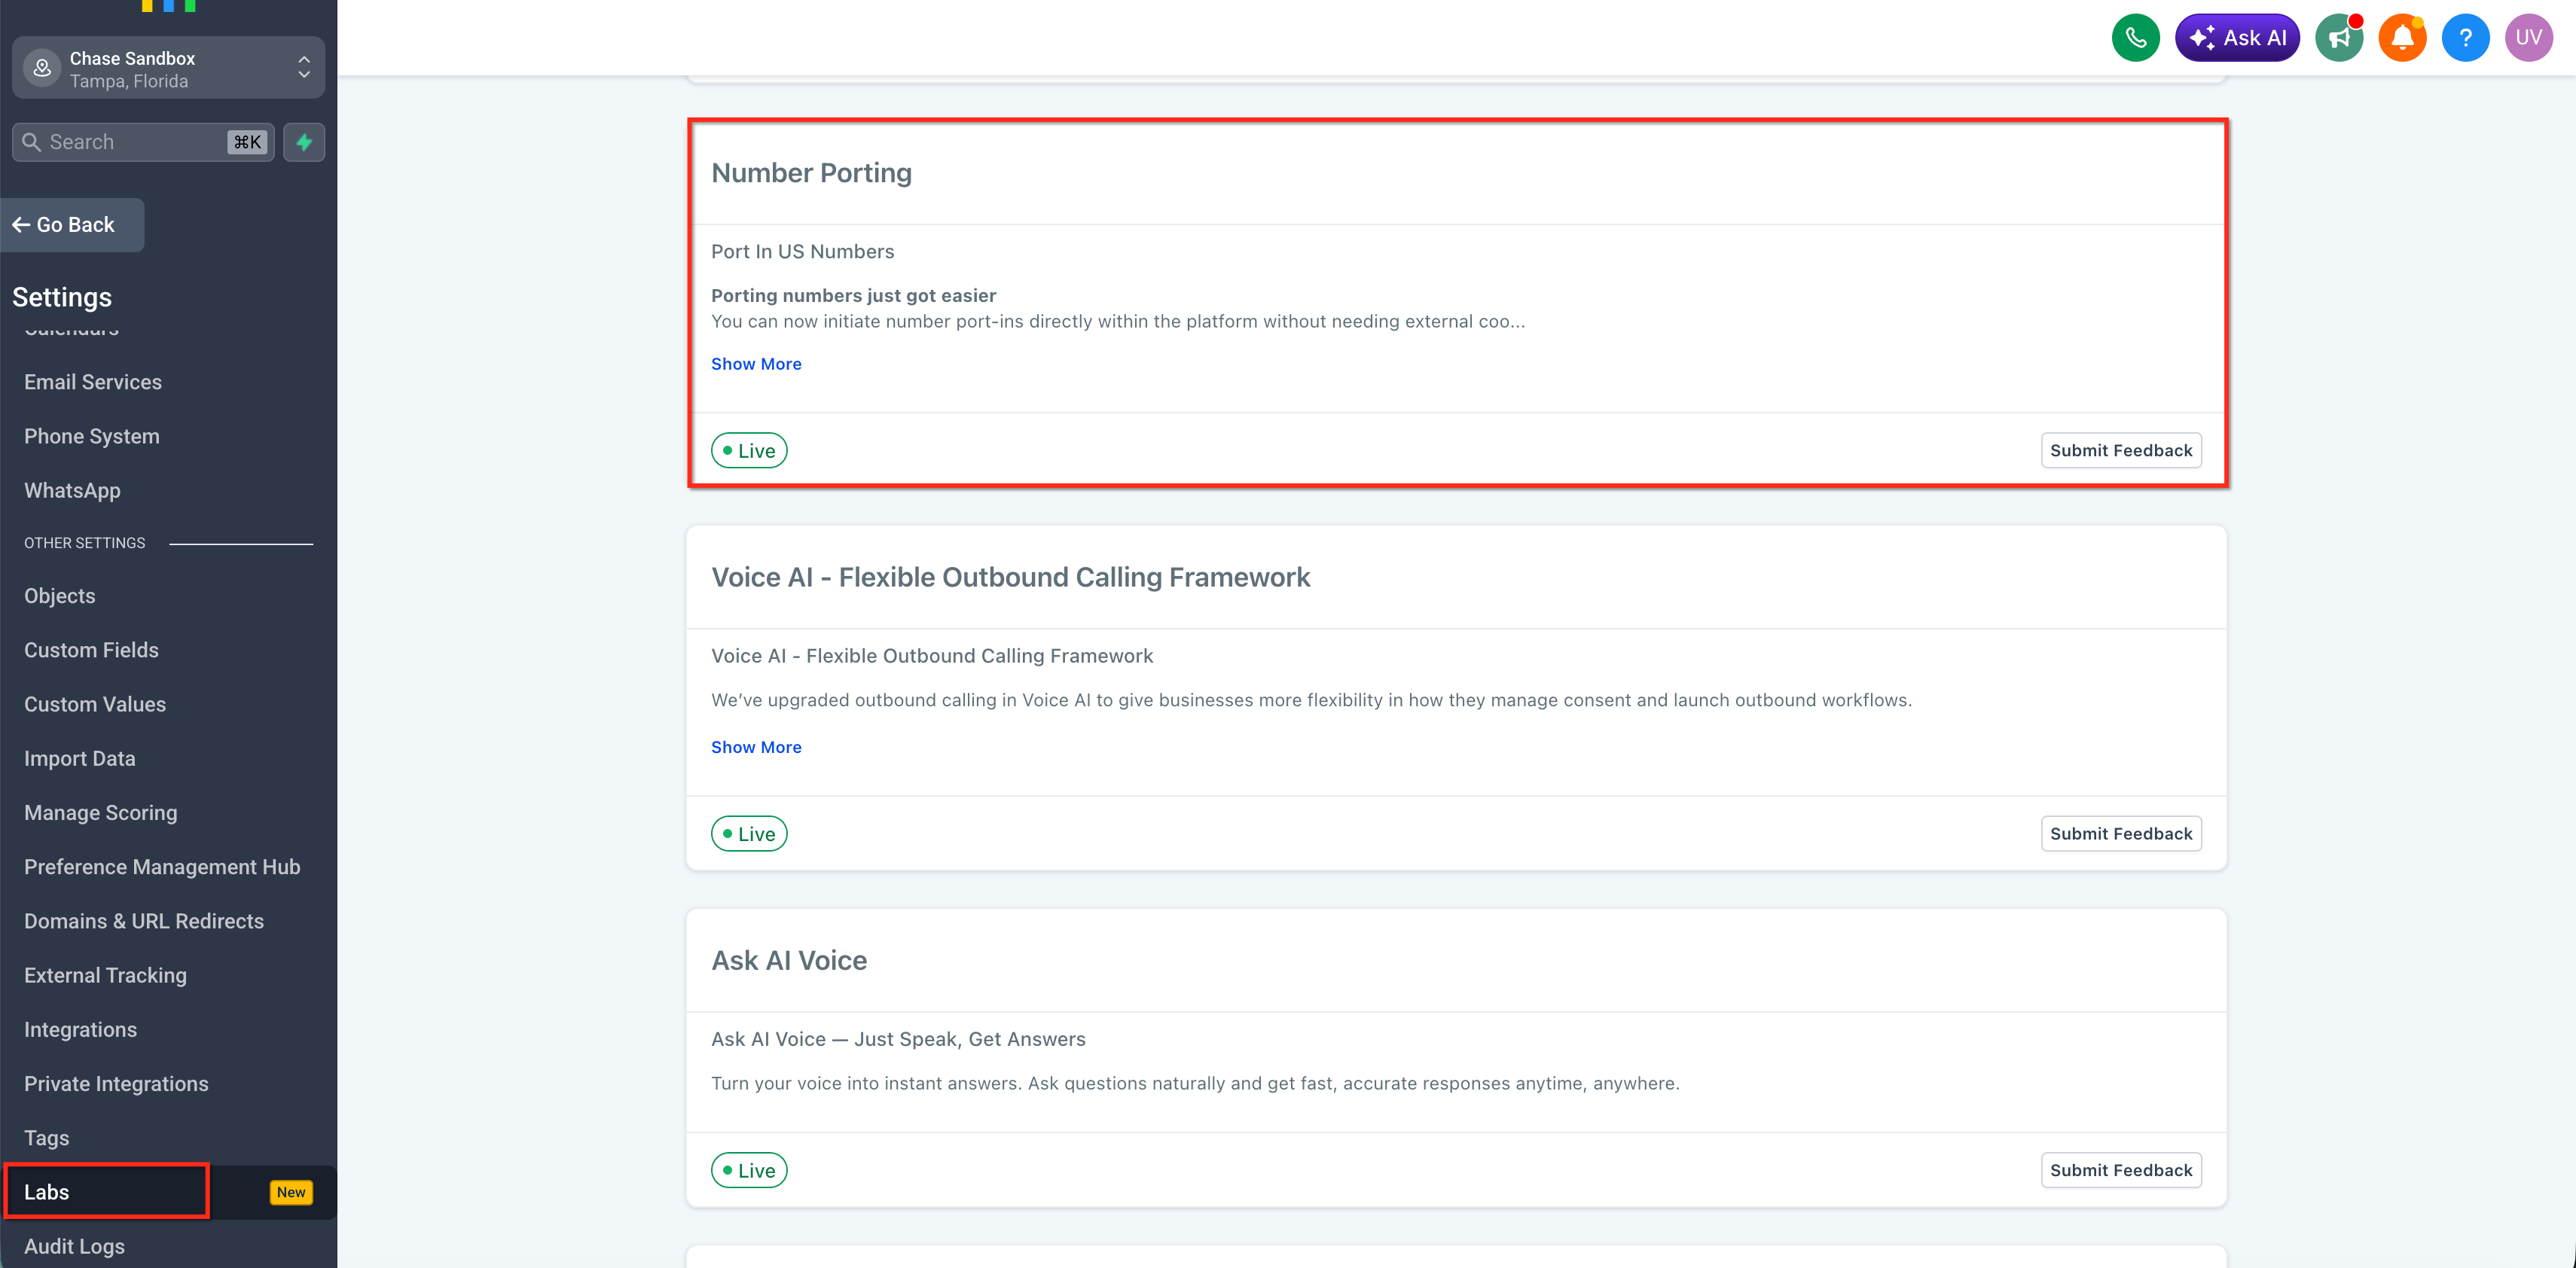
- Confirm the Port In Numbers feature is turned on in Labs.
- Open Phone System > Phone Numbers.
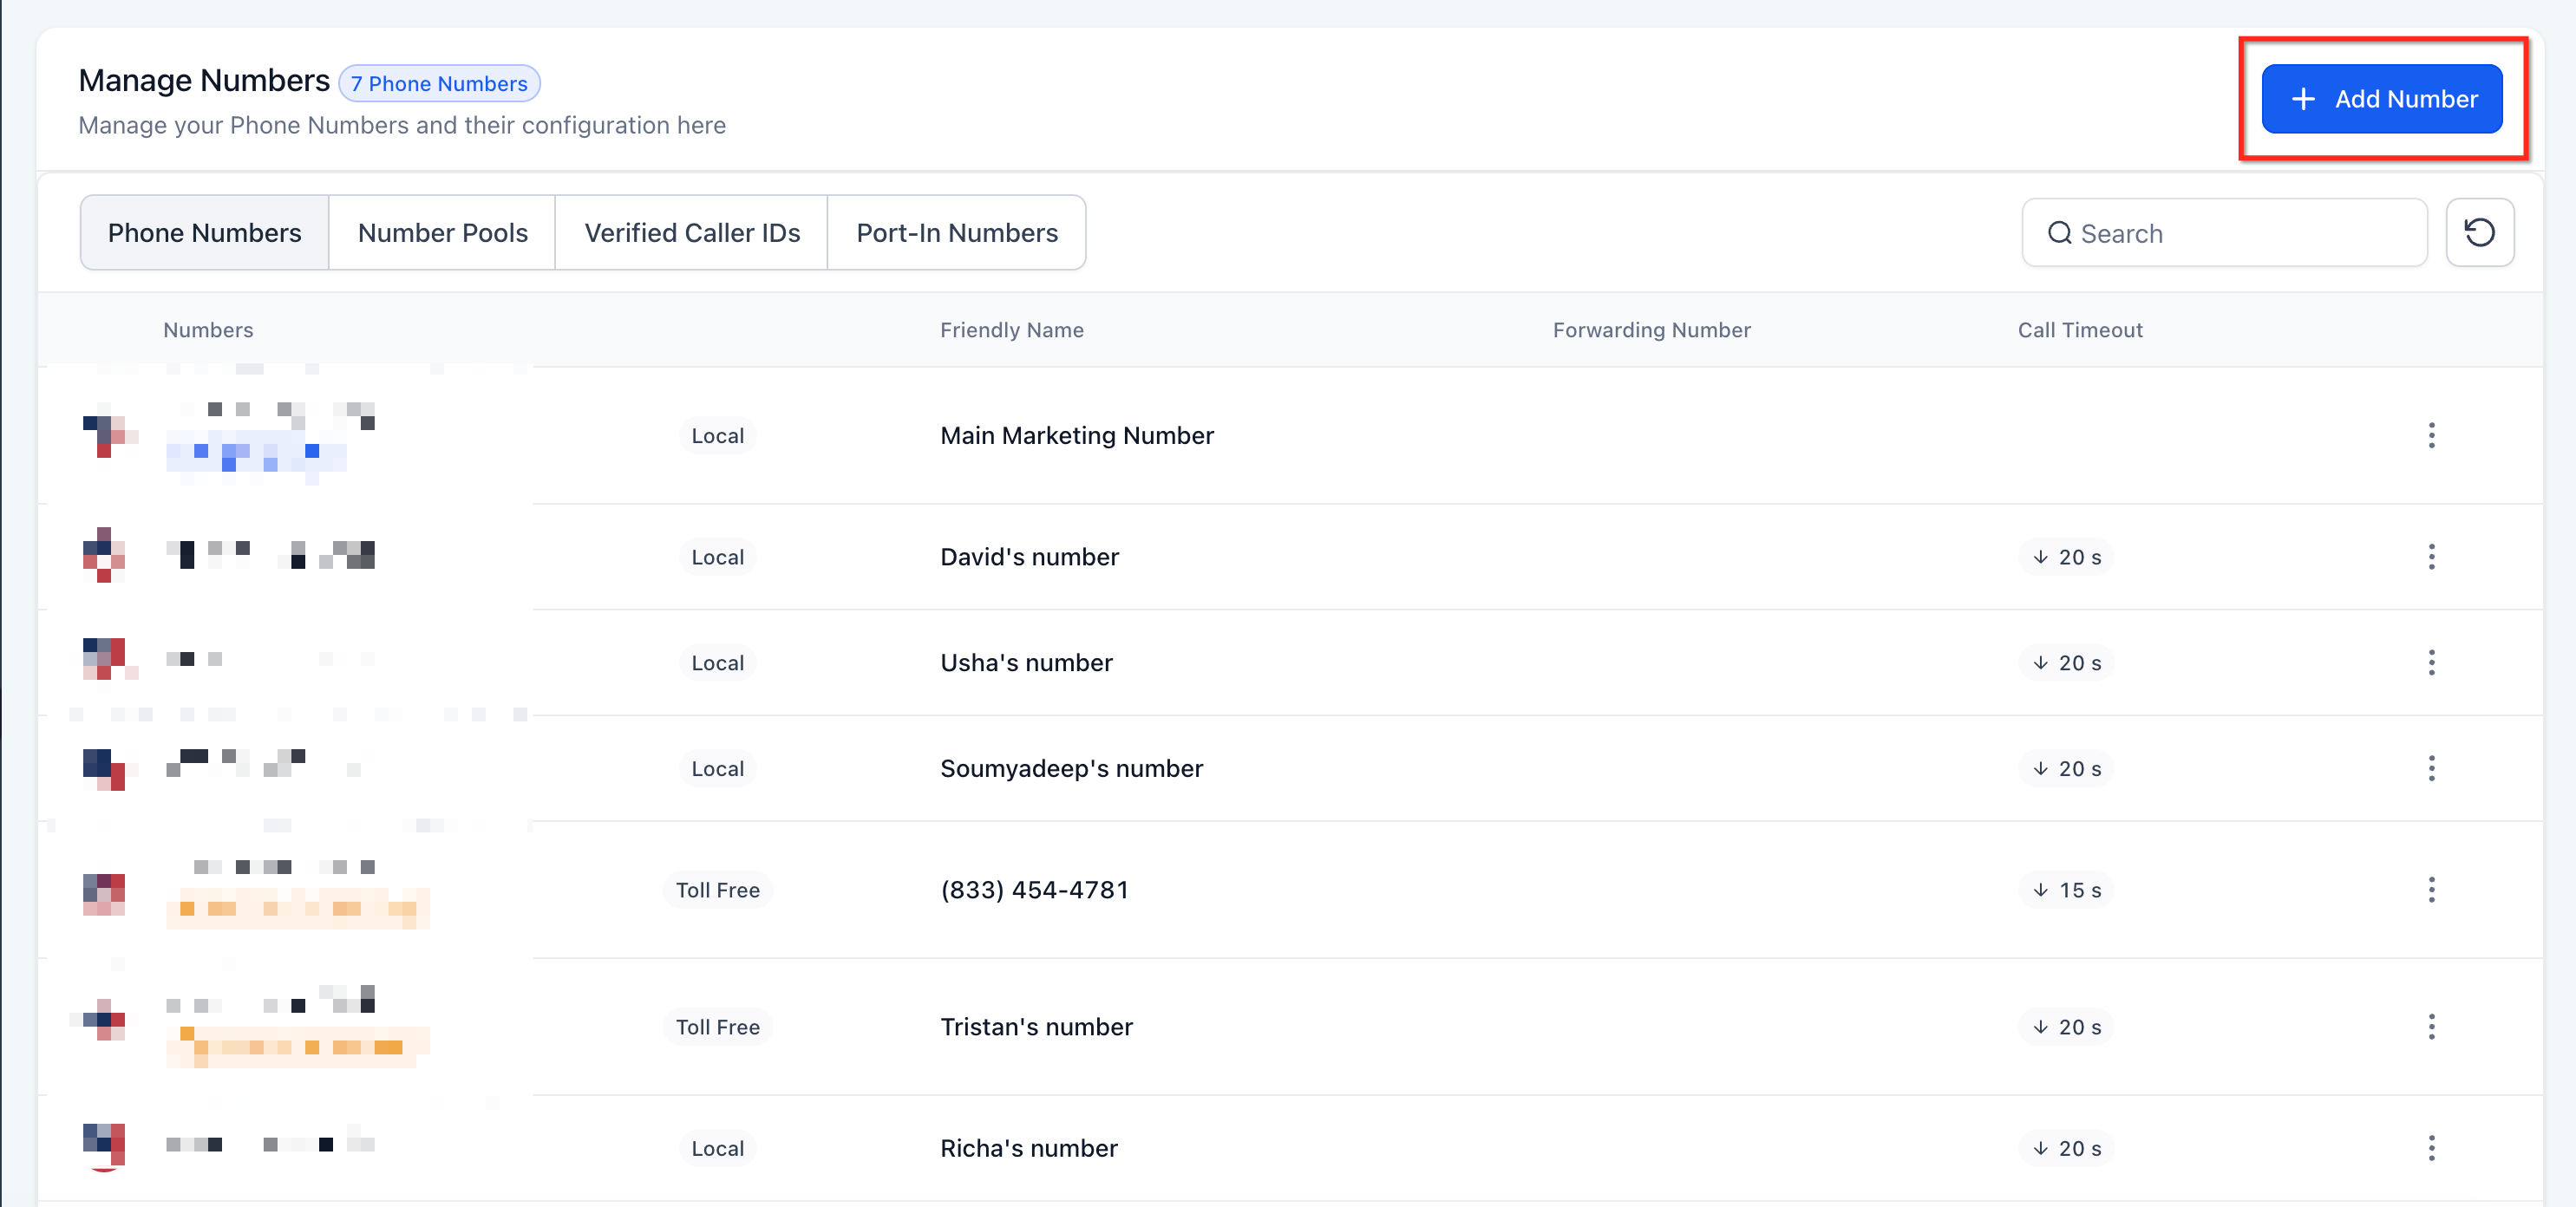
- Click the Add Number button.
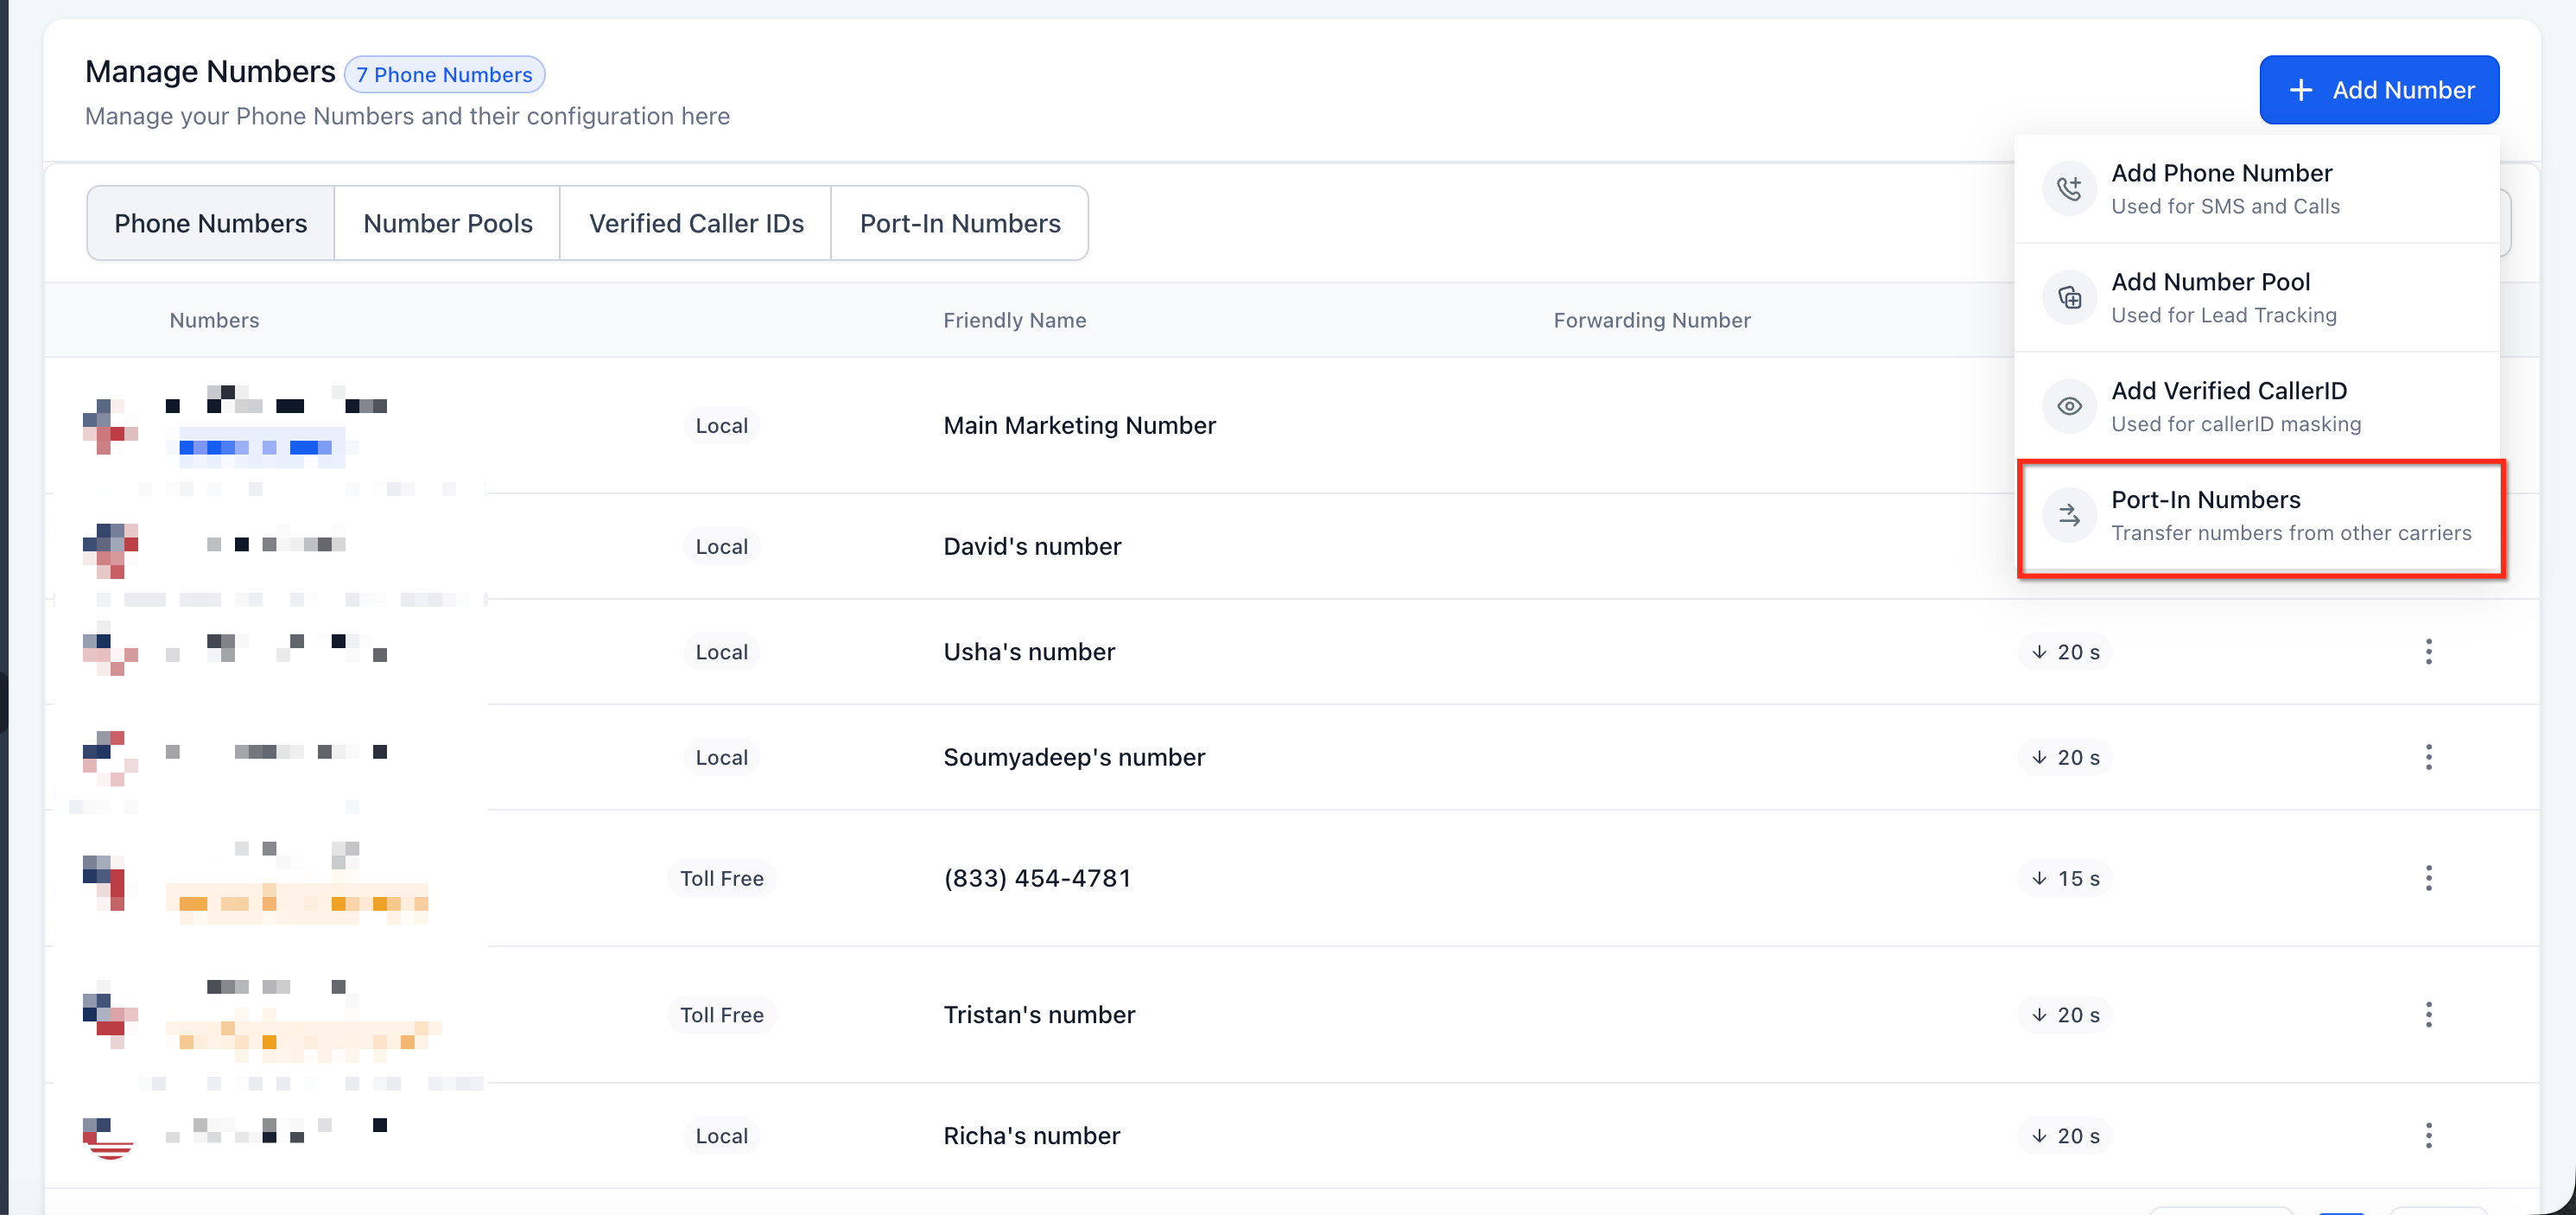
- Select Port in Numbers.
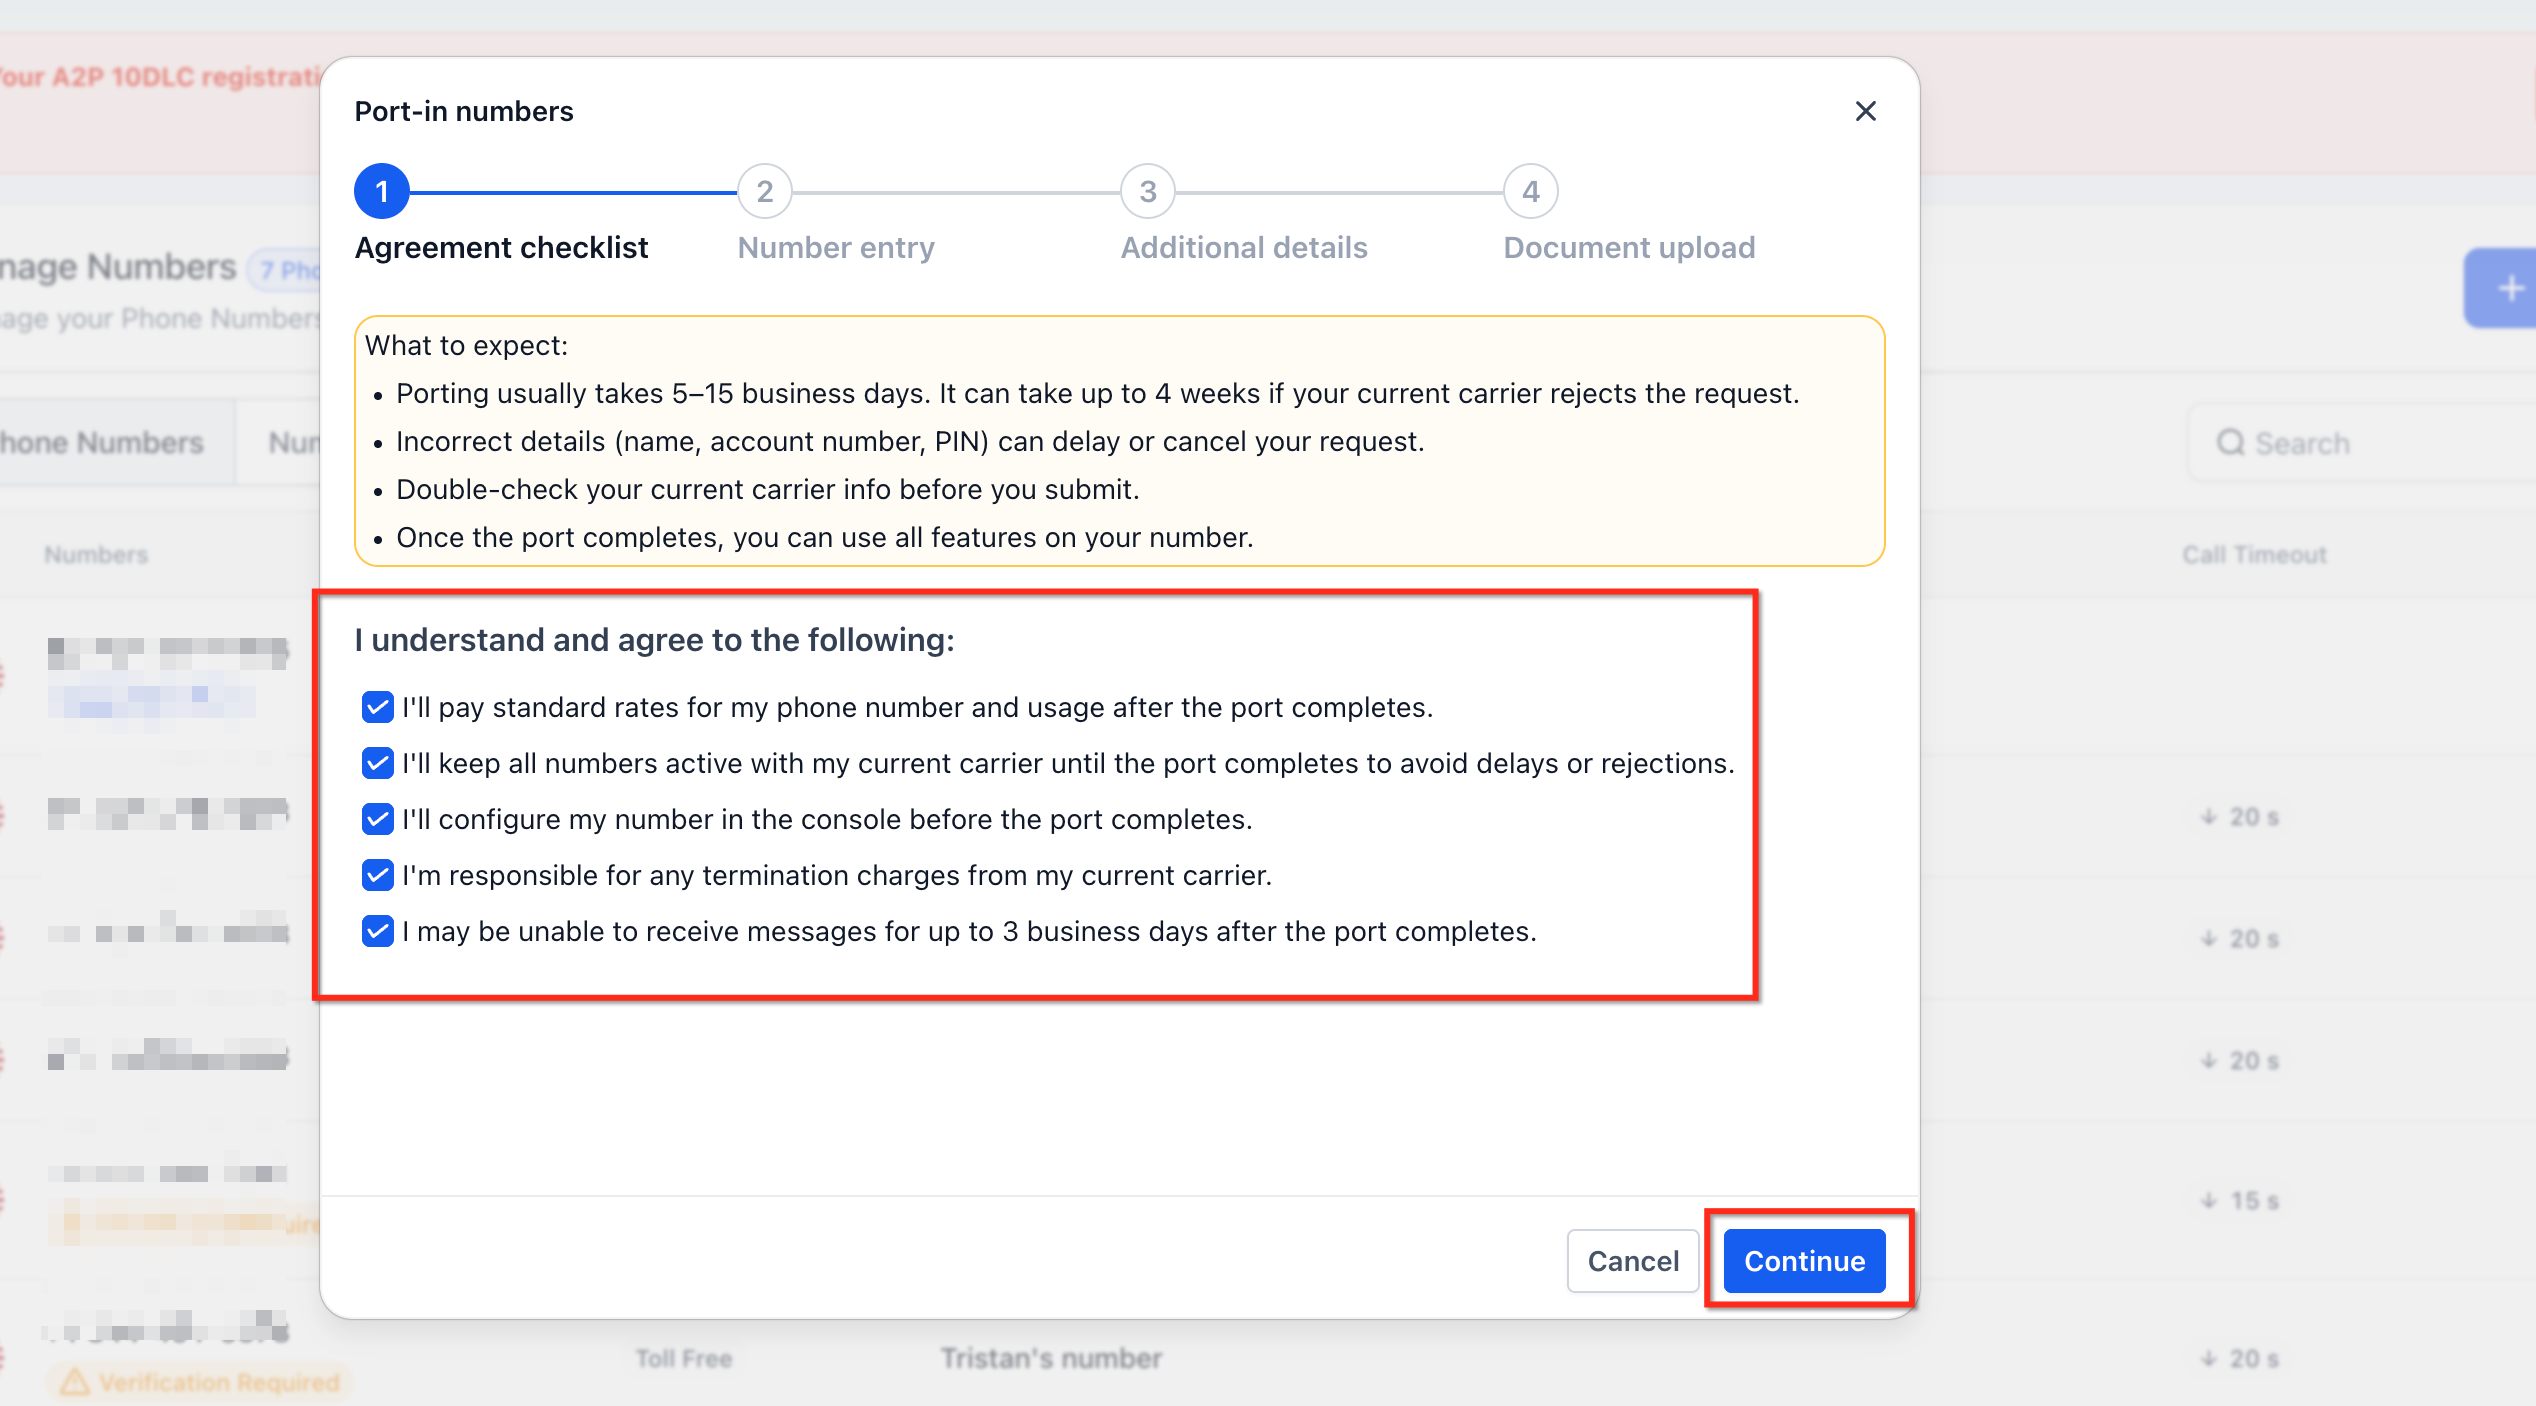
- Complete the Agreement Checklist that appears.
- Enter the carrier account number and add landline and wireless numbers, including any required PIN or SSN digits.
- Provide the request name, choose Residential or Business, and fill in the authorized contact name, email, and full service address with state and postal code.
- Upload the billing statement as a PDF or image file no larger than 10 MB.
- Review all entered details for accuracy.
- Submit the request.
- Copy or save the Request SID shown in the confirmation modal.
- Ask the authorized representative to open their email and digitally sign the Letter of Authorization.
- Track the request from Phone Numbers > Port In Numbers.
07What it looks like in HighLevel
08Settings that matter
- Agreement Checklist. Controls the required acknowledgements that must be accepted before the port in request can be submitted.
- Port, in Numbers. Selects the workflow used to request the transfer of existing US numbers into HighLevel.
09Things to know before you rely on it
- Only Agency Owners and Agency Admins can use the Port In Numbers workflow, and it must be enabled through Labs.
- The feature supports only US phone numbers.
- The billing statement file must be a PDF or image and cannot exceed 10 MB.
- Multiple landline numbers can be entered as a comma separated list; multiple wireless numbers are added with the + Add New Number button.
- Rejected requests cannot be edited; they must be deleted and a new request submitted with corrected information.
10If something goes wrong
- Request is marked as Rejected. Read the rejection reason in the Port In Numbers tab, correct the mismatched carrier information, delete the rejected request, and submit a new request with the updated details.
- Letter of Authorization not signed. Verify that the authorized representative’s email address is correct and ask them to open the email and apply a digital signature.
- Billing statement file exceeds size limit. Reduce the file size to 10 MB or less and re upload the document.
- Numbers were cancelled with the current carrier before the port completed. Keep the numbers active with the existing carrier until HighLevel confirms the port is finished.
11How it connects to the rest of HighLevel
- Edit phone number configuration options in subaccounts Phone number settings
- Review pricing and billing for the HighLevel phone system Phone system pricing
- Start a 30 day trial of HighLevel to test port in capabilities 30 day trial
Michael's take

Port In Numbers feels like a modest convenience rather than a major shift. It saves the time of juggling separate portals for carriers and HighLevel, but you still need to gather accurate carrier data and keep the numbers live until the transfer finishes.
A small boutique agency that wants to keep its long standing local number while moving all calls and texts into HighLevel will find this useful. I would first run a single number test, verify the LOA flow, and watch the status updates before committing a larger batch.