
01Who this is for
- Retail store owners who need a quick in person checkout method without additional hardware.
- Service providers such as salons or coaches who want to collect payments on the go during appointments.
- Event organizers who require fast, contactless entry fee collection at venues.
02Tap to pay, explained
Tap to Pay is a point of sale feature in the HighLevel mobile app that captures contactless card and mobile wallet payments. It works only after a Stripe account is linked and the app location is set to a supported US location. When a payment is taken, the funds are routed to the connected Stripe account and the transaction status appears on screen.
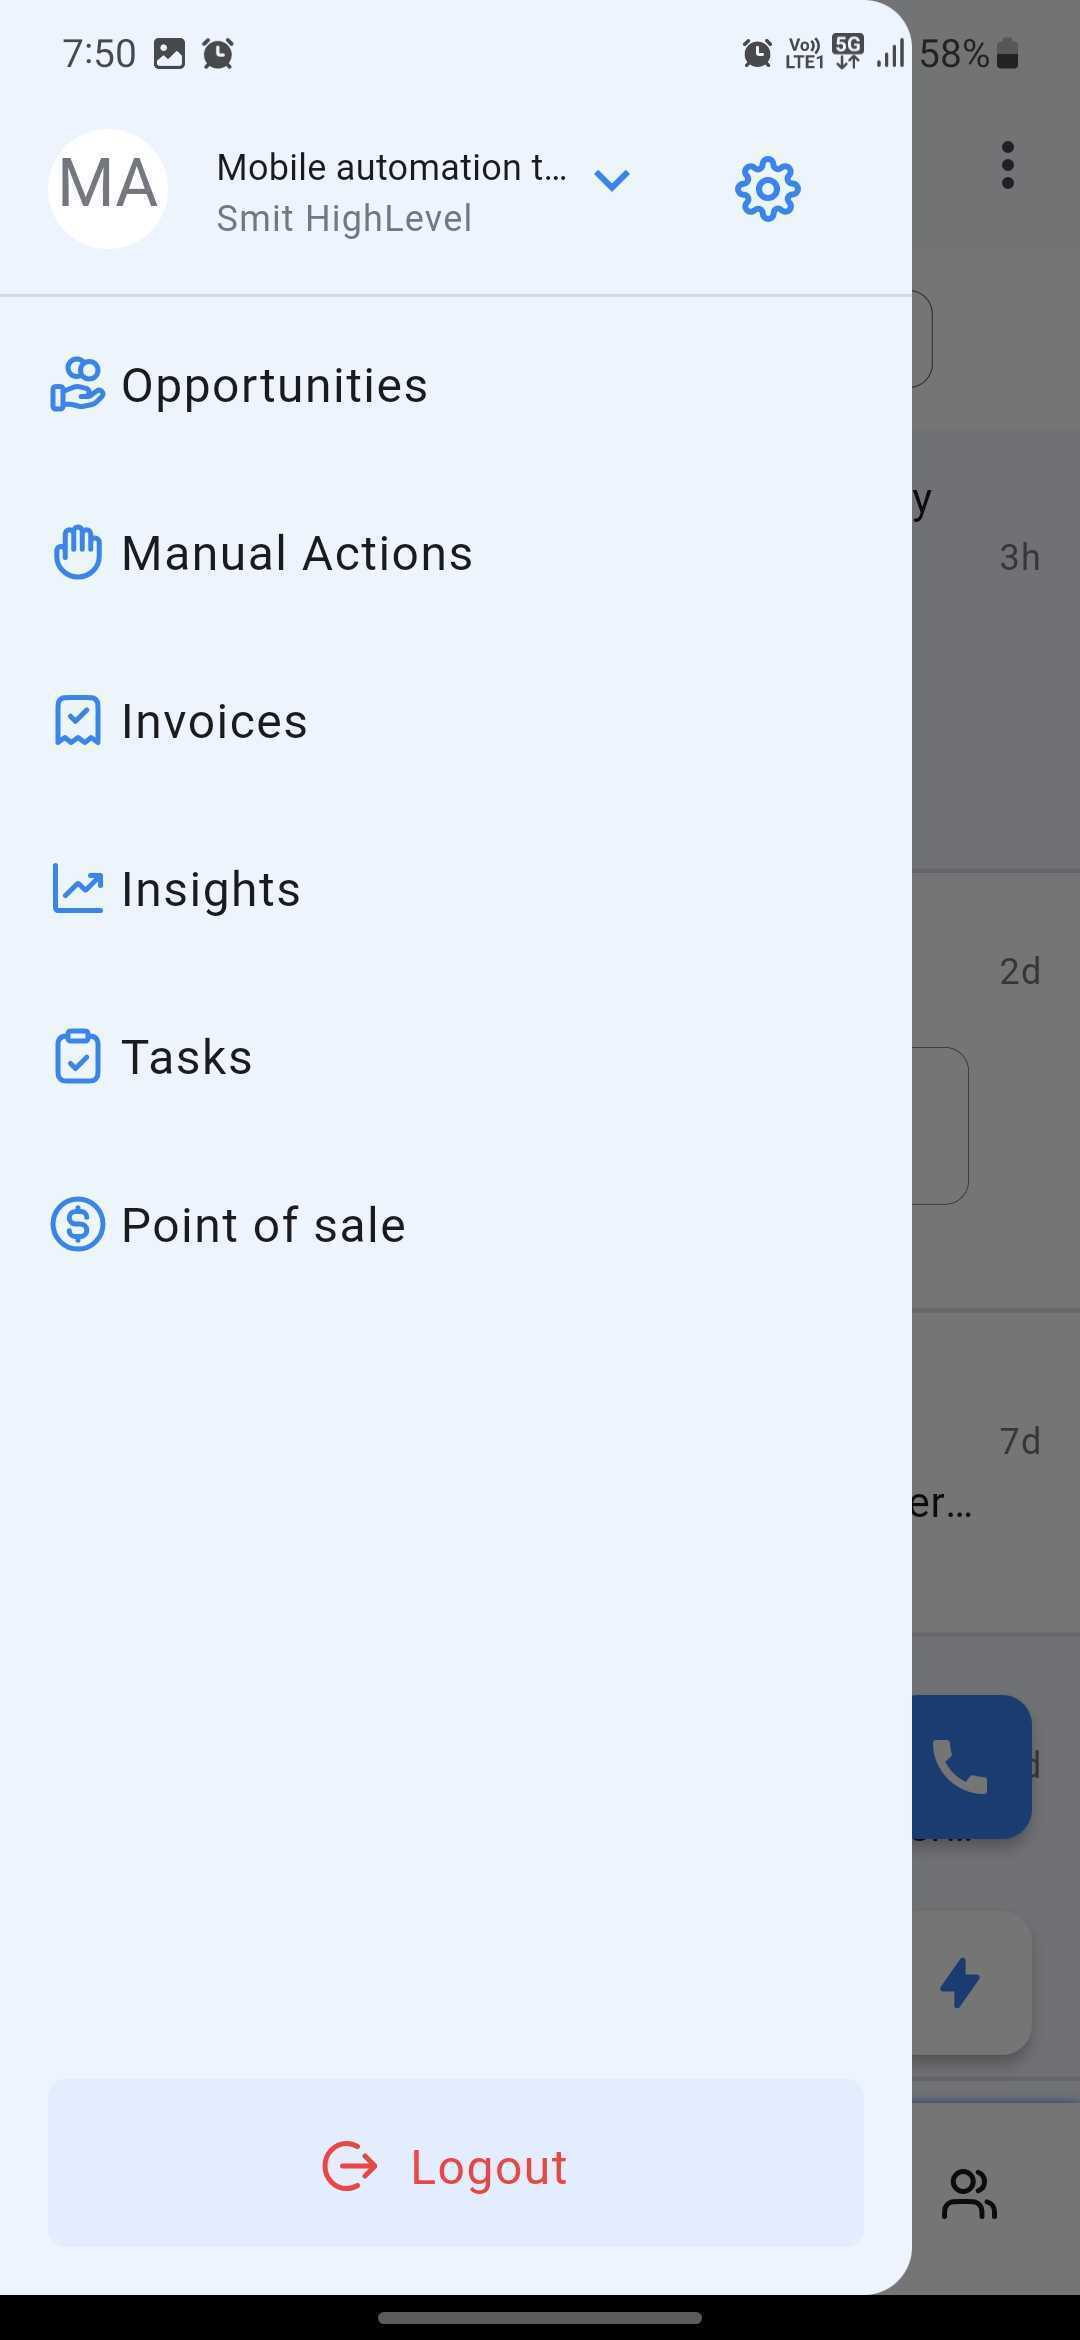
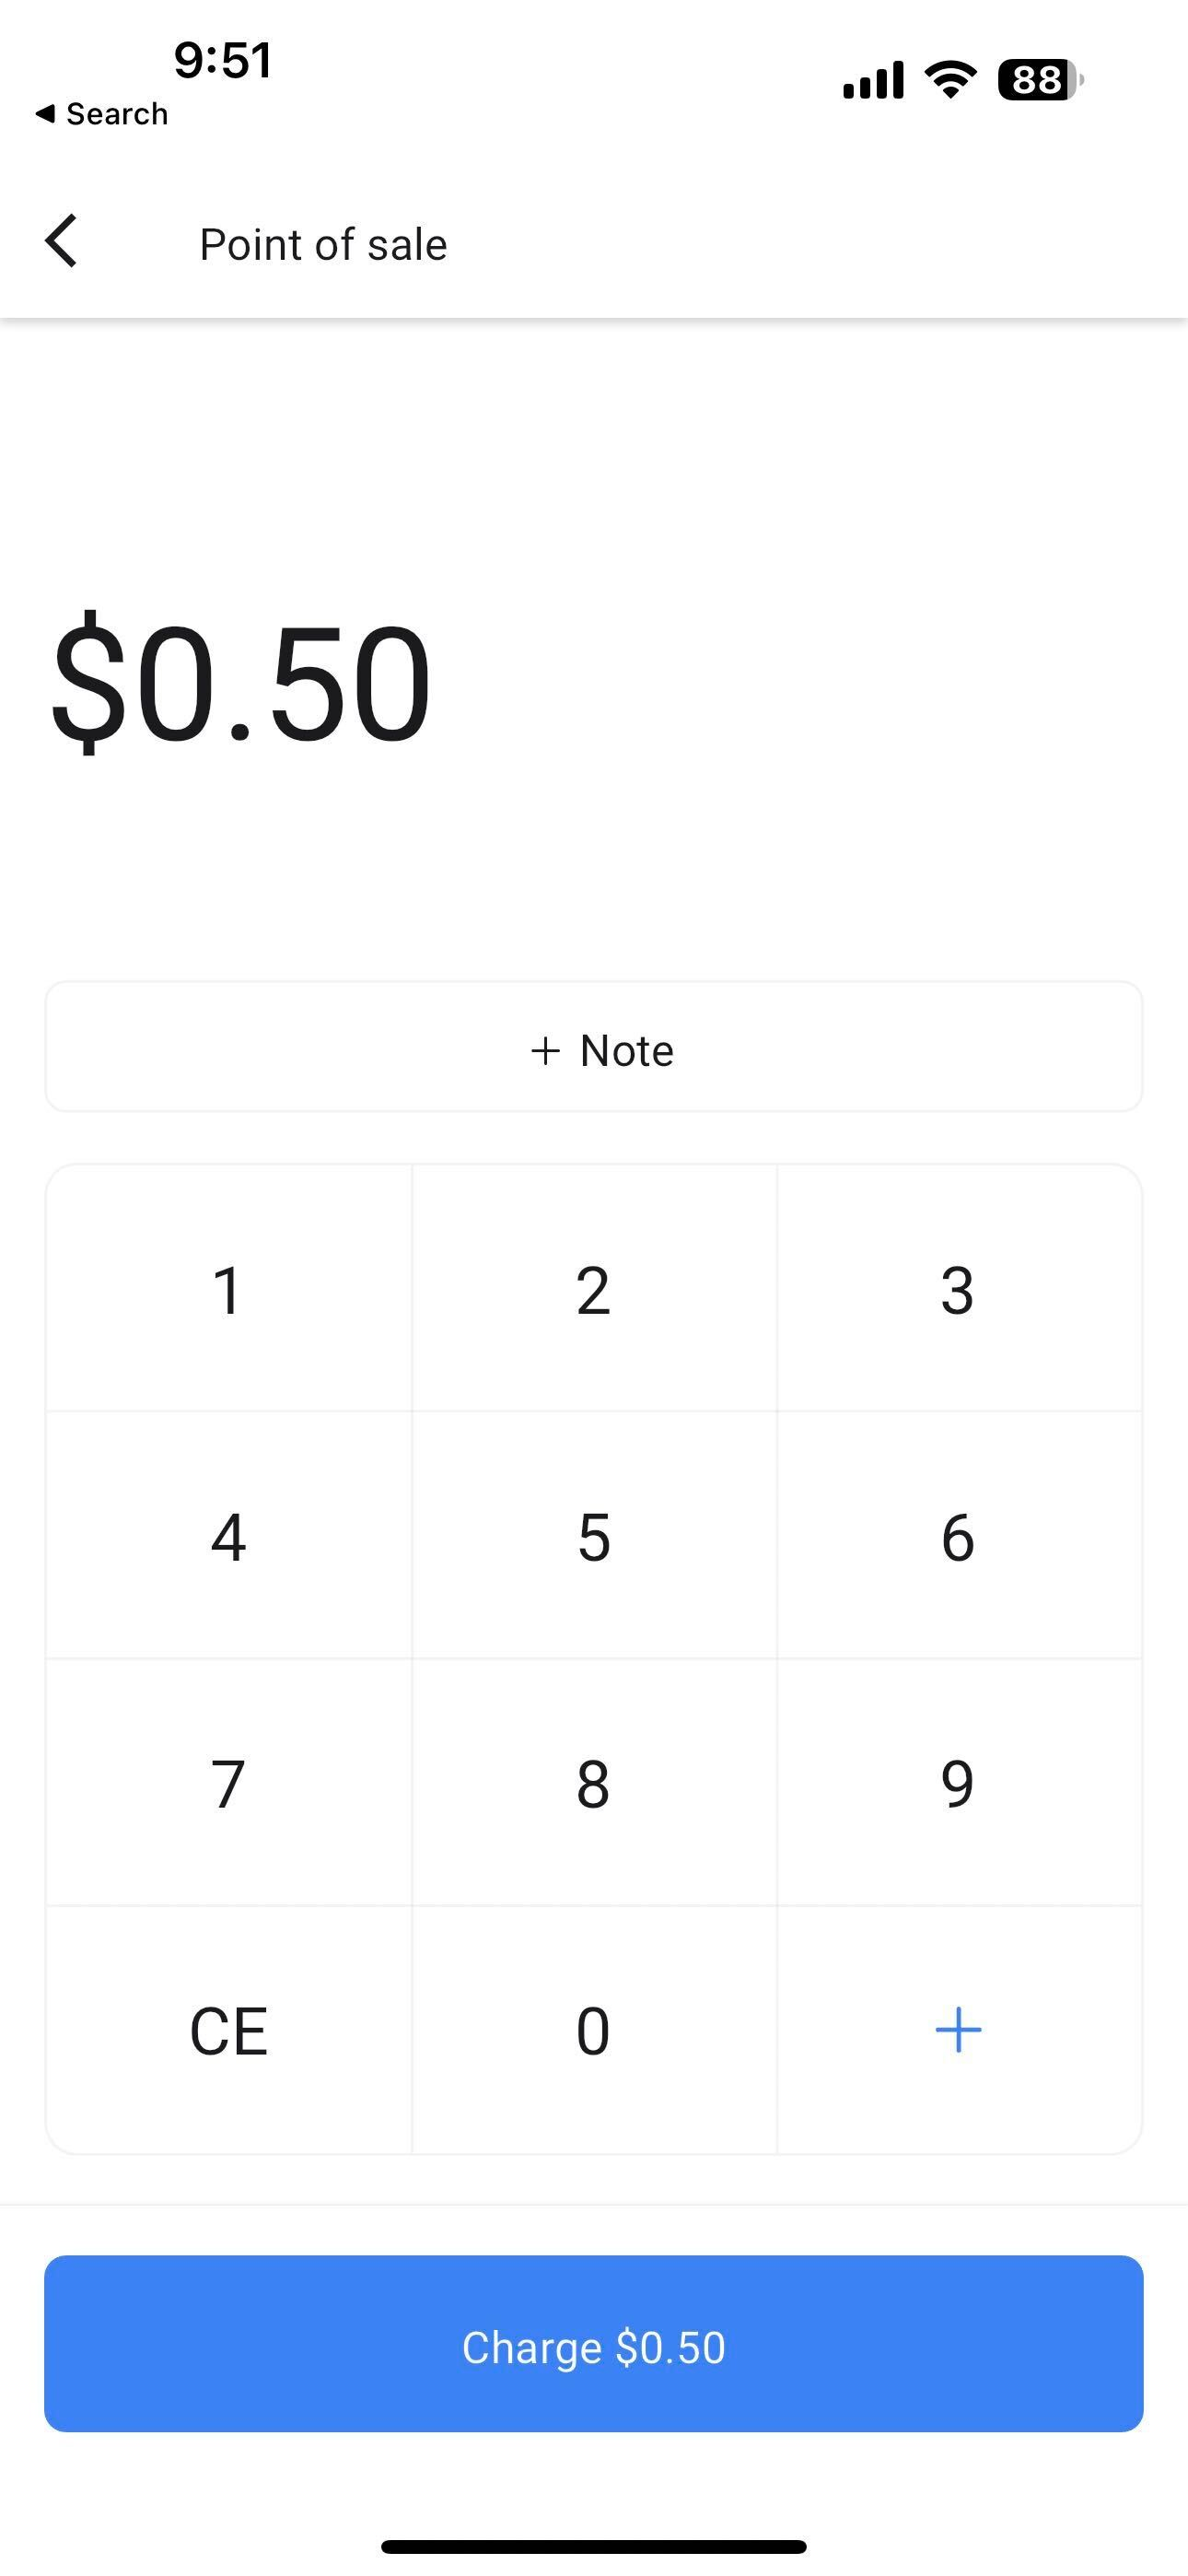
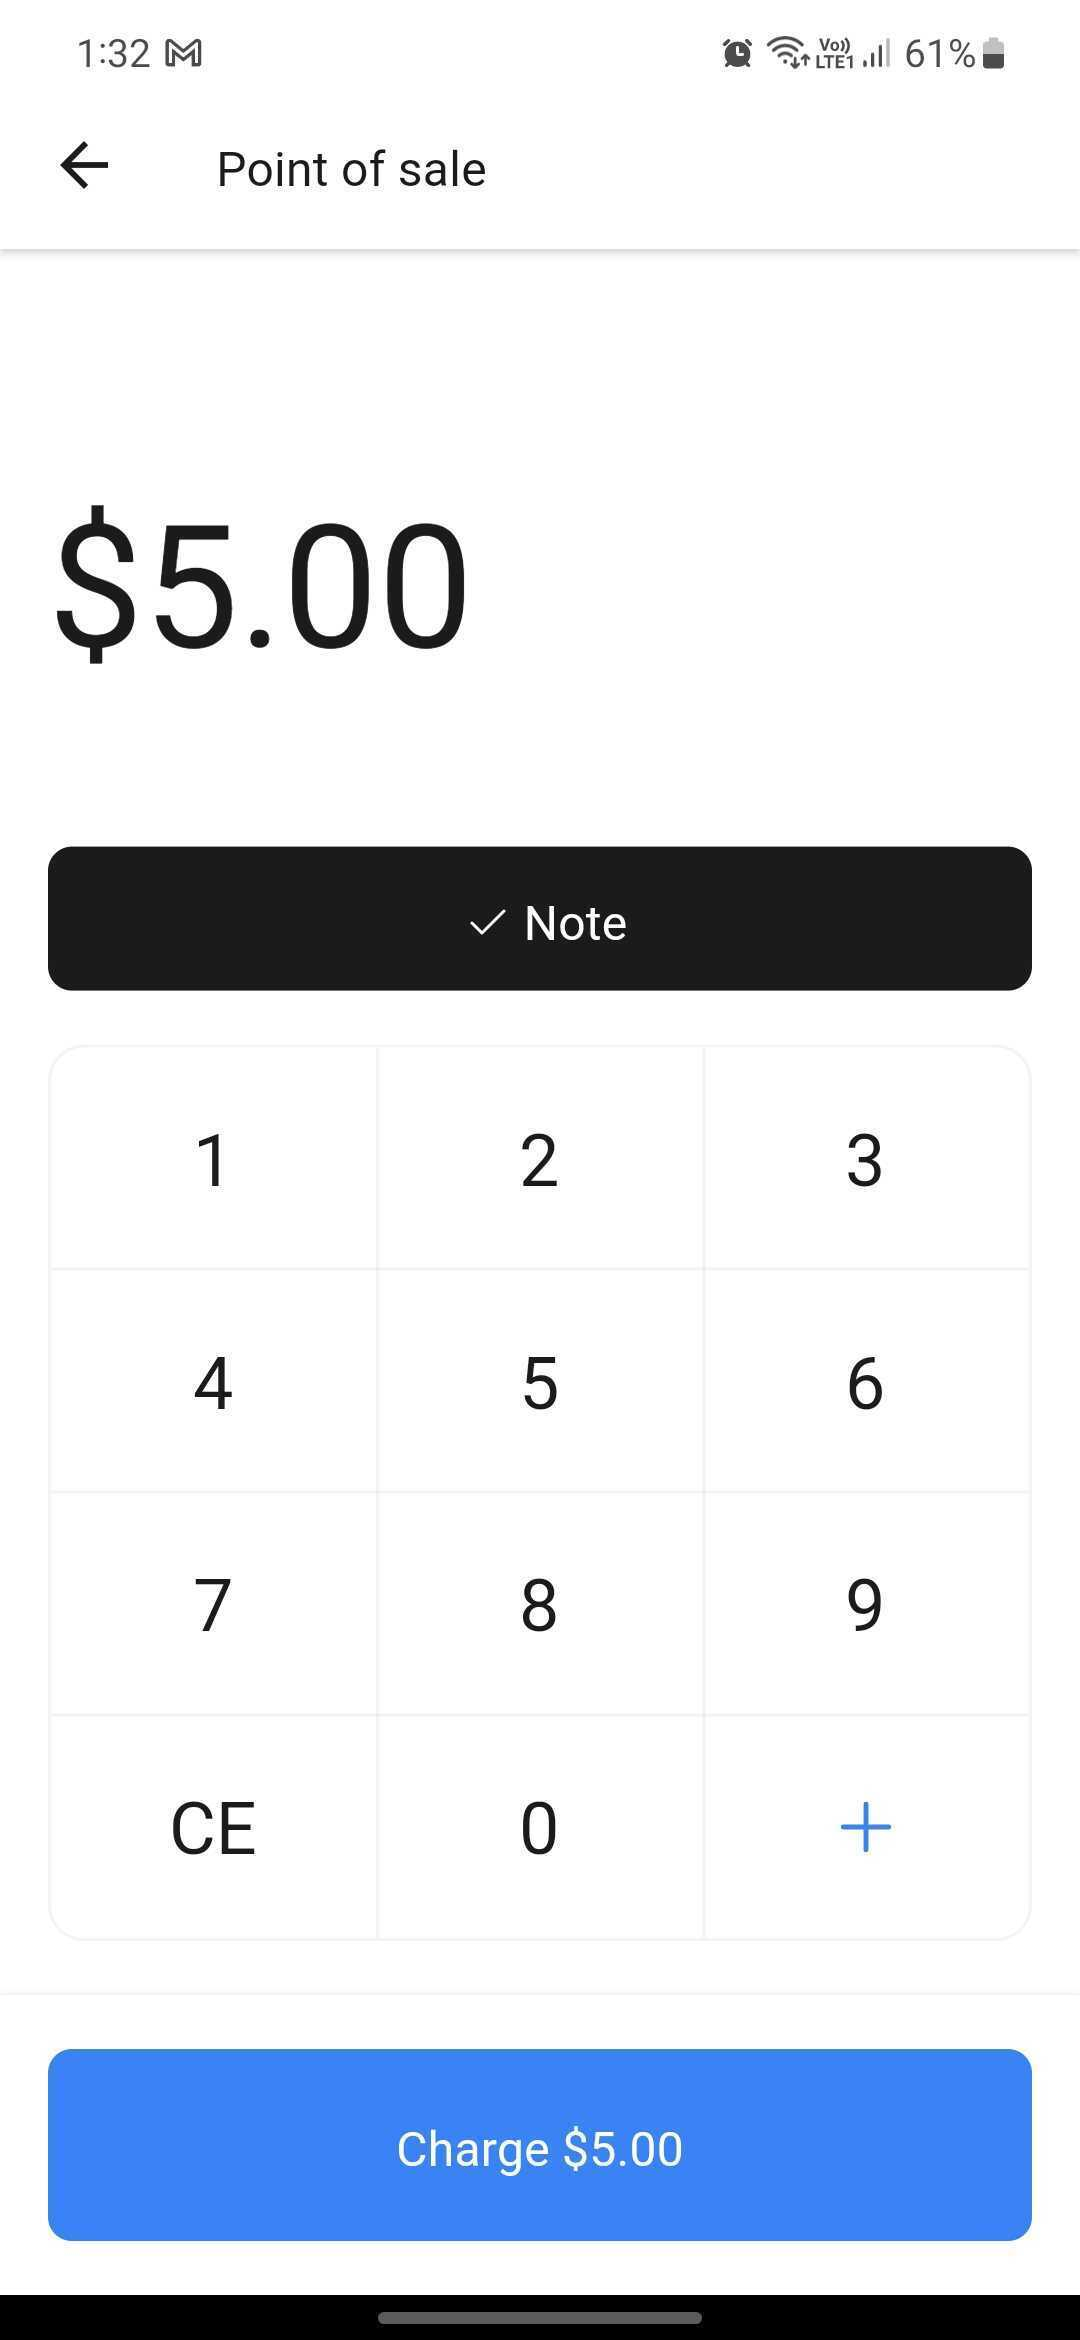
The option appears under the Point of Sale screen in the mobile app. Users input the sale amount, add optional notes, and press a charge button. The app then connects to a built in NFC reader on compatible devices, lets the customer tap a payment method, and displays an approval message with a transaction ID.
03How businesses use tap to pay
- Retail store. The owner opens the HighLevel mobile app, selects Point of Sale, enters the purchase amount, and taps Charge. The customer taps their contactless card or Apple Pay. The app confirms the payment and records it in Stripe.
- Salon or spa. During a client appointment, the therapist opens Point of Sale, adds the service fee, optionally adds a tip, and asks the client to tap their mobile wallet. The transaction completes and appears as successful on the screen.
- Pop up event vendor. The vendor configures the app for the event location, inputs the ticket price, and uses the built in NFC reader to collect taps from attendees' cards. Each approved payment shows a transaction ID for later reconciliation.
04The numbers and rules that matter
- All Android devices with NFC running Android 8 or later are supported.
- IPhone XS or later running iOS 16 or later (US) are supported.
05Before you start
- Feature is limited to US locations.
- Join the Tap to Pay beta program for activation.
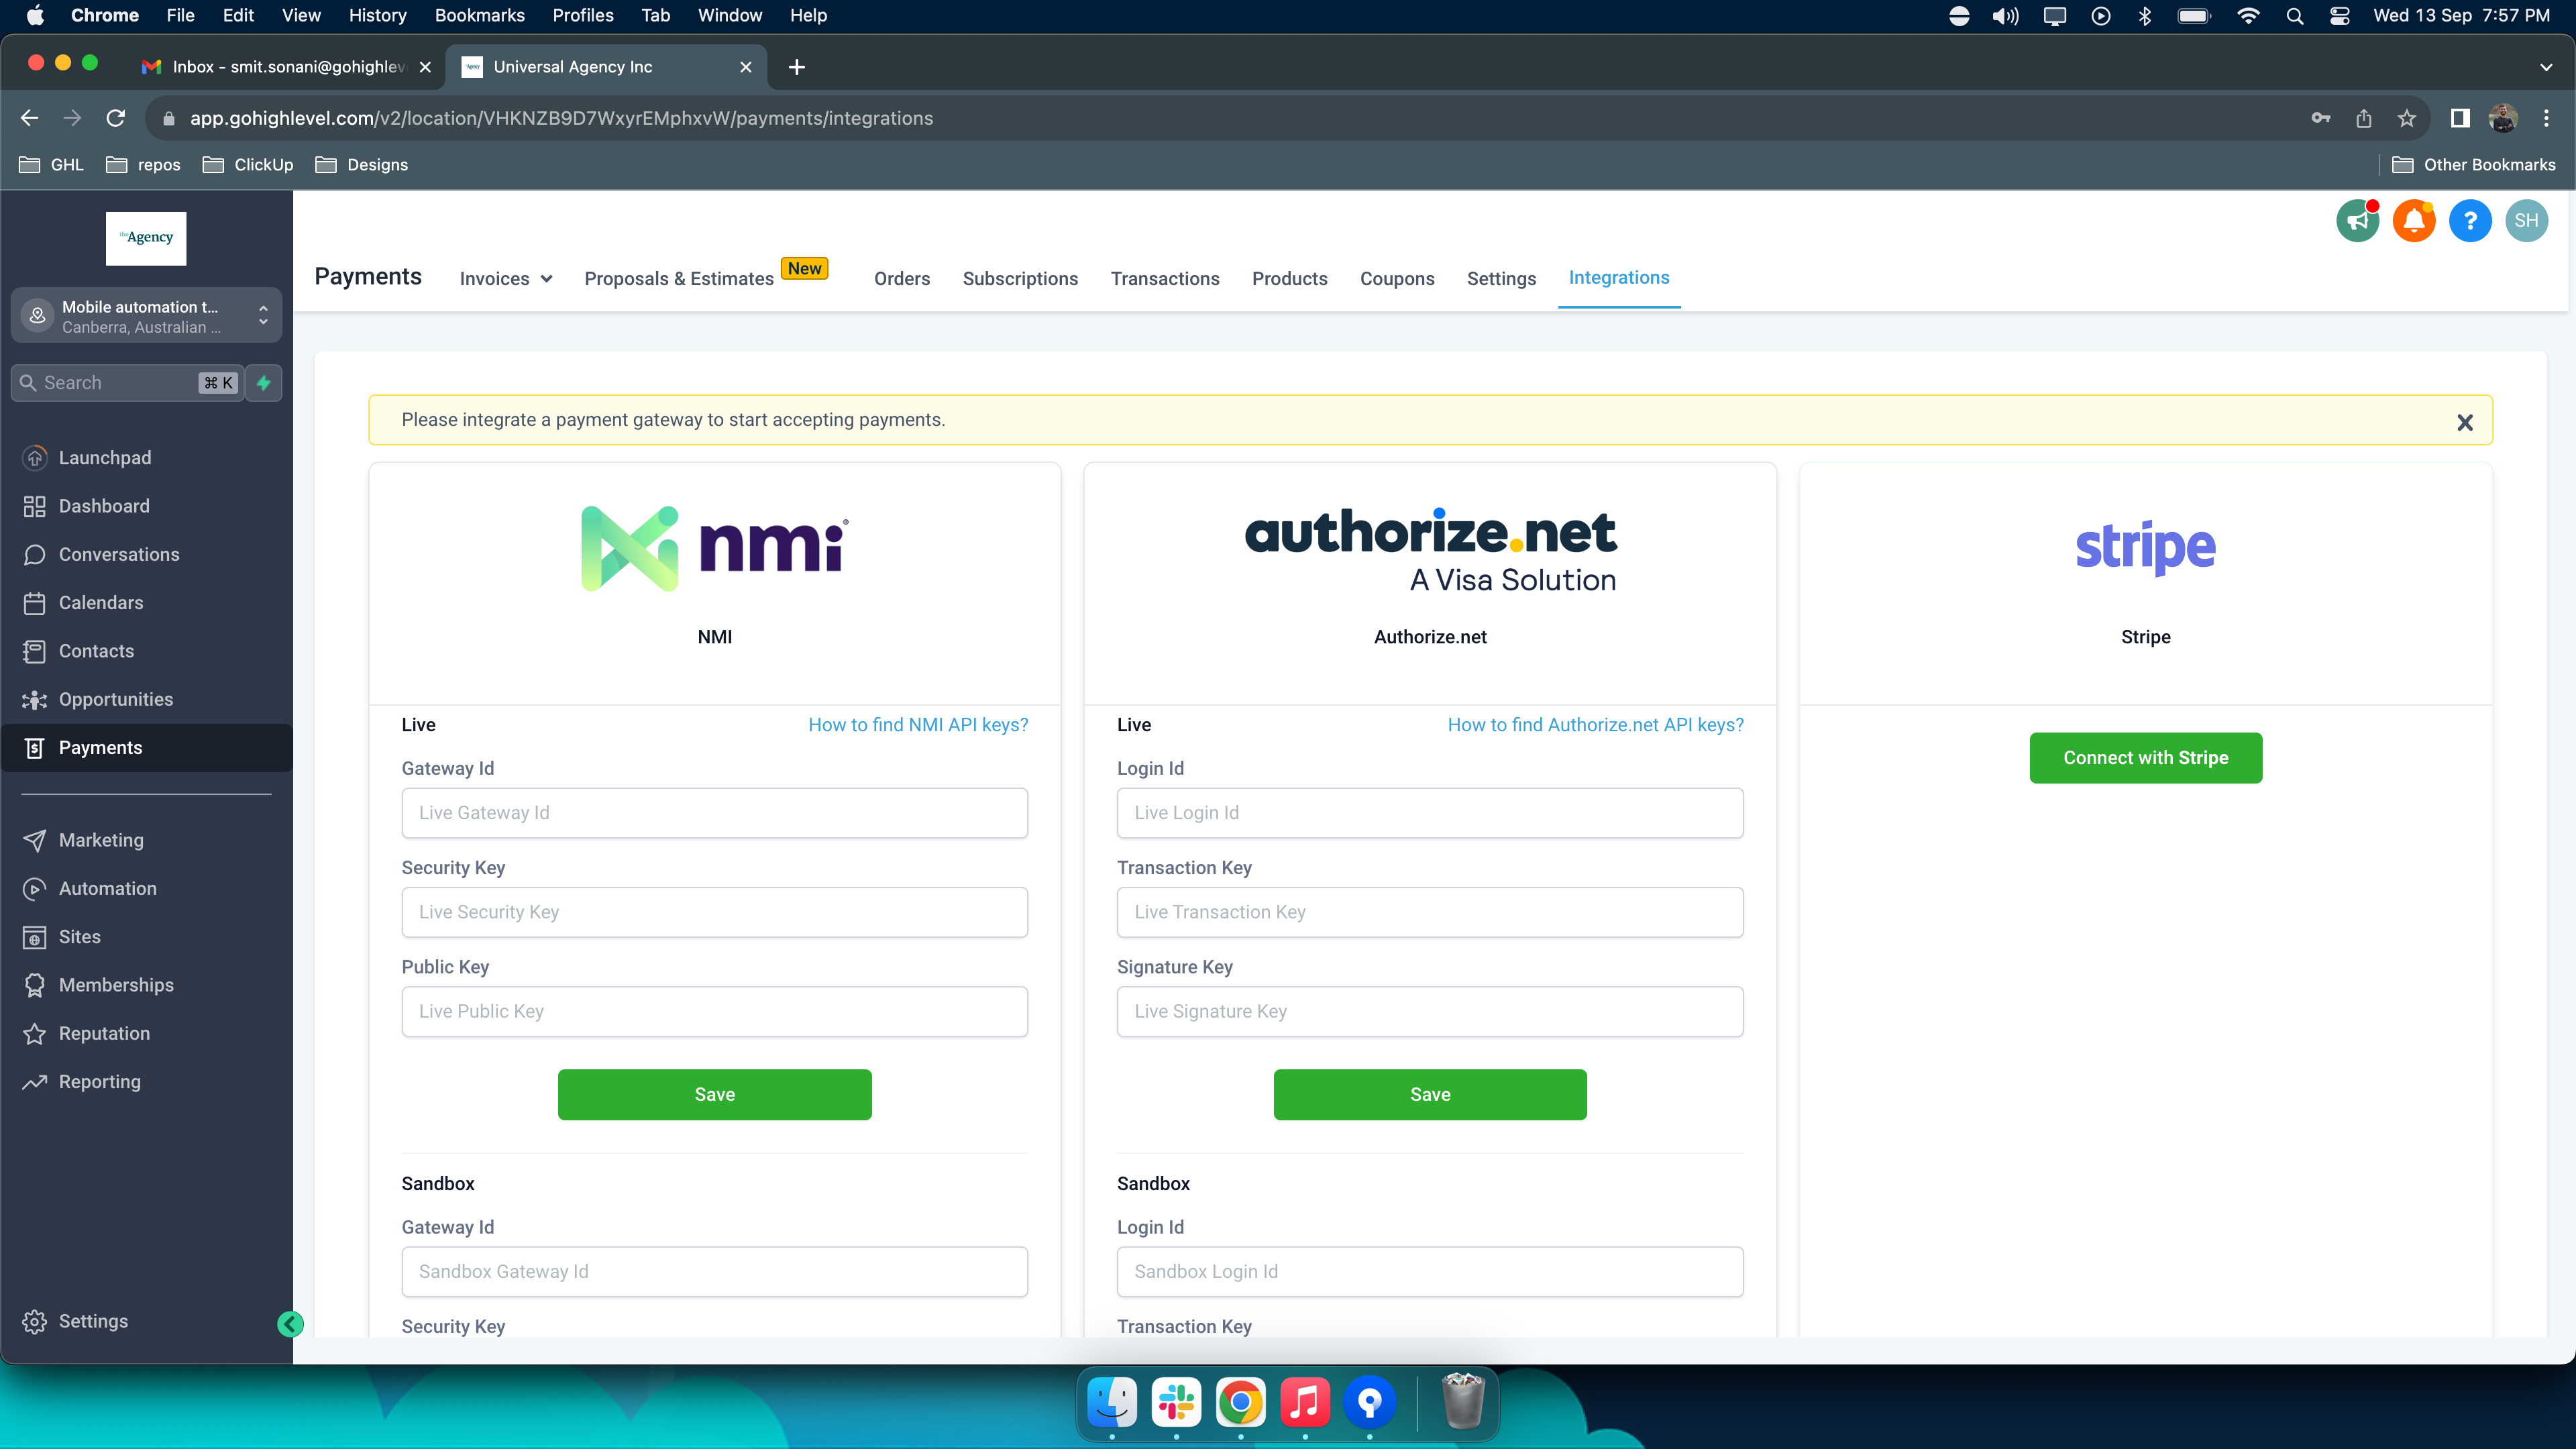
- Connect a Stripe account via the web app (Payments > Integrations > Connect with Stripe).
- Use a compatible device: Android 8+ with NFC or iPhone XS/ later with iOS 16+.
06How to set up and use tap to pay in HighLevel
Collect a payment with Tap to Pay
- Open the HighLevel mobile app and choose Point of Sale.
- Enter the transaction amount and tap +Note to add details if desired.
- Verify a Stripe account is connected; if not, connect it through Payments > Integrations > Connect with Stripe on the web app.
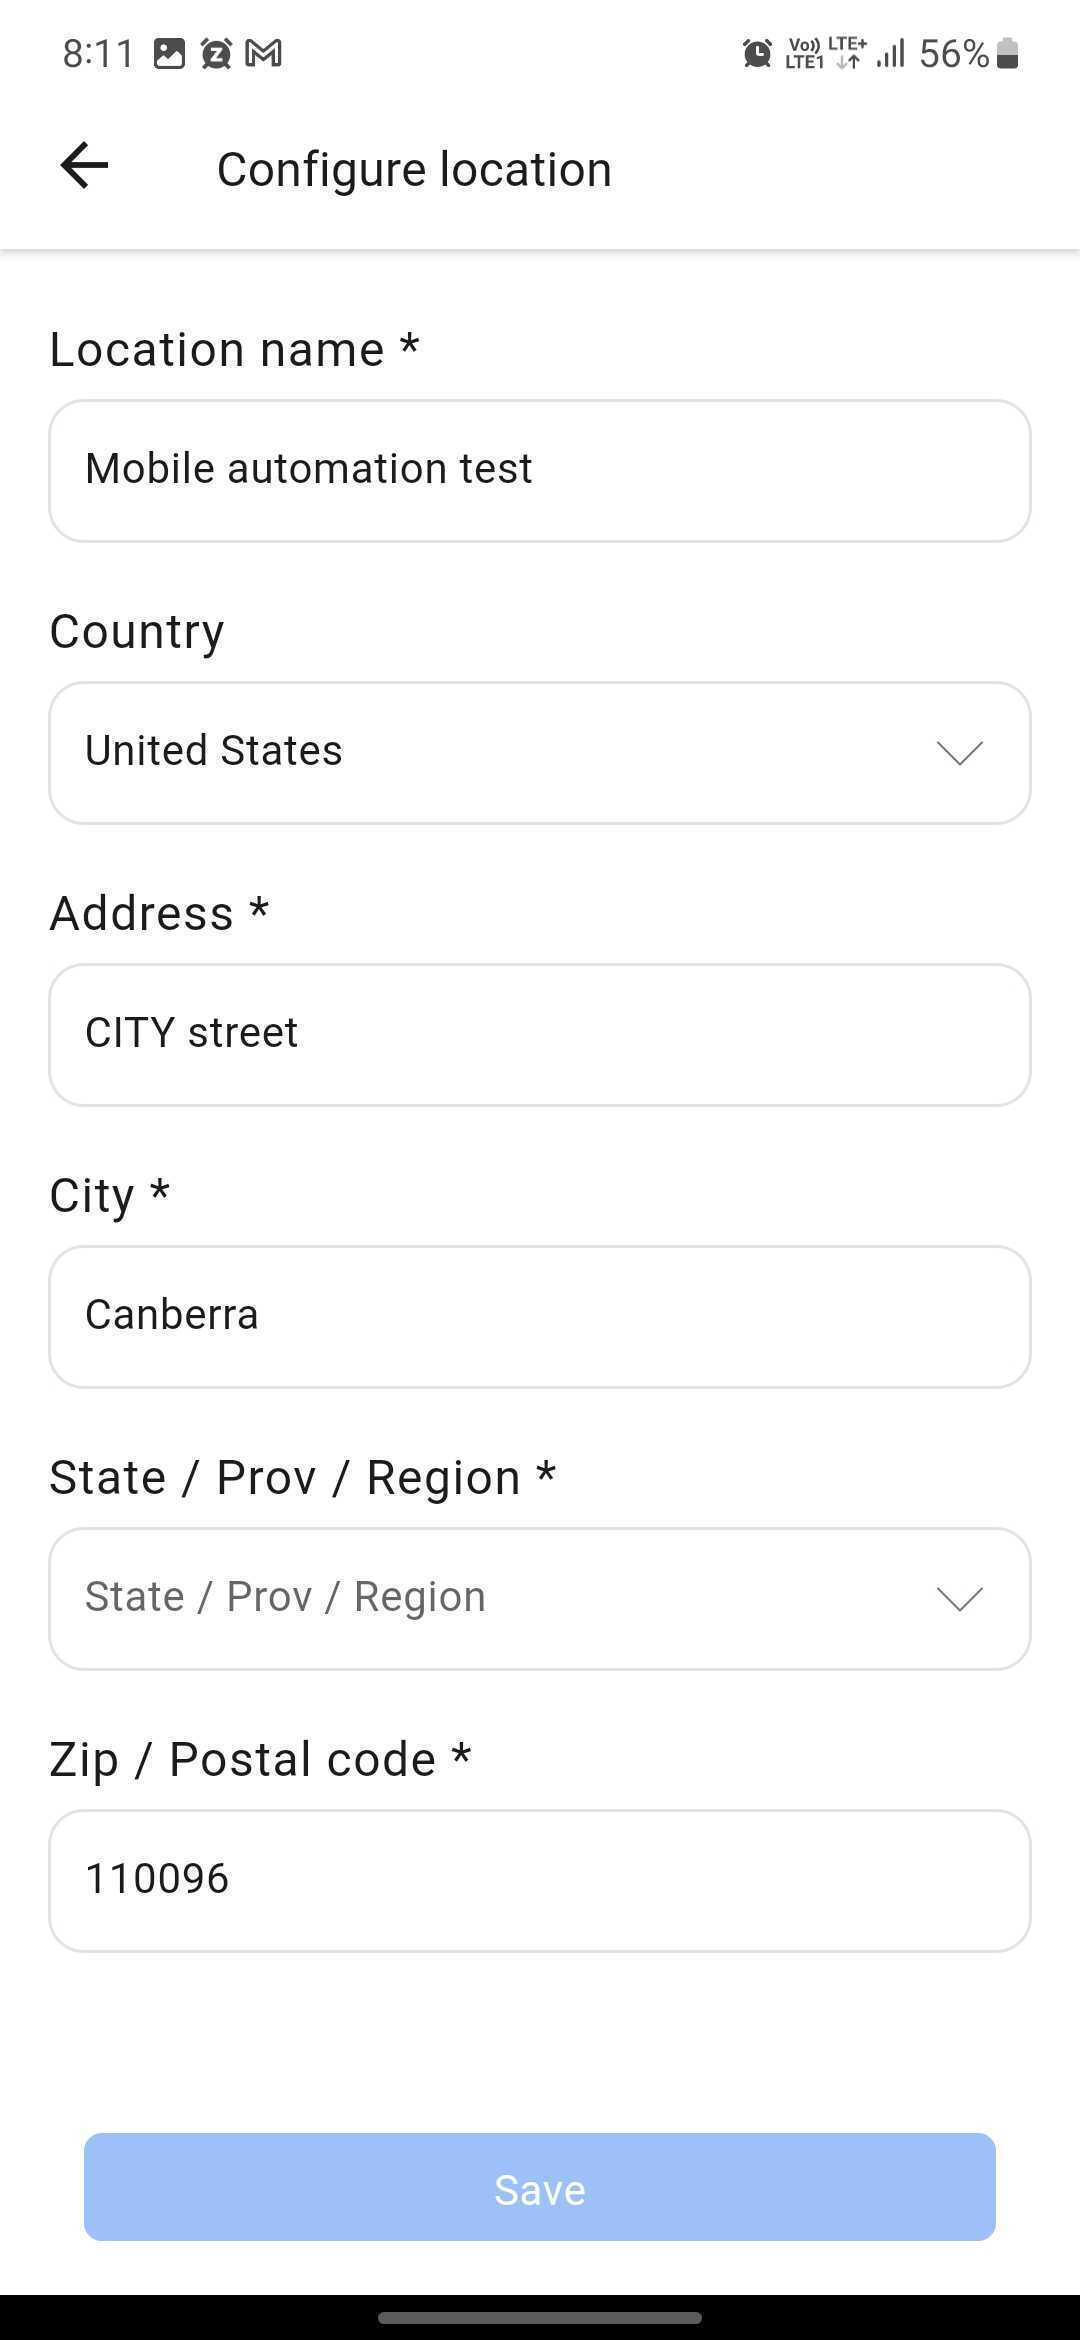
- Confirm the app location is set for a US location.
- Tap the Charge (Amount) button.
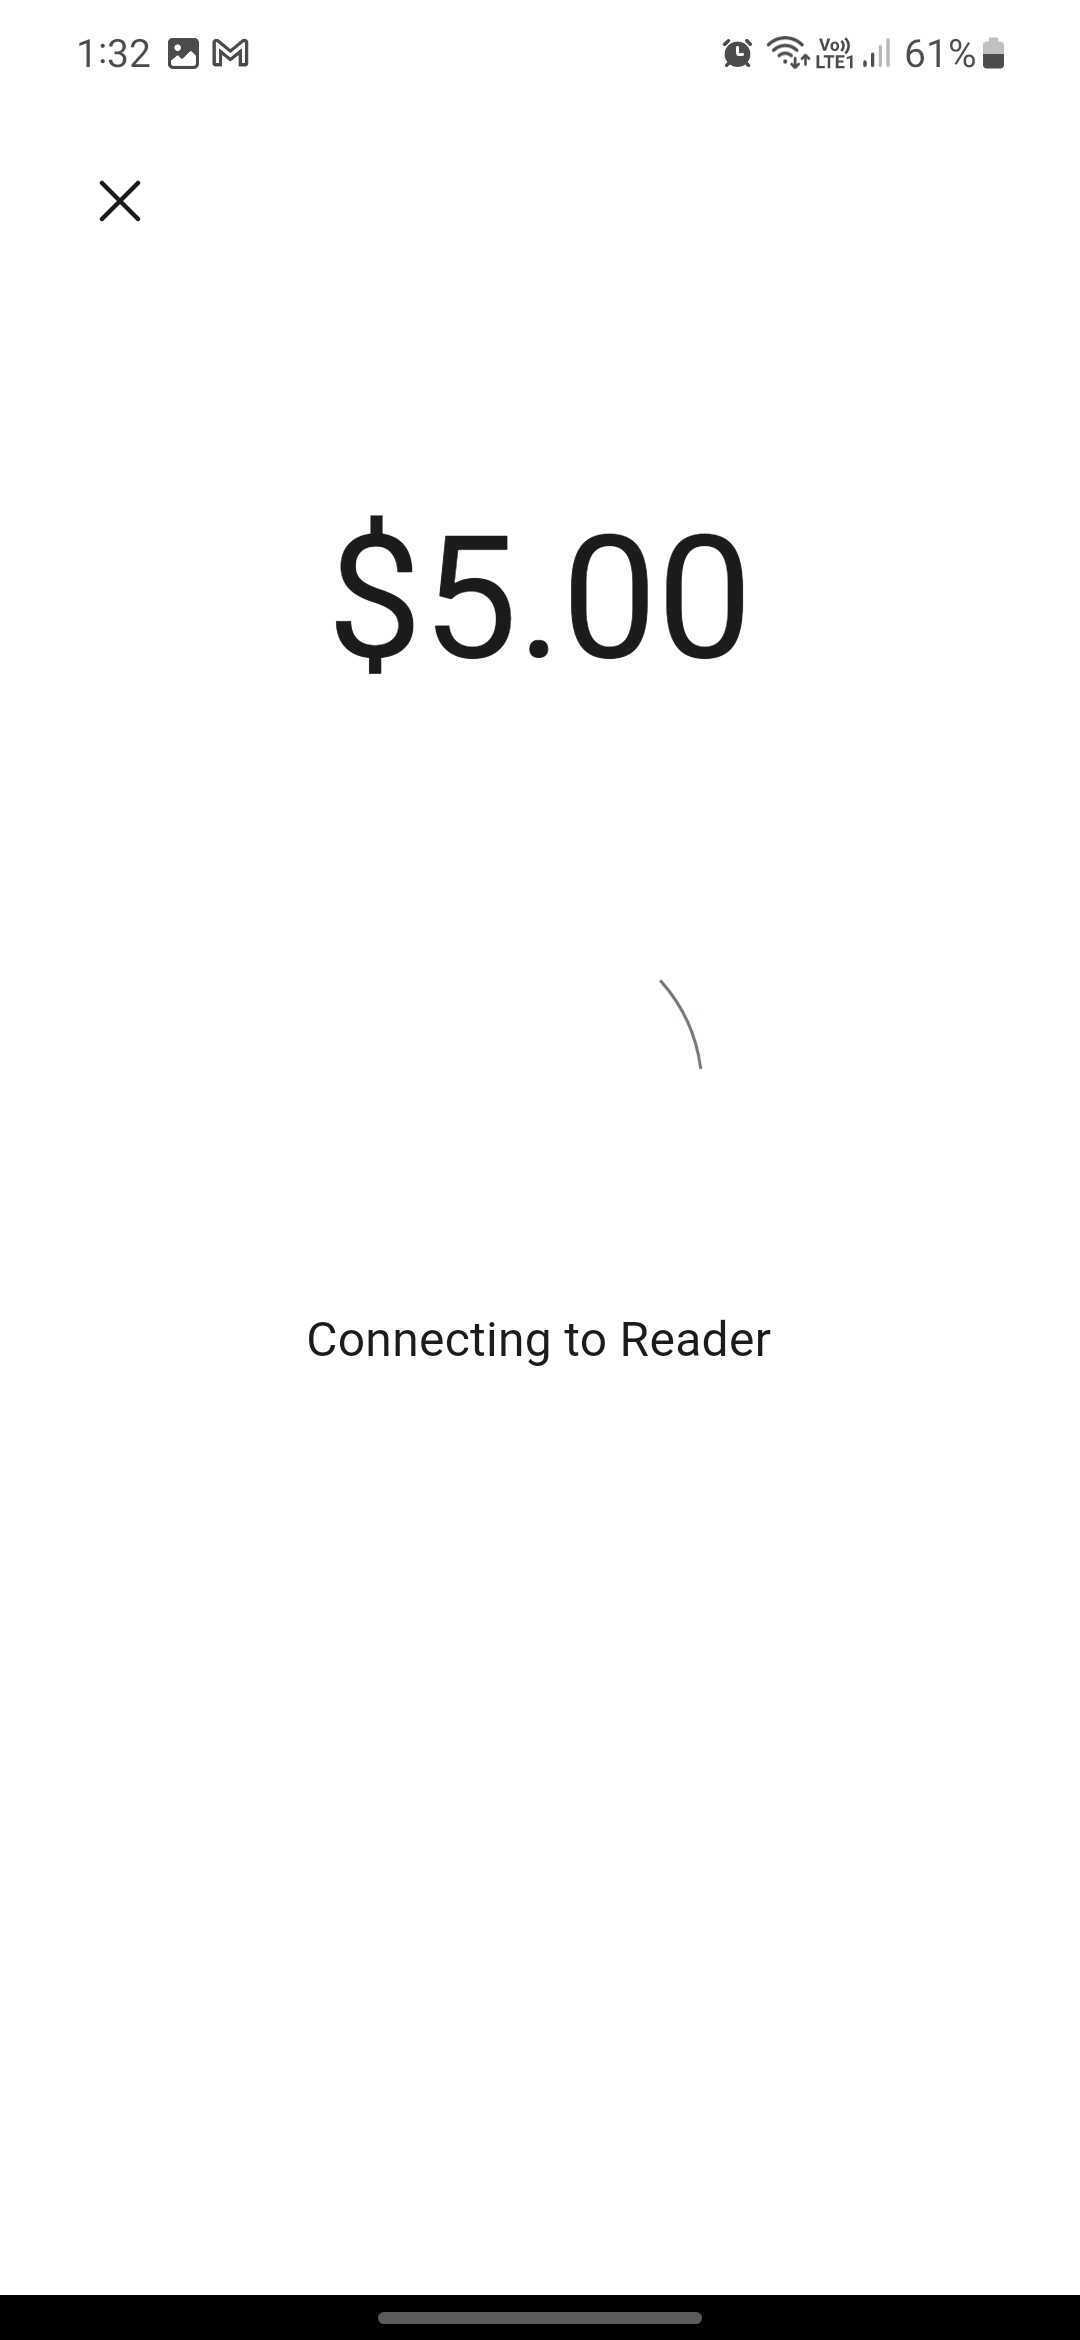
- Wait for the reader to connect and load.
- Select a tip option or choose No tip and confirm the amount.
- Ask the customer to tap their contactless card or mobile wallet; when approved, the screen shows Approved, Payment Successful with a transaction ID.
07What it looks like in HighLevel
08Settings that matter
- Connect with Stripe. Links your Stripe account to HighLevel so that payments captured via Tap to Pay are transferred to Stripe.
- Location. Specifies the business location used by Tap to Pay; the feature works only for US based locations.
09Things to know before you rely on it
- Available only for US locations; other countries require beta activation.
- Feature is in beta and must be enabled through the beta program.
- Supported Android devices need NFC and must run Android 8 or later.
- Supported iPhones are XS or later running iOS 16 or later; iOS beta releases are not supported.
- Tap to Pay will not function on iOS beta releases.
10If something goes wrong
- Message displays "Stripe not connected" when accessing Tap to Pay.. Connect a Stripe account on the web app via Payments > Integrations > Connect with Stripe.
11How it connects to the rest of HighLevel
- Explore all payment capabilities in HighLevel. All Payments features
- View HighLevel pricing and plan options. HighLevel pricing and plans
- Start a free trial to test Tap to Pay. Start a 30 day HighLevel trial
Michael's take

Collecting cashless payments on the go can be a headache for field teams and pop up shops. The first thing I would get right is the Stripe integration. Without it the whole flow stops dead in its tracks.
Once Stripe is linked and the device meets the OS and NFC requirements, I’d jump straight into a test sale to confirm the reader connects and the approval screen appears. That single real world check saves a lot of frustration later.