
01Who this is for
- Freelance consultants, need a formal quote that clients can approve before billing.
- Service agencies, want to split large projects into milestone payments and track acceptance.
- Small retailers, require a signed estimate to confirm order details prior to invoicing.
02Estimates, explained
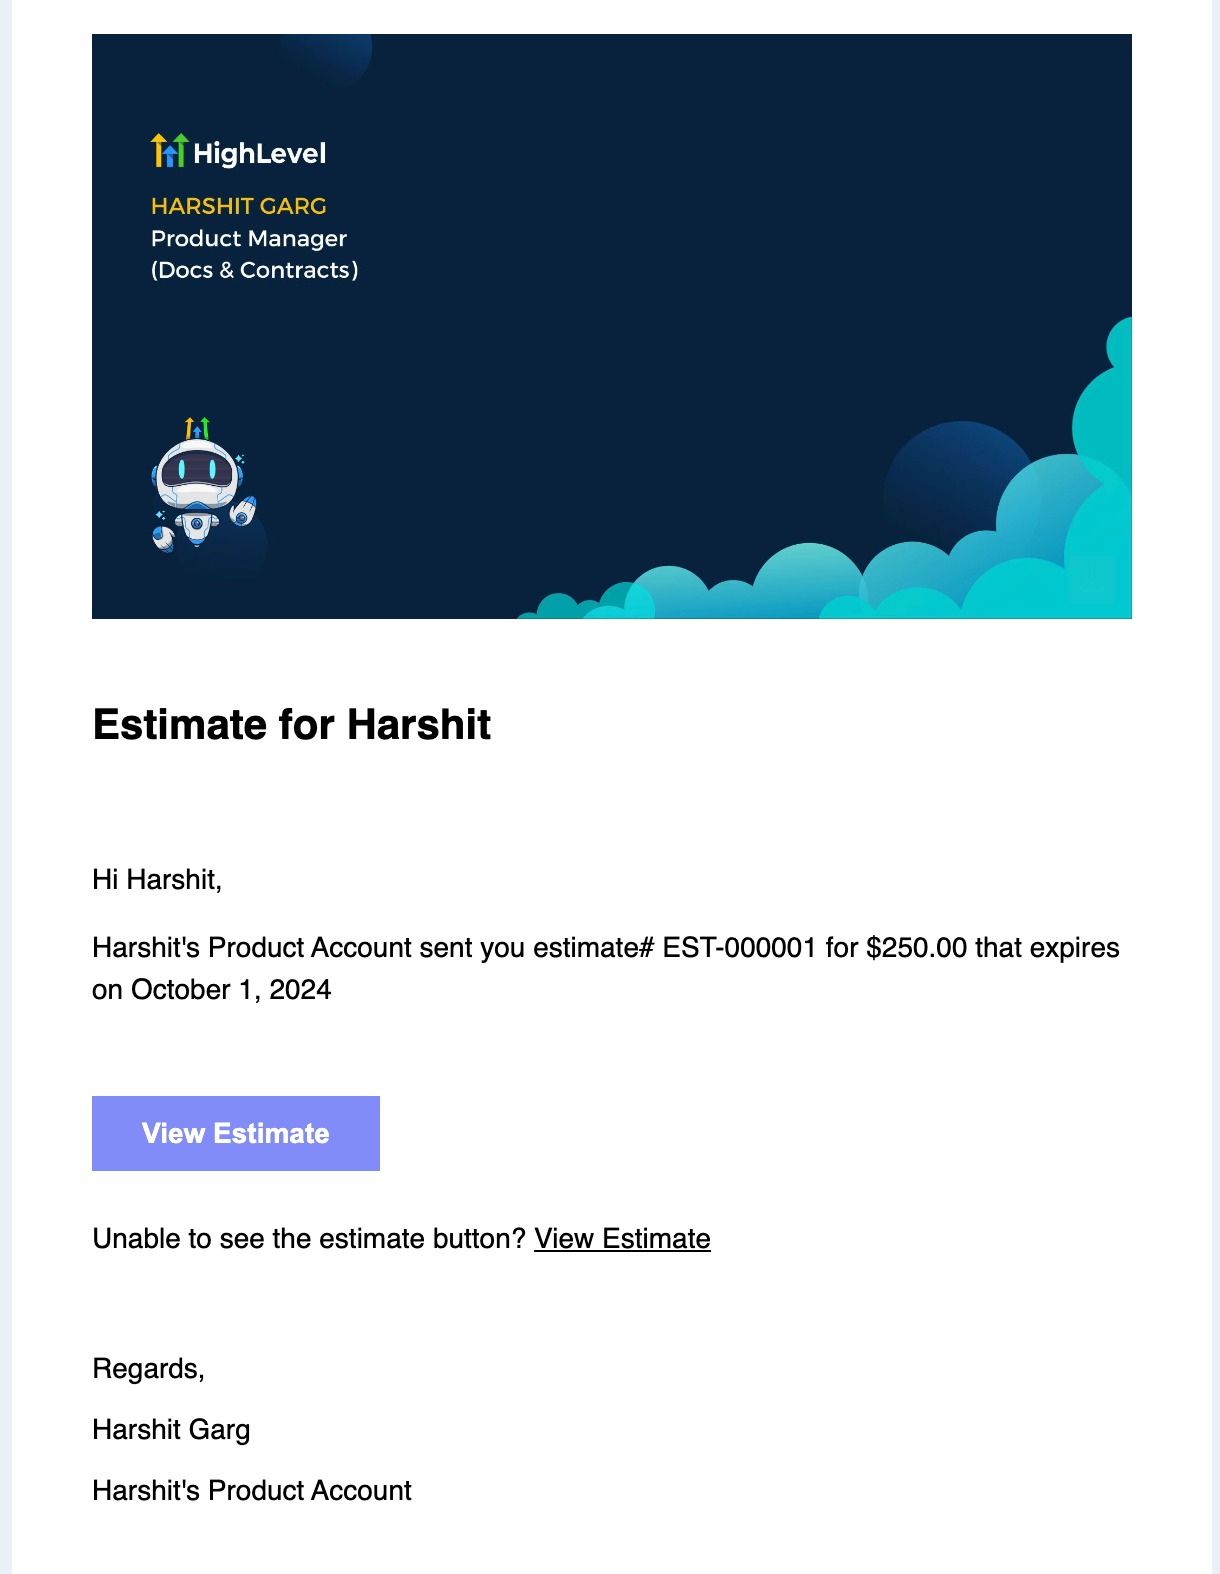
The Estimates feature lives inside the Payments area of a subaccount. It provides a builder where business and client information, line item products, and an optional payment schedule can be added. After the estimate is saved, you can preview it, enable direct payments, and send it via email or SMS.
When a client clicks accept, HighLevel automatically generates an invoice that reflects the chosen payment schedule. If the client rejects, the estimate is marked as declined and notes can be recorded. All estimates remain visible on a dashboard that shows their stage, Draft, Sent, Accepted, Declined, or Invoiced.
03How businesses use estimates
- Digital marketing agency. The agency creates an estimate for a multi month campaign, sets a 30 % upfront payment and two equal monthly installments, then sends the estimate. The client accepts, triggering an invoice that matches the schedule.
- Home renovation contractor. The contractor drafts an estimate for a remodel, splits the total into three fixed amount payments tied to project milestones, and enables direct payments so the homeowner can pay each installment when the milestone is approved.
- Online tutoring service. The service builds an estimate for a semester package, adds a custom date for the first payment, and allows the student to accept the quote and pay the first installment directly from the email.
04Before you start
- A subaccount with the Payments module enabled must be available.
05How to set up and use estimates in HighLevel
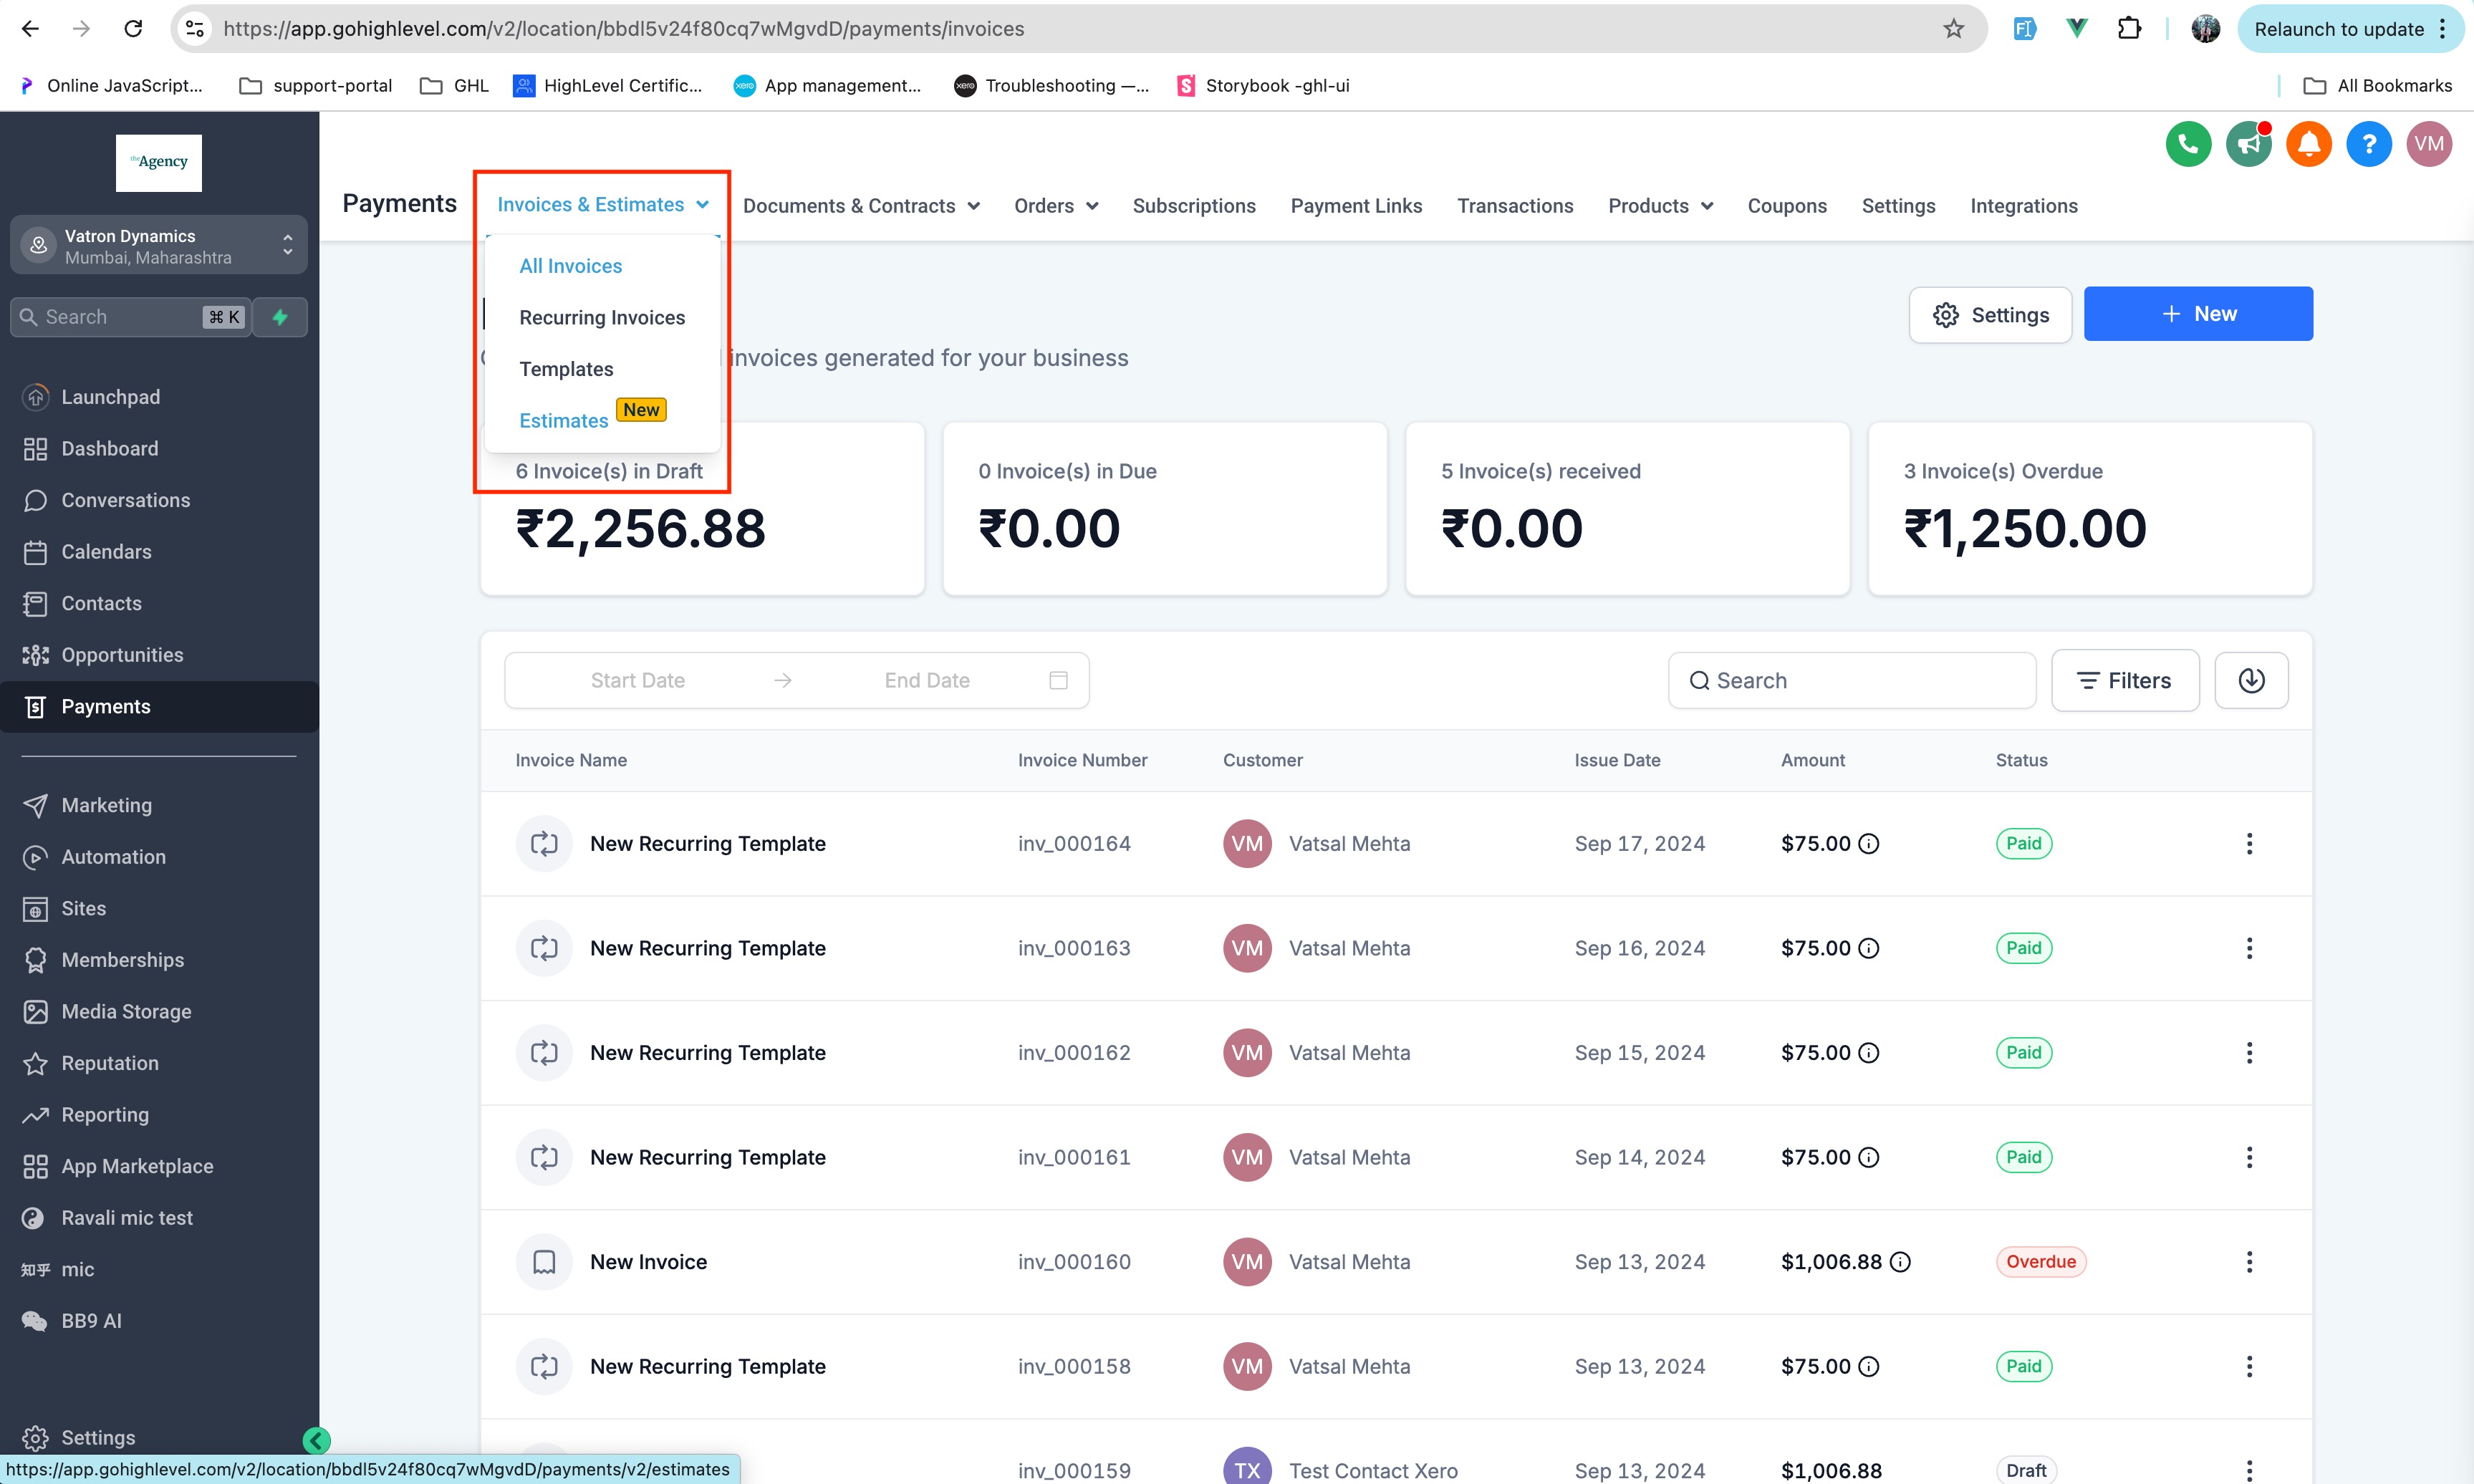
Access the Estimates section
- Open the required subaccount.
- Select the Payments option from the left menu.
- Click on Invoices and Estimates.
- Choose the Estimates tab.
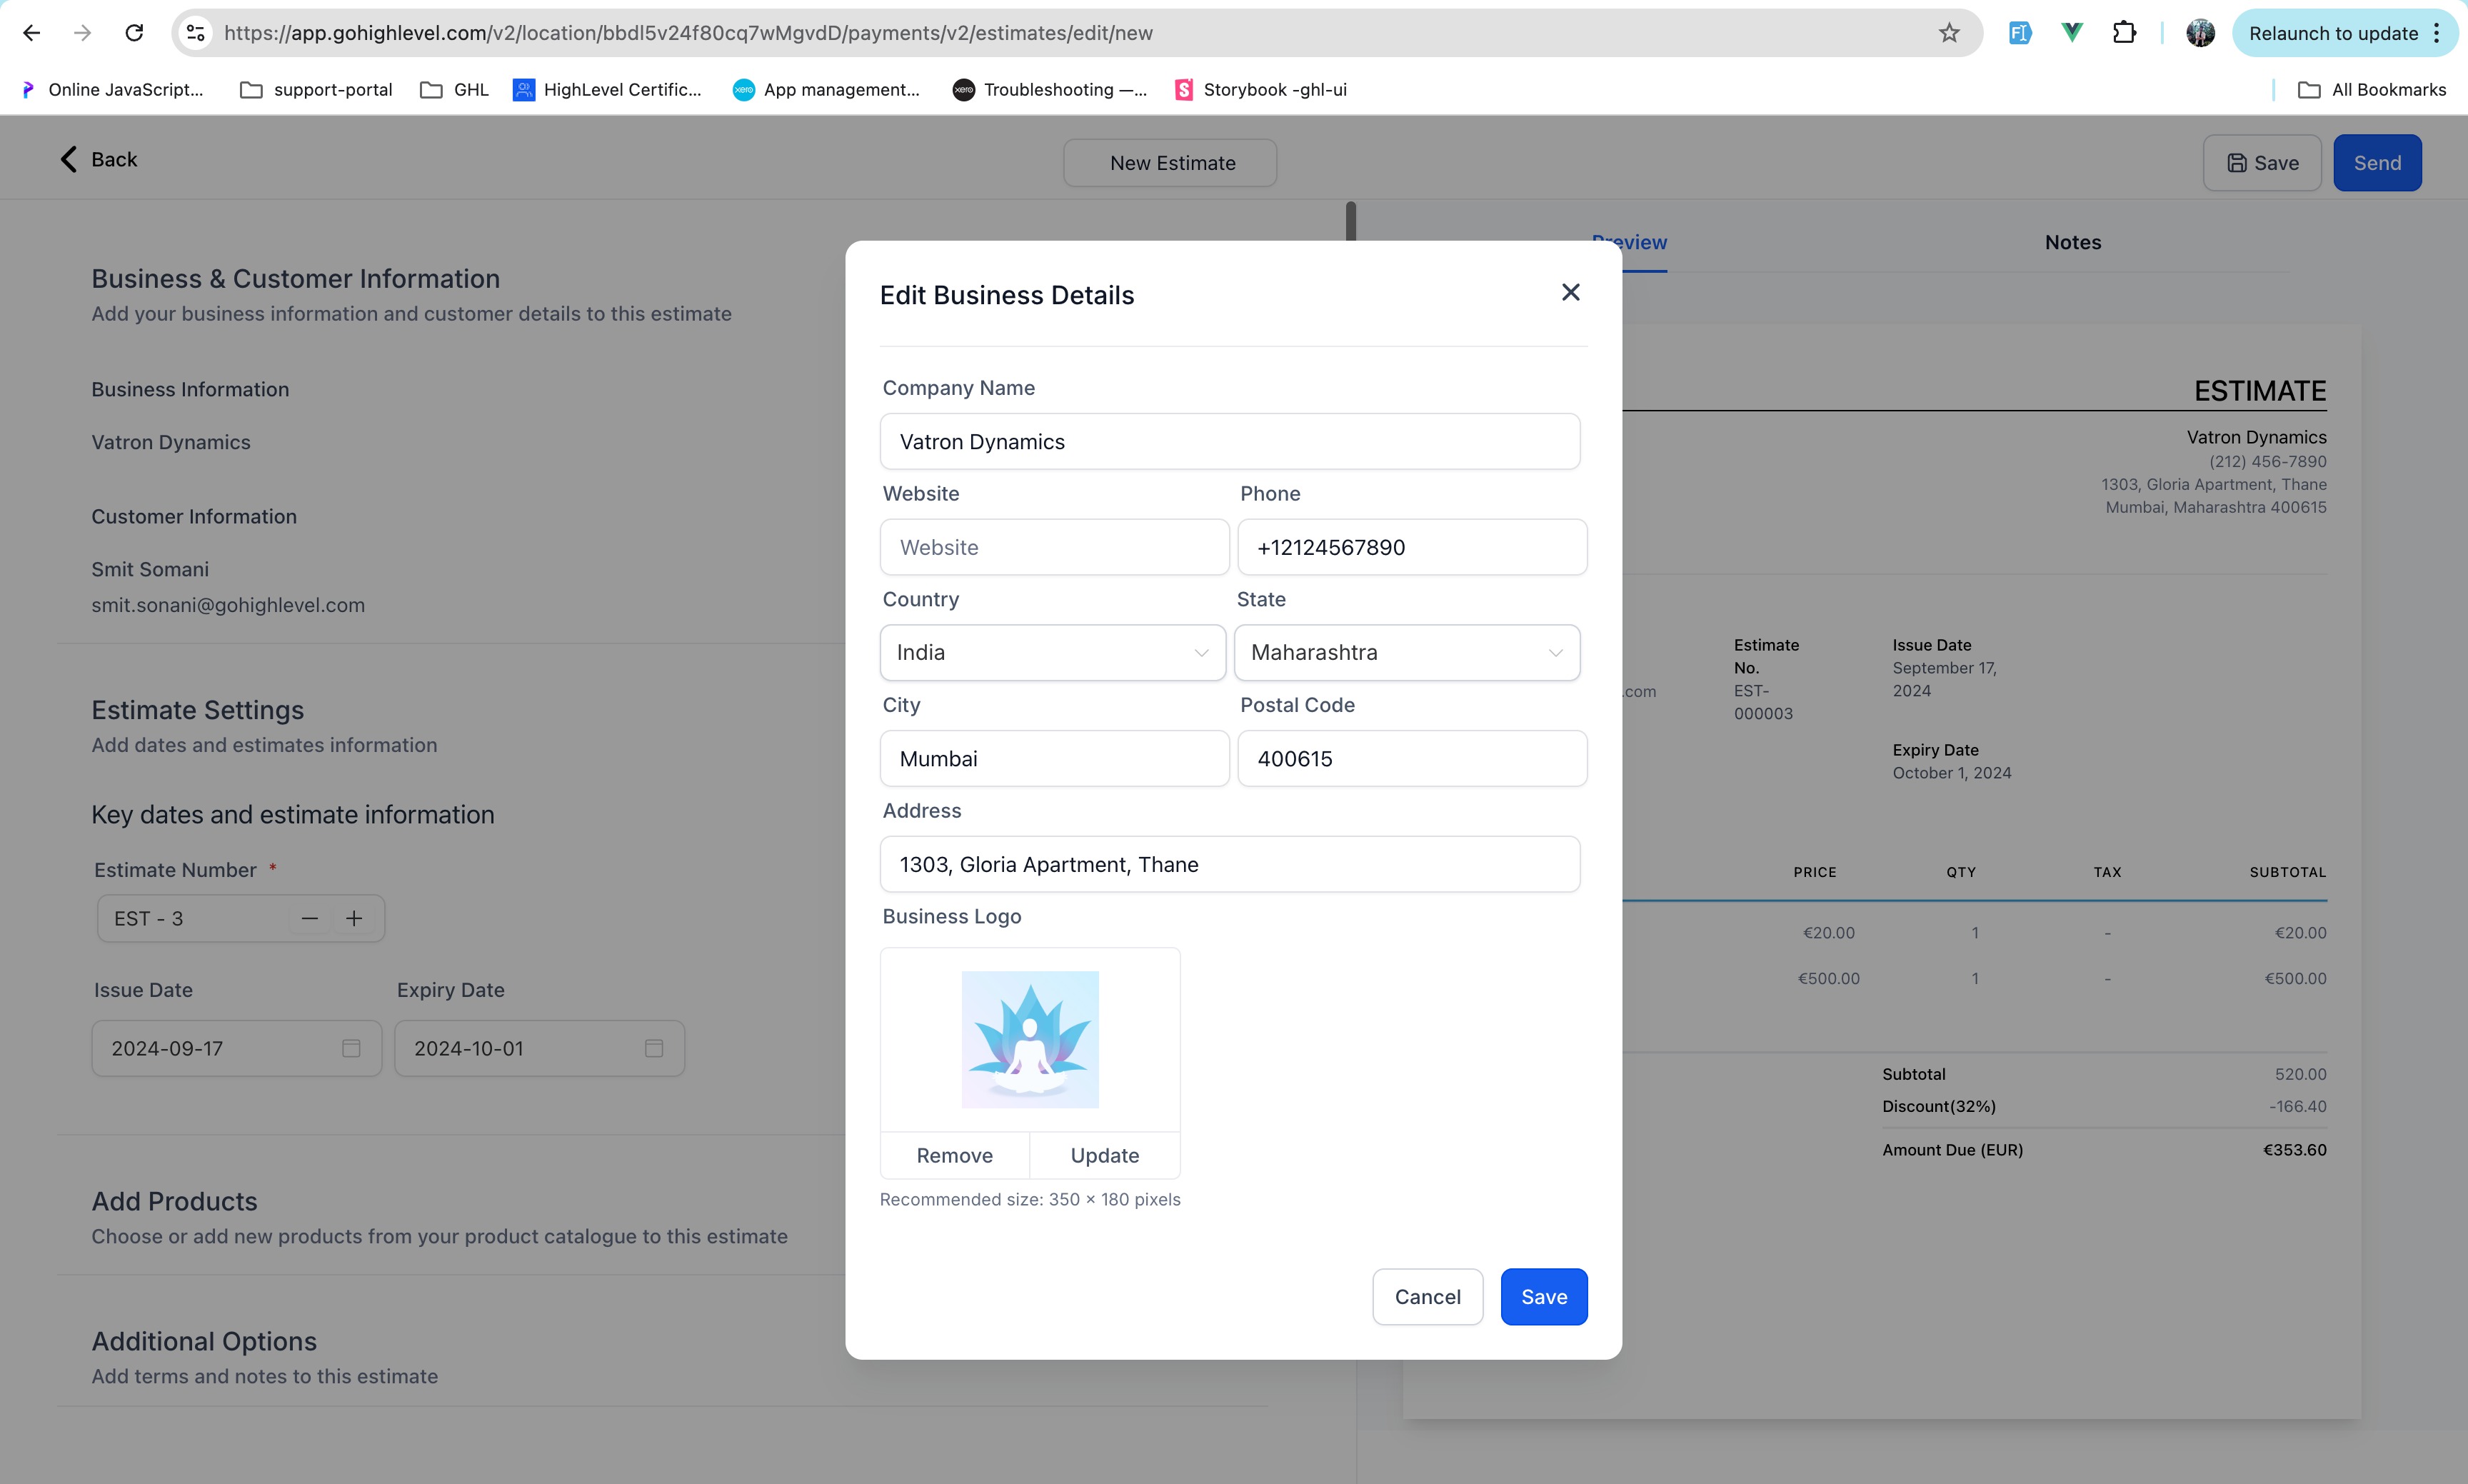
Create a new estimate
- Press the New button.
- Enter business details, client details, estimate number and expiry date.
- Add the desired products to the estimate.
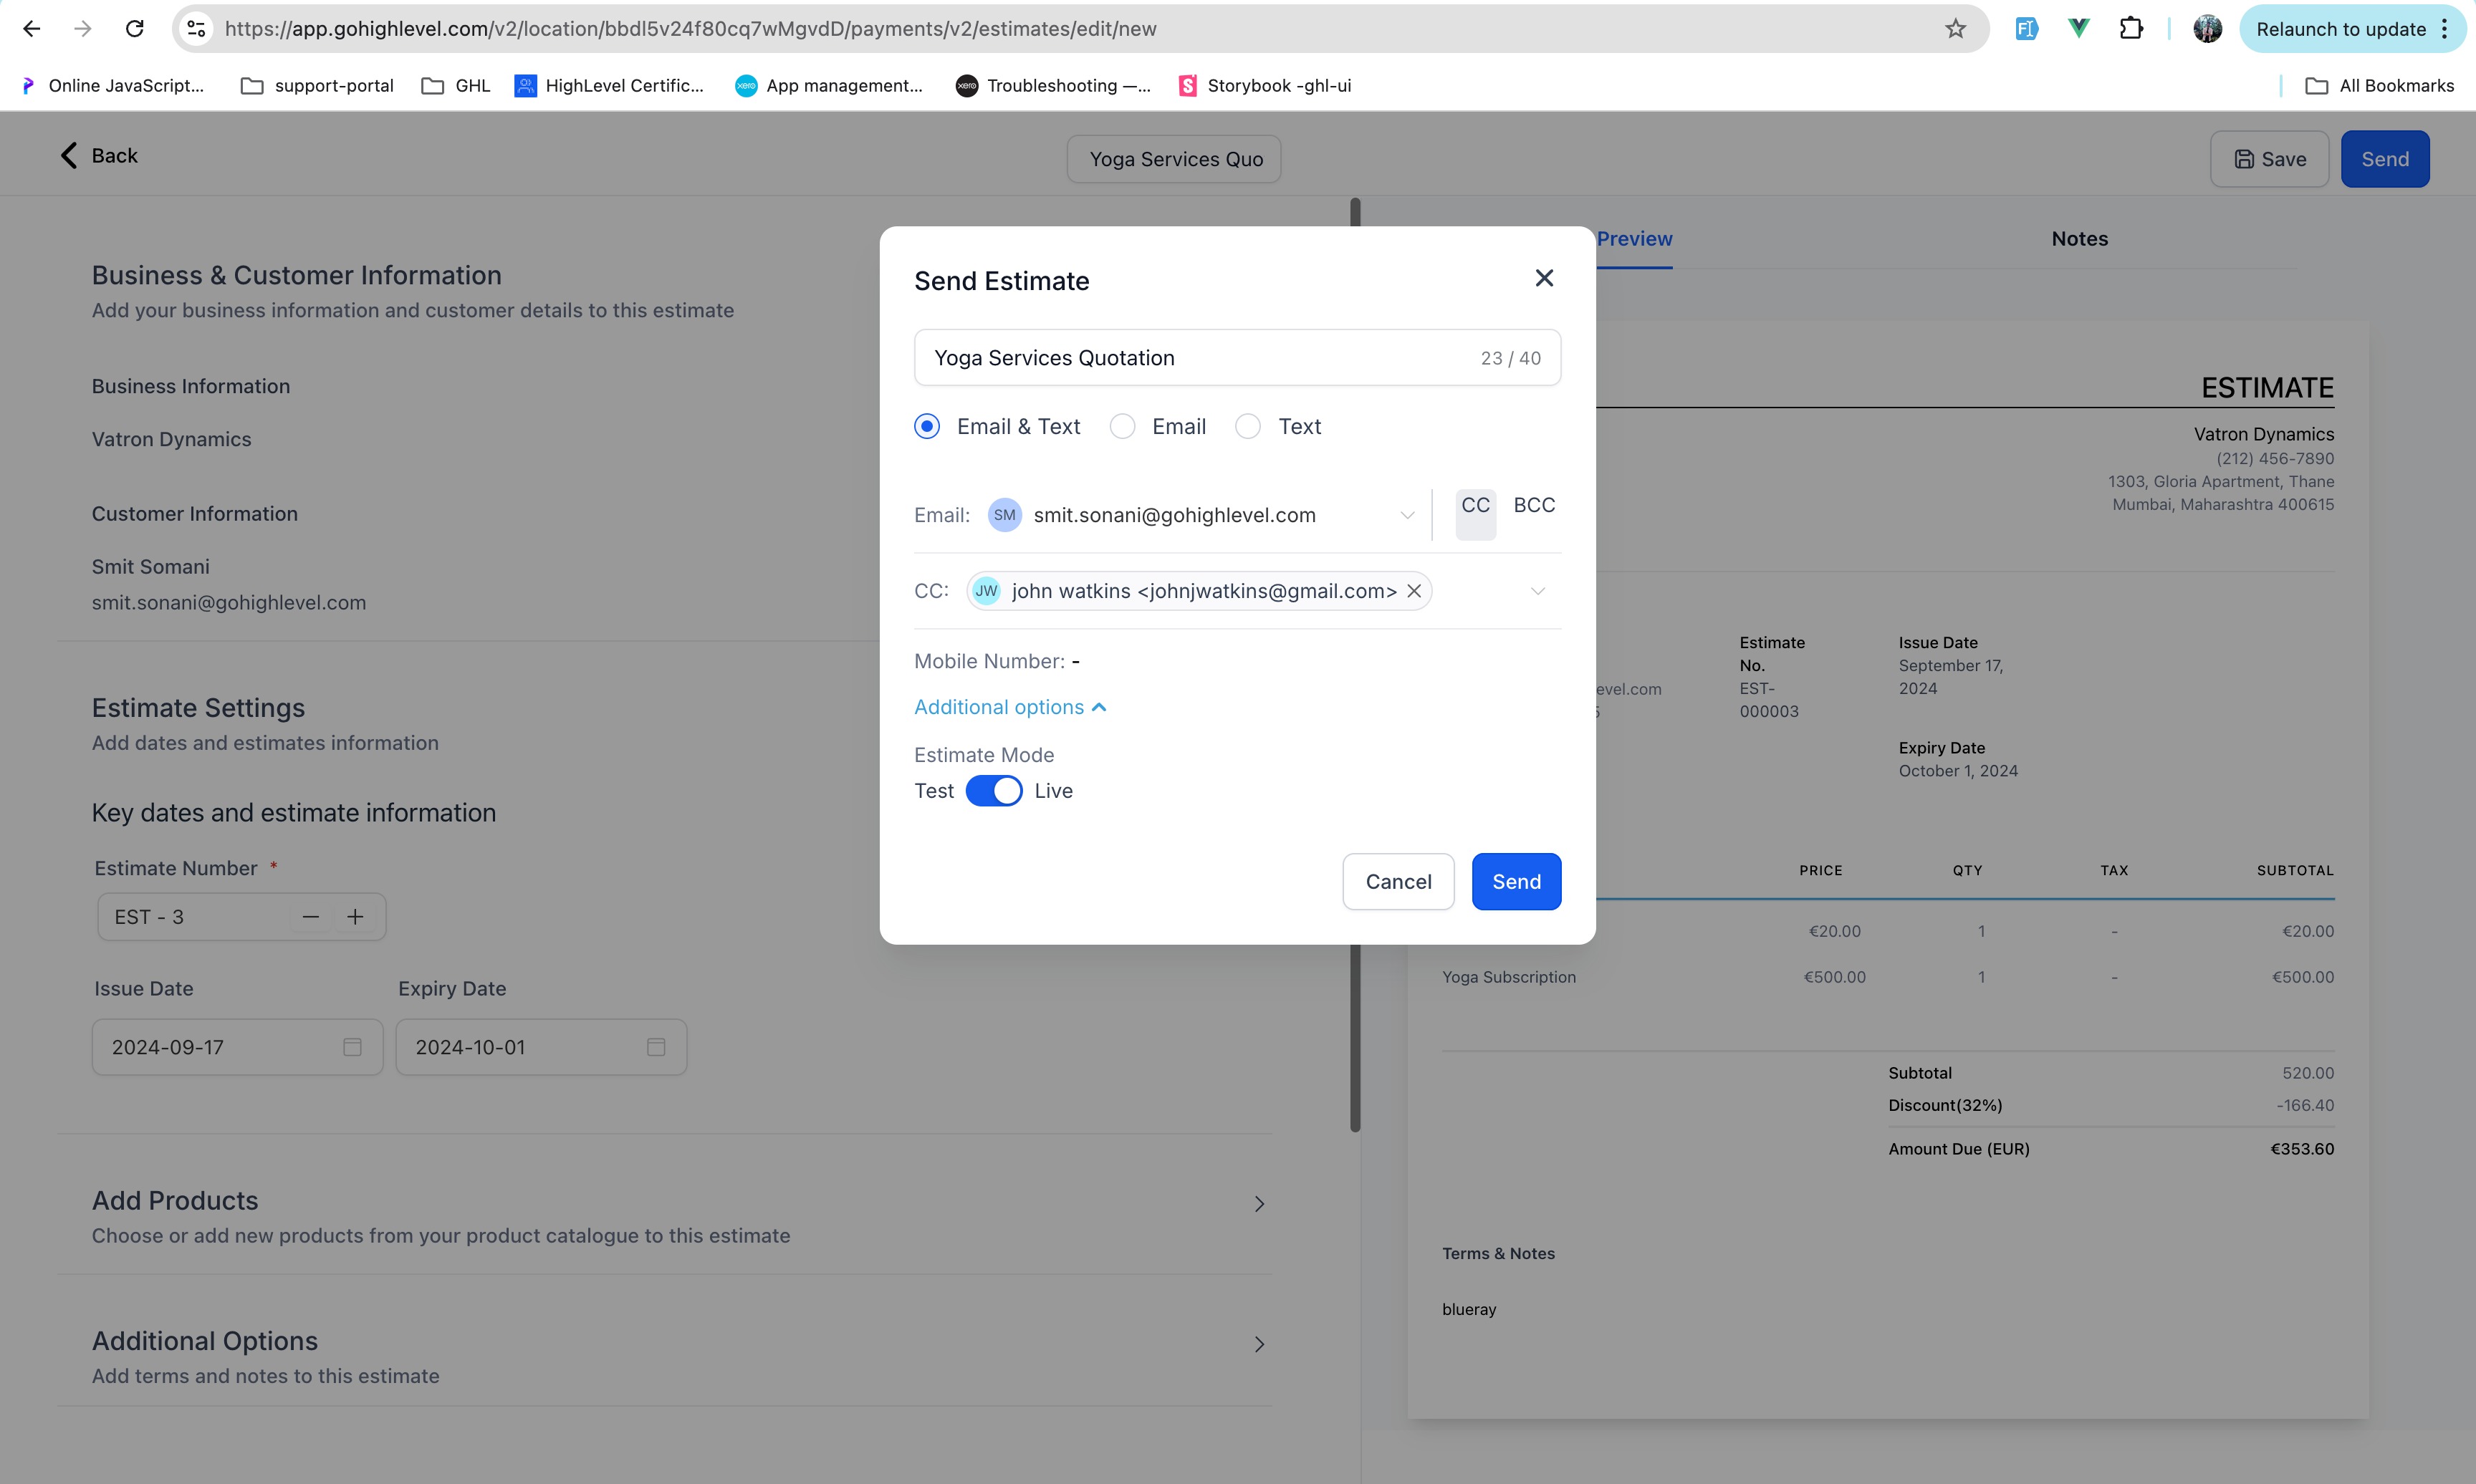
- Review the information and send the estimate via email or SMS.
Add a payment schedule to an estimate
- Open an existing estimate or start a new one.
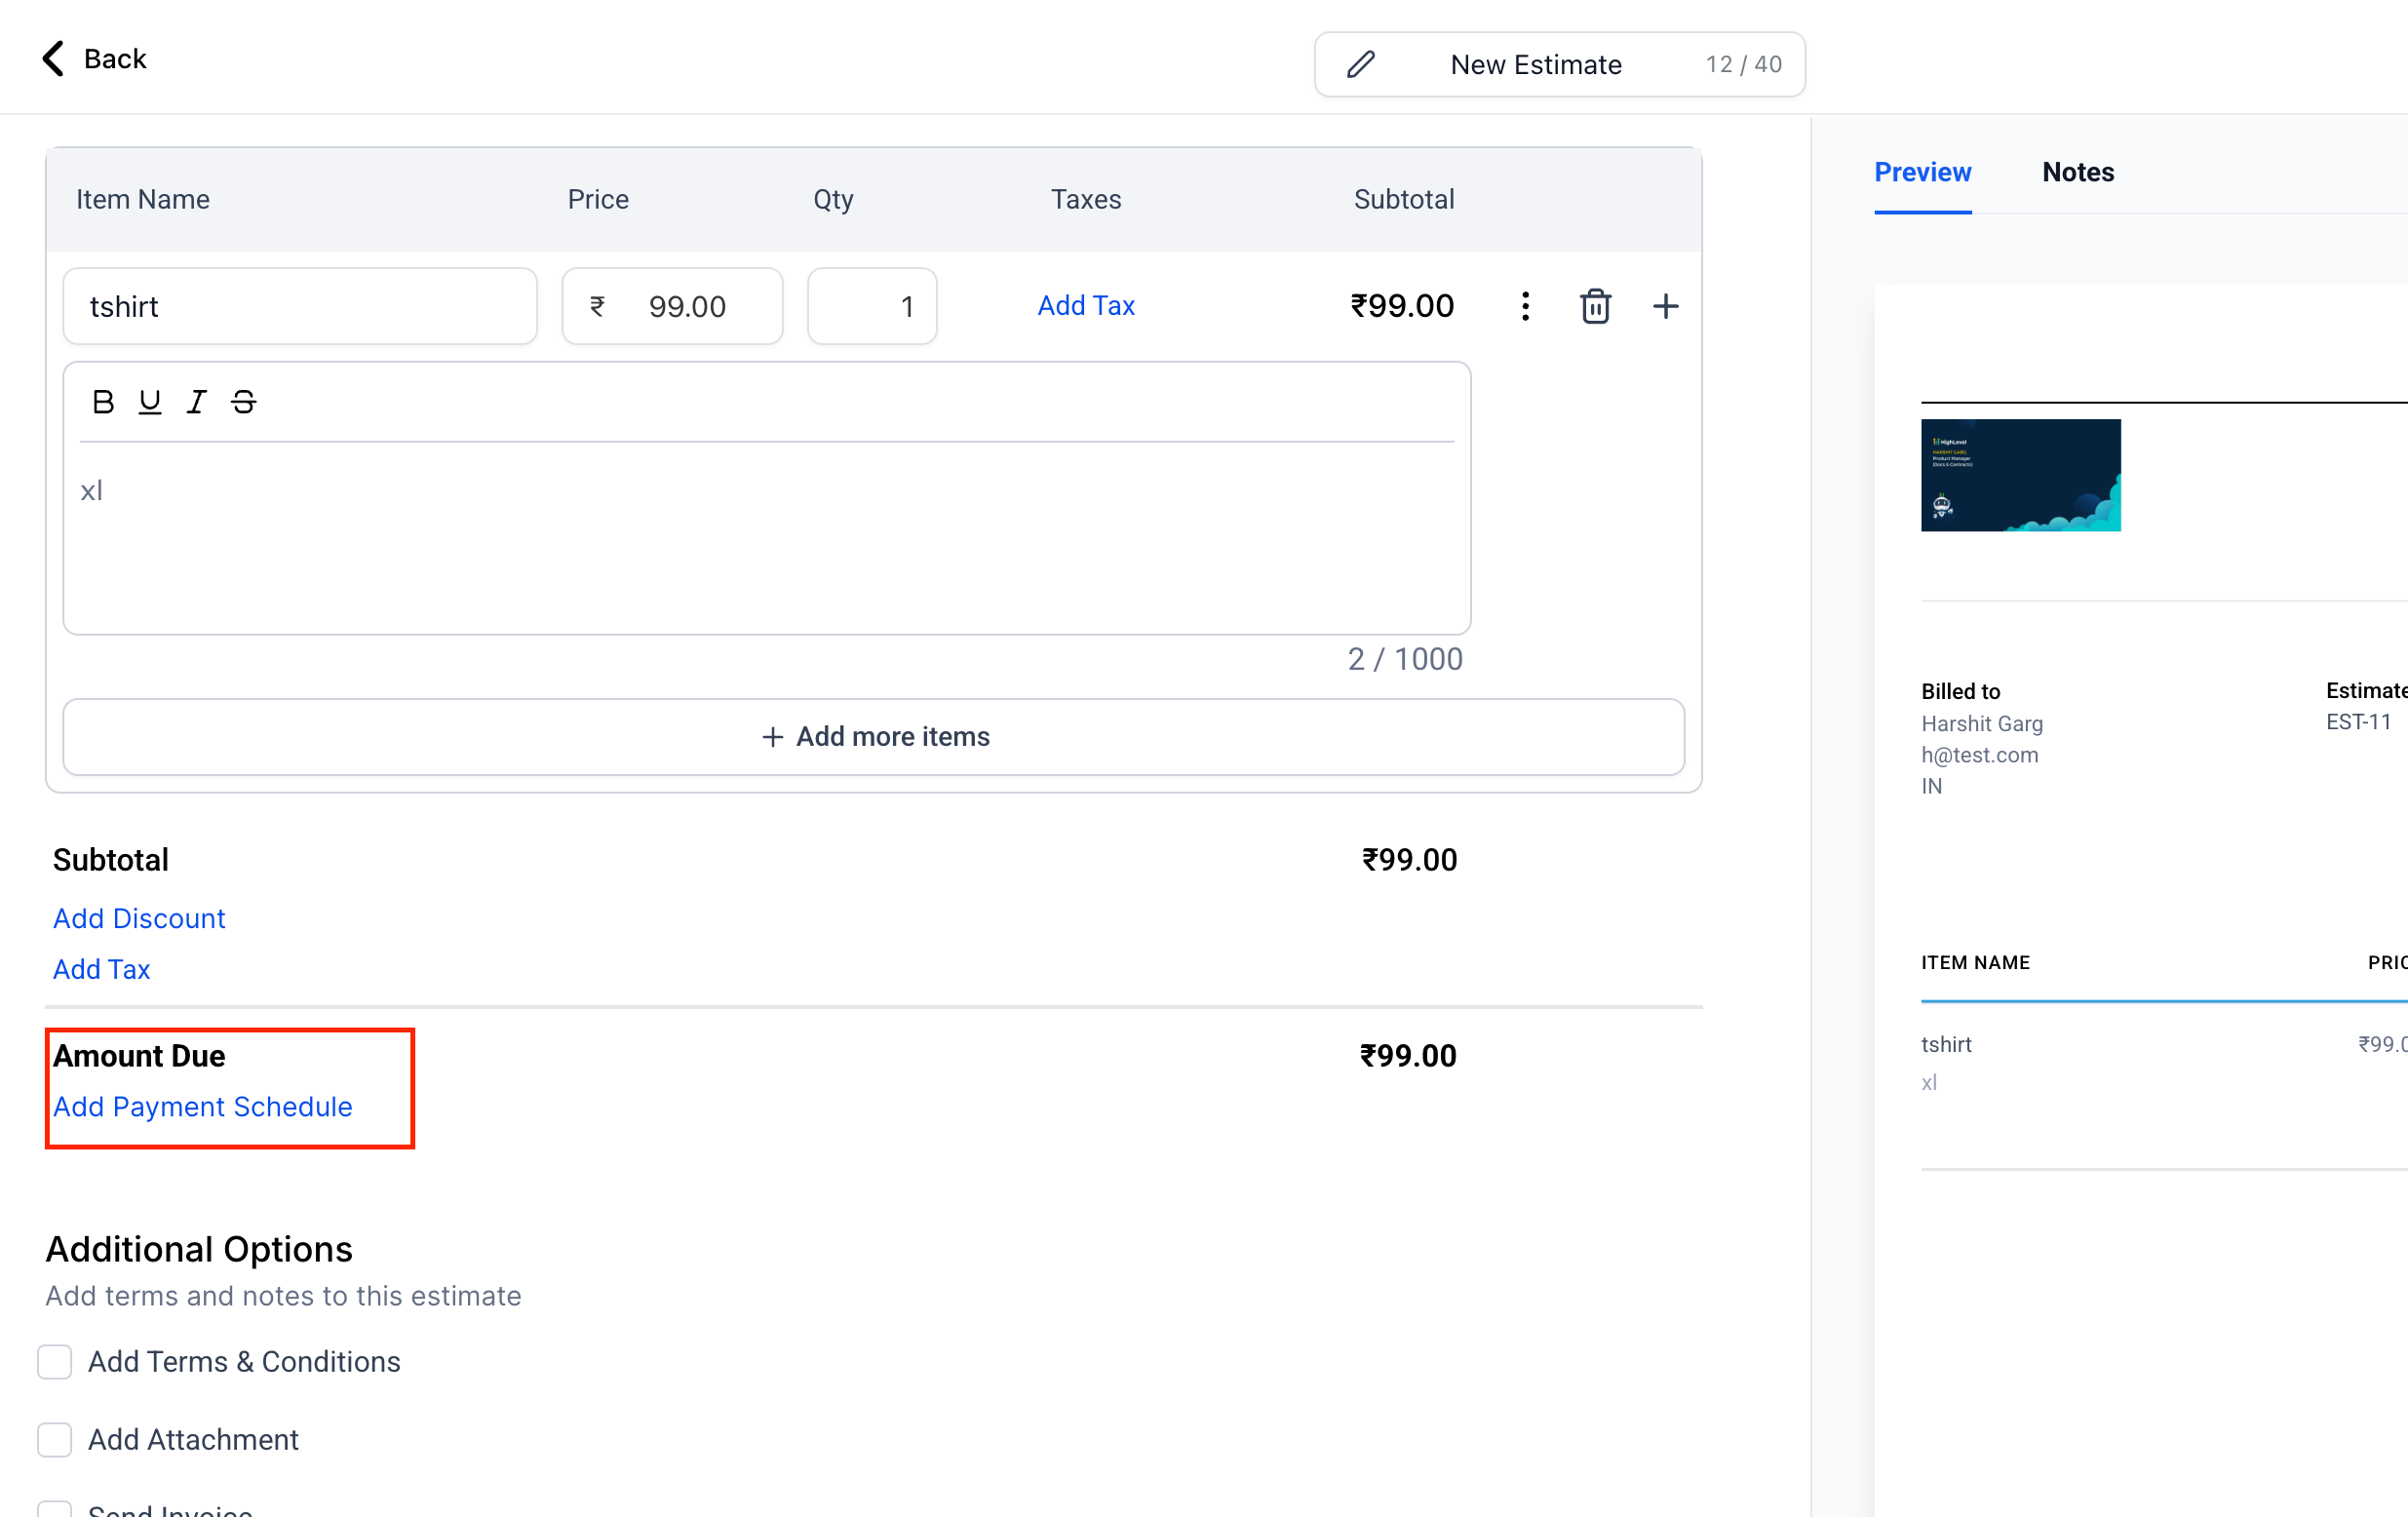
- In the Amount Due area, click Add Payment Schedule.
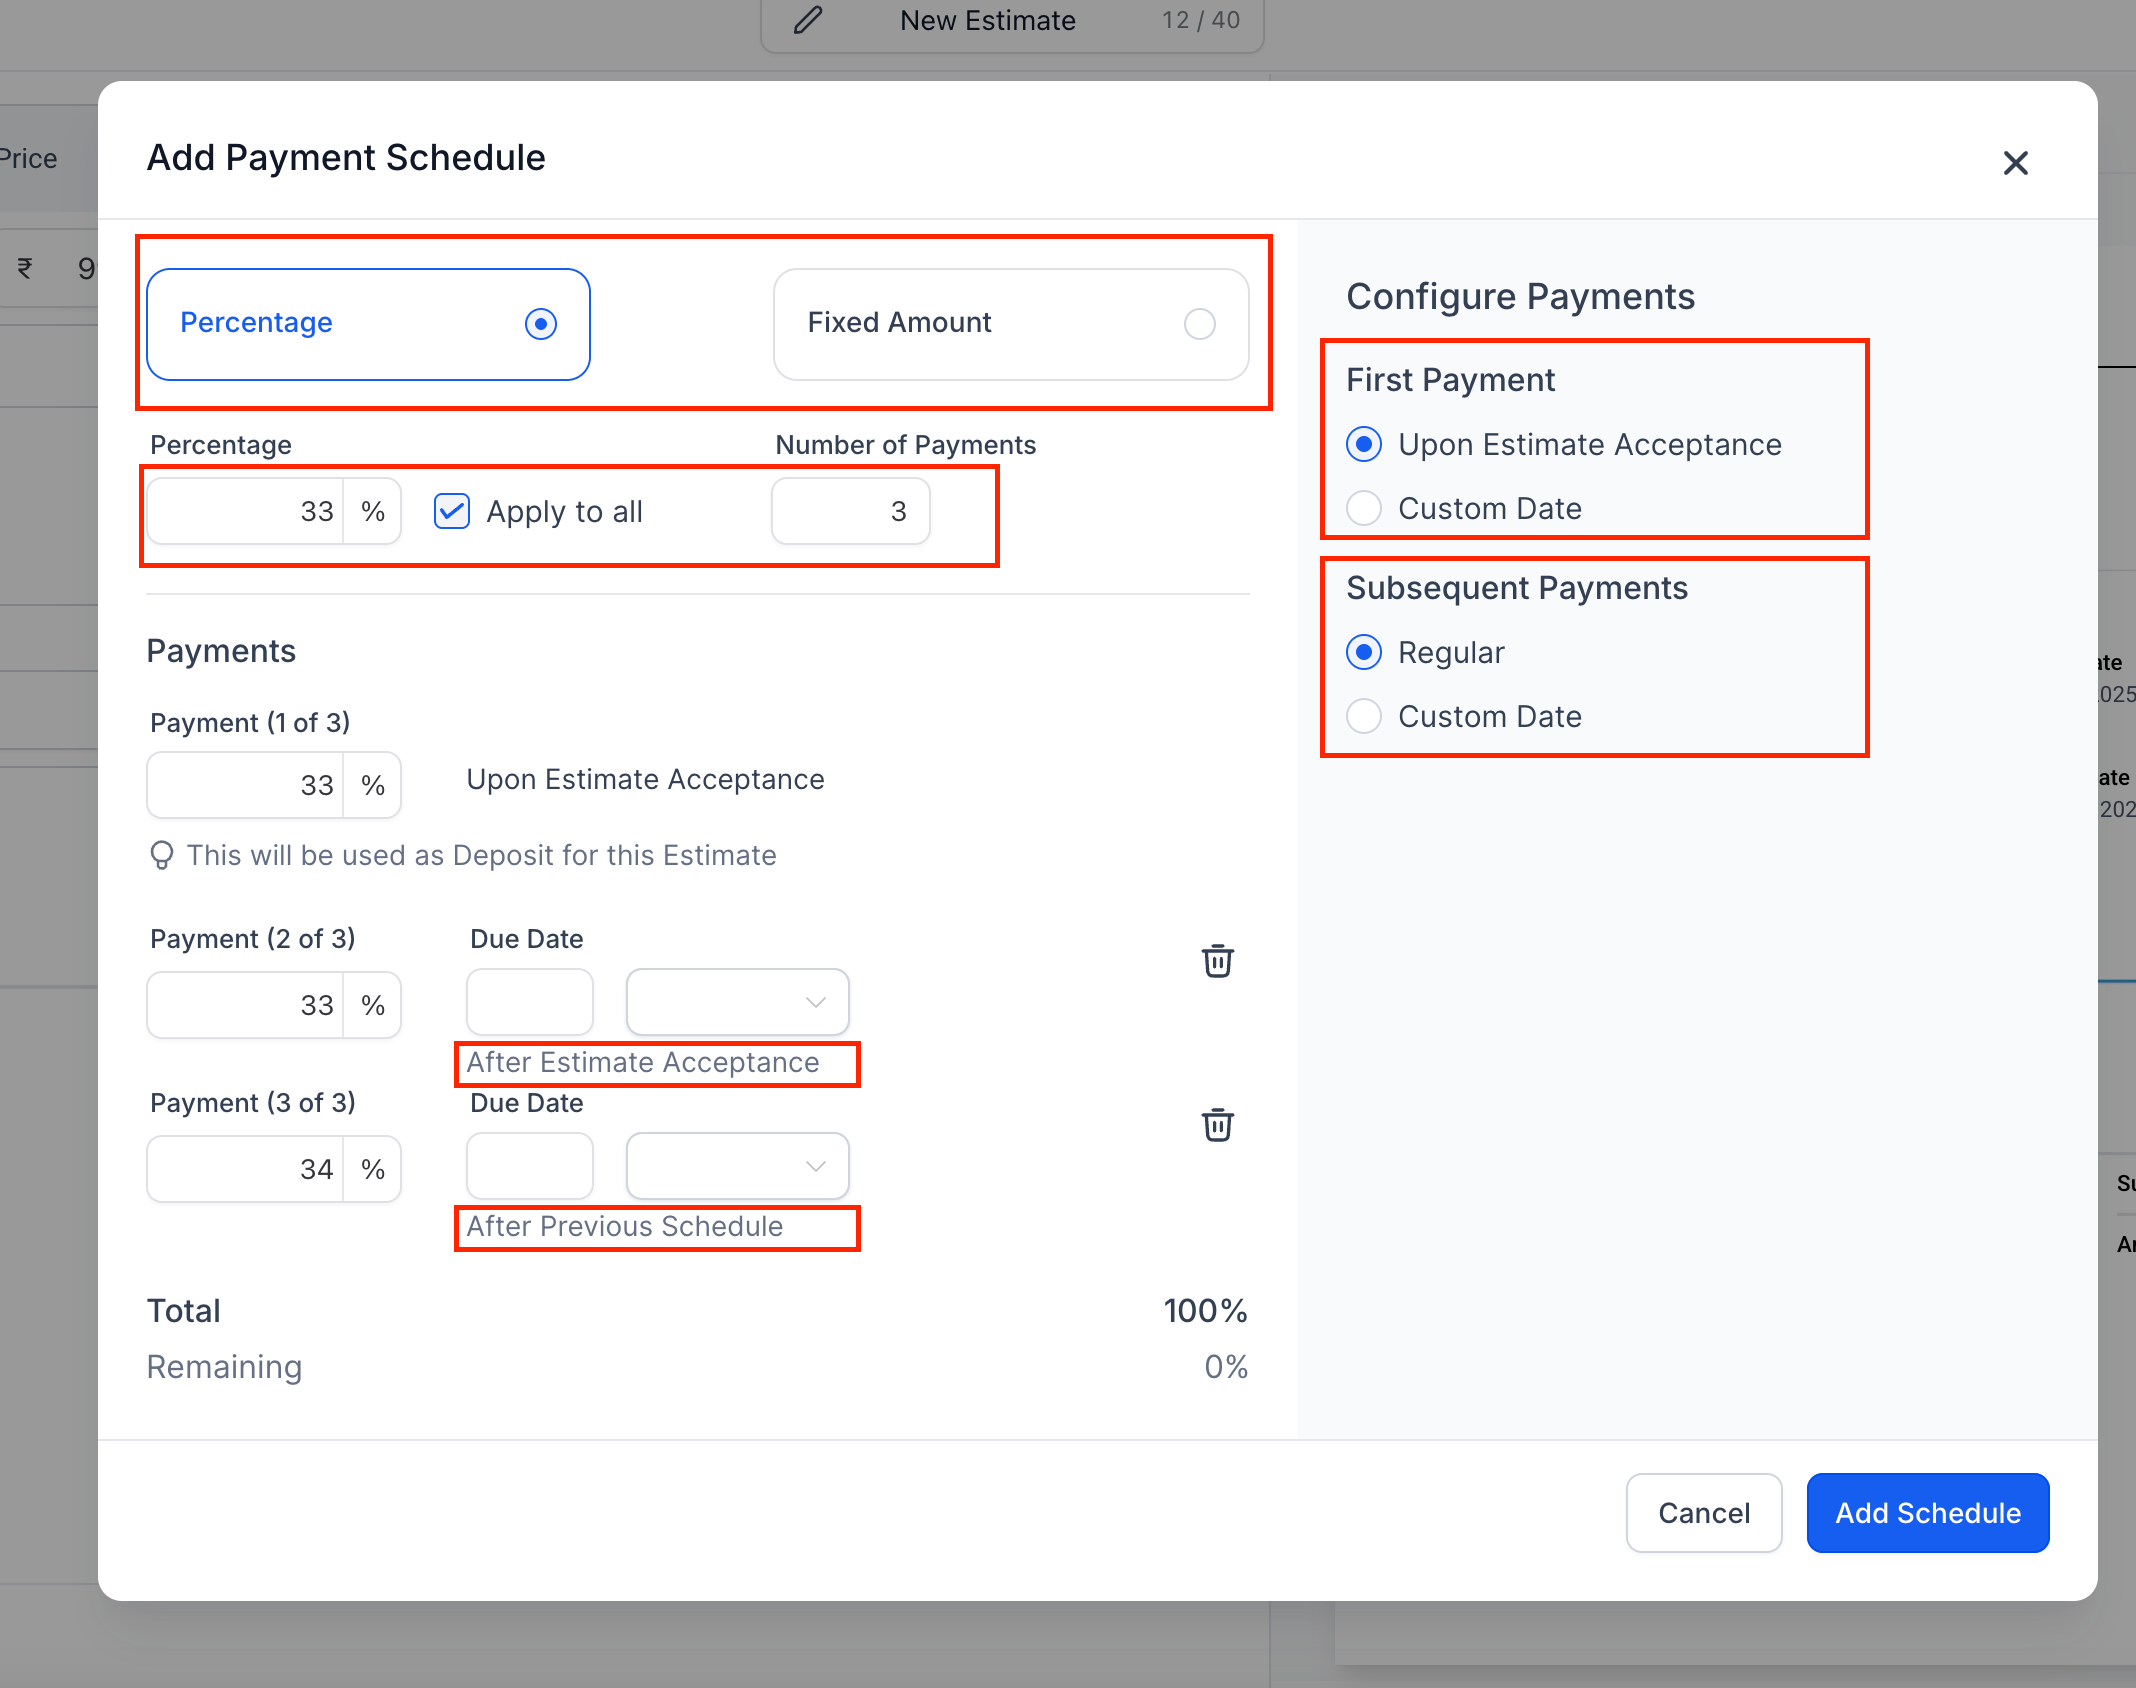
- Select Percentage or Fixed Amount and enter the value.
- Specify the number of payments.
- Set the first payment trigger to Estimate Acceptance or a custom date.
- Define subsequent payment timing as regular intervals or a custom date.
- Click Add Schedule, then use Change Payment Schedule later if adjustments are needed.
Preview and send the estimate
- Open the preview to check installment amounts and due dates.
- Under Additional Options, enable Send Invoice and turn on Enable Direct Payments.
- Save any changes made.
- Click Send to deliver the estimate to the client.
06What it looks like in HighLevel
07Settings that matter
- Add Payment Schedule. Controls how the total amount is divided into multiple installments, using either percentages or fixed amounts.
- Enable Direct Payments. Allows clients to pay the installments directly from the estimate email or SMS.
- First Payment. Determines whether the initial payment is collected when the estimate is accepted or on a custom date.
- Subsequent Payments. Sets the timing for later installments, either at regular intervals or on a custom date.
08How it connects to the rest of HighLevel
- Create detailed invoices after an estimate is accepted. Create invoices
- See common payment and invoice scenarios for best practices. Payment scenarios
- Review HighLevel pricing and plan options for access to the Estimates feature. Pricing
Michael's take

When you use Estimates, you get a professional, trackable proposal that lets clients approve or decline with a click, and you can break the total into manageable payments. It smooths the path from quote to cash without extra paperwork.