
01Who this is for
- Marketing teams creating newsletters, because they can fine tune layout spacing without coding.
- Designers building brand consistent email campaigns, as spacers help keep visual hierarchy clean.
- Small business owners managing email templates, since responsive spacing works on any device.
02Spacer elements, explained
The Spacer Element is a draggable tool that inserts empty space between other elements in an email template. Users can set the height for vertical gaps or the width for horizontal gaps, and optionally apply a background color.
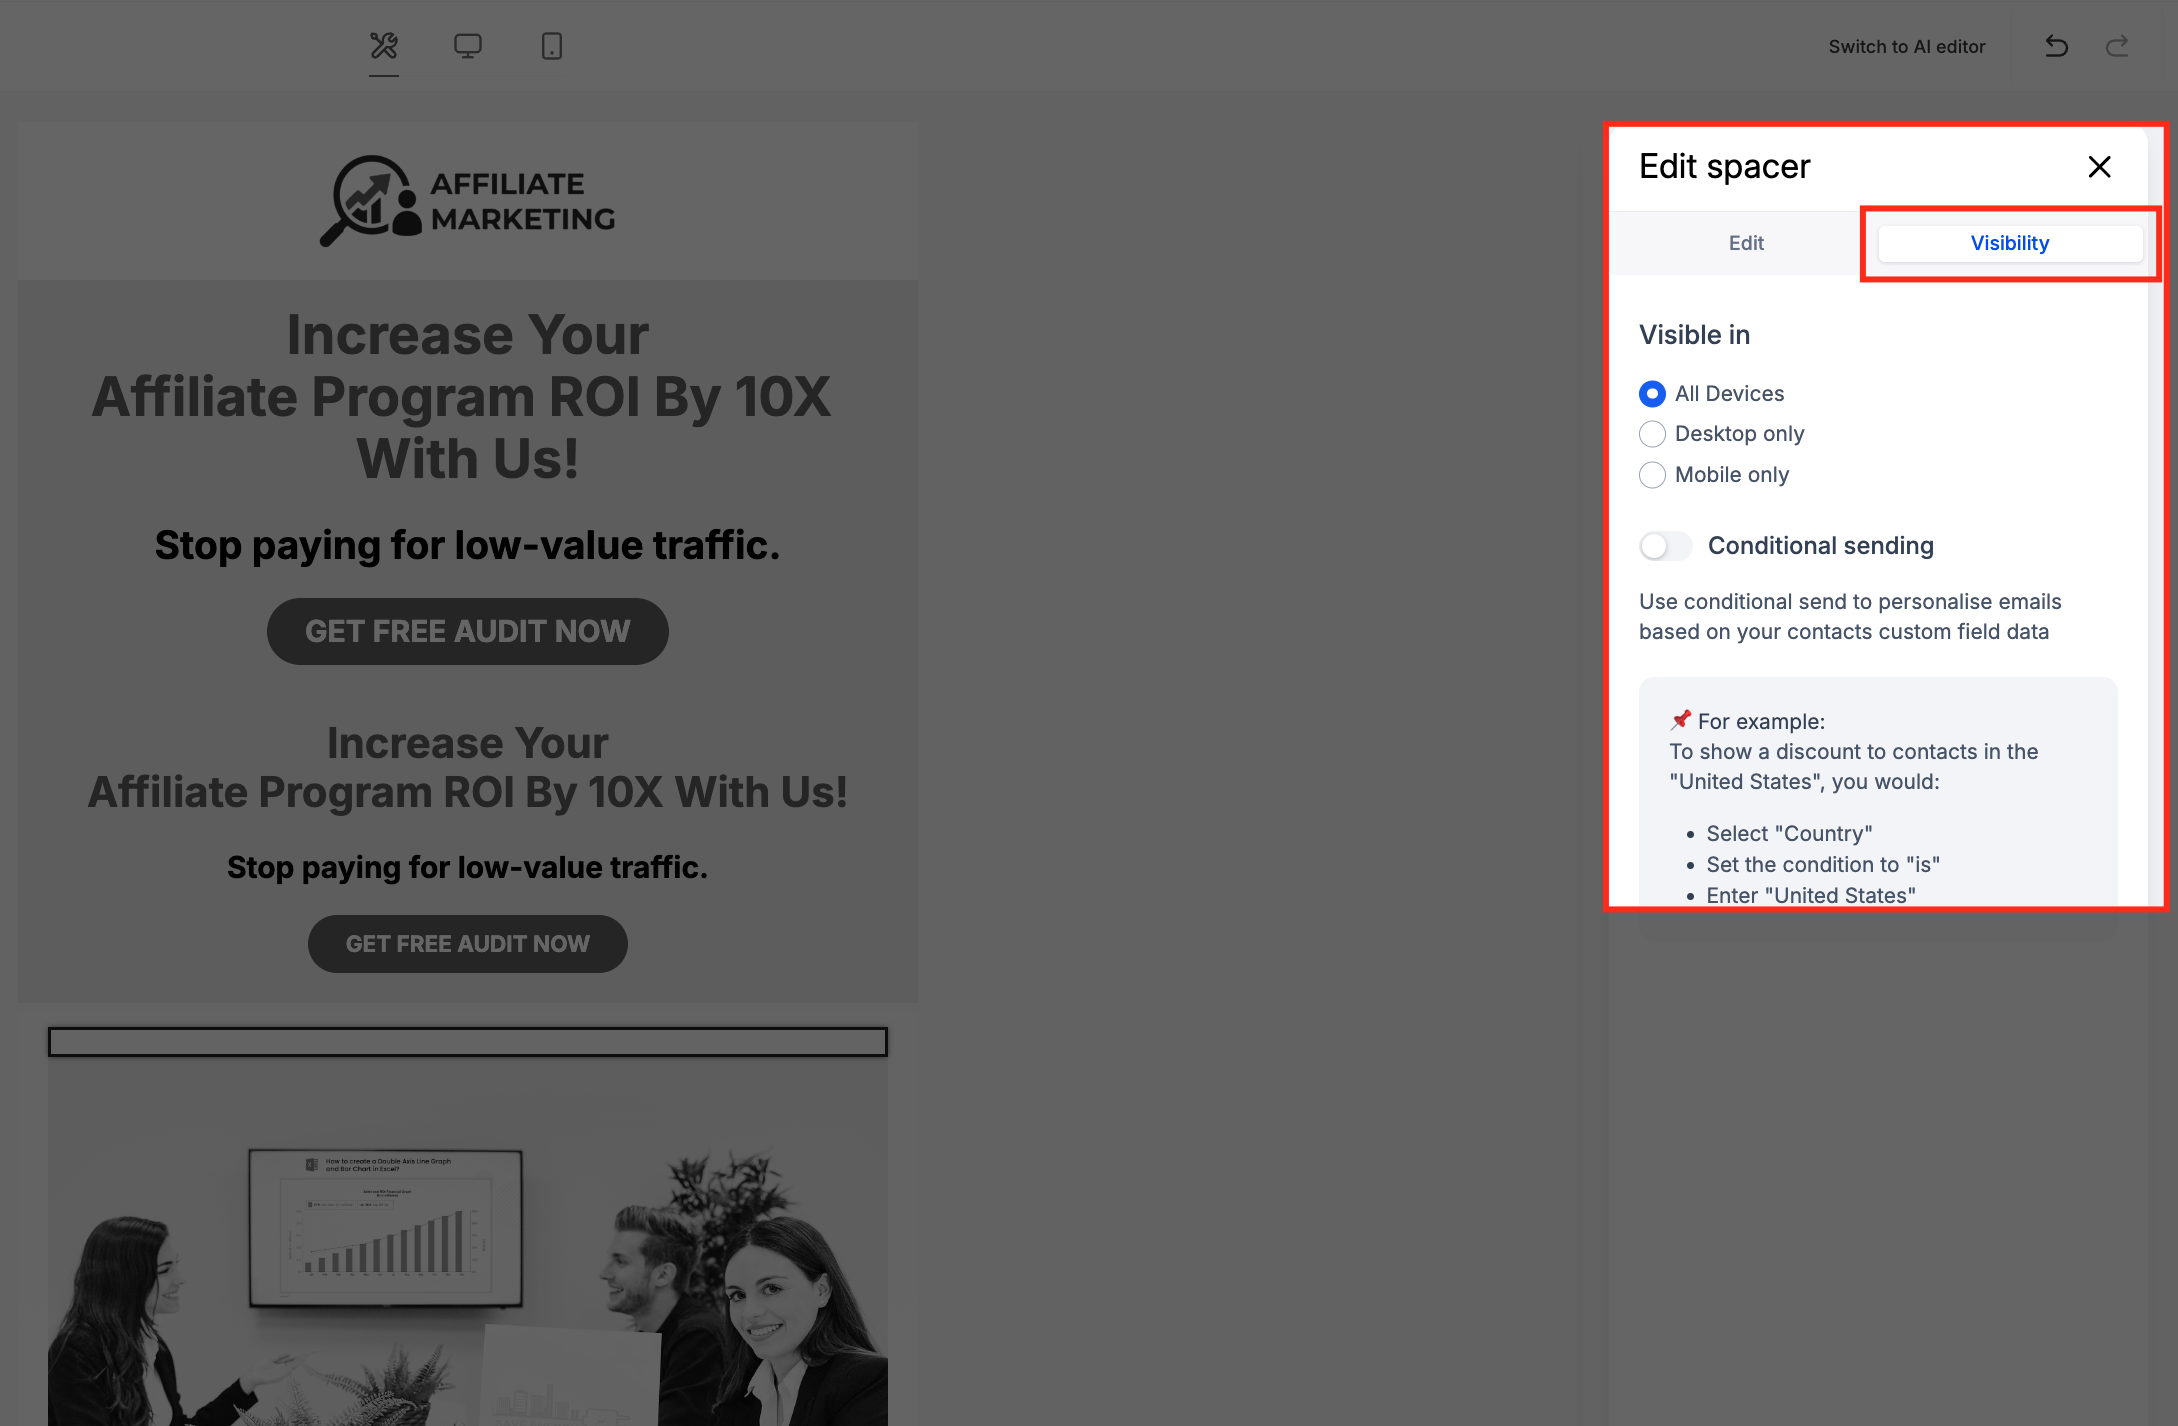
When a Spacer is placed, the platform automatically adjusts its size for desktop and mobile previews, ensuring the layout stays balanced across screen sizes. Visibility options let you hide the spacer on specific devices or under certain conditional sending rules.
The element lives inside the Email Builder. Access it from the Add Elements (+) menu, drag it into the desired location, and then edit its properties in the right hand sidebar using the Edit and Visibility tabs.
03How businesses use Spacer Element
- Consulting agency. The agency adds a Spacer between headline and body text to create breathing room in client newsletters. They adjust the height in the Edit tab, preview on mobile, and keep the layout professional without extra CSS.
- Ecommerce store. The store inserts a horizontal Spacer to separate product images from call to action buttons. Width is set to match the design grid, and device visibility is toggled so the space only appears on desktop views.
- Fitness studio. The studio uses a vertical Spacer to add space above class schedule sections. After dragging the element, they set the height, check the mobile preview, and delete it later if the layout changes.
04How to set up and use Spacer Element in HighLevel
Add spacer element
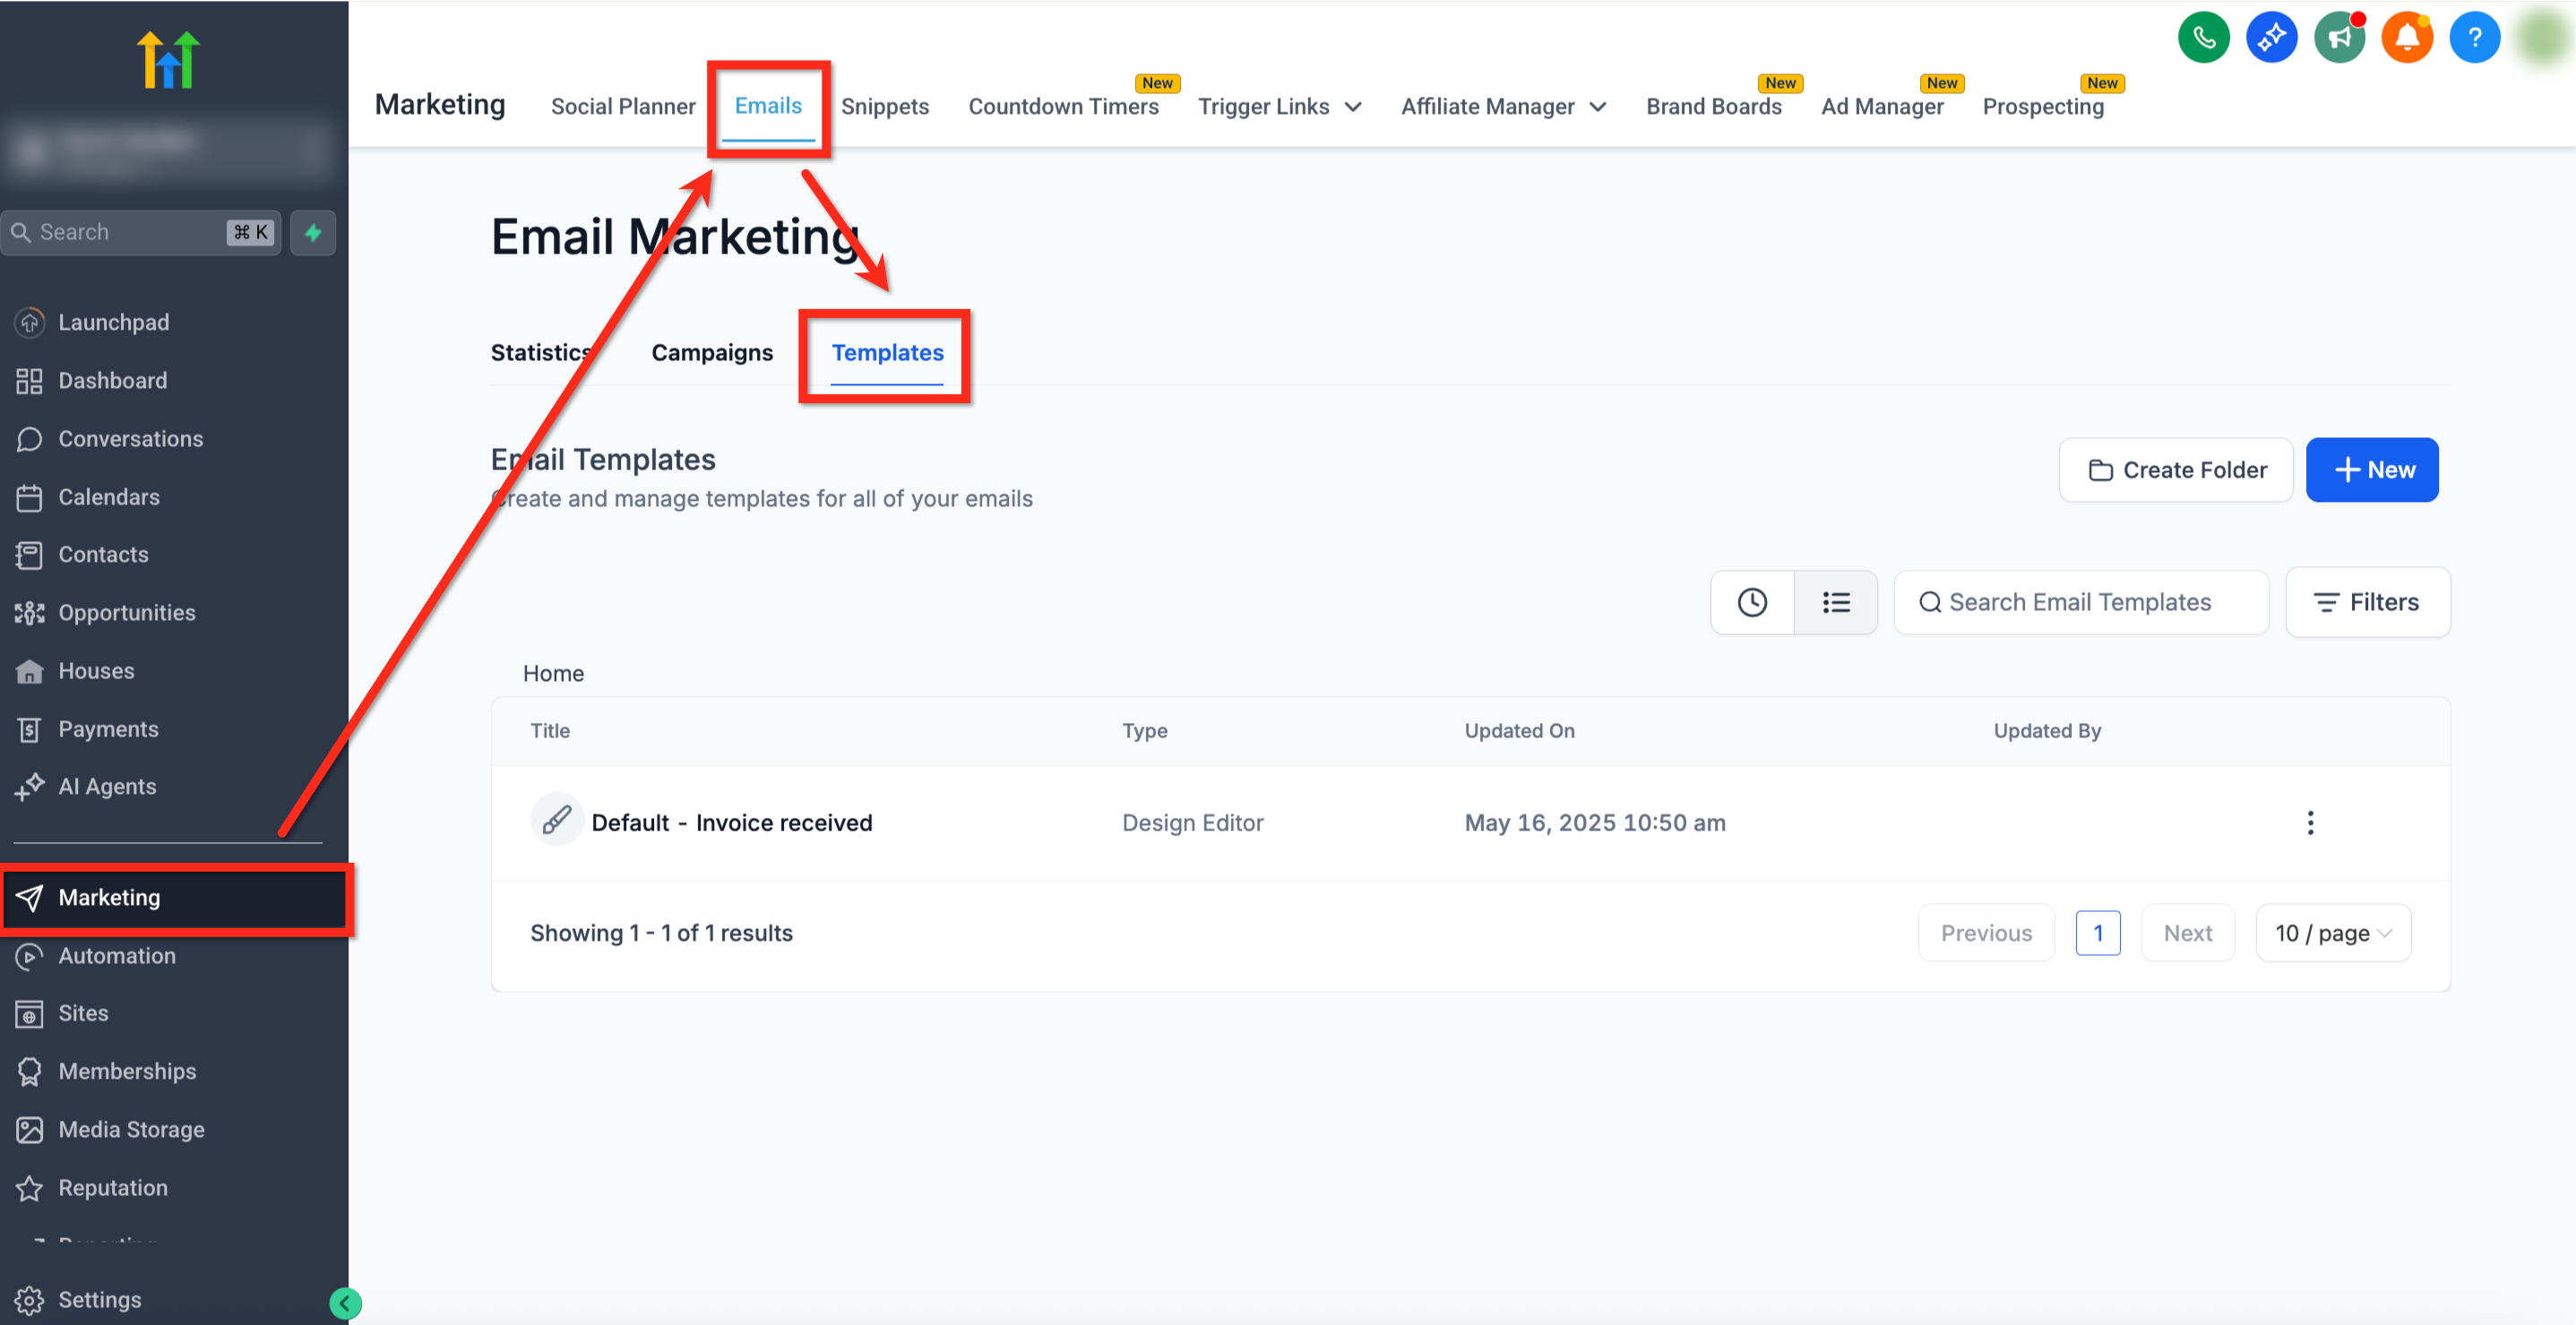
- Go to Marketing > Emails > Templates from your subaccount dashboard.
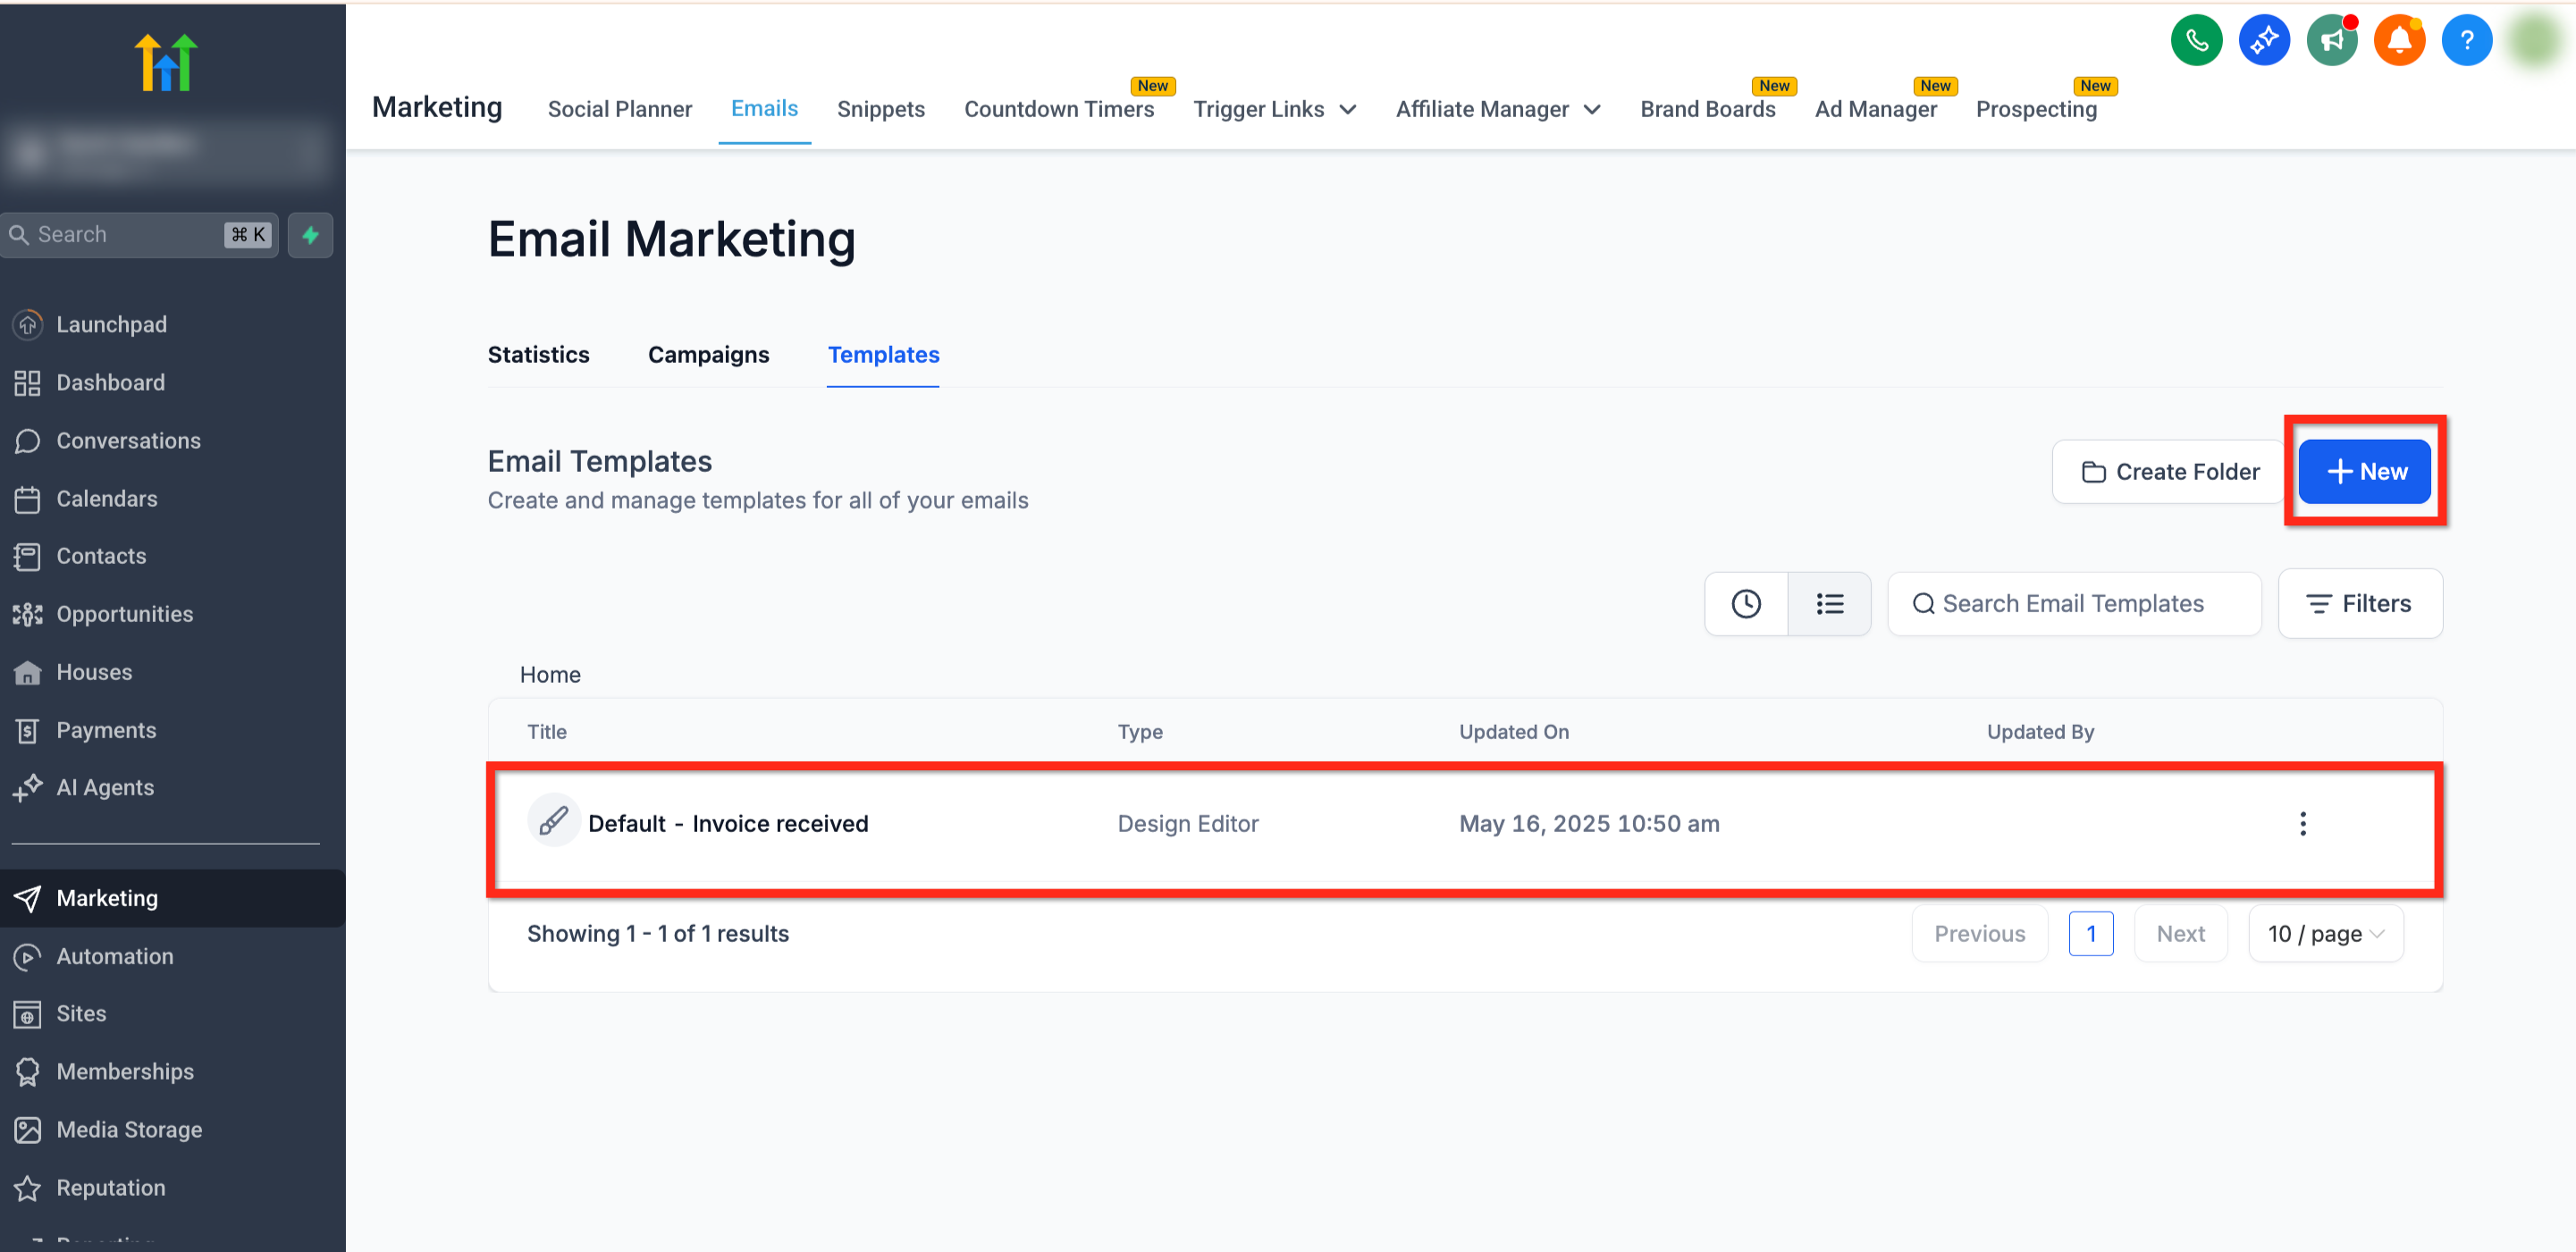
- Open an existing template or click the + New button in the upper right corner to create a new one.
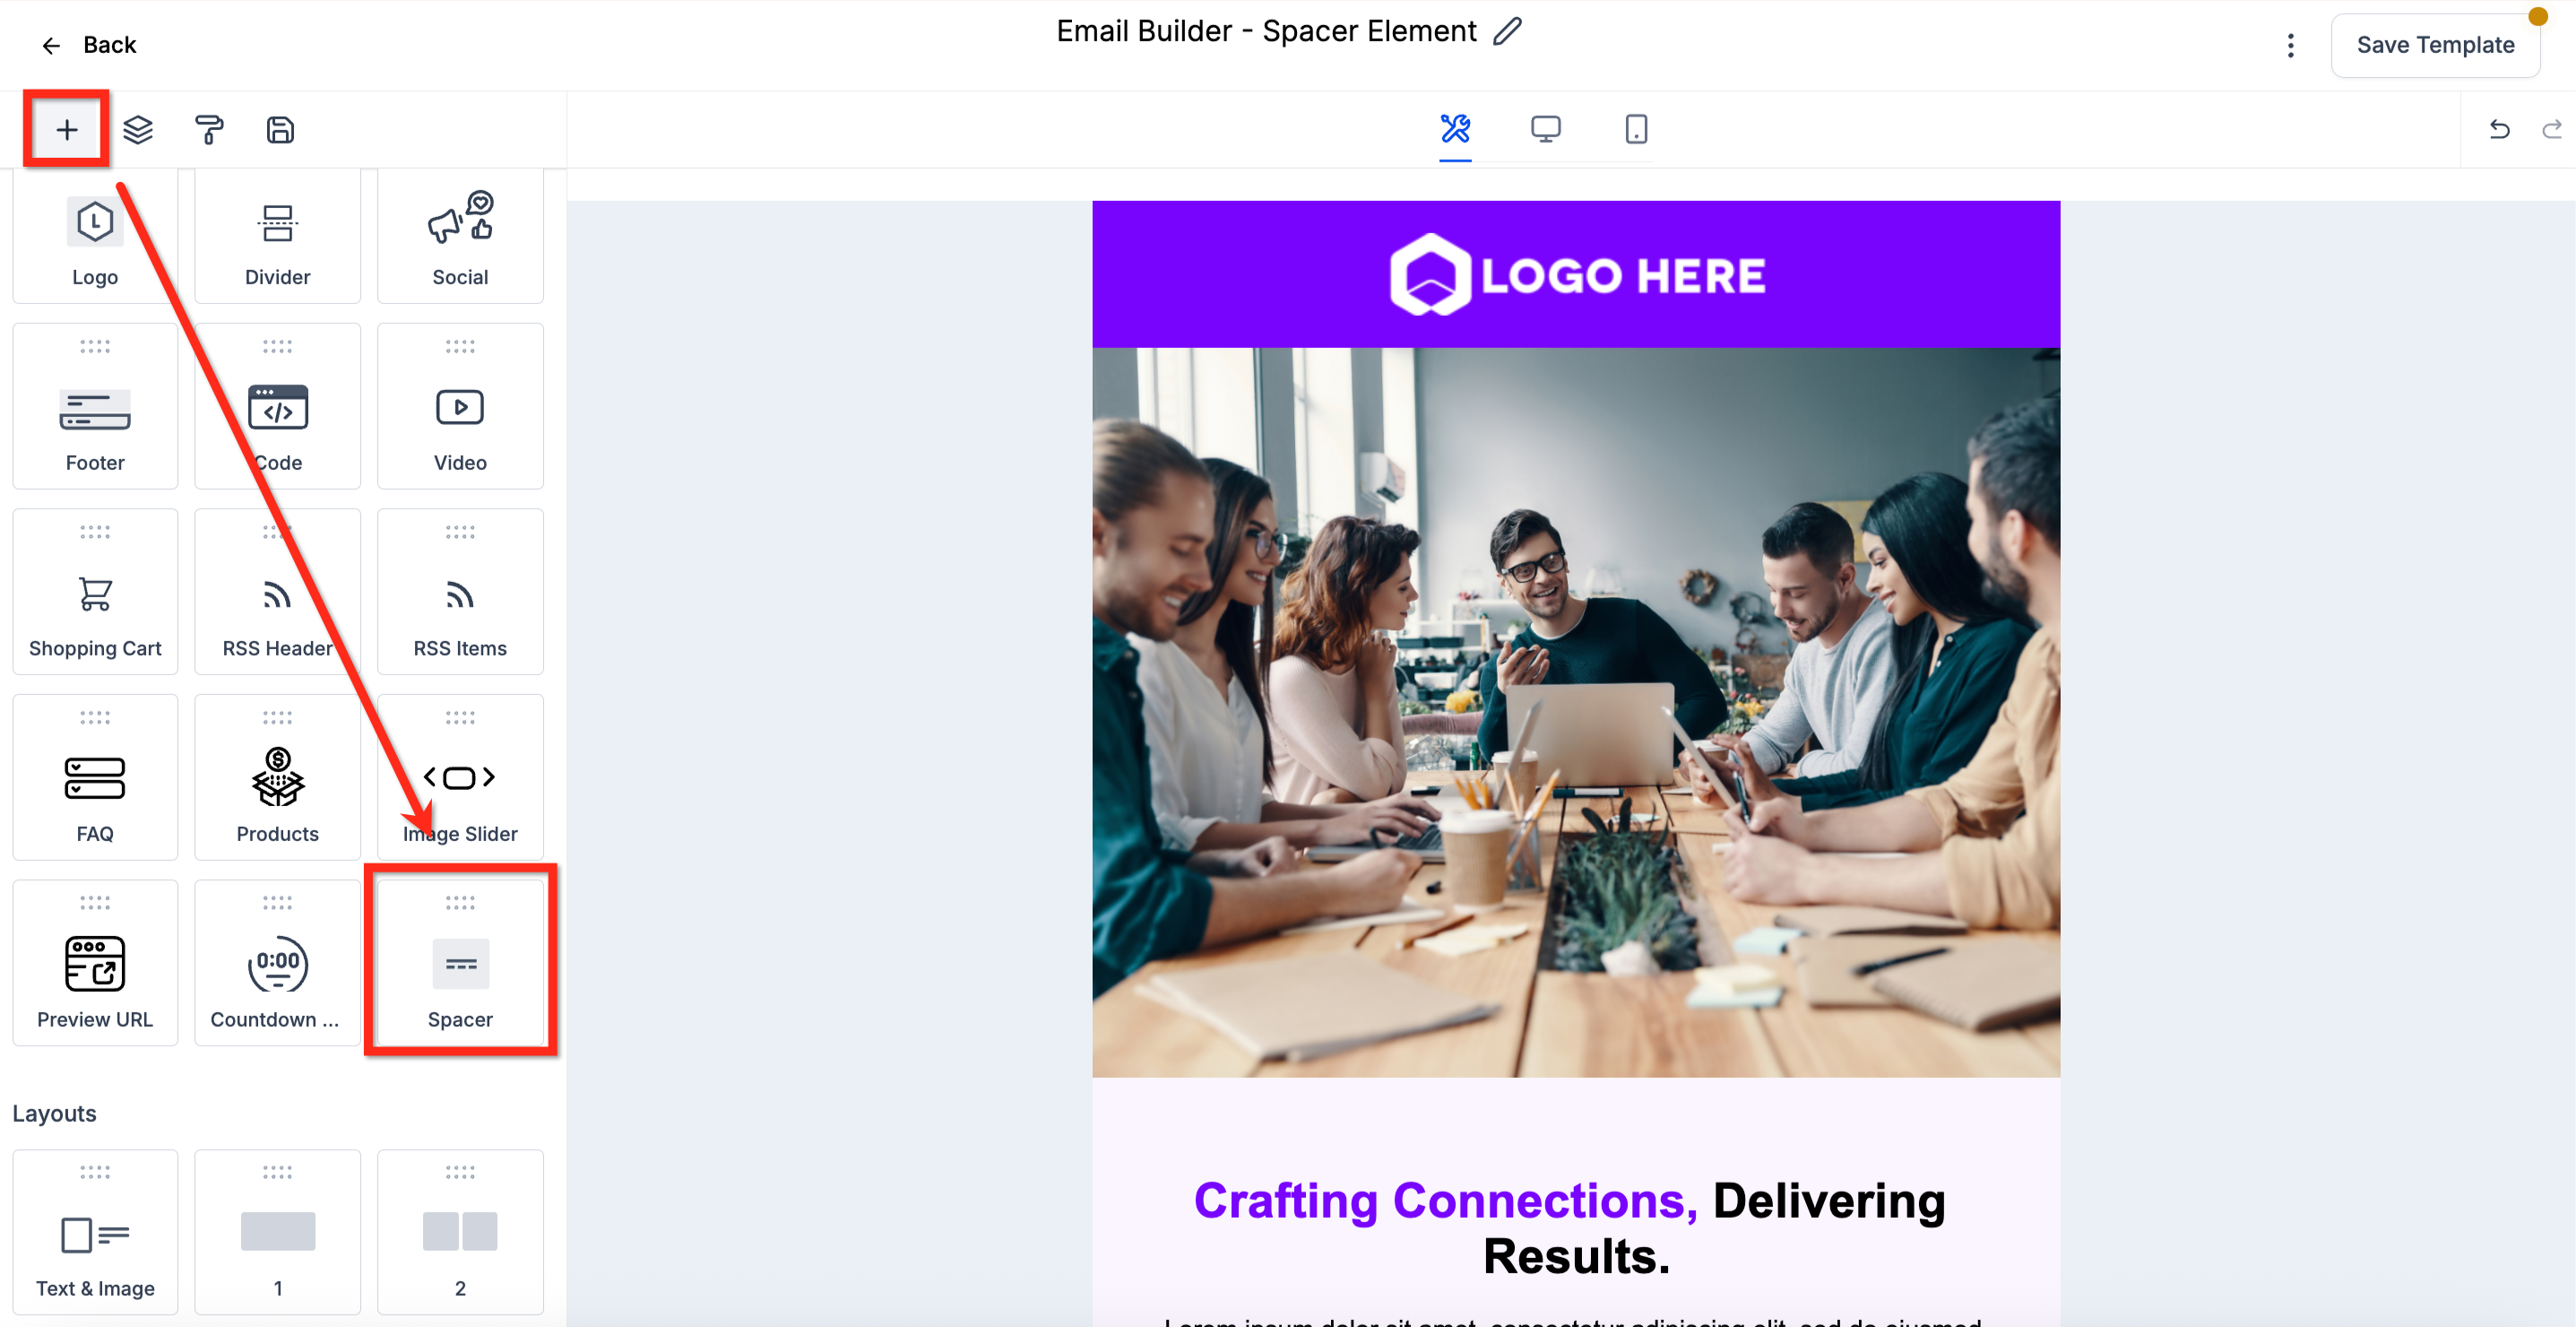
- Click the Add Elements (+) icon located in the upper left of the Email Builder.
- Locate the Spacer element in the sidebar that appears.
- Drag the Spacer element into the spot where you want extra space in the layout.
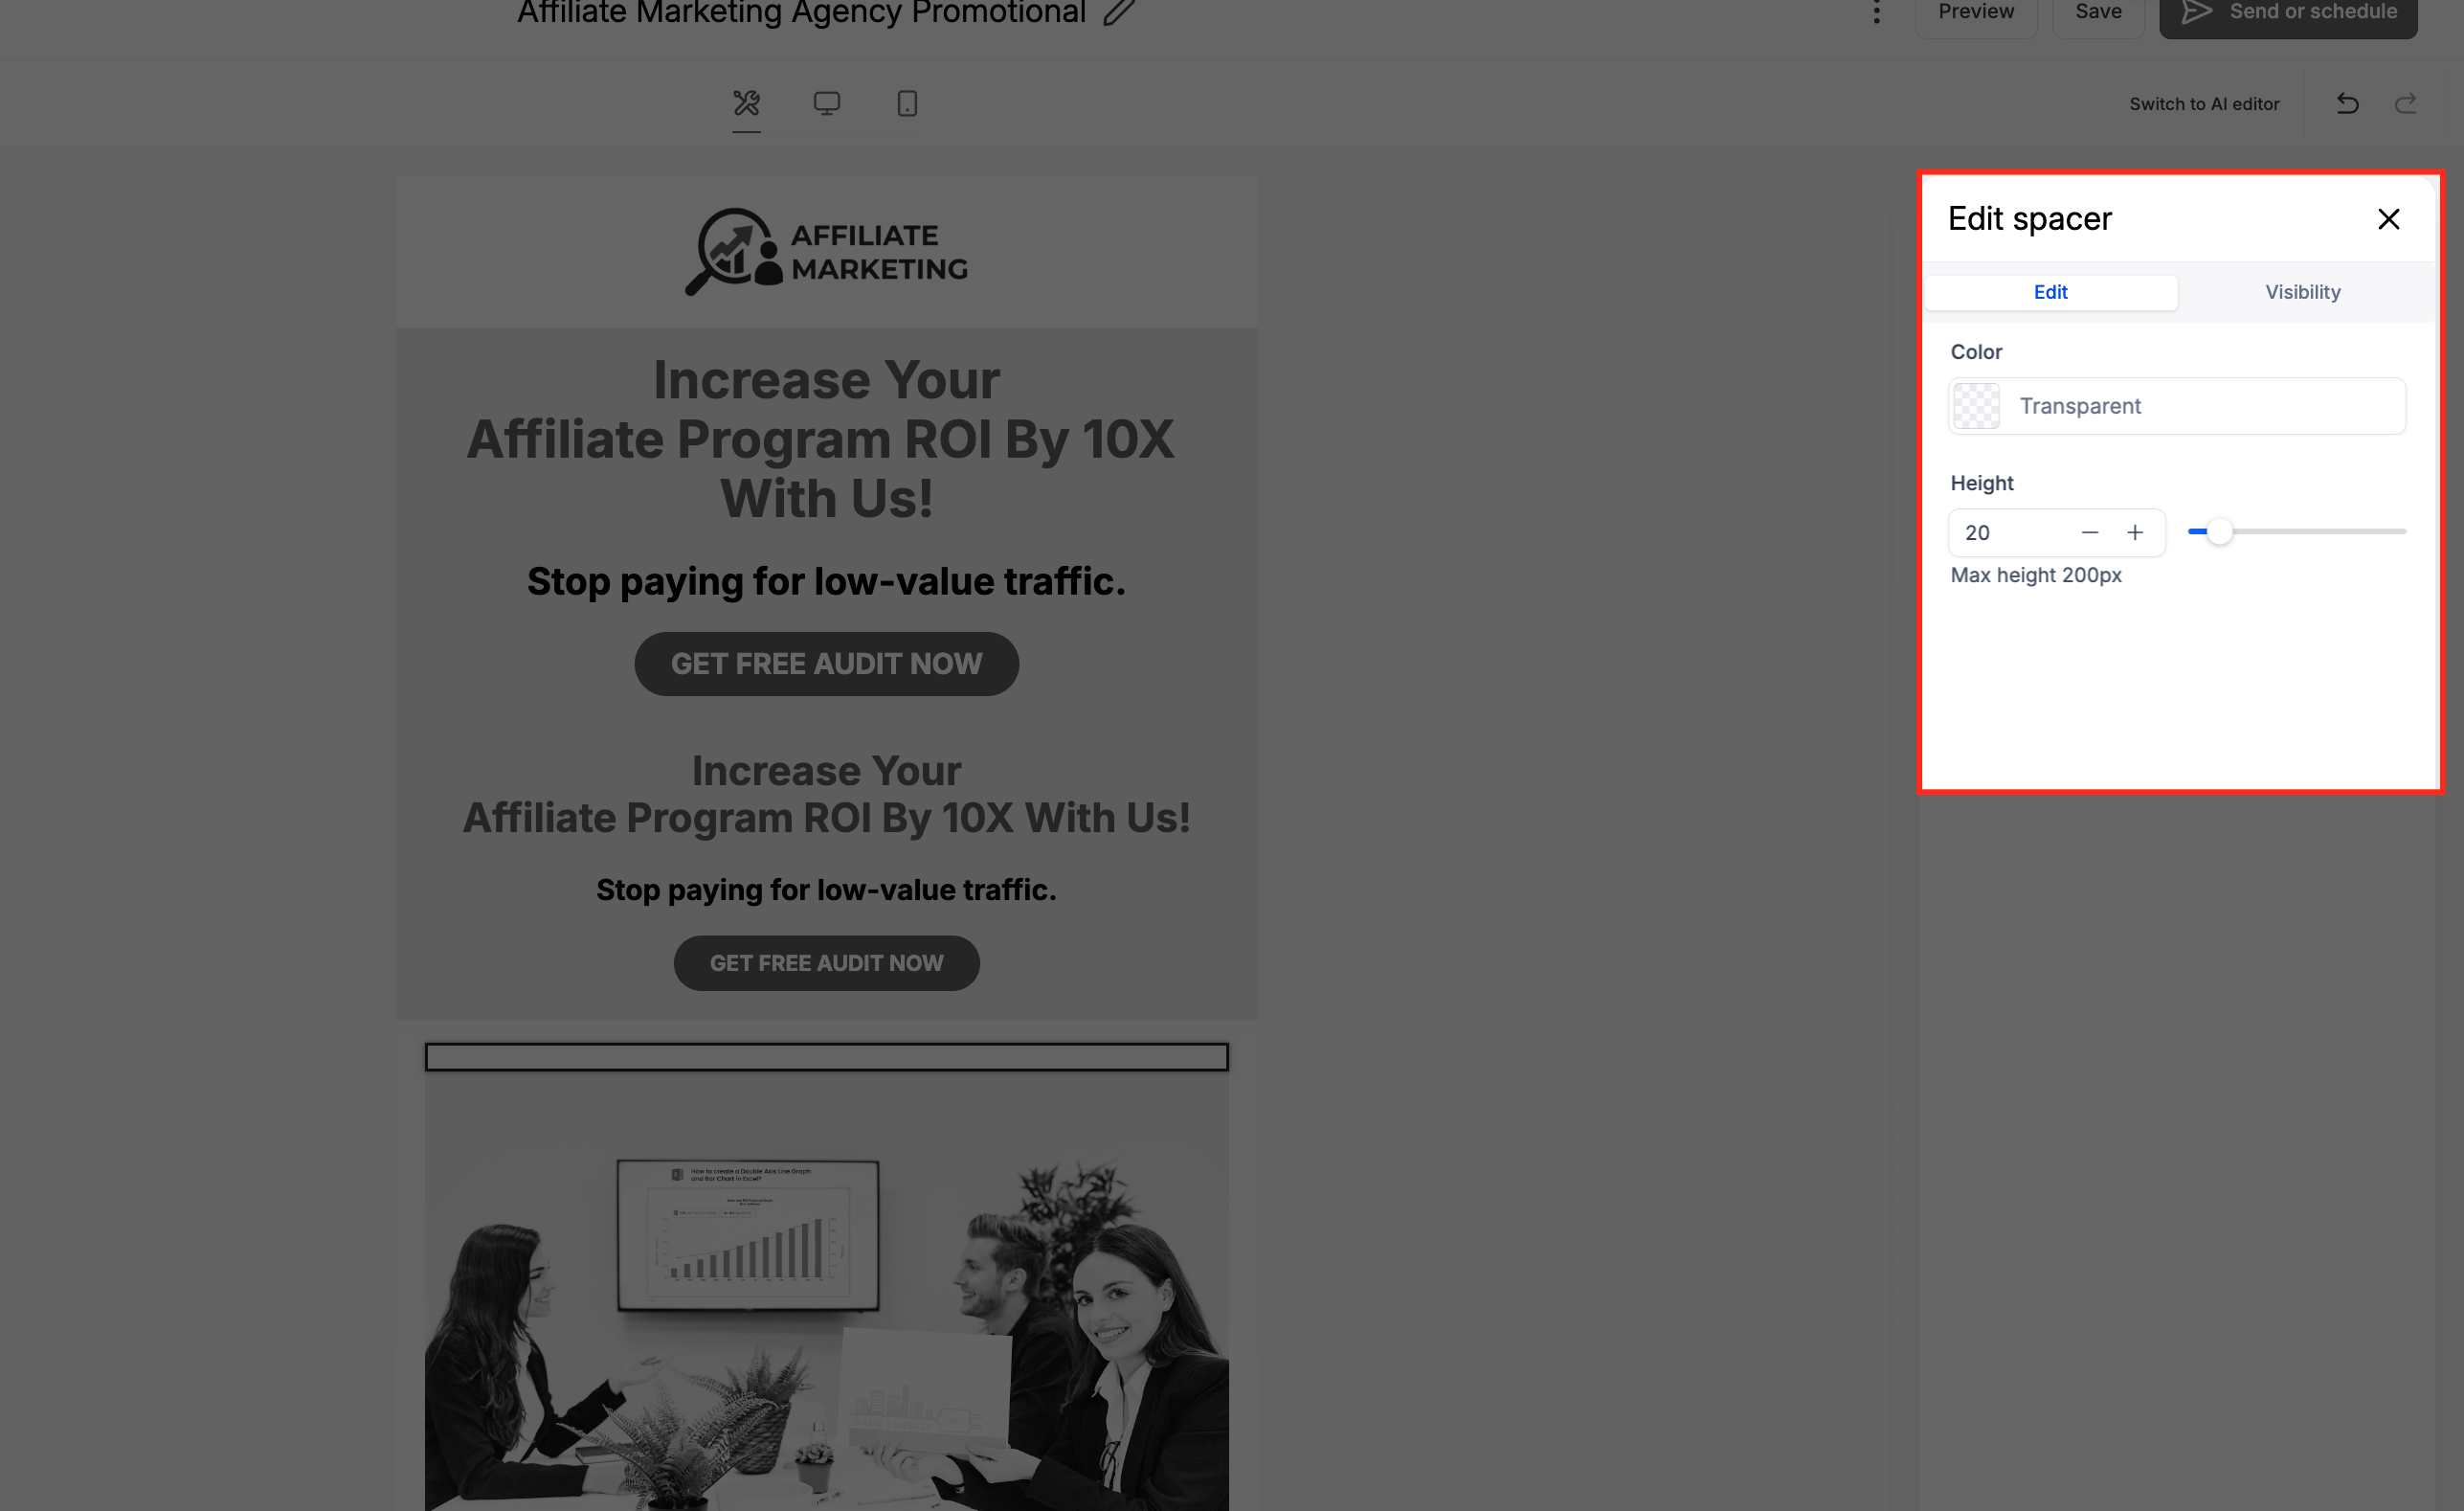
- Select the placed Spacer and open the Edit tab on the right hand sidebar.
- Adjust the height, width, or color and configure visibility settings as needed.
- Preview the email on both desktop and mobile to verify the spacing looks correct.
05What it looks like in HighLevel
06Settings that matter
- Edit tab. Controls the element's dimensions such as height and width, and lets you set a background color.
- Visibility tab. Manages Device Based Visibility and Conditional Sending options for the spacer.
- height. Sets the vertical distance the spacer creates between surrounding elements.
- width. Sets the horizontal distance the spacer creates between surrounding elements.
- color. Applies a background color to the spacer area, if desired.
- Device, Based Visibility. Determines whether the spacer appears on desktop, mobile, or both device types.
- Conditional Sending. Allows the spacer to be shown only when specific sending conditions are met.
07Things to know before you rely on it
- Spacers do not display any visible content; they only add empty space.
- Spacers are lightweight and do not affect email deliverability or loading speeds.
- Responsive spacing automatically adapts for both desktop and mobile devices.
08How it connects to the rest of HighLevel
- Use the Email Builder’s in line editor to edit text after placing a spacer. Email Builder edit panel
- Add a Video element alongside spacers to enrich email content. Video element
- Apply custom fonts to text blocks that sit next to spacers for brand consistency. Custom fonts
Michael's take

When I need precise control over how my emails look on every screen, the Spacer Element gives me a quick way to adjust spacing without relying on dividers.
If my email templates are already very simple and I never modify spacing beyond the default layout, I might not reach for the Spacer often.