
01Who this is for
- Social media managers: can plan and queue community announcements without manual posting.
- Course instructors: can line up weekly engagement prompts across multiple class groups.
- Event coordinators: can set reminders in community channels ahead of live events.
02Community posts scheduling, explained
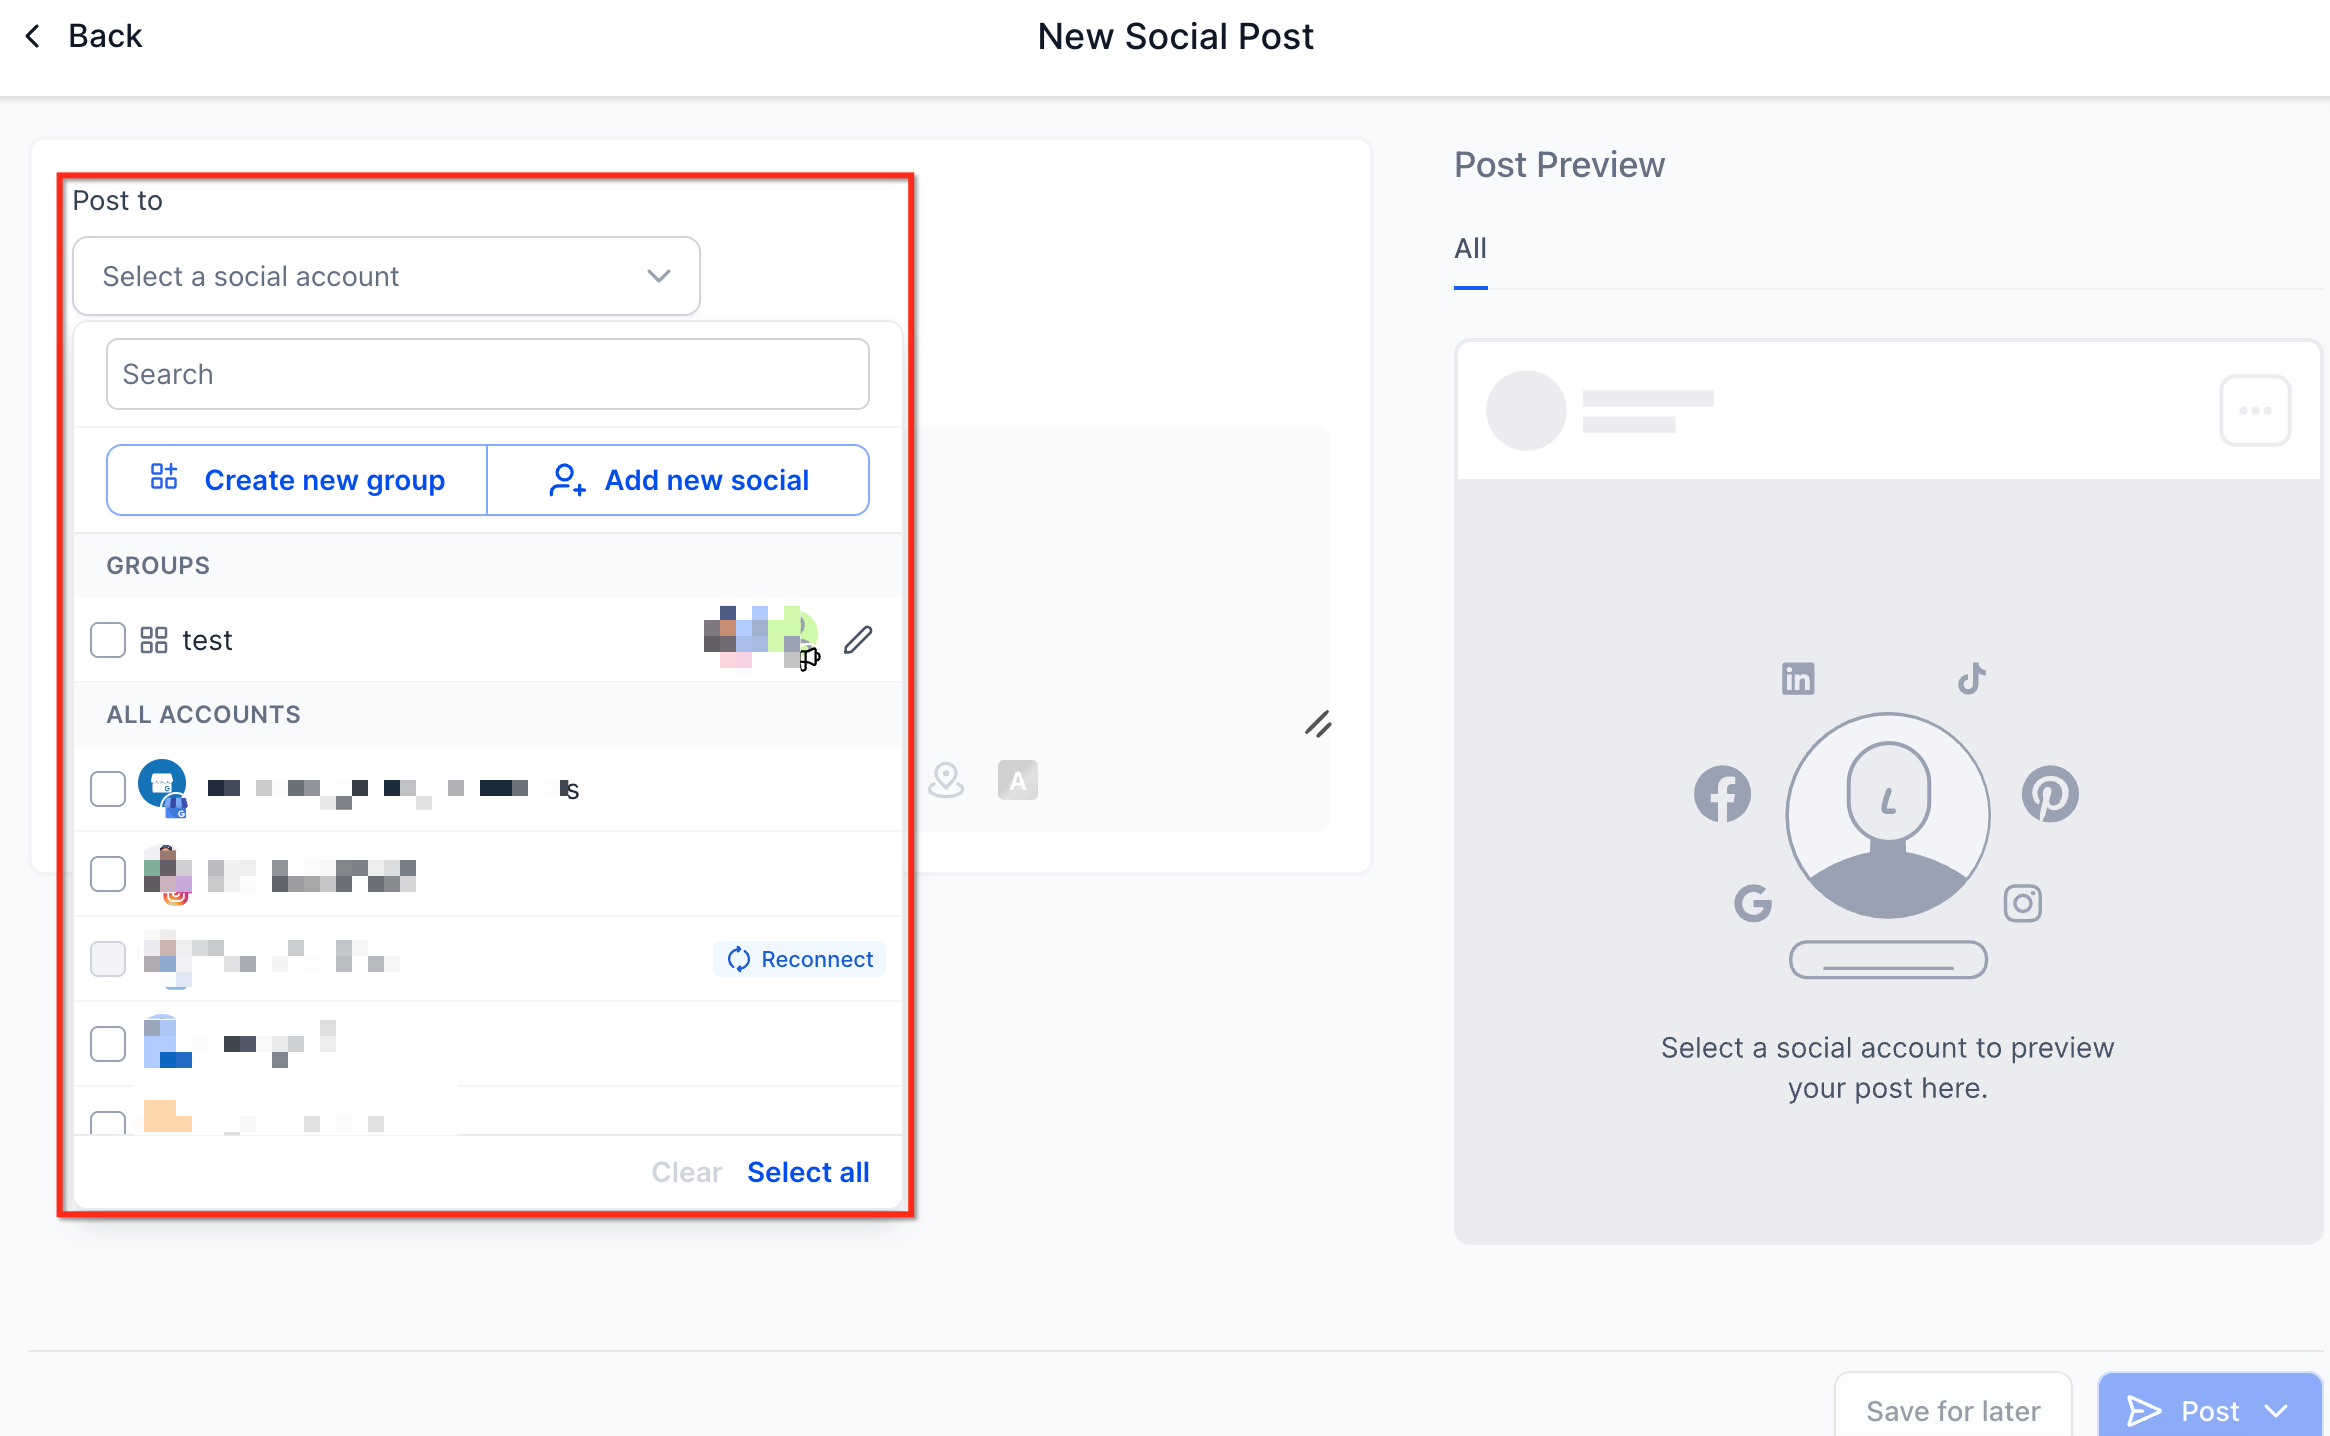
The feature lives inside the Social Planner module. After linking Community groups, they appear as selectable channels when creating a new post.
When composing a post you can add rich text, up to ten images or videos, choose the user identity that will publish, and either publish immediately or schedule for a later date and time.
All scheduled, published, and draft posts are viewable from the Social Planner dashboard, where you can also reply to comments directly.
03How businesses use scheduling community posts
- Fitness studio. The studio links its member Community groups, drafts weekly workout challenges with images, selects the trainer’s profile as the posting user, and schedules the posts to go live each Monday.
- Online tutoring service. The service connects its class Communities, creates a post containing a video reminder and a summary of the upcoming lesson, assigns the lead tutor as the author, and schedules the post for the day before the session.
- Non profit organization. The organization adds its volunteer groups, writes a donation drive announcement with supporting graphics, picks the chapter leader as the posting user, and schedules the post to appear at peak engagement times.
04The numbers and rules that matter
- 10 images or videos are allowed per post.
- Maximum image size is 10 MB.
- Maximum video size is 1 GB.
- Video minimum duration is 4 seconds.
05Before you start
- You must have a subaccount that contains the Community groups you want to schedule.
06How to set up and use scheduling community posts in HighLevel
Connect Community groups in Social Planner
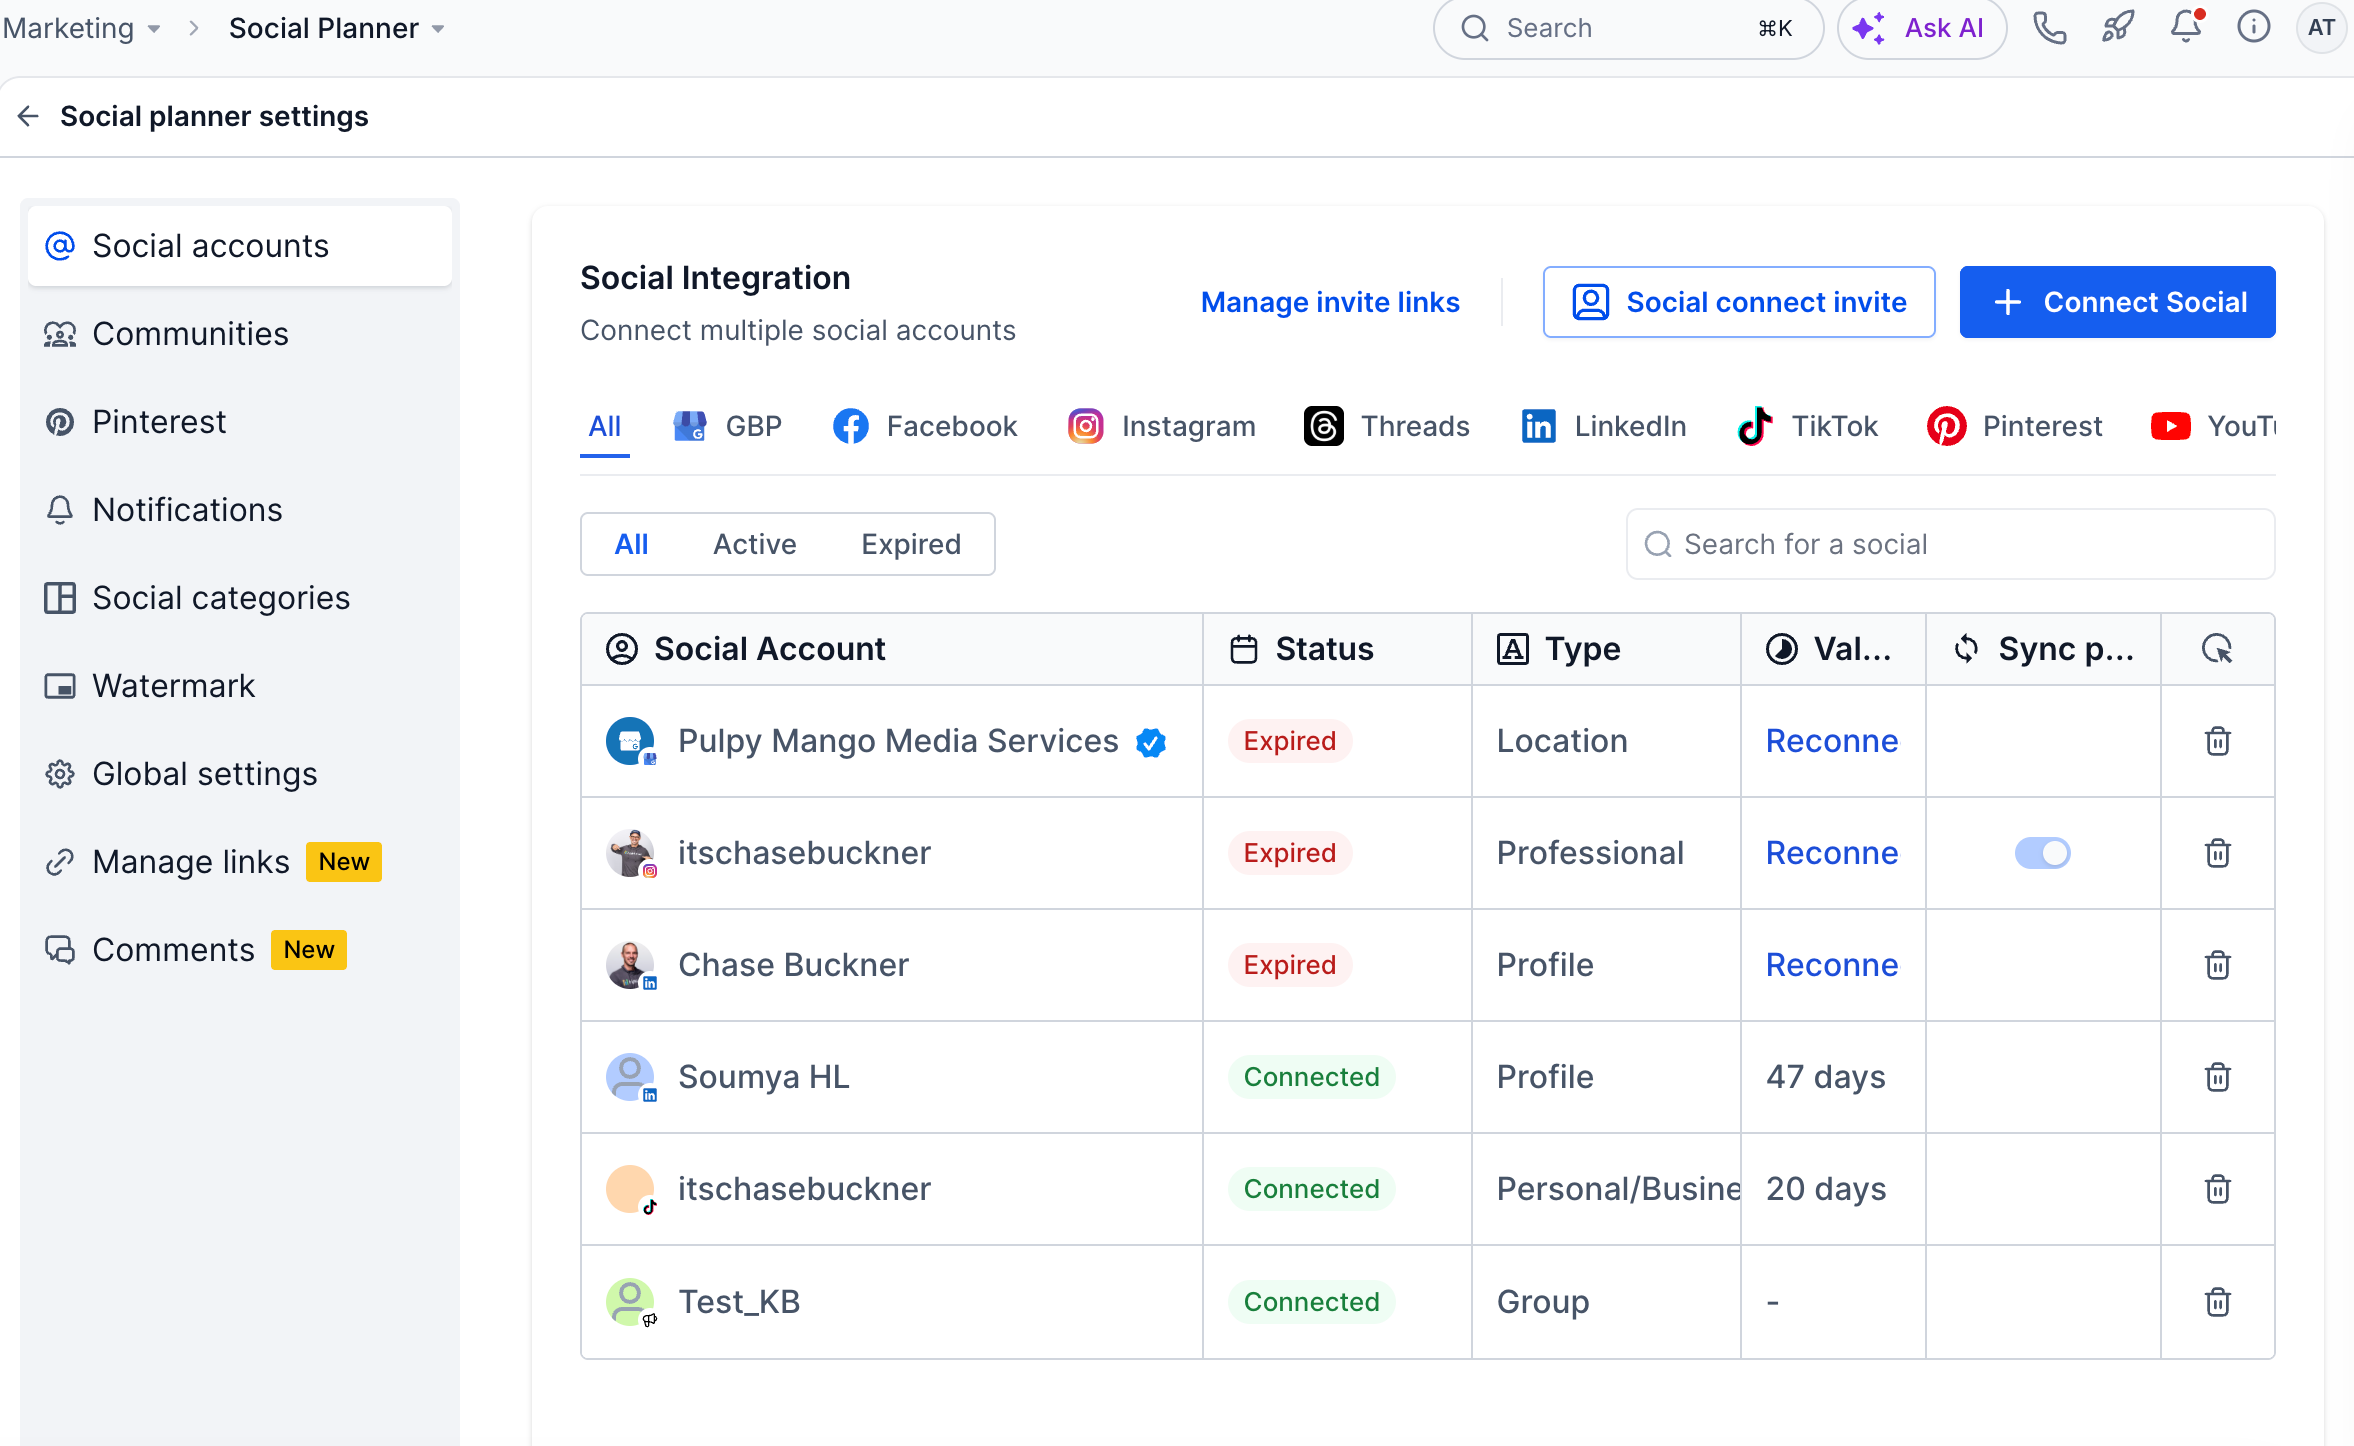
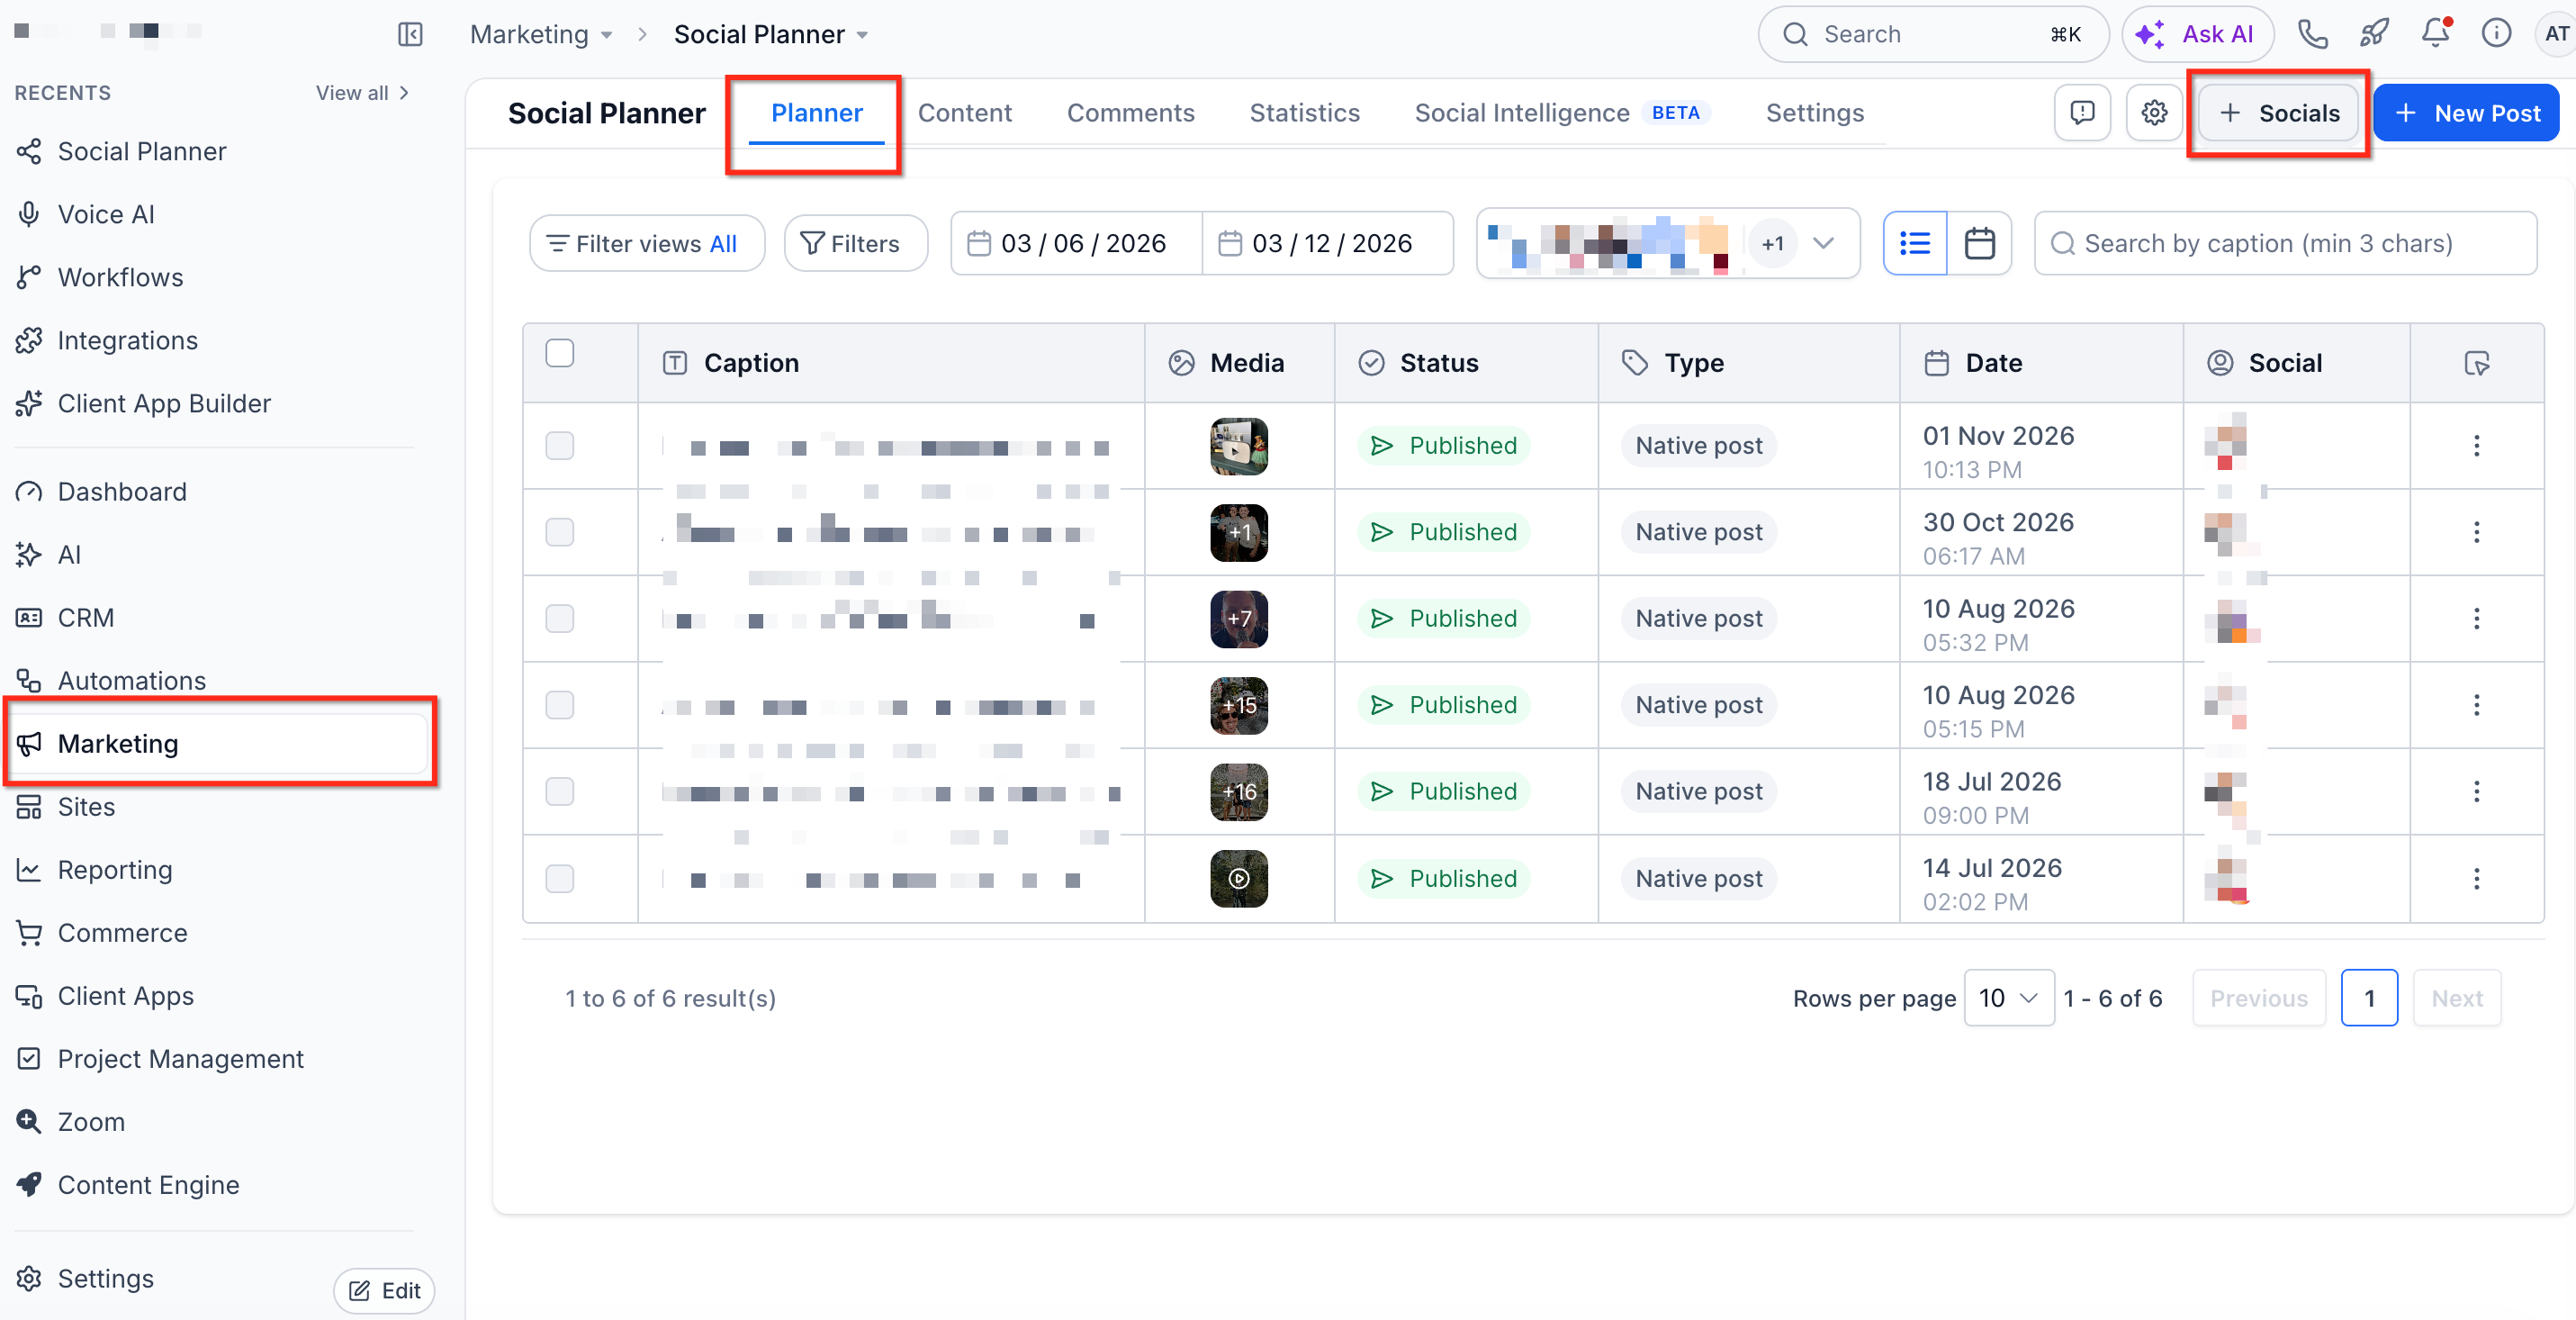
- Navigate to Marketing > Social Planner > Settings.
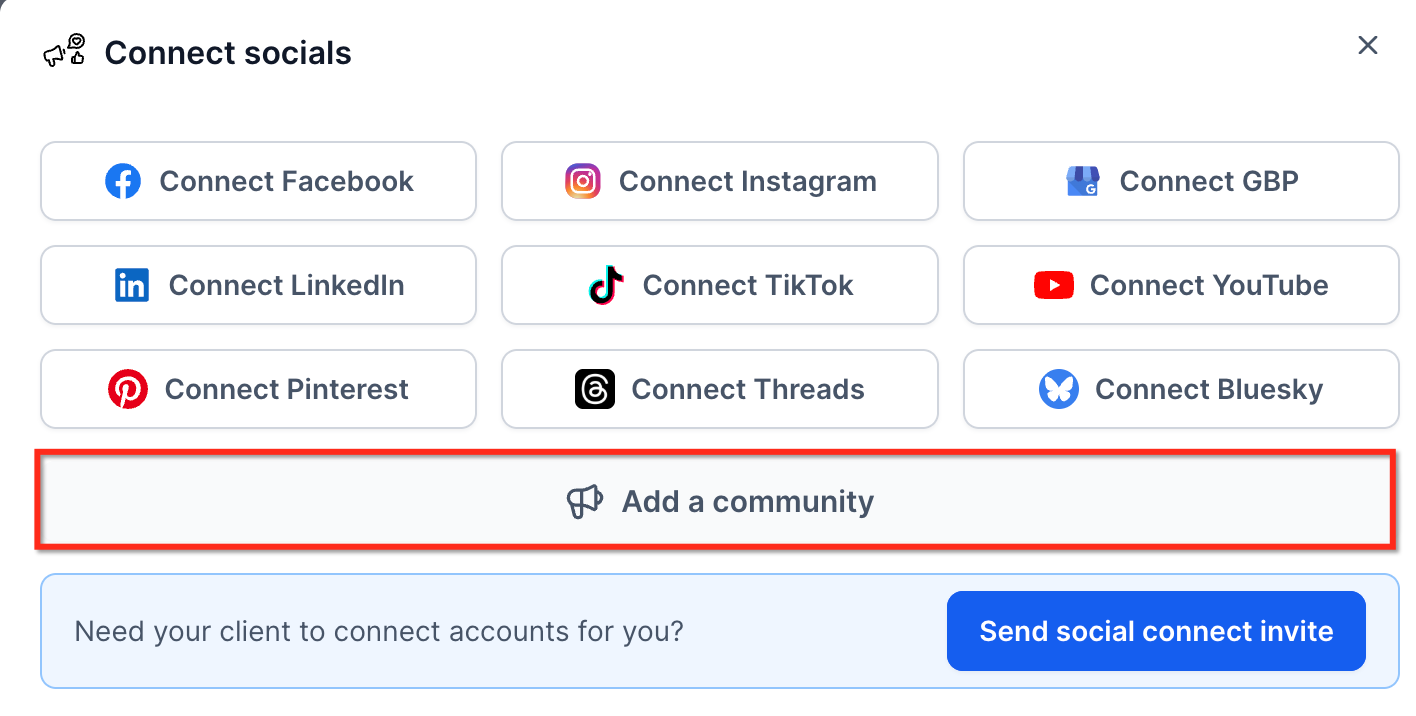
- Select Communities and click Connect Community.
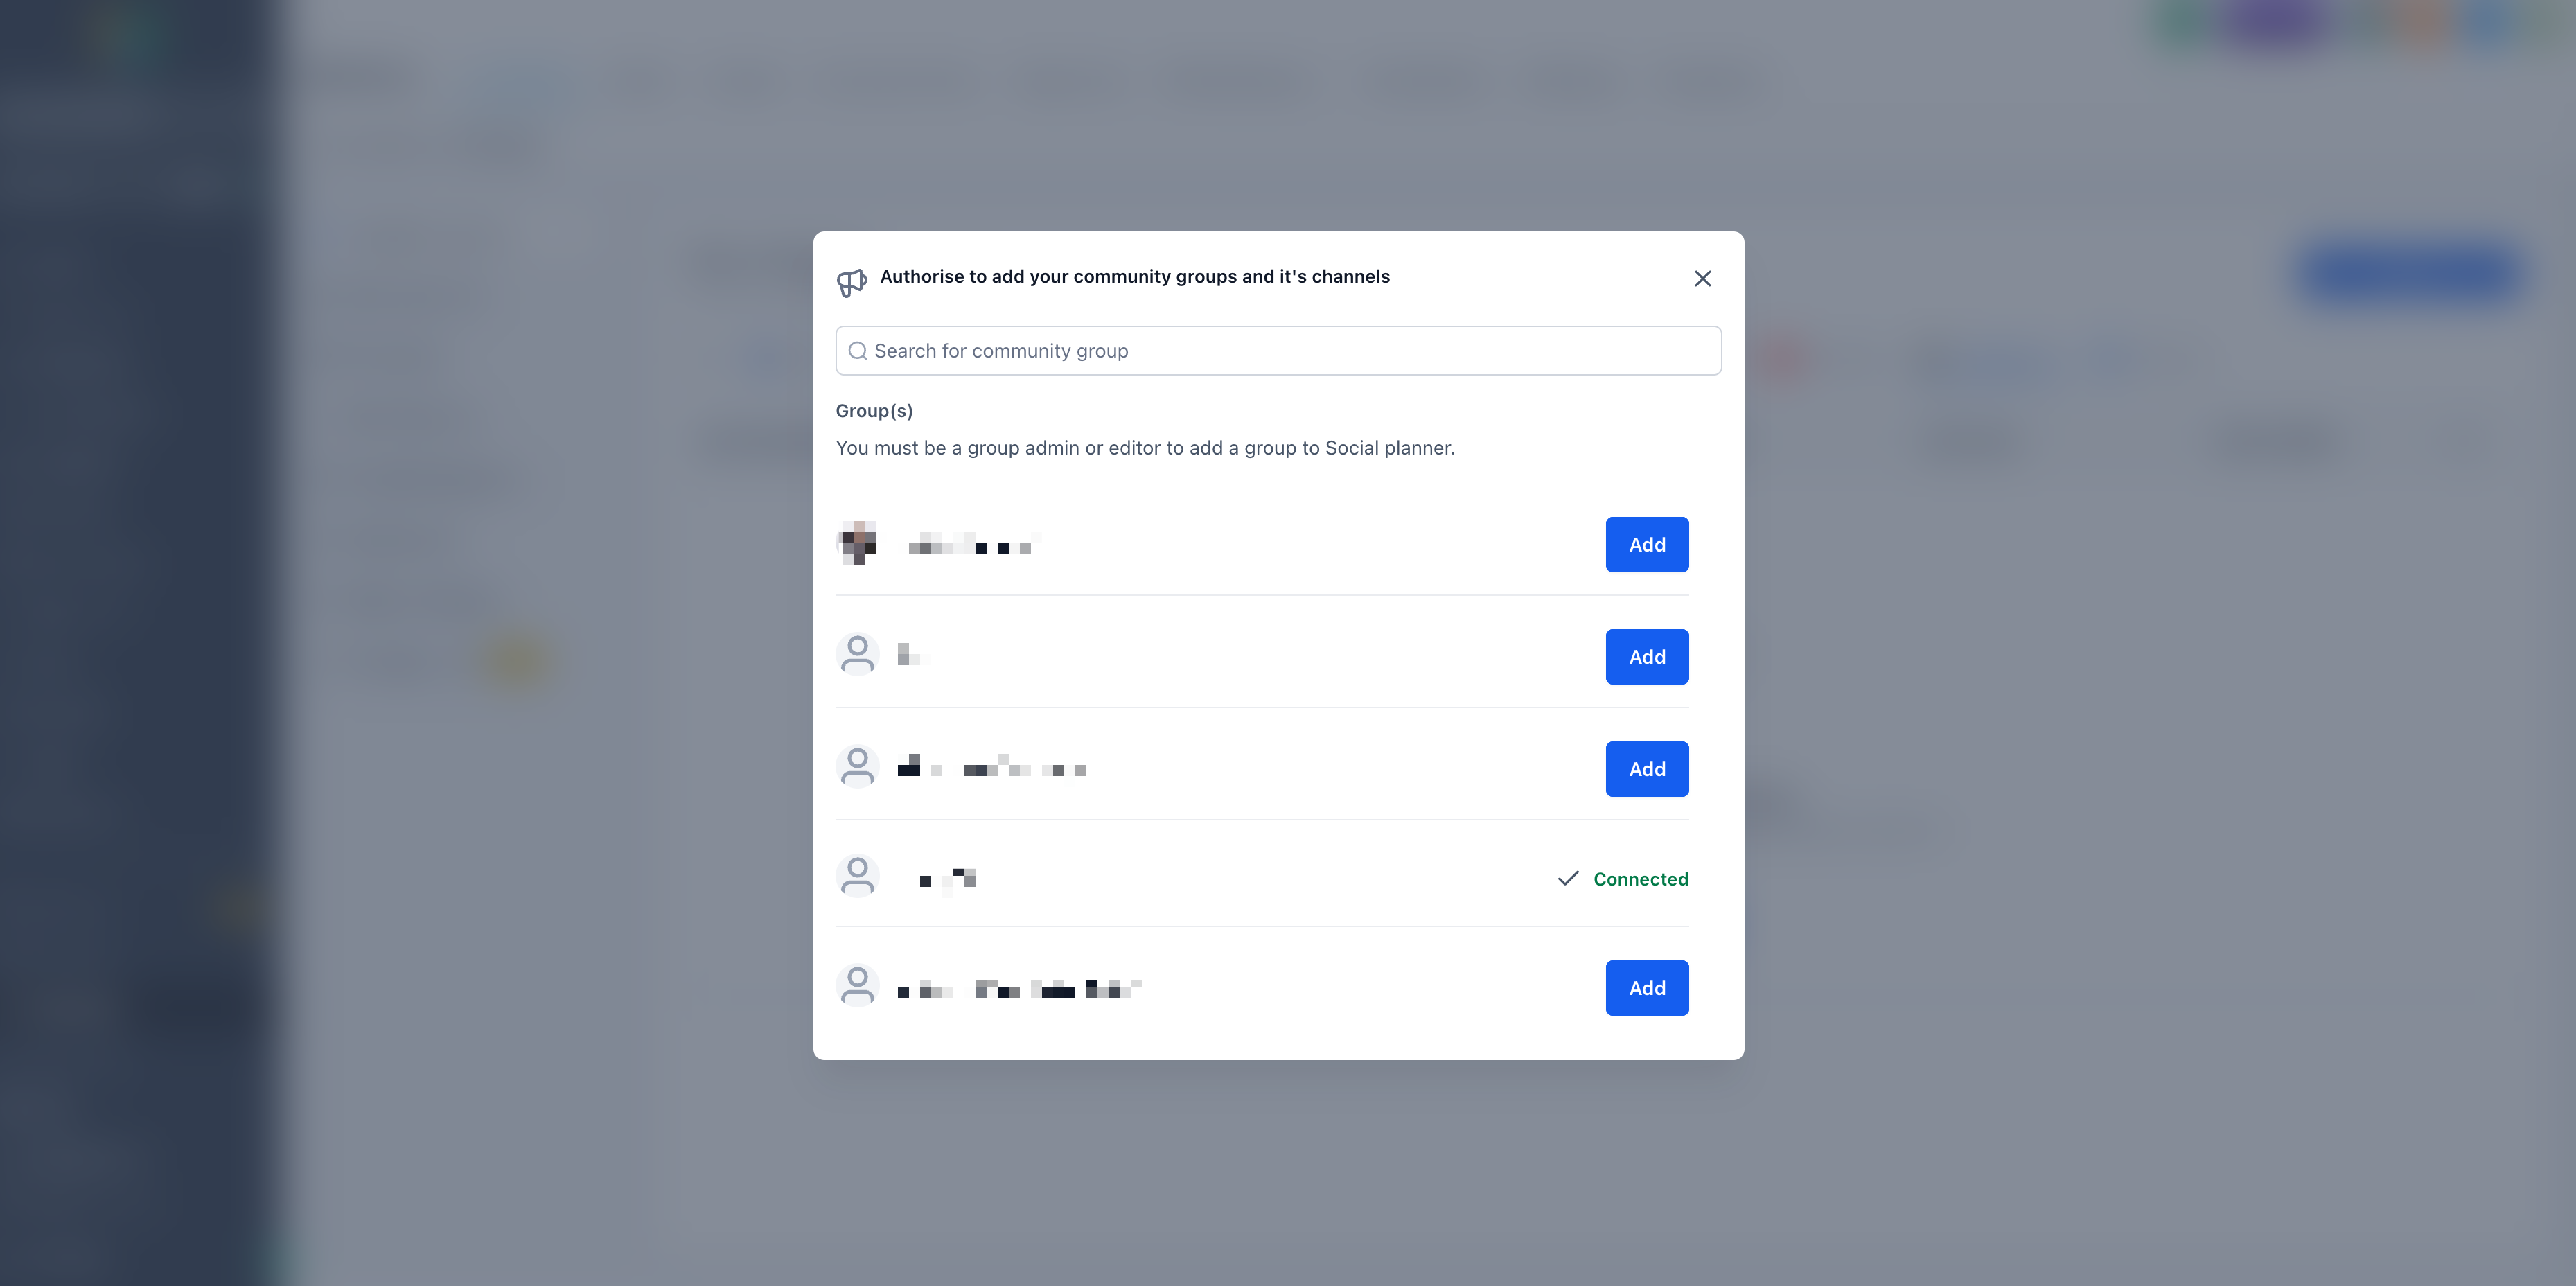
- Choose the Community groups you want to make available in Social Planner.
Create and schedule a Community post
- Click + New Post from within the Social Planner.
- In the channel selector, choose one or more connected Community channels for the post.
- Add your content, attaching up to ten images or videos; each image may be up to 10 MB, each video up to 1 GB and must be at least 4 seconds long.
- Enter the required Title and select the User who will publish the post.
- Click Post and then choose the Schedule Post option.
- Pick the desired date and time and confirm by clicking Schedule Post.
- If new channels or group details change, go to Social Planner Settings > Communities to re sync the groups and channels.
07What it looks like in HighLevel
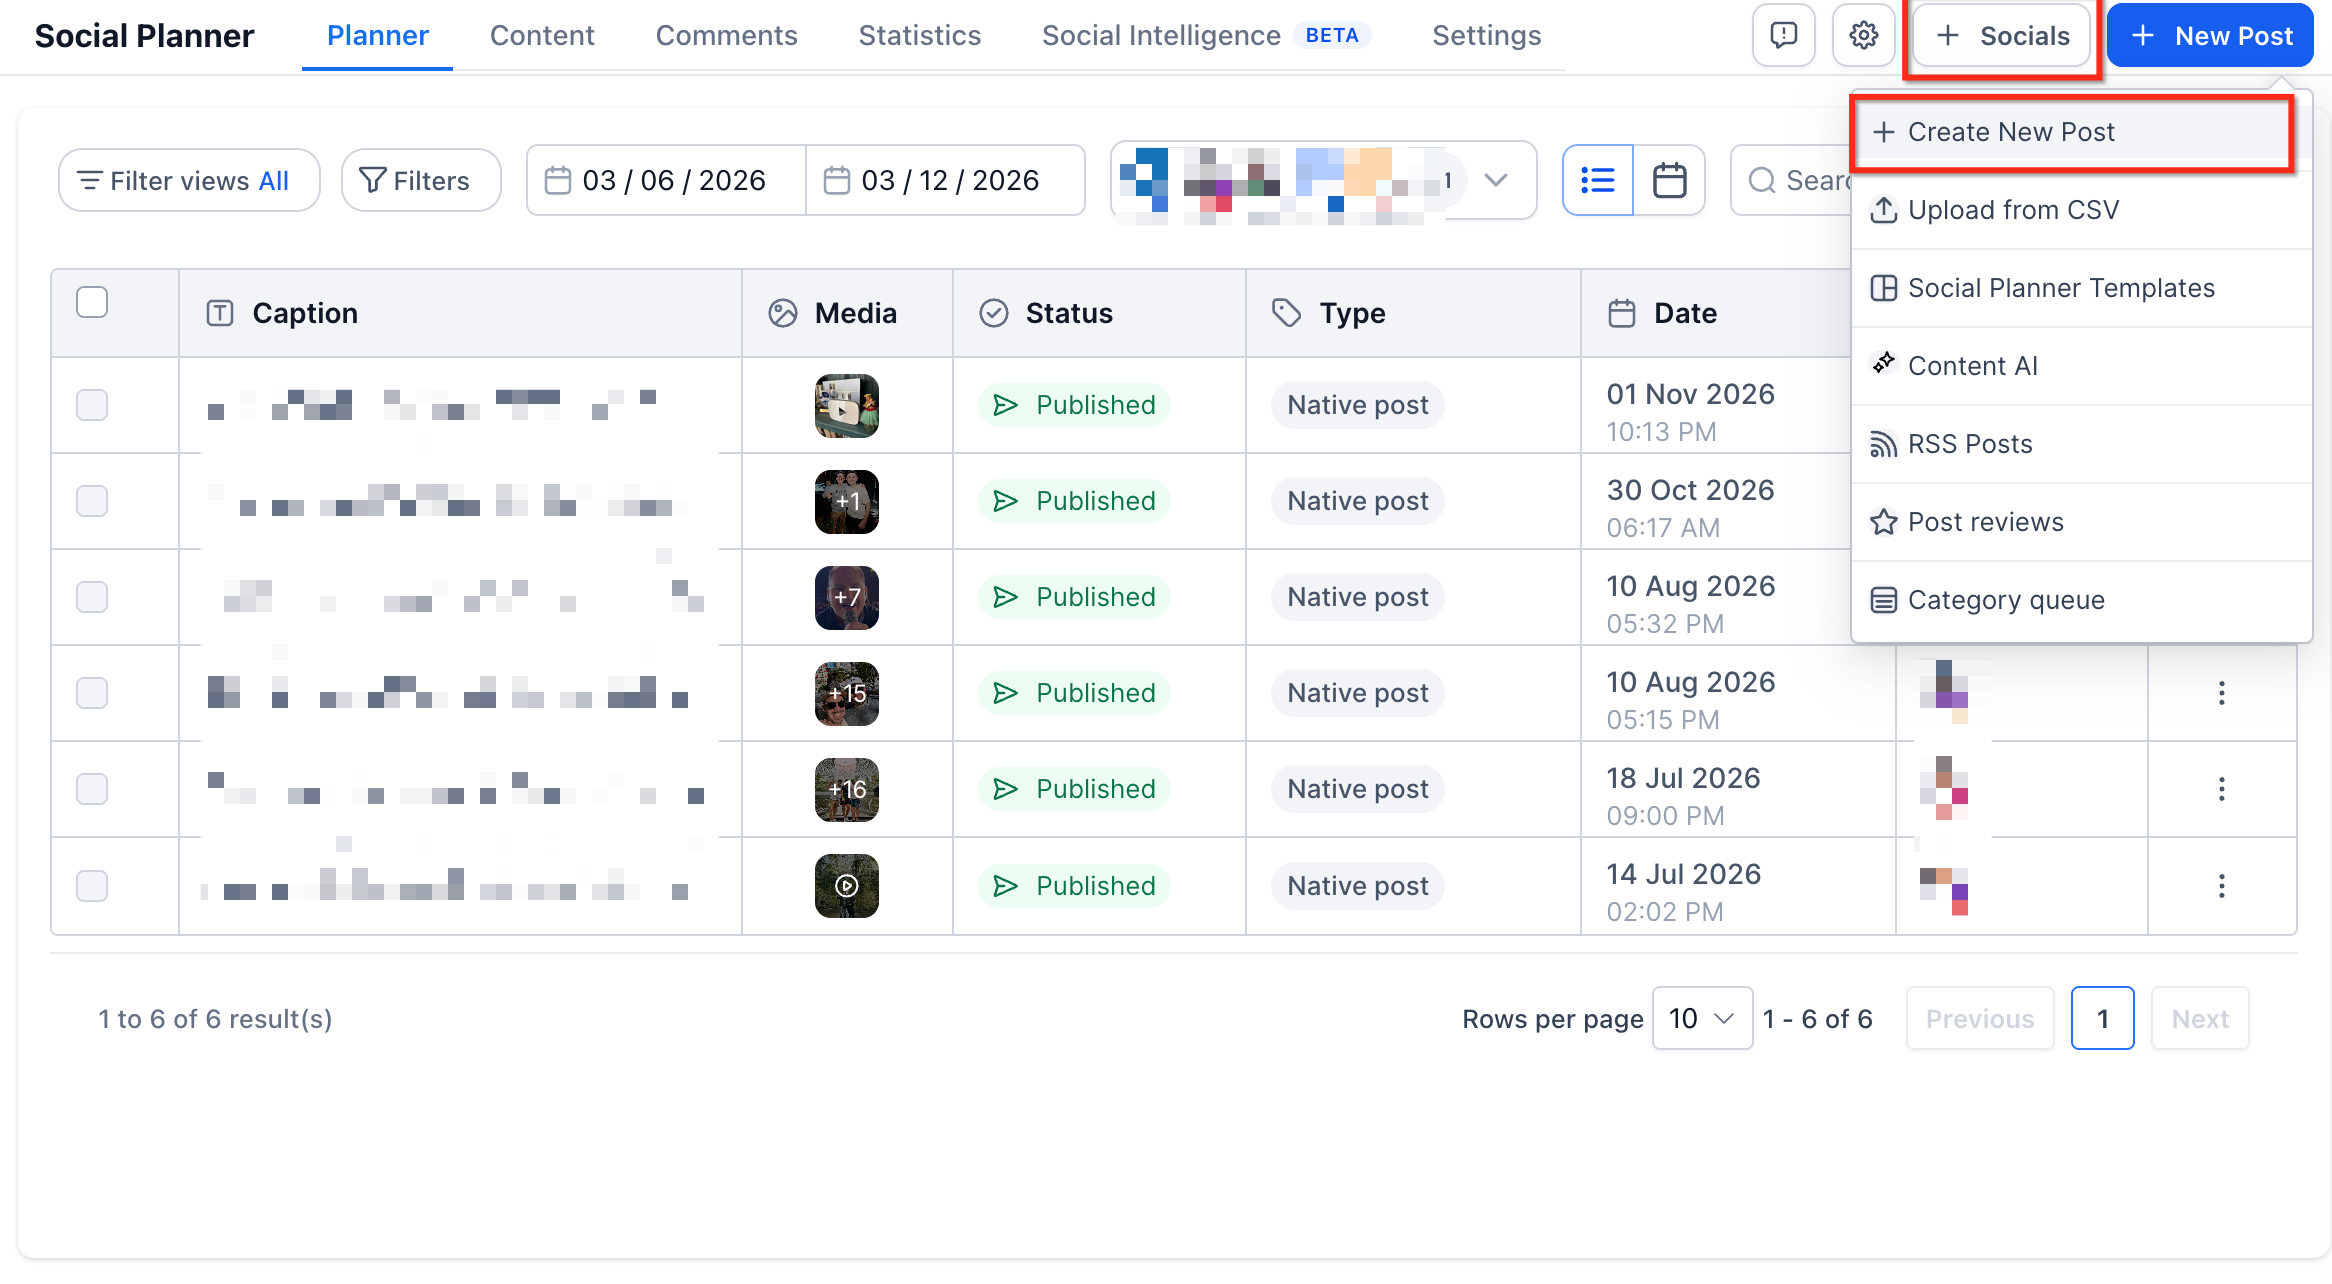
08Settings that matter
- Communities. Controls which Community groups are linked and appear as channels in Social Planner.
- Connect Community. Initiates the linking process for selected Community groups.
- default users. Specifies which users are pre selected when creating new Community posts.
09Things to know before you rely on it
- You can attach up to ten images or videos per Community post.
- Each image may not exceed 10 MB in size.
- Each video may not exceed 1 GB and must be at least 4 seconds long.
- If new channels or group details change, they will not auto populate; you must re sync via Social Planner Settings > Communities.
- Community posting supports CSV and other post types.
10How it connects to the rest of HighLevel
- Learn how to attach images and videos that meet platform specifications. Image and video specs
- See how to connect Facebook pages for additional social publishing options. Connect Facebook
- Understand the post approval flow for managing scheduled content. Post approvals
Michael's take

Wondering if you really need to spend time setting up scheduled Community posts? For many Founders, it can help keep the community active without needing to post manually each day.
If I were setting up a new community, I’d first connect the groups in Social Planner, pick a default posting user, and then create a week’s worth of prompts. I would test a scheduled post to ensure it publishes as expected before scheduling the full set.