
01Who this is for
- Founders who need a branded web address for their company and want control over the launch sequence.
- Marketing managers who must ensure all pages, forms, and mobile layouts are verified before visitors see them.
- Web designers who require a clear workflow to avoid broken URLs and unpublished changes.
02Website launches, explained
The launch feature lets you turn a draft website into a public site that loads over https:// using a domain you own. All edits stay in a saved version until you click Publish, which makes the content live for visitors. The feature lives inside the Sites section of HighLevel.
When you follow the prescribed order, create, customize, connect, assign, publish, HighLevel verifies DNS records, provisions SSL automatically, and updates the site without breaking existing links. The final checklist confirms that the domain is active, the homepage loads, and all interactive elements work.
03How businesses use website launch
- Real estate agency. The agency builds a property listing site from a template, replaces placeholder images with property photos, sets page titles and meta descriptions, connects its business domain, assigns the domain to the new site, and publishes so clients can browse listings.
- Fitness studio. The studio customizes a class schedule template, adds its logo and class descriptions, connects its custom subdomain, assigns the subdomain as the default homepage, and publishes to let members sign up online.
- Consulting firm. The firm selects a consulting services template, updates text and forms, connects its purchased domain, assigns the root domain to the homepage, and publishes the site to present its services to prospects.
04The numbers and rules that matter
- DNS changes may take up to 24 hours to update.
05Before you start
- Access to the HighLevel subaccount that contains the website.
- Prepared logo, images, written content, and a list of required pages.
- A domain bought through HighLevel or another provider, with DNS access for manual setup if needed.
- A decision on using a root domain (example.com) or a subdomain (www.example.com).
- A chosen homepage and URL paths for all other pages.
06How to set up and use website launch in HighLevel
Create the Website
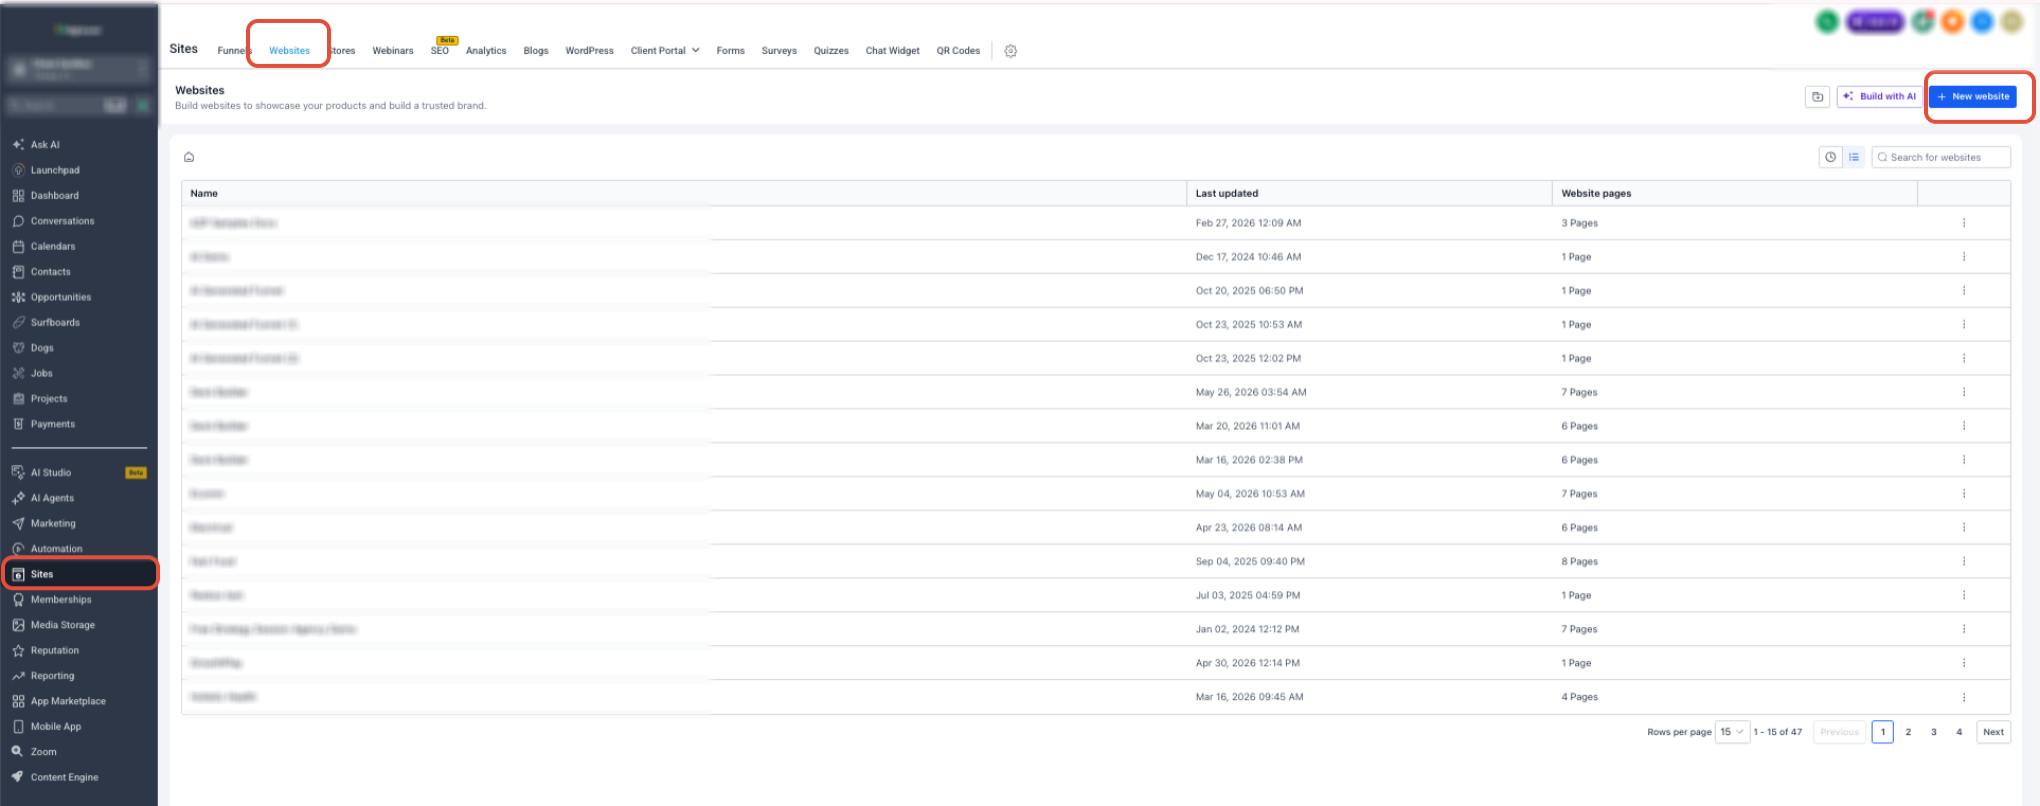
- Navigate to Sites > Websites.
- Click the + New Website button.
- Select a starting option: From Blank or From Templates.
- Enter a name for the website.
- Click Create to generate the site.
- If a template is chosen, preview designs and pick the desired one.
Customize and Save the Website
- Open each page in the Website Builder.
- Replace text, images, colors, navigation, buttons, forms, and other elements.
- Confirm that navigation links point to the correct destinations.
- Review both desktop and mobile layouts.
- Use Preview to see the page as a visitor would.
- Add a page title and meta description in the page’s SEO settings.
- Click Save to store all changes.
Connect the Domain
- Exit the Website Builder.
- Open the Settings tab for the website.
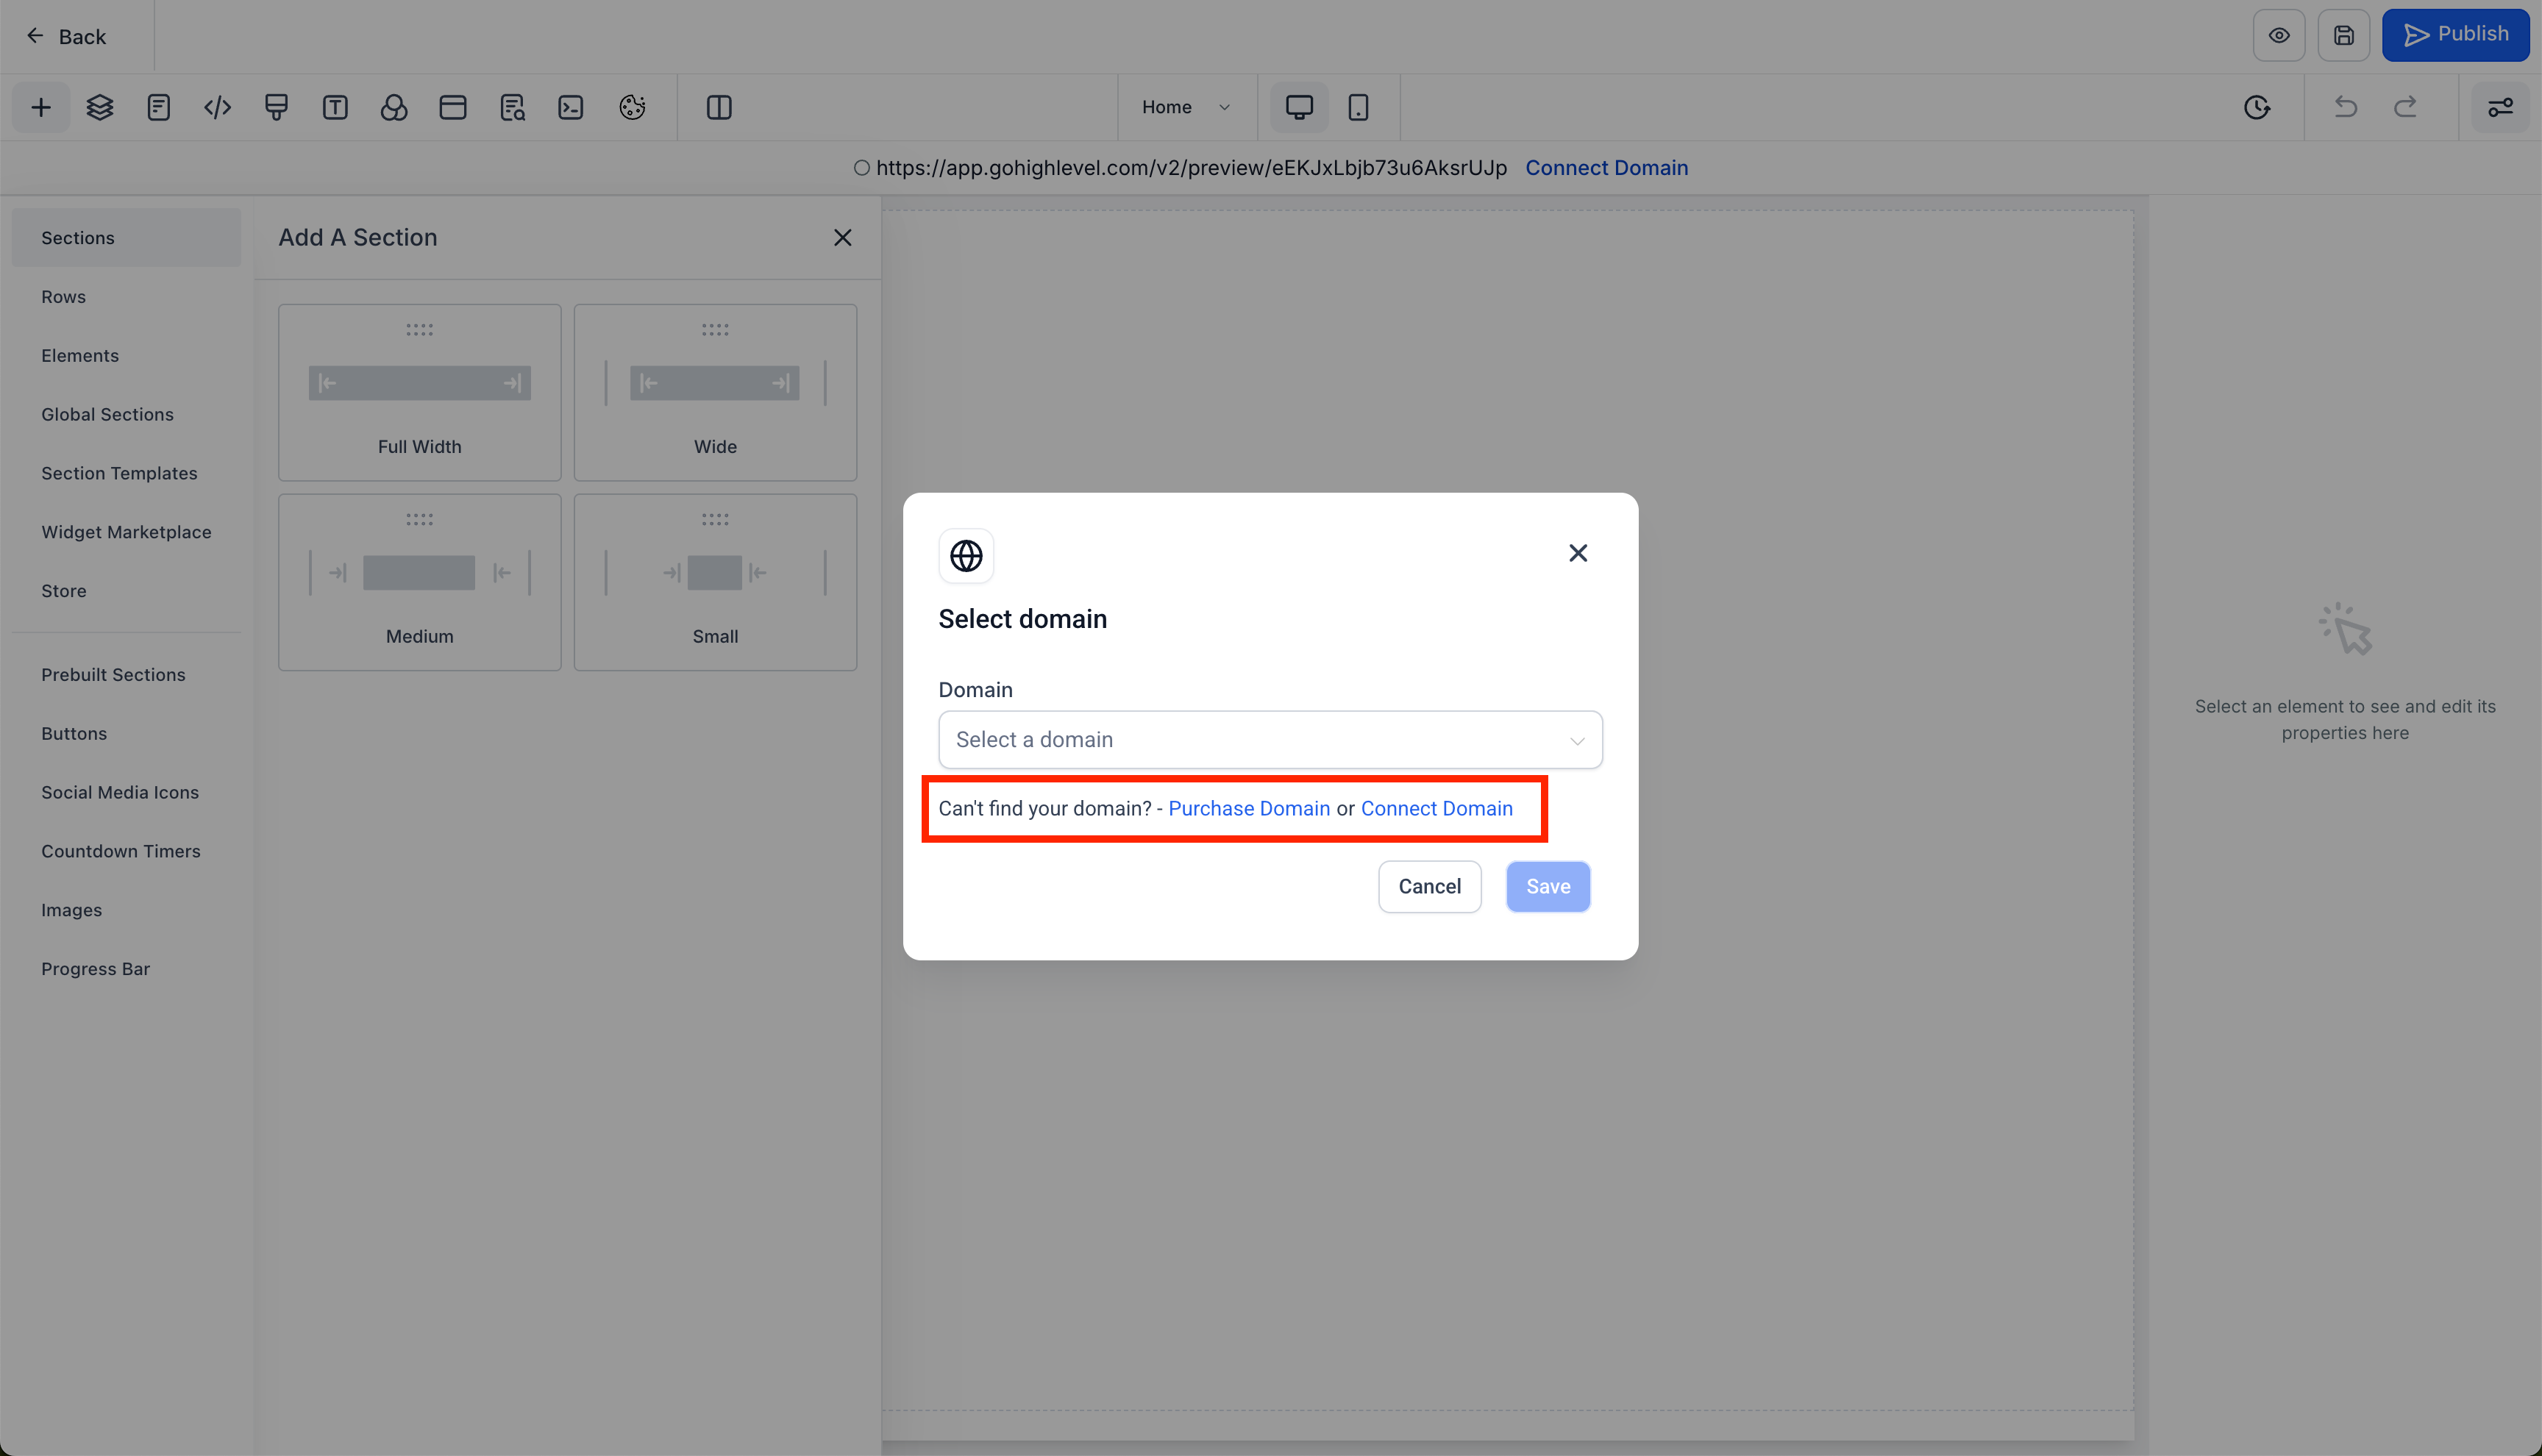
- Click Connect Domain under the Domain section.
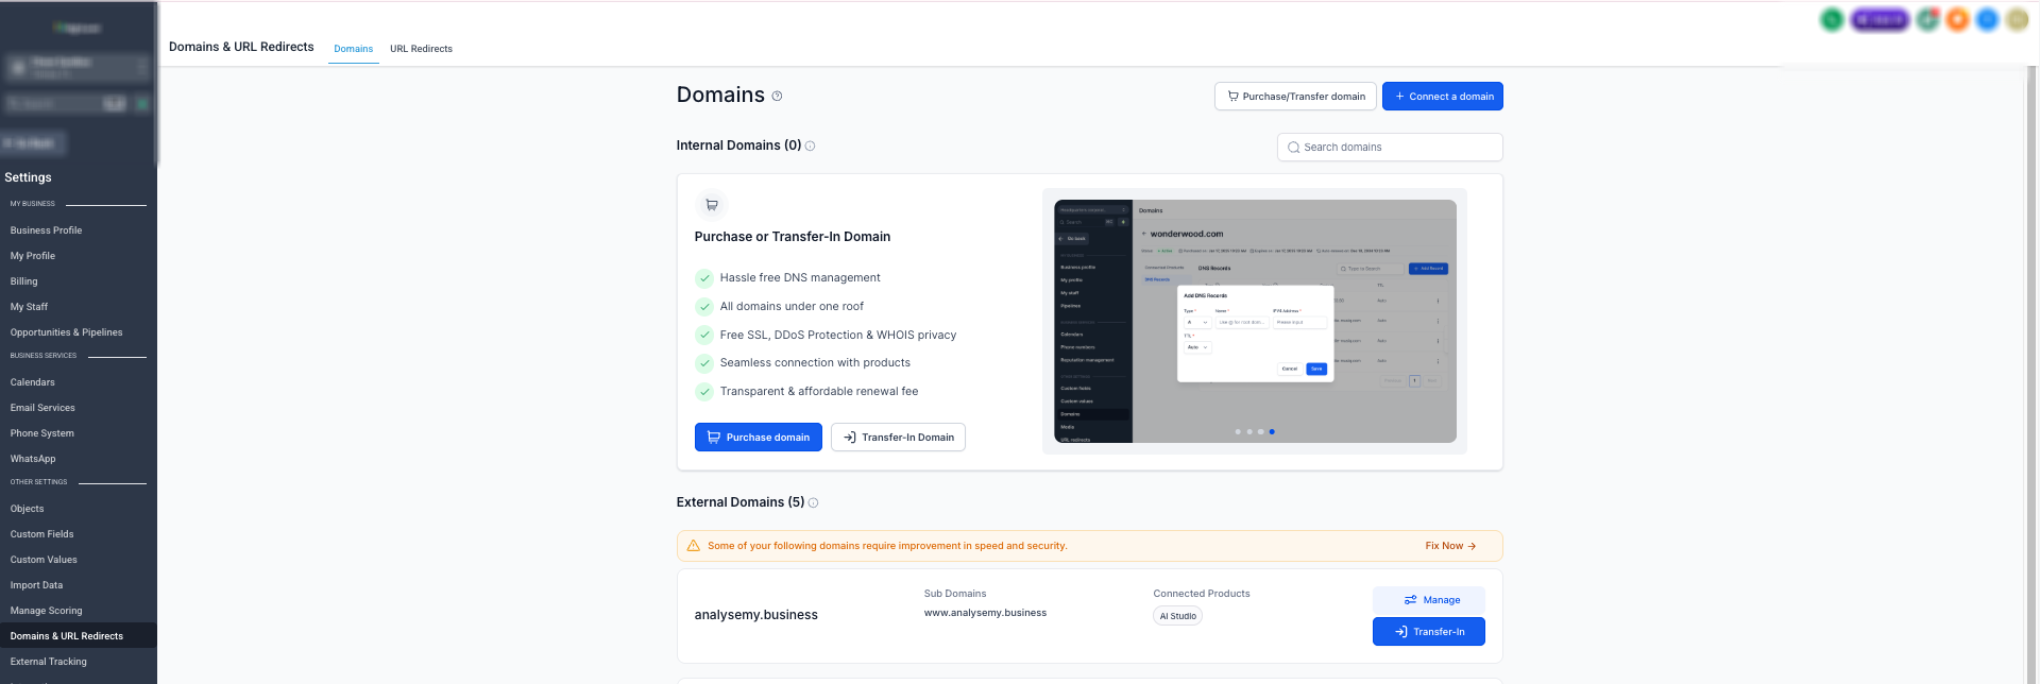
- If redirected to the Domains page, press + Connect a domain.
- Select Connect beside Funnel/Website/Store/Blog/Webinar.
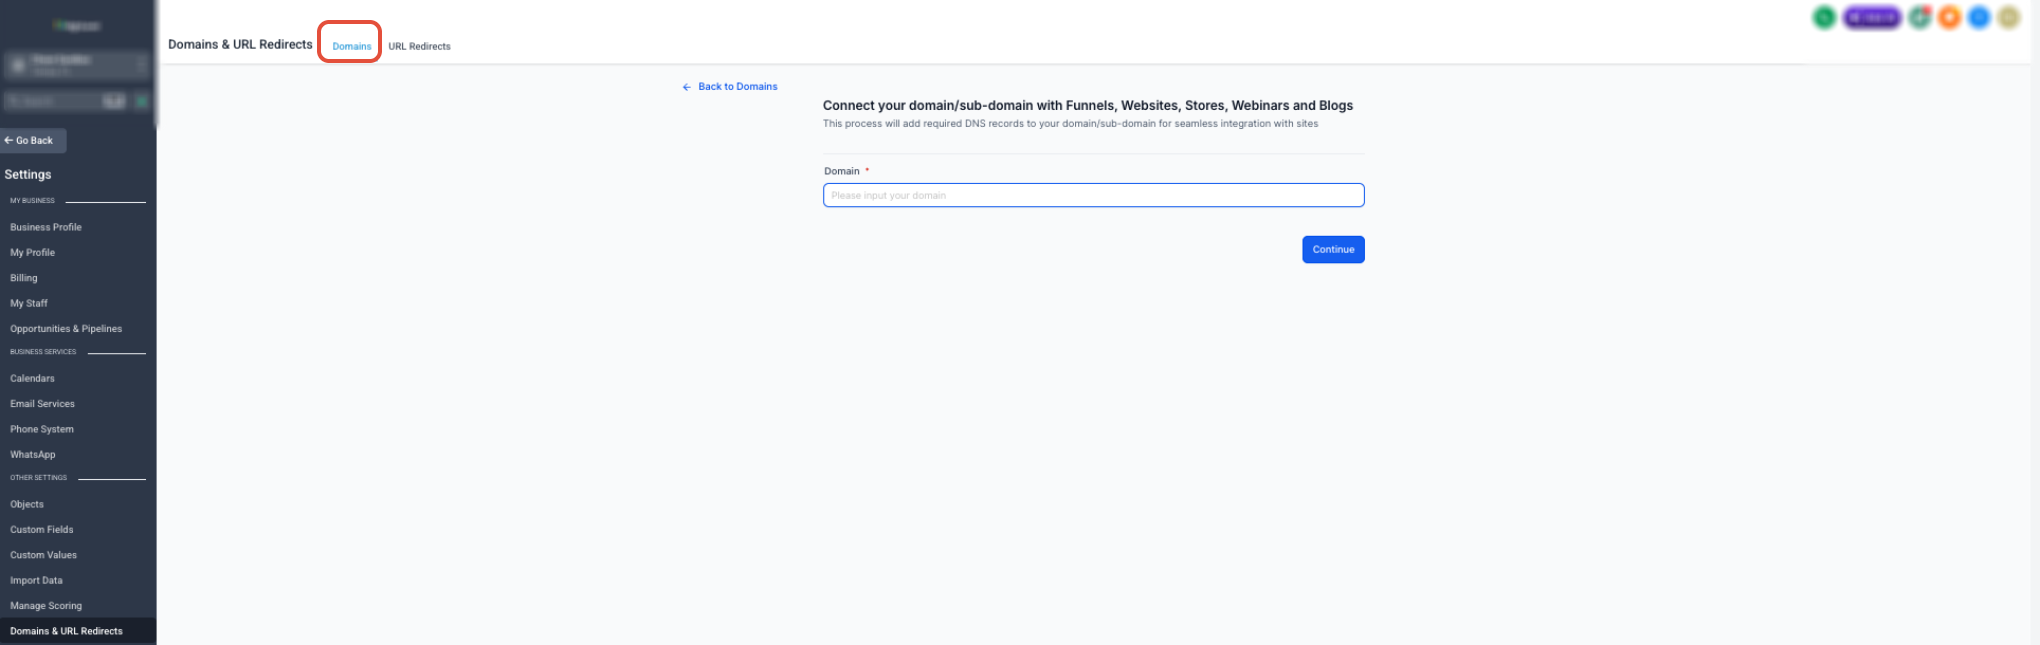
- Enter the root domain or subdomain visitors will use.
- Click Continue to proceed.
- Choose Automatic connection to sign in to a supported provider, or Manual connection to copy DNS records.
- Wait until the domain status changes to Connected or Verified.
Assign the Domain to the Website
- Return to Sites > Websites.
- Open the website you created.
- Select the Settings tab.
- Open the Domain dropdown menu.
- Choose the previously connected domain.
- Set the Path value: keep a path like /services or leave blank for the homepage.
- Click Save at the bottom of the settings page.
Publish the Website
- Re enter the Website Builder.
- Preview the page one final time.
- Click Save to ensure the latest edits are stored.
- Click Publish to make the page live.
- Publish every page that should be accessible on the live site.
07What it looks like in HighLevel
08Settings that matter
- Domain. Specifies the domain or subdomain that will point to the website.
- Domain dropdown. Allows selection of a connected domain to associate with the website.
- Path. Controls whether the site opens at a specific subdirectory (e.g., /services) or at the root homepage.
- SEO settings. Provides fields for page title and meta description that affect search engine indexing.
09Things to know before you rely on it
- DNS changes can take up to 24 hours to propagate before the domain shows as Connected.
- Cloudflare records must be set to DNS only; proxy mode is not supported.
- HighLevel automatically provisions an SSL certificate after the domain is verified.
- Domains purchased directly through HighLevel are verified automatically; no manual DNS steps are required.
10If something goes wrong
- Live website still shows old content. Open the page, click Publish, then test the URL in an incognito browser.
- Domain remains pending. Allow up to 24 hours for DNS updates, then verify that each record matches the values HighLevel provided.
- SSL or privacy warning appears. Check for incorrect or conflicting DNS records; ensure Cloudflare entries are DNS only, then wait for SSL issuance.
- Domain opens a 404 page. Confirm the domain is assigned to the correct website, the intended page is published, and the default page or path is configured correctly.
- Automatic domain connection unavailable. Choose the manual connection option and add the exact DNS records displayed by HighLevel through your provider.
11How it connects to the rest of HighLevel
- Set up and use the HighLevel template library Template library
- Launch a website from blank in HighLevel Blank website launch
- HighLevel pricing and plans Pricing
Michael's take

Wondering if you really need to follow every step to get your site live? The short answer is yes. The order matters because it helps prevent broken URLs, unpublished changes and domain errors that can turn visitors away.
If I were setting up a new site, I would first create the draft, lock in the design and content, then connect the domain before publishing. A quick incognito check at the end confirms everything works as expected.