
01Who this is for
- Marketers who need to add clear, branded calls to action in email campaigns.
- Designers who want to match button colours and styles with overall email branding.
02Button elements, explained
The Button Element inserts a fully customizable call to action button into an email design. You can edit the label, choose a destination URL, and adjust visual details such as colours, fonts, border radius and background. Size, padding and alignment controls let you position the button precisely.
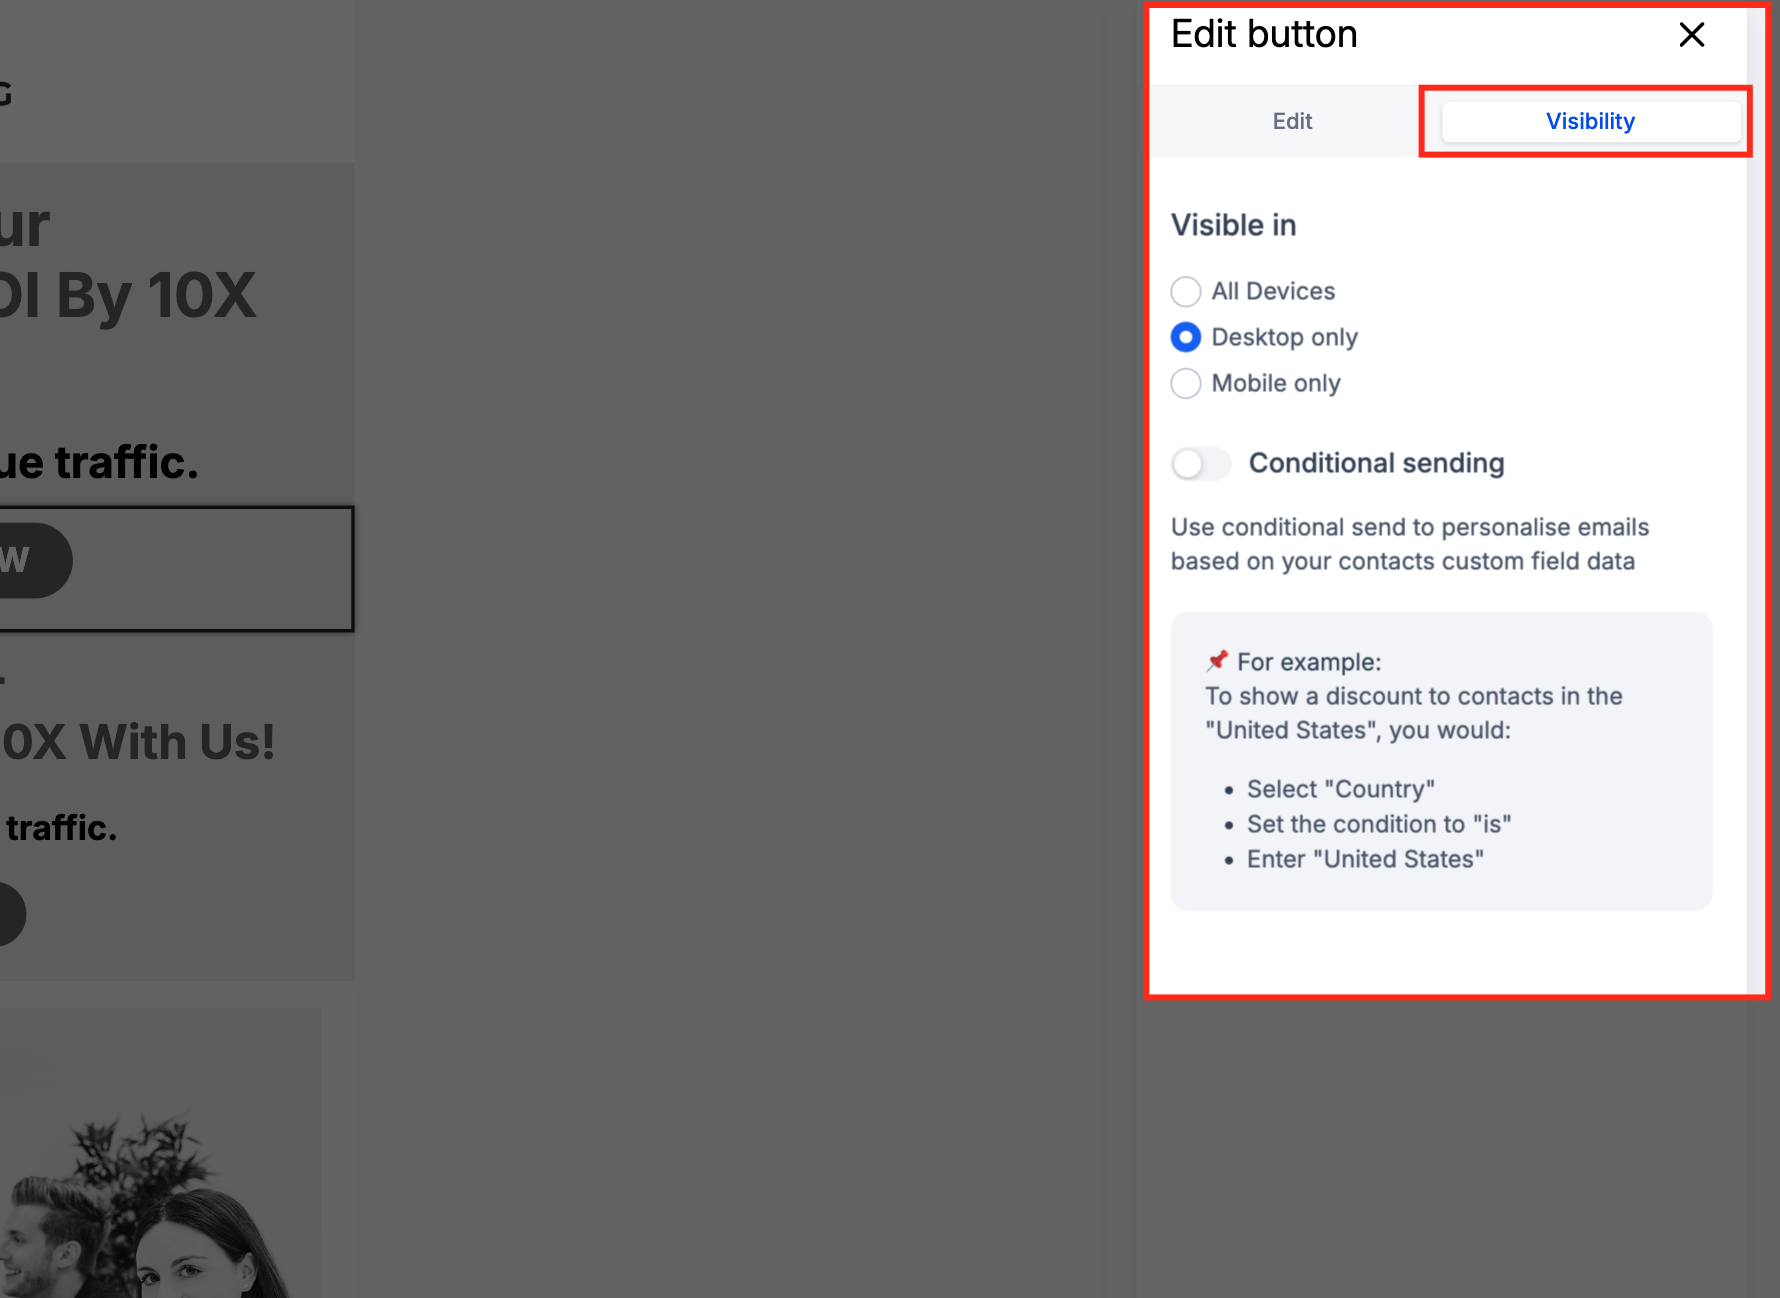
Buttons are built with HTML, so they display reliably in most email clients. The element automatically resizes for mobile devices, and a full width option is available. Visibility settings let you hide the button on specific devices or trigger it conditionally.
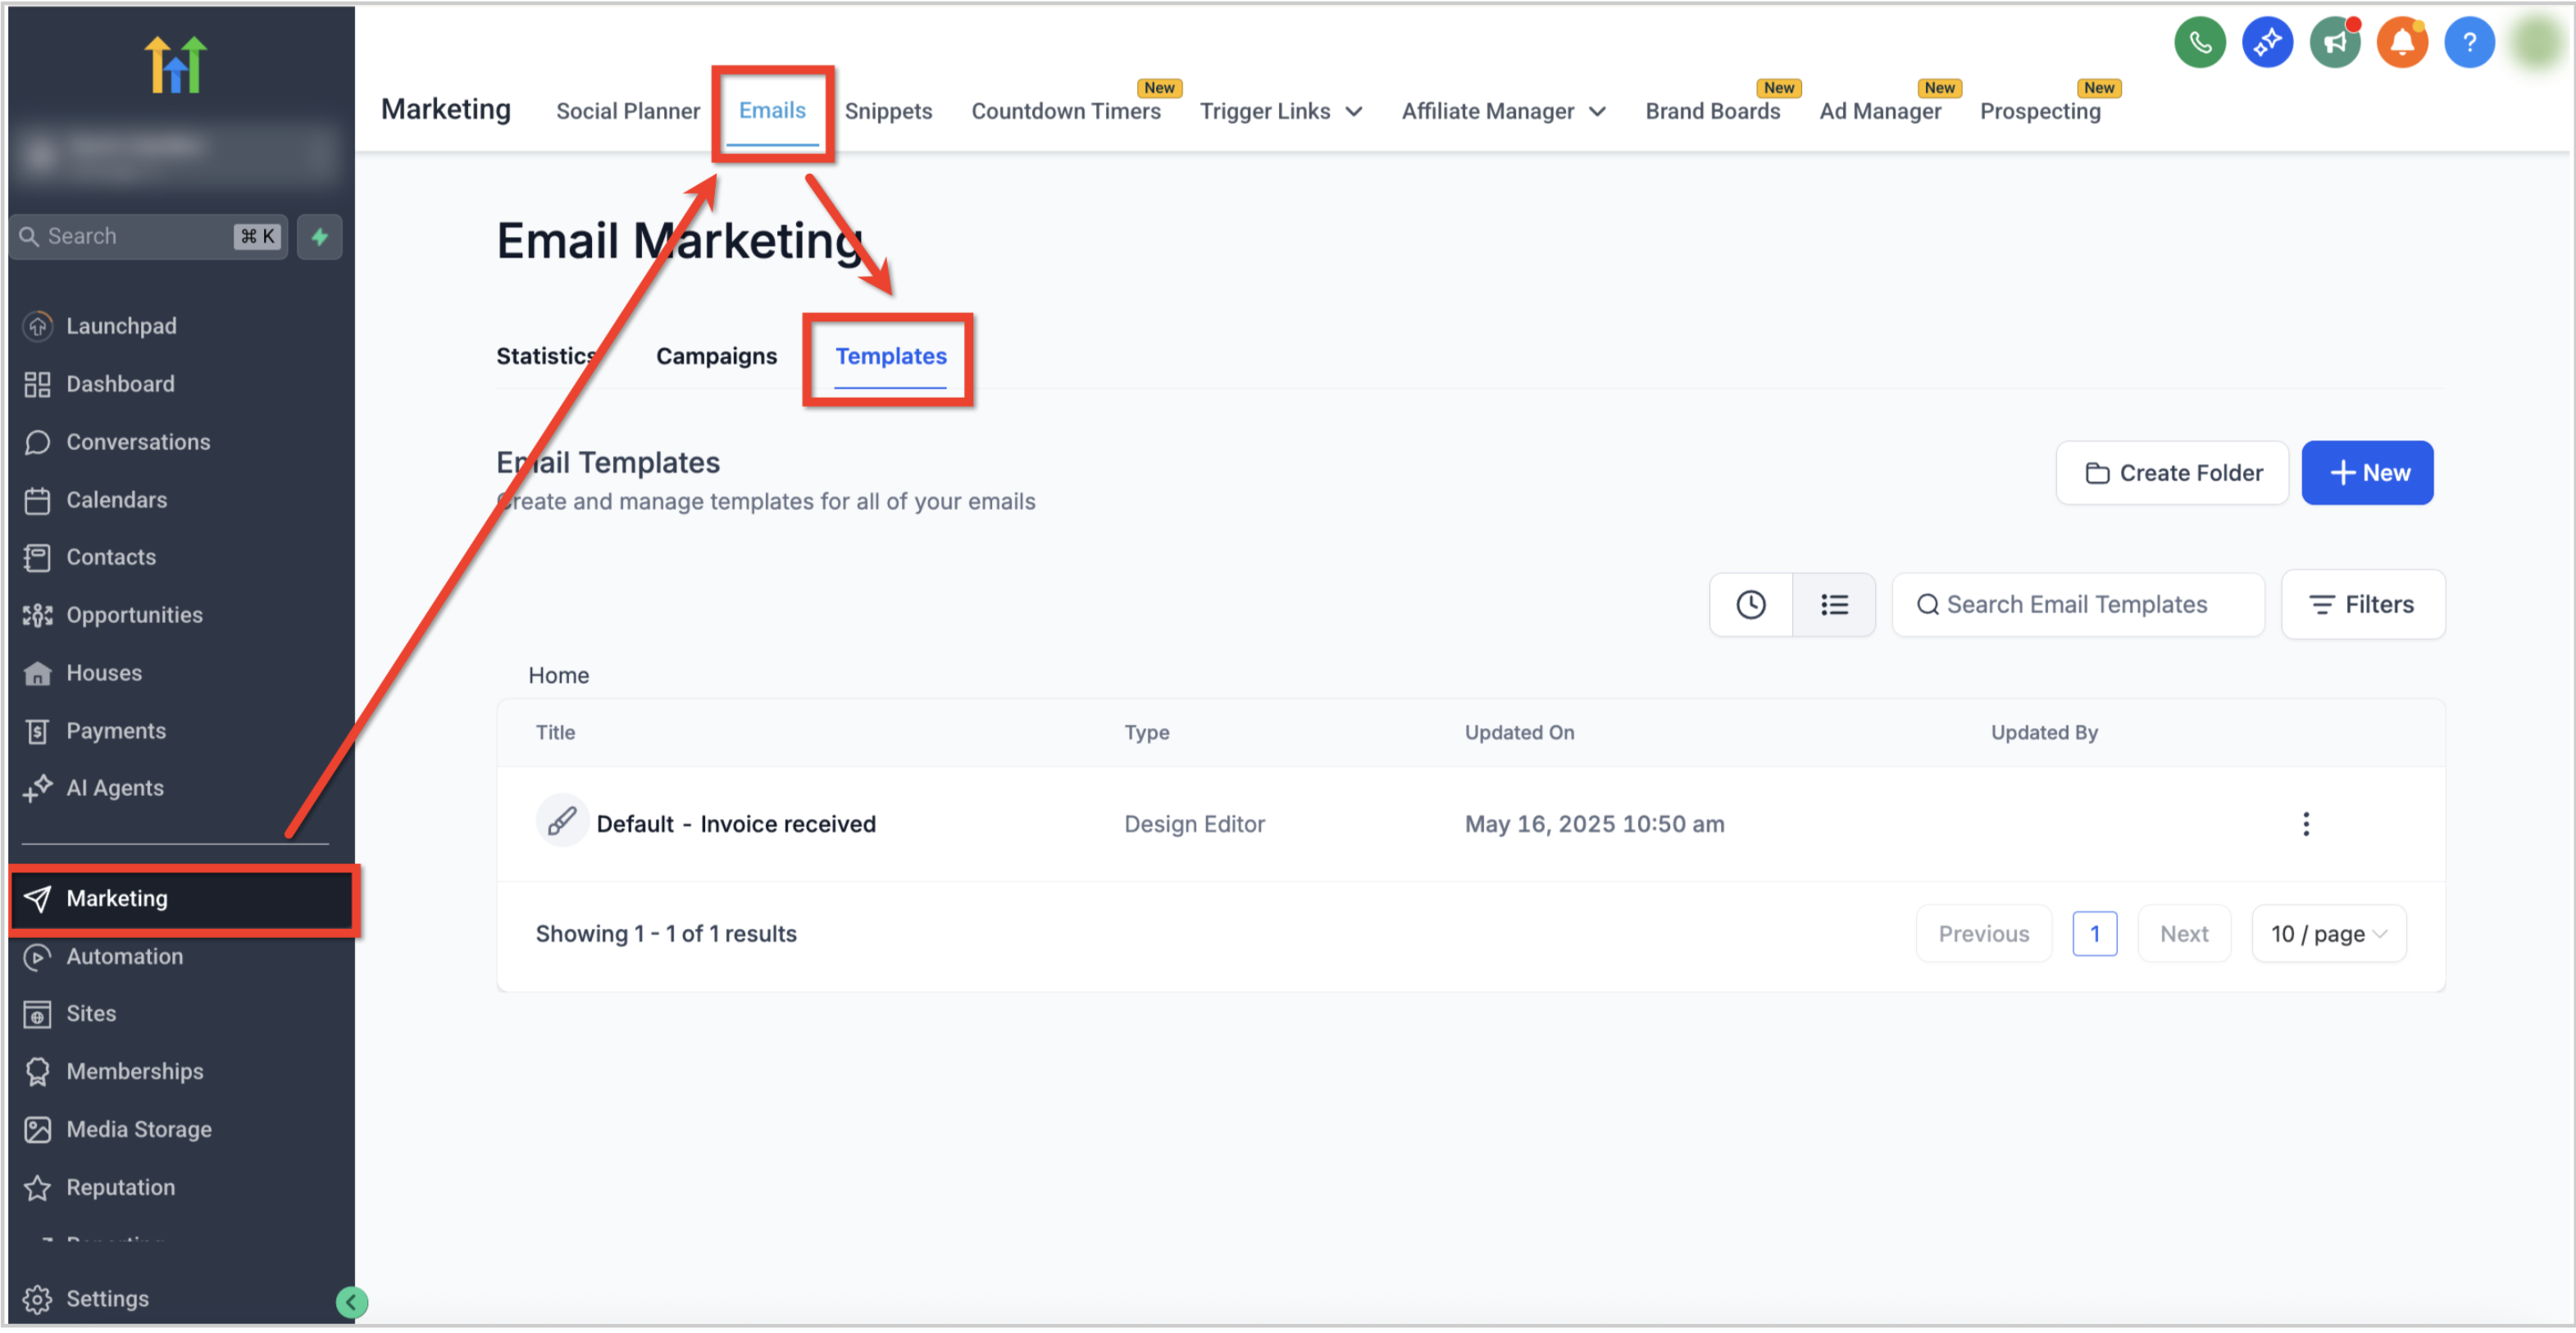
This feature lives inside the Email Builder, which you access through Marketing > Emails > Templates on any subaccount.
03How businesses use button elements
- Ecommerce store. Insert a "Shop Now" button that links directly to a product page. Adjust the colour to match the storefront palette and set the button to full width for mobile shoppers. Preview on both desktop and mobile to confirm appearance.
- Online course provider. Add an "Enroll Today" button that points to the registration landing page. Use the alignment and padding controls to place the button beneath course details, and set device based visibility so it hides on small screens if needed.
- Event organizer. Create a "Reserve Your Spot" button linking to the event RSVP form. Customize the font and border radius to reflect the event branding, and enable conditional sending so the button only appears for recipients in a specific region.
04How to set up and use button elements in HighLevel
Add and configure a button in an email template
- Navigate to Marketing > Emails > Templates from the subaccount dashboard.
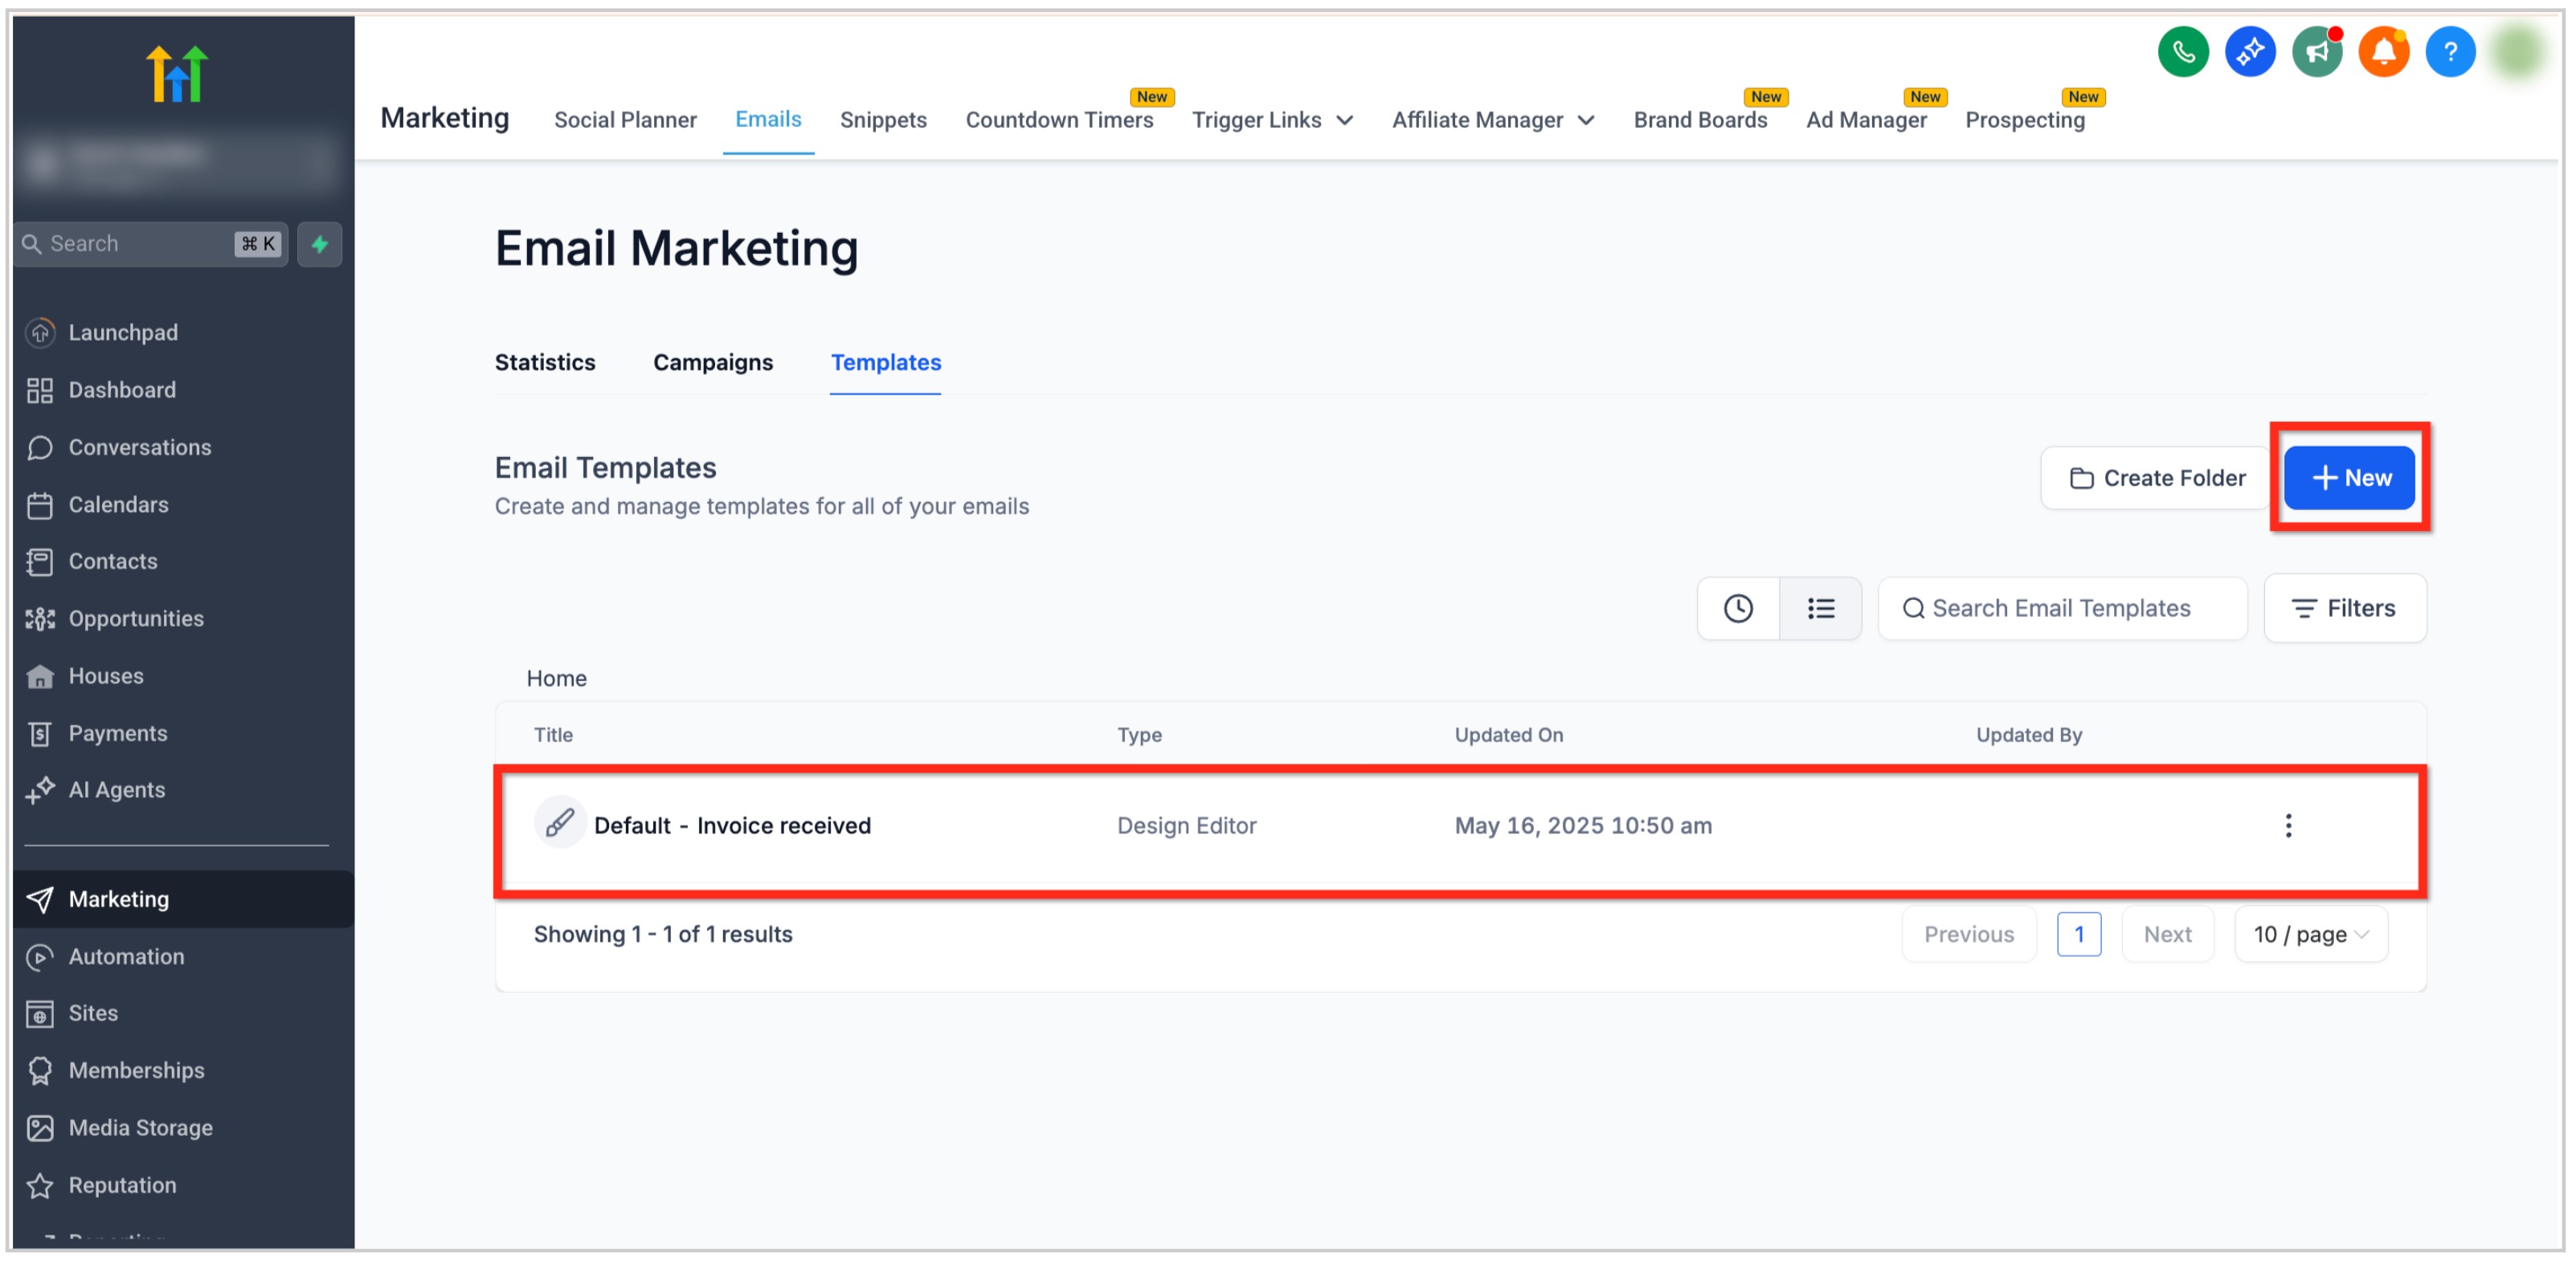
- Open an existing template or click the + New button to start a new email.
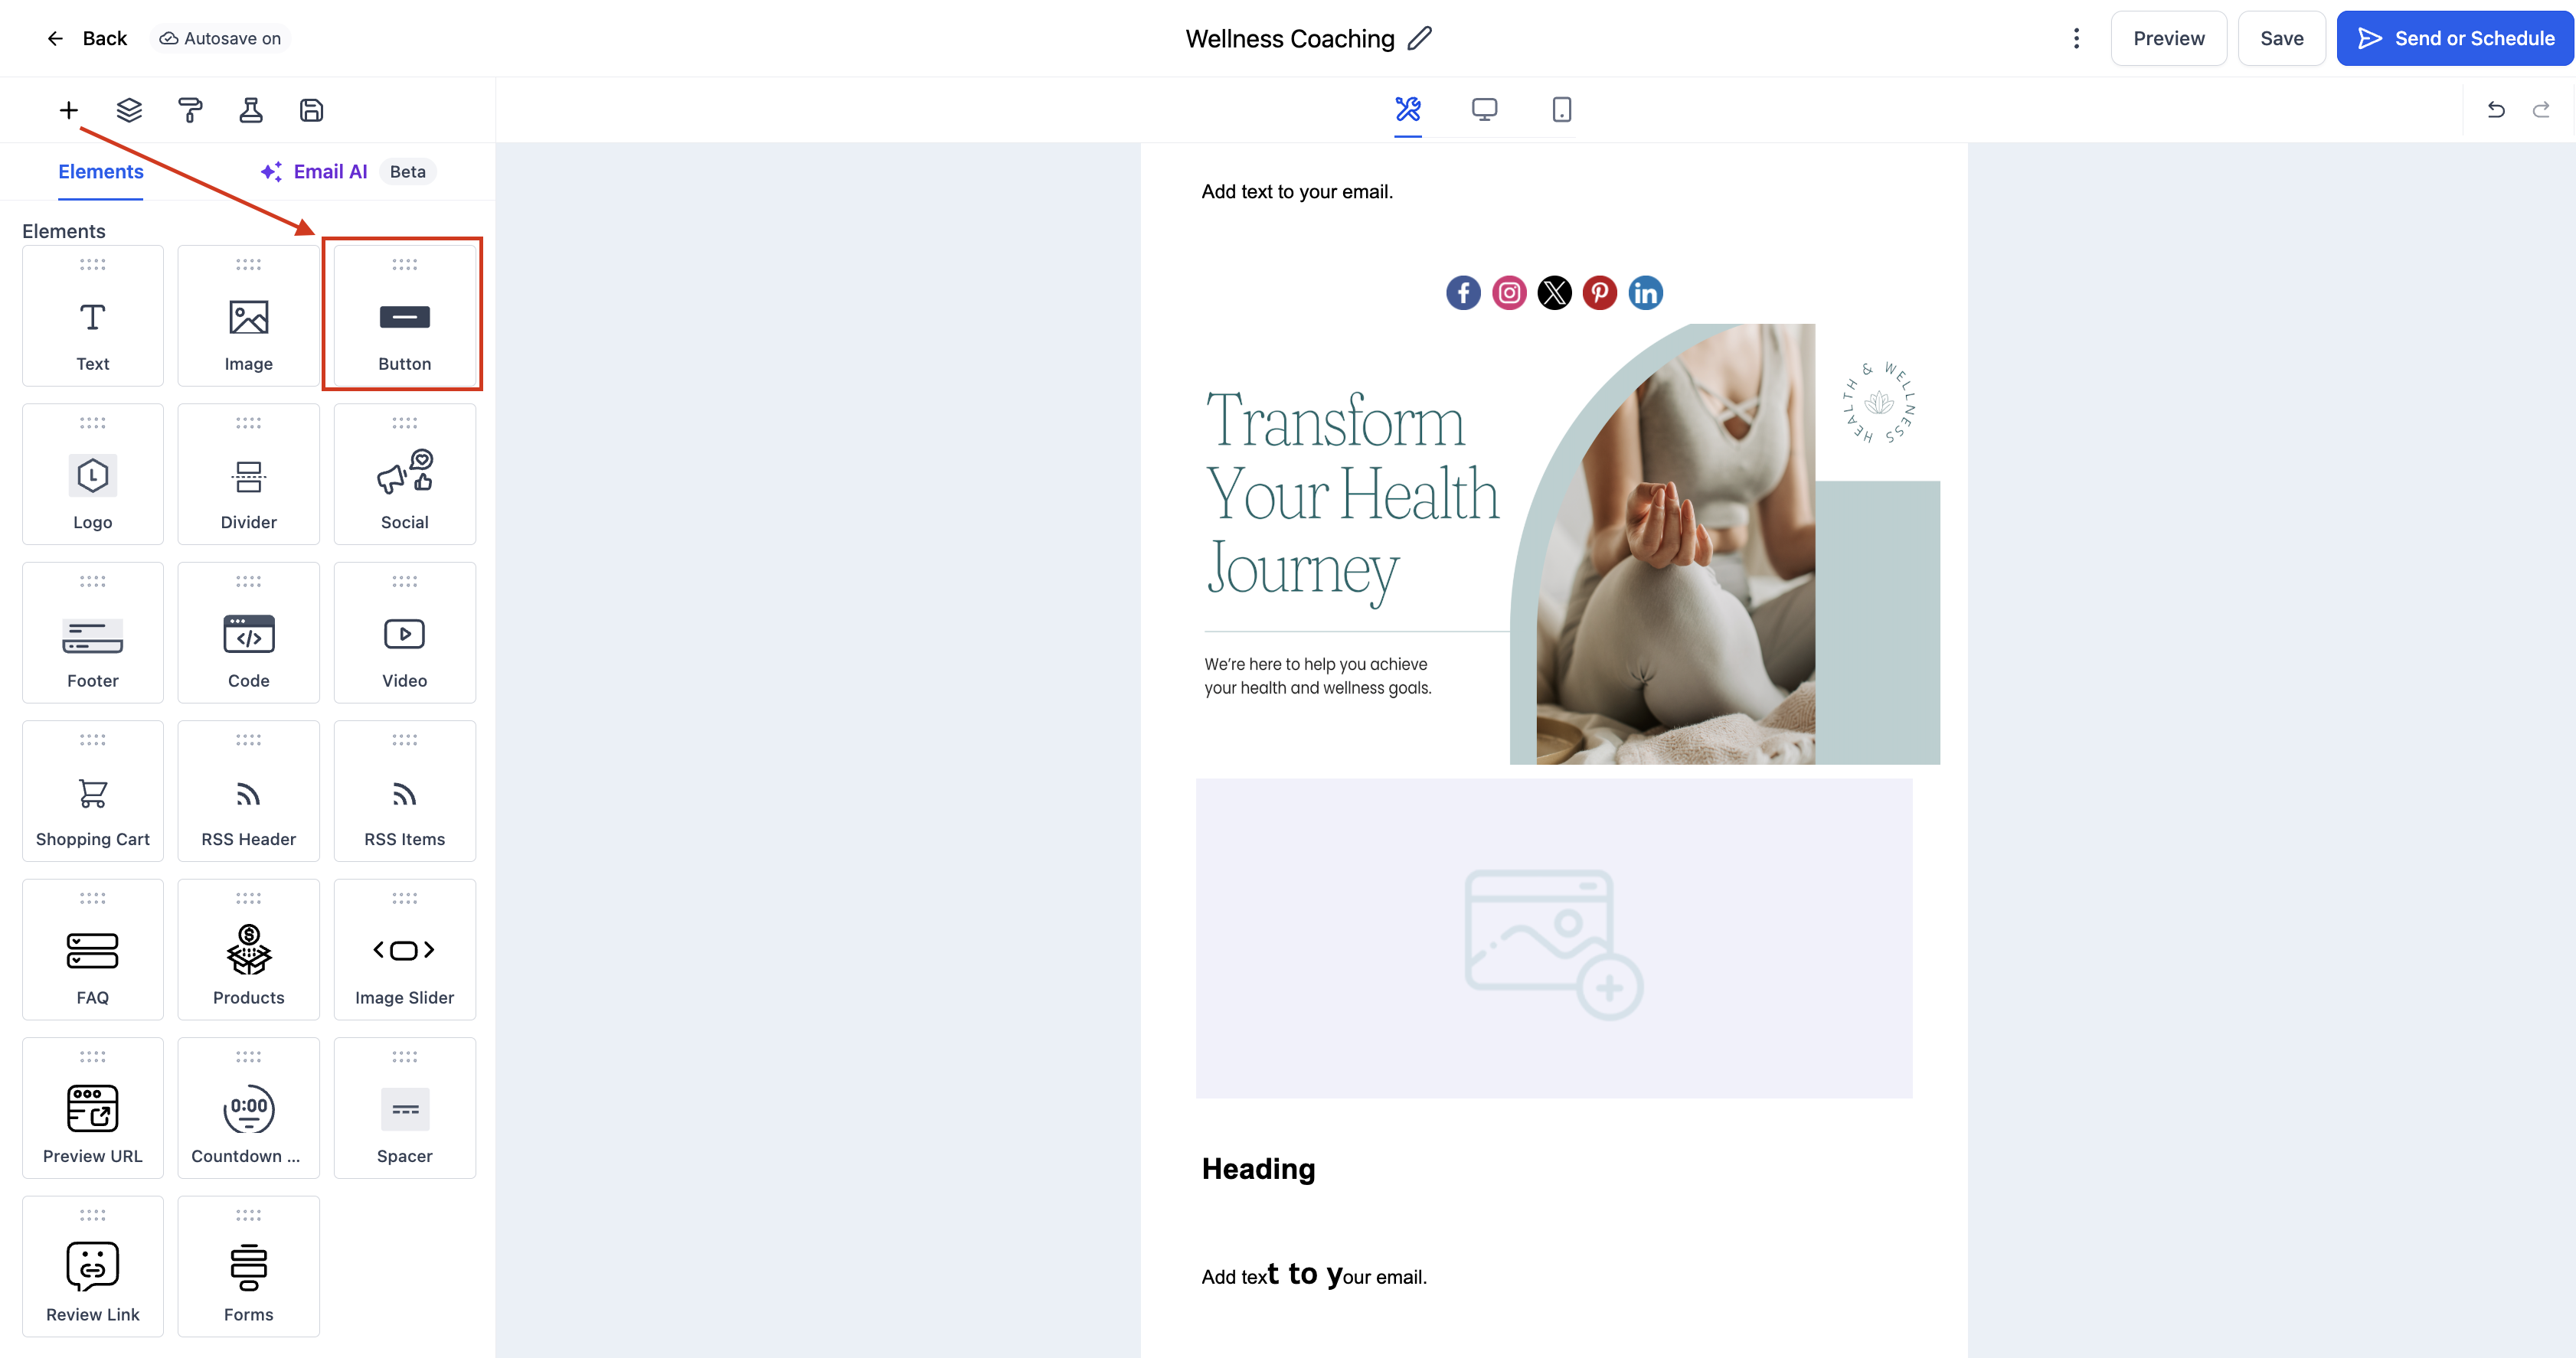
- Click the Add Elements (+) icon in the left sidebar of the Email Builder.
- Locate the Button Element under the Elements section.
- Drag and drop the Button Element into the desired position in the layout.
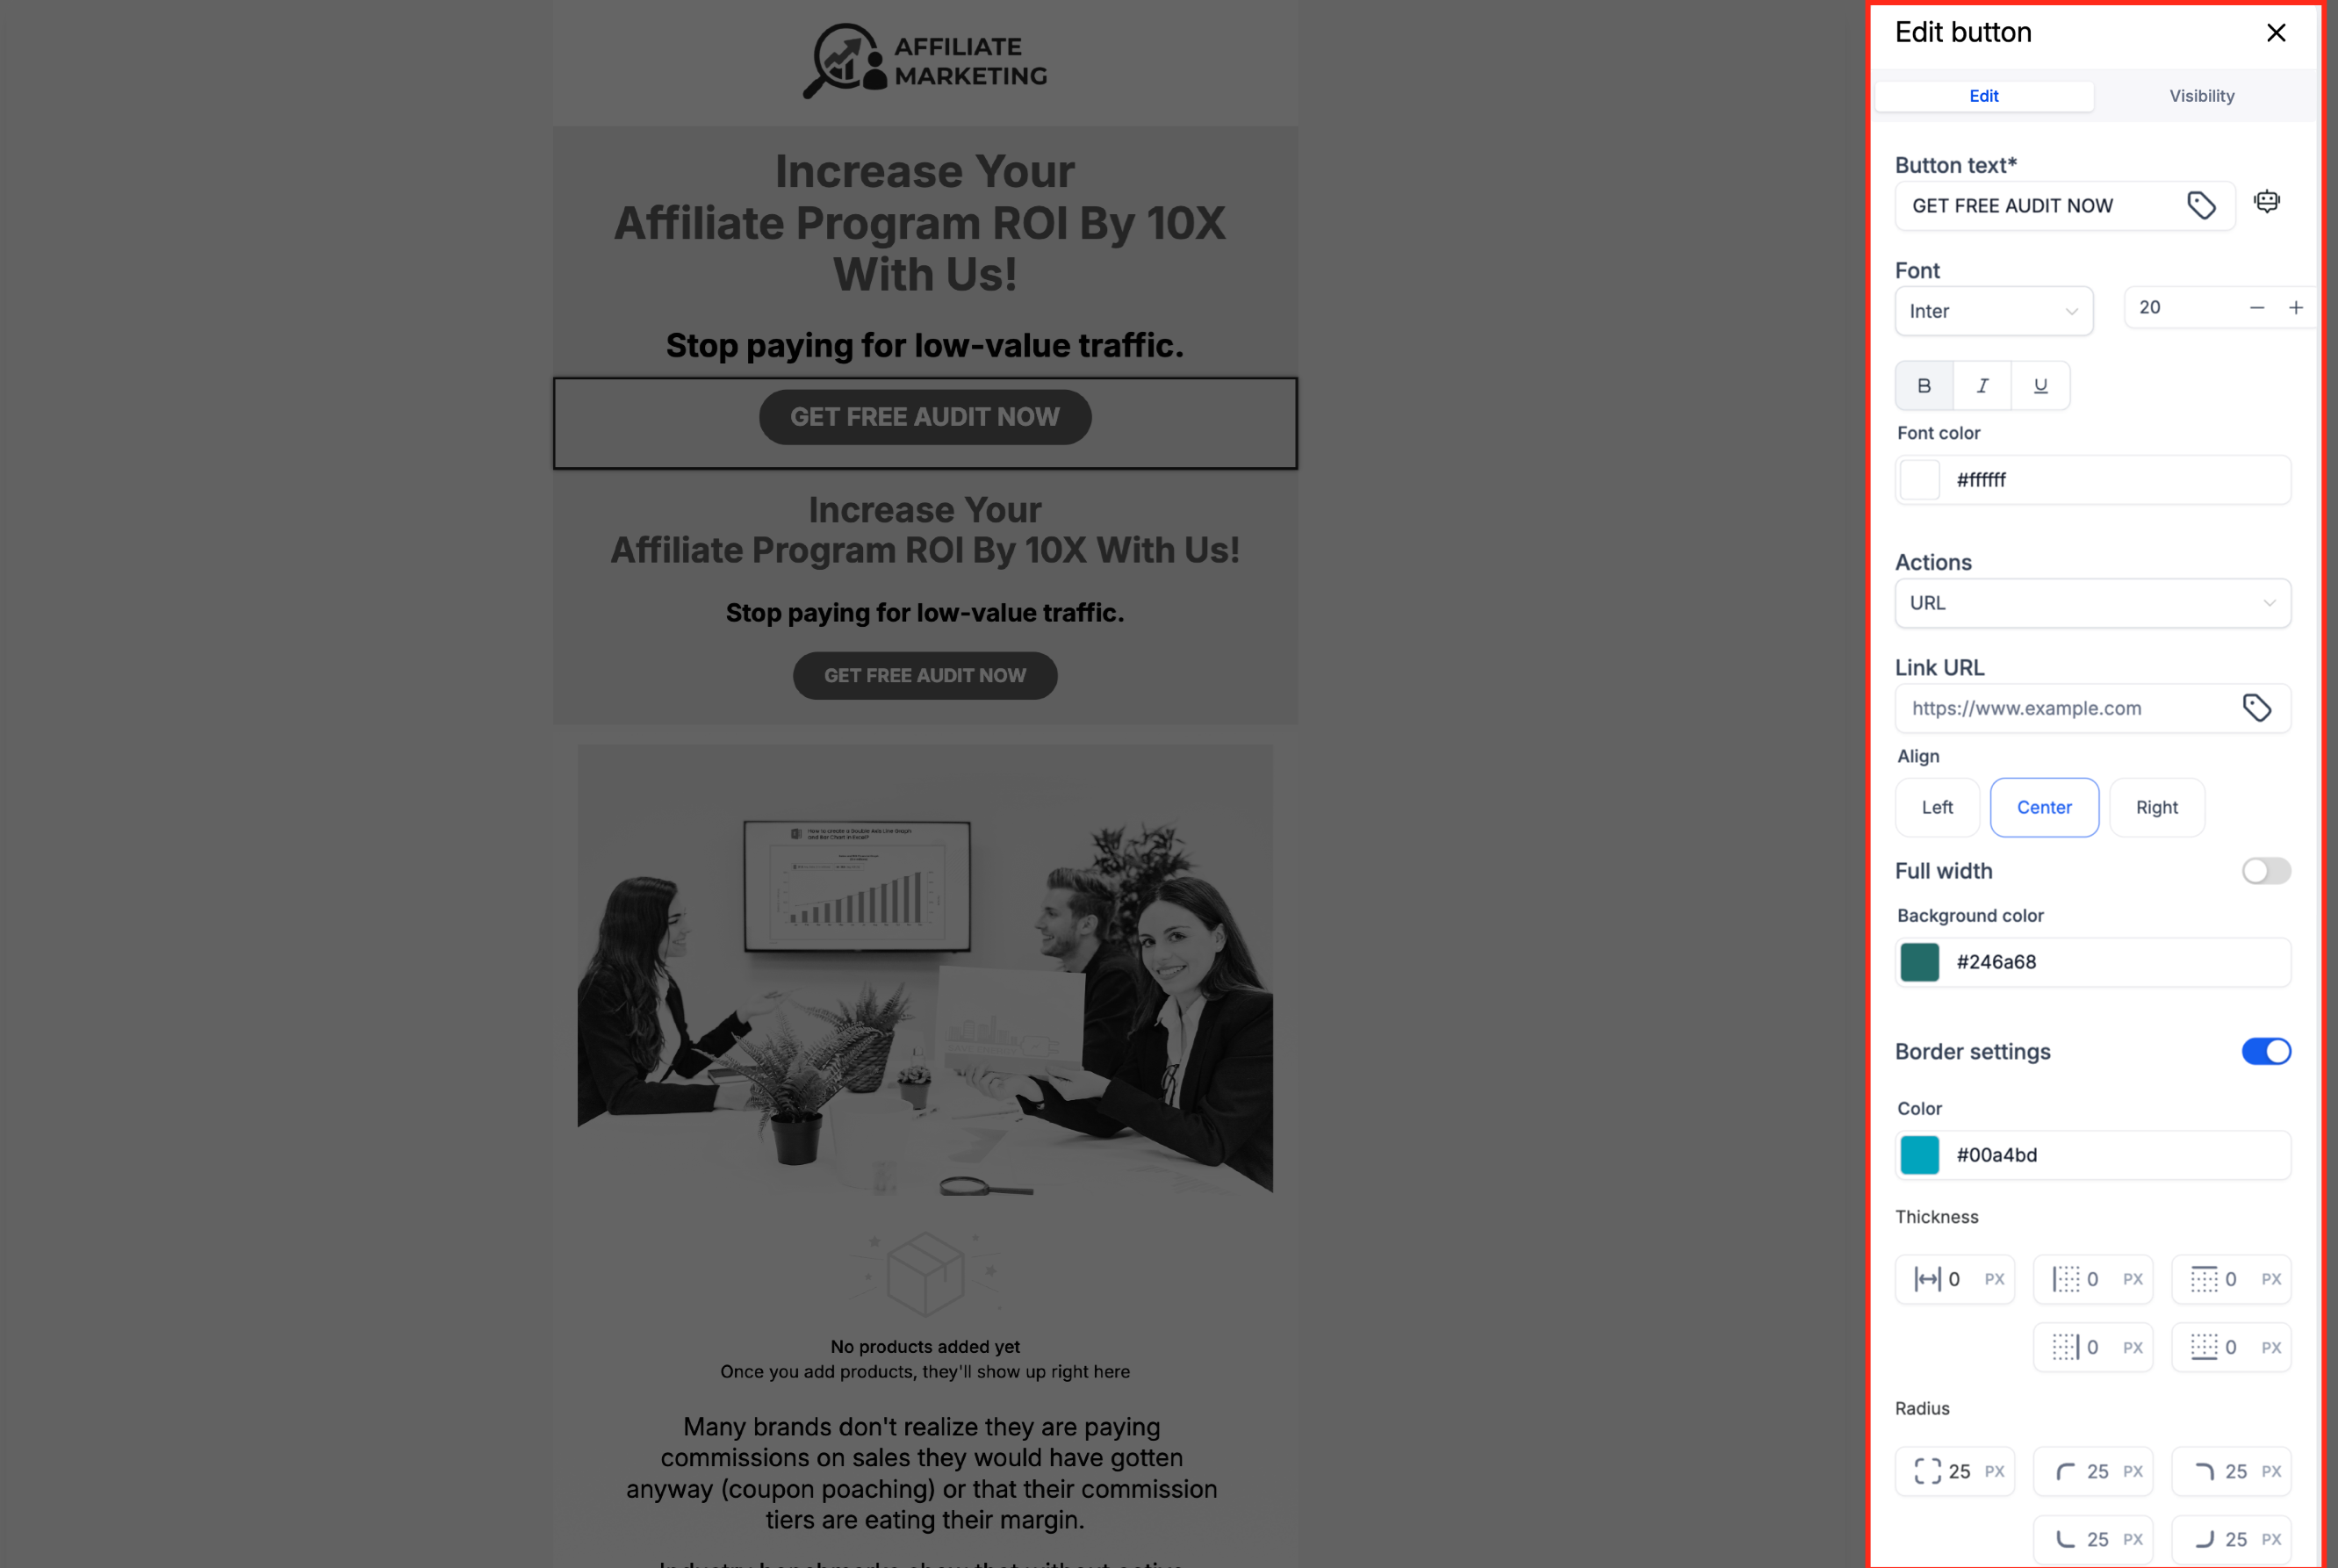
- Select the Button Element to open its Edit tab on the left panel.
- Edit the Button Text field to set the label you want displayed.
- Enter the destination URL in the Link field for the button’s redirect.
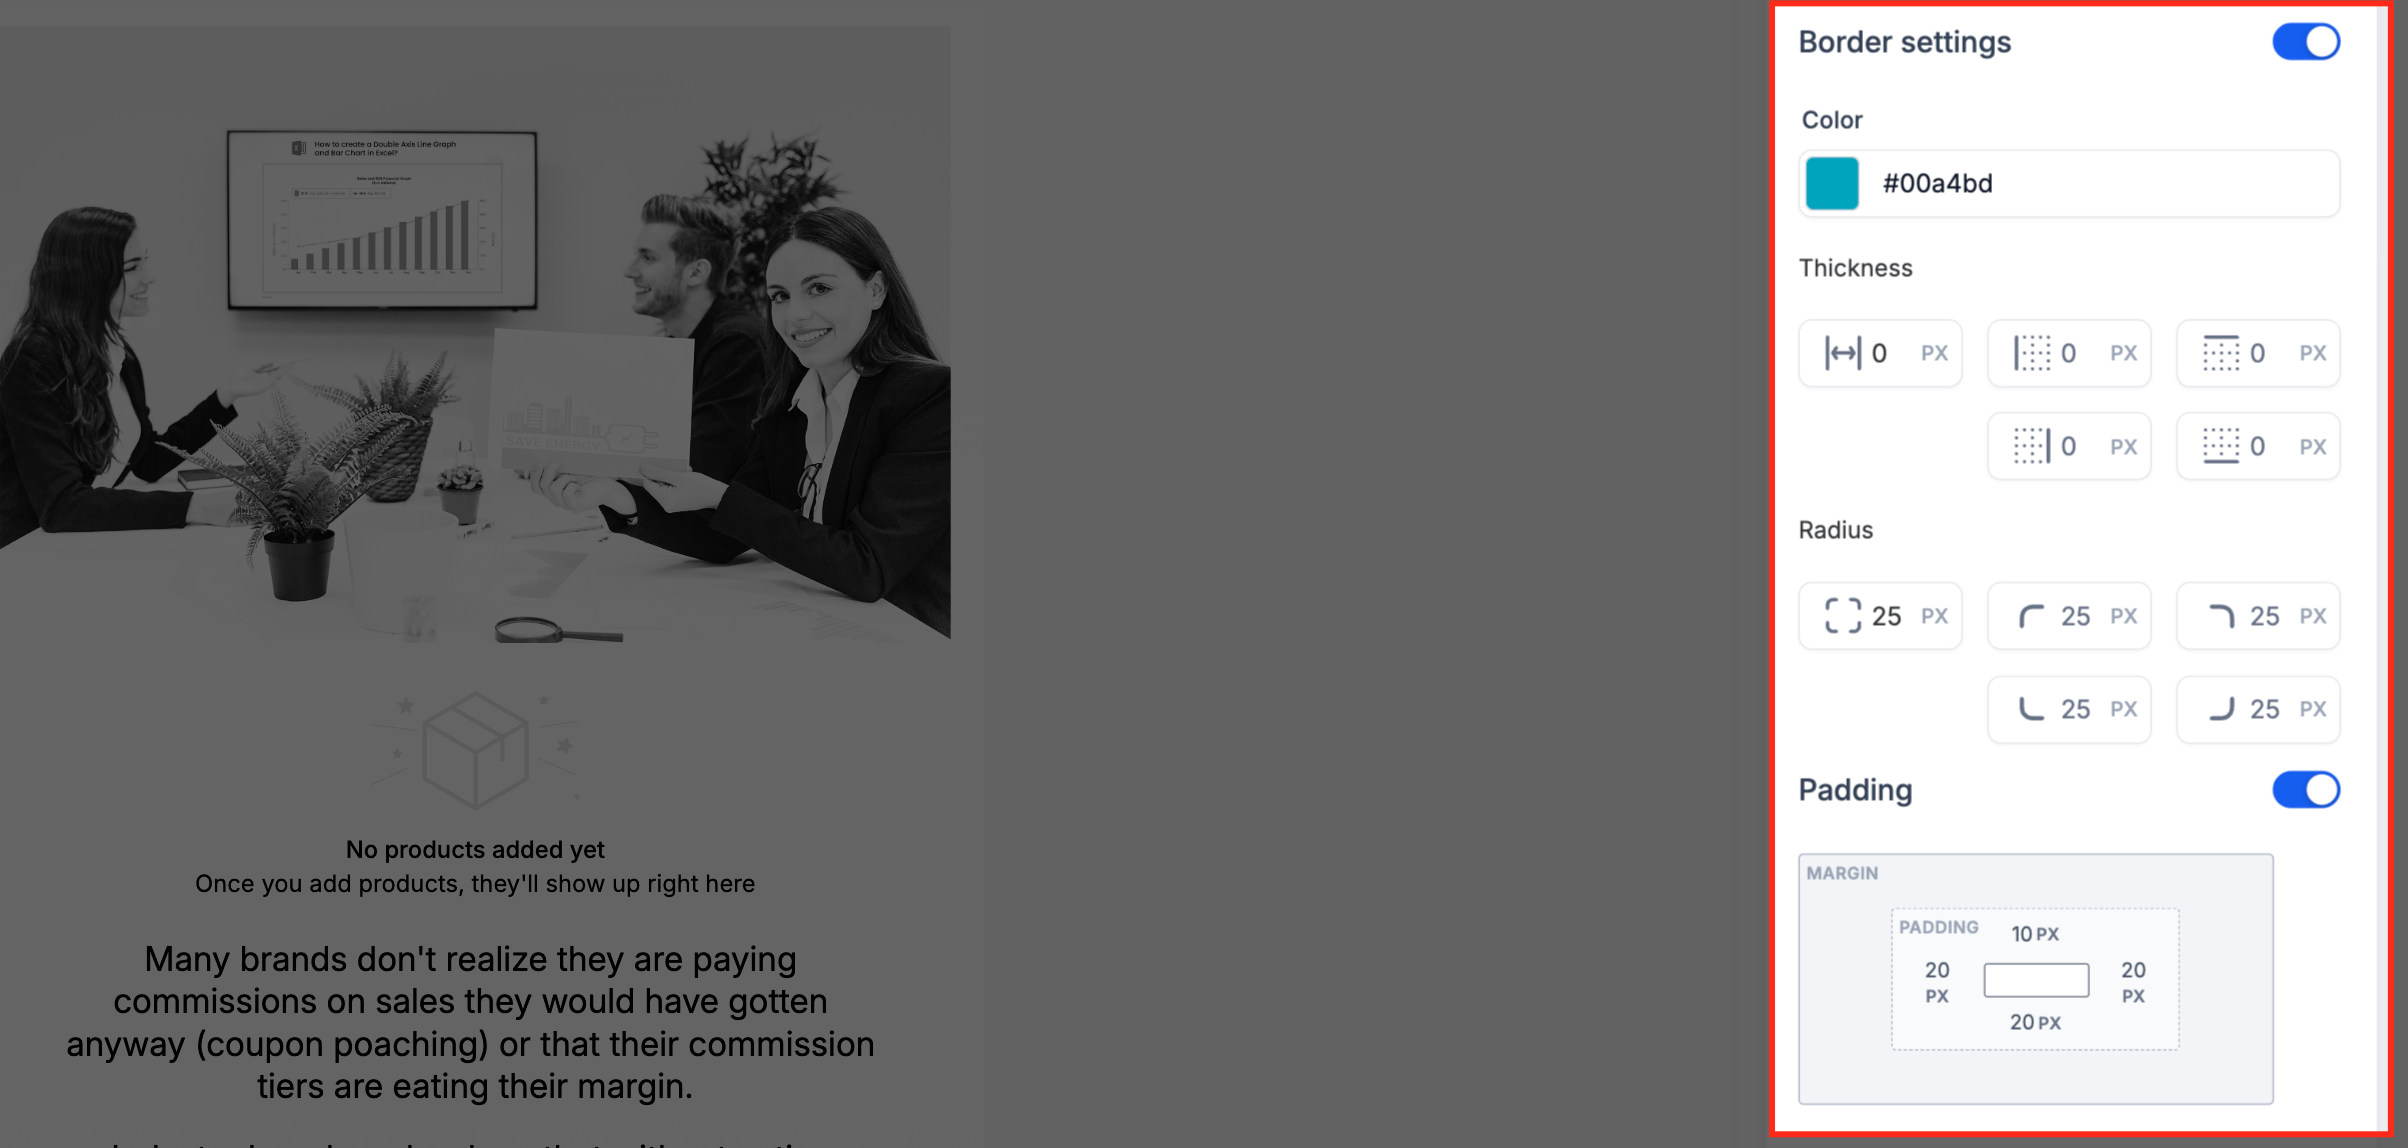
- Adjust styling options such as button colour, text colour, font, border radius, and background.
- Set the width, padding, and alignment (left, center, or right) to position the button.
- Add additional padding around the button for balanced spacing.
- Open the Visibility tab and choose Device Based Visibility or Conditional Sending settings.
- Preview the email in both desktop and mobile modes to verify button appearance and functionality.
05What it looks like in HighLevel
06Settings that matter
- Button Text. Controls the label shown on the button.
- Link. Defines the URL the button opens when clicked.
- Button color. Sets the background colour of the button.
- Text color. Changes the colour of the button’s label.
- Font. Selects the typeface used for the button text.
- Border radius. Rounds the corners of the button.
- Background. Specifies the button’s background styling.
- Width. Determines how wide the button appears.
- Padding. Adds space inside the button edges for visual balance.
- Alignment. Positions the button left, center, or right within the layout.
- Device, Based Visibility. Allows the button to be shown or hidden on specific device types.
- Conditional Sending. Enables the button to appear only when certain criteria are met.
07Things to know before you rely on it
- Buttons are built using HTML and render reliably in most email clients, but you should always preview on both desktop and mobile.
08How it connects to the rest of HighLevel
- Move the Email Builder edit panel Edit panel positioning
- Add custom fonts to email designs Custom fonts
- Customize mobile formatting for emails Mobile view controls
Michael's take

I find the Button Element a handy convenience for adding CTAs that look good on any device and match my brand.