
01Who this is for
- Marketers who need to send authenticated email through Mailgun from HighLevel.
- Developers or agencies managing client domains hosted on HostGator.
02MailGun DNS records, explained
Mailgun provides sending and validation services for email. When linked to a HostGator domain, HighLevel can route outbound messages through Mailgun’s infrastructure. The connection relies on five DNS entries, two TXT, two MX and one CNAME, placed in the domain’s Zone Editor.
The process lives inside HostGator’s cPanel. After creating a Mailgun account, the user adds a domain (or a sub domain) in Mailgun, then copies the required DNS values into cPanel. Once Mailgun confirms that all records resolve correctly, the API key is entered in HighLevel’s email settings, enabling the platform to send mail through Mailgun.
03How businesses use mailGun DNS records
- Digital marketing agency. The agency creates a sub domain such as mg.agency.com in Mailgun, adds the SPF, DKIM, MX and CNAME records in HostGator cPanel, verifies them, and then stores the Mailgun API key inside HighLevel to send client newsletters.
- Ecommerce store. The store registers its primary domain with Mailgun, enters the DNS records required for authentication, verifies the setup, and uses the API key to send order confirmations from HighLevel without disturbing its existing Google Workspace inbox.
- Consulting firm. The firm sets up a dedicated sub domain like replies.consult.com, adds the required DNS entries in cPanel, confirms verification and connects the API key, allowing HighLevel to manage reply to addresses for its outreach campaigns.
04The numbers and rules that matter
- Two TXT records: SPF value v=spf1 include: Mailgun.org ~all and a DKIM record unique to your domain.
- Two MX records: Priority 10, destinations mxa.mailgun.org and mxb.mailgun.org.
05Before you start
- A Mailgun account must be created and the email address verified.
- Access to the domain’s HostGator cPanel is required.
06How to set up and use mailGun DNS records in HighLevel
Sign up for Mailgun and add your domain
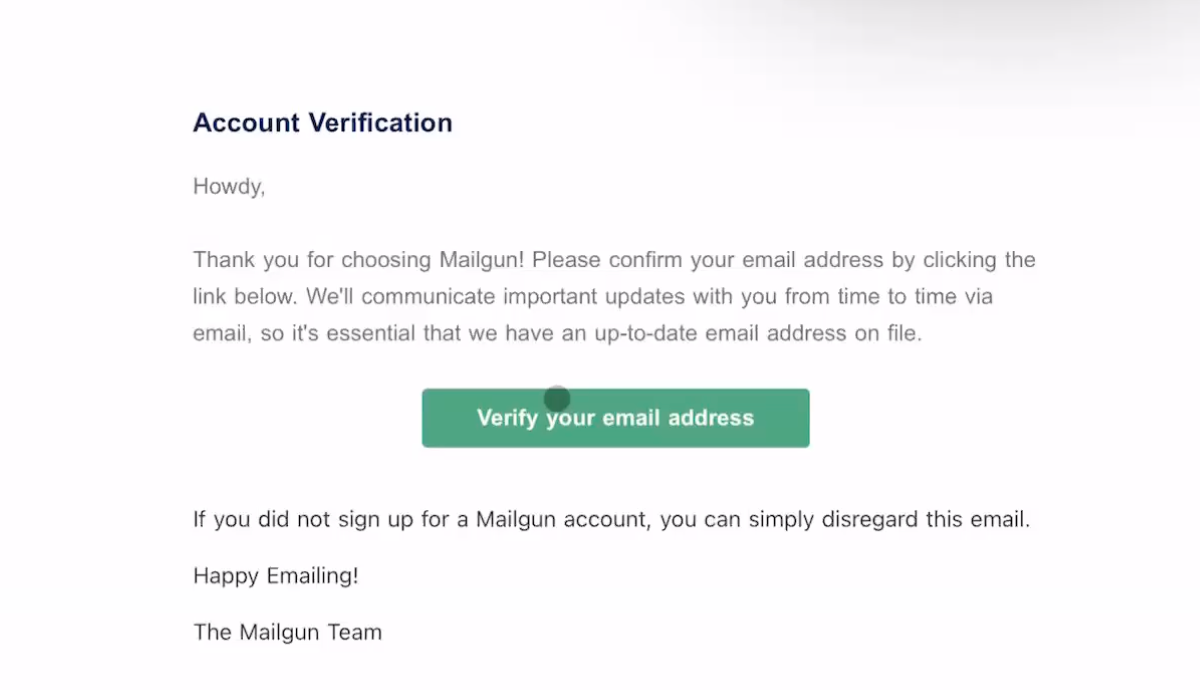
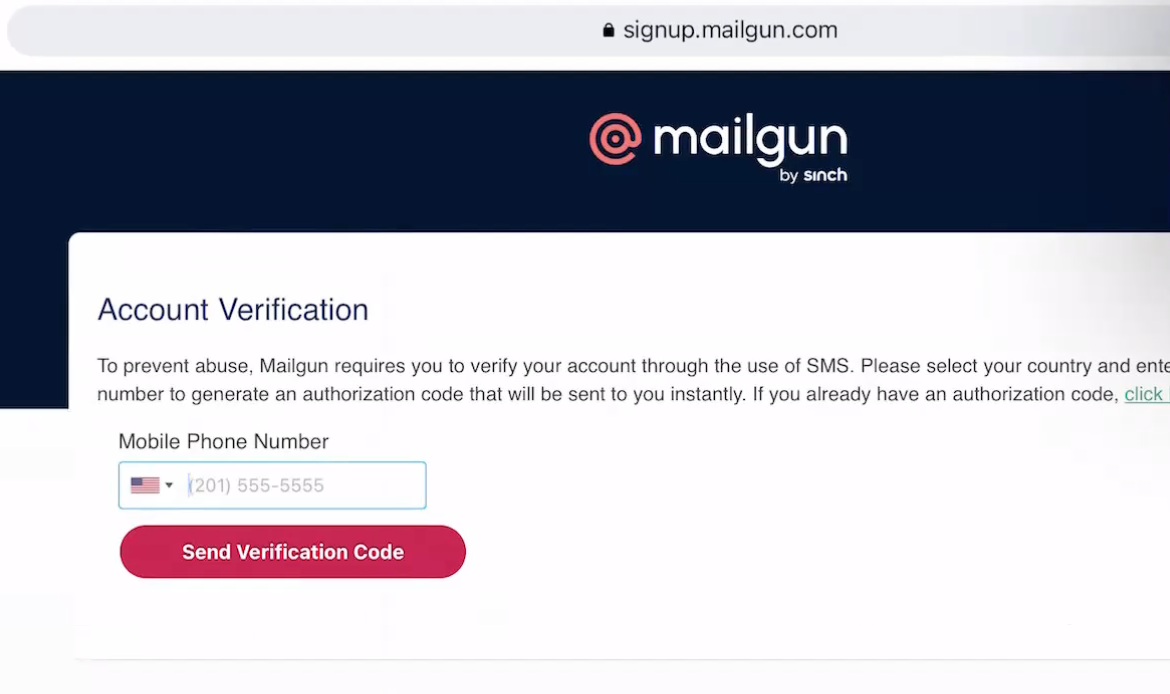
- Create a new Mailgun account and confirm the registration email.
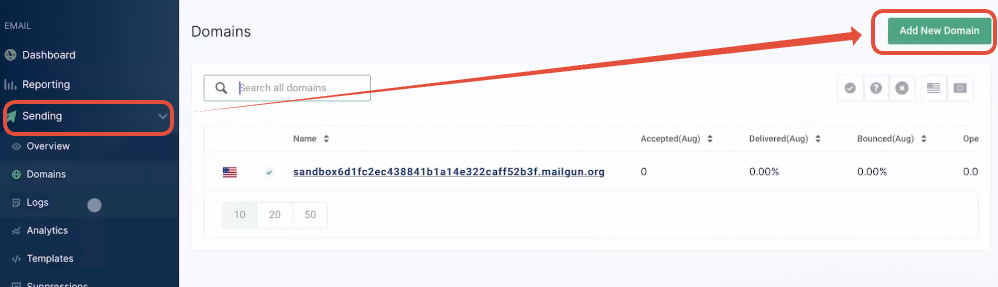
- Log into the Mailgun dashboard.
- Select Sending then choose Add New Domain.
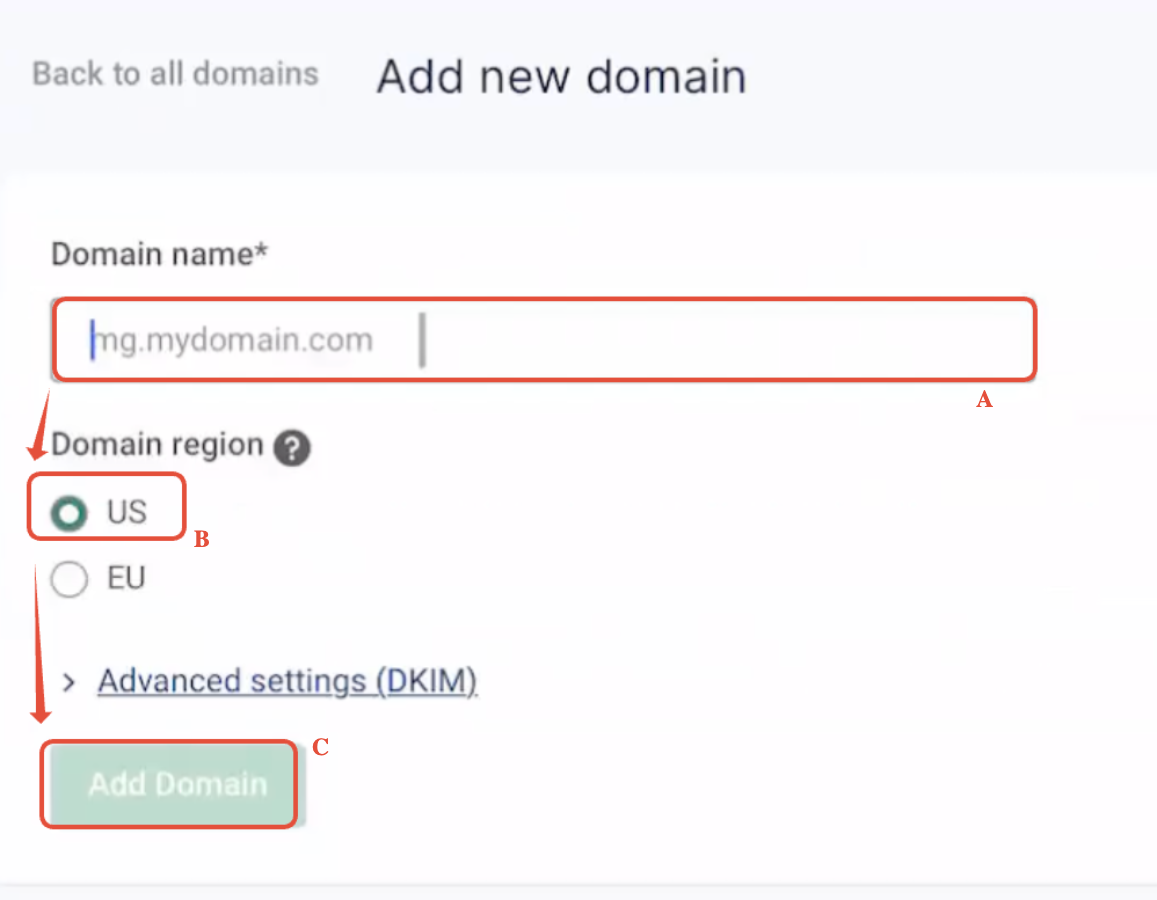
- Decide between using the root domain or a sub domain, following guidance on shared usage.
- Set the region to US (do not select EU) and click Add domain.
- Leave the screen that lists DNS records open for the next step.
Access DNS records in cPanel
- Log in to HostGator cPanel.
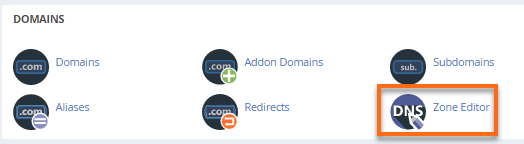
- Click Zone Editor within the Domains section.
- Locate the target domain and press Manage.
- Press +Add Record and choose Add "TXT" Record.
Add the 1st TXT record (SPF)
- Enter the host part only (for example mg or @) in the Name field.
- Paste v=spf1 include:mailgun.org ~all into the Record field.
- Click Add Record.
Add the 2nd TXT record (DKIM)
- Click +Add Record again and select Add "TXT" Record.
- Enter the host name extracted from the DKIM value, stopping before the domain suffix.
- Copy the full DKIM string from Mailgun and paste it into the Record field.
- Click Add Record.
Add the 1st MX record
- Click +Add Record and choose Add "MX" Record.
- Enter the appropriate host name (mg, replies, or @).
- Set Priority to 10.
- Enter mxa.mailgun.org as the Destination.
- Click Save Record.
Add the 2nd MX record
- Add another MX record via +Add Record and select Add "MX" Record.
- Use the same host name as the first MX record.
- Set Priority to 10 and Destination to mxb.mailgun.org.
- Click Save Record.
Add the CNAME record
- Select +Add Record and pick Add "CNAME" Record.
- Provide the host name prefix (email.mg, email.replies, or email) as shown in Mailgun.
- Set the target value to mailgun.org.
- Click Save Record.
Verify DNS & finish setup
- Return to Mailgun and click Verify DNS Settings.
- If any record is still pending, wait briefly and click Verify again.
- When all five entries show a green check, locate the Mailgun API key.
- Enter the API key in HighLevel’s email service settings and send a test email.
07What it looks like in HighLevel
08Settings that matter
- Name. Specifies the sub domain portion of the record; the root domain is automatically appended.
- Record. Holds the value for TXT, MX or CNAME entries such as SPF strings or DKIM keys.
- Priority. Applies to MX records to determine mail routing order; Mailgun requires a value of 10.
- Destination. Defines the server address for MX entries, either mxa.mailgun.org or mxb.mailgun.org.
09Things to know before you rely on it
- The domain must be added in the US region; the EU region is not supported for this setup.
- If Google Workspace uses the main domain, Mailgun should be configured on a sub domain to avoid mail routing conflicts.
- DNS changes may need several minutes to propagate before verification can succeed.
10If something goes wrong
- Unable to locate Zone Editor in cPanel. Log into cPanel, scroll to the Domains area, and click Zone Editor to view and manage DNS records.
- Uncertainty about using main domain versus sub domain. Choose a sub domain if the main domain already handles email through Google Workspace or another provider.
- Confusion over "do not include the root domain" for the Name field. Enter only the prefix (such as mg or email) in the Name field; cPanel automatically adds the full domain.
- Existing Gmail or Google Workspace mail stops working. Maintain the original MX records on the main domain and only add Mailgun records to a separate sub domain.
- DNS verification remains pending. Wait a short period for propagation, then click Verify DNS Settings again in Mailgun.
- All records verified but sending still fails. Retrieve the Mailgun API key from the Mailgun dashboard and insert it into HighLevel’s email service settings; send a test email to confirm.
11How it connects to the rest of HighLevel
- Overview of Mailgun capabilities and pricing in HighLevel Mailgun overview
- Step by step guide for configuring Mailgun with another registrar Mailgun with GoDaddy
- Instructions for adding an SMTP provider, useful when entering the Mailgun API key SMTP providers
- Pricing details for HighLevel plans that include Mailgun integration Pricing
- Start a 30 day trial to test Mailgun integration before committing 30 day trial
Michael's take

When you need reliable email delivery for newsletters, order confirmations, or support tickets, the MailGun DNS records let you route sending through MailGun.
If you only send occasional emails or already have another email sending service, the extra setup and DNS changes may not be worth it.