
01Who this is for
- Therapy practices, need full guest lists and per person billing for group sessions.
- Fitness studios, can require member names and contact info for class rosters.
- Restaurants, use guest count to charge per diner for reservation deposits.
02Add guests features, explained
The Add Guests feature expands calendar booking forms so a client can list additional participants. You can make the guest section mandatory and decide whether to capture name and email, name and phone, all three fields, or just the total number of guests. When enabled, the system can also compute the total price by multiplying the per person rate by the booker and every guest.
If individual guest details are gathered, HighLevel automatically creates a new contact or matches an existing one using the supplied email or phone number. New guest contacts inherit the primary booker’s timezone, while existing contacts keep their own timezone. The payment option adds the per person charge for each attendee and processes the combined amount at checkout.
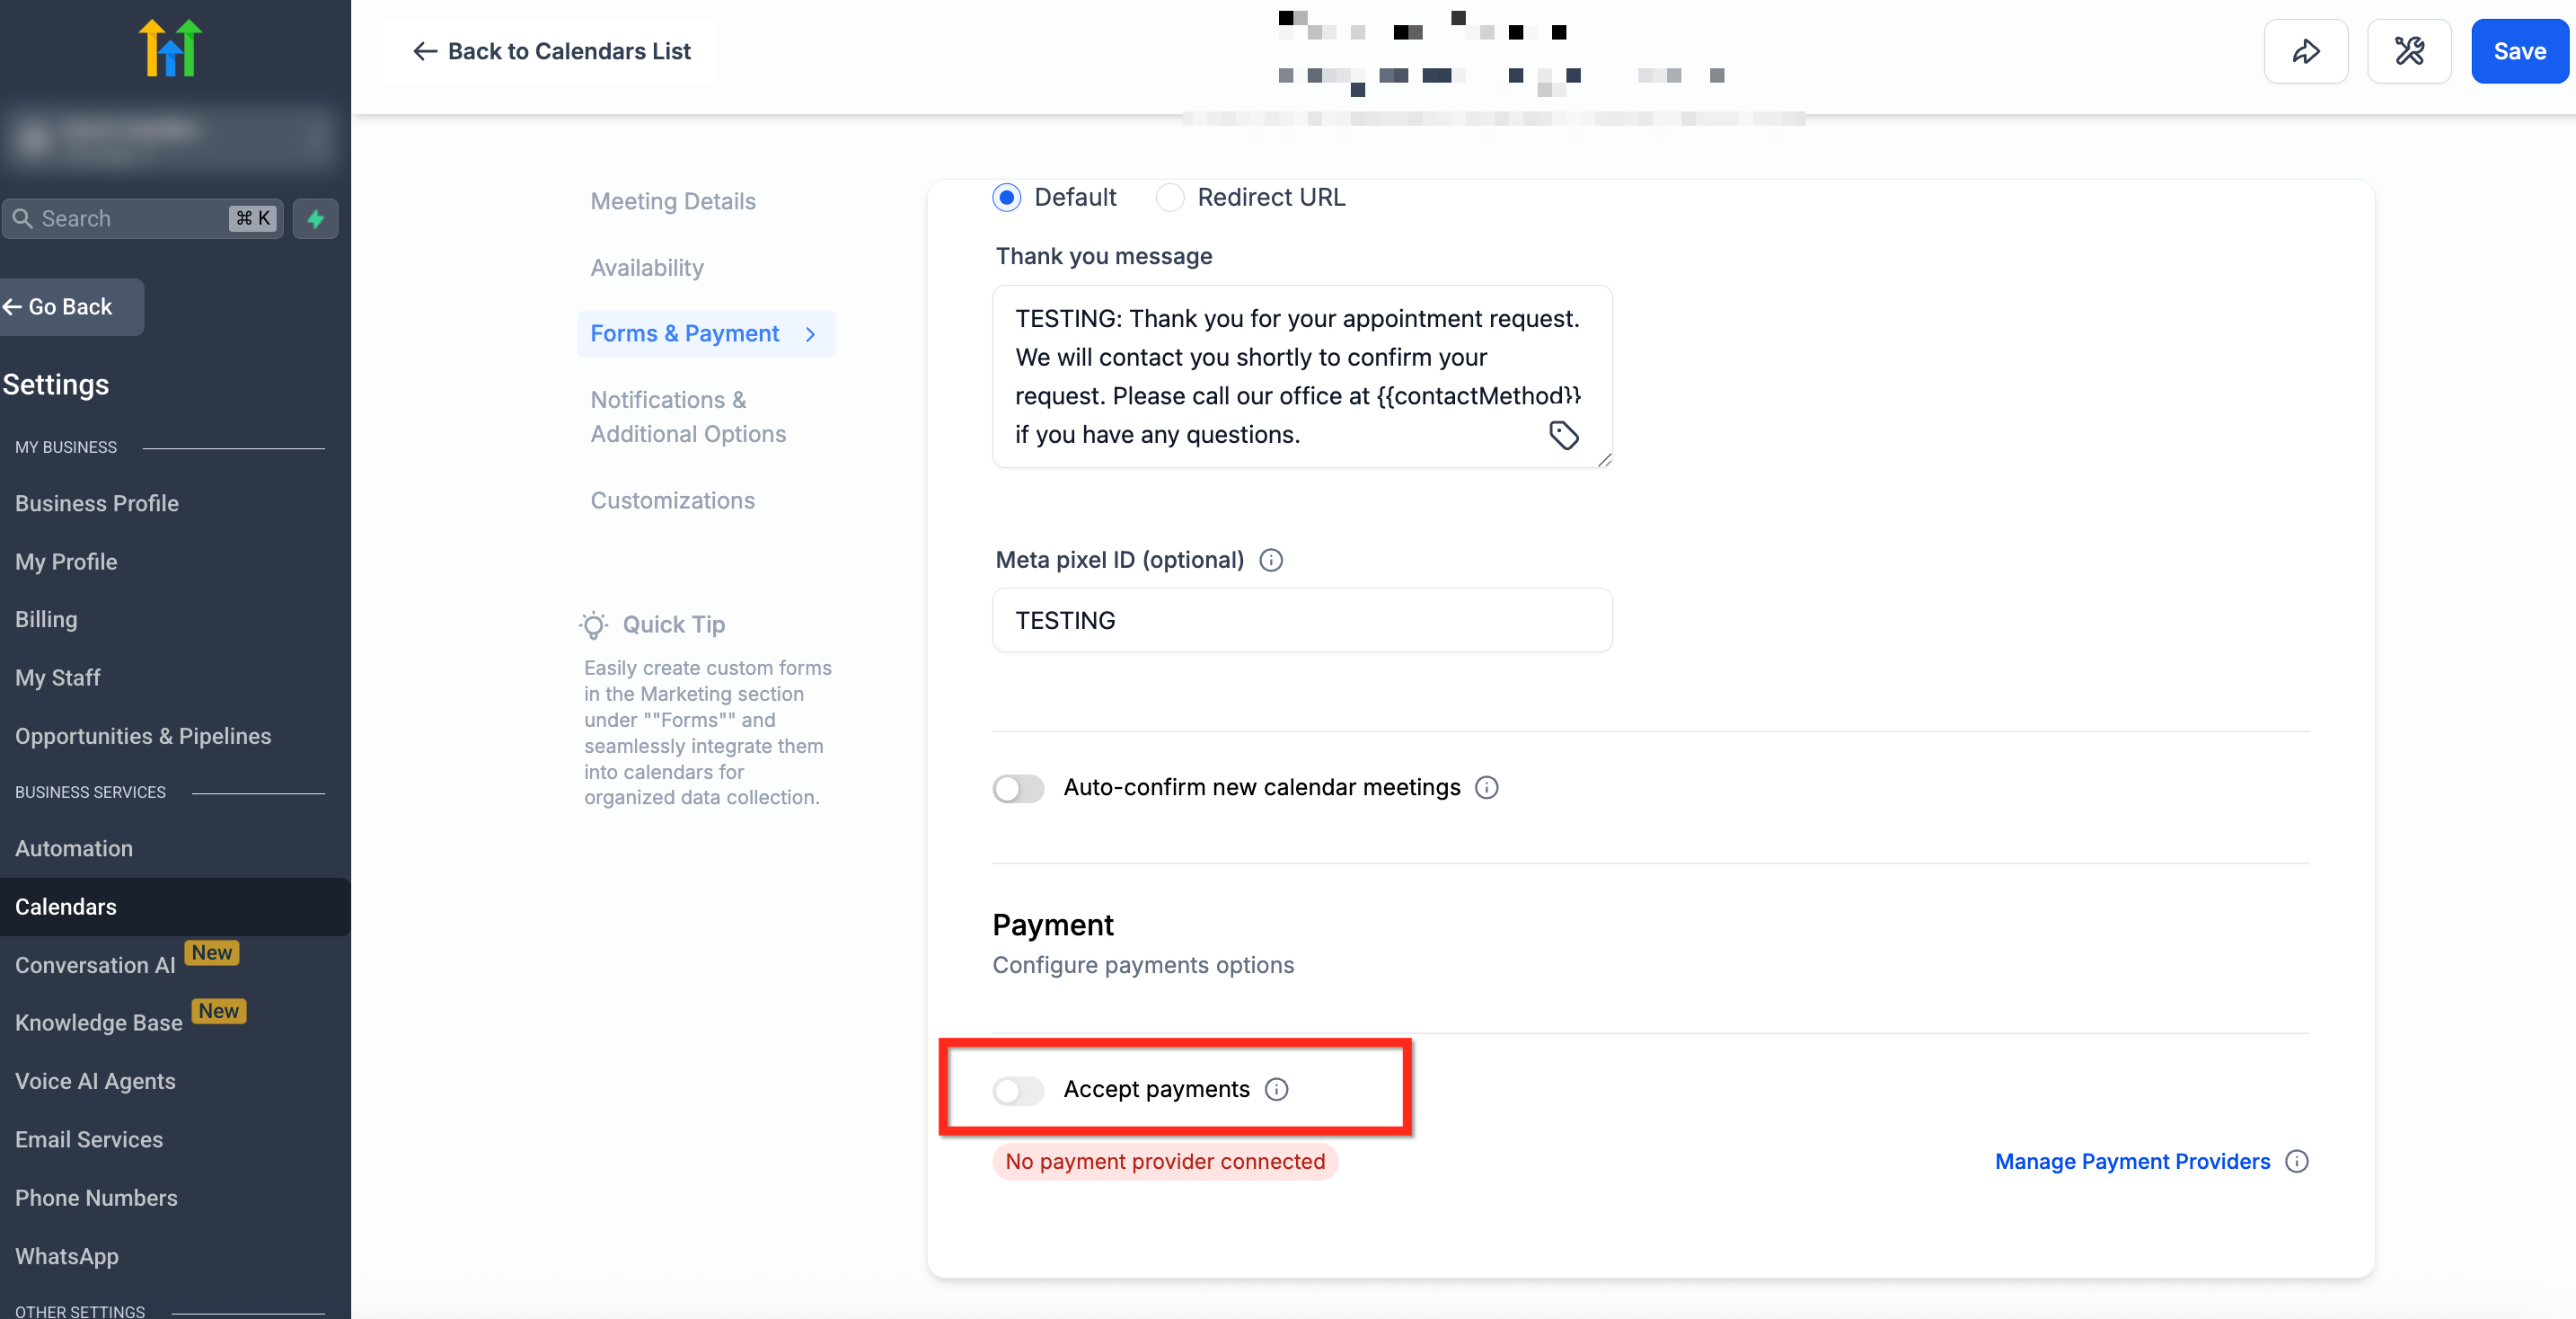
These controls are found in the calendar’s Forms & Payment tab within Settings > Calendars. The Add Guests section holds the guest information toggles, and the Payments section contains the per attendee payment toggle.
03How businesses use add guests features
- Therapy practice. In the calendar form, enable Require Guests for Booking and select Name & Email. Each guest’s contact is auto created, and the total fee is calculated as the therapist’s per person rate multiplied by the booker plus guests.
- Fitness studio. Set the Add Guests option to Name & Phone so members supply a phone number. The studio receives a complete list of participants and the payment gateway charges the total based on class size.
- Restaurant. Choose Guest Count Only to record just the number of diners. No individual contacts are made, but the booking price is multiplied by the total party size for deposit collection.
04How to set up and use add guests features in HighLevel
Enable Add Guests features for a calendar
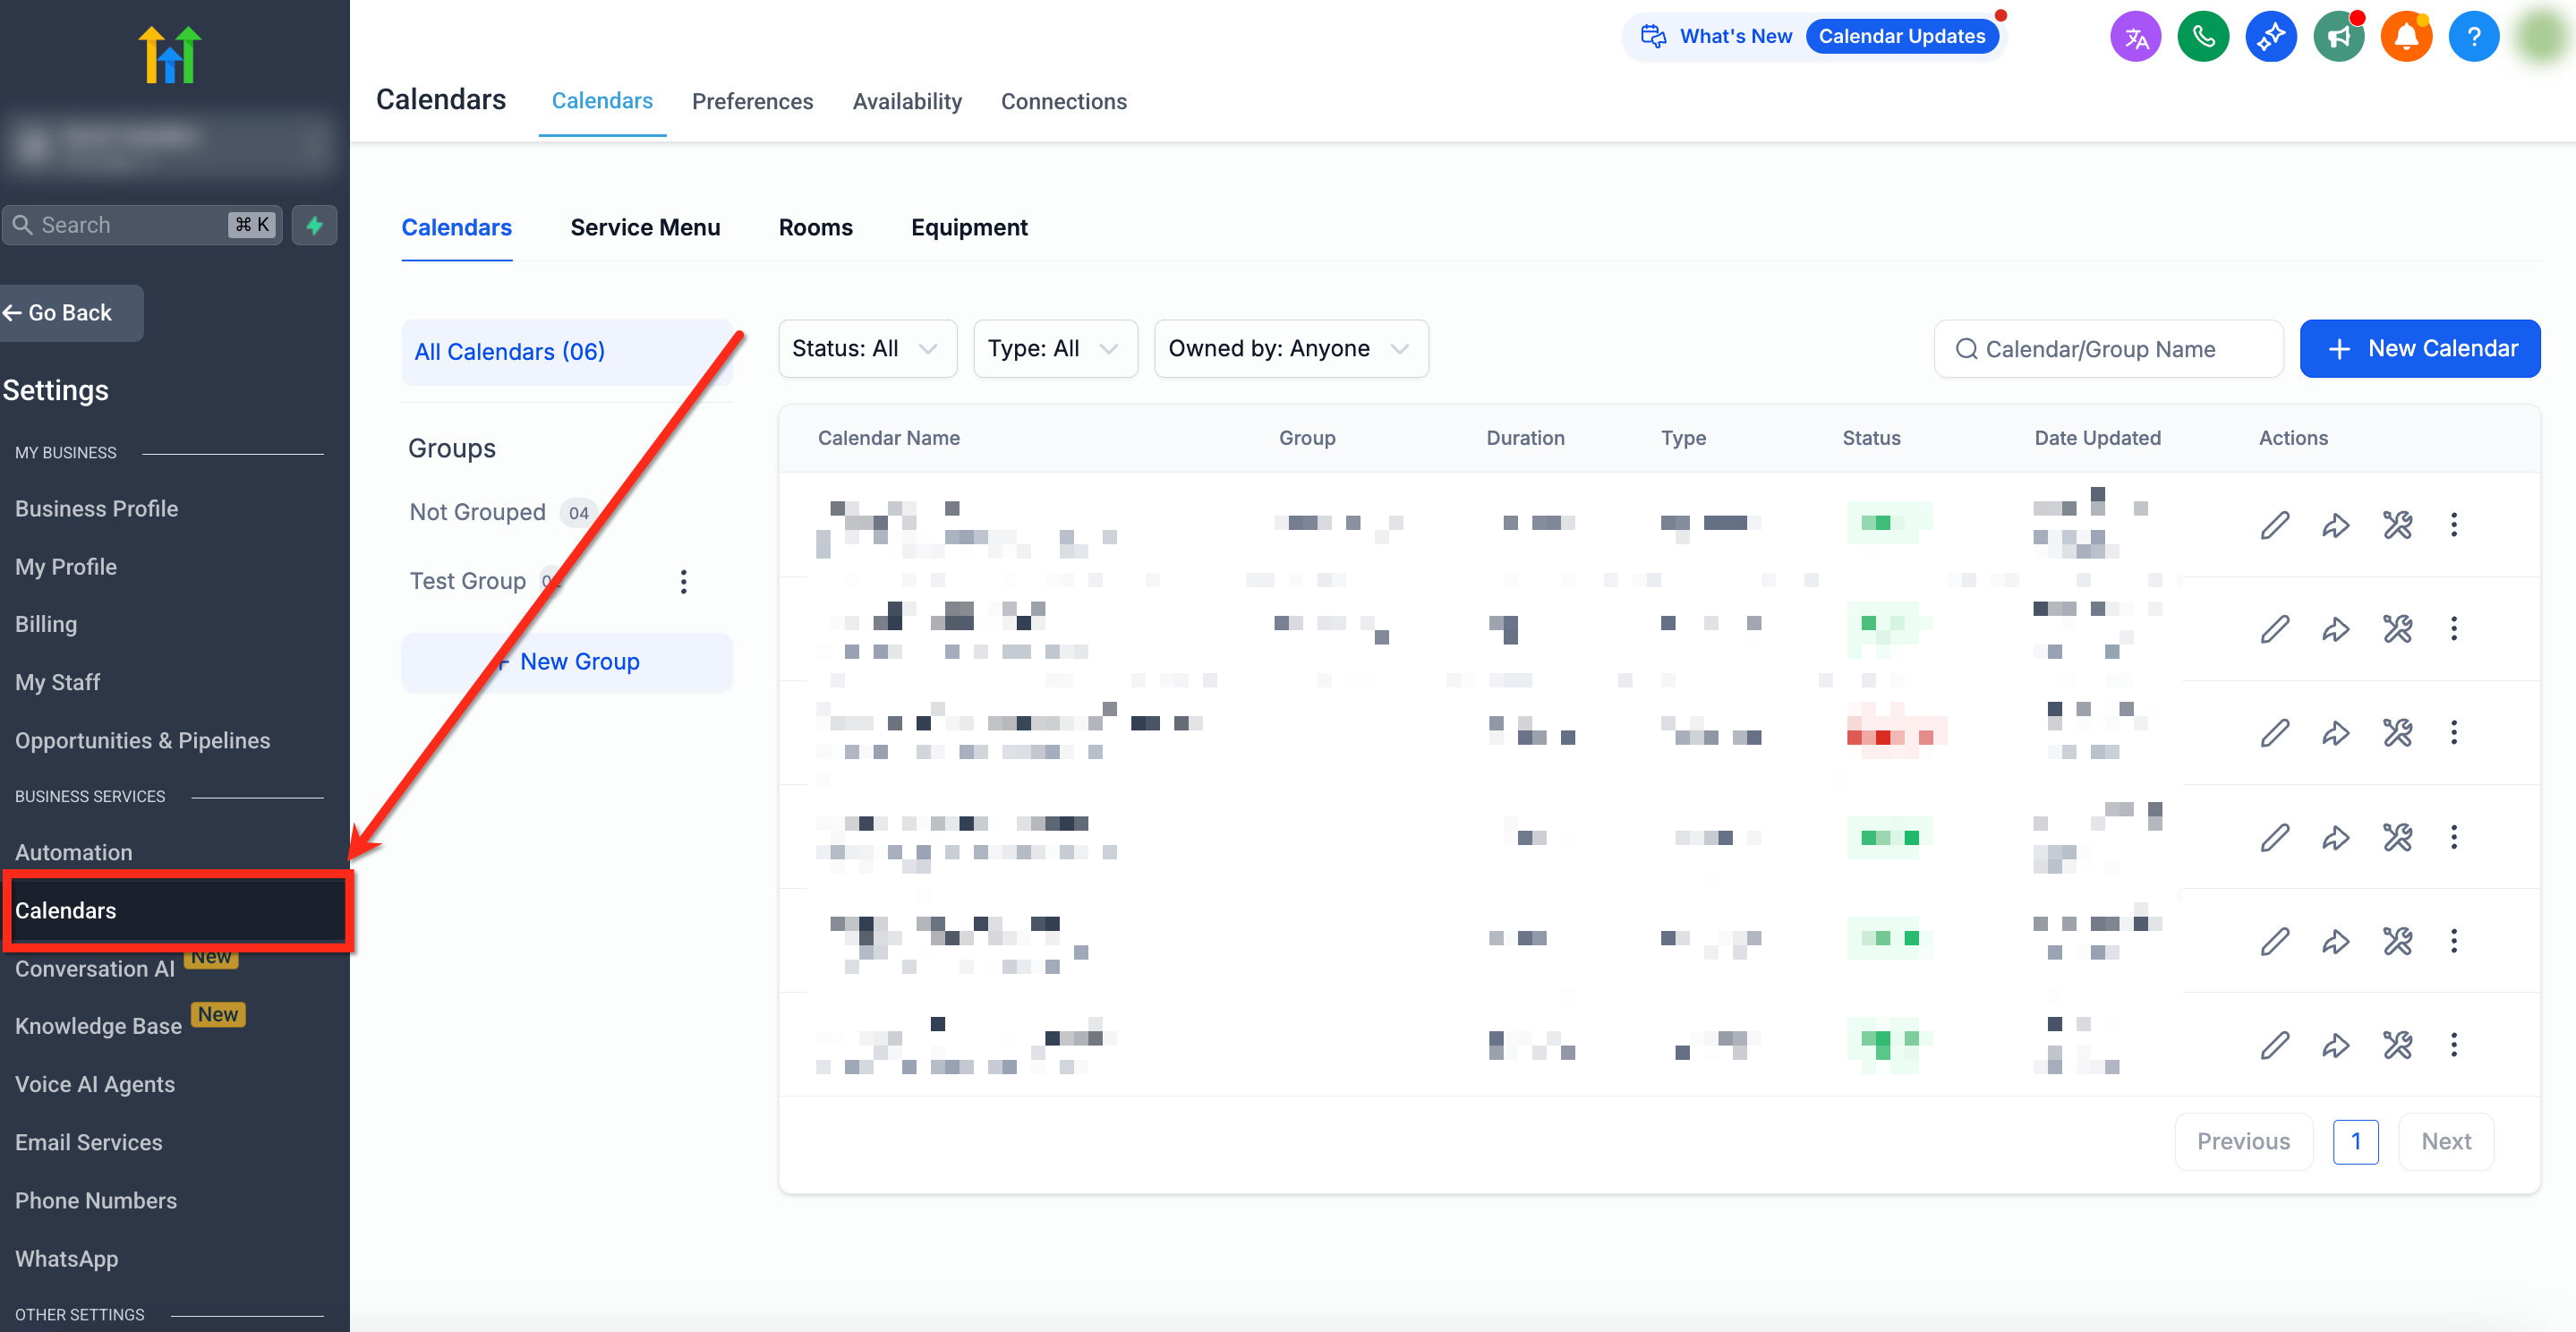
- Open Settings > Calendars in the HighLevel dashboard.
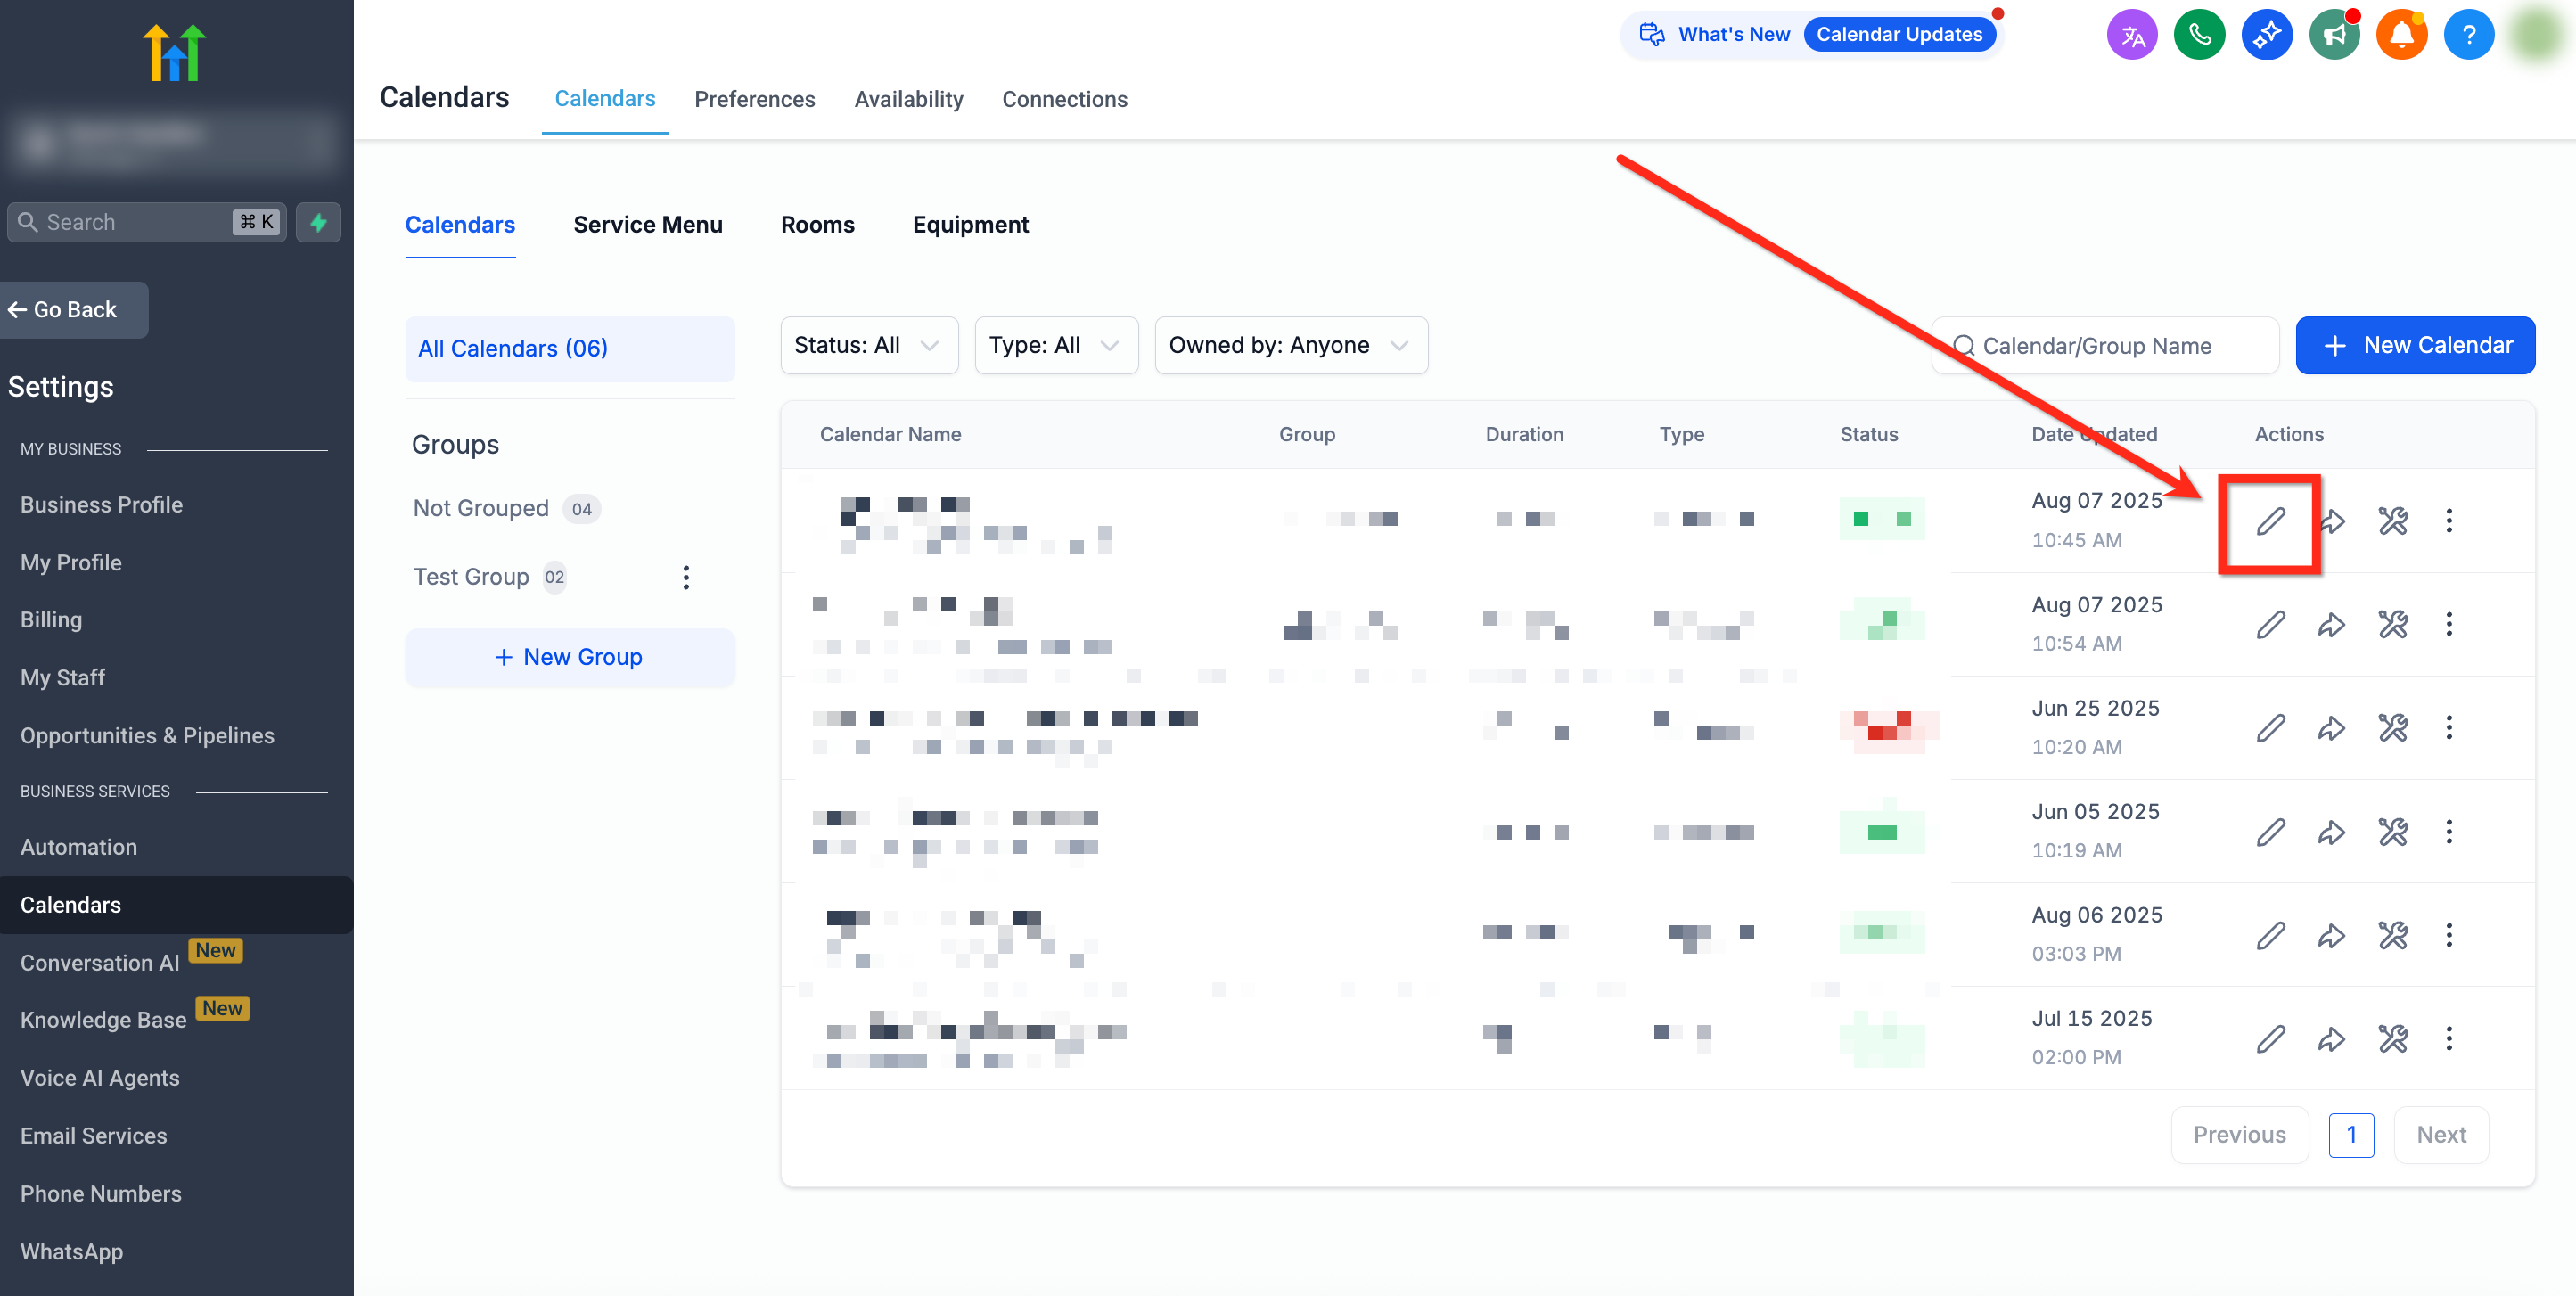
- Select Edit next to the calendar you want to change.
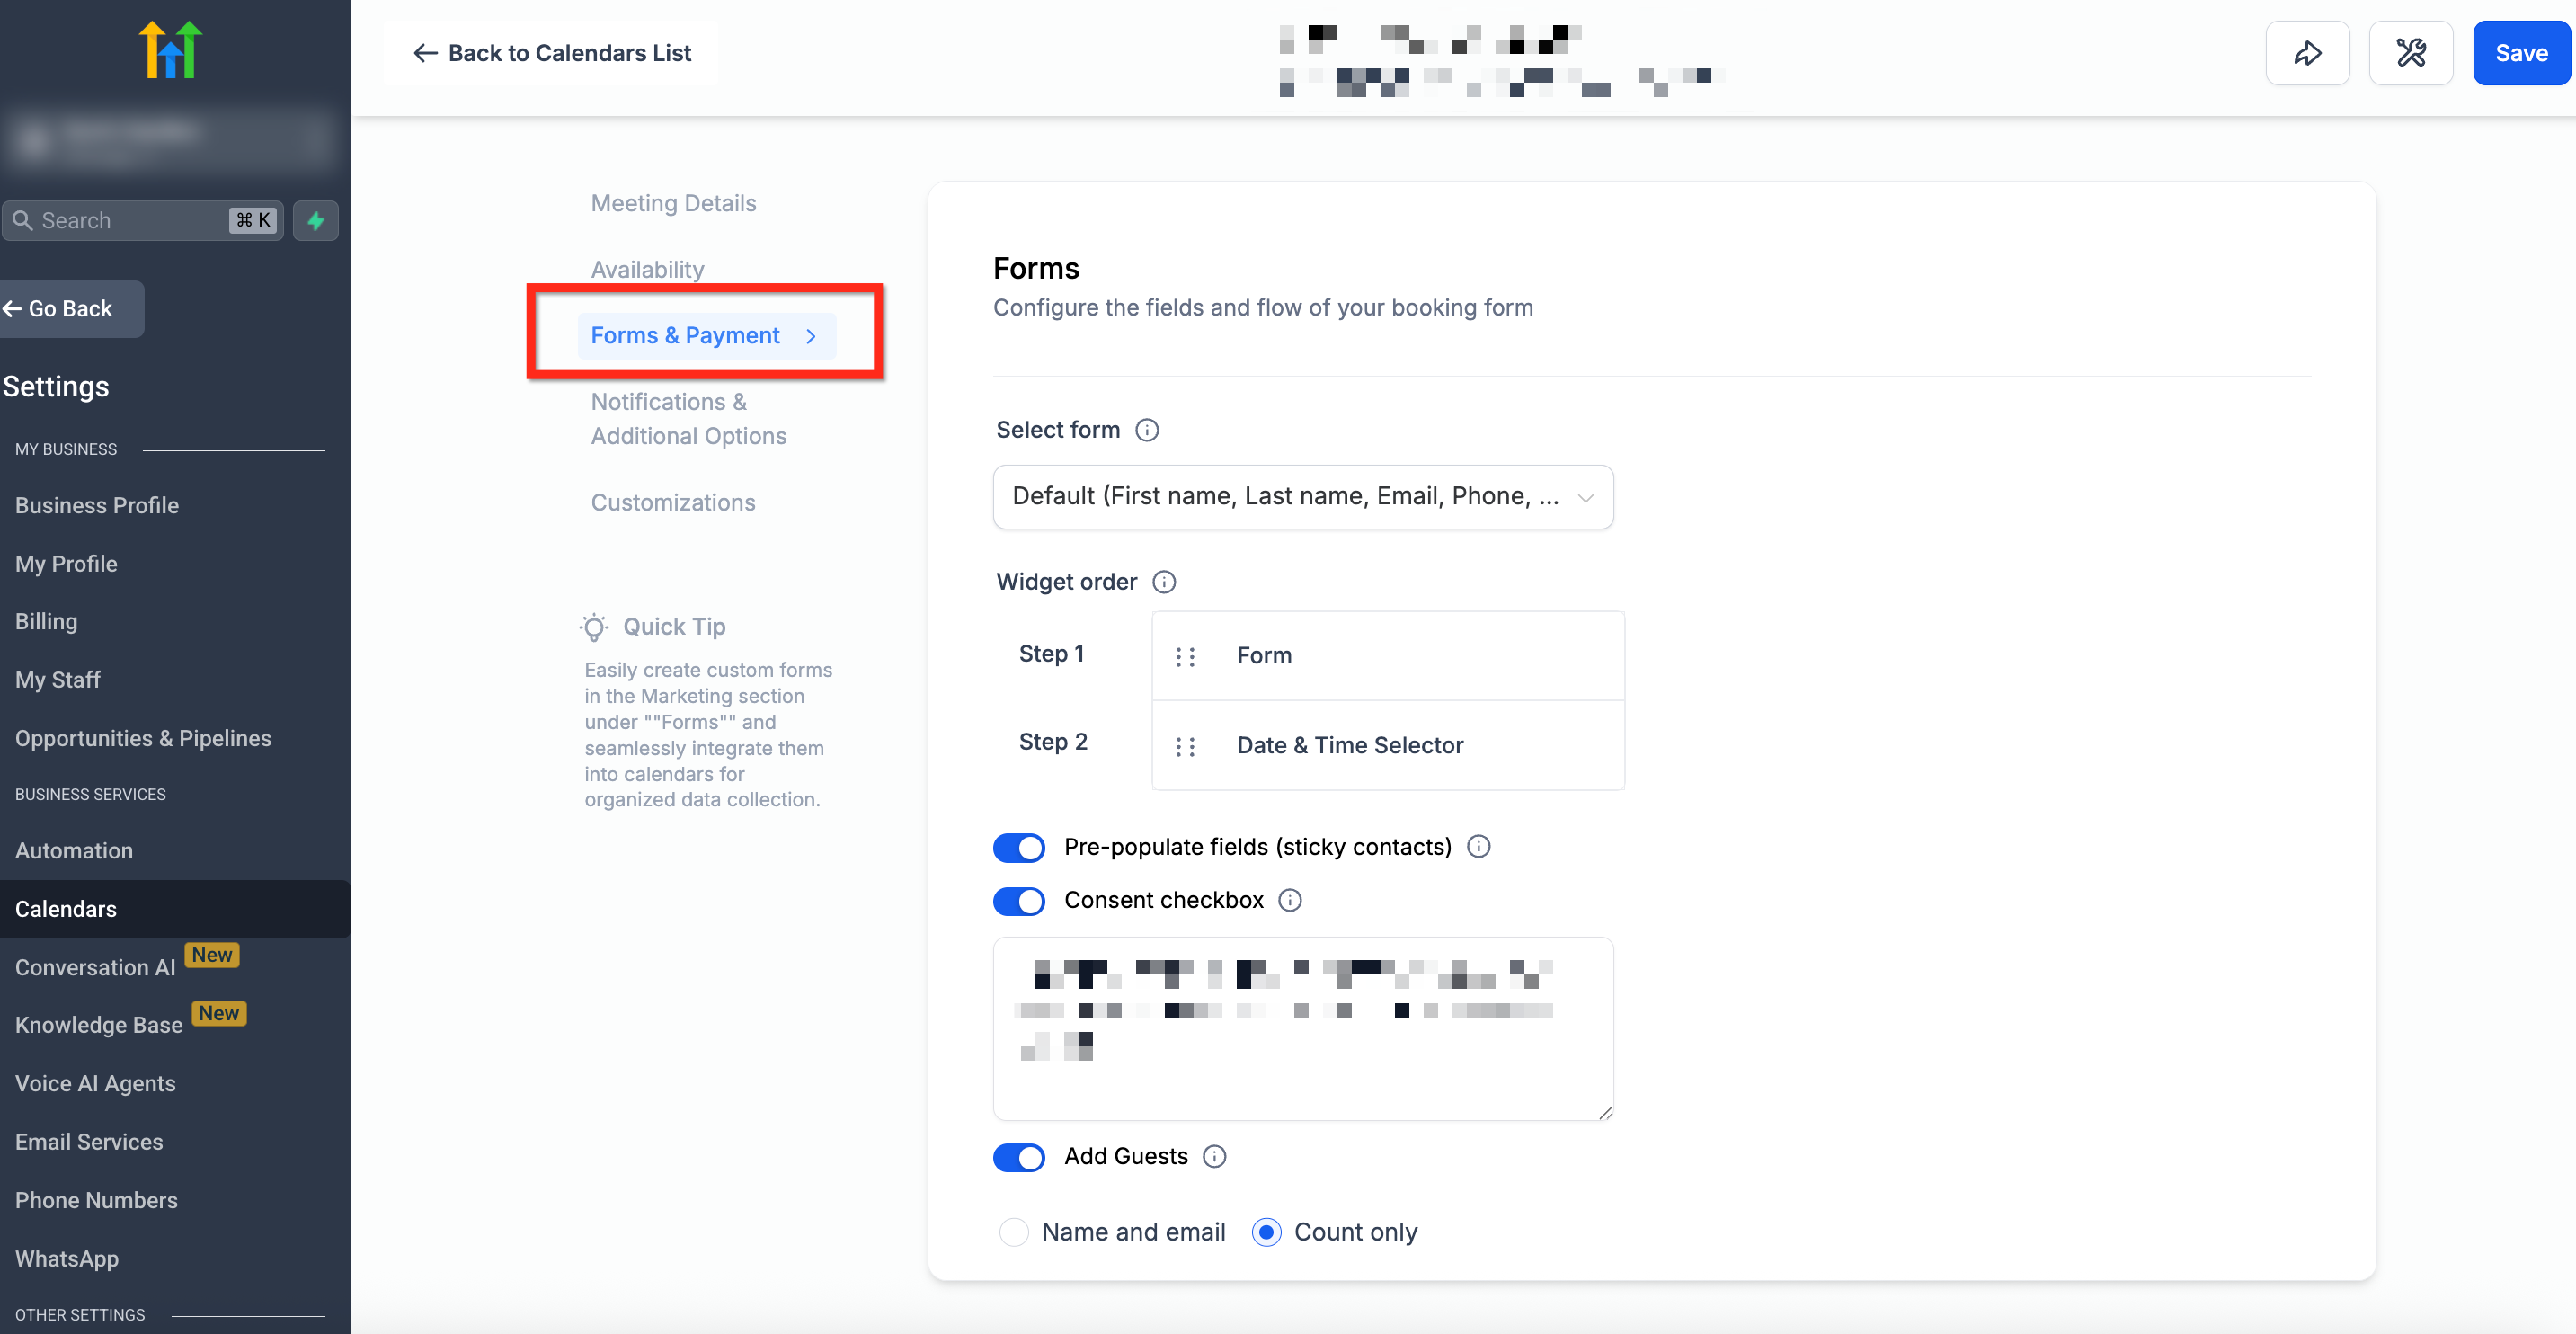
- Open the Forms & Payment tab.
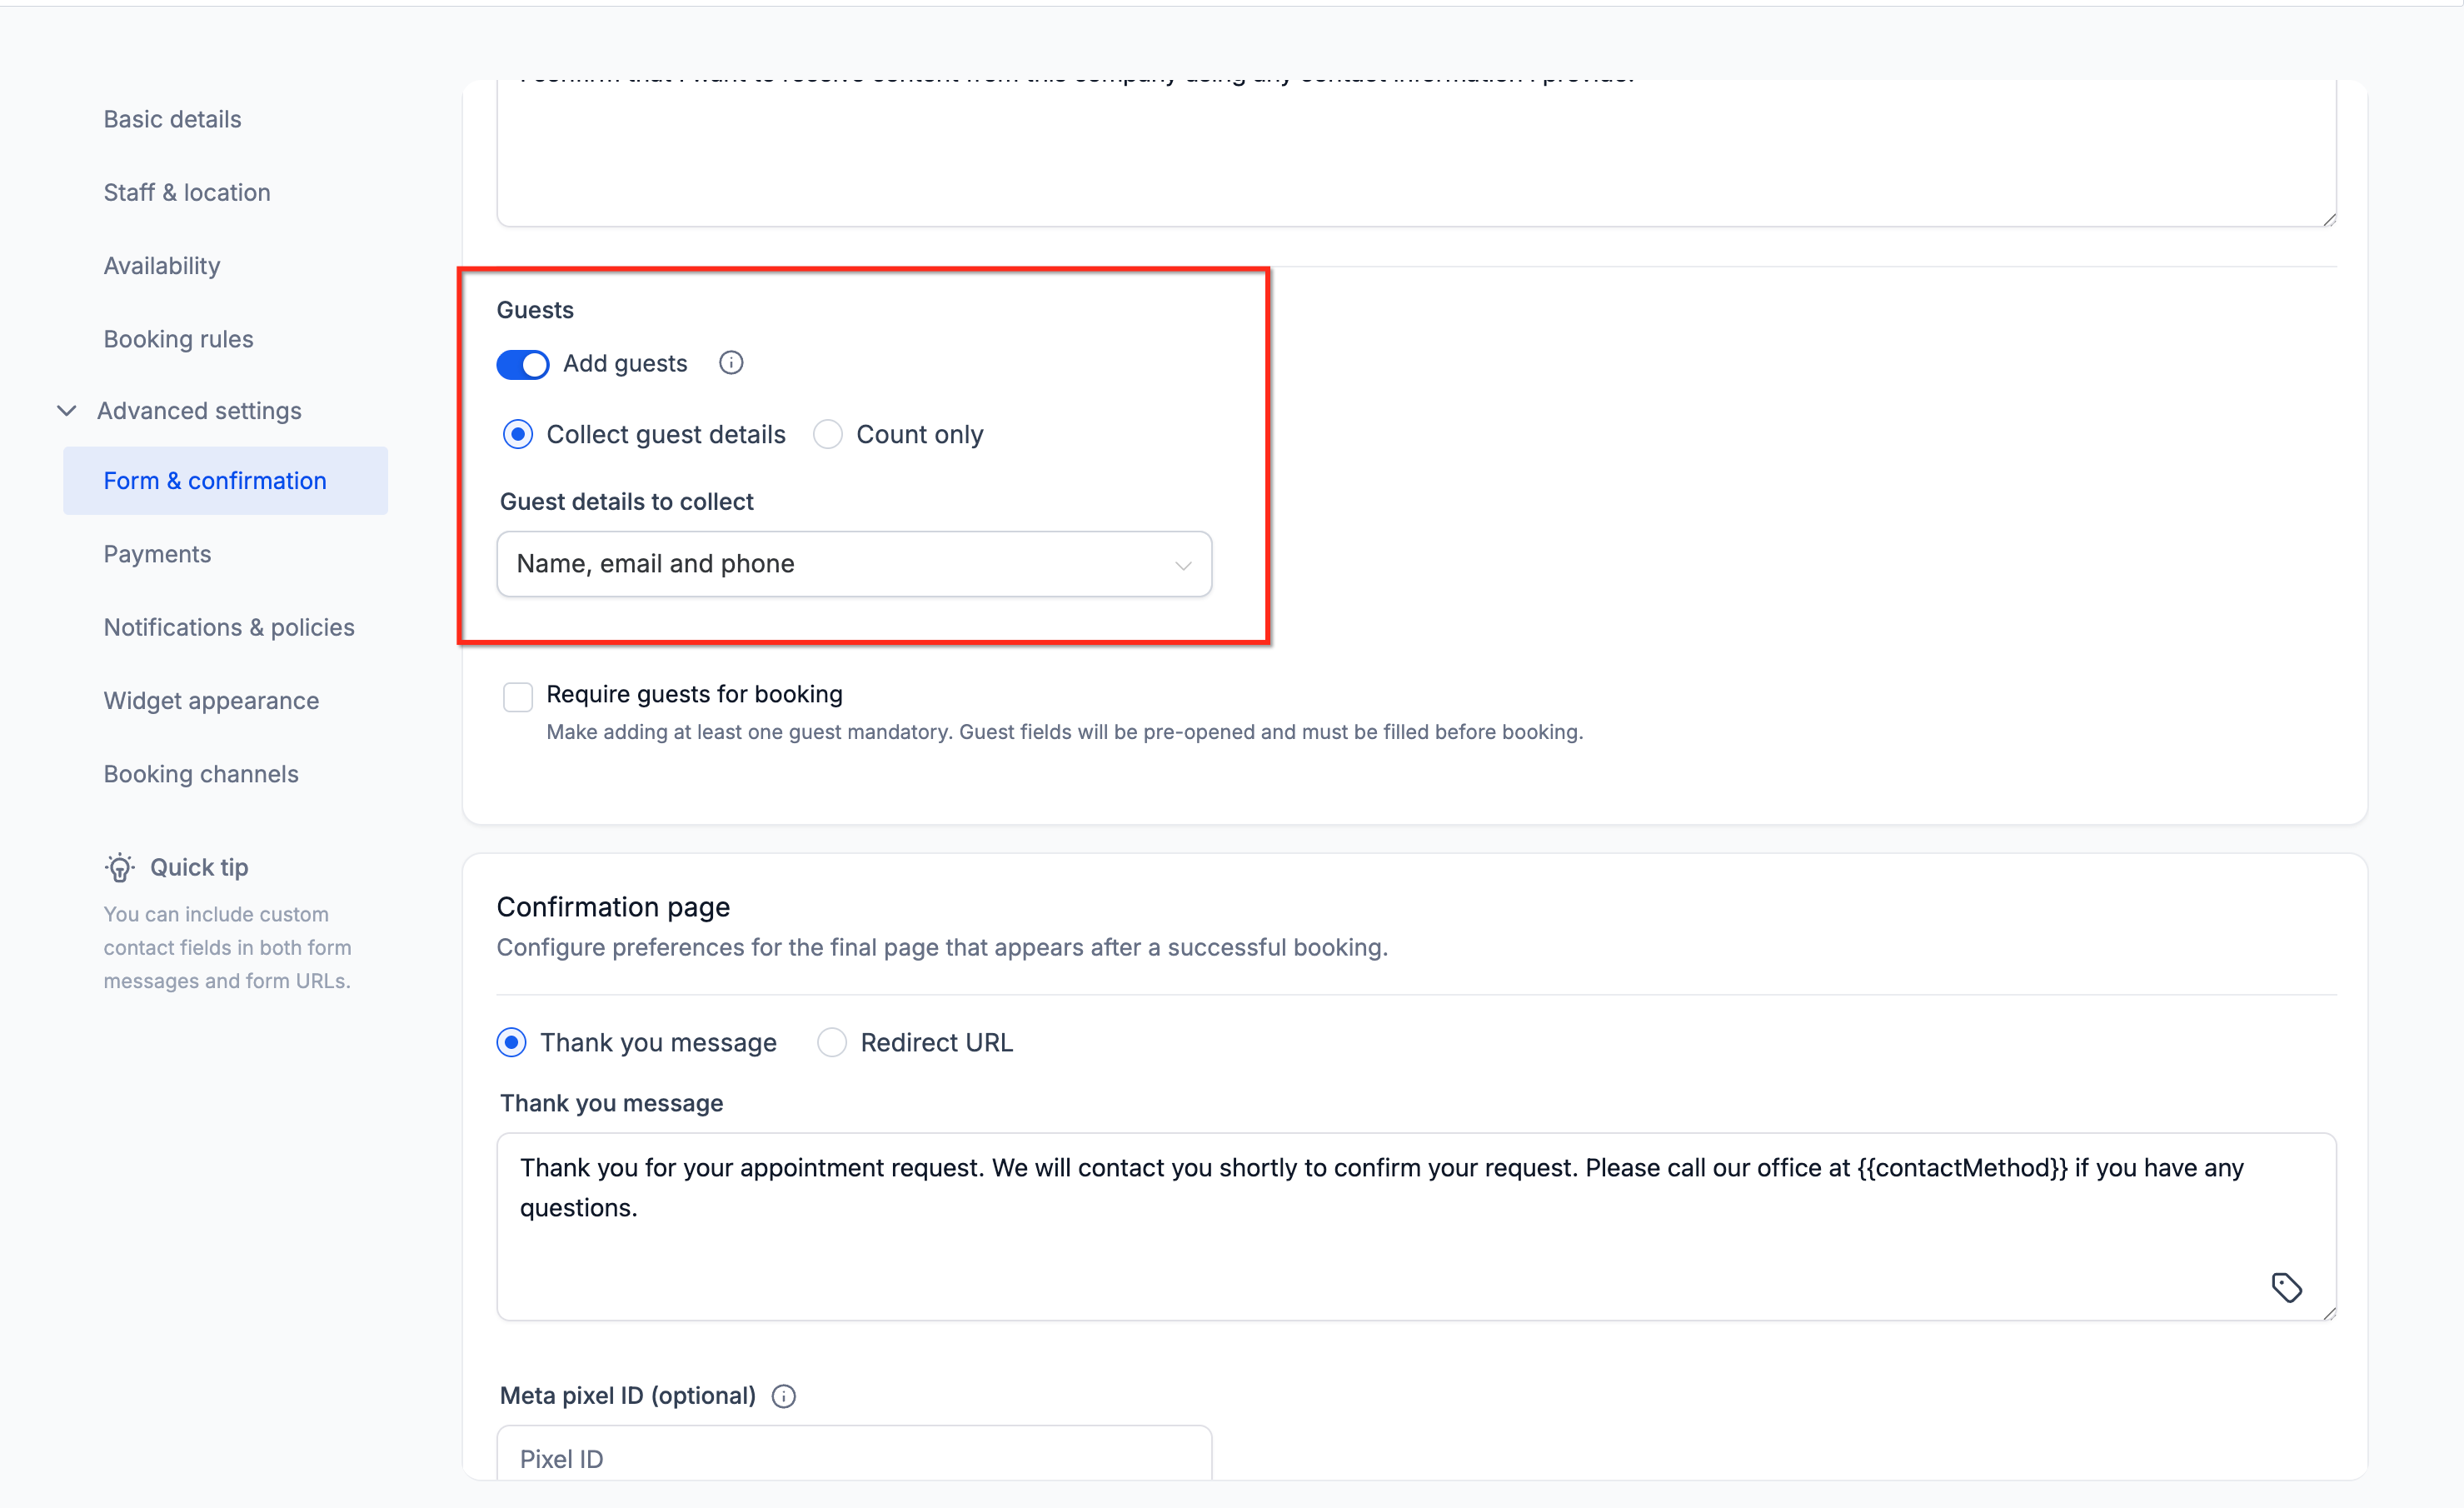
- Scroll to the Add Guests section.
- Turn on Require Guests for Booking.
- Pick the guest information option you need, Name & Email, Name & Phone, Name, Email & Phone, or Guest Count Only.
- Scroll down to the Payments section.
- Activate Accept Payments for all attendees.
05What it looks like in HighLevel
06Settings that matter
- Require Guests for Booking. Makes guest information mandatory before a booking can be completed.
- Name & Email. Collects each guest’s name and email address.
- Name & Phone. Collects each guest’s name and phone number.
- Name, Email & Phone. Collects each guest’s name, email address, and phone number.
- Guest Count Only. Records only how many guests are joining, without creating individual contacts.
- Accept Payments for all attendees. Calculates the total charge by multiplying the per person rate by the number of attendees.
07Things to know before you rely on it
- Calendars that already collected guest details keep the default of Name & Email; new calendars start with Name, Email & Phone as the default.
- Newly created guest contacts inherit the primary booker’s timezone, while existing contacts retain their own timezone.
- Refunds or schedule changes after payment must be handled manually.
- Guests receive confirmation emails only if their email addresses are collected and a workflow sends a guest specific notification.
08How it connects to the rest of HighLevel
- How to embed a HighLevel calendar with HTML code Embed calendar
- User permissions in calendars in HighLevel Calendar permissions
- Using Custom Values in Calendars Custom values
Michael's take

The Add Guests feature is a solid fit for any business that needs to track multiple participants per appointment, but it isn’t worth the extra setup for one to one services.