

In this video Michael Reimer shows every setting behind dispatch and route optimization in GoHighLevel field services, then runs it on a real day. He sets up the tech first: visit limit, working hours and the route start and end. Then he dispatches jobs from the schedule and applies an optimized route.
His warning comes first. Route optimization will plan a tech's entire day with one click, but it builds bad routes if you skip the setup most people never touch. The day he fixes is five visits for one tech who starts downtown, drives up to Palm Beach Gardens and then all the way down to Wellington. The calendar is already warning him about a 35 minute drive and a visit that will be 20 minutes late.
Which tech settings does route optimization depend on?
Go into Field Services, open Services and Staff and click the pencil next to the tech. On basic details, make sure the time zone matches where the tech actually works.
Under assigned services there is a switch called Set Visit Limit. Turn it on and you choose the most visits this tech can get per day, per week or per month. For a tune up crew Michael would cap it around six a day, so nobody books them into a 12 call day. Right below are the assigned services. A tech only gets booked for the services you check, so if a new hire only does maintenance, check only maintenance.
Weekly working hours are the tech's overall availability. They are not set per service or per service area. Each day gets a start and an end, and a split shift gets a second interval. Route optimization will never place a visit outside these hours. Date specific hours are the exceptions, and they win over the weekly pattern. Special hours change one date. Time off marks a date or a range as unavailable, which is where vacations and doctor appointments go.
Why do the route start and route end matter so much?
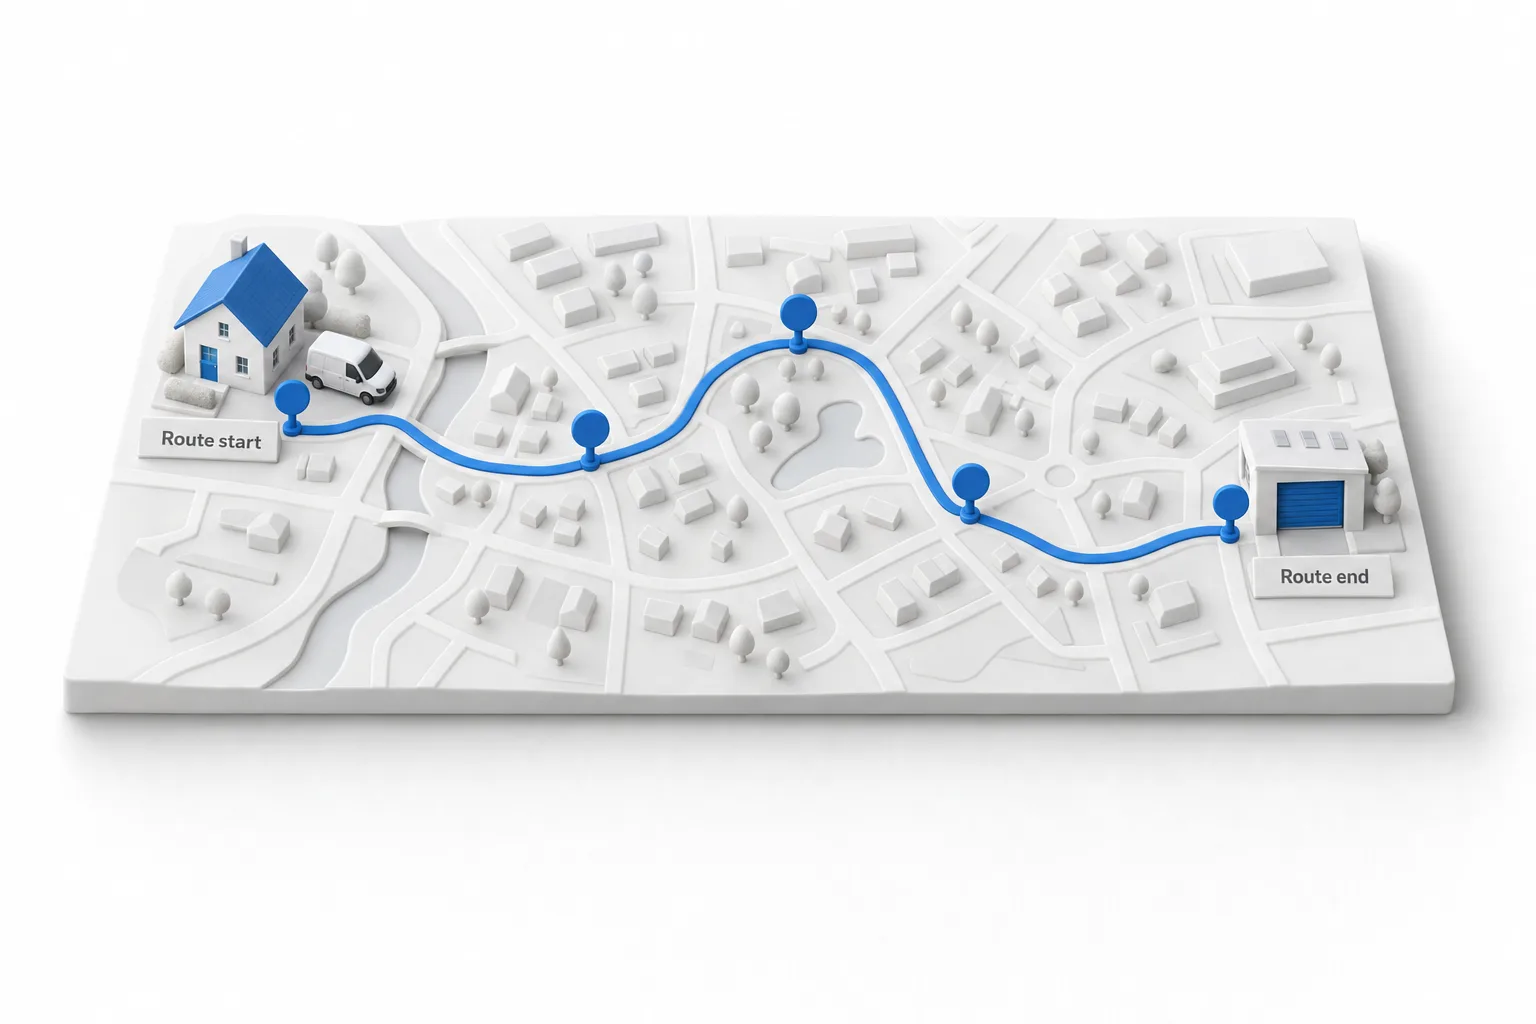
Michael calls dispatch settings the tab most people skip and the most important one. It is where the tech's day starts and ends, and HighLevel uses it to plan the shortest route. Route start is the origin point. Route end is where the day finishes.
What goes there depends on the business. If techs take the truck home at night, use each tech's home address. If everybody meets at the shop in the morning, use the shop. Get it wrong and every route is planned from the wrong place.
What does the dispatch schedule show you?
Every tech gets a column. Visits with nobody assigned sit in the unassigned column, and the anytime row on top holds visits without a set time. You can view by day, week or month, and day has a timeline view that lays the techs out in rows. Filters cover visit type, service area and staff.
If you are unsure what you are looking at, open the three dots and click Scheduling Tips. A scheduled visit shows in the tech's color with their initials. A completed visit gets a lighter background and a check. Canceled and no show visits get a strike through and are left out of the route. Drive time and travel buffer show above a visit, and if the drive is longer than the gap between visits, you get a warning.
In calendar view settings, Michael turns on two switches for every client. Gray out hours outside working time shows when a tech is off. Show drive time and travel buffers puts the drive in front of every visit.
How do you dispatch a job or block off a tech's time?
Click the unscheduled button to see every job that does not have a visit yet. Drag one onto a tech's column at the time you want. The visit is created and the drive time shows in front of it. Those jobs come from requests and estimates, which the request to paid invoice video follows from the first call.
If a tech has a class on Friday morning, click New and choose Block Off Time. Pick the tech, give it a title, set the date and hours and click Block Time. Nothing new can be booked in that window, and anything already booked stays put.
How does route optimization in GoHighLevel decide the new order?
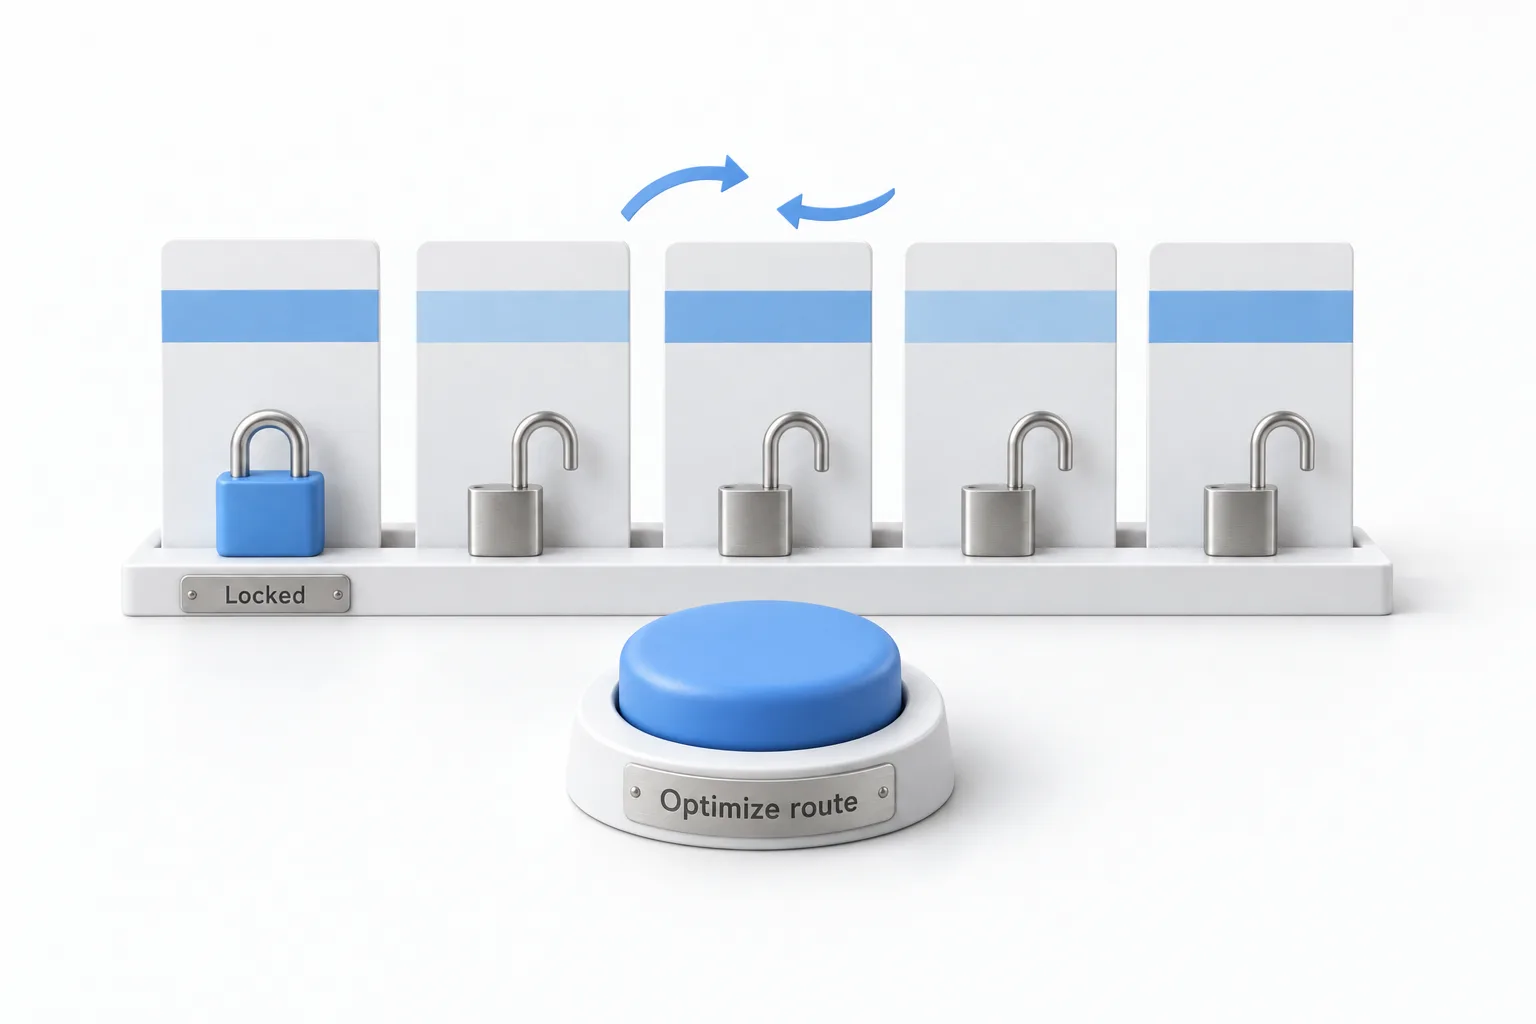
It finds a better order based on drive times and the tech's working hours. It respects travel buffers and the bookings already on the calendar. The rules are worth knowing. Locked visits stay exactly where they are. Visits with more than one tech assigned are left out. Anytime visits can be given a specific time. Anything that cannot fit is flagged as needs review.
Pick the tech and the date. The start and end location come straight from dispatch settings. Every visit starts out locked. The 8:00 customer asked for that exact time, so Michael leaves her locked and unlocks everything else. Then he clicks Optimize Route.
The proposed route shows total drive time and when the day ends, then a summary: three visits rescheduled, one anytime visit scheduled and one locked visit unchanged. Each moved visit shows the old time crossed out with the new time beside it. Nothing is saved yet. Back to Current Route discards it. Apply Optimized Route lists every time about to change, and one more click applies it. Back on the calendar, the day runs in order and the late warning is gone.
How do you set up dispatch and route optimization for your techs?
Michael's closing advice is the order: visit limit and hours first, then route start and end, then the calendar and the button.
- Set the time zone. In Field Services, open Services and Staff, edit each tech and set the time zone to where they work.
- Limit and assign. Turn on Set Visit Limit, choose a daily, weekly or monthly cap, and check only the services that tech performs.
- Set the hours. Set weekly working hours, then add special hours or time off as date specific exceptions.
- Set route start and end. In dispatch settings, use the home of each tech or the shop, depending on where the day begins.
- Turn on the warnings. In calendar view settings, turn on gray out hours outside working time and show drive time and travel buffers.
- Dispatch the work. Drag unscheduled jobs onto a tech column, and use Block Off Time for classes or other commitments.
- Optimize and apply. Open Route Optimization, pick the tech and date, keep fixed visits locked, unlock the rest, click Optimize Route, review the proposed changes and apply them.
What changes once routes are planned from the right settings?
The calendar starts doing the checking. Michael's summary is that once the visit limit, the hours and the route start and end are set, the calendar warns you and the button plans the day. The customer who asked for a fixed time keeps it, and the rest of the day moves around her.
The tech gets a run sheet. Open the map and click Route Details to see the number of stops, the total drive and the distance, plus exactly when he has to leave. In the video that is 7:28 to make the 8:00 visit. He sees the schedule in the HighLevel mobile app and gets directions to every stop from his phone.
Michael notes that field services is part of the new HighLevel Founder Plan, which the Founder Plan features video covers. For the whole product in one pass, watch the field services walkthrough. If you run a plumbing shop, the HighLevel for plumbers guide covers the calls that come before dispatch.
Dispatching techs is one kind of dispatch in HighLevel. The other is Ask AI on the owner's phone, covered in the Ask AI phone dispatch setup video. To set up a tech and run a route yourself, start a GoHighLevel 30 day trial through Michael's link. Field services is part of the Founder Plan, so read who should get the Founder Plan before you choose.