
01Who this is for
- Founders who need to align incoming webhook dates with the format required by another app.
- Small agencies that send appointment reminders and must show dates in a regional format.
- Businesses that track contract deadlines and want to calculate remaining days automatically.
02Date/time formatter actions, explained
The Date/Time Formatter action lives in the workflow builder. It can take a date field, a date time field, or a custom value and output the same information in a different layout. You first choose the source field, then tell the action what the current layout looks like, and finally pick the new layout you need. The action returns a token that other workflow steps can reference.
When you use the compare mode, the action accepts two dates, each with its own source and format. It calculates the difference in days, using the formula End Date minus Start Date, and it makes the result available as a token. A negative result indicates the start date occurs after the end date.
All of these capabilities are accessed from the workflow action menu, and the tokens are inserted with the double curly brace syntax shown in the tooltips.
03How businesses use the date/time formatter action
- SaaS subscription service. Select the inbound webhook date field, set the From Format to match the incoming pattern, choose the required output format, and store the formatted date in a contact custom field for later reporting.
- Real estate agency. Pick the lease end date as the End Date, use the current date as the Start Date, set both formats as needed, and use the days token in an email reminder to tenants.
- Online course platform. Choose the class start date time from the appointment record, define the existing pattern, select the target pattern required by an external calendar, and pass the formatted value to a custom webhook.
04The numbers and rules that matter
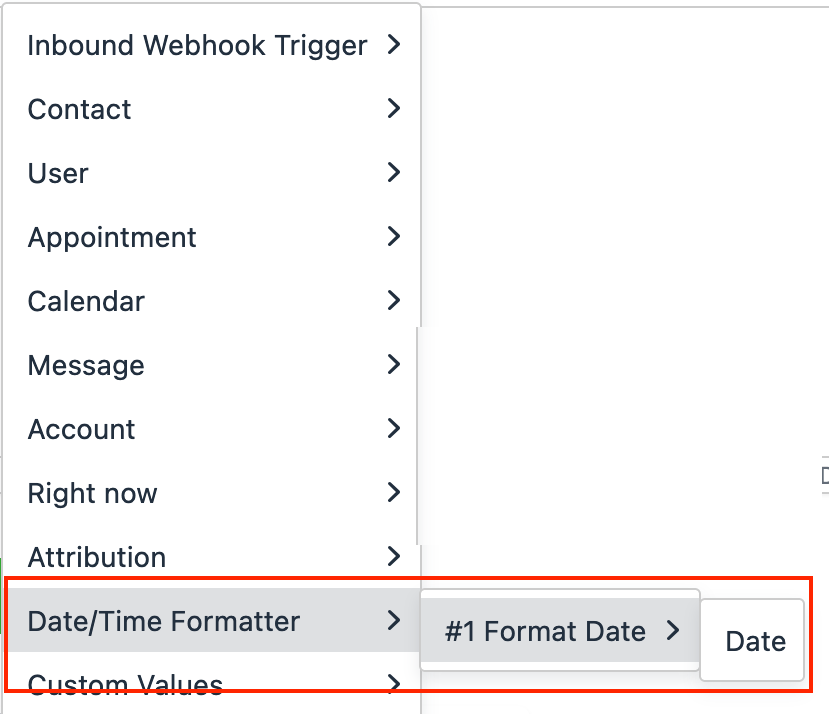
- Output token for formatted date: {{datetime_formatter.1.date}}.
- Output token for formatted date time: {{datetime_formatter.1.datetime}}.
- Output token for day difference: {{datetime_formatter.1.days}}.
05How to set up and use the date/time formatter action in HighLevel
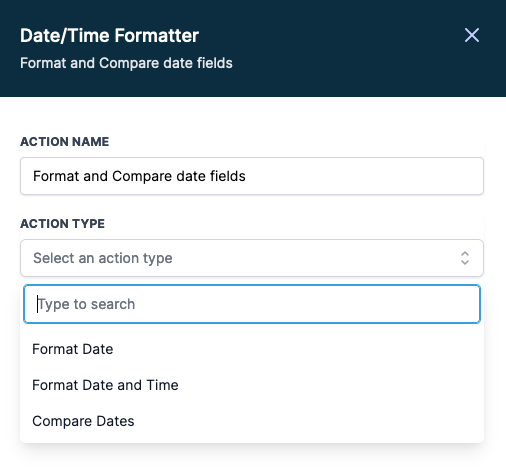
Format a date
- Open the workflow and add the Date/Time Formatter action.
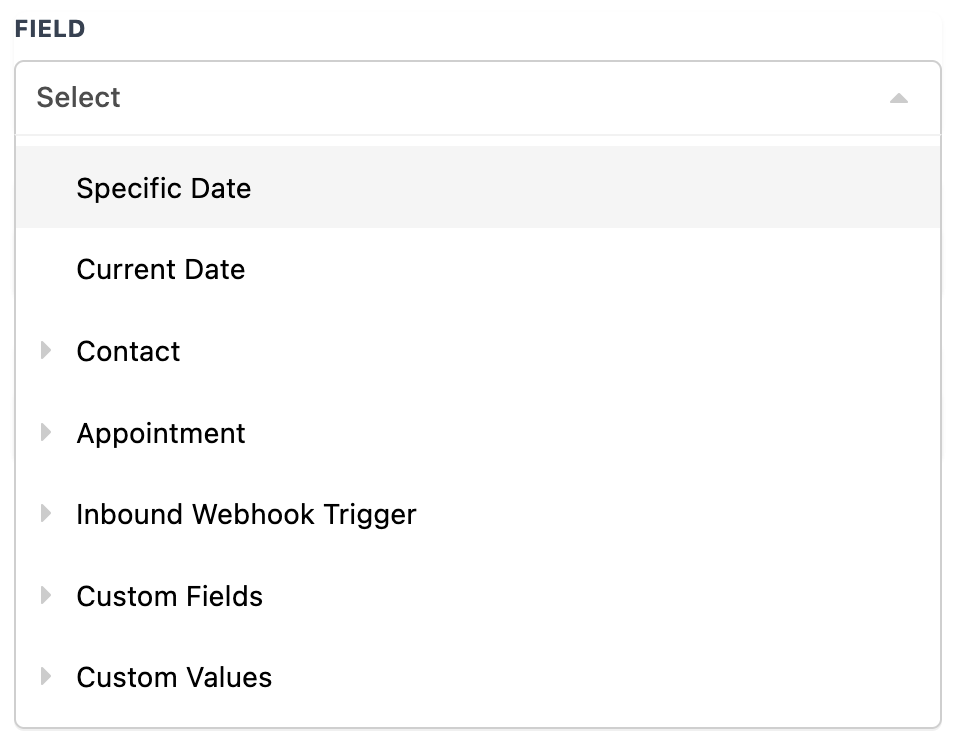
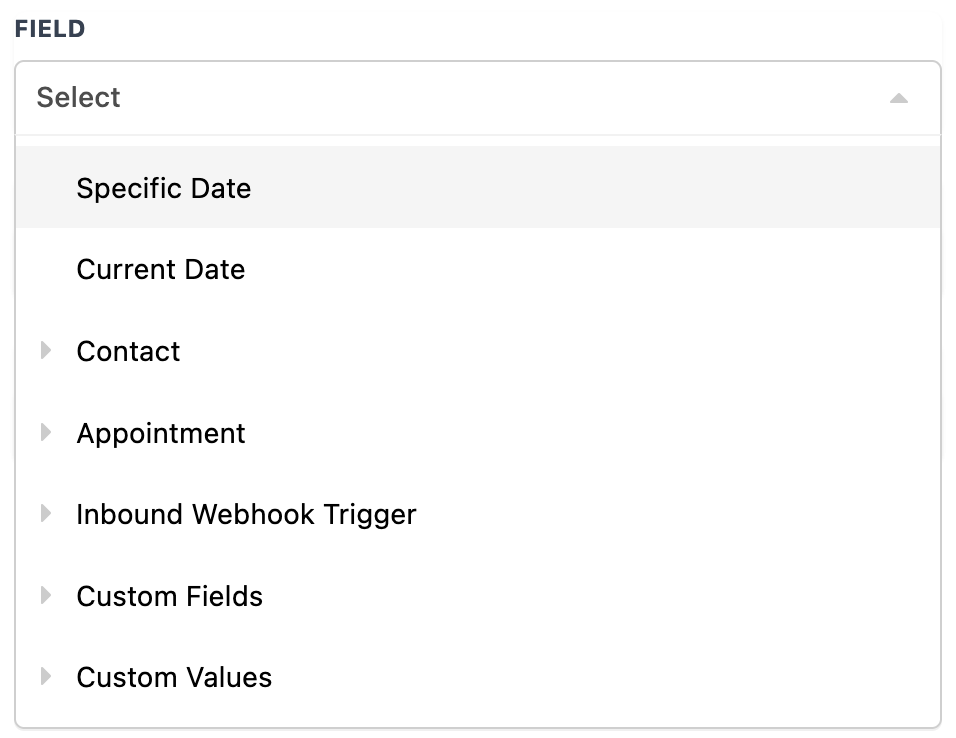
- Choose a date source such as Specific Date, Current Date, a contact date field, an appointment date, a custom value, or a webhook trigger.
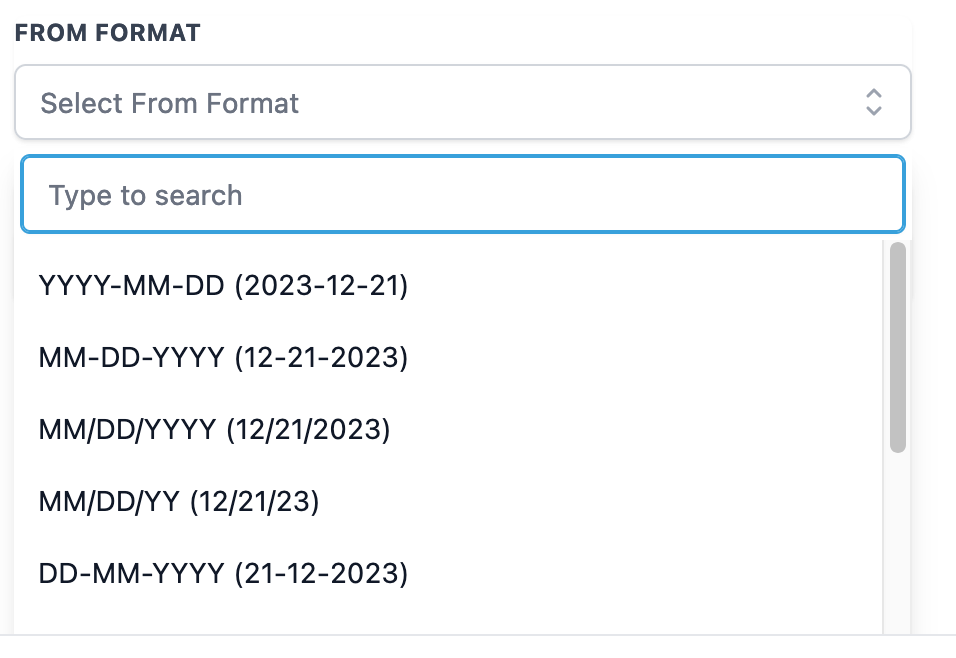
- If the source is a system field, the action auto detects its layout; otherwise pick the exact layout that matches the custom value.
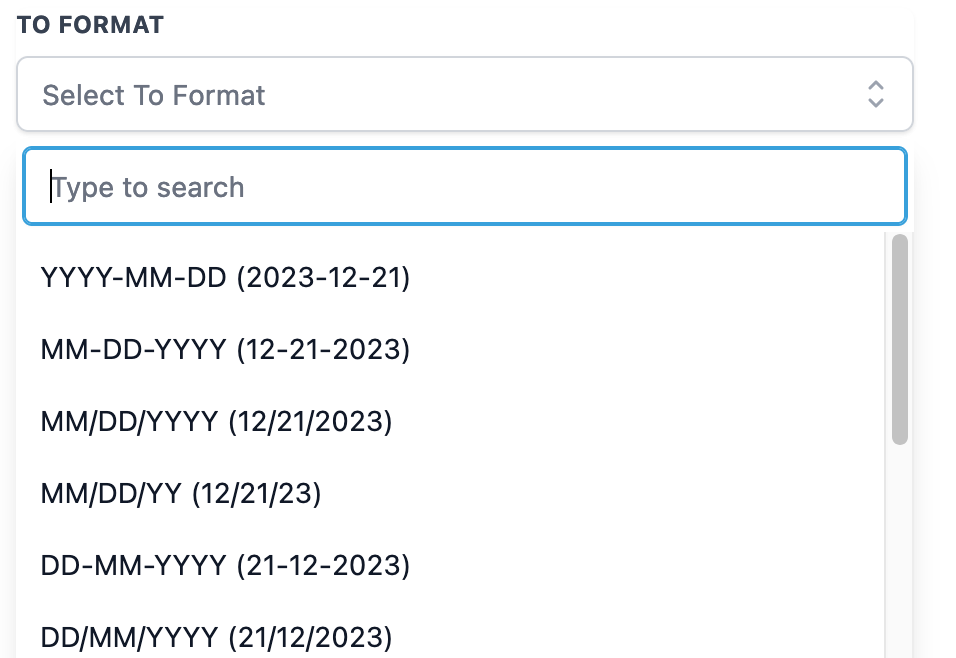
- Select the desired output layout from the provided list.
- Insert the resulting token {{datetime_formatter.1.date}} into any following workflow step.
Format a date and time
- Add the Date/Time Formatter action to the workflow.
- Select a date time source such as Specific Date and Time, Current Date and Time, an appointment start/end time, a custom value, or a webhook trigger.
- Remember that contact custom fields cannot hold a date time structure.
- When the source is a system field the format is auto detected; for custom values choose the matching layout manually.
- Pick the required output layout from the list.
- Use the token {{datetime_formatter.1.datetime}} in subsequent actions.
Compare two dates
- Add the Date/Time Formatter action and select Compare Dates mode.
- Choose the first date as the Start Date from any supported source.
- Set the Start Date Format, letting system fields auto detect or manually matching a custom value.
- Choose the second date as the End Date from any supported source.
- Define the End Date Format with the same auto detect or manual matching rule.
- Insert the token {{datetime_formatter.1.days}} which contains End Date minus Start Date; a negative number means the start occurs later.
06What it looks like in HighLevel
07Settings that matter
- Field. Specifies which date or date time value the action will reformat or compare.
- From Format. Tells the action what layout the incoming value currently uses; system fields are detected automatically.
- To Format. Defines the layout that the action should output after conversion.
- Output. Provides the token that holds the formatted date, date time, or day difference for later workflow steps.
- Start Date. The first date used when calculating a day difference.
- Start Date Format. The layout of the start date; auto detected for system fields or manually set for custom values.
- End Date. The second date used for the day difference calculation.
- End Date Format. The layout of the end date; follows the same auto detect or manual selection rule as the start date.
08Things to know before you rely on it
- Contact custom fields cannot store a date time structure at present.
- The day difference result may be negative if the start date is later than the end date.
09How it connects to the rest of HighLevel
- View all SaaS Configurator features SaaS Configurator
- Check HighLevel pricing and plans Pricing
- Start a 30 day HighLevel trial Trial
Michael's take

Businesses often receive dates in one format but need to send them in another, or they need to know how many days are left until a deadline. The Date/Time Formatter action lets you reshape dates and calculate day differences inside a workflow.
The first thing to get right is the "From Format" when you use a custom value or webhook source. If the format doesn’t match exactly, the action can’t translate the date correctly, which throws off downstream steps.