
01Who this is for
- Founders of ecommerce businesses who need quick promotional elements without developer help.
- Coaches building a membership site who want to add timers, sign up forms, or testimonials.
- Blog owners looking for simple ways to collect emails or display dynamic content.
02Web widget marketplace, explained
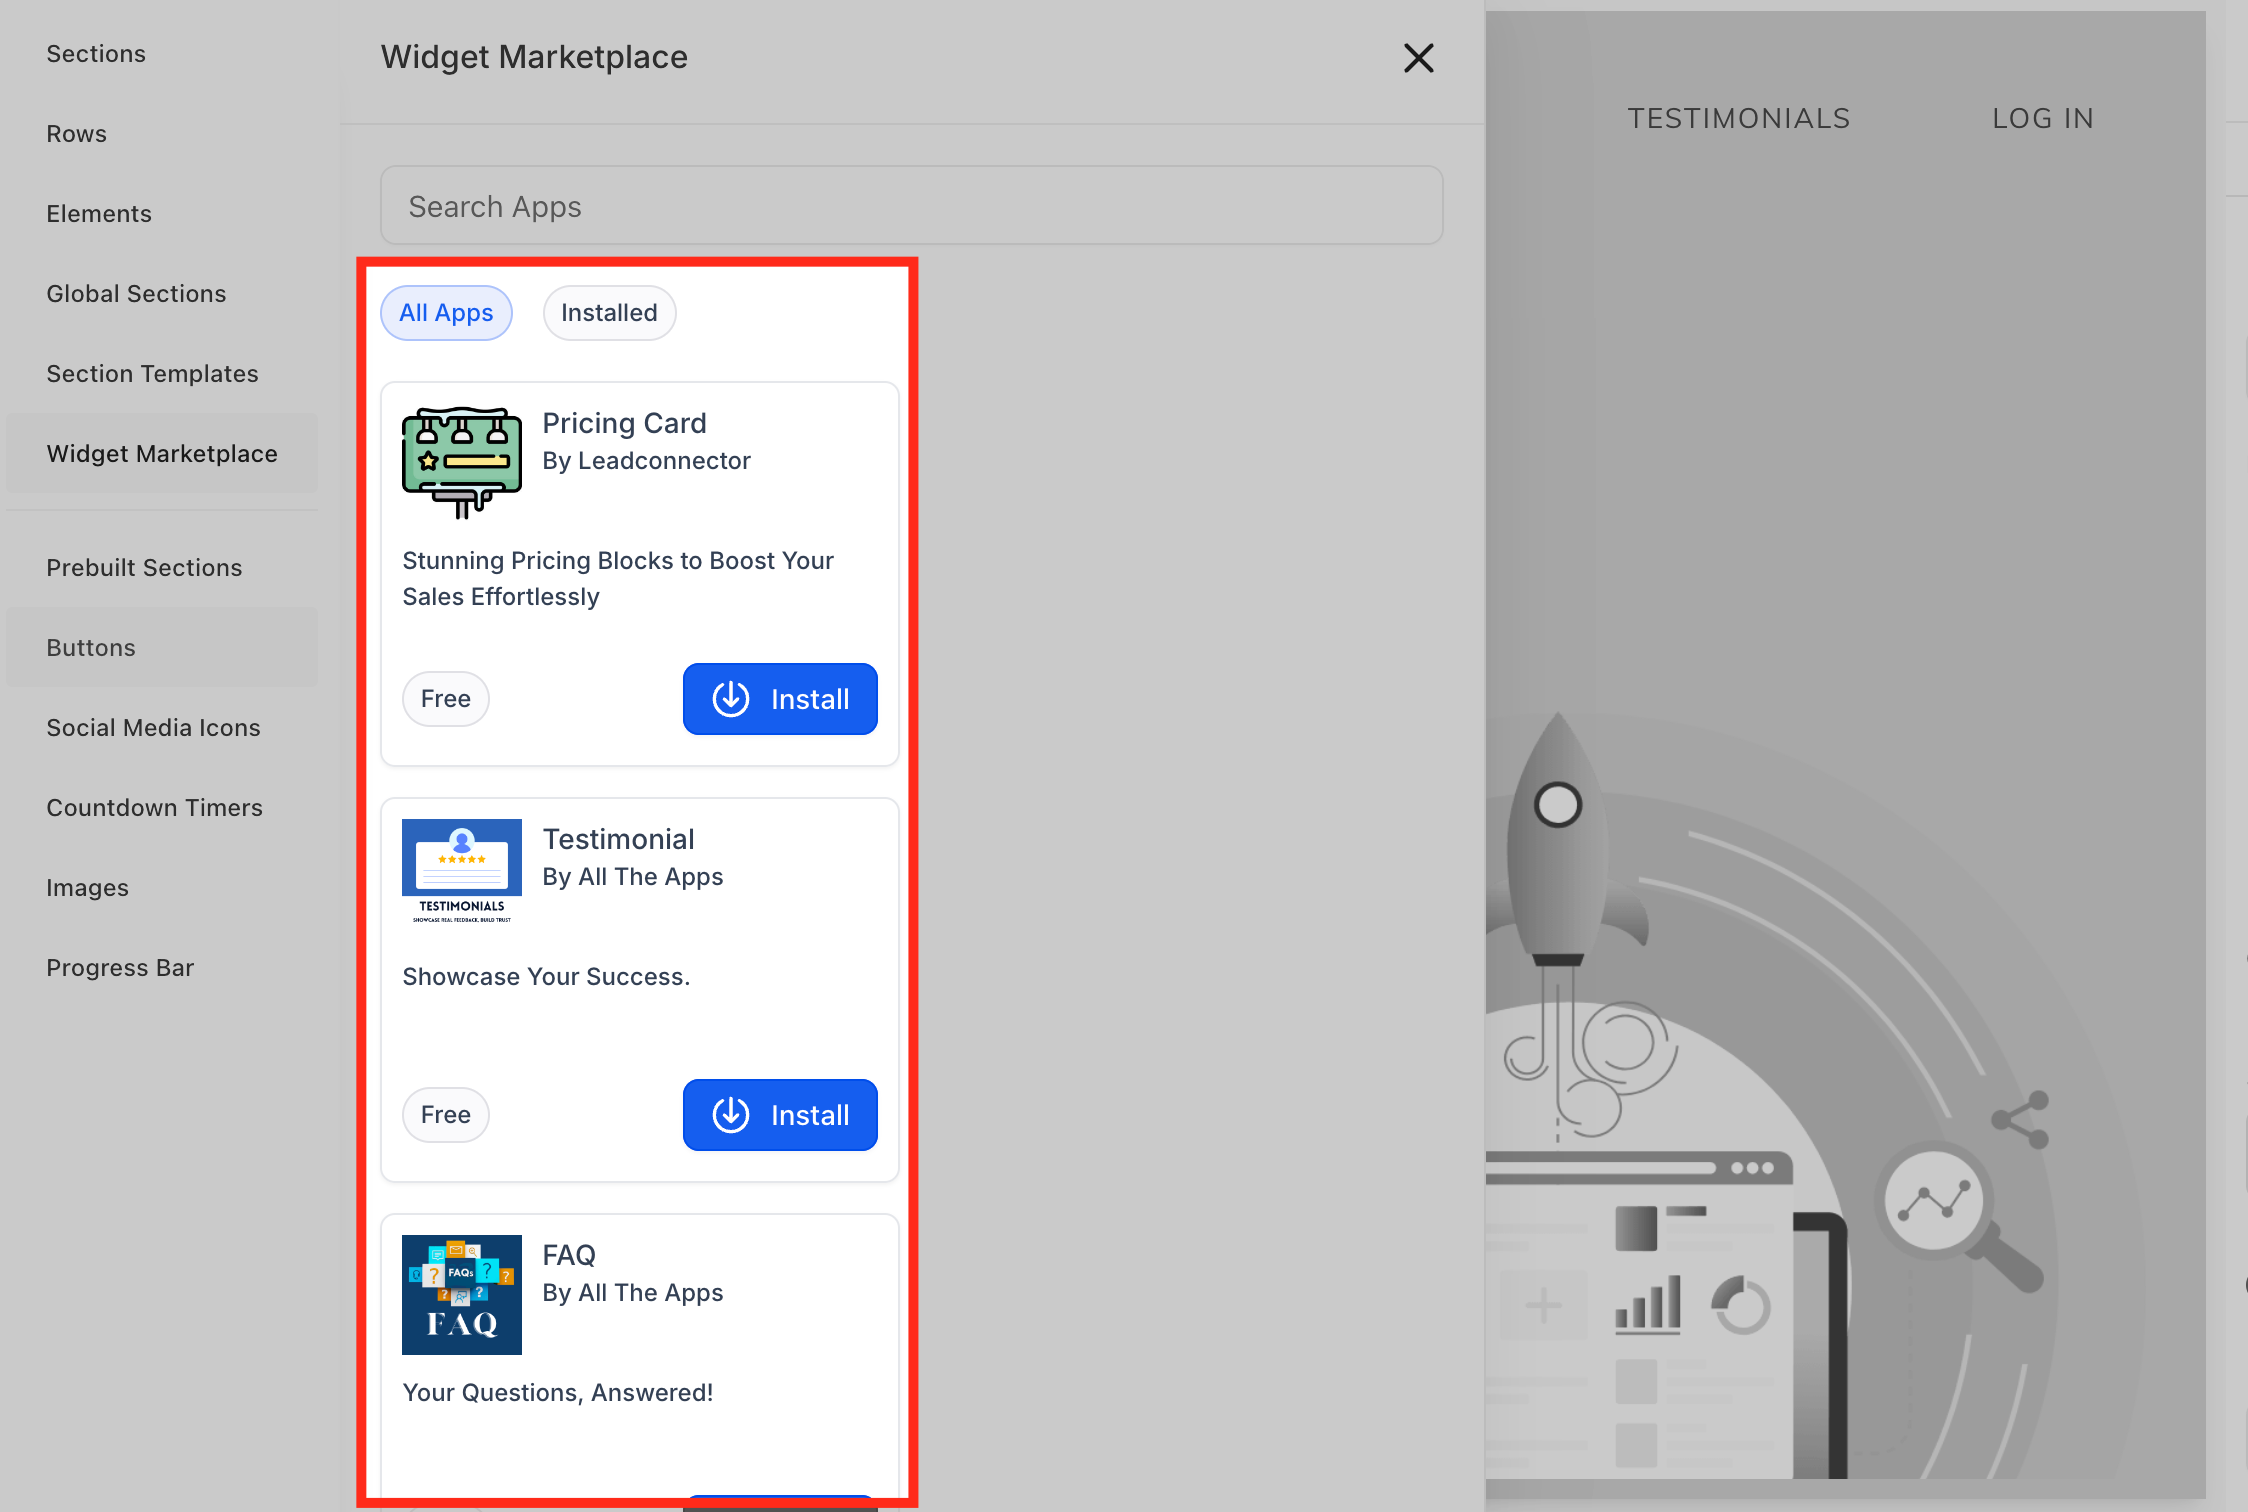
The marketplace acts like an app store for website widgets. Each widget is a pre built component such as a banner, countdown timer, pricing card, or testimonial block. You browse the catalogue, install the ones you like, and they become available in the Installed Apps area.
After installation, you use the drag and drop editor to place the widget on any page of a funnel or website. The widget behaves like any other page element: you can move it, resize it, and set visibility rules. All adjustments are handled through the widget’s own settings panel.
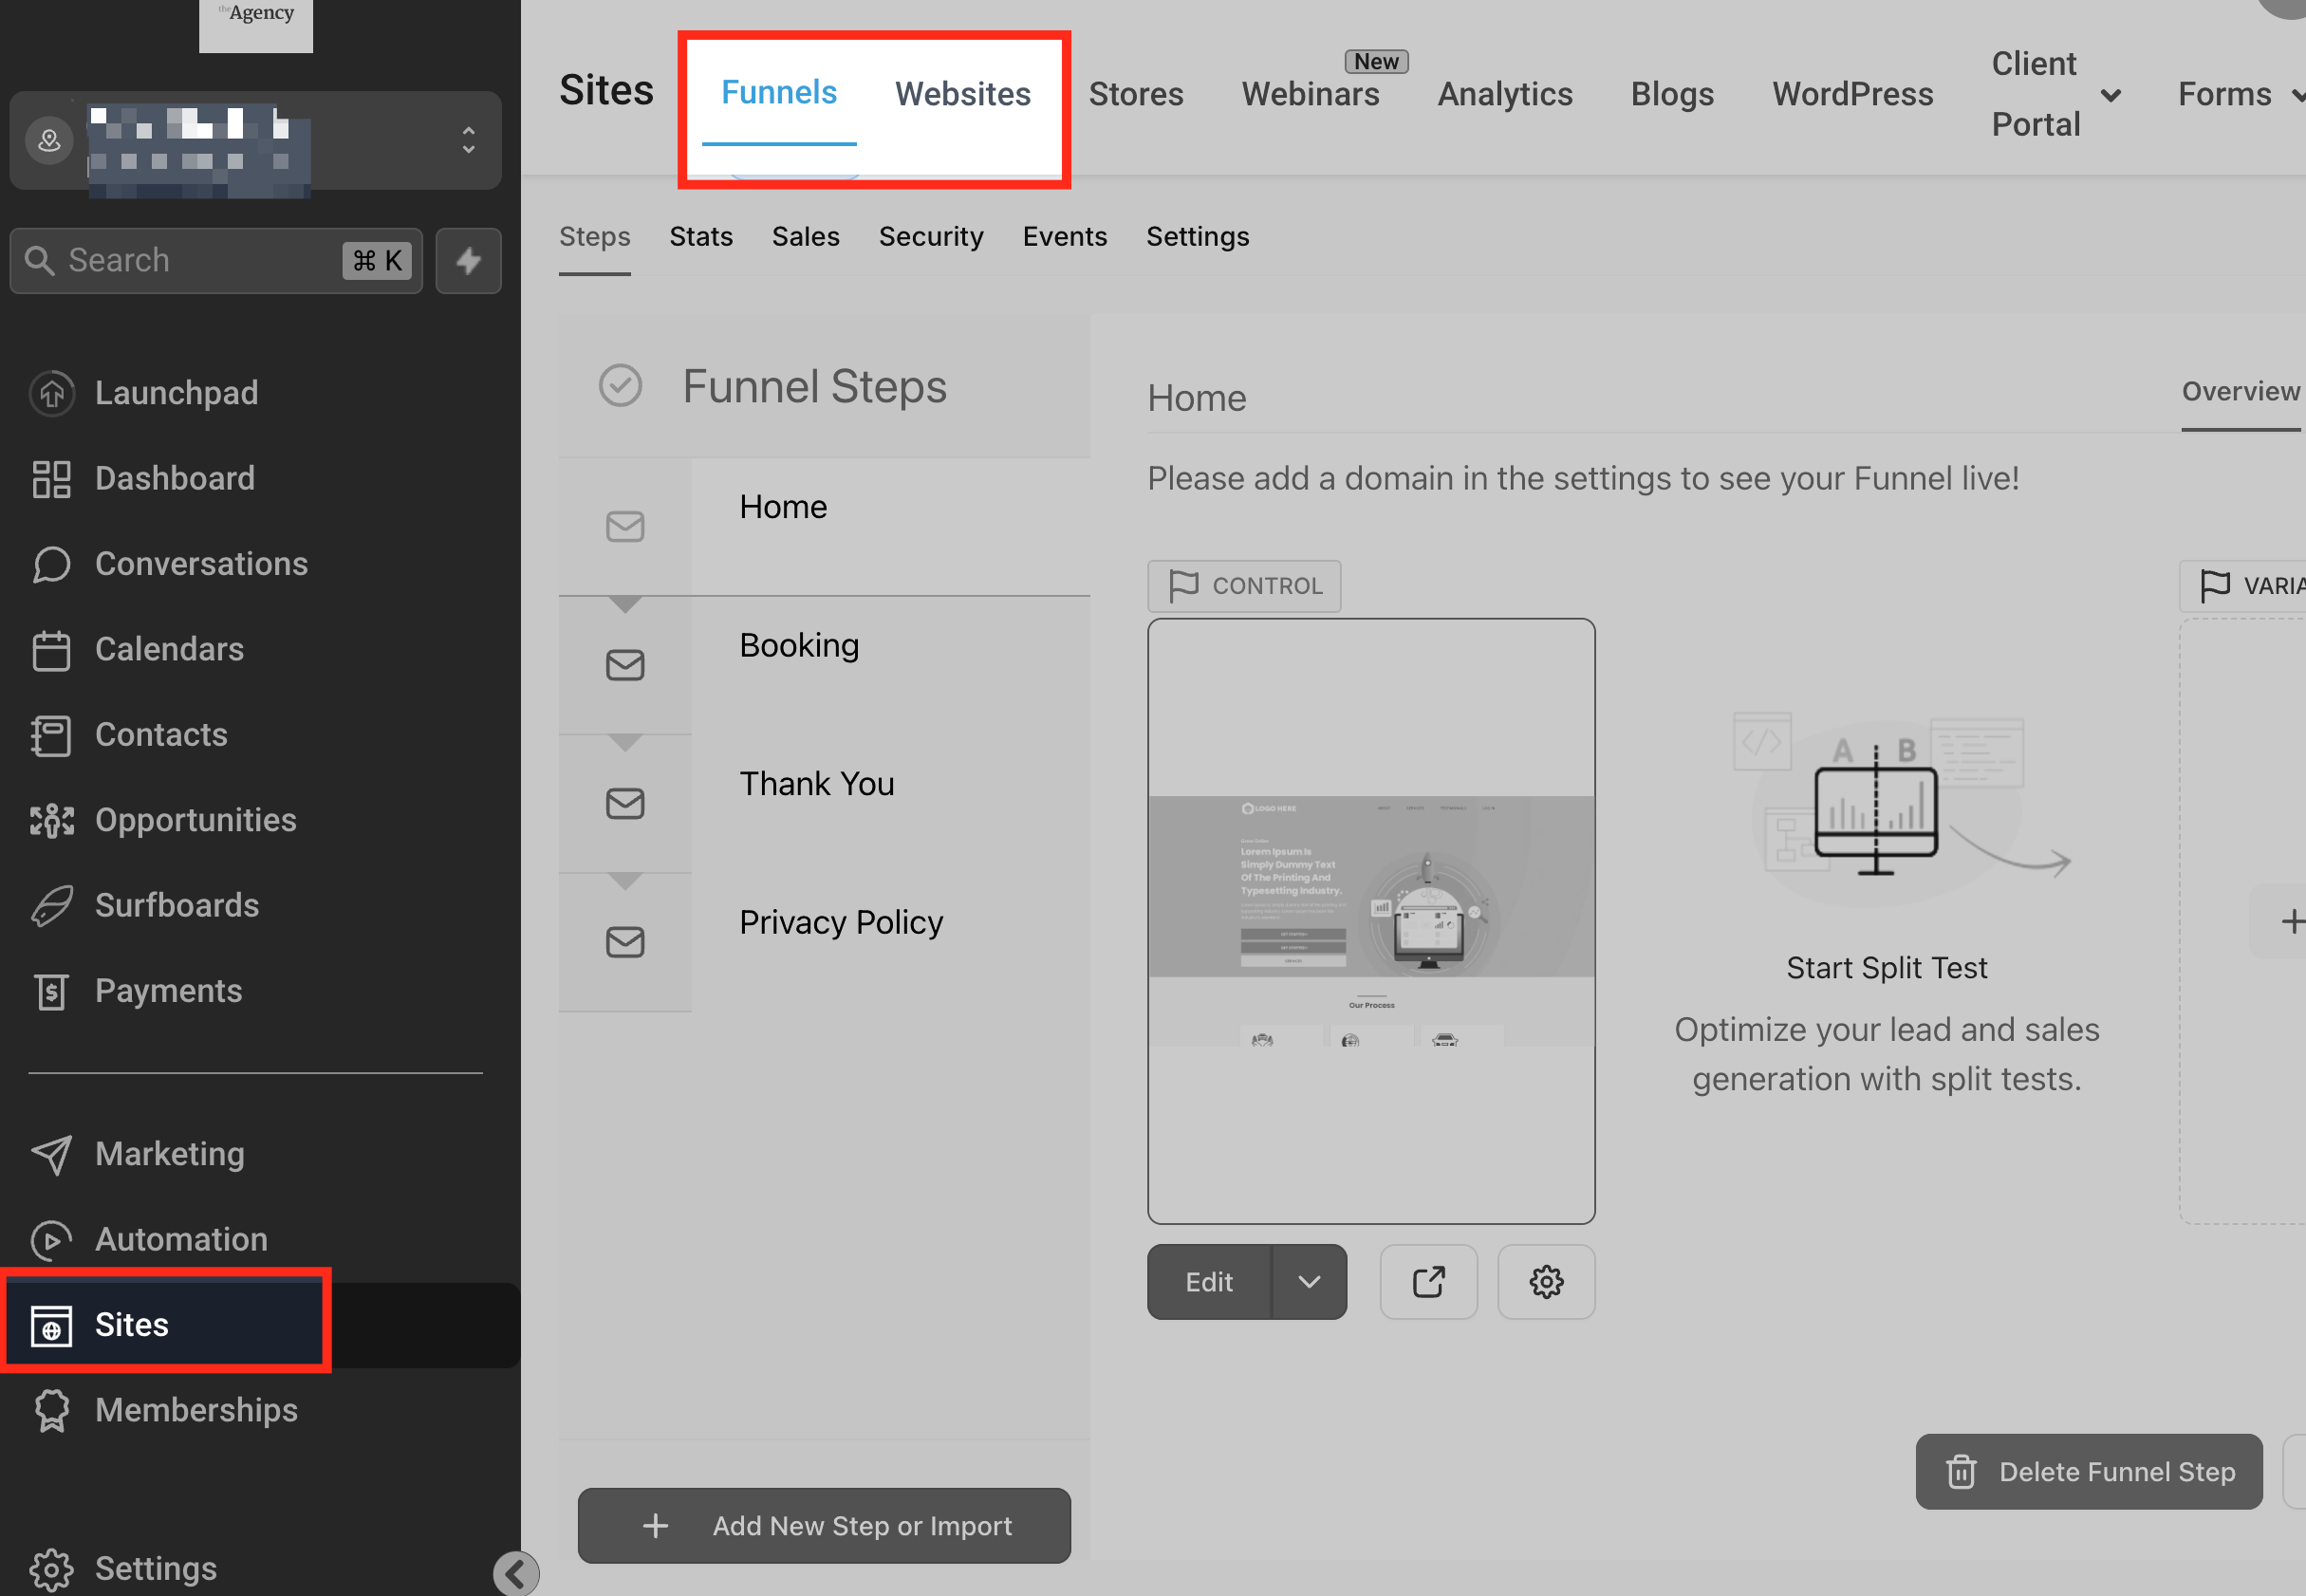
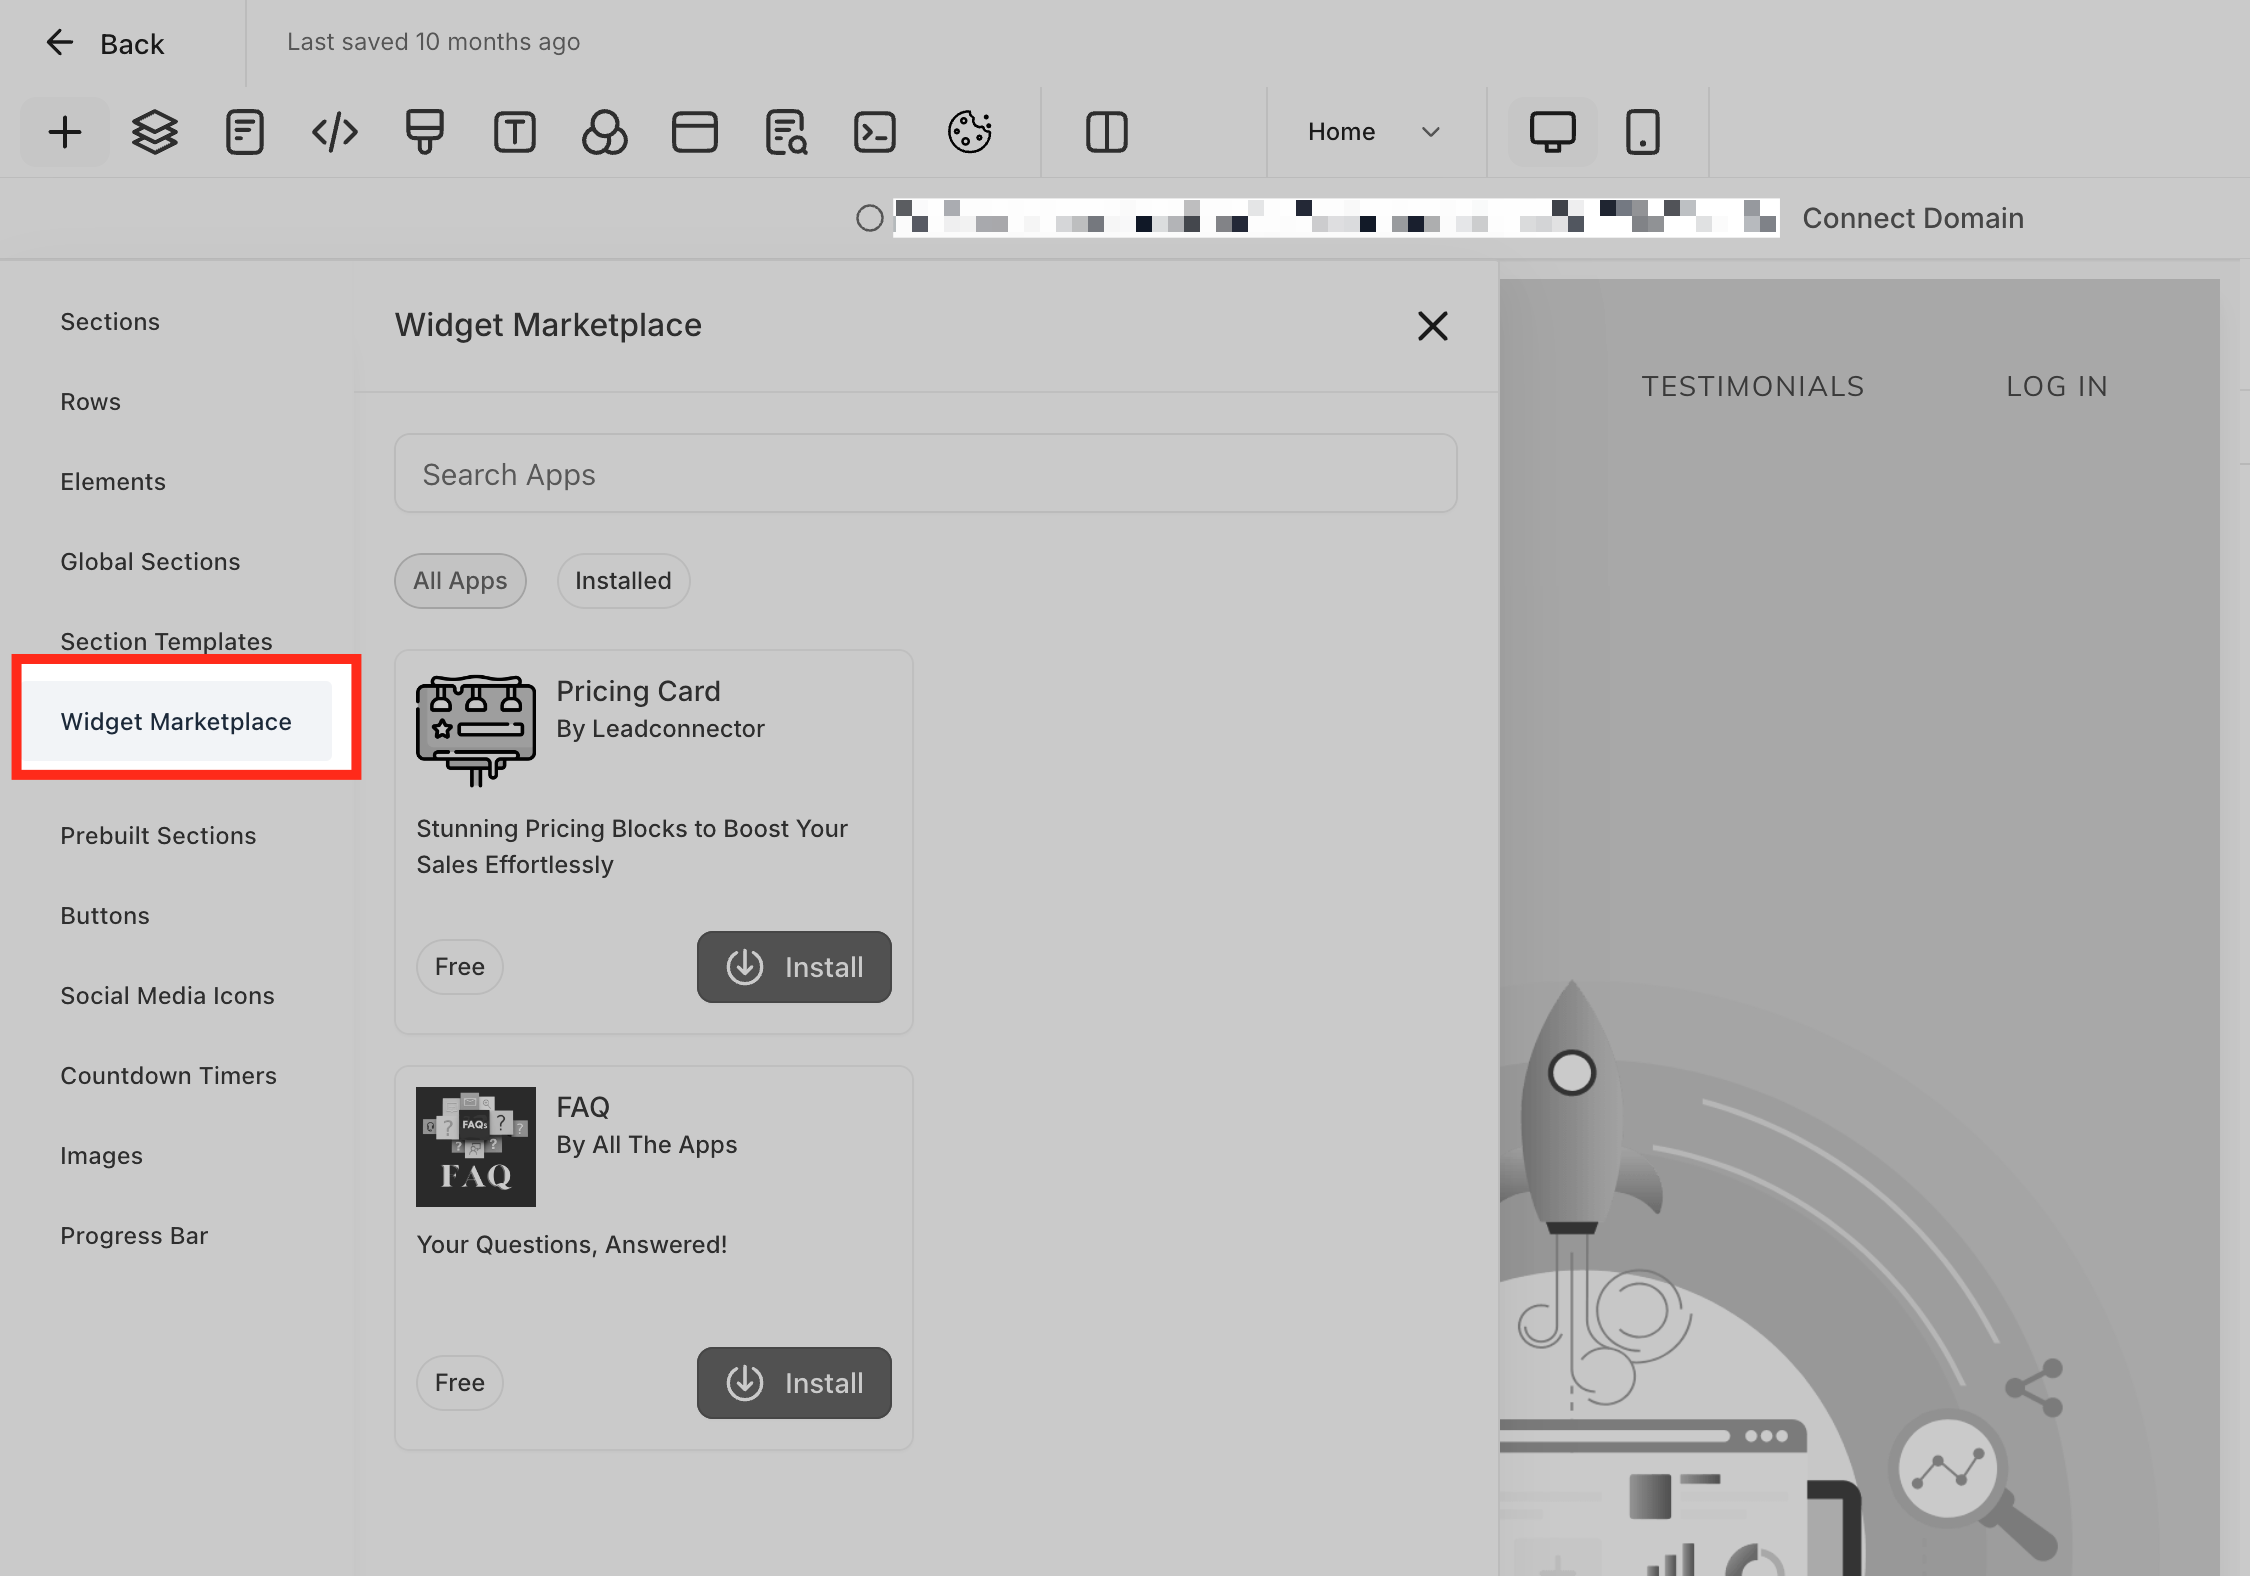
The feature lives inside the funnel or website builder. While editing a page, select the Widget Marketplace tab to browse, then use the Installed Apps panel to add widgets to the canvas.
03How businesses use web widget marketplace
- Ecommerce store. A store owner opens the Widget Marketplace, installs a Banner widget, drags it to the homepage hero section, and edits the text to promote a limited time discount. The banner appears to visitors without any code changes.
- Fitness coaching website. The coach installs a Countdown Timer widget, drops it onto the landing page, and sets the expiration date for a free trial offer. The timer counts down in real time, creating urgency for visitors.
- Blog site. A blogger adds an Email Signup widget, places it after each article, and customizes the background colour and margin values. Readers can submit their email directly from the blog page.
04The numbers and rules that matter
- Widgets include Pricing Cards, Banners, Countdown Timers, Testimonials, Product Grids, Email Signup.
05How to set up and use web widget marketplace in HighLevel
Install and use a widget
- Open the funnel or website builder and click the Widget Marketplace tab.
- Scroll or search to locate a widget that meets the page’s need.
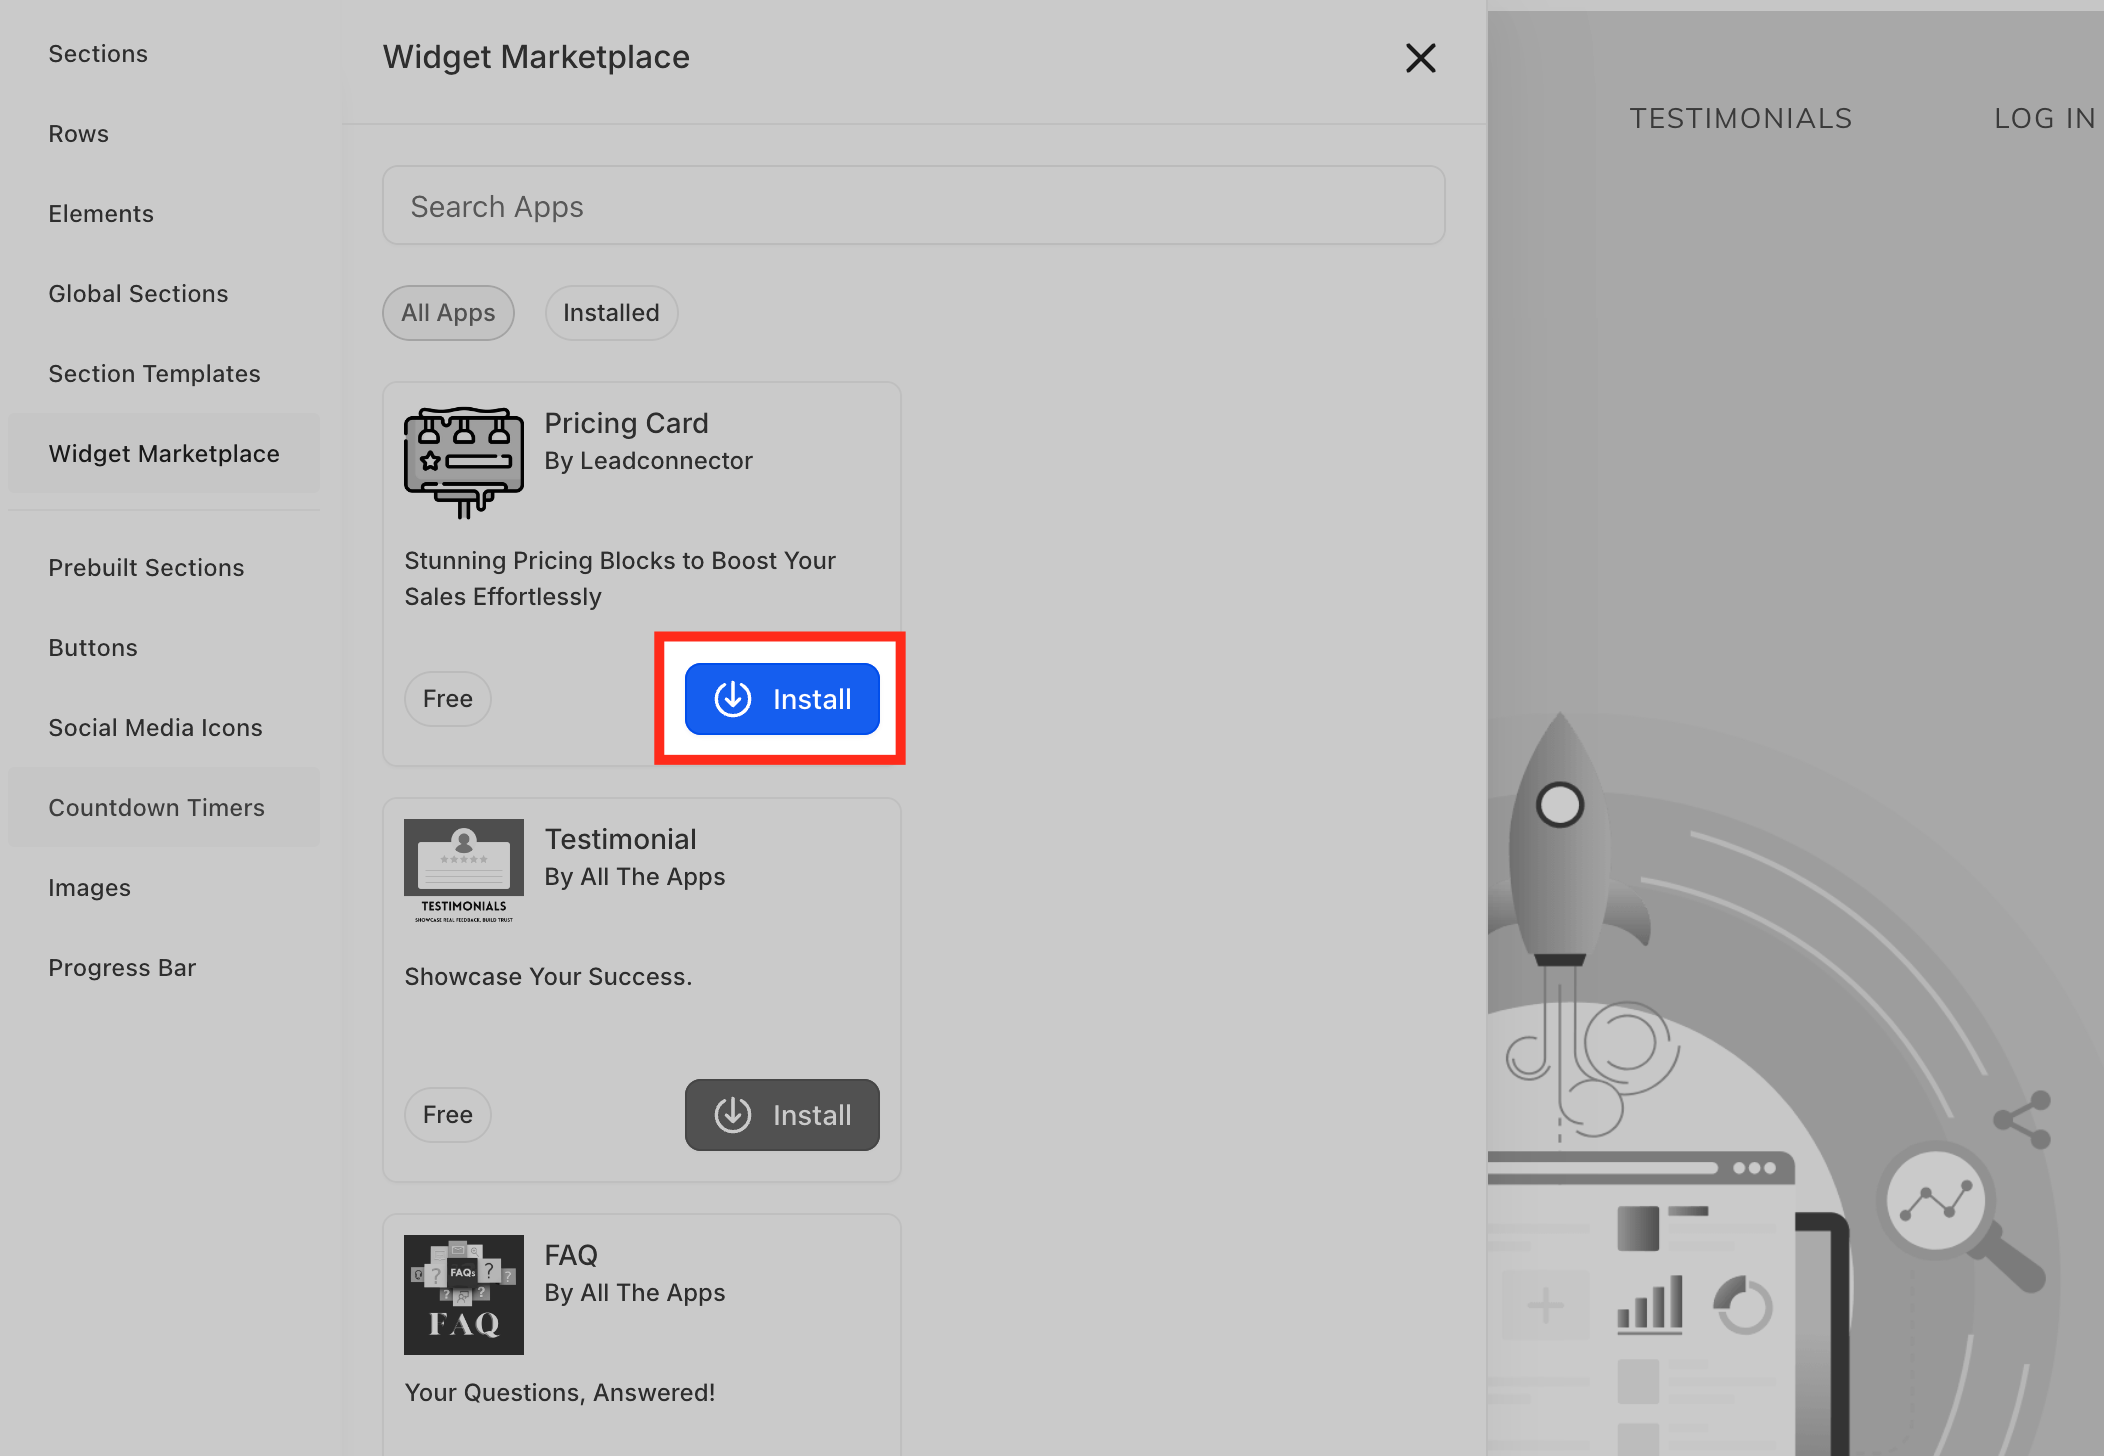
- Select Install on the chosen widget; it moves to the Installed Apps section.
- Drag the widget from Installed Apps onto the desired spot on the page.
- Click the placed widget to open its settings panel.
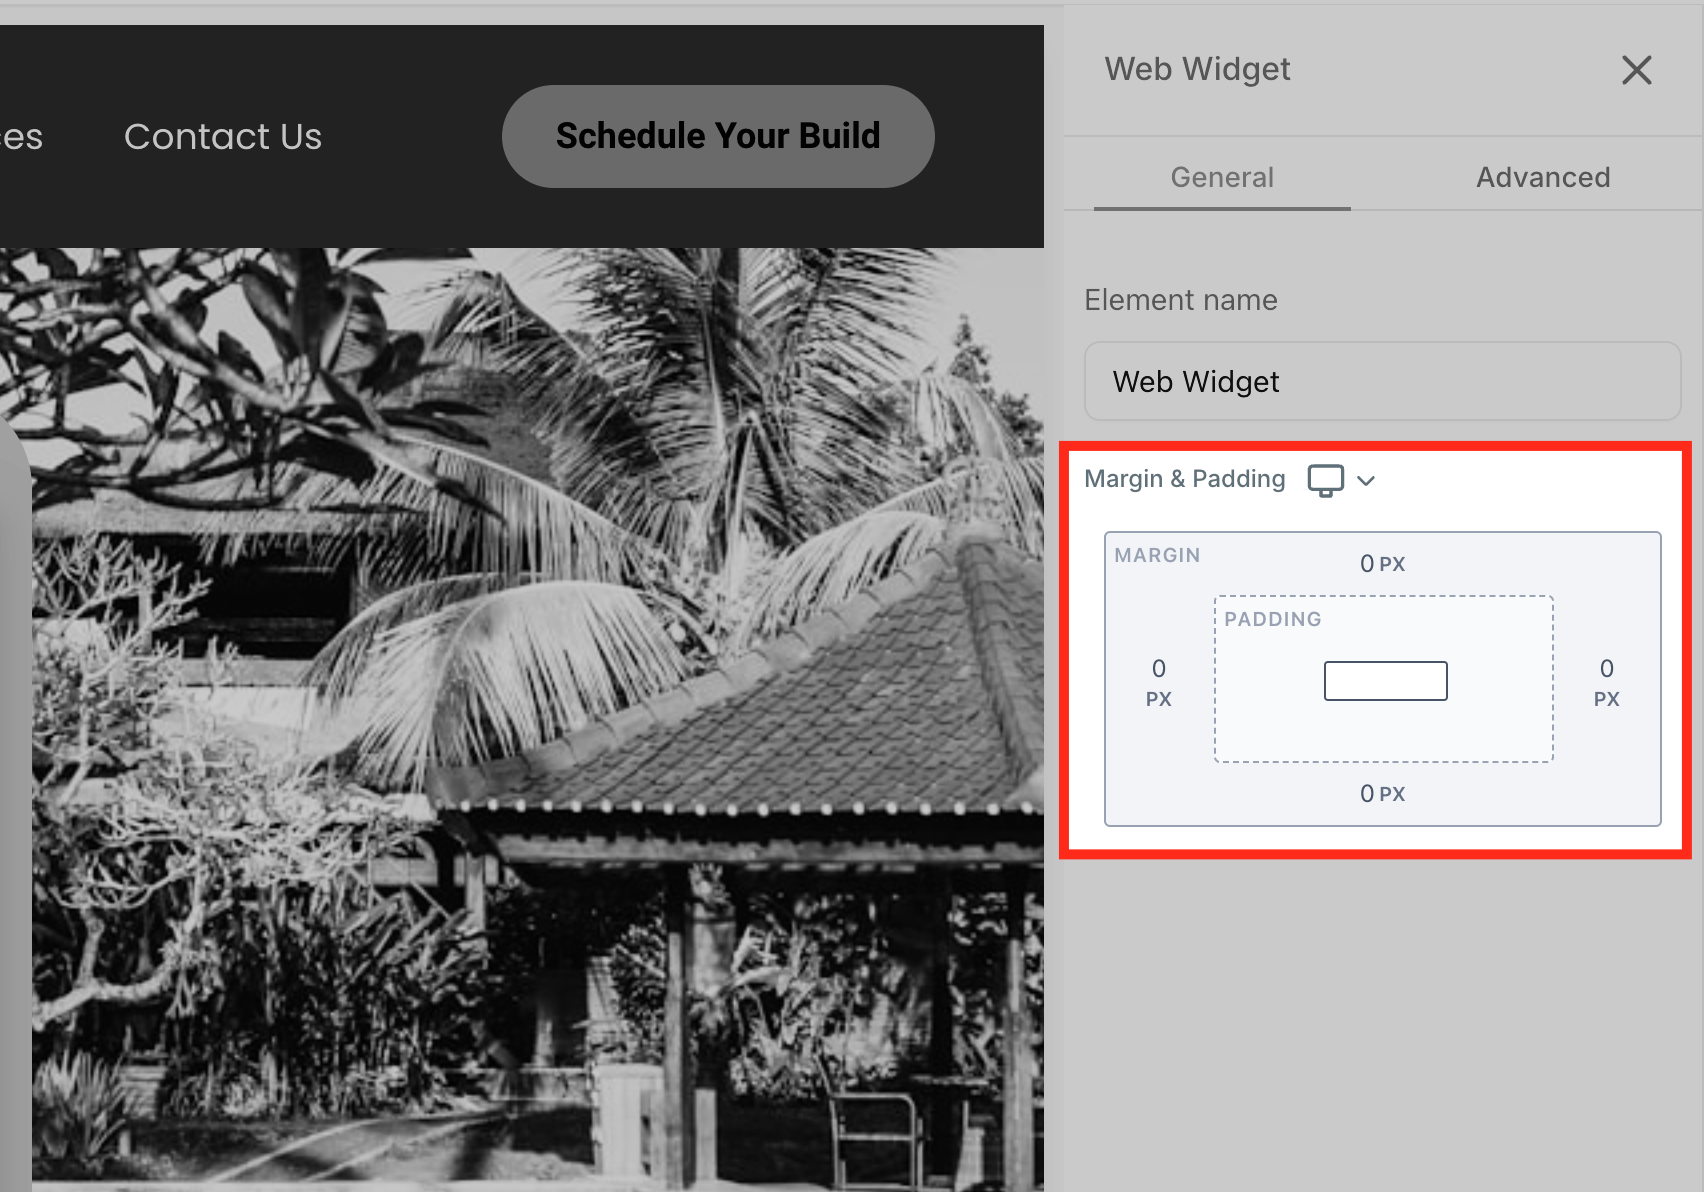
- Adjust margins, padding, or visibility as needed and save the changes.
06What it looks like in HighLevel
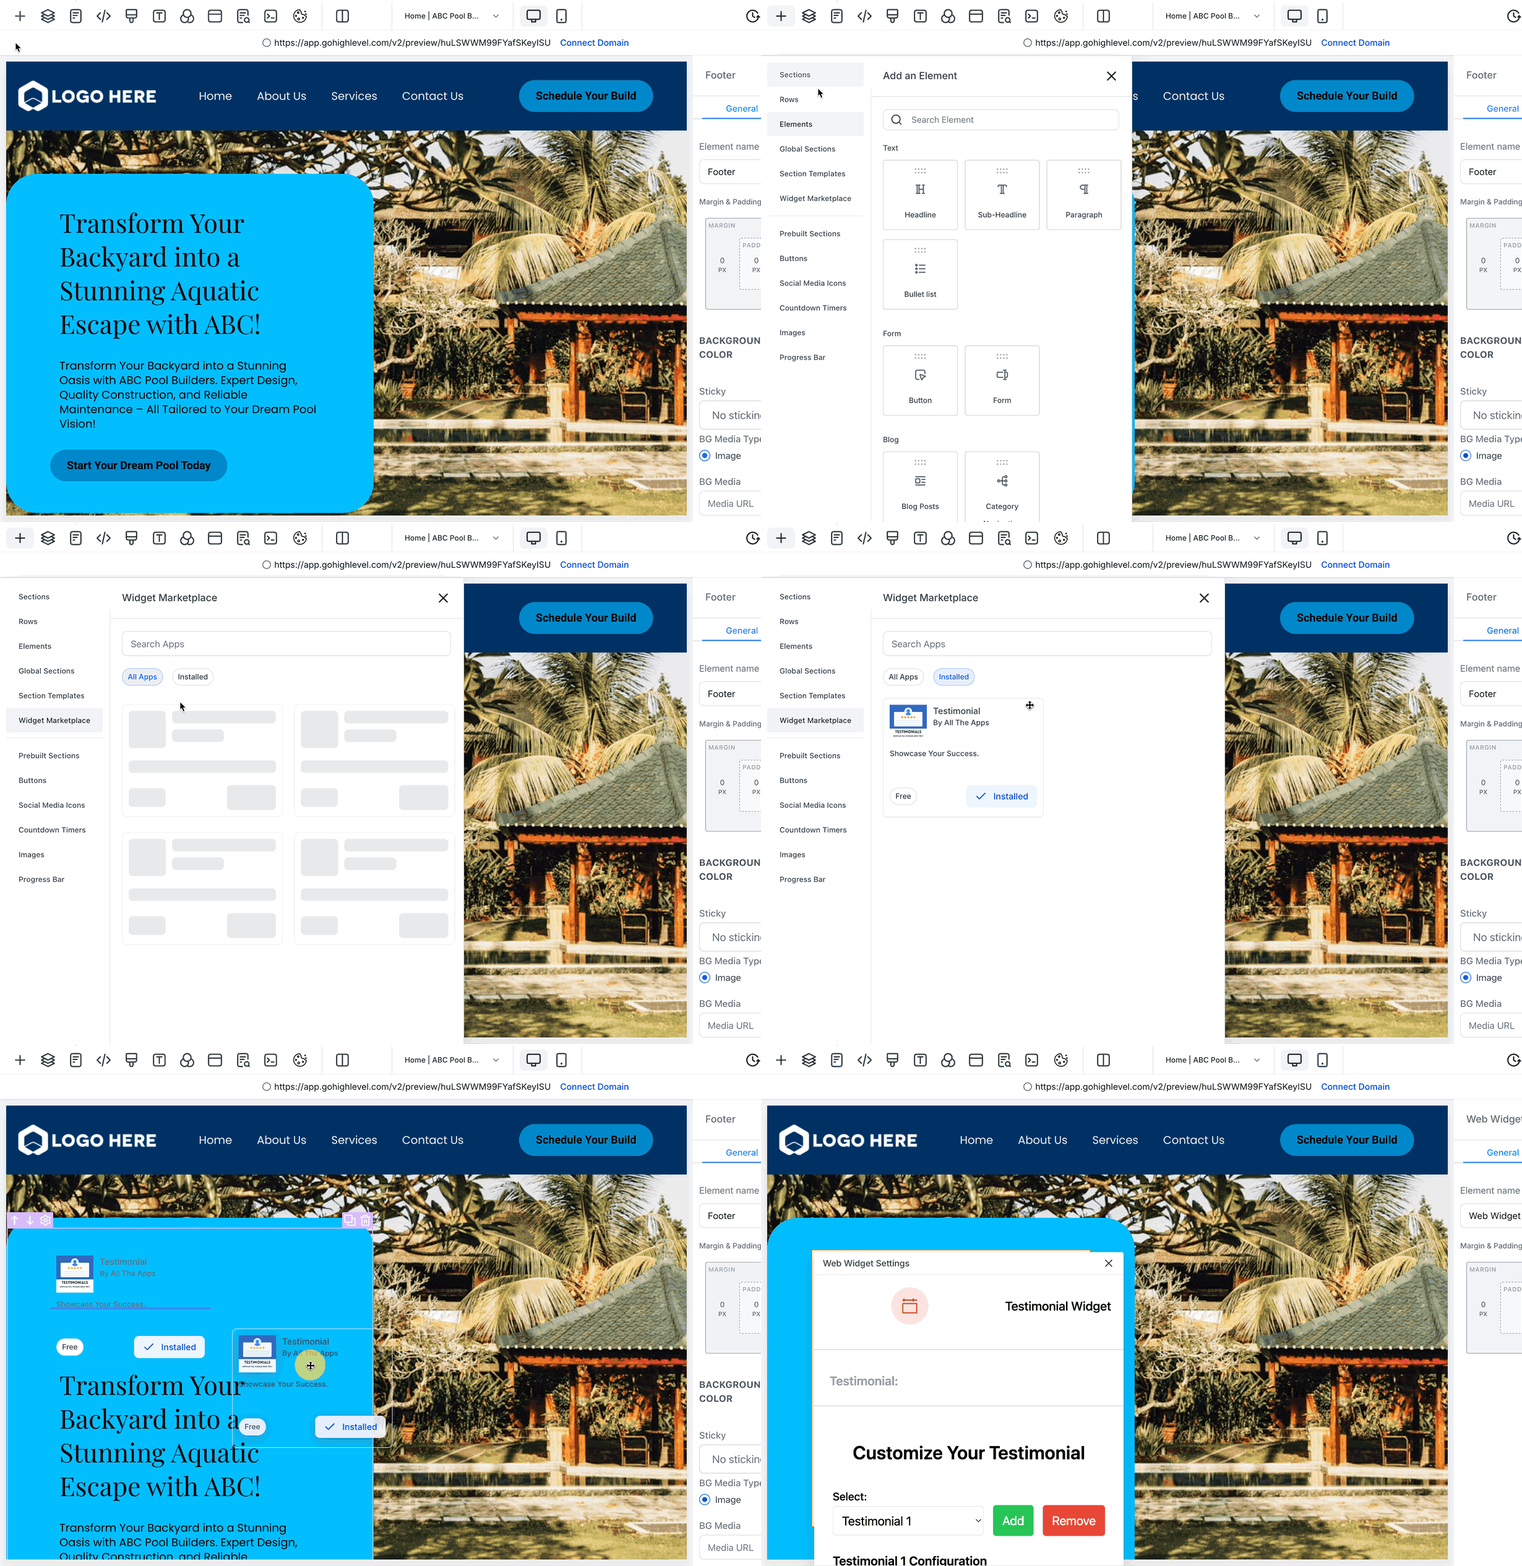
07Settings that matter
- Margins. Controls the space outside the widget’s border.
- Padding. Controls the space inside the widget’s border.
- Visibility. Determines when the widget appears for visitors.
08Things to know before you rely on it
- No specific limits, exclusions, or beta warnings are mentioned for the Web Widget Marketplace.
09How it connects to the rest of HighLevel
- Set up your site structure before adding widgets. HighLevel website setup
- Add tracking scripts to pages that also contain widgets. Add tracking code
- Start a free trial to explore the marketplace. 30 day trial
Michael's take

The Web Widget Marketplace feels like a small convenience that can turn a plain page into something more engaging with just a few clicks. It lets you sprinkle ready made pieces onto your site, so you can focus on messaging instead of building every element from scratch.
A fitness coaching business can benefit right away. Adding a Countdown Timer widget to announce a limited time free trial creates urgency and nudges visitors toward signing up, all without touching any code.